When it comes to adding tile to your kitchen walls, proper surface preparation is essential for a successful installation. Whether you're creating a new backsplash or updating your entire kitchen, taking the time to properly prepare your walls will ensure that your tile looks great and lasts for years to come. Here are 10 steps for preparing your kitchen walls for tile.How to Prepare a Wall for Tile


How to Prepare a Wall for Tile


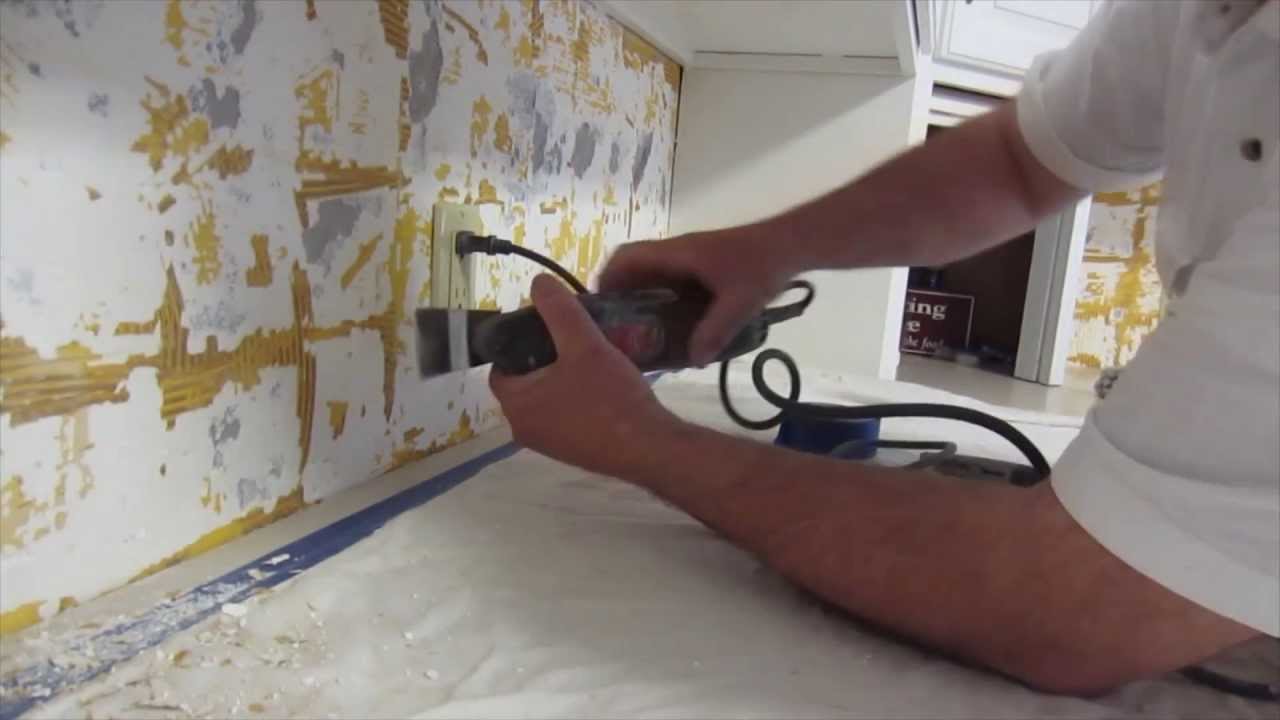
Before you can begin installing tile on your kitchen walls, you need to properly prepare the surface. This will involve removing any old wallpaper, sanding down any rough areas, and ensuring that the wall is clean and dry. Taking these steps will provide a smooth and durable surface for your tile to adhere to.How to Prepare a Wall for Tile Installation


How to Prepare a Wall for Tile Installation


Proper preparation of your kitchen walls is crucial for a successful tile installation. This includes making sure the walls are level and free of any imperfections. Any bumps or dips in the wall can cause your tiles to become uneven, resulting in a less-than-perfect finished product.Preparing Walls for Tile Installation


Preparing Walls for Tile Installation


Before you can begin applying tile to your kitchen walls, you need to make sure the surface is suitable for tiling. This means ensuring that your walls are strong enough to support the weight of the tile and that they are free of moisture. If your walls are not properly prepared, your tile may not adhere properly and could potentially fall off in the future.Tile Surface Preparation for Kitchen Walls


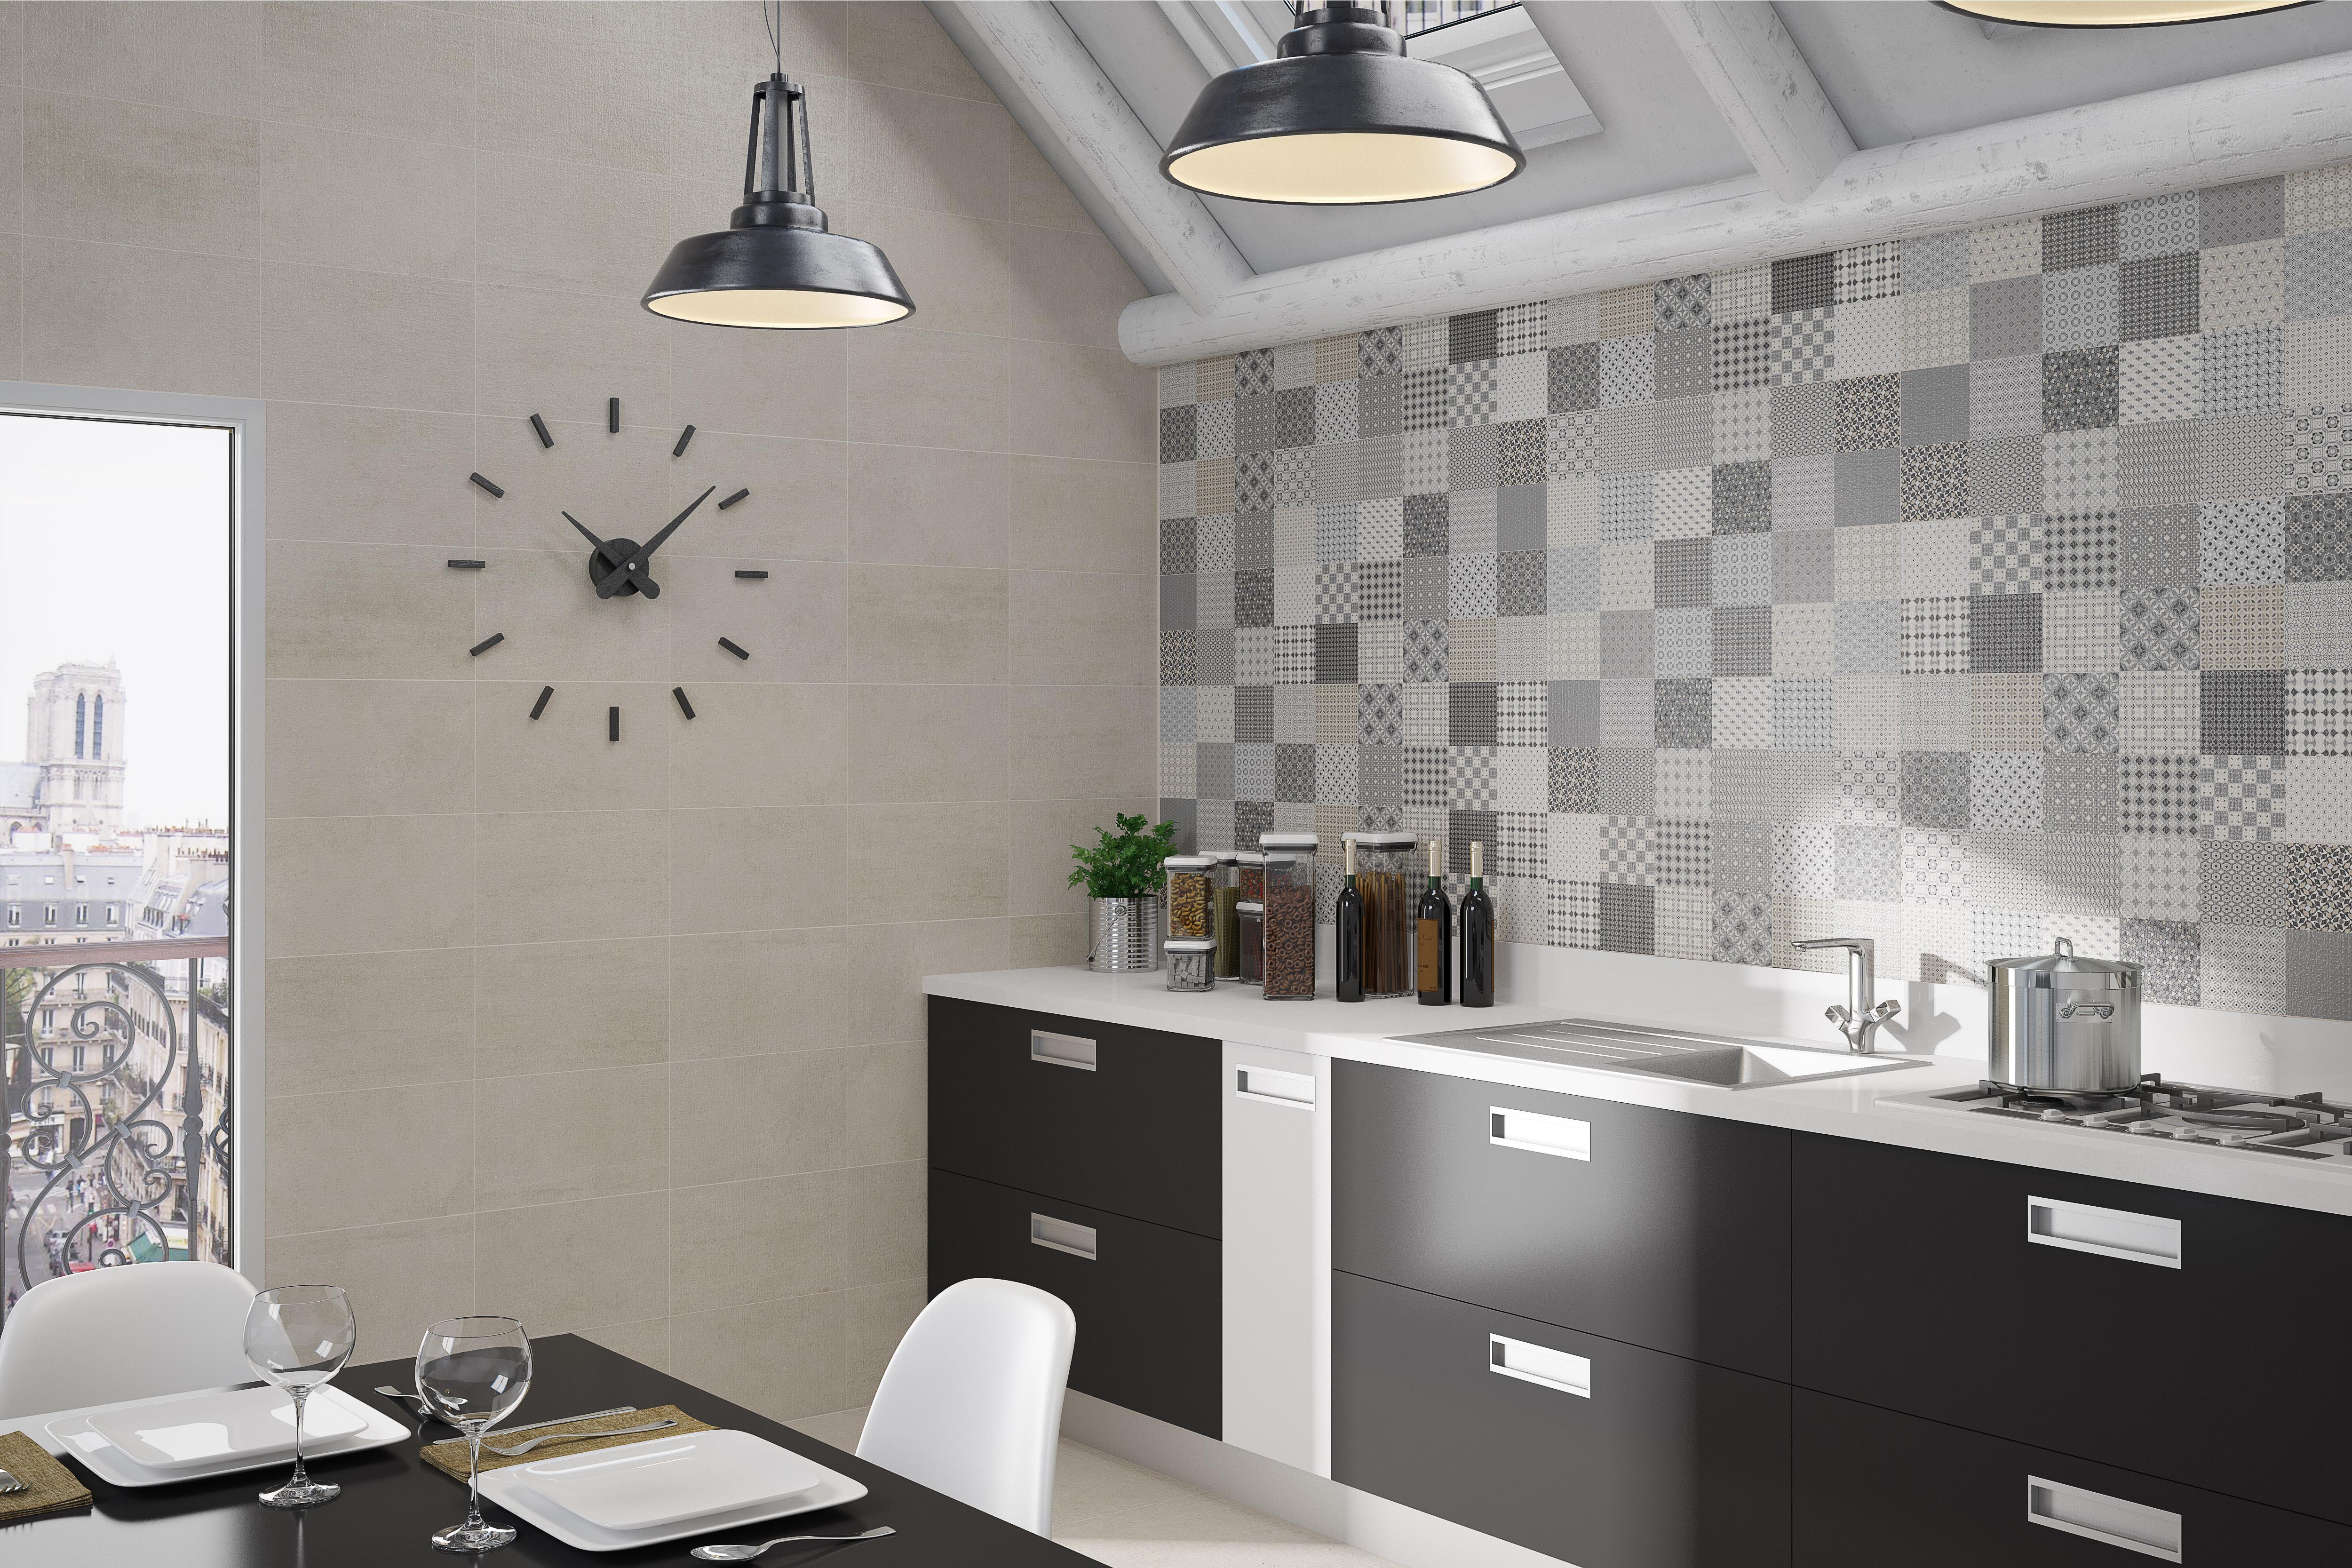
Tile Surface Preparation for Kitchen Walls

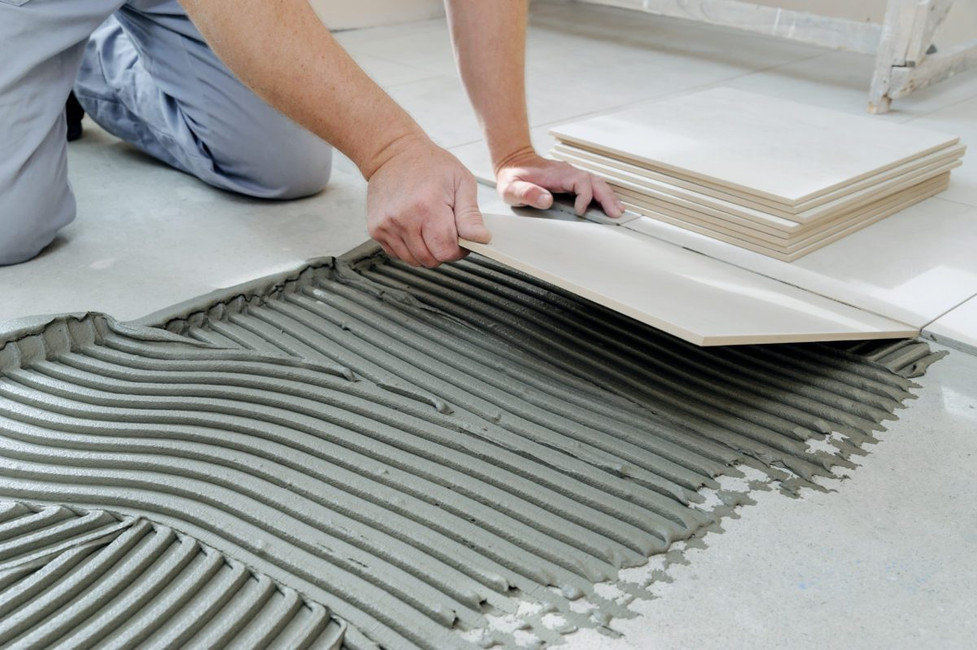

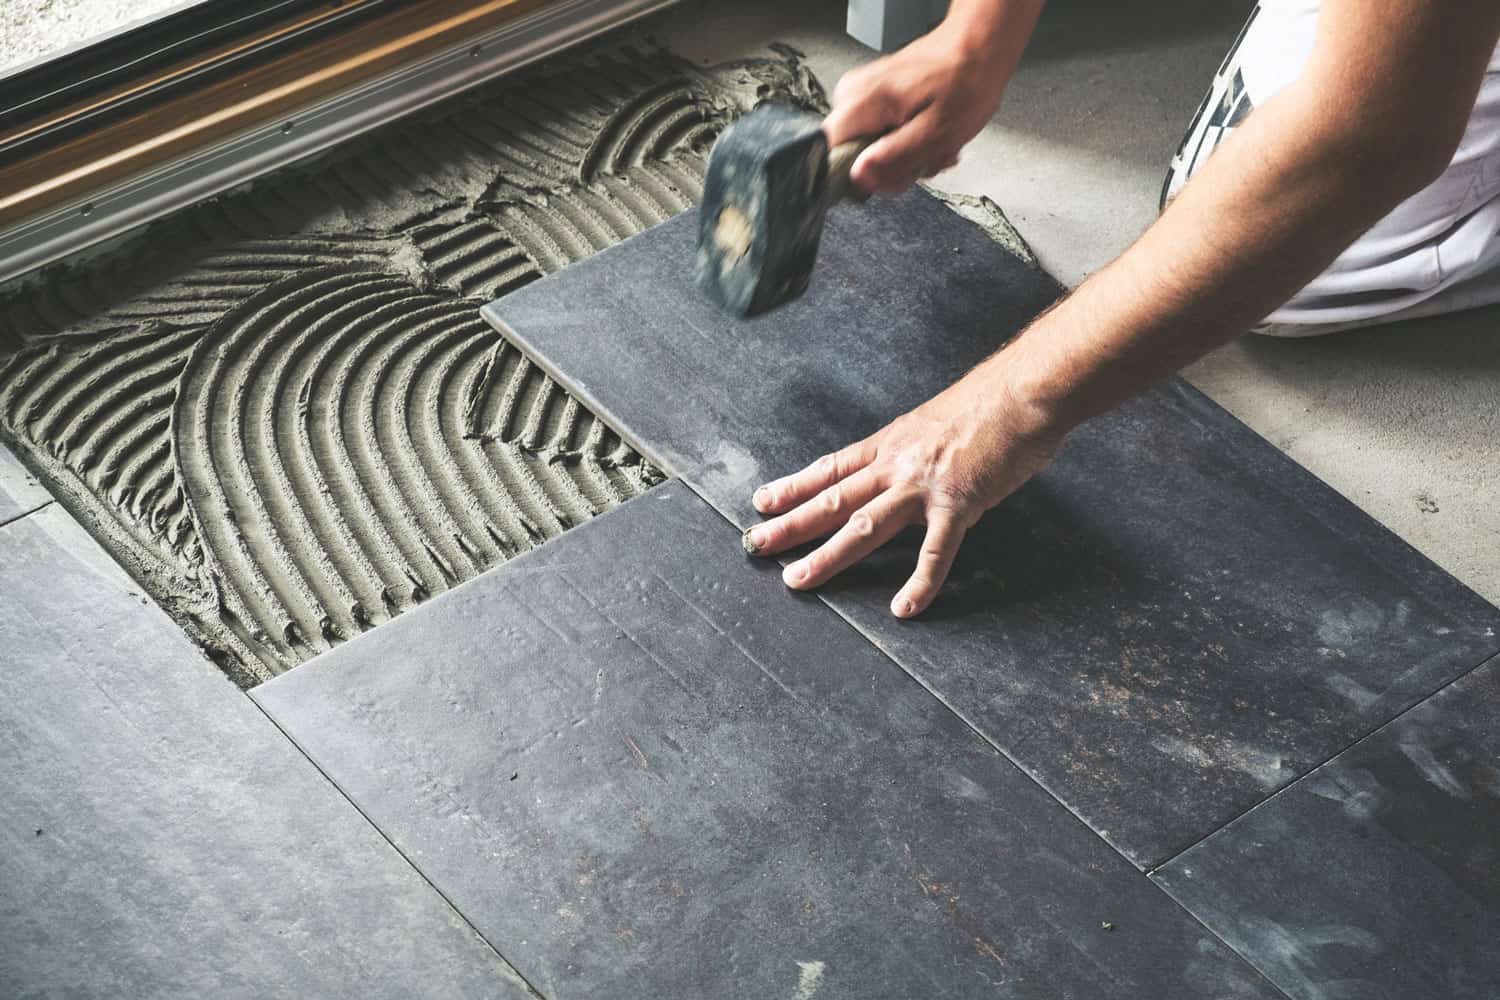
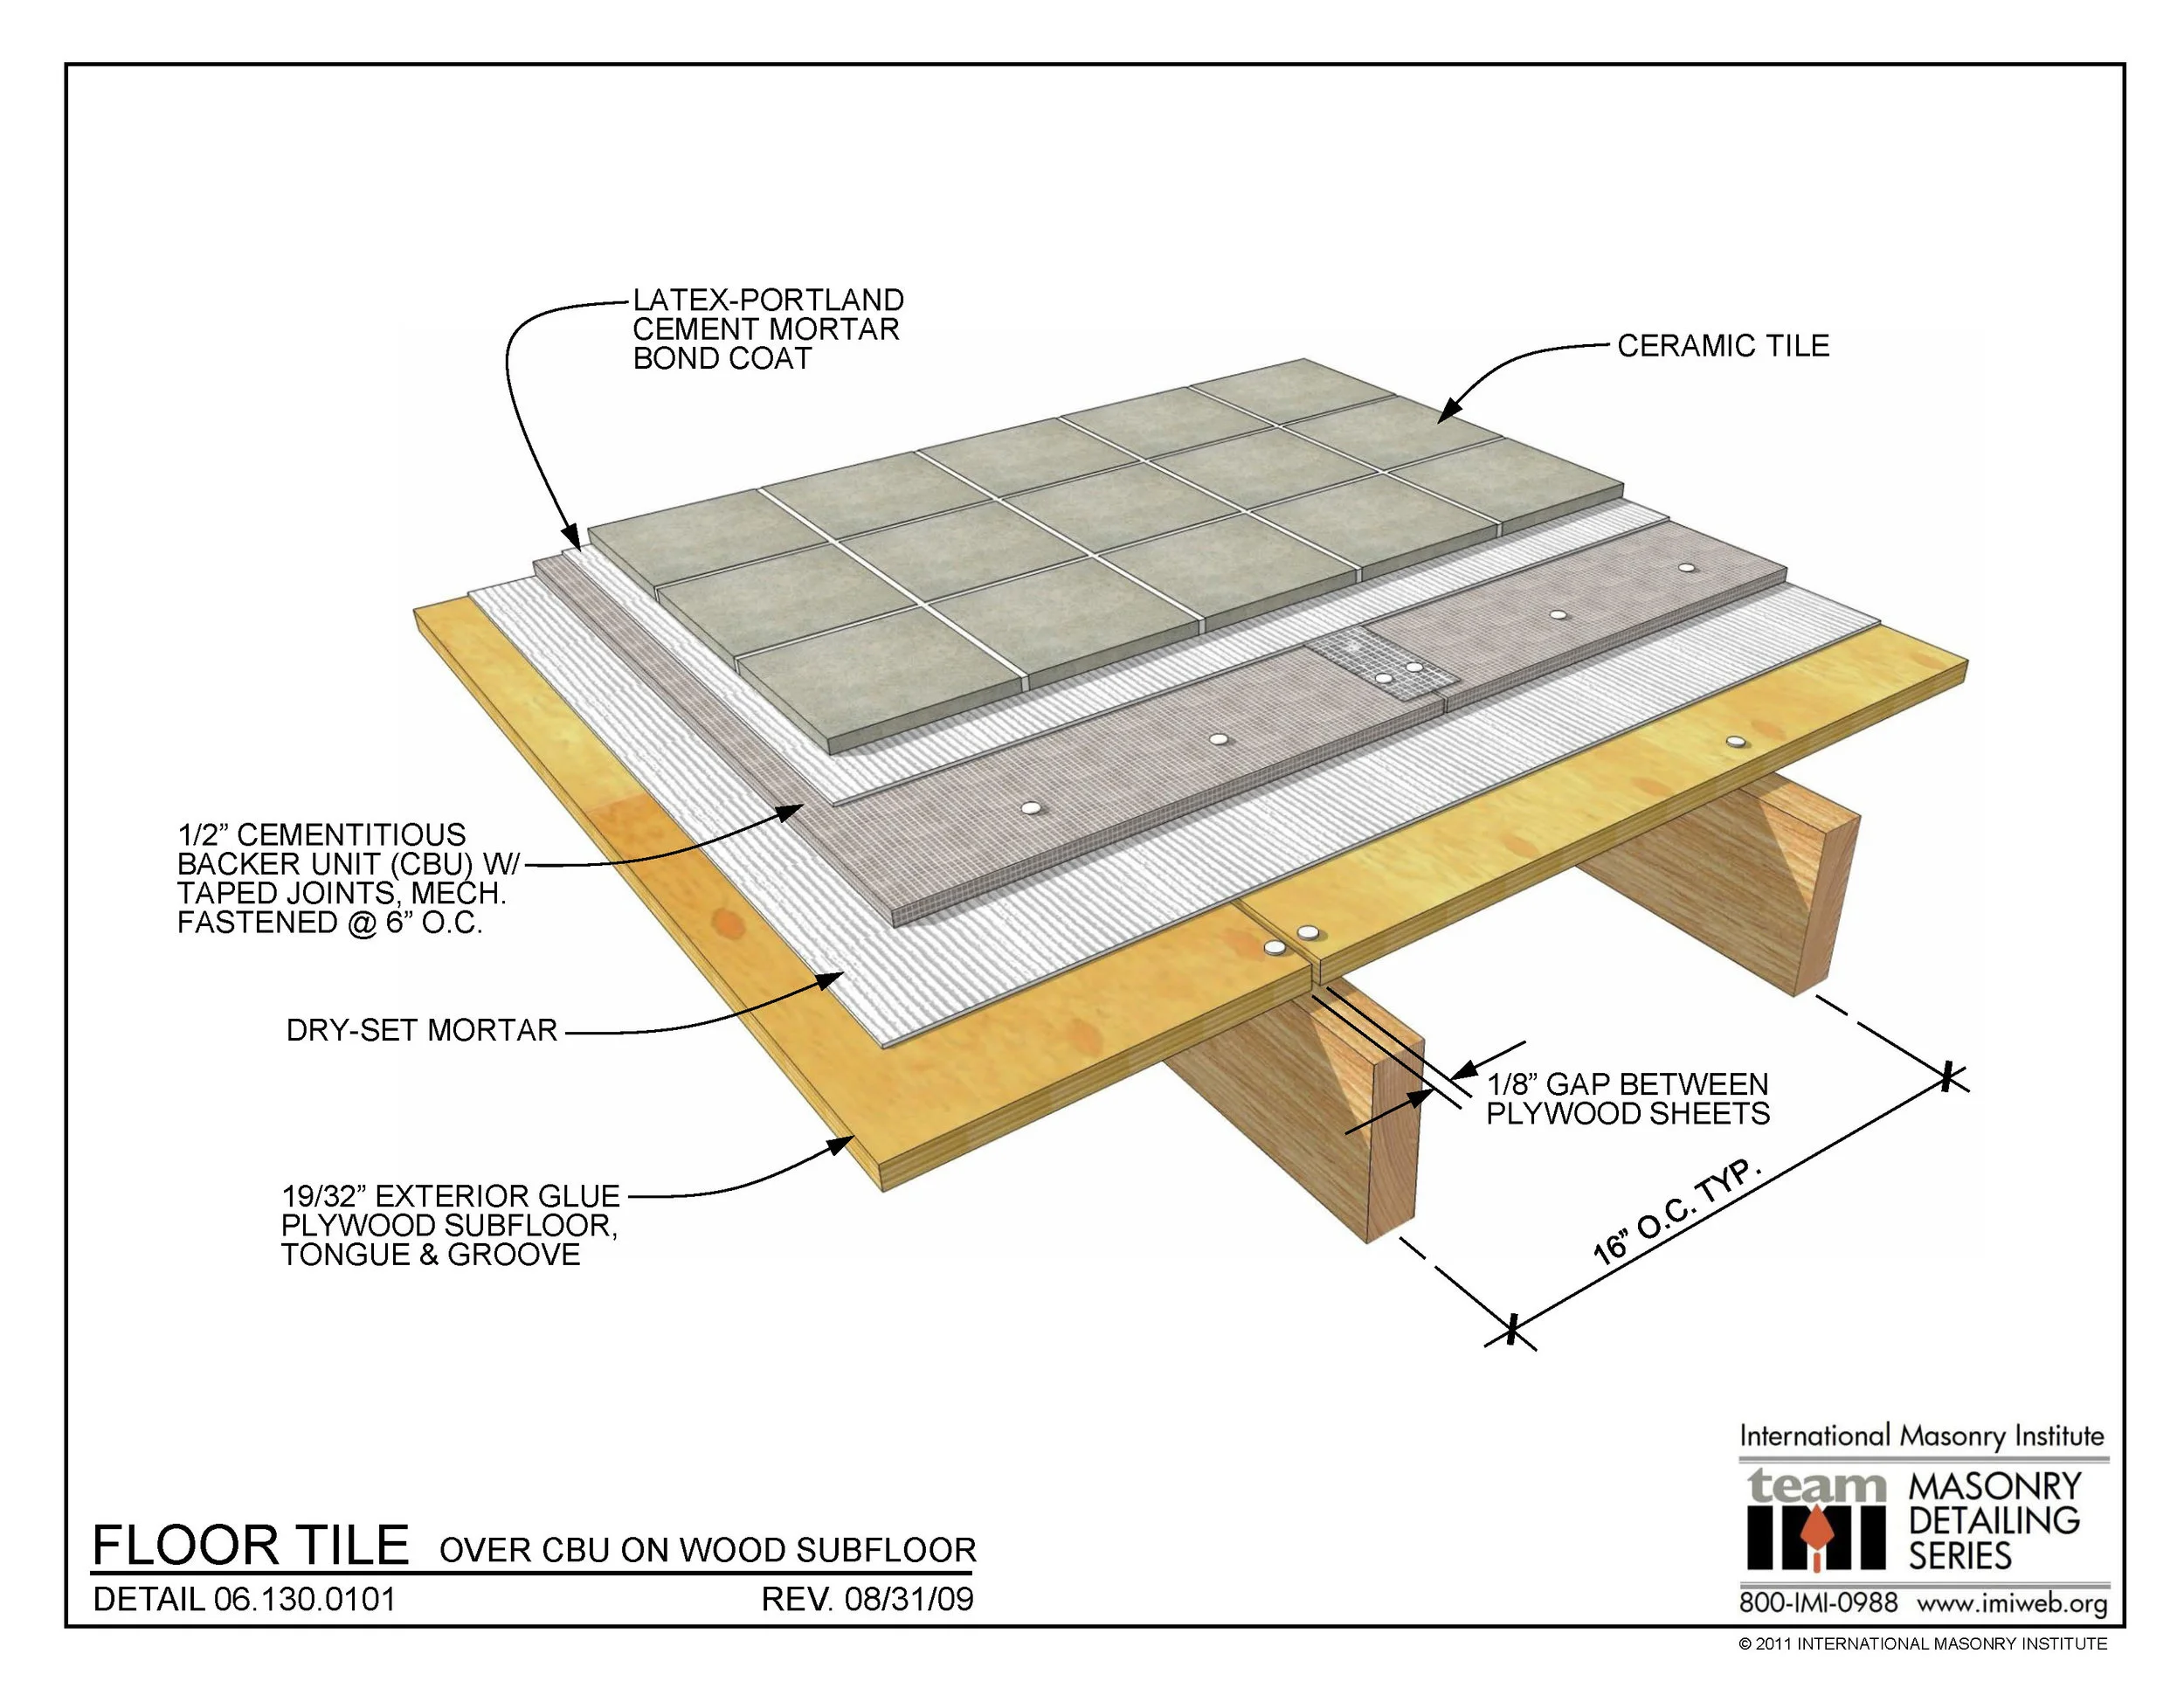
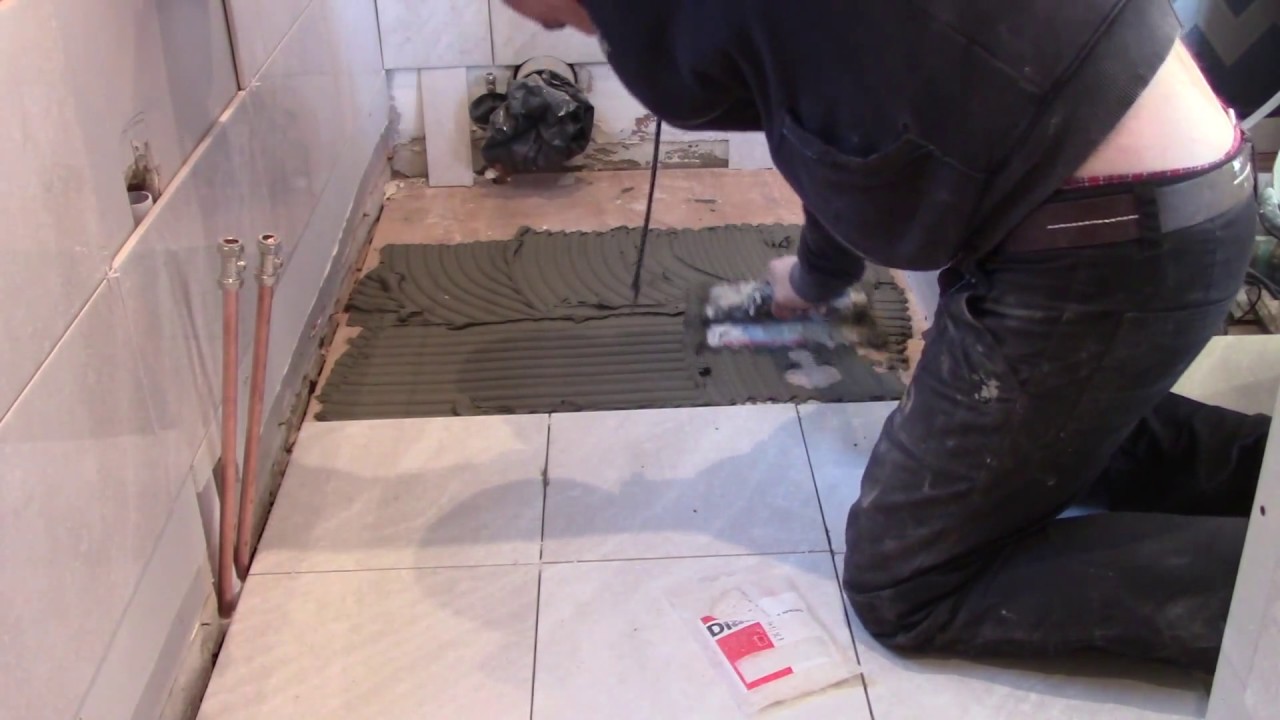
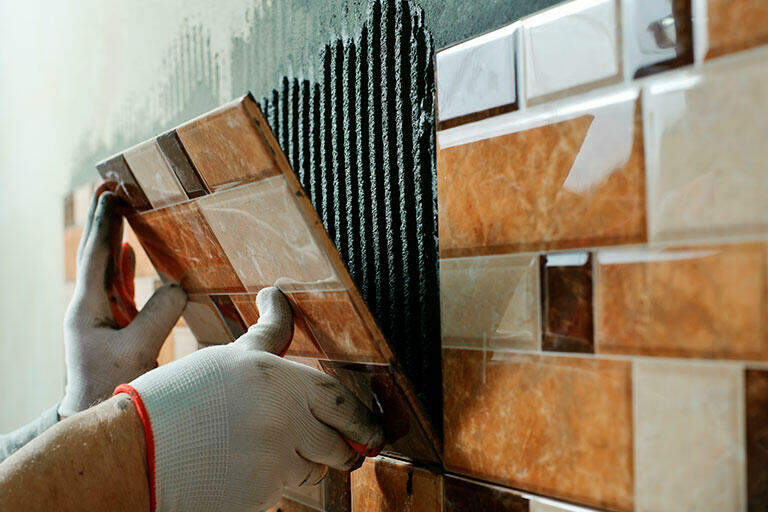
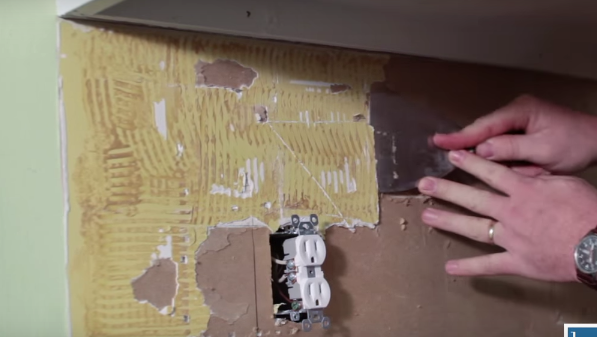
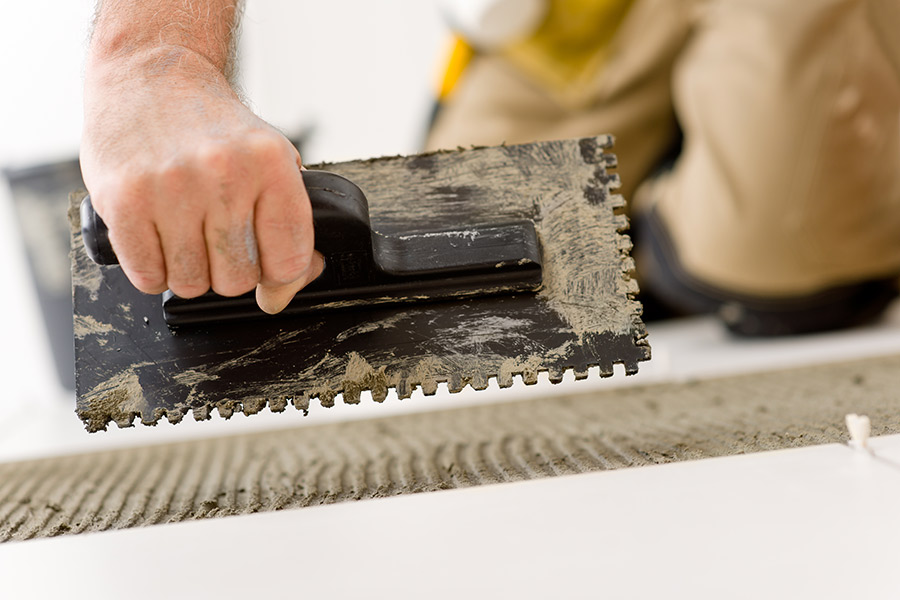
Here are the steps you should follow to properly prepare your kitchen walls for tile installation: Step 1: Clear the walls. Remove any furniture or appliances from the area where you will be installing tile. This will give you a clear and open space to work in. Step 2: Remove any old wallpaper or adhesive. If your walls have old wallpaper or adhesive, it's important to remove it before tiling. Use a scraper or a wallpaper steamer to remove any old material. Step 3: Sand the walls. Use sandpaper to smooth out any rough areas on your walls. This will help create a level and even surface for your tile installation. Step 4: Clean the walls. Wipe down your walls with a damp cloth to remove any dust or debris from sanding. This will ensure that your walls are clean and ready for the next step. Step 5: Check for moisture. Use a moisture meter to check for any dampness in your walls. If there is moisture present, you will need to address the issue before proceeding with tiling. Step 6: Repair any cracks or imperfections. If you notice any cracks or imperfections in your walls, fill them in with spackling compound and let it dry before moving on to the next step. Step 7: Prime the walls. Using a primer will help the tile adhesive adhere better to your walls. This step is especially important if you have repaired any cracks or imperfections. Step 8: Measure and mark your layout. Use a measuring tape and a level to mark where your tiles will go on the wall. This will ensure that your tiles are evenly spaced and aligned. Step 9: Mix tile adhesive. Follow the manufacturer's instructions to mix your tile adhesive. Make sure to mix only what you can use in a 30-minute period to prevent it from drying out. Step 10: Apply the tile adhesive. Use a trowel to apply the adhesive to your walls, starting from the bottom and working your way up. Make sure to spread the adhesive evenly and to cover the entire area where you will be installing tile.Steps for Preparing Kitchen Walls for Tile


Steps for Preparing Kitchen Walls for Tile

:max_bytes(150000):strip_icc()/steps-to-a-kitchen-remodel-1822229-hero-2a03688012aa4a6a89e814be04ac4c9f.jpg)


Proper surface preparation is key for a successful kitchen wall tile installation. By following these steps, you can ensure that your walls are ready for tile and that your installation will go smoothly.Surface Preparation for Kitchen Wall Tile


Surface Preparation for Kitchen Wall Tile
:max_bytes(150000):strip_icc()/how-to-install-ceramic-wall-tile-1824817-10-473071b2fef94af381ad02bc4c1ba8a8.jpg)

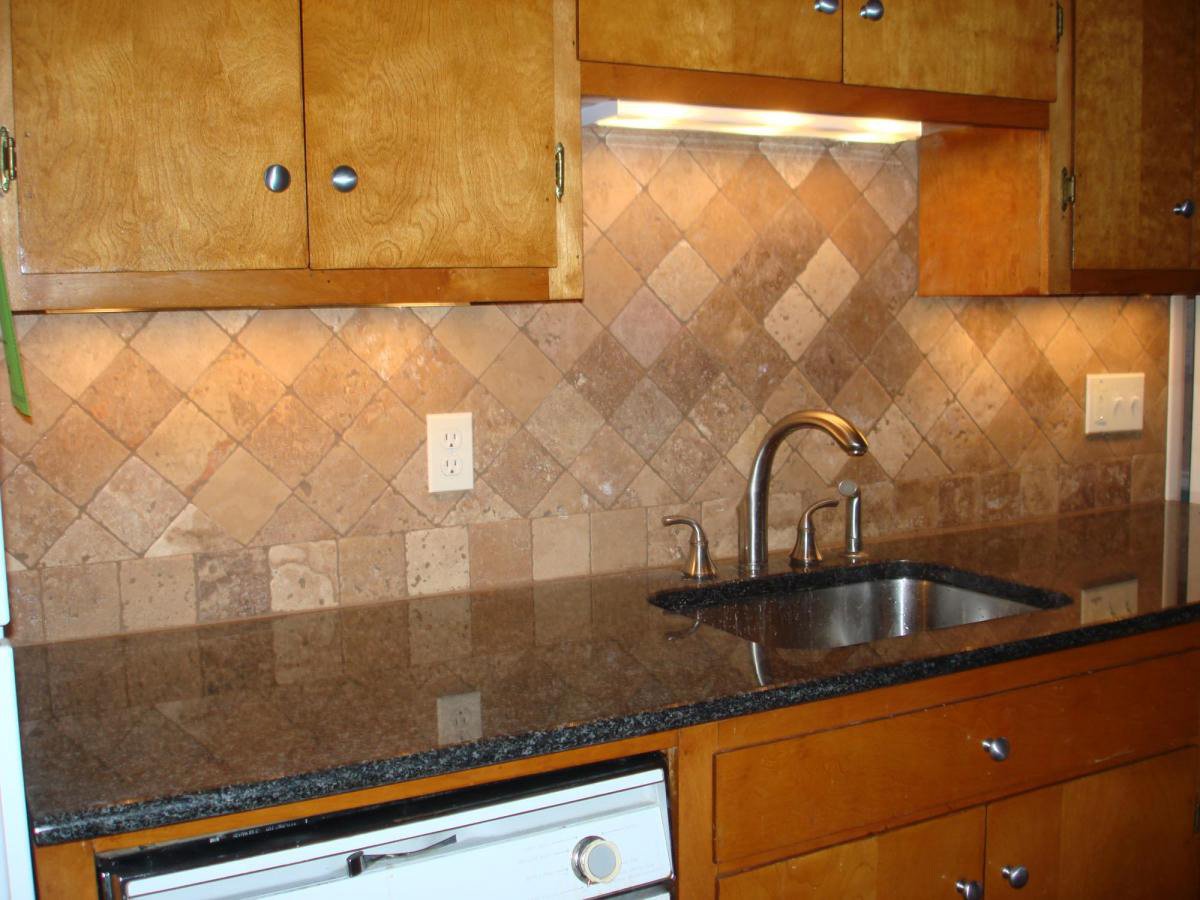
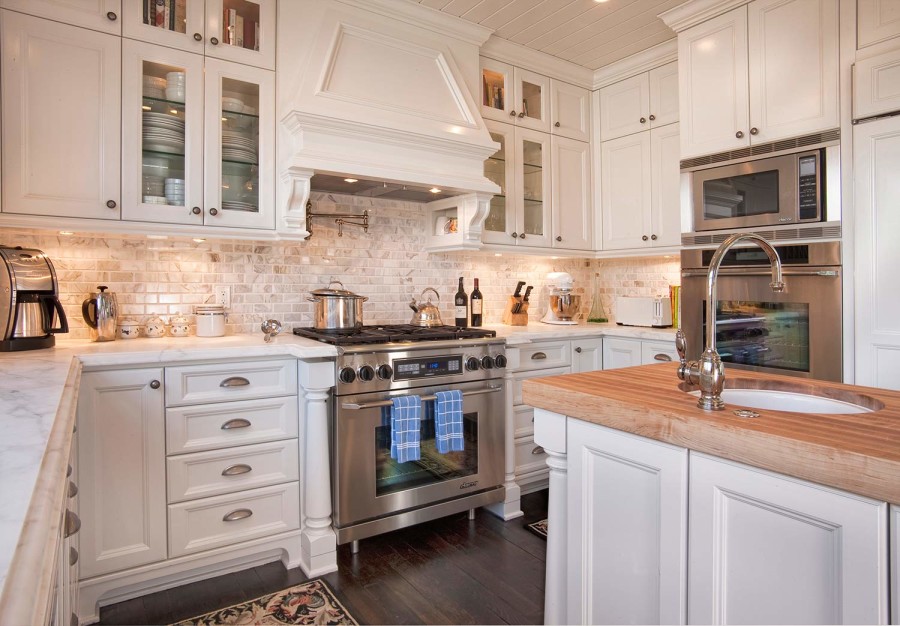
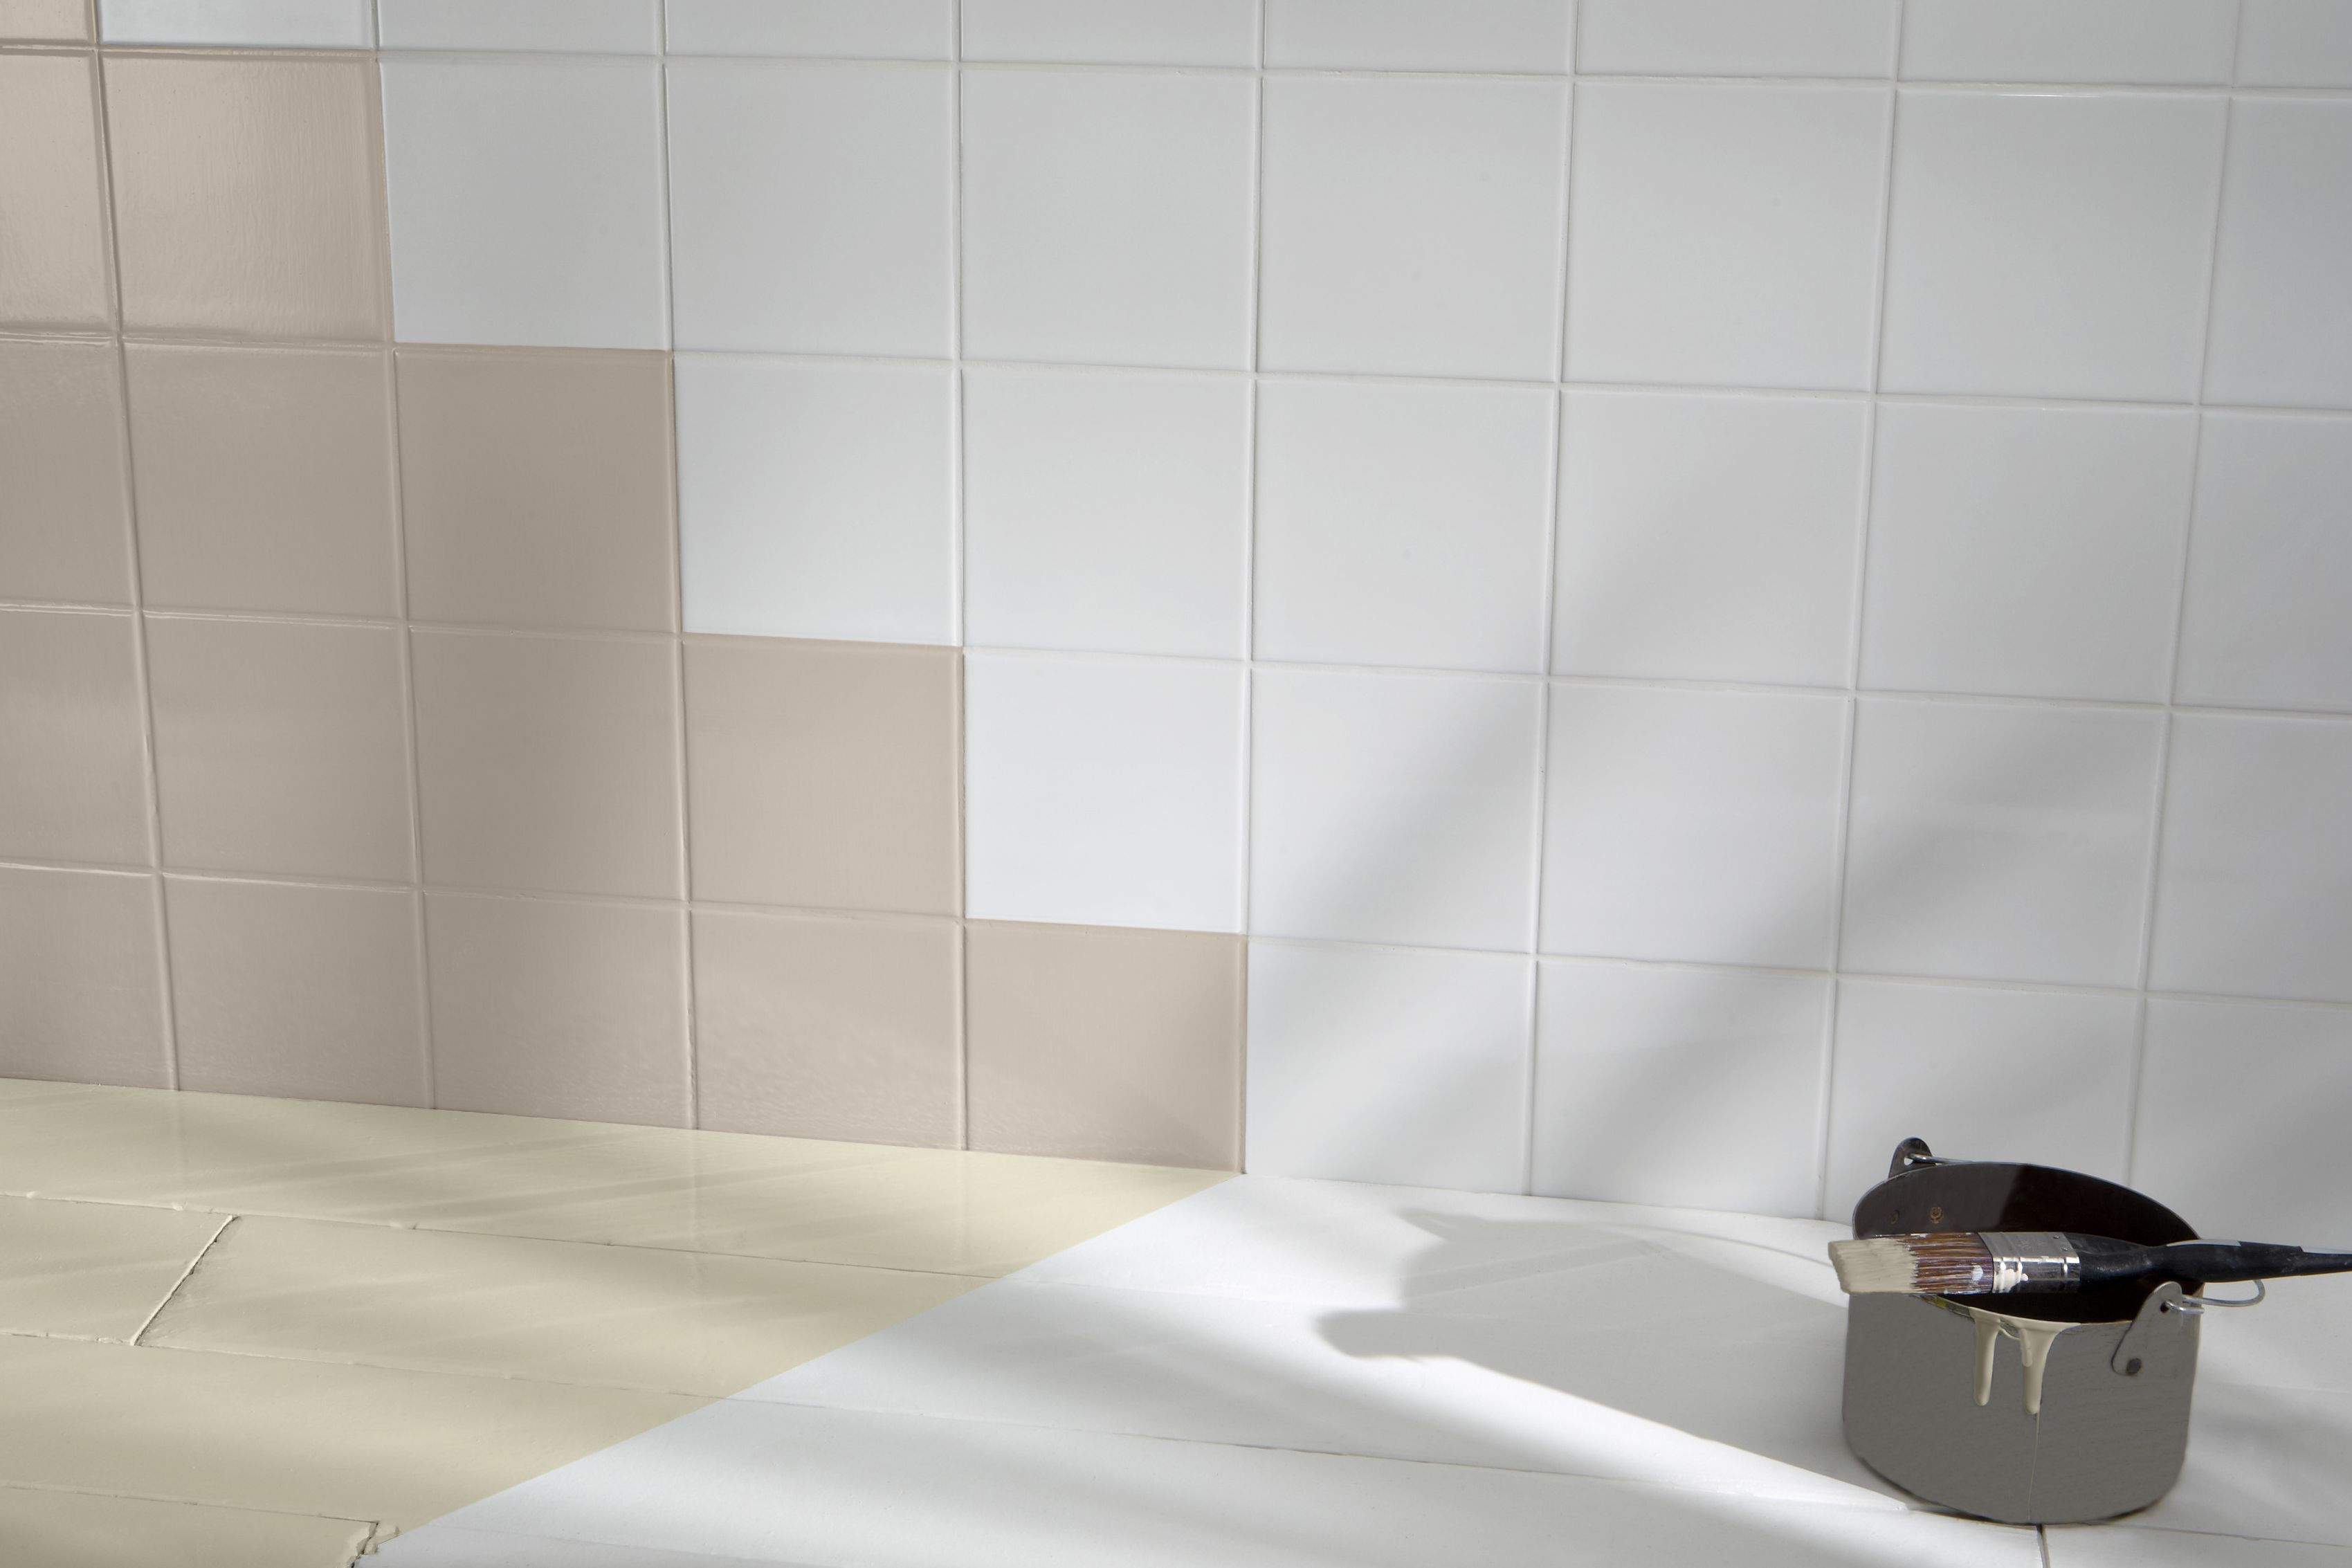
If you're installing a tile backsplash in your kitchen, the same steps for surface preparation still apply. However, it's important to take extra care with the layout and placement of your tiles to ensure that they fit perfectly around any outlets or other obstacles.Preparing Kitchen Walls for Tile Backsplash

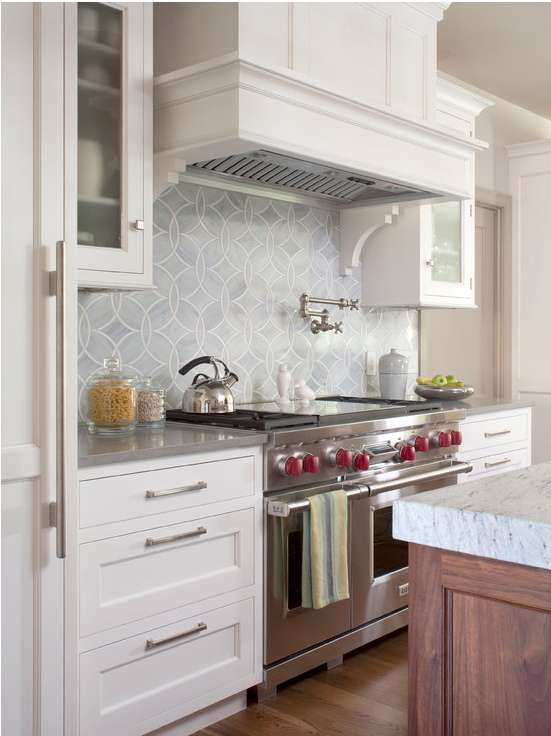

Preparing Kitchen Walls for Tile Backsplash


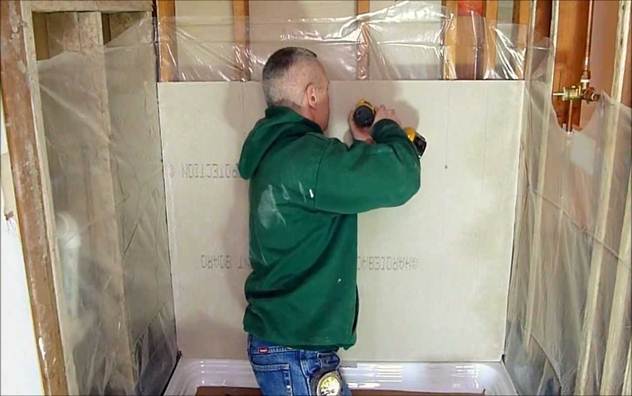
There are a few different techniques you can use when preparing your kitchen walls for tile. Some people prefer to use a cement backer board as a base for their tile, while others may use a self-adhesive mesh backing. Whichever technique you choose, make sure to follow the manufacturer's instructions for proper installation.Tile Surface Preparation Techniques for Kitchen Walls


Tile Surface Preparation Techniques for Kitchen Walls


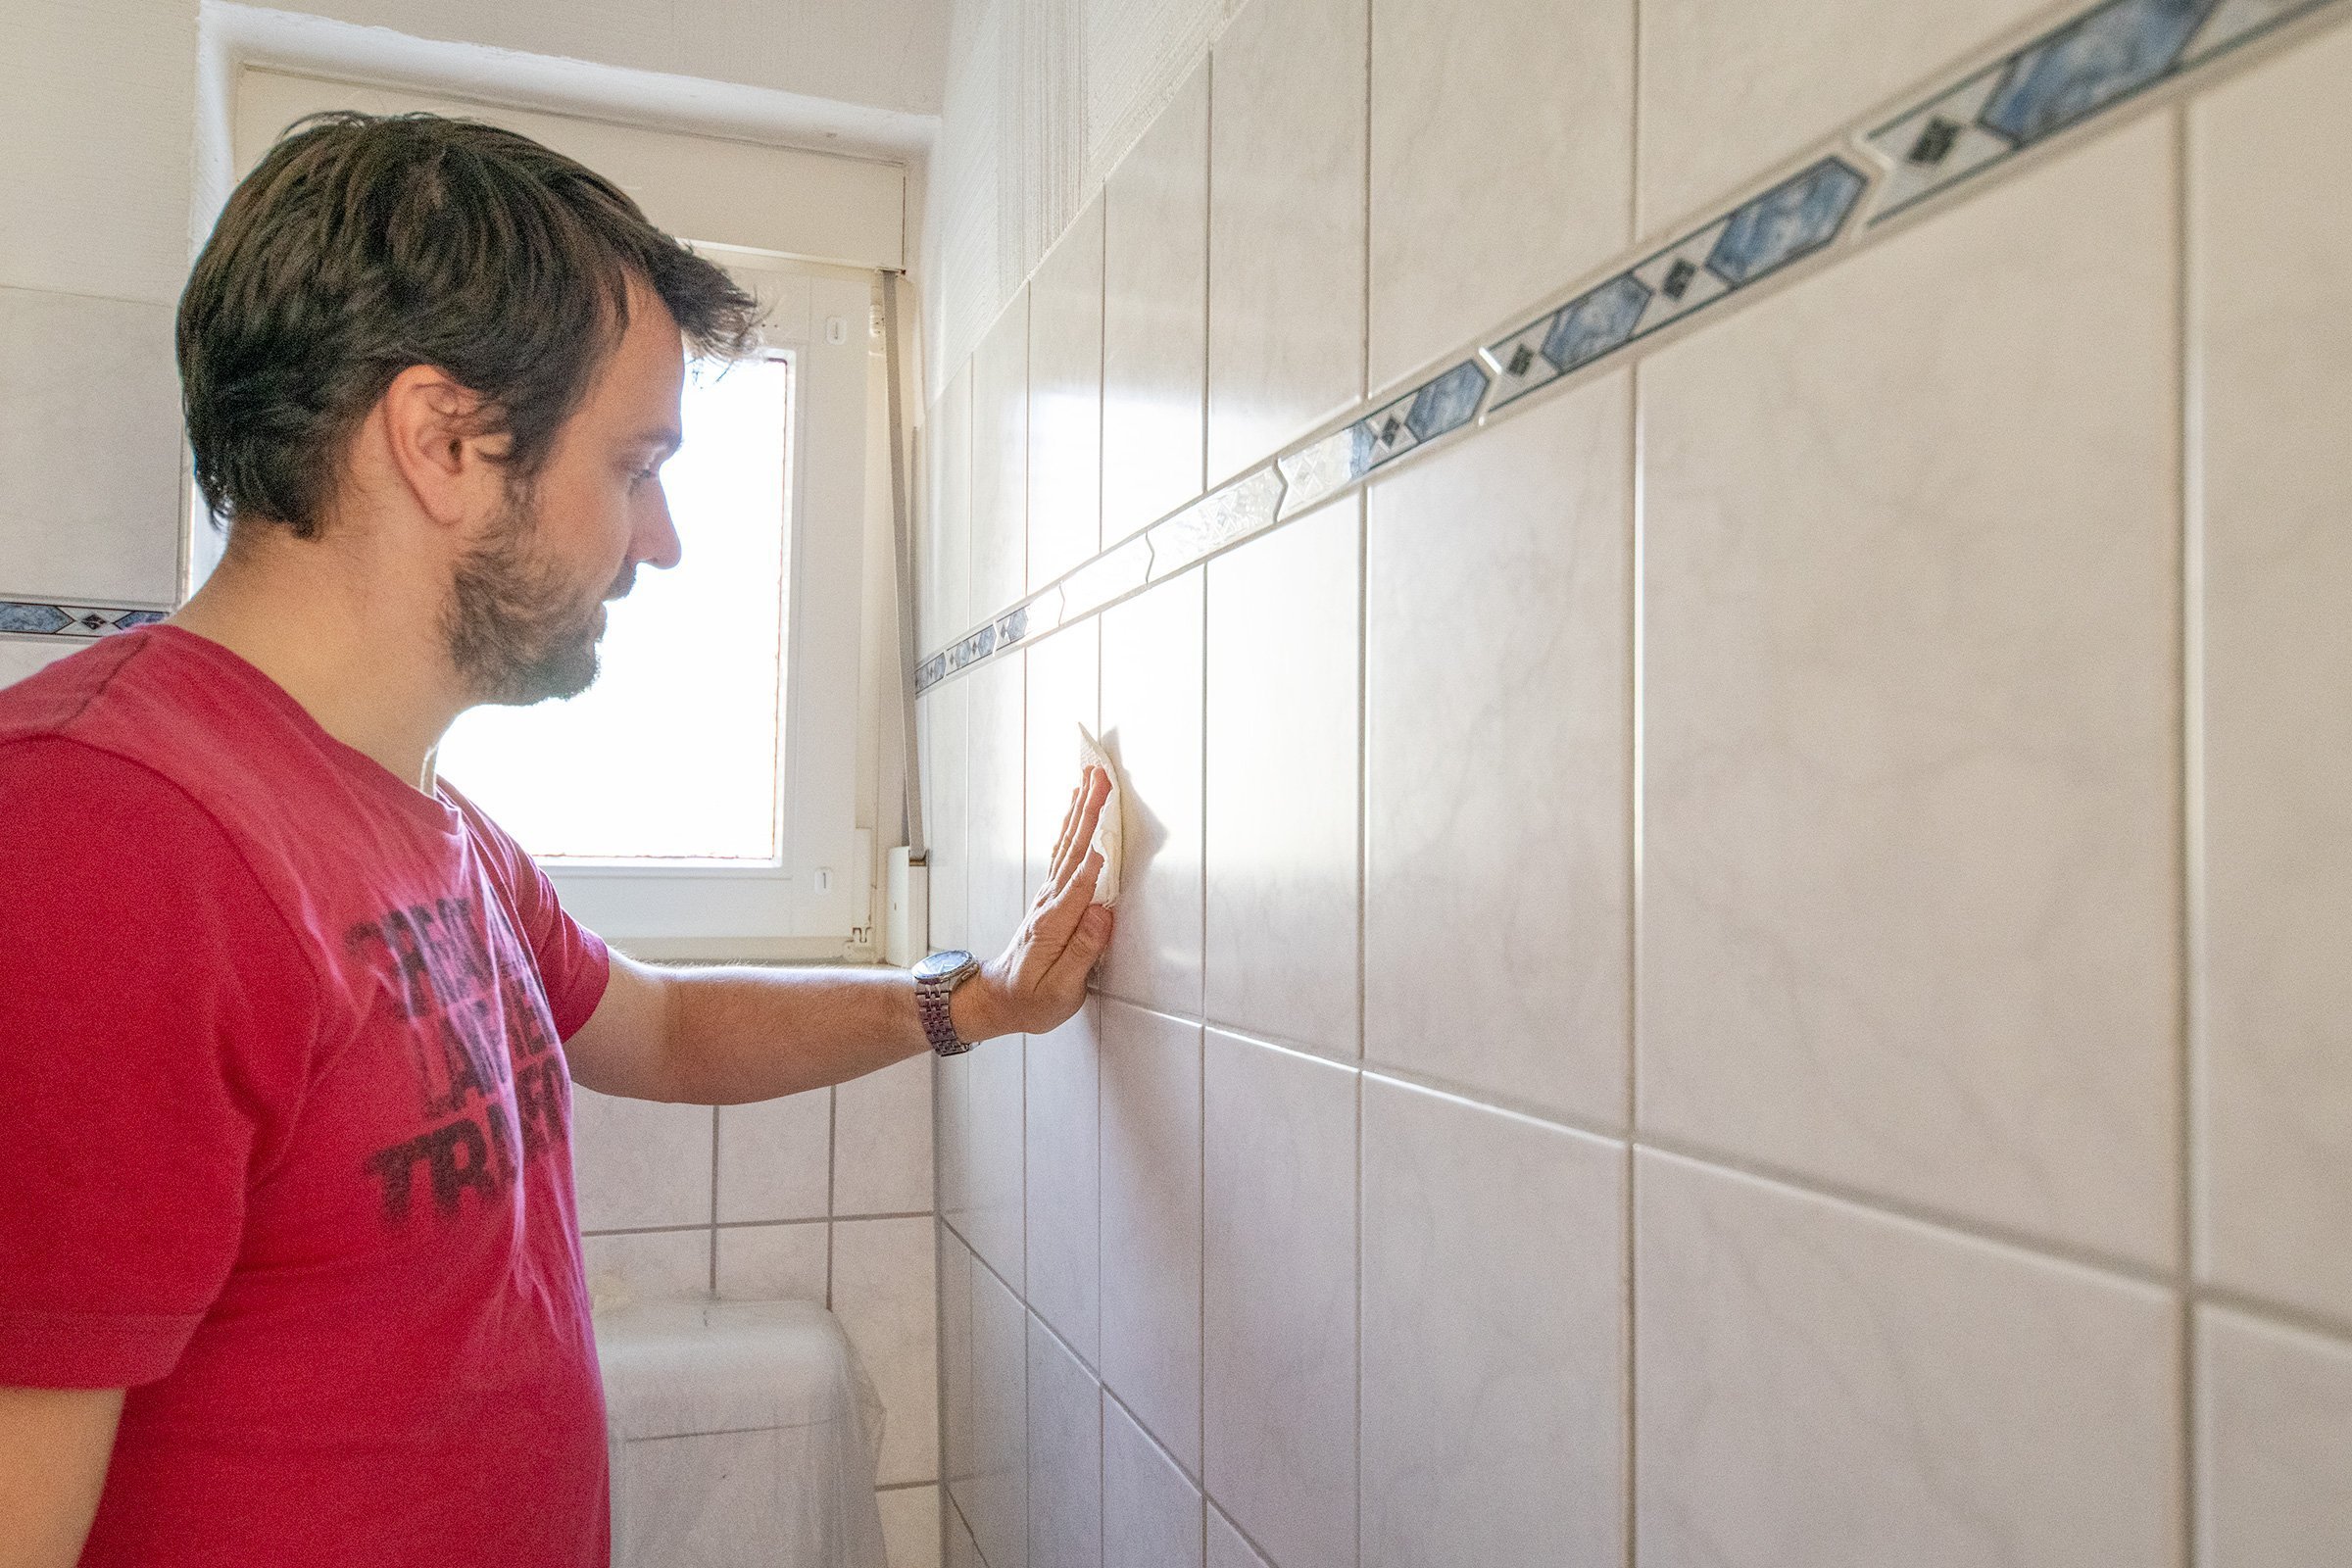
Proper preparation of your walls will ensure that the tile adhesive adheres properly and that your tiles stay in place. Make sure to follow the instructions for mixing and applying your adhesive, and always use a level to keep your tiles straight and even.Preparing Kitchen Walls for Tile Adhesive


Preparing Kitchen Walls for Tile Adhesive


In conclusion, proper preparation of your kitchen walls is crucial for a successful tile installation. By following these steps and taking the time to properly prepare your walls, you can ensure that your tile looks great and lasts for years to come.How to Properly Prepare Kitchen Walls for Tile Installation


How to Properly Prepare Kitchen Walls for Tile Installation


Importance of Proper Surface Preparation for Kitchen Wall Tile Installation

Why is it necessary?
 Proper surface preparation is crucial when it comes to installing
kitchen wall tile
. It not only ensures a smooth and long-lasting finish but also prevents any potential damage that may occur in the future. Without proper preparation, tiles may not adhere correctly, leading to uneven surfaces and potential cracks. In addition, poorly prepared surfaces can also result in mold and mildew growth, causing health hazards and costly repairs. Therefore, taking the time to properly prepare the surface before installing kitchen wall tile is essential for a successful and durable outcome.
Proper surface preparation is crucial when it comes to installing
kitchen wall tile
. It not only ensures a smooth and long-lasting finish but also prevents any potential damage that may occur in the future. Without proper preparation, tiles may not adhere correctly, leading to uneven surfaces and potential cracks. In addition, poorly prepared surfaces can also result in mold and mildew growth, causing health hazards and costly repairs. Therefore, taking the time to properly prepare the surface before installing kitchen wall tile is essential for a successful and durable outcome.
How to Prepare the Surface
 The first step in preparing the surface for
kitchen wall tile
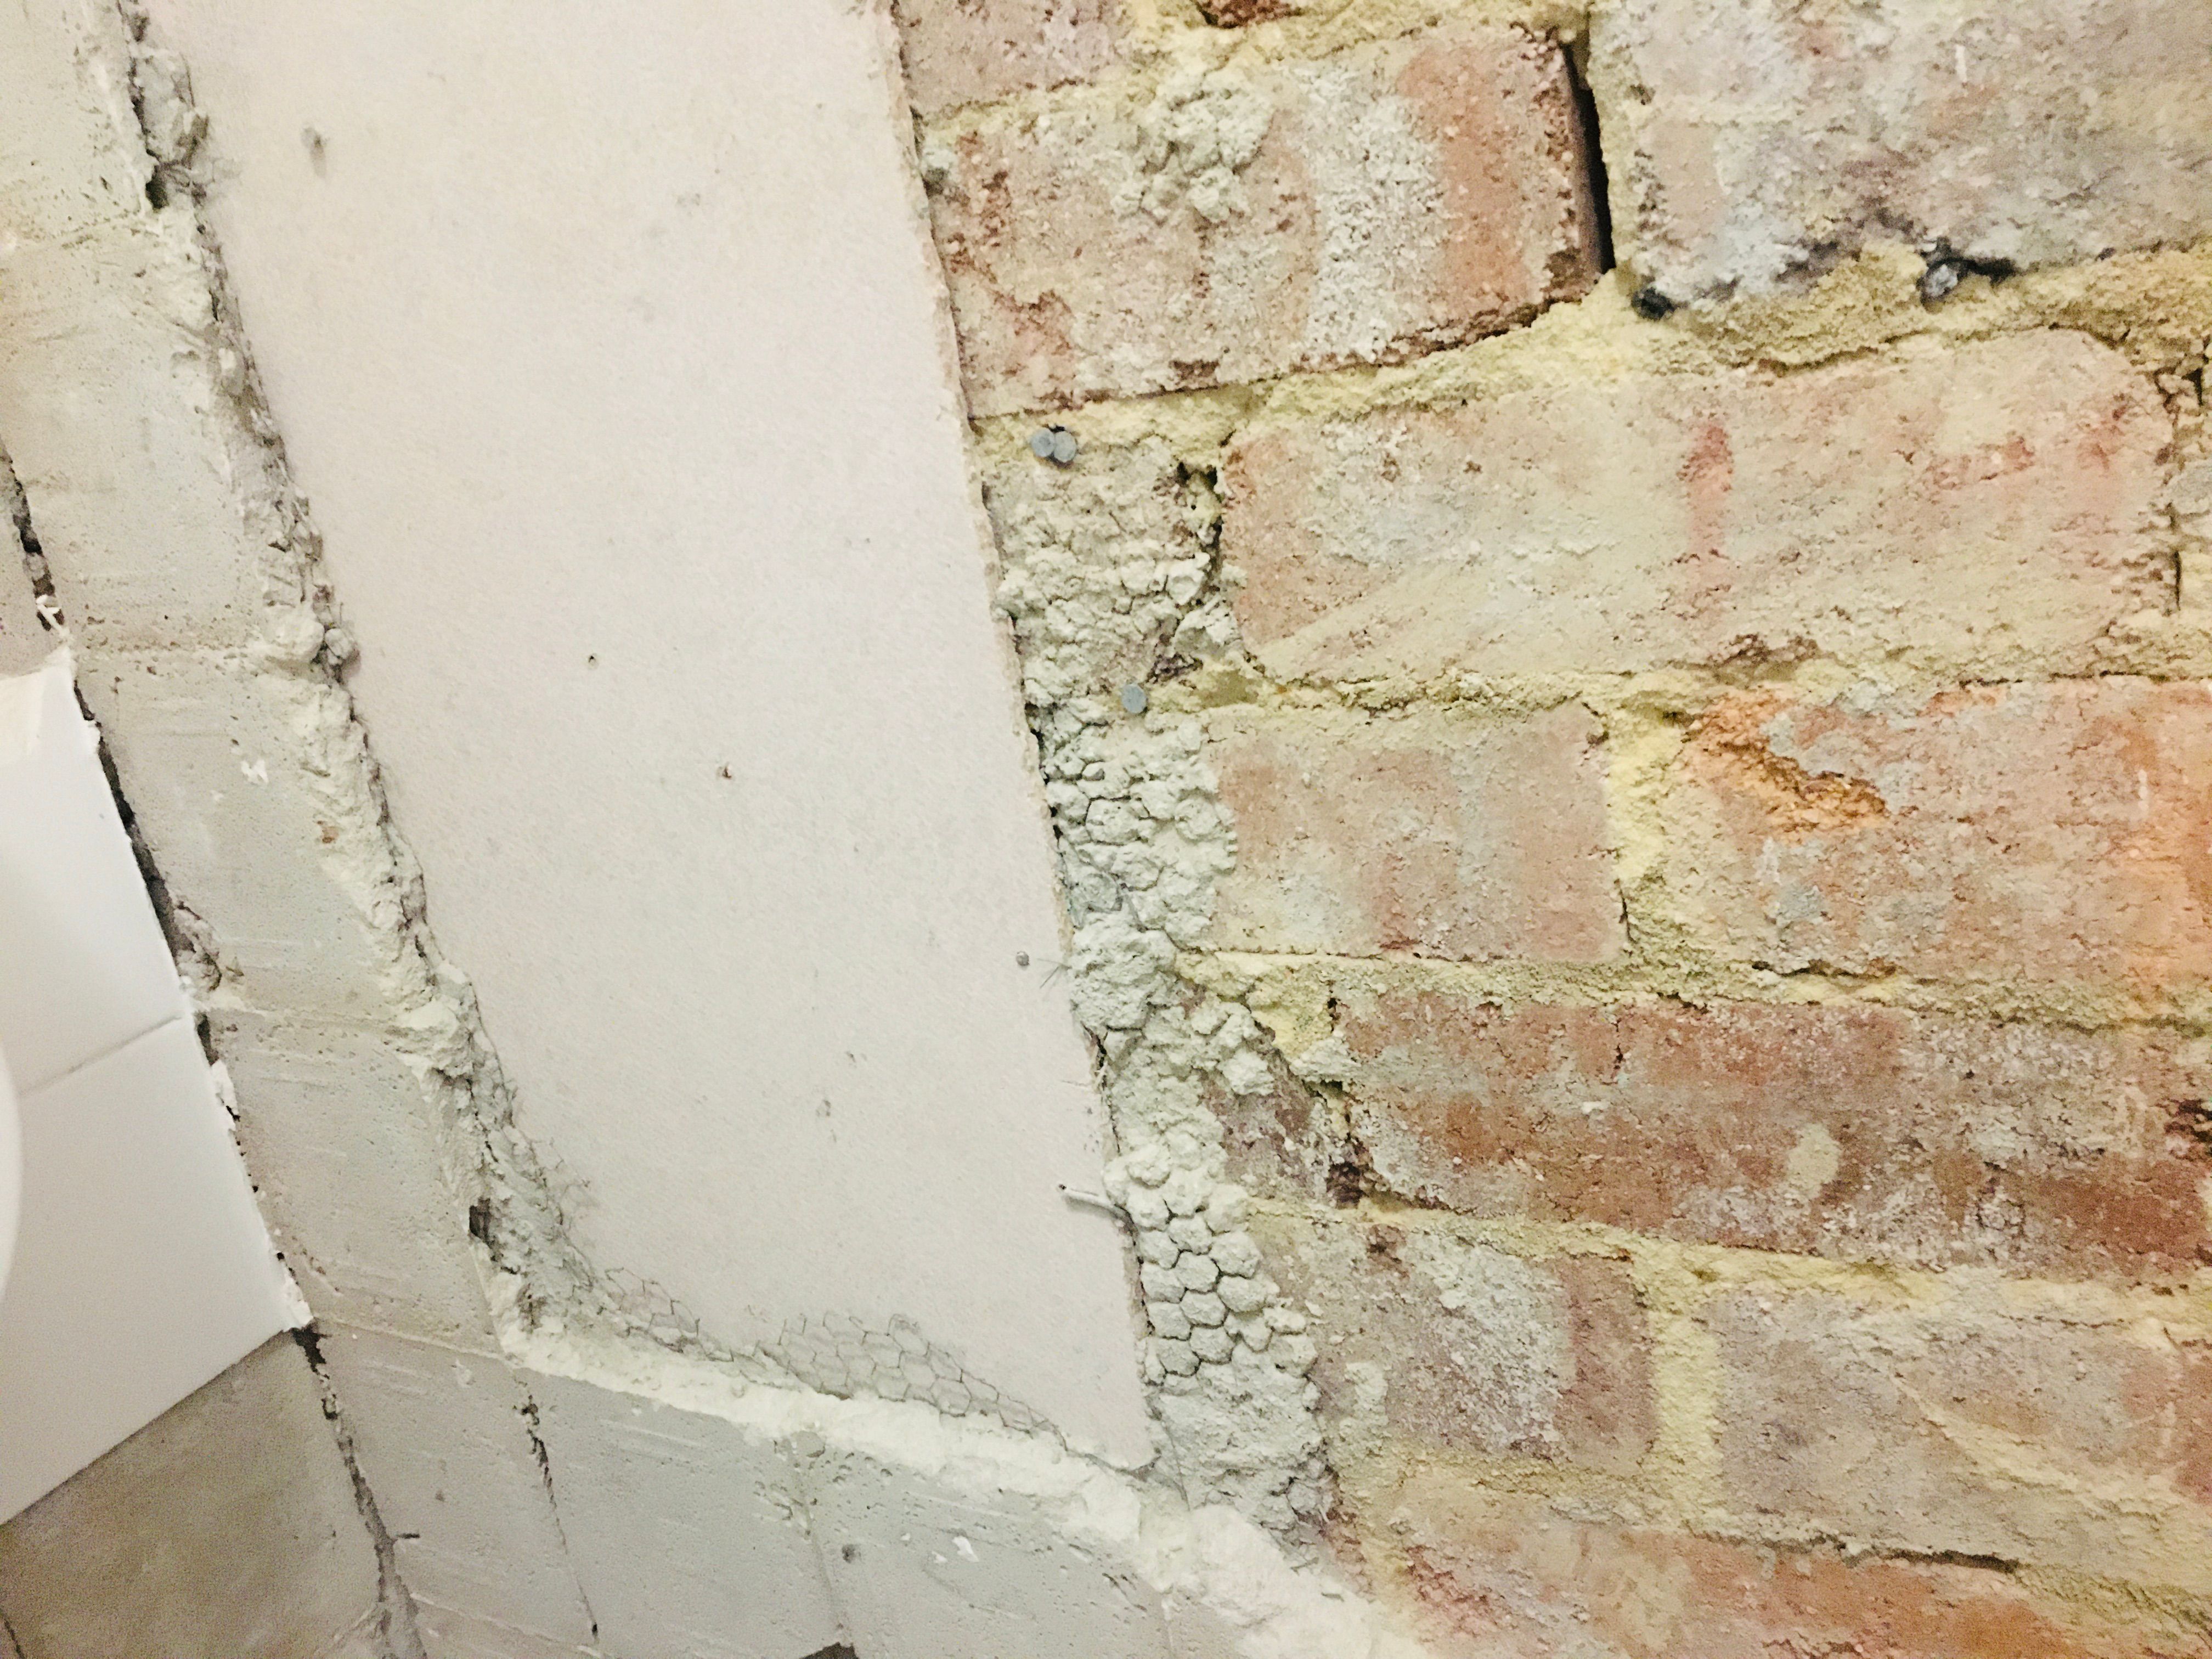
installation is to clean it thoroughly. Use a mild detergent and warm water to remove any dirt, grime, or grease. Next, check for any cracks or holes and fill them with a suitable filler and allow it to dry completely. Sand down any uneven areas and wipe off the dust before proceeding to the next step.
The first step in preparing the surface for
kitchen wall tile
installation is to clean it thoroughly. Use a mild detergent and warm water to remove any dirt, grime, or grease. Next, check for any cracks or holes and fill them with a suitable filler and allow it to dry completely. Sand down any uneven areas and wipe off the dust before proceeding to the next step.
Priming the Surface
 Priming the surface is a vital step in preparing it for kitchen wall tile installation. It creates a bond between the surface and the adhesive, ensuring the tiles adhere correctly. Choose a suitable primer based on the type of surface and tiles being installed. Apply the primer according to the manufacturer's instructions, making sure to cover the entire surface evenly. Allow the primer to dry completely before proceeding with the tile installation process.
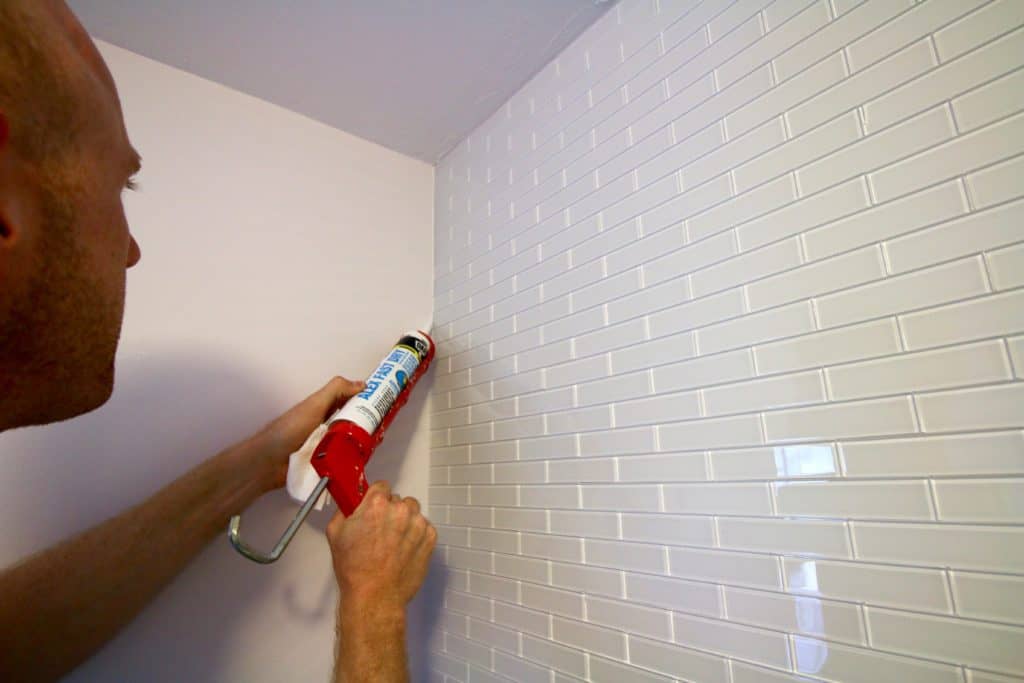
Sealing the Surface
 Sealing the surface is an optional step, but it can provide added protection and durability. It also helps to prevent any moisture seeping through the surface and damaging the tiles. Choose a suitable sealer based on the type of surface and tiles being installed. Apply the sealer according to the manufacturer's instructions, and allow it to dry completely before starting the tile installation process.
In conclusion, proper surface preparation is vital for a successful and long-lasting
kitchen wall tile
installation. It not only ensures a smooth and even surface but also prevents potential damage and promotes a healthy environment. By following these steps and using the right products, you can ensure a beautiful and durable finish for your kitchen walls. Remember, taking the time and effort to prepare the surface properly will save you time, money, and headaches in the long run.
Sealing the surface is an optional step, but it can provide added protection and durability. It also helps to prevent any moisture seeping through the surface and damaging the tiles. Choose a suitable sealer based on the type of surface and tiles being installed. Apply the sealer according to the manufacturer's instructions, and allow it to dry completely before starting the tile installation process.
In conclusion, proper surface preparation is vital for a successful and long-lasting
kitchen wall tile
installation. It not only ensures a smooth and even surface but also prevents potential damage and promotes a healthy environment. By following these steps and using the right products, you can ensure a beautiful and durable finish for your kitchen walls. Remember, taking the time and effort to prepare the surface properly will save you time, money, and headaches in the long run.