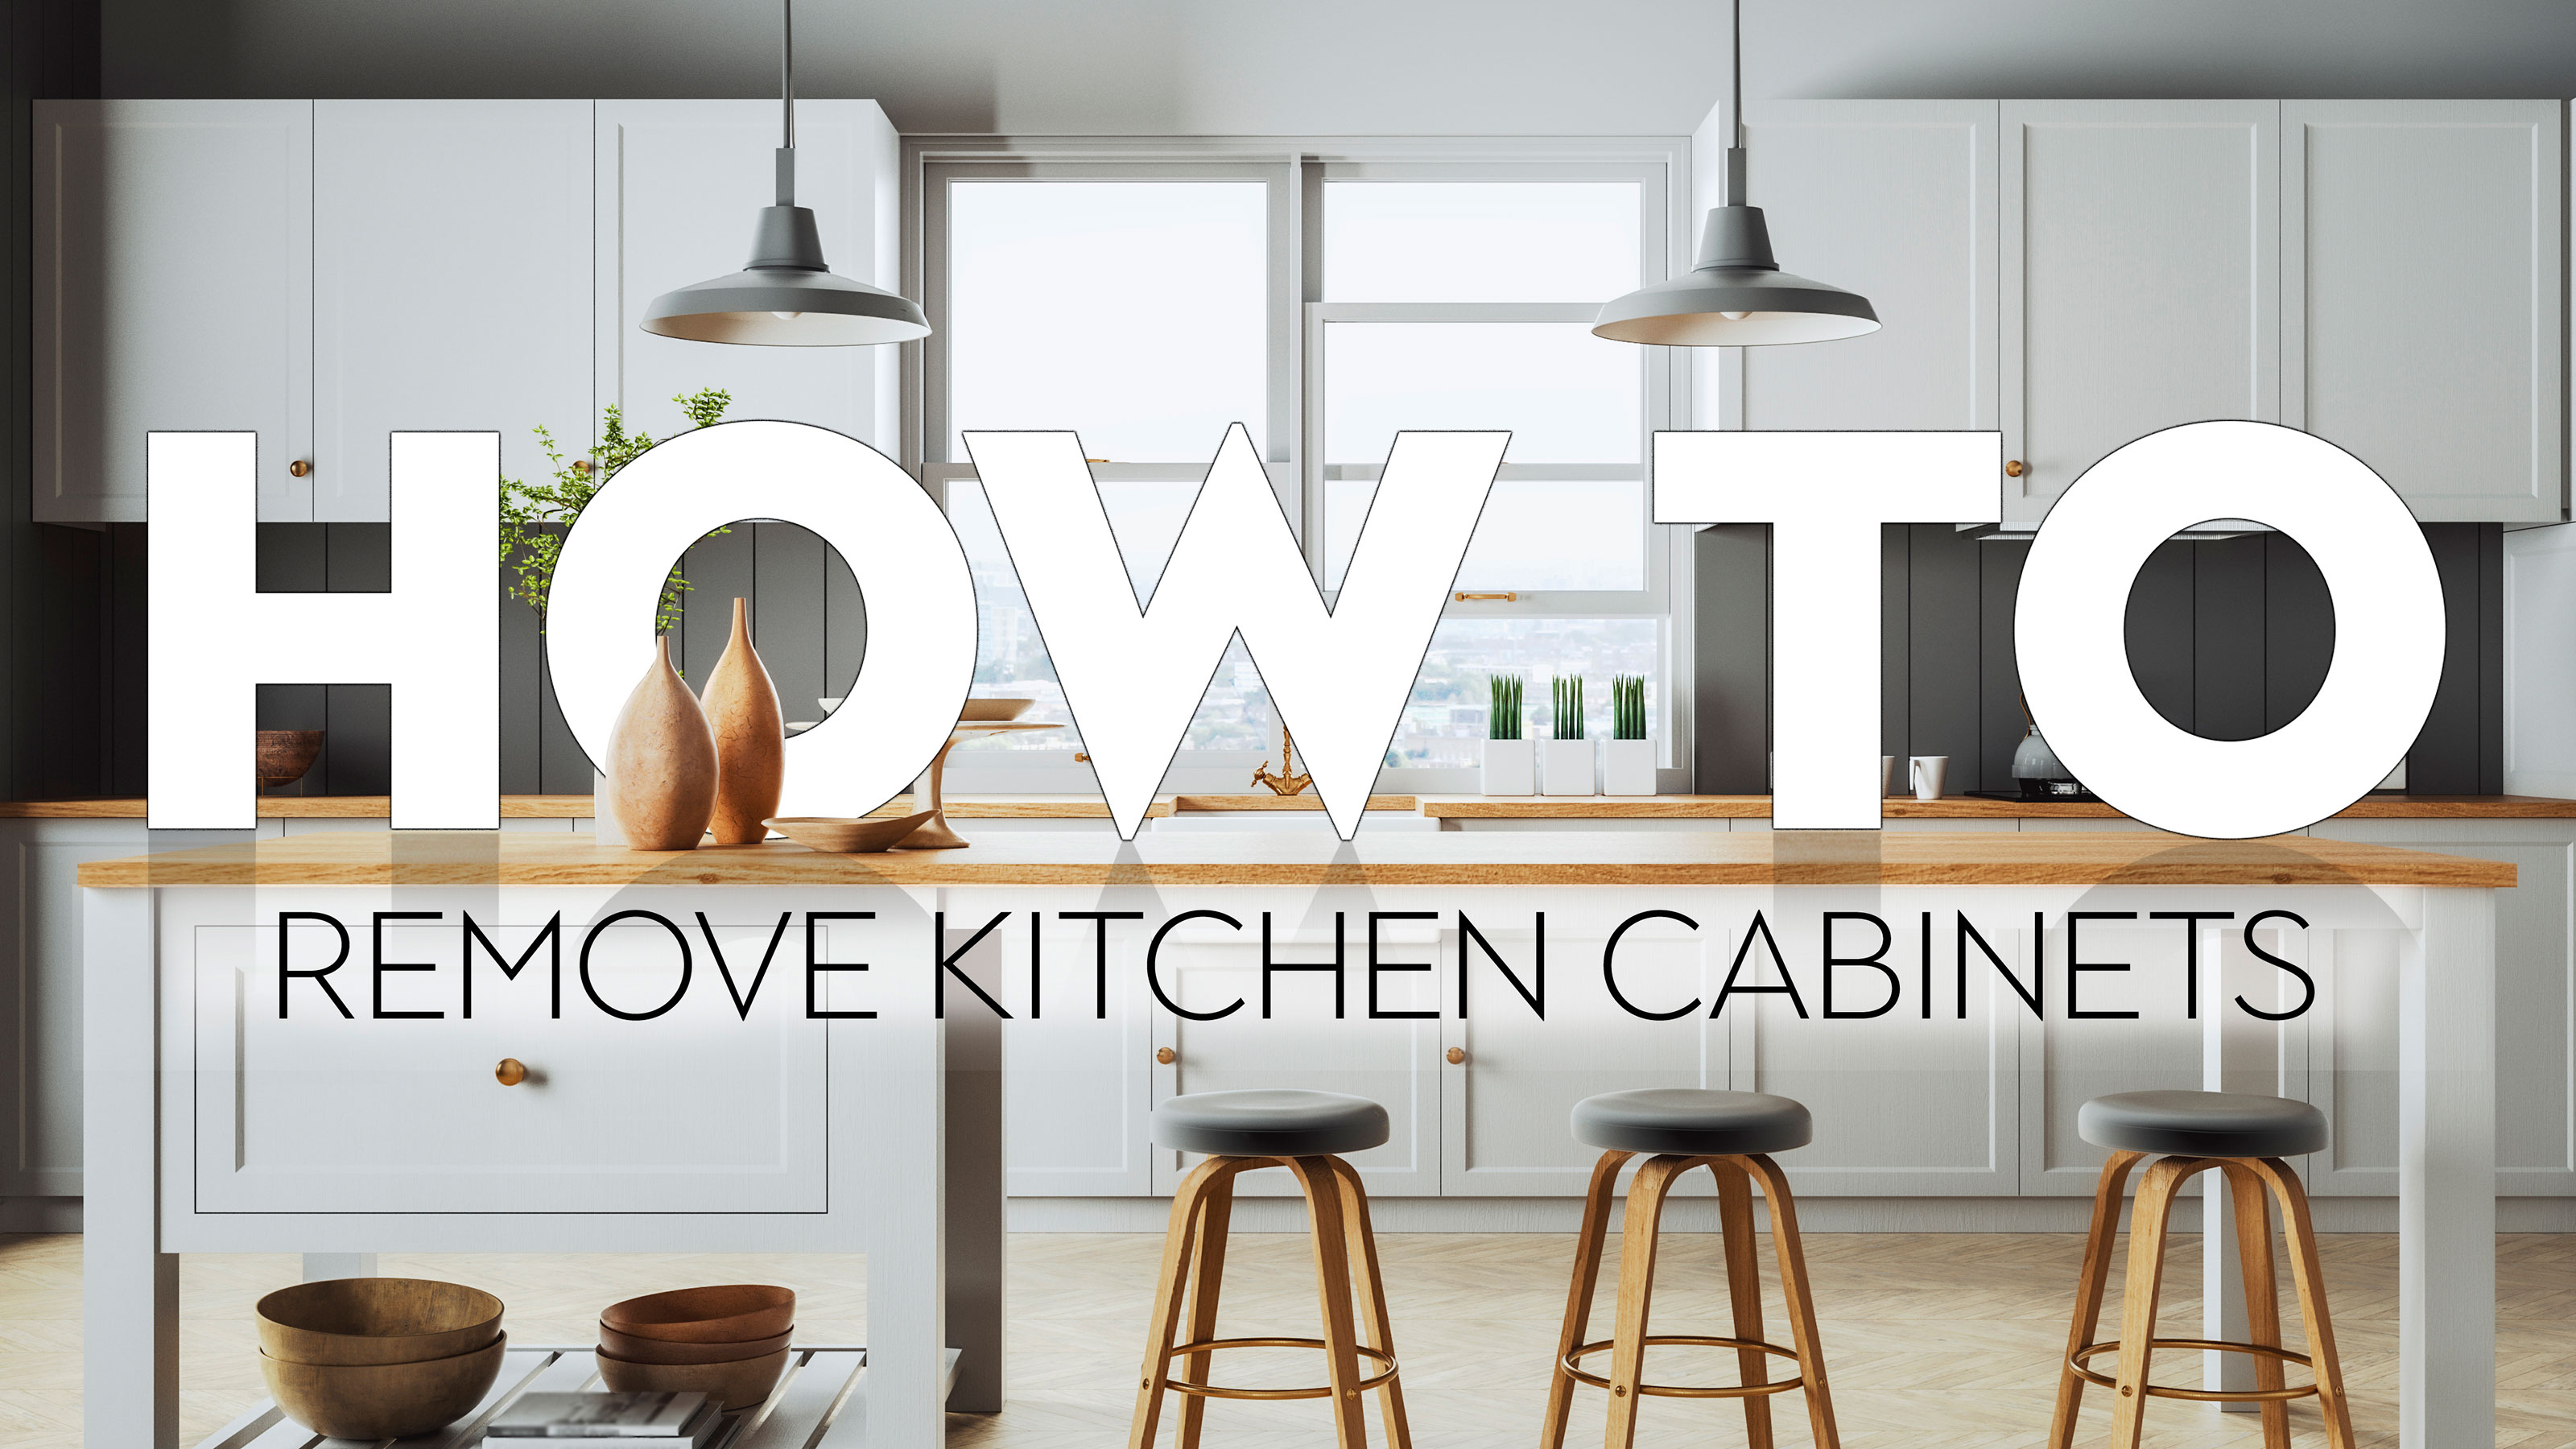
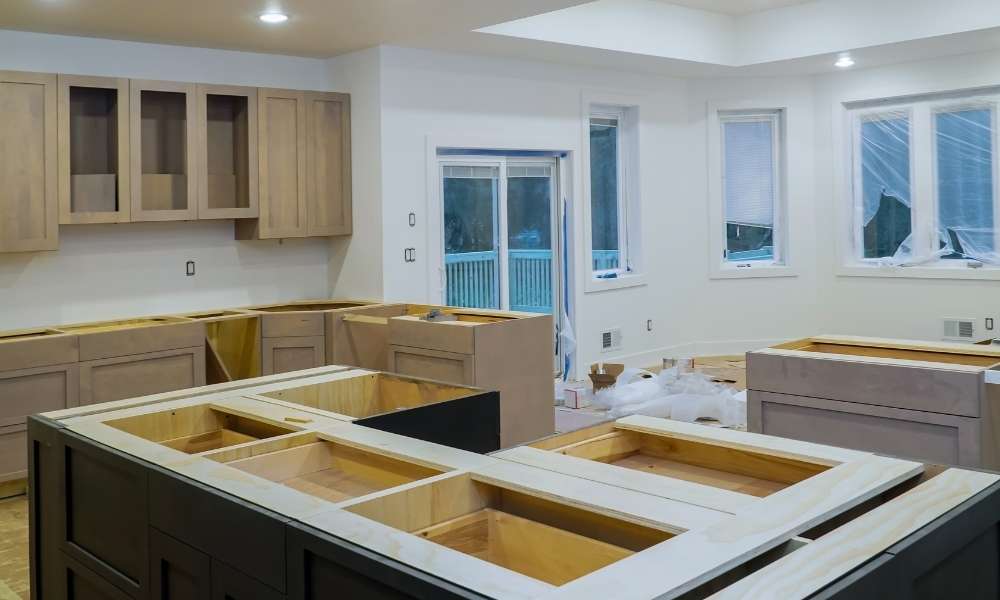
How to Remove Kitchen Cabinets Without Damage
Removing kitchen cabinets can be a daunting task, especially if you're worried about damaging the walls or the cabinets themselves. However, with the right tools and techniques, you can easily remove your kitchen cabinets without causing any damage. Whether you're renovating your kitchen or simply looking for an update, here are 10 steps to successfully remove your kitchen wall cabinets without any damage.


How to Remove Kitchen Cabinets Without Damage


1. Gather Your Tools
The first step to removing your kitchen cabinets is to gather all the necessary tools. This includes a drill, screwdriver, hammer, pry bar, and a putty knife. These tools will help you remove the screws, loosen the cabinets, and pry them off the wall.

How to Remove Kitchen Cabinets Without Damage

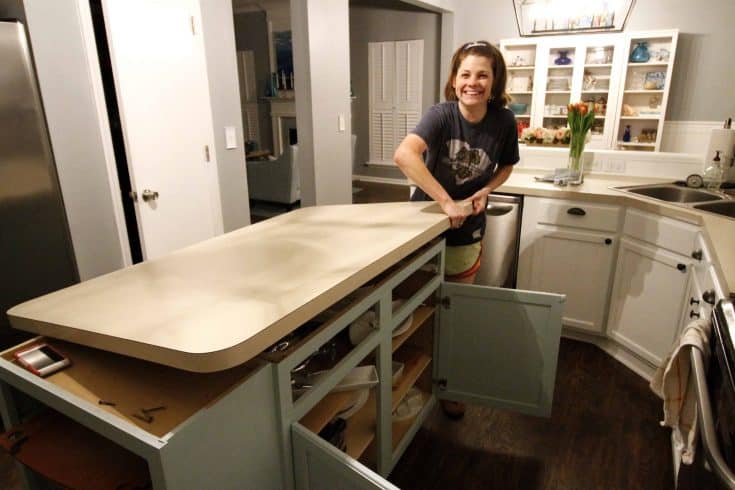
2. Empty the Cabinets
Before you start unscrewing the cabinets, make sure to empty them first. This will make the cabinets lighter and easier to remove. It's also a good idea to cover your countertops and floors with protective sheets to prevent any damage or scratches.
How to Remove Kitchen Cabinets Without Damage
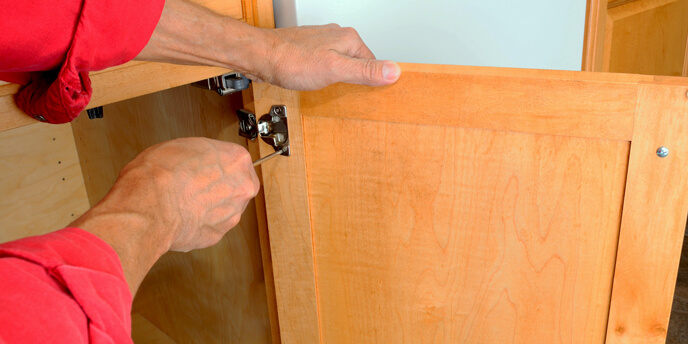
3. Remove the Doors and Shelves
Next, remove the cabinet doors and shelves. This will make it easier to access the screws and will also prevent any damage to the doors or shelves during the removal process. Use a screwdriver to remove the hinges and carefully take off the doors. For shelves, simply lift them out of their brackets.


How to Remove Kitchen Cabinets Without Damage
4. Locate the Studs
Using a stud finder, locate the studs behind the cabinets. This will help you determine where the screws are located and where the cabinets are secured to the wall. Mark the location of the studs with a pencil for easy reference.
How to Remove Kitchen Cabinets Without Damage
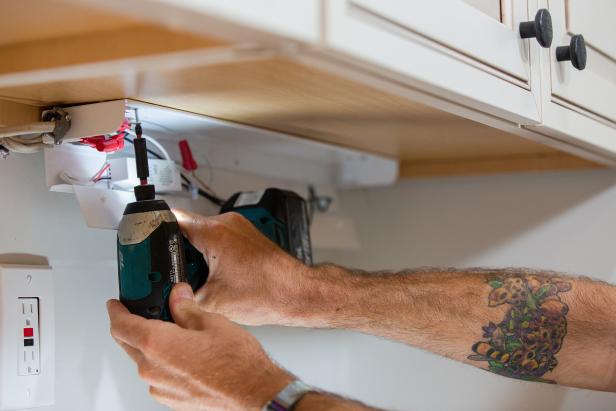
5. Unscrew the Cabinets
Using a drill or screwdriver, unscrew the screws that are securing the cabinets to the wall. Start from the top and work your way down. Make sure to keep the screws in a safe place as you will need them when reinstalling the cabinets.

How to Remove Kitchen Cabinets Without Damage
6. Loosen the Cabinets
Once the screws are removed, use a hammer and a pry bar to gently loosen the cabinets from the wall. Insert the pry bar between the cabinet and the wall and tap it lightly with a hammer to loosen the adhesive between the cabinet and the wall.
How to Remove Kitchen Cabinets Without Damage
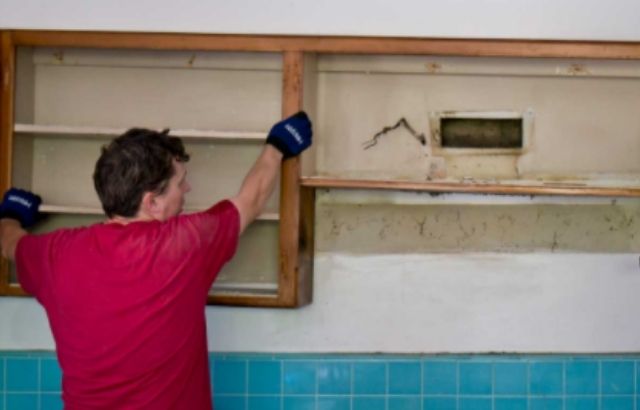
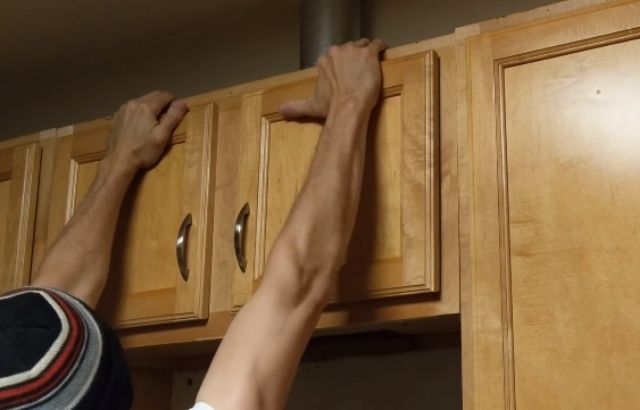
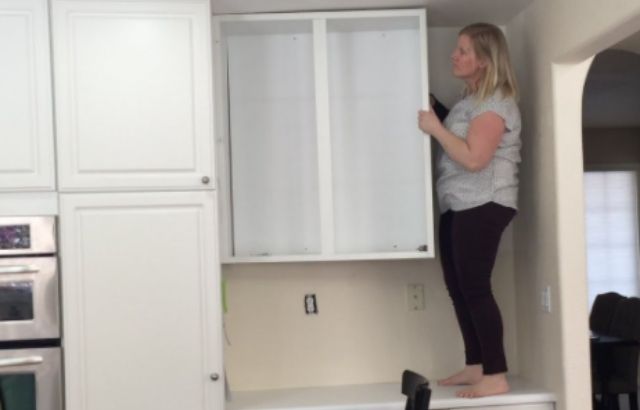
7. Remove the Cabinets
After the cabinets are loosened, carefully lift them off the wall. If the cabinets are too heavy, you can ask for assistance or use a trolley to move them. Be sure to lift them straight off the wall to avoid any damage.
How to Remove Kitchen Cabinets Without Damage
8. Remove Any Remaining Adhesive
After the cabinets are removed, you may notice some adhesive or caulk residue on the wall. Use a putty knife to scrape off any remaining adhesive. If the residue is stubborn, you can use a heat gun to soften it before scraping it off.
How to Remove Kitchen Cabinets Without Damage
9. Touch Up the Walls
With the cabinets removed and the walls cleaned, you may notice some small holes or scratches on the wall. Use spackling or drywall compound to fill in any holes and sand them down for a smooth finish. If needed, you can also touch up the paint on the walls.
How to Remove Kitchen Cabinets Without Damage
Why Removing Kitchen Wall Cabinets Can Transform Your House Design
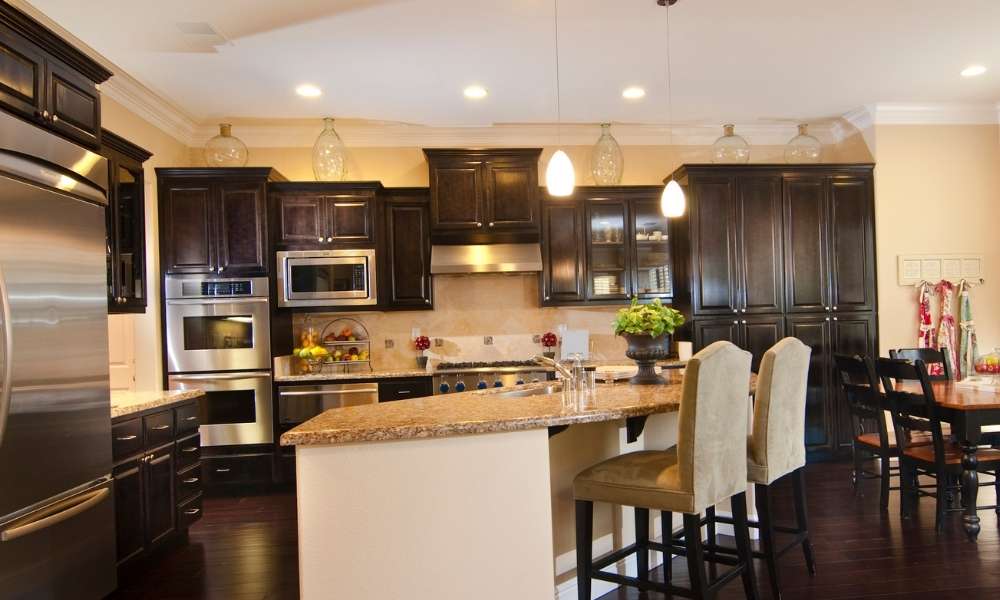
The Importance of Kitchen Cabinets in House Design
 When it comes to designing a house, the kitchen is often considered the heart of the home. Not only is it a functional space for cooking and preparing meals, but it's also a place where families and friends gather to spend time together. With so much emphasis on the kitchen, it's no wonder that homeowners are constantly looking for ways to improve its design and functionality. One such way is by removing
kitchen wall cabinets
.
When it comes to designing a house, the kitchen is often considered the heart of the home. Not only is it a functional space for cooking and preparing meals, but it's also a place where families and friends gather to spend time together. With so much emphasis on the kitchen, it's no wonder that homeowners are constantly looking for ways to improve its design and functionality. One such way is by removing
kitchen wall cabinets
.
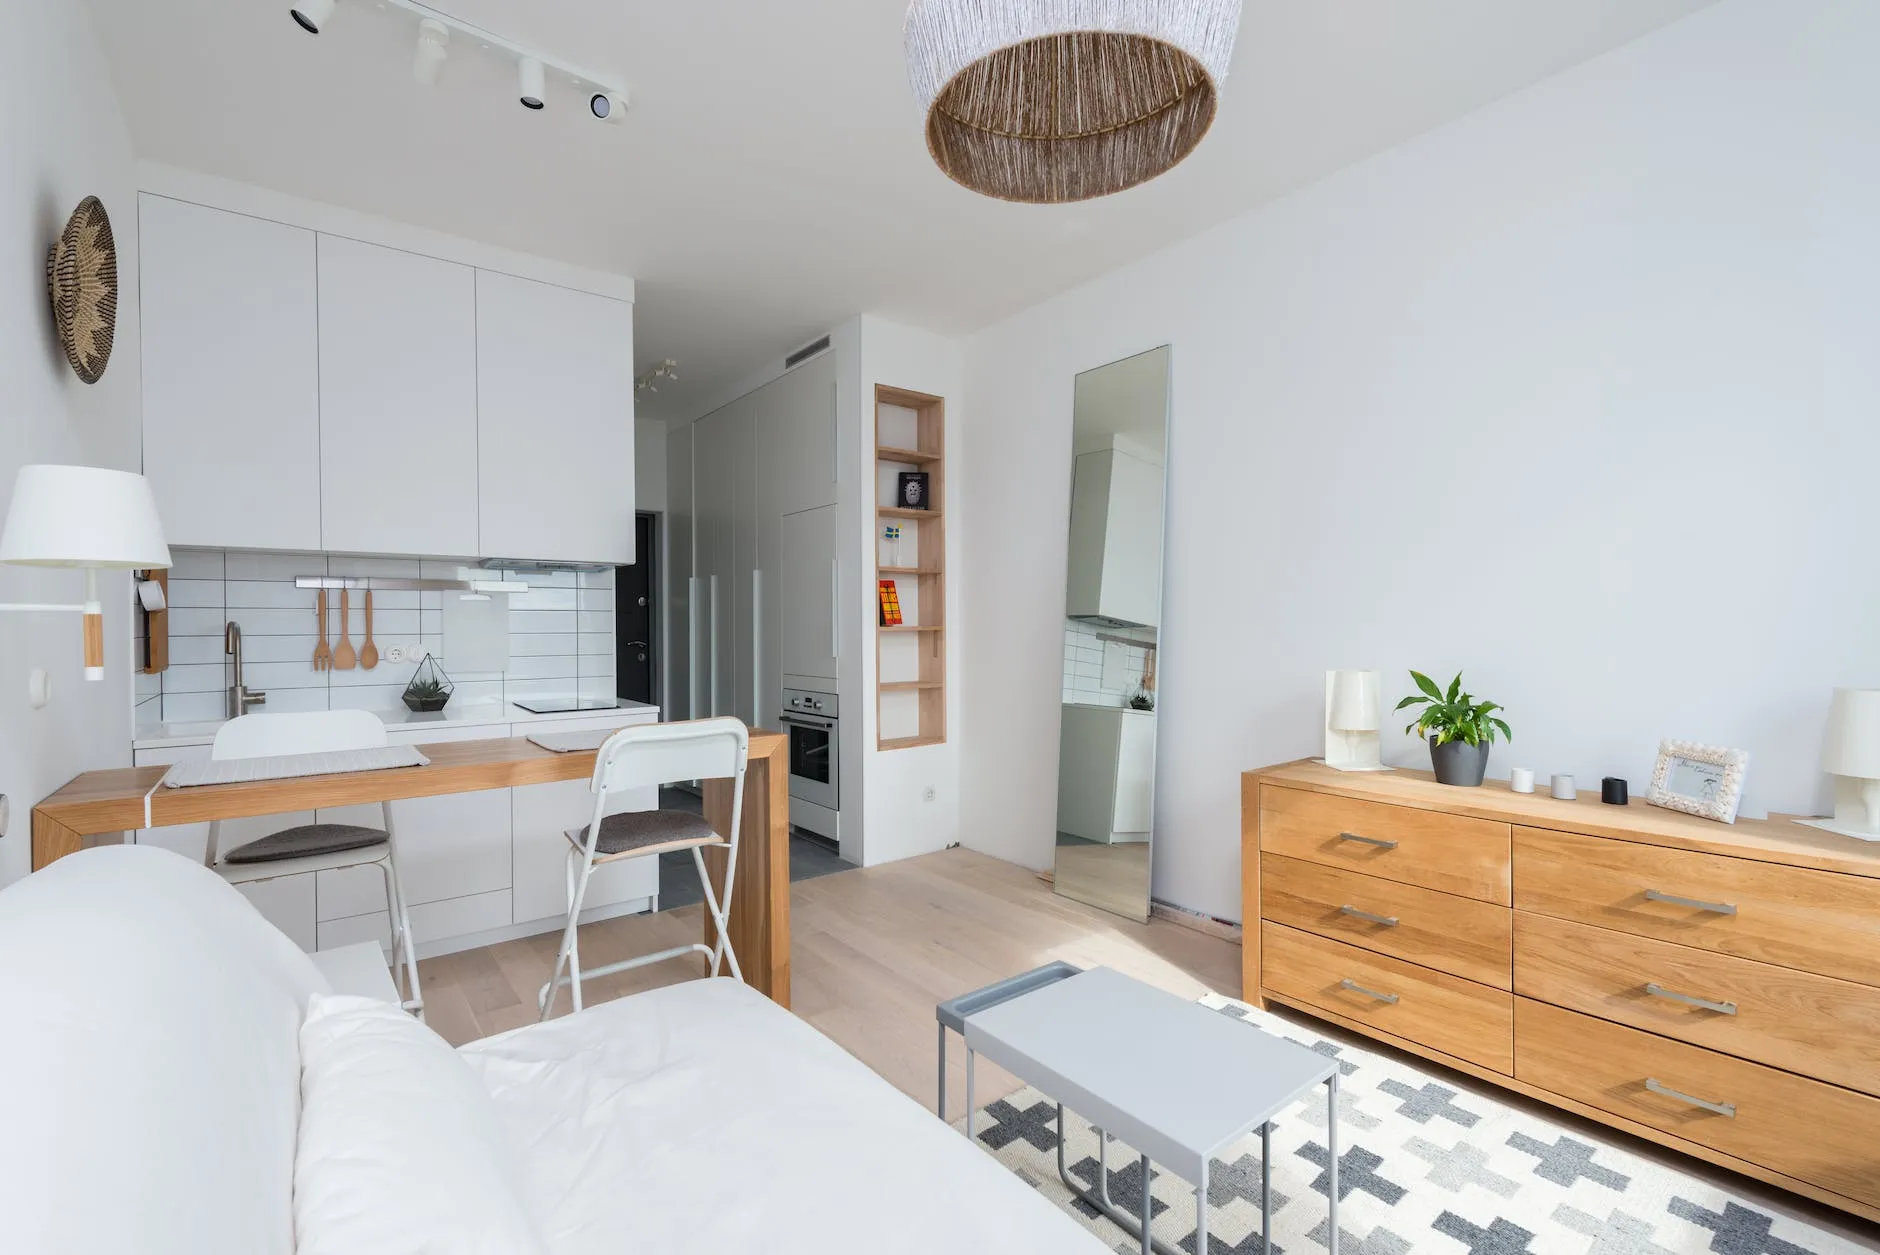
The Benefits of Removing Kitchen Wall Cabinets
 Kitchen wall cabinets
are a staple in most kitchen designs, providing much-needed storage space for cookware, dishes, and pantry items. However, they can also make a kitchen feel cramped and closed off, especially in smaller spaces. By removing these cabinets, you can open up the room and create a more spacious and inviting atmosphere.
Not only does removing
kitchen wall cabinets
improve the overall look and feel of your kitchen, but it also has a few practical benefits. Without cabinets taking up wall space, you can install larger windows or add more natural light, making the room feel brighter and more welcoming. You can also use the extra wall space for decorative accents or functional features like a built-in bench or shelving.
Kitchen wall cabinets
are a staple in most kitchen designs, providing much-needed storage space for cookware, dishes, and pantry items. However, they can also make a kitchen feel cramped and closed off, especially in smaller spaces. By removing these cabinets, you can open up the room and create a more spacious and inviting atmosphere.
Not only does removing
kitchen wall cabinets
improve the overall look and feel of your kitchen, but it also has a few practical benefits. Without cabinets taking up wall space, you can install larger windows or add more natural light, making the room feel brighter and more welcoming. You can also use the extra wall space for decorative accents or functional features like a built-in bench or shelving.
The Process of Removing Kitchen Wall Cabinets
 Removing
kitchen wall cabinets
is not a complicated process, but it does require some planning and preparation. First, you'll need to empty the cabinets and remove any shelves or hardware. Then, using a drill, carefully unscrew the cabinets from the wall and remove them. Make sure to patch up any holes or damage to the wall before proceeding with your new design.
Removing
kitchen wall cabinets
is not a complicated process, but it does require some planning and preparation. First, you'll need to empty the cabinets and remove any shelves or hardware. Then, using a drill, carefully unscrew the cabinets from the wall and remove them. Make sure to patch up any holes or damage to the wall before proceeding with your new design.
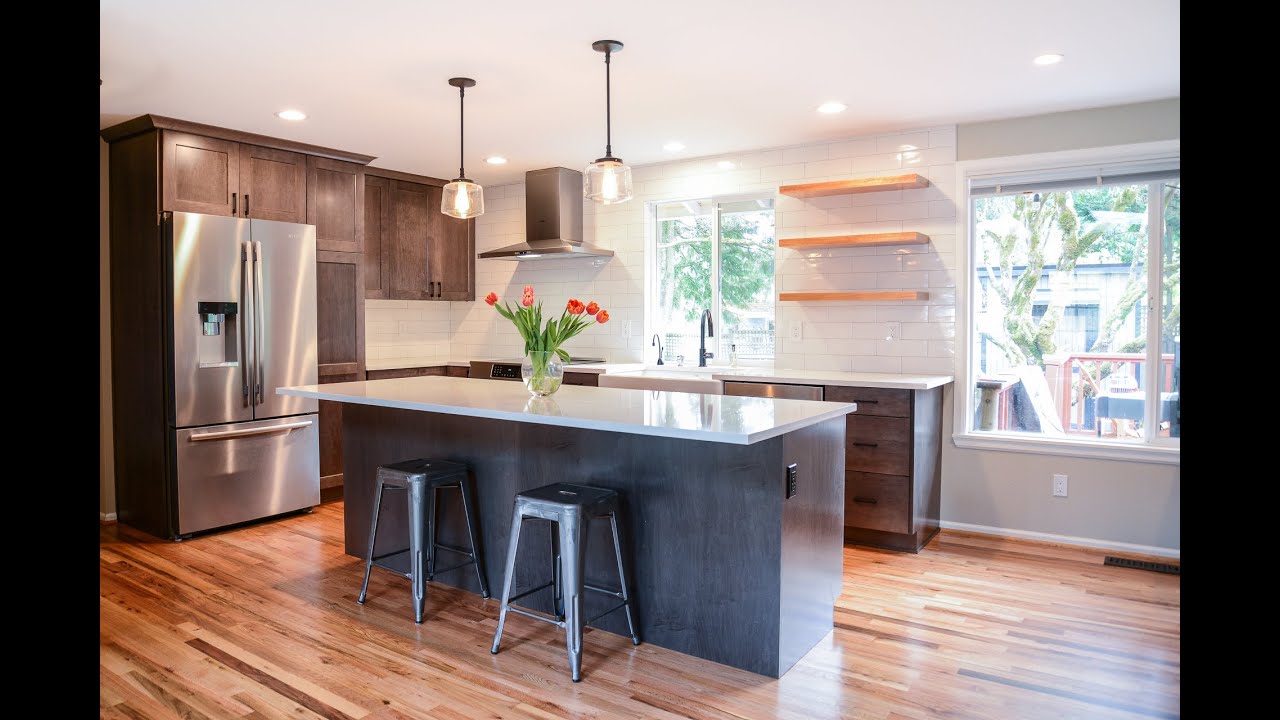
Transform Your House Design Today
 Removing
kitchen wall cabinets
may seem like a small change, but it can have a huge impact on your house design. It opens up the kitchen, making it feel more spacious and welcoming, and allows for more creative design options. So why not consider this simple yet effective home improvement project and see the difference it can make in your kitchen and overall house design?
Removing
kitchen wall cabinets
may seem like a small change, but it can have a huge impact on your house design. It opens up the kitchen, making it feel more spacious and welcoming, and allows for more creative design options. So why not consider this simple yet effective home improvement project and see the difference it can make in your kitchen and overall house design?