How to Install a Kitchen Sink Sprayer
If you're tired of constantly struggling to rinse off dishes or wash your sink, it may be time to install a kitchen sink sprayer. This affordable and easy upgrade can make a big difference in the functionality and convenience of your kitchen sink. Follow these simple steps to install your new sprayer and make dishwashing a breeze.


How to Install a Kitchen Sink Sprayer


/25089301983_c5145fe85d_o-58418ef15f9b5851e5f392b5.jpg)
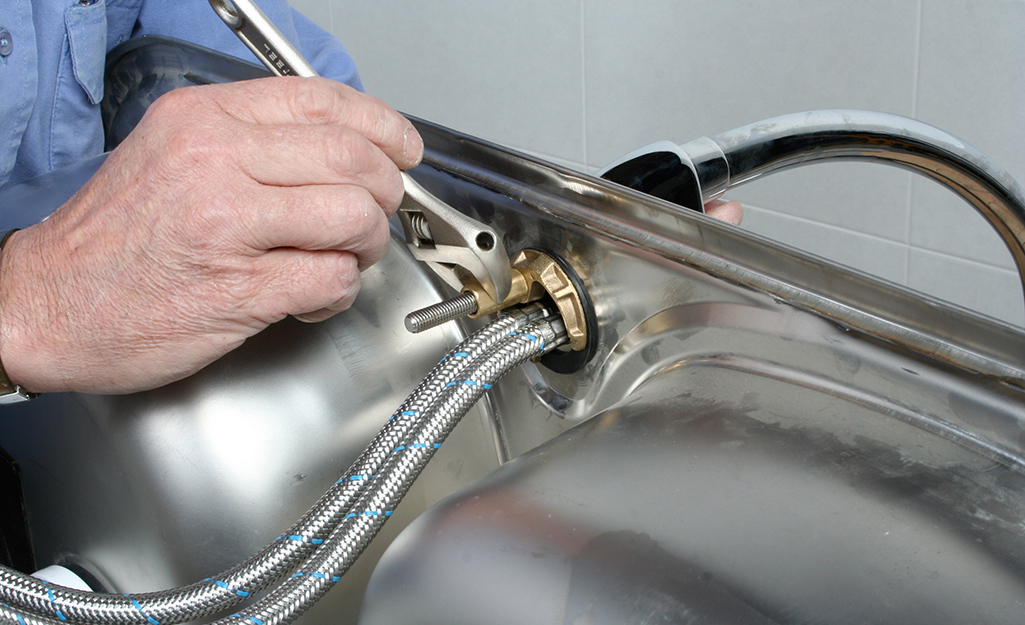
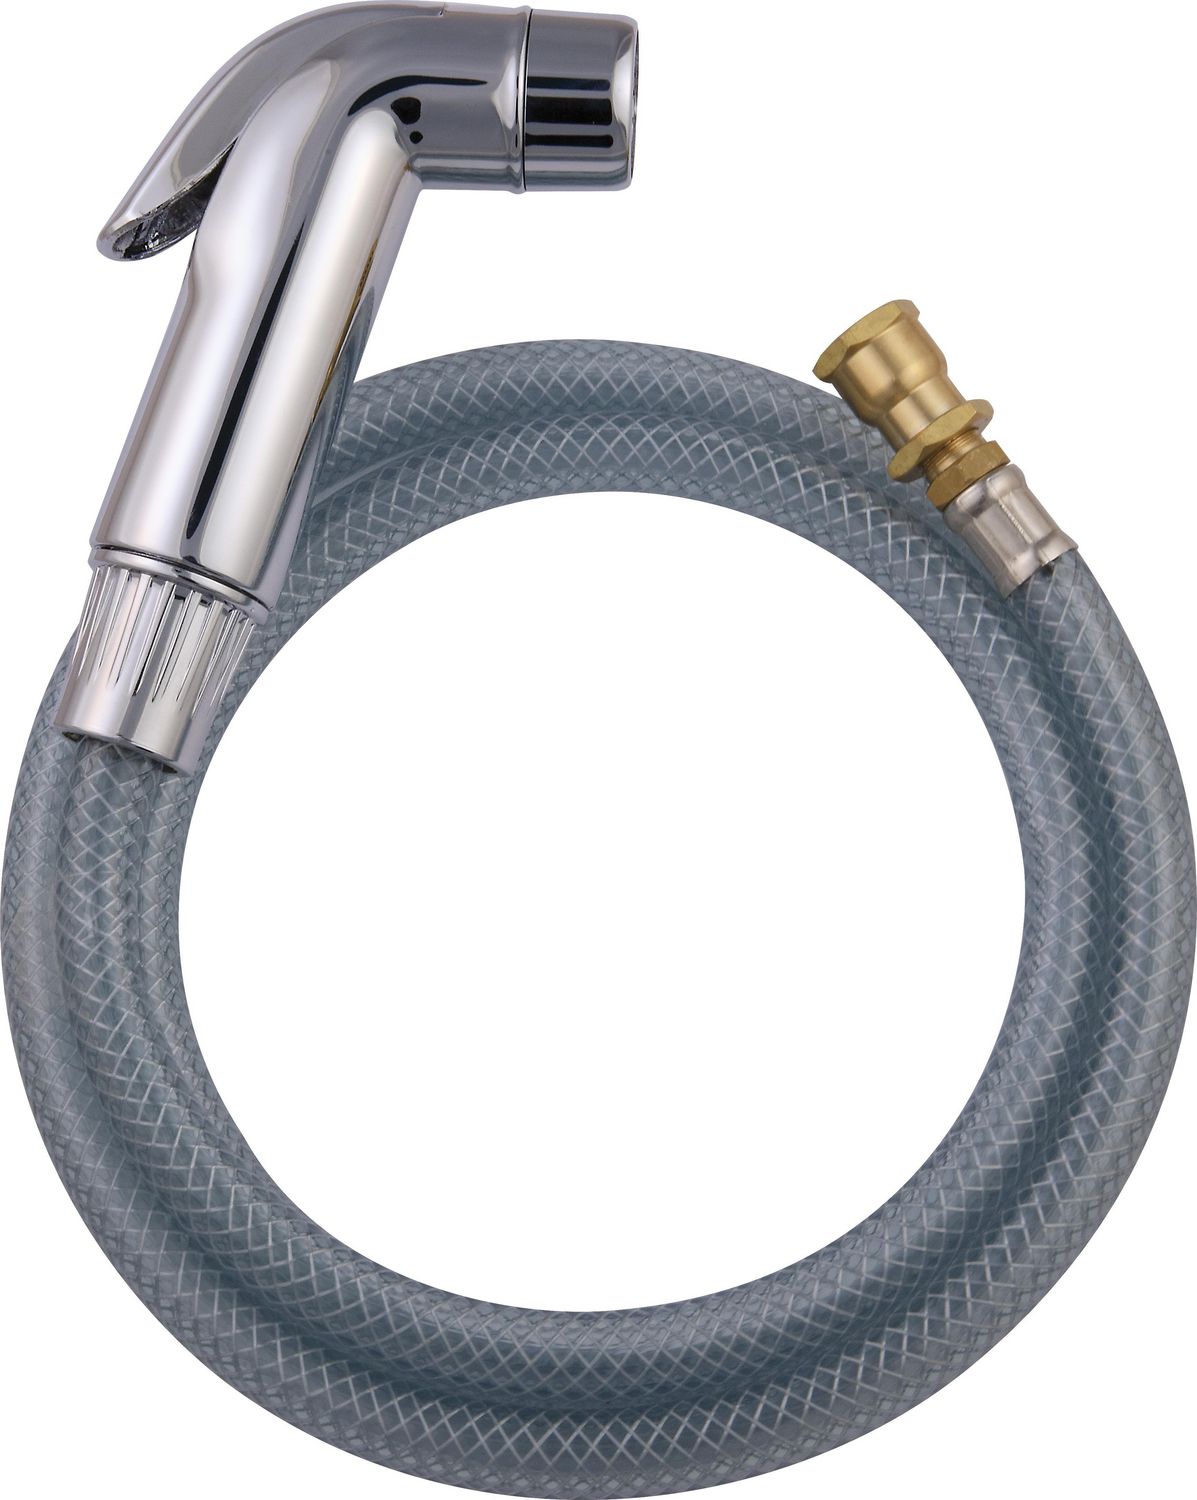
How to Install a Kitchen Sink Sprayer Hose
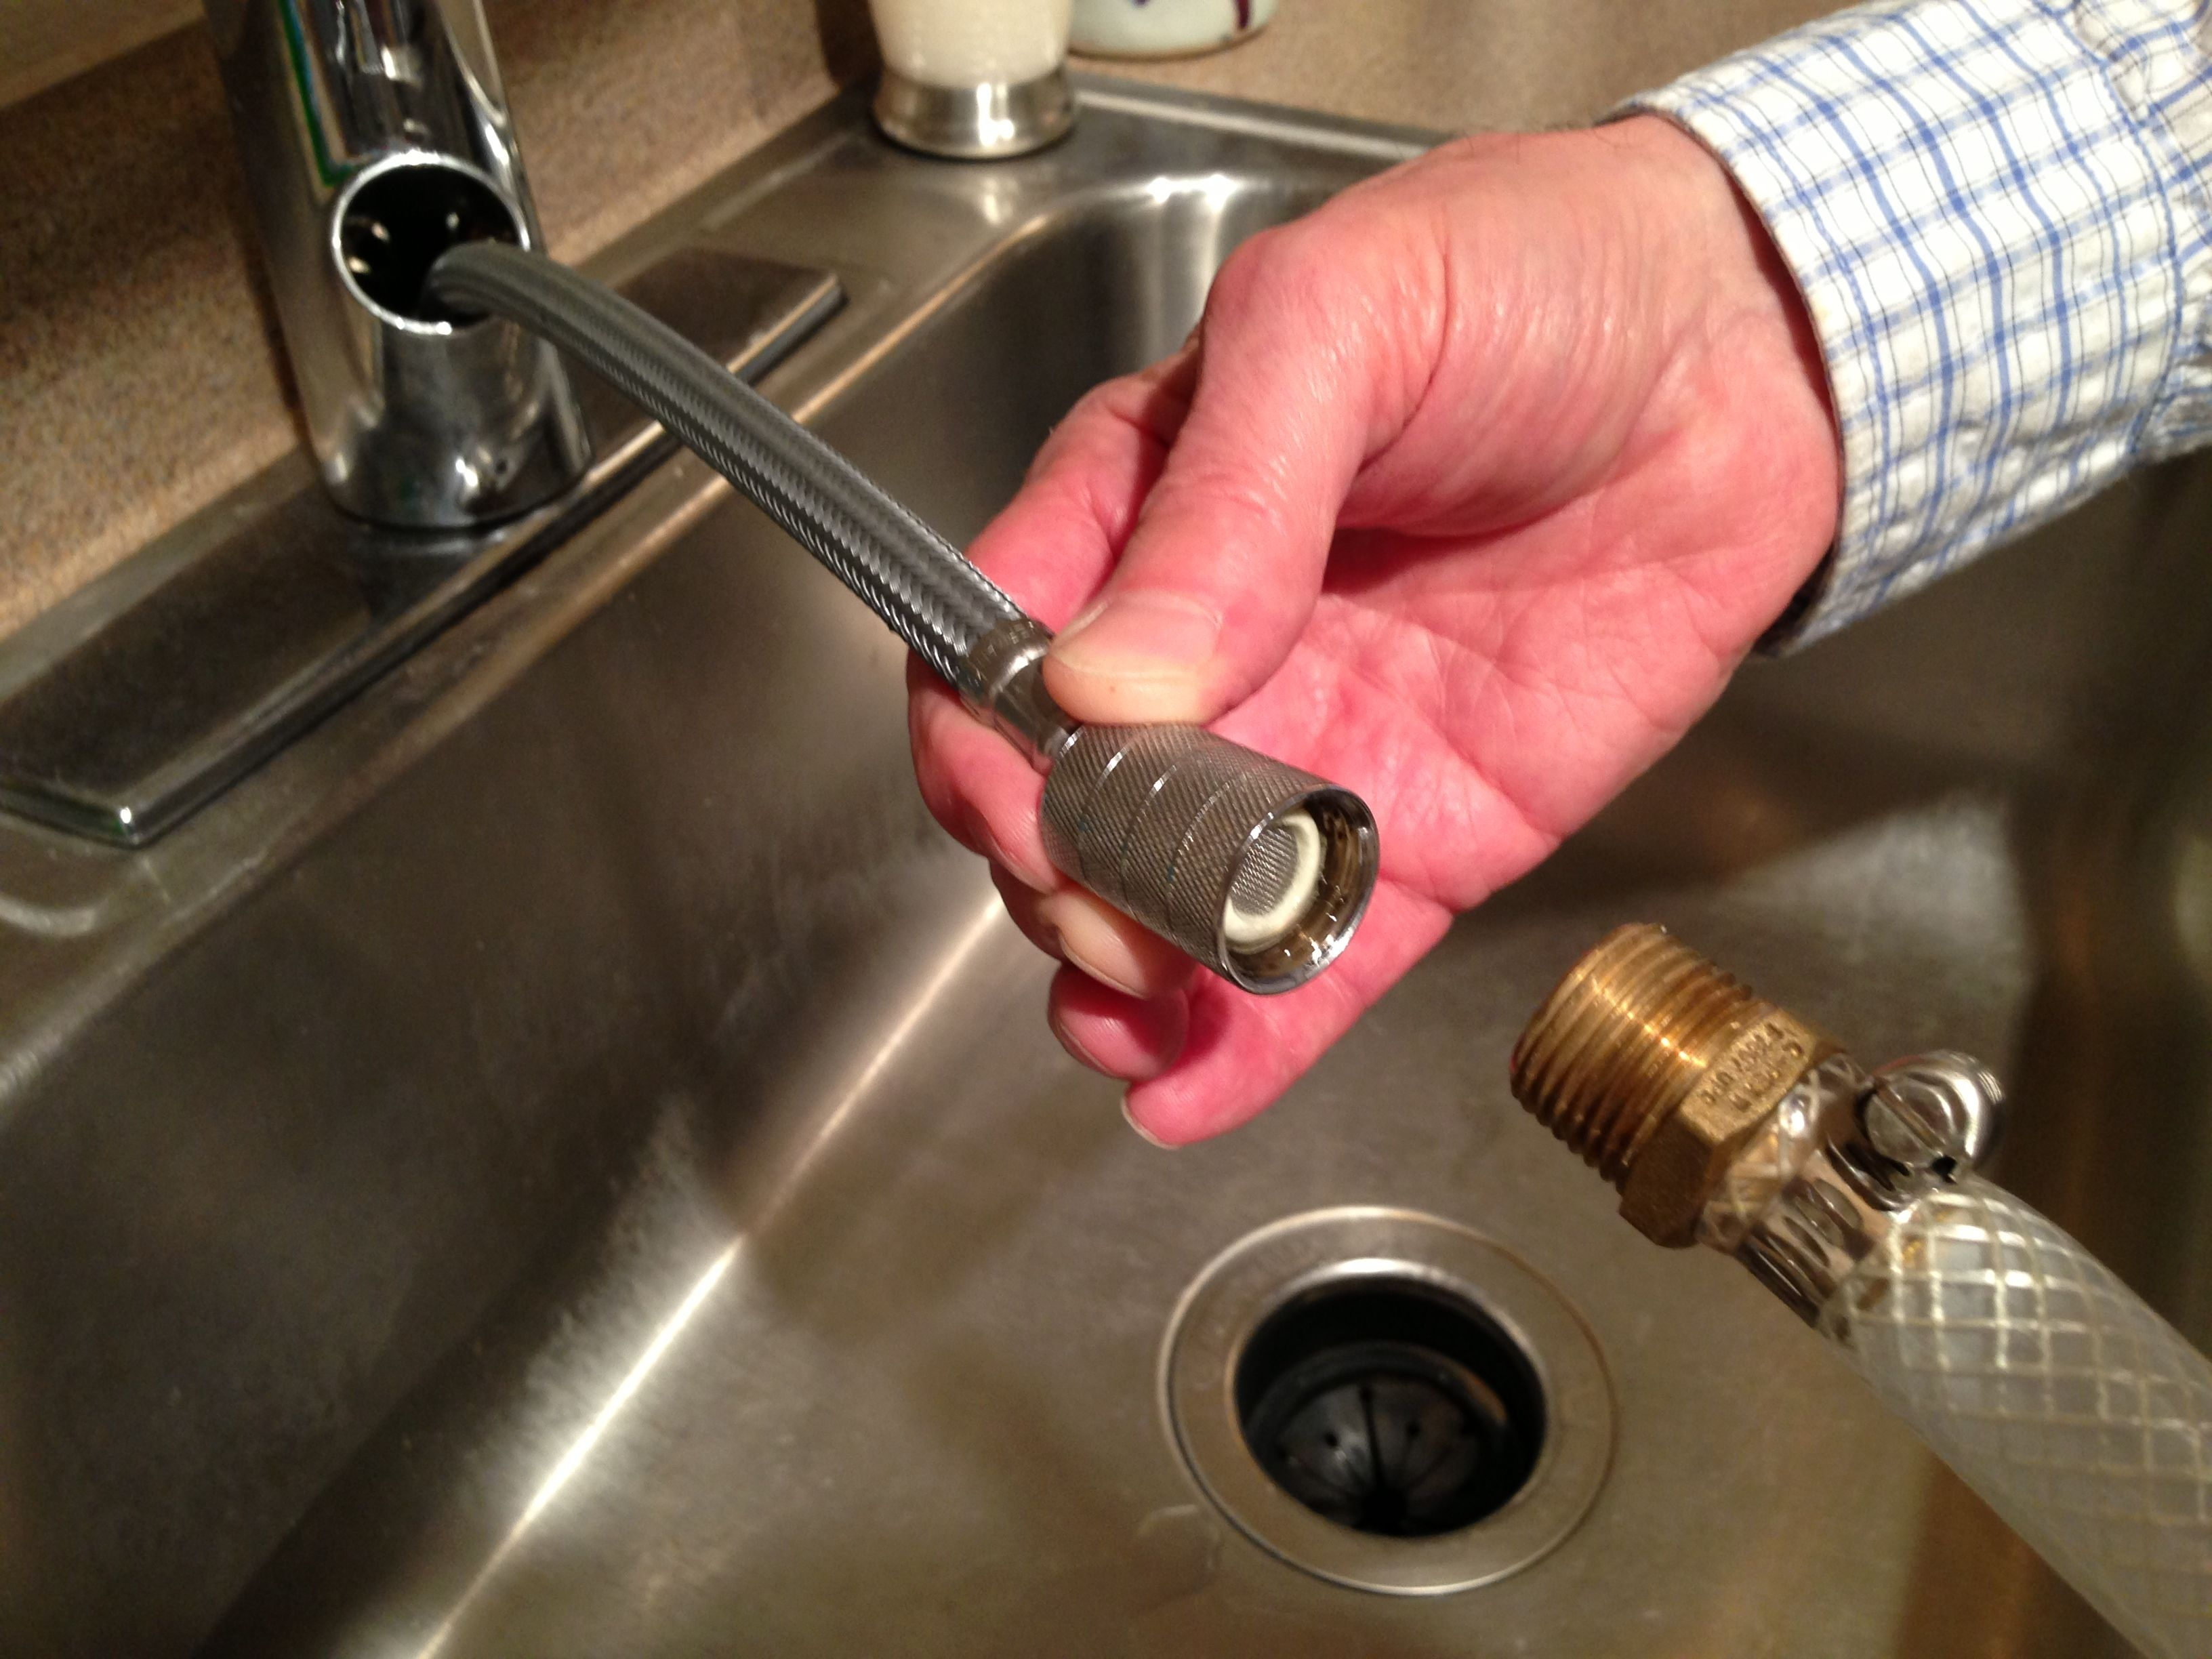
The first step in installing a kitchen sink sprayer is to install the sprayer hose. This hose connects the sprayer head to the water supply under your sink. Begin by turning off the water supply to your sink. Then, use a wrench to loosen and remove the nut that connects the existing faucet to the water supply pipe. Slide the new sprayer hose onto the supply pipe and tighten the nut with your wrench.


How to Install a Kitchen Sink Sprayer Hose


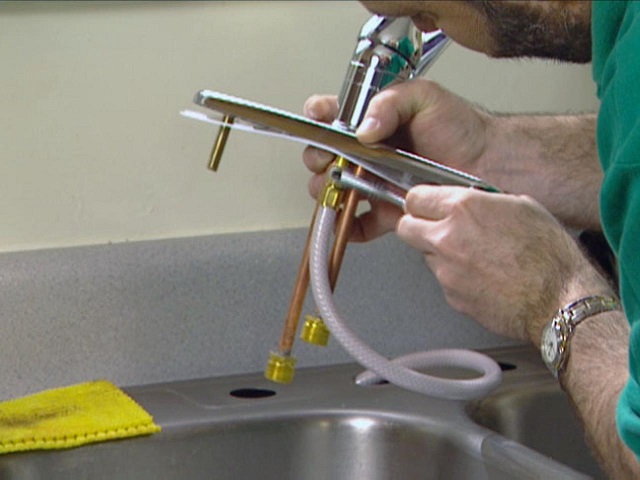
How to Install a Kitchen Sink Sprayer Head
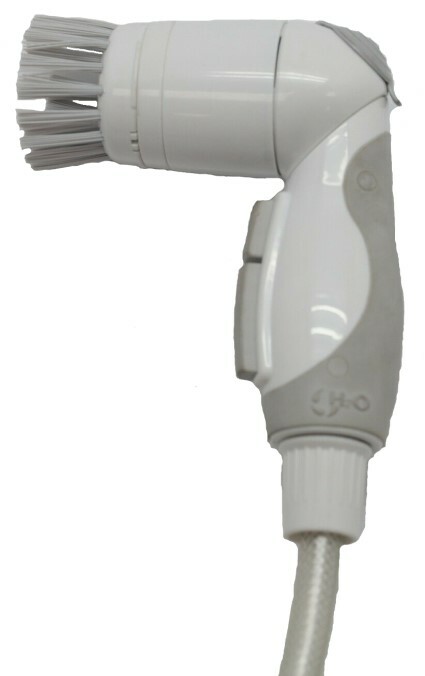
Next, it's time to install the sprayer head. This is the part that you will hold and use to spray water from your sink. To install the sprayer head, simply screw it onto the end of the sprayer hose. Make sure it is securely attached and facing the correct direction before moving on to the next step.


How to Install a Kitchen Sink Sprayer Head


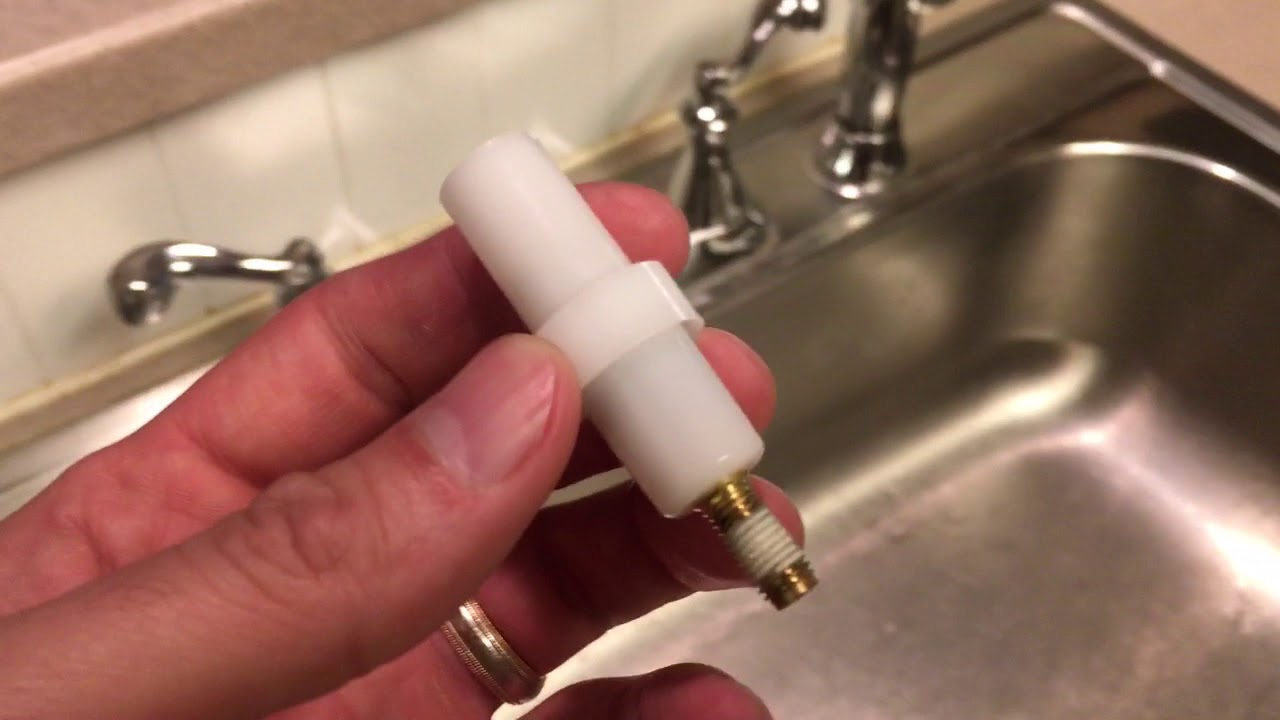
How to Install a Kitchen Sink Sprayer Diverter
The sprayer diverter is a small valve that controls the flow of water between the faucet and the sprayer. To install the diverter, remove the existing faucet head and screw the diverter onto the end of the faucet. Then, attach the faucet head onto the other end of the diverter. This will allow you to easily switch between using the faucet and the sprayer.

How to Install a Kitchen Sink Sprayer Diverter


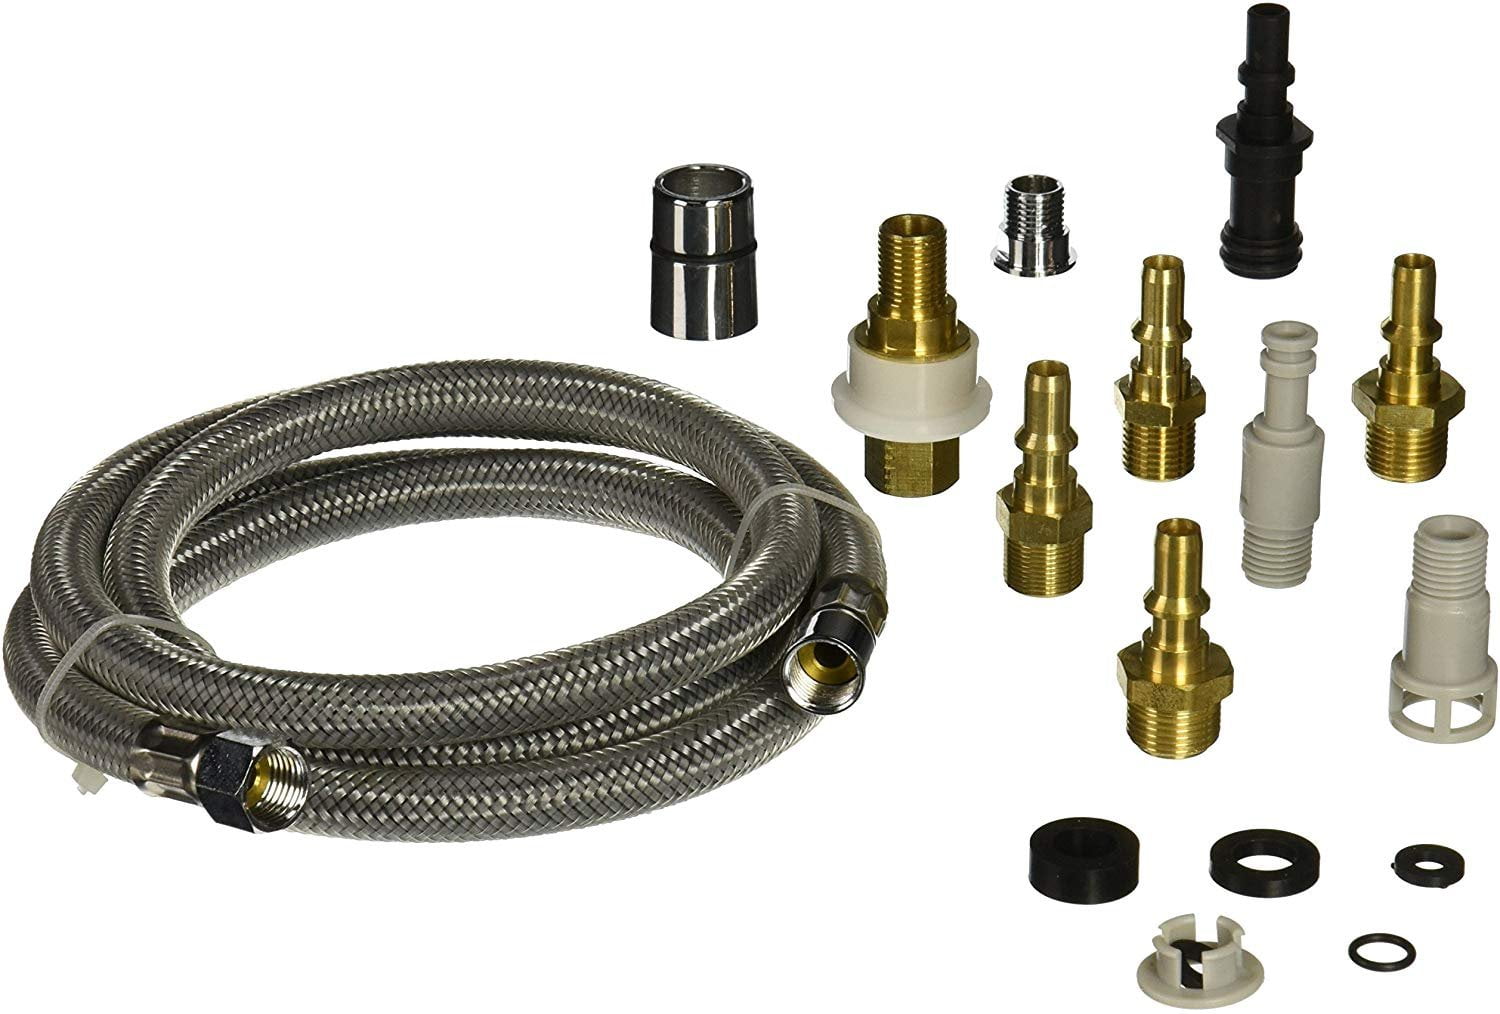
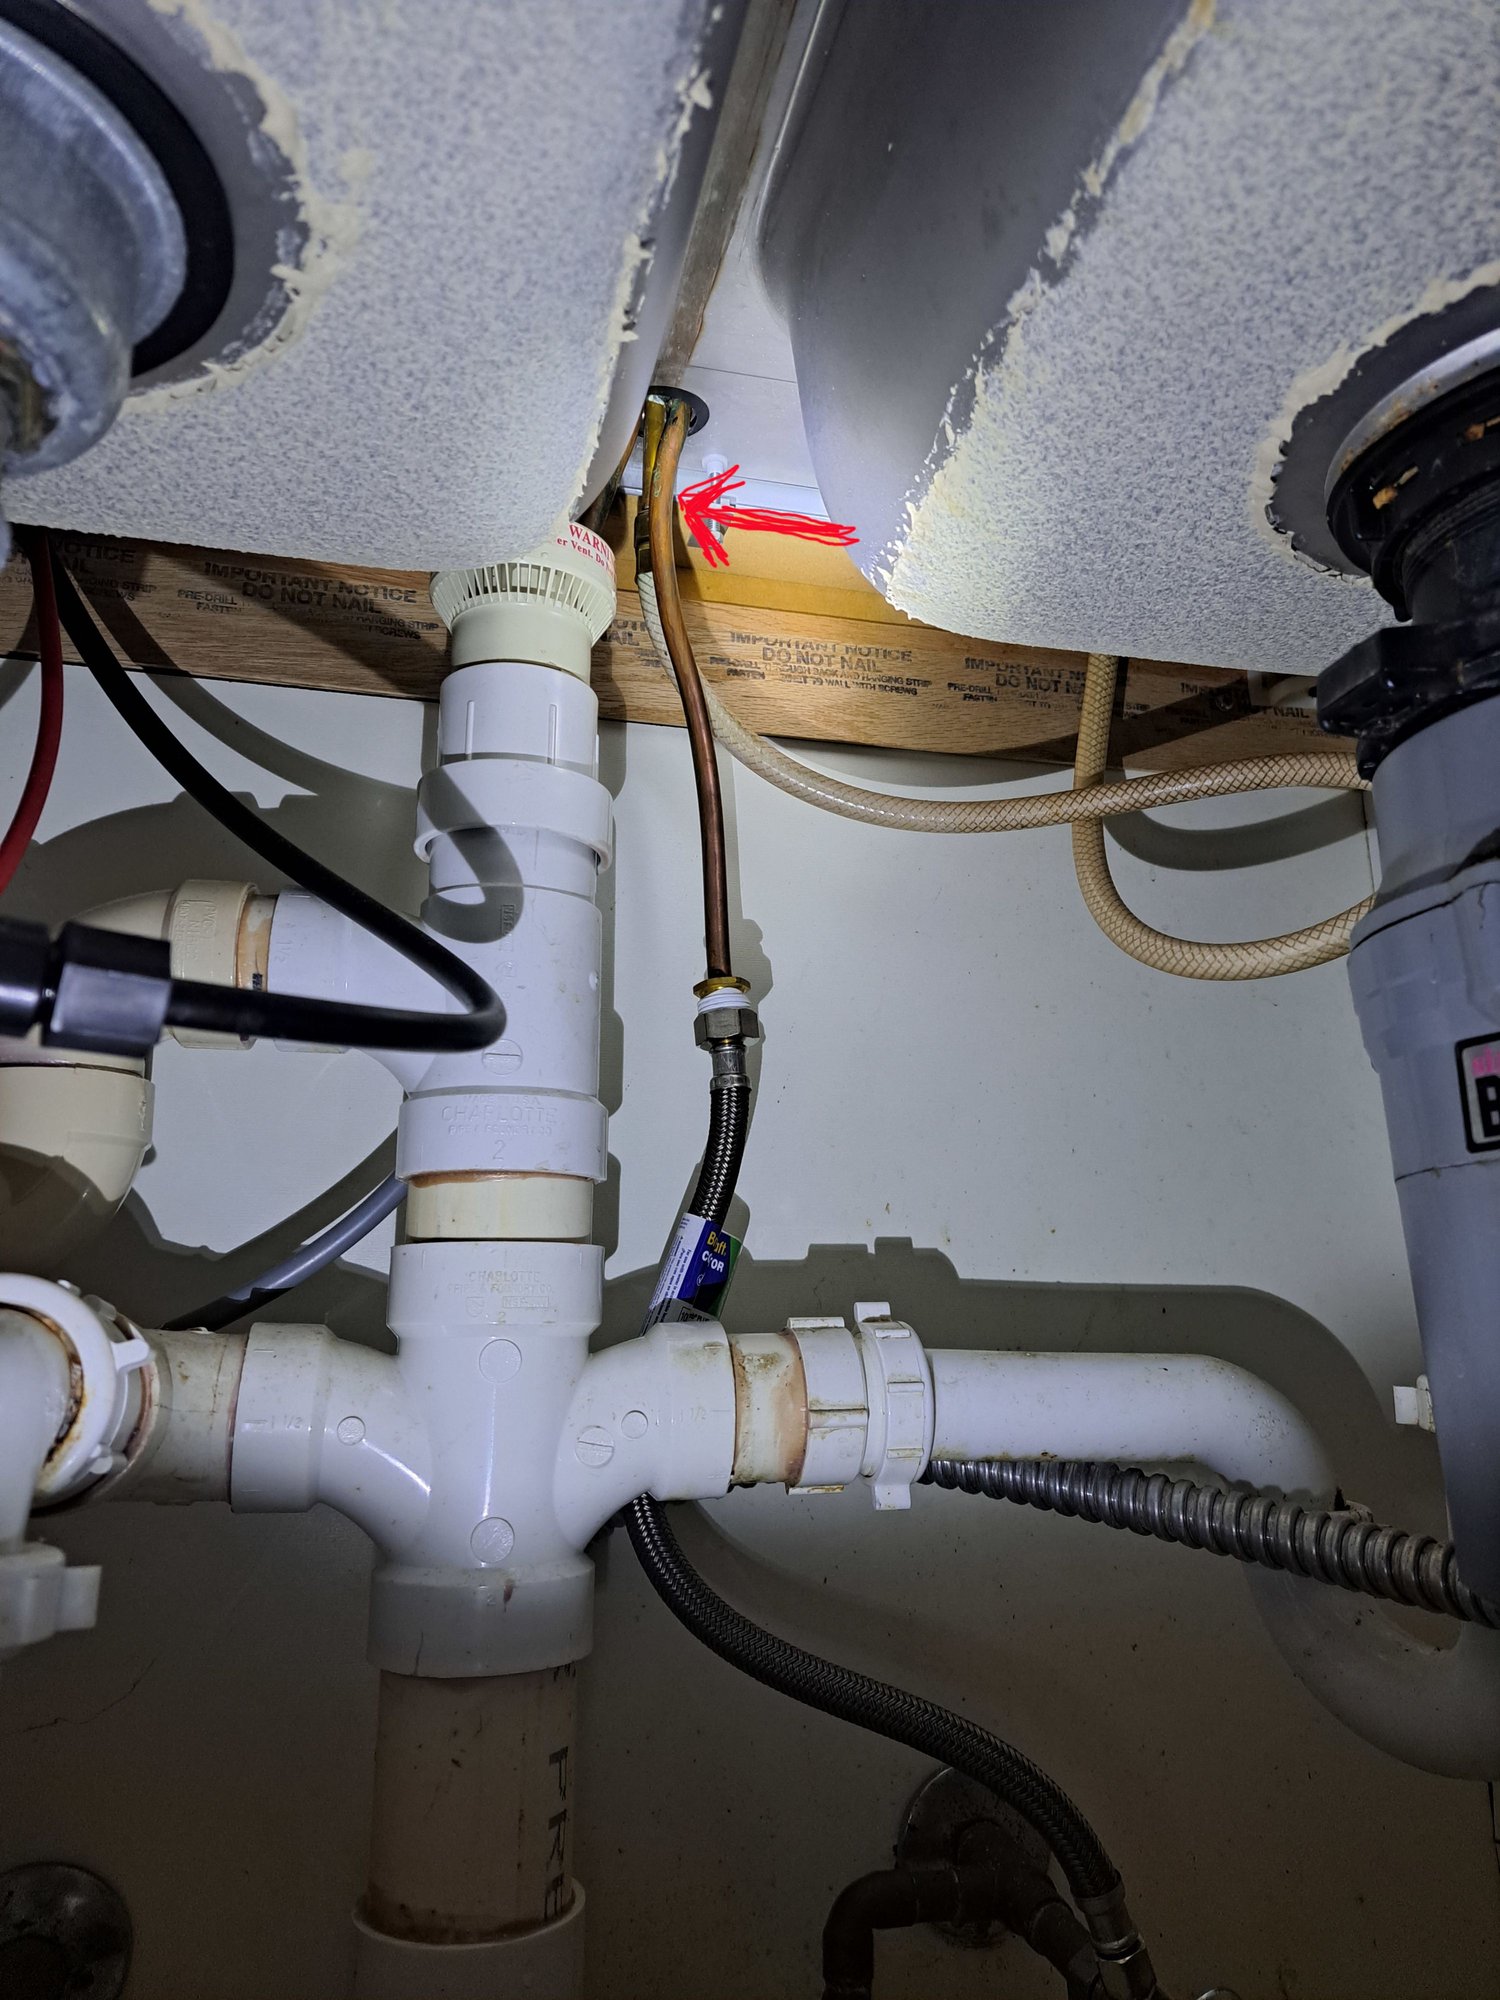
How to Install a Kitchen Sink Sprayer Hose Adapter
In some cases, you may need to use a hose adapter to connect your sprayer hose to the water supply pipe. This is often necessary if the size of the hose does not match the size of the pipe. Simply screw the adapter onto the end of the hose and then attach it to the supply pipe as you would with the hose alone.

How to Install a Kitchen Sink Sprayer Hose Adapter


How to Install a Kitchen Sink Sprayer Replacement
If you are replacing an existing kitchen sink sprayer, the process is similar to installing a new one. Begin by disconnecting the old sprayer hose and head from the water supply pipe. Then, follow the steps outlined above to install the new sprayer and connect it to the water supply. Make sure to properly dispose of the old sprayer to avoid any potential leaks or damage.


How to Install a Kitchen Sink Sprayer Replacement

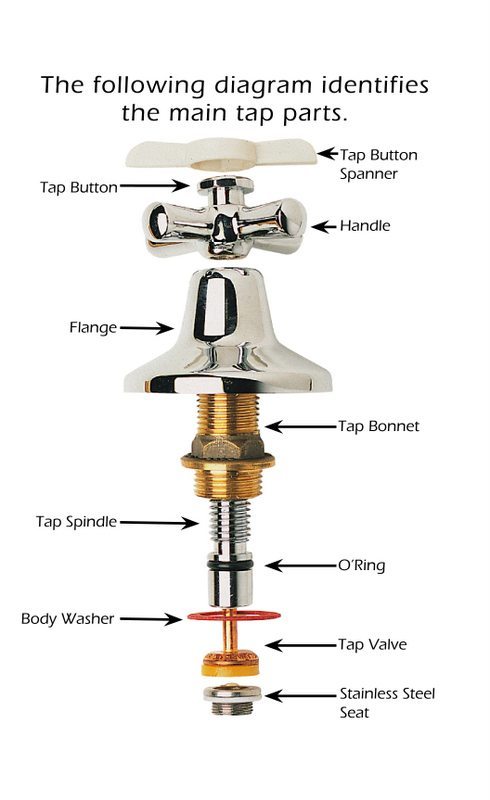
How to Install a Kitchen Sink Sprayer Nozzle
The sprayer nozzle is the part of the sprayer head that attaches to the hose and controls the direction and flow of water. To install the nozzle, simply screw it onto the end of the sprayer head. Make sure it is securely attached and facing the correct direction before use.

How to Install a Kitchen Sink Sprayer Nozzle


How to Install a Kitchen Sink Sprayer Hose Weight
A hose weight helps keep your sprayer hose in place and prevents it from getting tangled or caught on other items under your sink. To install the hose weight, simply slide it onto the hose and position it near the bottom of the hose, close to the connection with the sprayer head. This will help keep the hose in place while you use the sprayer.
How to Install a Kitchen Sink Sprayer Hose Weight

How to Install a Kitchen Sink Sprayer Hose Guide
A hose guide is a small clip or holder that helps guide the sprayer hose and keep it from getting tangled or caught on other items under your sink. To install the hose guide, simply attach it to the underside of your sink, close to where the hose connects to the water supply. This will keep the hose in place and prevent it from getting in the way while you use the sprayer.

How to Install a Kitchen Sink Sprayer Hose Guide
How to Install a Kitchen Sink Sprayer Hose Connector
If you need to connect two separate lengths of sprayer hose, you will need a hose connector. This is a small piece that joins the two hoses together to create a longer length. To install the connector, simply screw it onto the ends of the two hoses and tighten with a wrench. This will allow you to customize the length of your sprayer hose to fit your sink and needs.

How to Install a Kitchen Sink Sprayer Hose Connector


Kitchen Sink Sprayer Installation: A Must-Have Addition for Your Modern Kitchen Design

Upgrade Your Kitchen with a Sprayer Installation
 If you're looking to upgrade your kitchen design, installing a kitchen sink sprayer is a simple and cost-effective way to do so. Not only does a sprayer add convenience and functionality to your sink, but it also adds a touch of modernity to your kitchen. With a sprayer, you can easily rinse off dishes, clean hard-to-reach areas, and fill up pots and vases with ease. In this article, we will discuss the steps for installing a kitchen sink sprayer and provide a helpful diagram to guide you through the process.
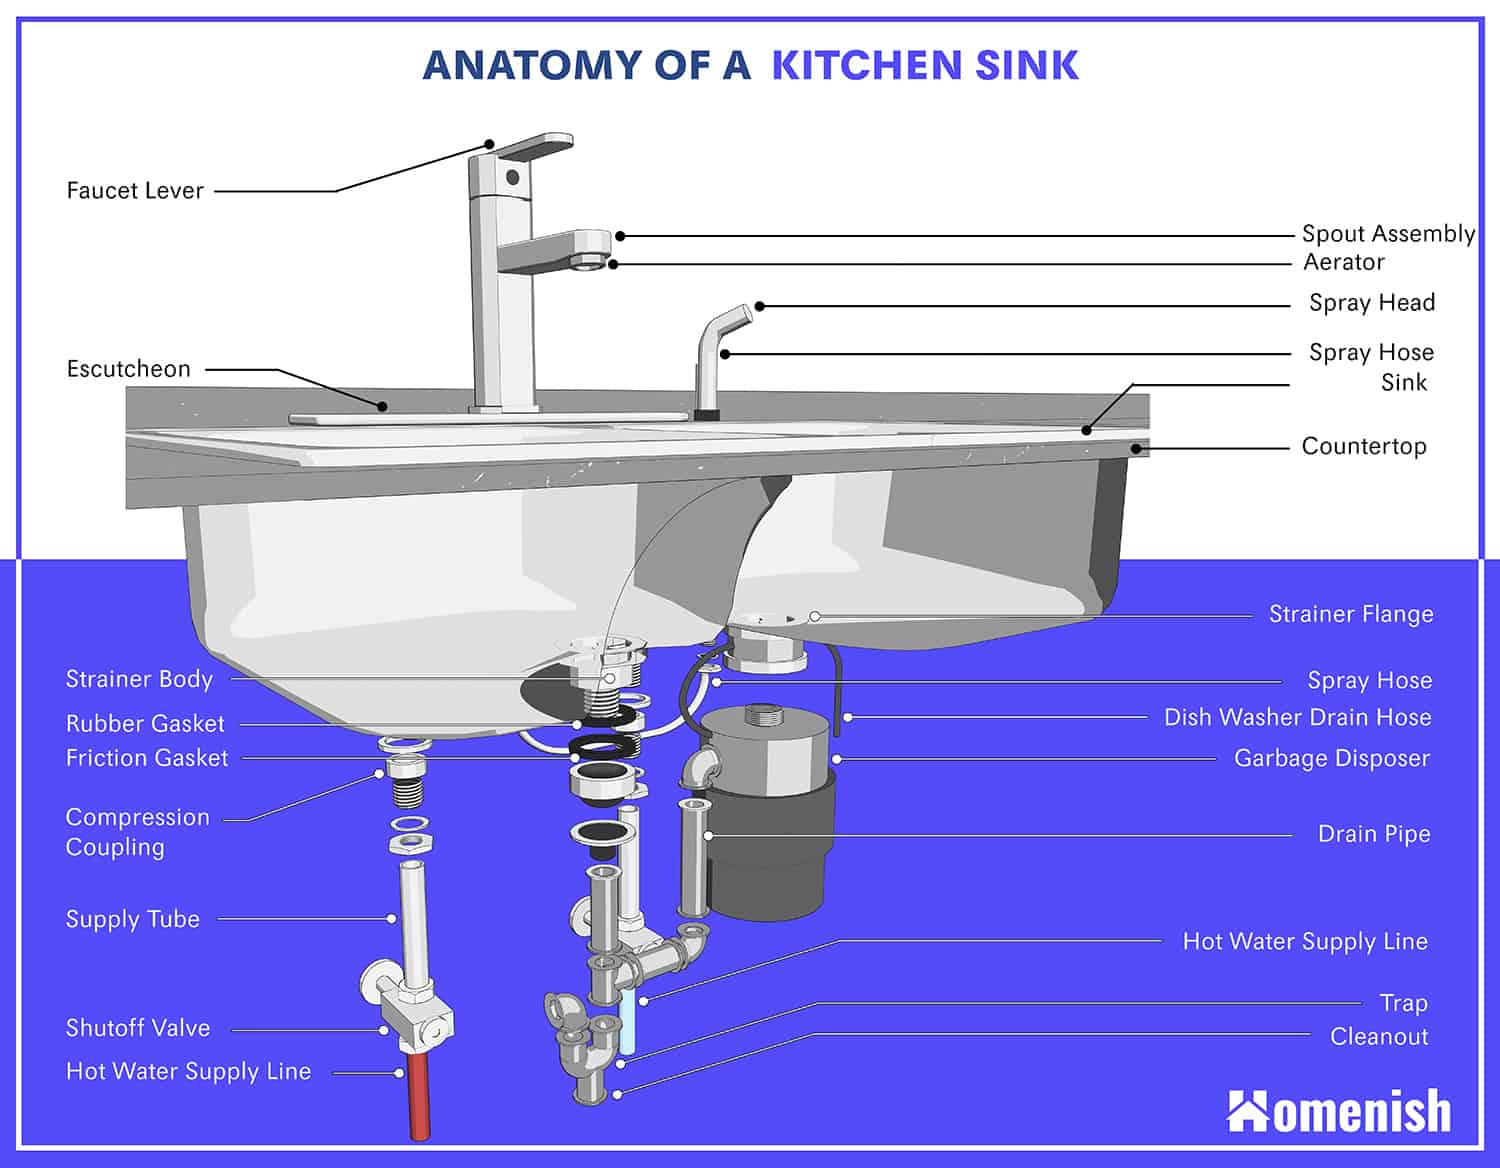
Step-by-Step Guide to Installing a Kitchen Sink Sprayer
 Kitchen sink sprayer install diagram
- Turn off the water supply to your sink.
- Remove the old faucet and sprayer (if applicable) from your sink.
- Attach the base of the new sprayer to the sink hole.
- Connect the sprayer hose to the base and secure it with a wrench.
- Attach the other end of the hose to the water supply valve under the sink.
- Turn on the water supply and test the sprayer.
- Adjust the sprayer head as needed.
Choosing the Right Kitchen Sink Sprayer for Your Design
 When it comes to choosing a kitchen sink sprayer, there are a few factors to consider. First, you want to make sure that the sprayer matches the design and style of your kitchen. There are various finishes available, such as chrome, stainless steel, and bronze, to complement your existing fixtures. You also want to consider the size and shape of the sprayer head to ensure it fits your needs and preferences.
Additionally, you should look for a sprayer with a good water pressure and flow rate to ensure efficient use. Some sprayers also come with added features such as a pause button or different spray patterns for more versatility. It's also important to check the warranty and customer reviews before making a purchase to ensure the quality and durability of the sprayer.
When it comes to choosing a kitchen sink sprayer, there are a few factors to consider. First, you want to make sure that the sprayer matches the design and style of your kitchen. There are various finishes available, such as chrome, stainless steel, and bronze, to complement your existing fixtures. You also want to consider the size and shape of the sprayer head to ensure it fits your needs and preferences.
Additionally, you should look for a sprayer with a good water pressure and flow rate to ensure efficient use. Some sprayers also come with added features such as a pause button or different spray patterns for more versatility. It's also important to check the warranty and customer reviews before making a purchase to ensure the quality and durability of the sprayer.
Final Thoughts
 In conclusion, installing a kitchen sink sprayer is a simple and effective way to upgrade your kitchen design. With the right sprayer, you can improve the functionality and convenience of your sink while adding a modern touch to your space. Follow the steps outlined in our kitchen sink sprayer installation diagram and choose the right sprayer for your design, and you'll have a functional and stylish addition to your kitchen in no time.