Are you in the process of renovating your kitchen and need to install a new sink faucet? Connecting a kitchen sink faucet to a water line may seem like a daunting task, but with the right tools and steps, it can be easily done. In this guide, we will walk you through the process of connecting a kitchen sink faucet to a water line, ensuring a smooth and successful installation. Kitchen sink faucet is an essential fixture in every household, providing clean water for cooking, cleaning, and drinking. It is important to have a proper connection between the faucet and the water line to ensure the flow of clean water and prevent any leaks or damages. So, let's get started on how to connect your kitchen sink faucet to a water line.1. How to Connect a Kitchen Sink Faucet to a Water Line
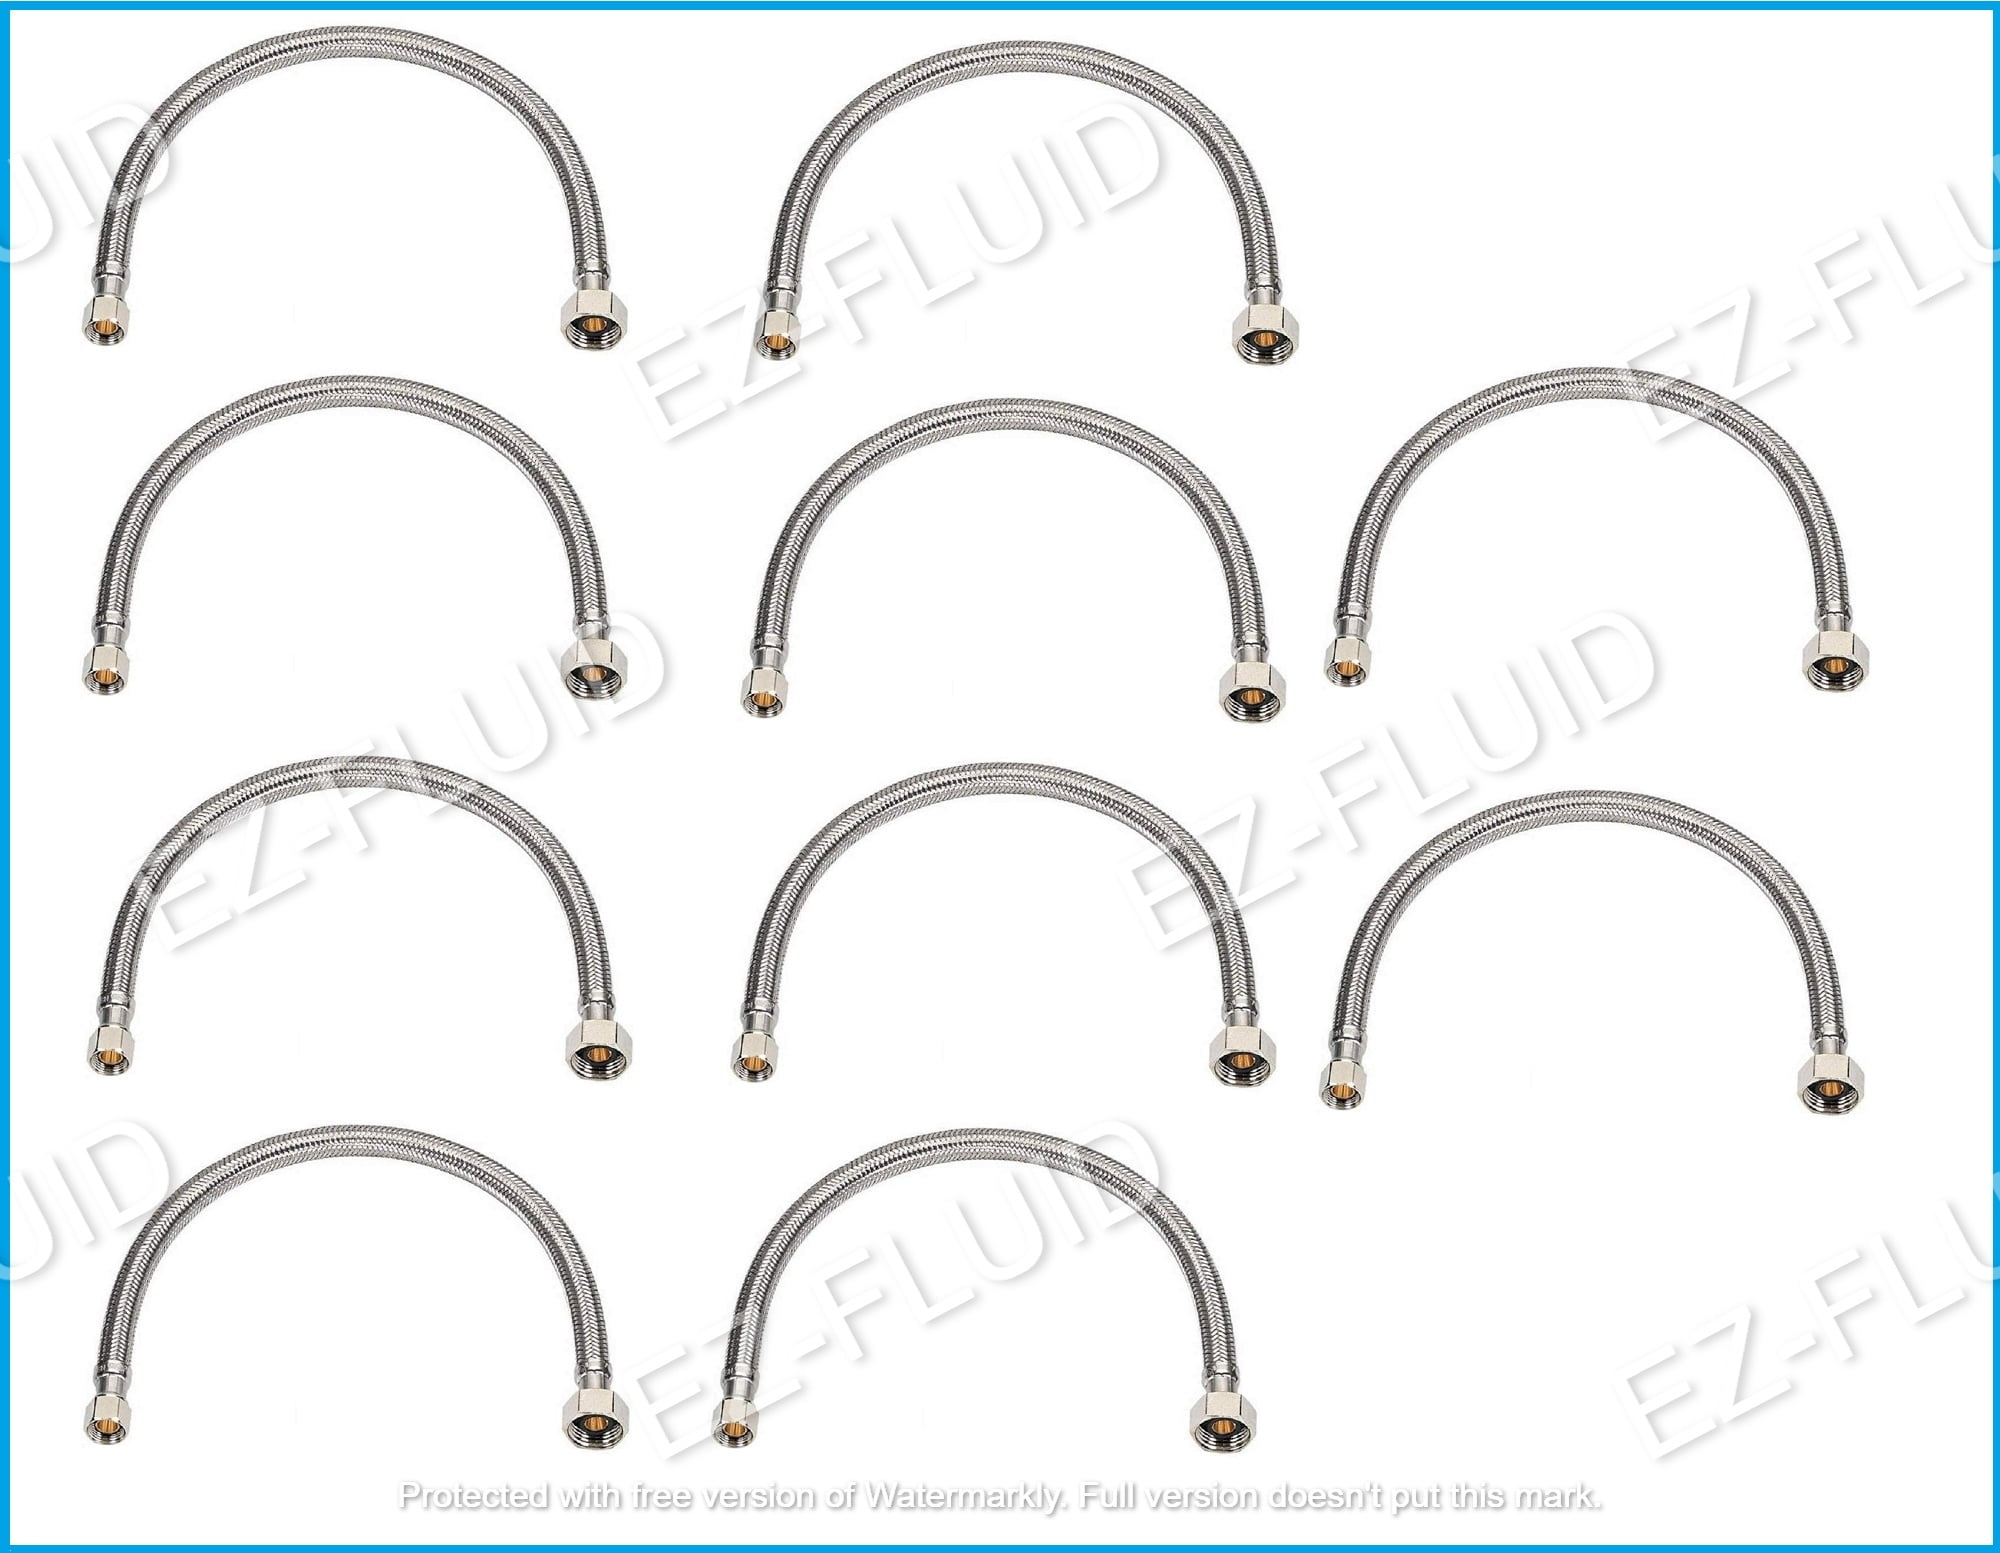
Before we dive into the steps of connecting your kitchen sink faucet to a water line, let's first understand the different types of water supply lines. There are two main types - rigid and flexible. Rigid supply lines are made of copper or brass and are more durable, while flexible supply lines are made of plastic or braided stainless steel and are easier to work with. When installing a new sink faucet, it is recommended to use flexible supply lines as they are more versatile and can easily be maneuvered into place. However, if you are replacing an old faucet, you may need to use rigid supply lines that match the existing connections. Make sure to measure the distance between the faucet and the water supply line to ensure you get the right length of supply line.2. Installing a Kitchen Sink Faucet: Water Supply Lines
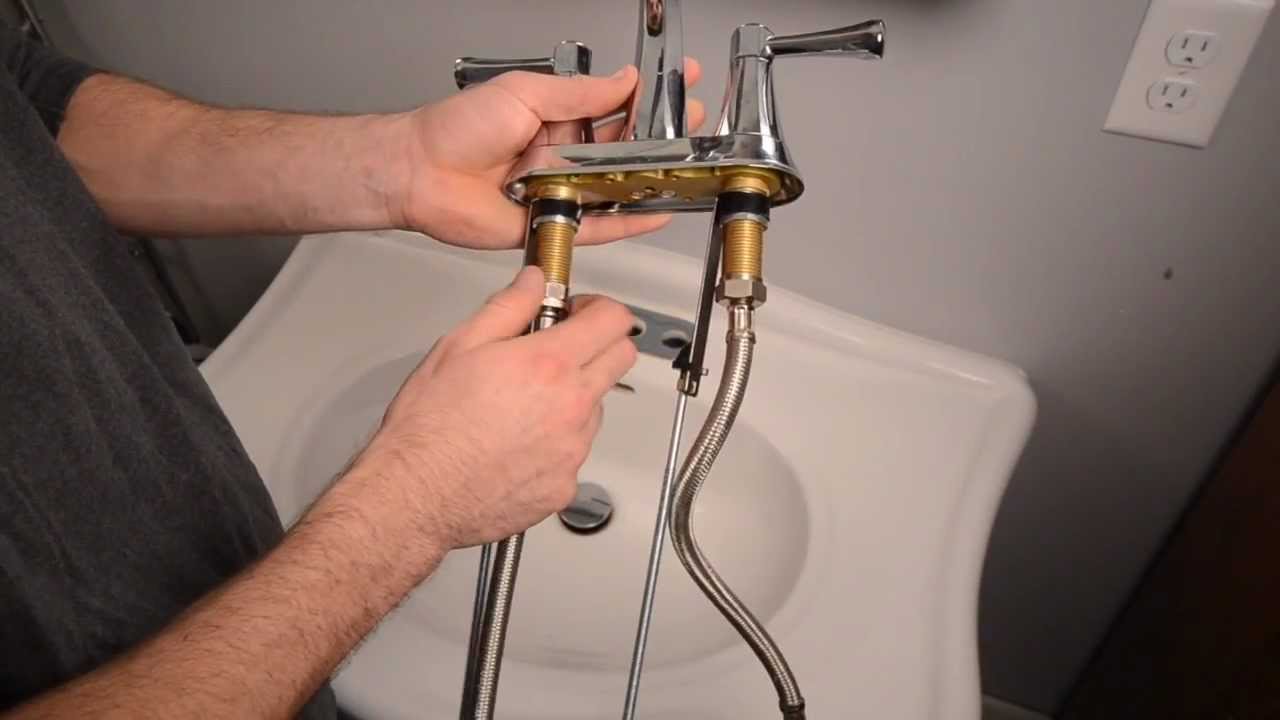
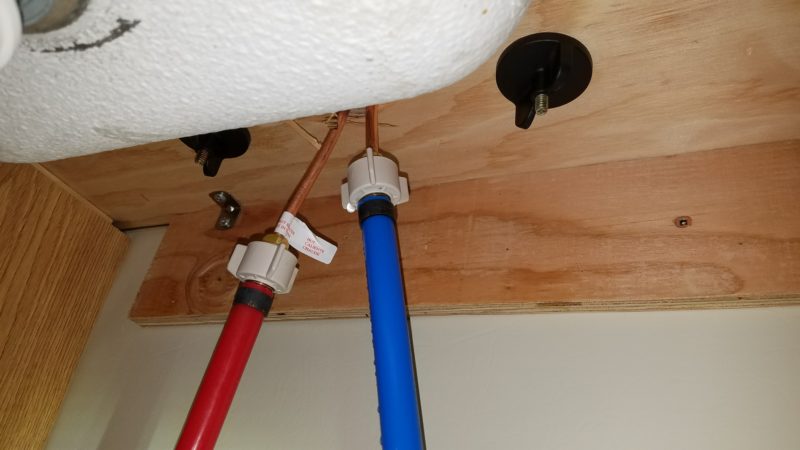
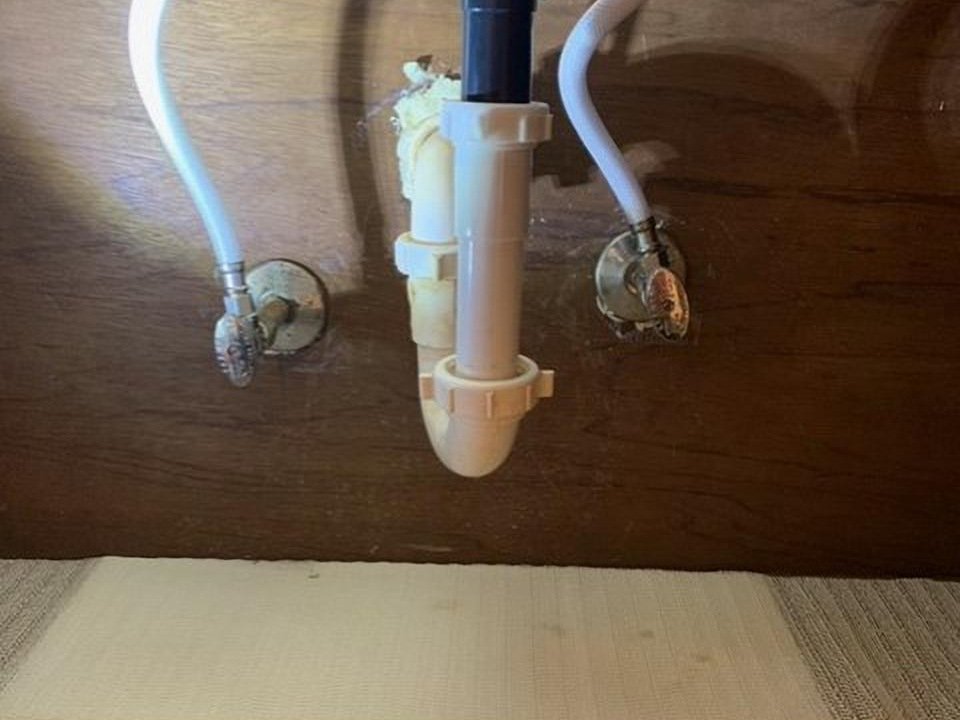
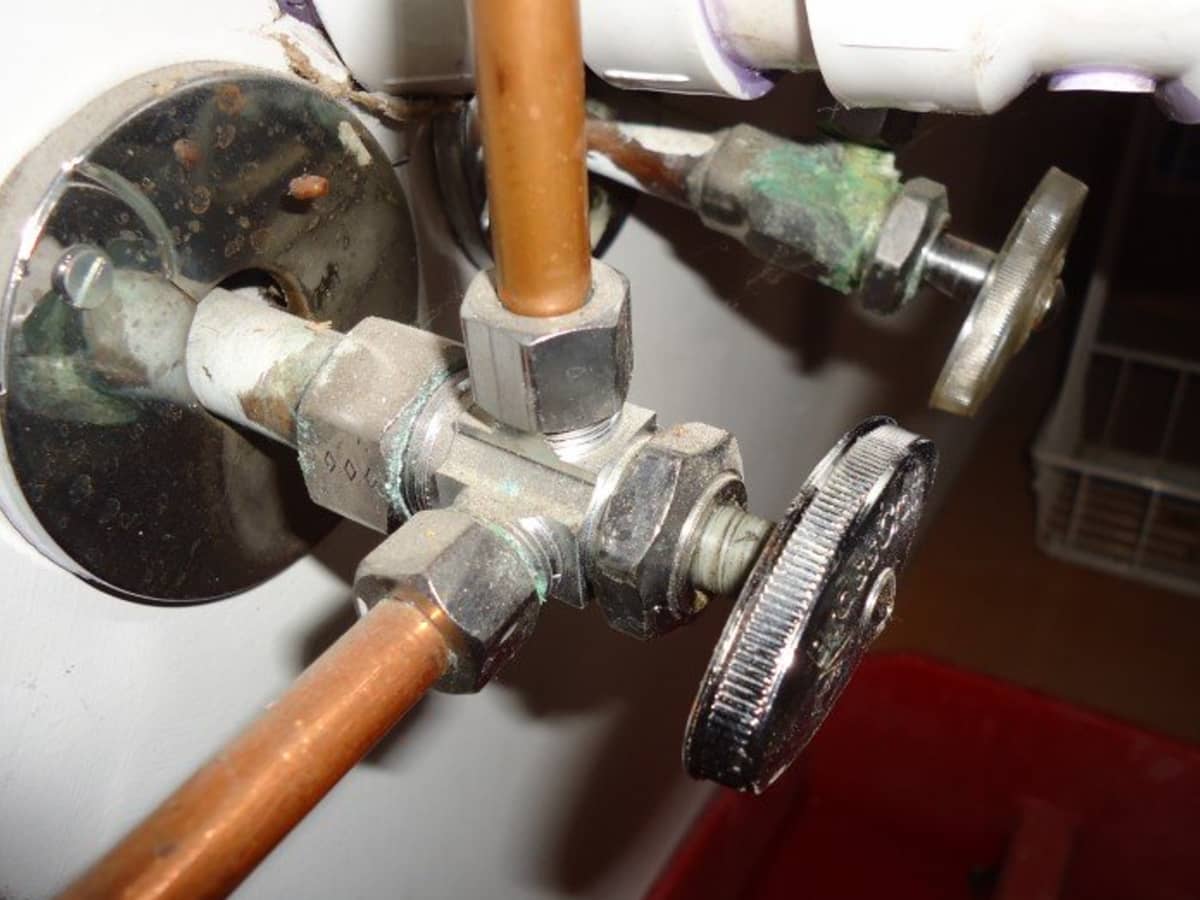
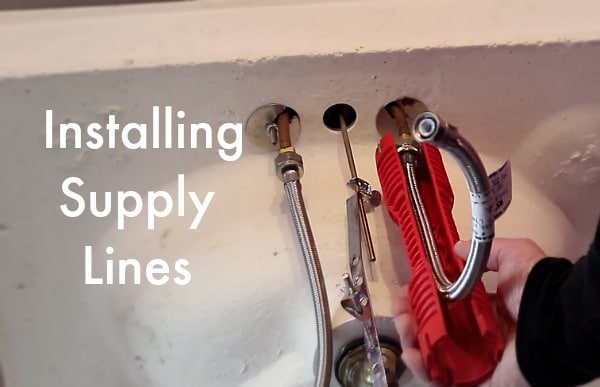
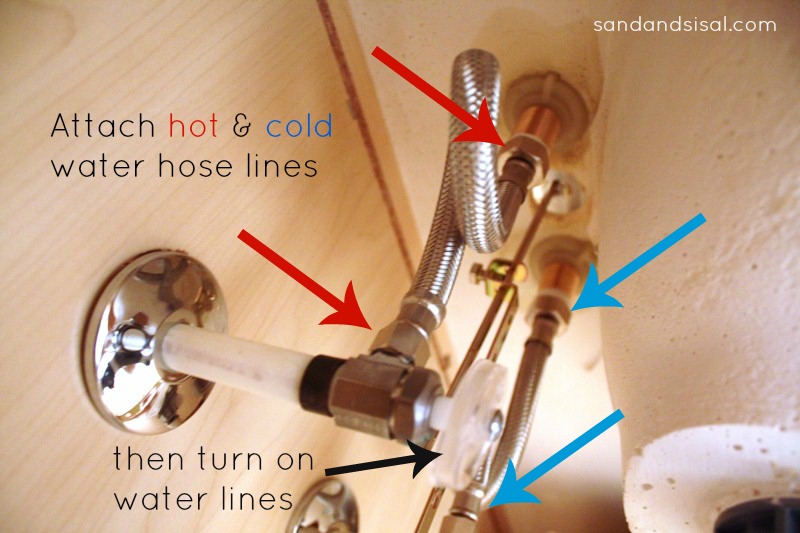
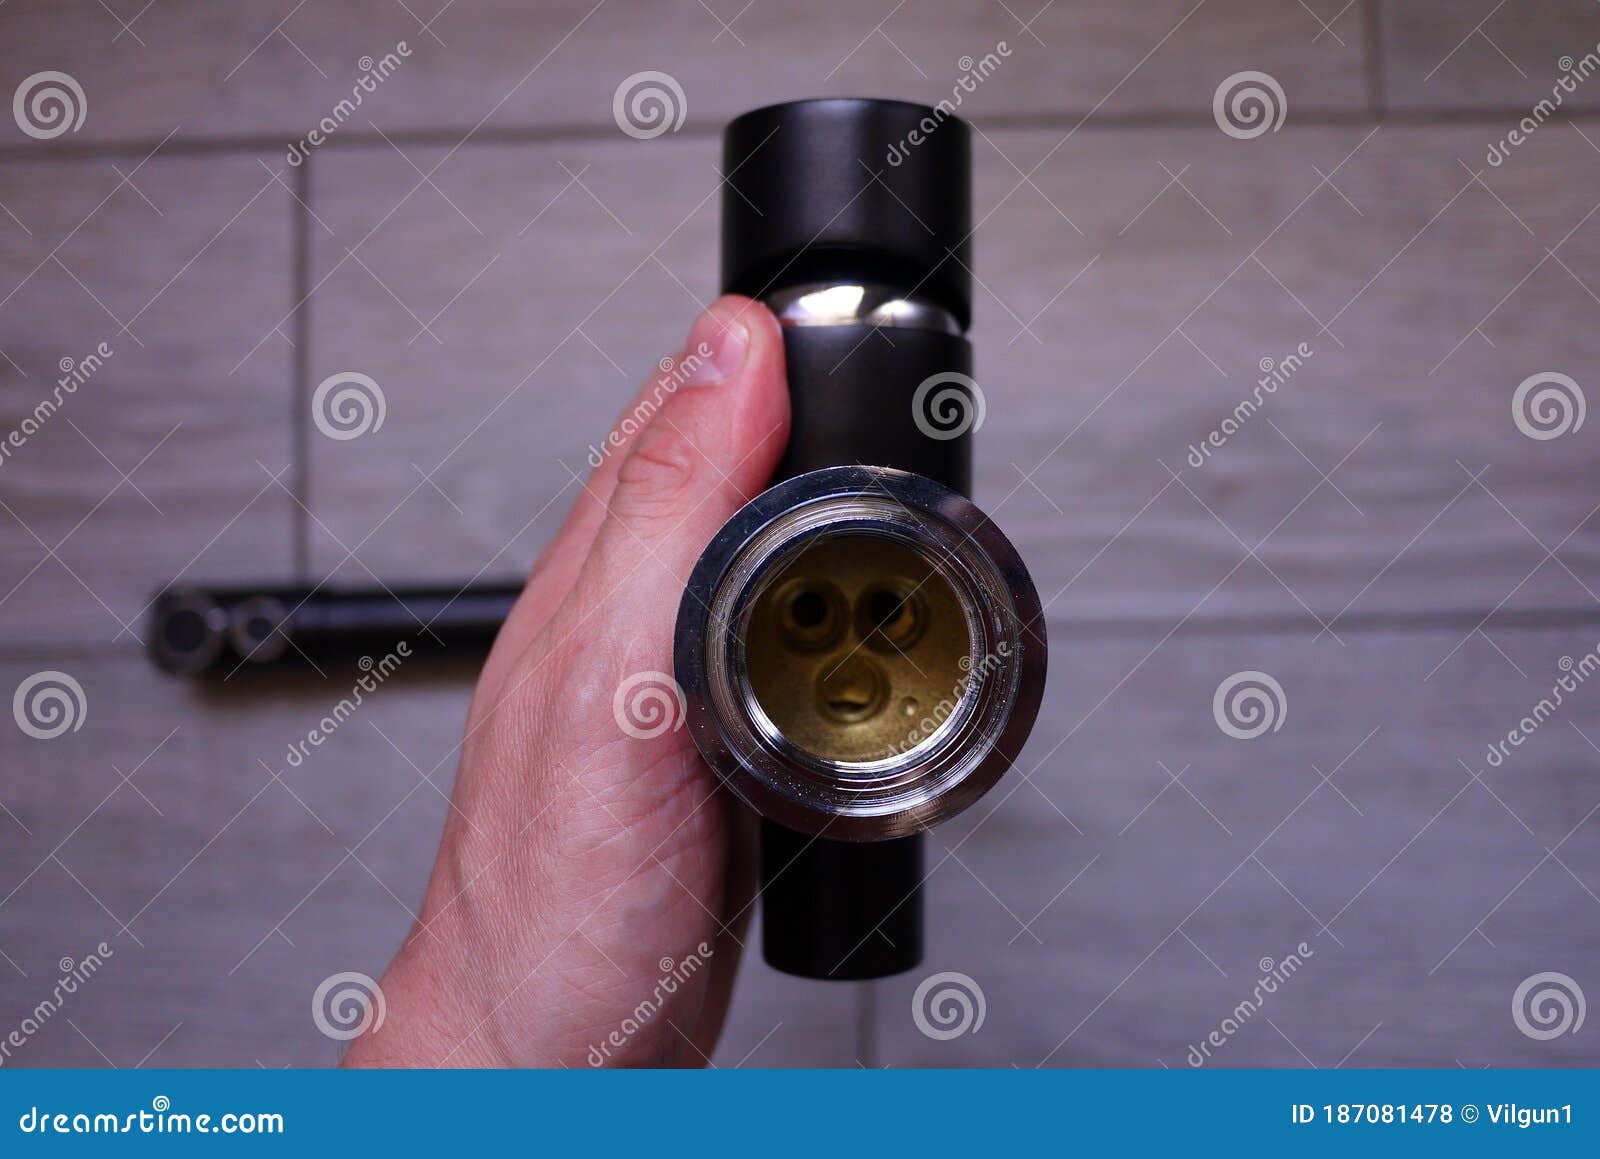
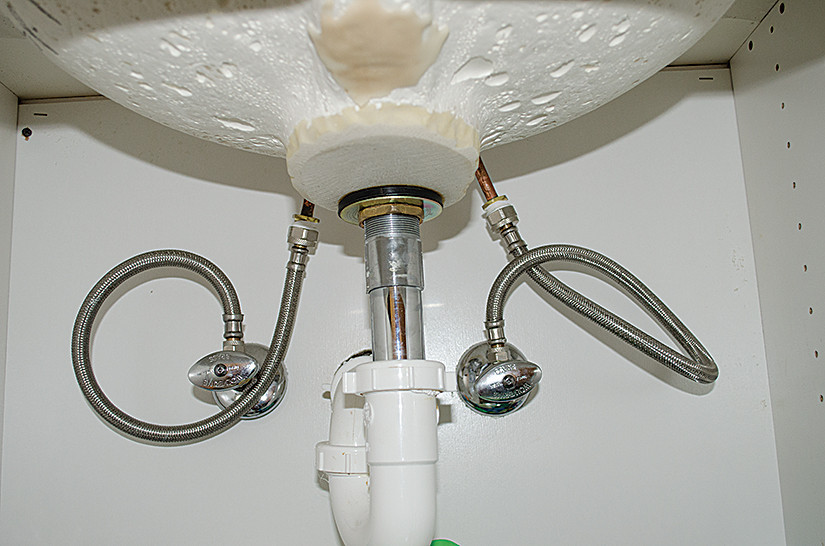
Now that you have the right supply lines, it's time to connect your kitchen sink faucet to the water supply line. Start by turning off the water supply to avoid any water leakage or accidents. Next, attach the supply lines to the faucet. Make sure to use tape or thread sealant to ensure a tight and leak-free connection. Once the supply lines are attached to the faucet, it's time to connect them to the water supply line. Use an adjustable wrench to tighten the connections, making sure not to over-tighten as it can damage the threads. Double-check the connections to ensure they are secure and leak-free.3. Connecting a Kitchen Sink Faucet to a Water Supply Line
Now that the faucet is connected to the water supply line, it's time to check the connections for any leaks. Turn on the water supply and let the water flow through the faucet for a few minutes. Keep an eye out for any leaks or drips. If you notice any, use the wrench to tighten the connections further. If the connections are secure and there are no leaks, congratulations, you have successfully connected your kitchen sink faucet to the water line. However, if you still notice leaks, it may be due to damaged supply lines or faucet. In that case, it's best to replace the faulty parts before proceeding.4. Kitchen Sink Faucet Water Line Connections
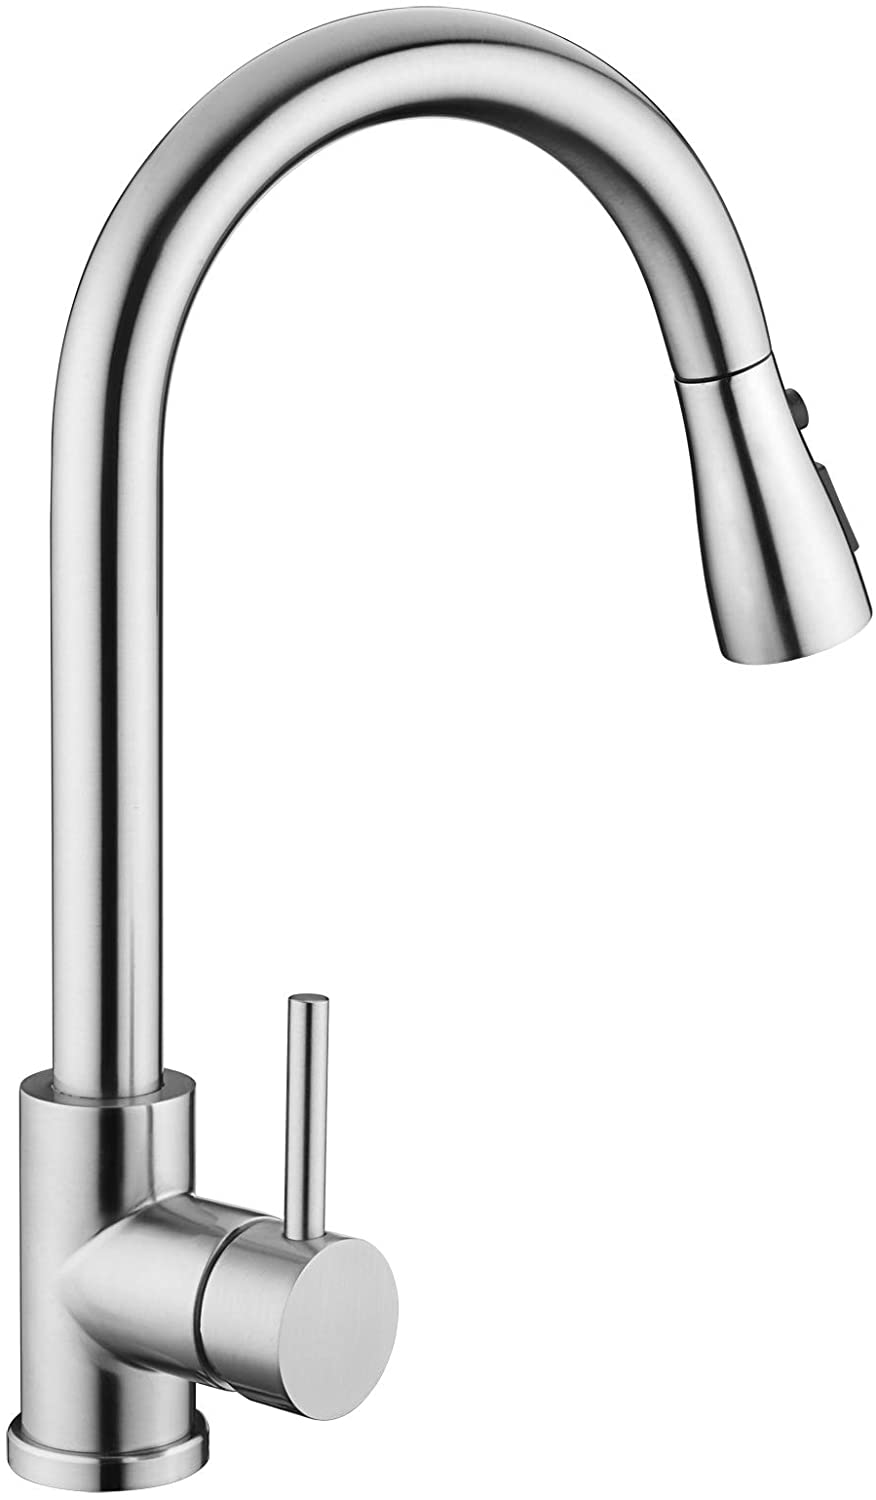
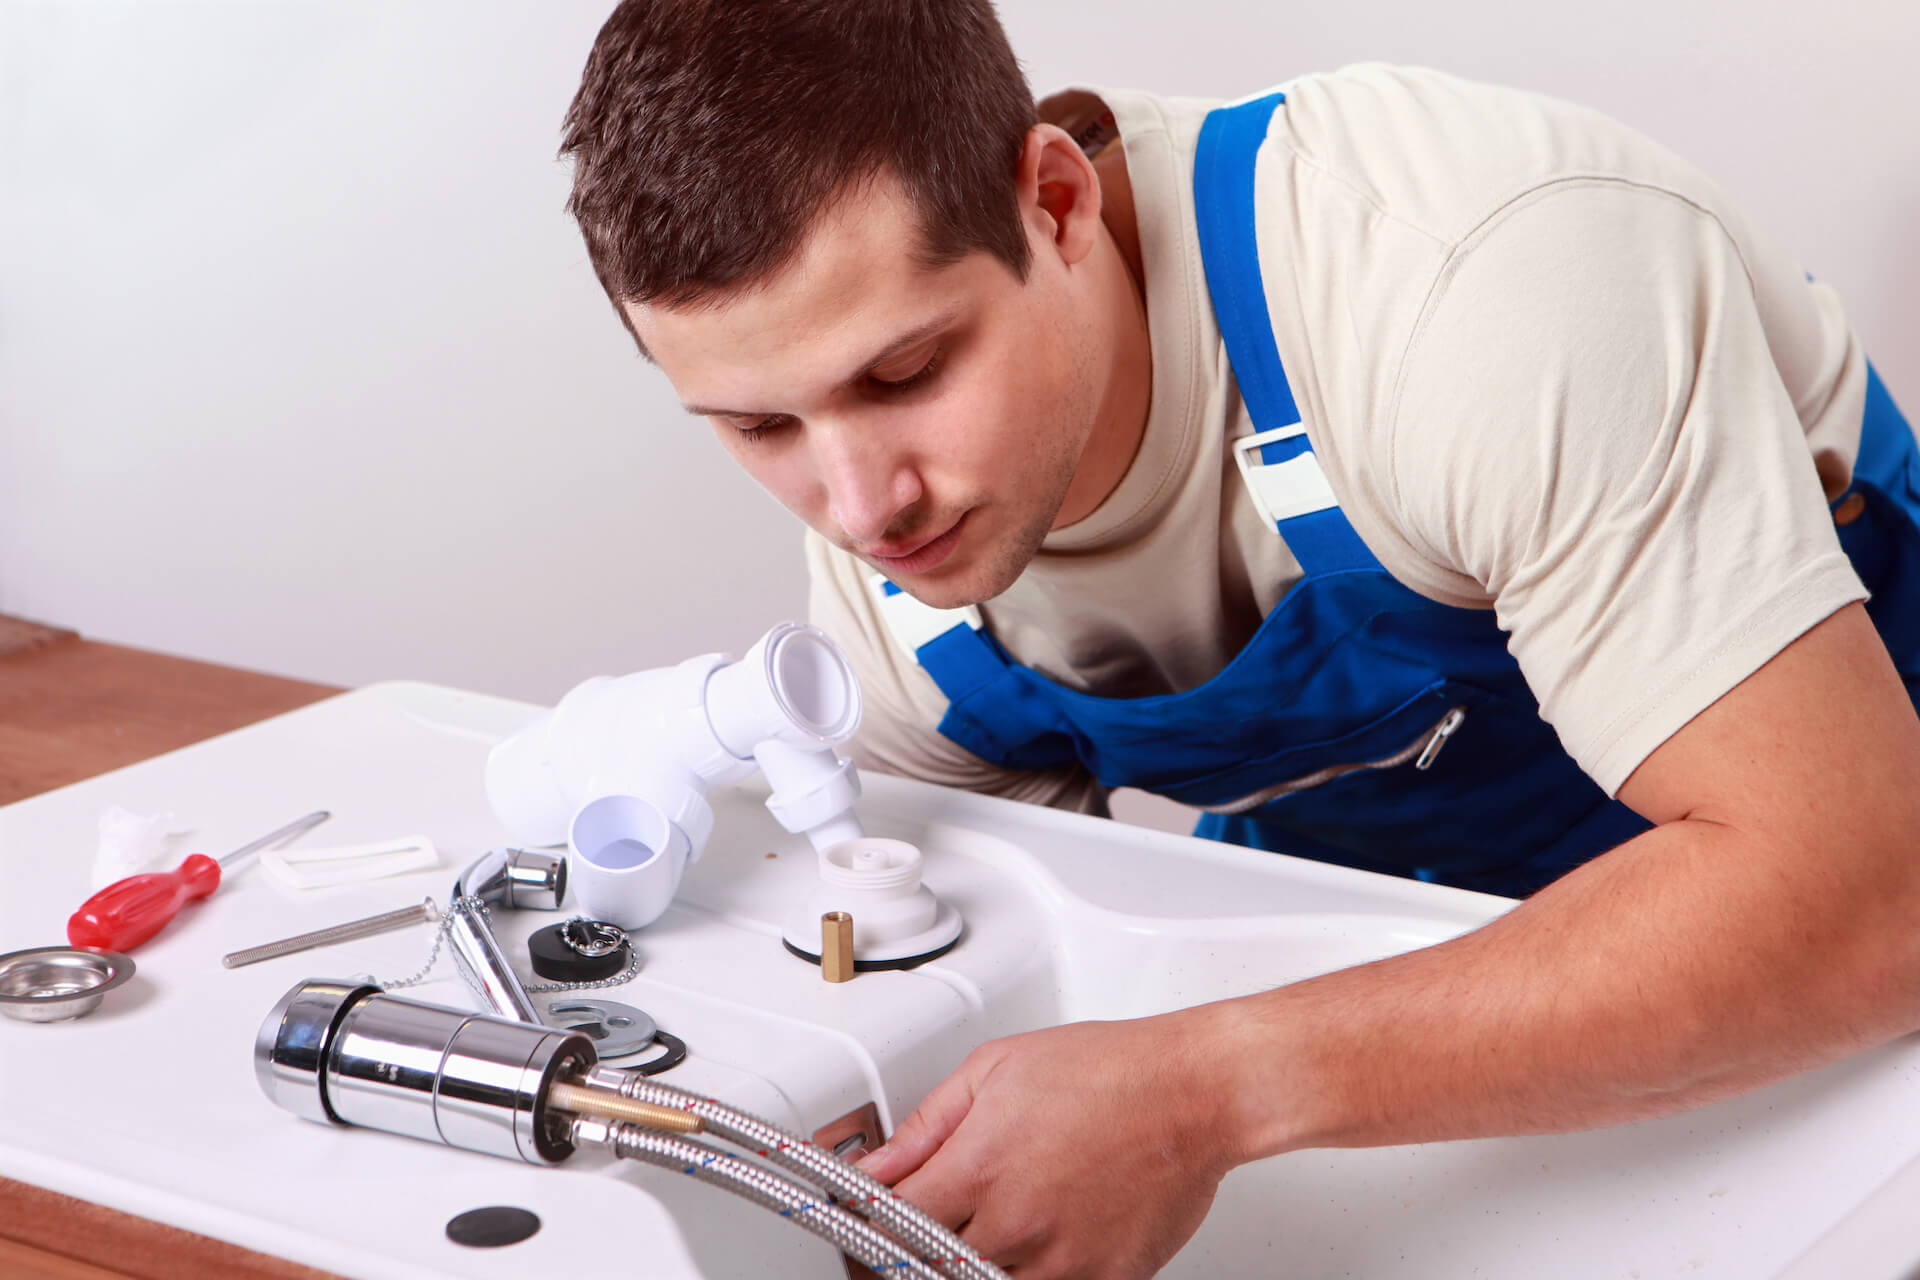
If you are installing a brand new kitchen sink faucet, the steps will be slightly different. Start by installing the faucet according to the manufacturer's instructions. Once the faucet is securely in place, it's time to connect the supply lines. Follow the same steps as mentioned in the previous headings to ensure a proper connection. If you are not confident in your plumbing skills, it's always best to hire a professional to install the faucet for you. This will ensure that the installation is done correctly, and you won't have to worry about any potential leaks or damages in the future.5. How to Install a Kitchen Sink Faucet with Water Supply Lines
To summarize, here are the steps to connect a kitchen sink faucet to a water line: Step 1: Gather the necessary tools and supplies, including the faucet, supply lines, tape or thread sealant, and an adjustable wrench. Step 2: Turn off the water supply to the sink. Step 3: Attach the supply lines to the faucet and secure them with tape or thread sealant. Step 4: Connect the supply lines to the water supply line using an adjustable wrench. Step 5: Check for leaks and tighten the connections if necessary.6. Connecting a Kitchen Sink Faucet to a Water Line: Step-by-Step Guide
Here are a few tips and tricks to keep in mind when installing a kitchen sink faucet: - Make sure to turn off the water supply before starting the installation to avoid any water damage or accidents. - Use flexible supply lines for easier installation and maneuverability. - Use tape or thread sealant to ensure a tight and leak-free connection. - Double-check the connections for any leaks before using the faucet.7. Kitchen Sink Faucet Water Line Installation: Tips and Tricks
If you are new to DIY plumbing projects, connecting a kitchen sink faucet to a water supply line may seem intimidating. However, with the right tools and steps, it can be easily done. Follow the guide mentioned above and don't hesitate to seek professional help if needed.8. How to Connect a Kitchen Sink Faucet to a Water Supply Line: A Beginner's Guide
Some common mistakes to avoid when connecting a kitchen sink faucet to a water line include: - Over-tightening the connections, which can damage the threads. - Using the wrong type of supply lines. - Not checking for leaks after installation. Make sure to follow the steps carefully and take your time to avoid these mistakes and ensure a successful installation.9. Kitchen Sink Faucet Water Line Connection: Common Mistakes to Avoid
Connecting a kitchen sink faucet to a water line may seem like a daunting task, but with the right guidance, it can be easily done as a DIY project. Not only is it a more affordable option, but it also gives you the satisfaction of completing a home improvement task on your own. However, if you are not confident in your skills, it's best to seek professional help to avoid any potential damages or accidents. With the right tools and knowledge, you can have a properly connected kitchen sink faucet that provides clean water for all your household needs.10. DIY Kitchen Sink Faucet Water Line Connection: Easy and Affordable Method
Why Choosing the Right Kitchen Sink Faucet Connection to Waterline is Important
Efficient Water Usage
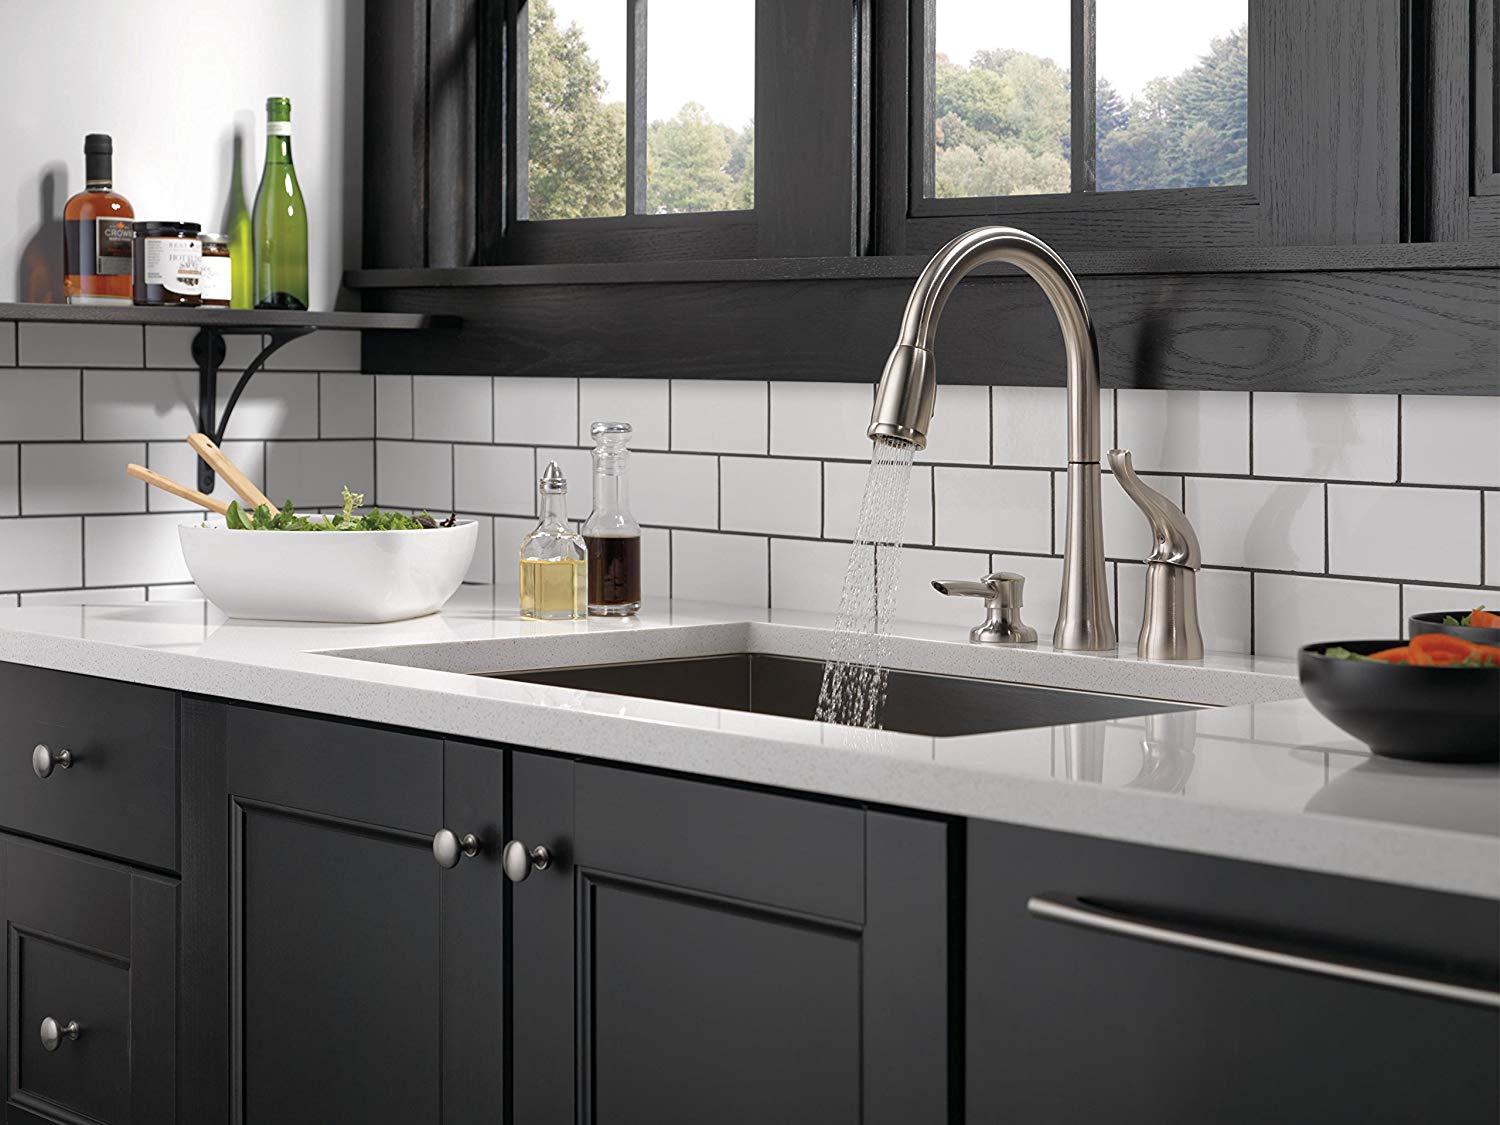
 When it comes to designing a house, every detail matters. This includes choosing the right kitchen sink faucet and its connection to the waterline.
Efficient water usage
is a crucial factor to consider, not only for
sustainability
purposes but also for cost-saving measures. With the right faucet and waterline connection, you can
minimize water wastage
and
lower your water bill
. Look for
low-flow faucets
that have a
WaterSense label
, which means they use
20% less water
than traditional faucets without compromising on performance.
Enhanced Functionality
 The
connection between the kitchen sink faucet and waterline
has a significant impact on the functionality of your kitchen. A
poorly installed
or
defective
connection can lead to
leaks and water pressure issues
, making it difficult to perform everyday tasks like washing dishes or filling up pots. By choosing a
high-quality faucet
with a
properly installed
connection to the waterline, you can ensure that your kitchen functions smoothly and efficiently.
Improved Aesthetics
 A kitchen sink faucet is not just a functional element, but also a
decorative piece
in your kitchen. The right faucet and waterline connection can
enhance the overall aesthetics
of your kitchen. Consider the
style and finish
of the faucet that will complement your kitchen design and
create a cohesive look
. Additionally, the
placement
of the faucet and how it connects to the waterline can also affect the overall visual appeal of your kitchen.
Longevity and Durability
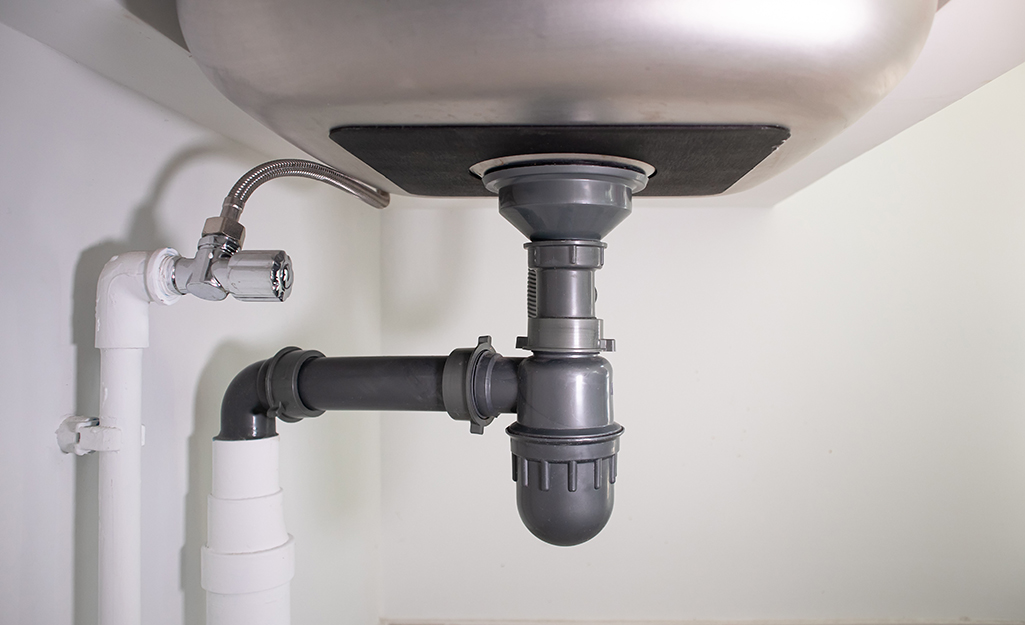 Investing in a quality faucet and ensuring a proper connection to the waterline can also
increase its longevity and durability
. A
well-made faucet
with a
secure and efficient connection
can withstand frequent use and last for many years. This can save you from the hassle and cost of having to replace a faulty faucet or fix waterline connection issues in the future.
In conclusion, choosing the right kitchen sink faucet and its connection to the waterline is crucial for
efficient water usage
,
enhanced functionality and aesthetics
, and
longevity and durability
. By considering these factors and investing in quality products, you can create a functional and beautiful kitchen that will last for years to come.


