How to Fix a Leaky Kitchen Faucet
A leaky kitchen faucet can be a major inconvenience, causing water waste and potentially leading to bigger problems if left unrepaired. But don't worry, fixing a leaky kitchen faucet is easier than you might think. With just a few tools and some basic knowledge, you can tackle this repair on your own.
The first step in fixing a leaky kitchen faucet is to determine the cause of the leak. In most cases, the cause will be a worn out or faulty part that needs to be replaced. The most common parts that may need replacing are the O-ring, cartridge, or valve seat. You can identify which part is causing the issue by taking apart your faucet and inspecting each part.
Once you have identified the faulty part, you can either replace it yourself or seek the help of a professional plumber. If you choose to replace it yourself, make sure to turn off the water supply and follow the manufacturer's instructions carefully. It's also a good idea to have a bucket or towel handy to catch any excess water that may come out during the repair process.
If you are replacing the cartridge, make sure to clean the area thoroughly before installing the new one. This will help ensure a tight seal and prevent any future leaks. Once the new part is installed, turn the water supply back on and test your faucet to make sure the leak has been fixed.


How to Fix a Leaky Kitchen Faucet


How to Repair a Leaky Kitchen Faucet
If you're not comfortable with taking apart your faucet and replacing parts, there are some other simple solutions that can help repair a leaky kitchen faucet. One option is to use a leak-proof tape, such as Teflon tape, to wrap around the area where the leak is occurring. This will help create a stronger seal and prevent water from leaking out.
Another option is to use a faucet repair kit, which includes all the necessary parts and instructions to fix a leaky faucet. These kits are often available at hardware stores and can be a quick and easy solution for those who are not experienced with faucet repairs.


How to Repair a Leaky Kitchen Faucet


Kitchen Sink Faucet Leak Repair: Step-by-Step Guide
If you're feeling confident and want to tackle the repair yourself, here is a step-by-step guide to help you fix a leaky kitchen faucet:
Step 1: Turn off the water supply to your faucet. You can usually find the shut-off valve under the sink.
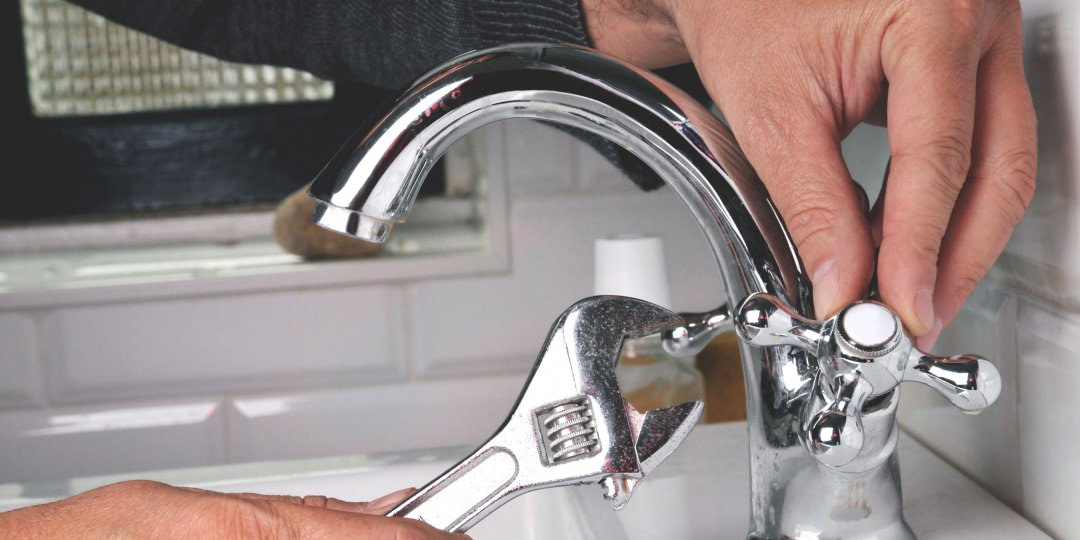
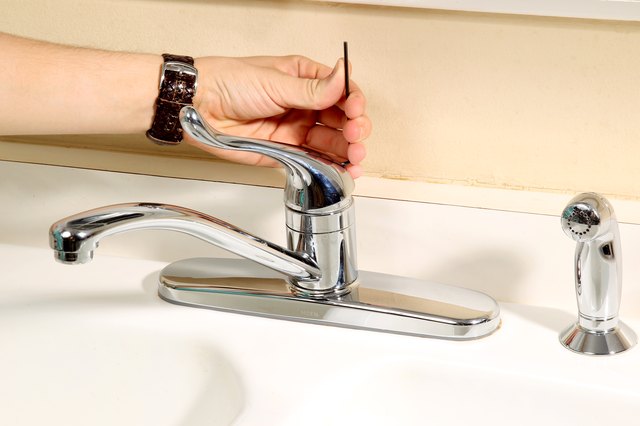
Step 2: Remove the handle of your faucet. This can usually be done by unscrewing a small screw on the back or top of the handle.
Step 3: Once the handle is removed, you should be able to see the cartridge or valve seat. Inspect these parts for any signs of wear or damage.
Step 4: If there are any damaged parts, remove them and replace them with new ones. Make sure to clean the area before installing the new part.
Step 5: Put the handle back on and turn the water supply back on. Test your faucet to make sure the leak has been fixed.


Kitchen Sink Faucet Leak Repair: Step-by-Step Guide


DIY Kitchen Sink Faucet Leak Repair
If you're a handy person and enjoy tackling home repairs on your own, fixing a leaky kitchen faucet can be a satisfying project. Not only will you save money on hiring a professional, but you'll also gain a sense of accomplishment from successfully completing the repair.
To make the process even easier, consider purchasing a faucet repair kit or watching online tutorials for step-by-step instructions. With the right tools and knowledge, you can fix your leaky kitchen faucet in no time.


DIY Kitchen Sink Faucet Leak Repair


Kitchen Sink Faucet Leak Repair: Common Causes and Solutions
There are several common causes of a leaky kitchen faucet, including worn out parts, loose connections, or mineral build-up. However, the most common cause is a worn out O-ring, which is a small rubber ring that helps create a seal between the faucet and the handle.
The solution to a leaky kitchen faucet will depend on the cause of the leak. In most cases, replacing the faulty part or cleaning the area can fix the issue. However, if the leak is caused by a more serious problem, such as a cracked pipe, it may be best to seek the help of a professional plumber.


Kitchen Sink Faucet Leak Repair: Common Causes and Solutions


Quick and Easy Kitchen Sink Faucet Leak Repair
If you don't have the time or patience to take apart your faucet and replace parts, there are some quick and easy solutions that can help temporarily fix a leaky kitchen faucet. One option is to use a plumber's putty to seal the area where the leak is occurring. Another option is to use a leak-proof tape, such as Teflon tape, to wrap around the area and create a tight seal.


Quick and Easy Kitchen Sink Faucet Leak Repair


Kitchen Sink Faucet Leak Repair: Tools and Materials Needed
If you're planning to fix your leaky kitchen faucet yourself, here are some tools and materials you may need:
Tools: Adjustable wrench, screwdriver, pliers, bucket, towel.
Materials: Replacement parts (O-ring, cartridge, valve seat), plumber's putty, leak-proof tape, Teflon tape.

Kitchen Sink Faucet Leak Repair: Tools and Materials Needed

Professional Kitchen Sink Faucet Leak Repair Services
If you're not comfortable with attempting to fix your leaky kitchen faucet yourself, or if the problem seems too complex, it's best to seek the help of a professional plumber. They have the tools, knowledge, and experience to properly diagnose and fix the issue.
When choosing a professional, make sure to do your research and read reviews to ensure you're hiring a reputable and experienced plumber. You can also ask for recommendations from friends or family who have had similar repairs done.


Professional Kitchen Sink Faucet Leak Repair Services


Kitchen Sink Faucet Leak Repair: Troubleshooting Tips
If you've attempted to fix your leaky kitchen faucet but the problem persists, here are some troubleshooting tips that may help:
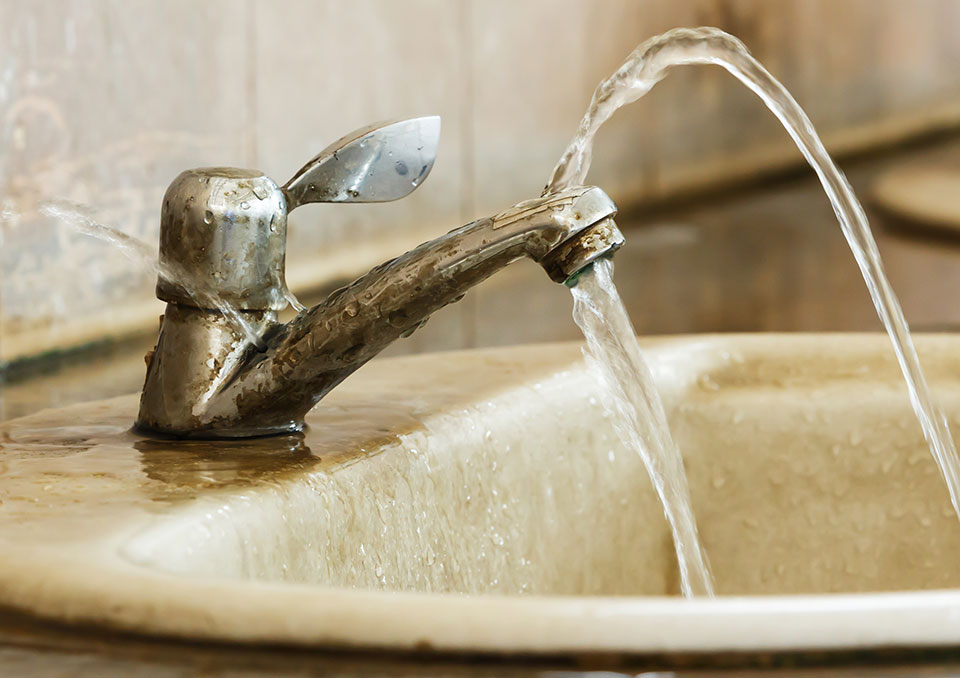
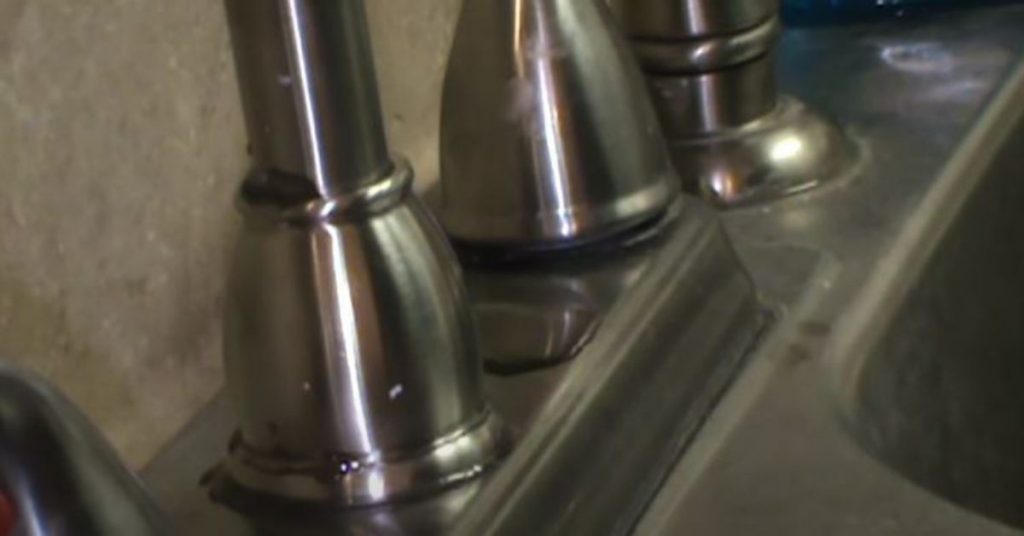
Problem: Water is leaking from the base of the faucet.
Solution: The issue may be caused by a loose connection. Make sure all connections are tight and secure.
Problem: Water is leaking from the handle when the faucet is turned on.
Solution: This may be caused by a worn out O-ring. Try replacing the O-ring or using a leak-proof tape to create a tighter seal.
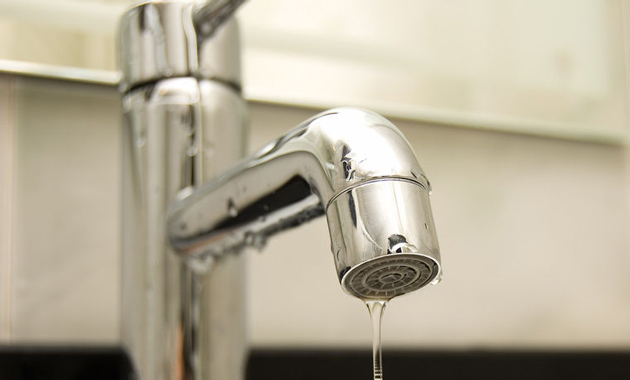
Problem: Water is leaking from the sprayer or detachable head of the faucet.
Solution: The problem may be caused by a damaged or clogged aerator. Try cleaning or replacing the aerator to see if this solves the issue.


Kitchen Sink Faucet Leak Repair: Troubleshooting Tips


Preventing Kitchen Sink Faucet Leaks: Maintenance Tips
The best way to prevent kitchen sink faucet leaks is to properly maintain your faucet. This includes regularly cleaning and inspecting it for any signs of wear or damage. It's also important to fix any leaks as soon as they occur to prevent further damage and water waste.
Additionally, make sure to use your faucet correctly and avoid using excessive force or over-tightening the handle. This can cause unnecessary wear and tear on the parts, leading to leaks.
By following these maintenance tips, you can help extend the lifespan of your kitchen faucet and prevent any potential leaks in the future.

Preventing Kitchen Sink Faucet Leaks: Maintenance Tips


How to Repair a Leaky Kitchen Sink Faucet: A Step-by-Step Guide

Introduction
 When it comes to house design, the kitchen is often considered the heart of the home. It's where we gather to cook, eat, and spend time with loved ones. However, a leaky kitchen sink faucet can quickly put a damper on your daily routine. Not only is it an inconvenience, but it can also waste water and increase your utility bills. That's why knowing how to repair a leaky kitchen sink faucet is an essential skill for any homeowner. In this article, we'll walk you through the process step-by-step, so you can fix the issue and get back to enjoying your kitchen.
Step 1: Gather Your Tools
 Before you start any repair work, make sure you have the necessary tools on hand. You will need an adjustable wrench, a flathead screwdriver, and a Phillips head screwdriver. It's also a good idea to have a bucket or large bowl to catch any excess water that may come out of the faucet.
Step 2: Shut Off the Water
 The first step in repairing a leaky kitchen sink faucet is to shut off the water supply. Look for the shut-off valves located under the sink and turn them clockwise to close them. If you can't find the valves or they are stuck, you may need to shut off the main water supply to your home.
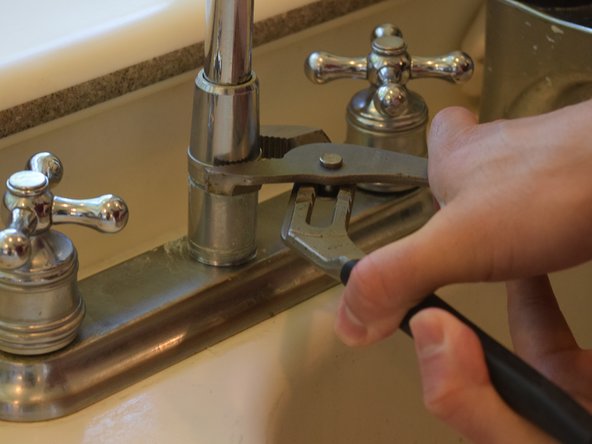
Step 3: Remove the Handle
 Using the appropriate screwdriver, remove the handle of your faucet. You may need to pry off a decorative cap or unscrew a set screw to remove the handle. Once the handle is off, you'll have access to the cartridge or valve stem.
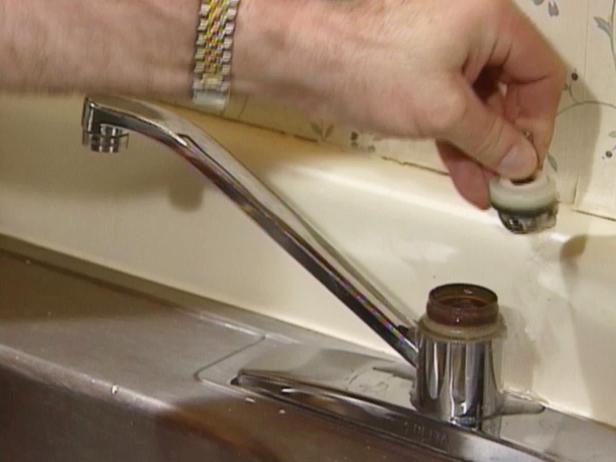
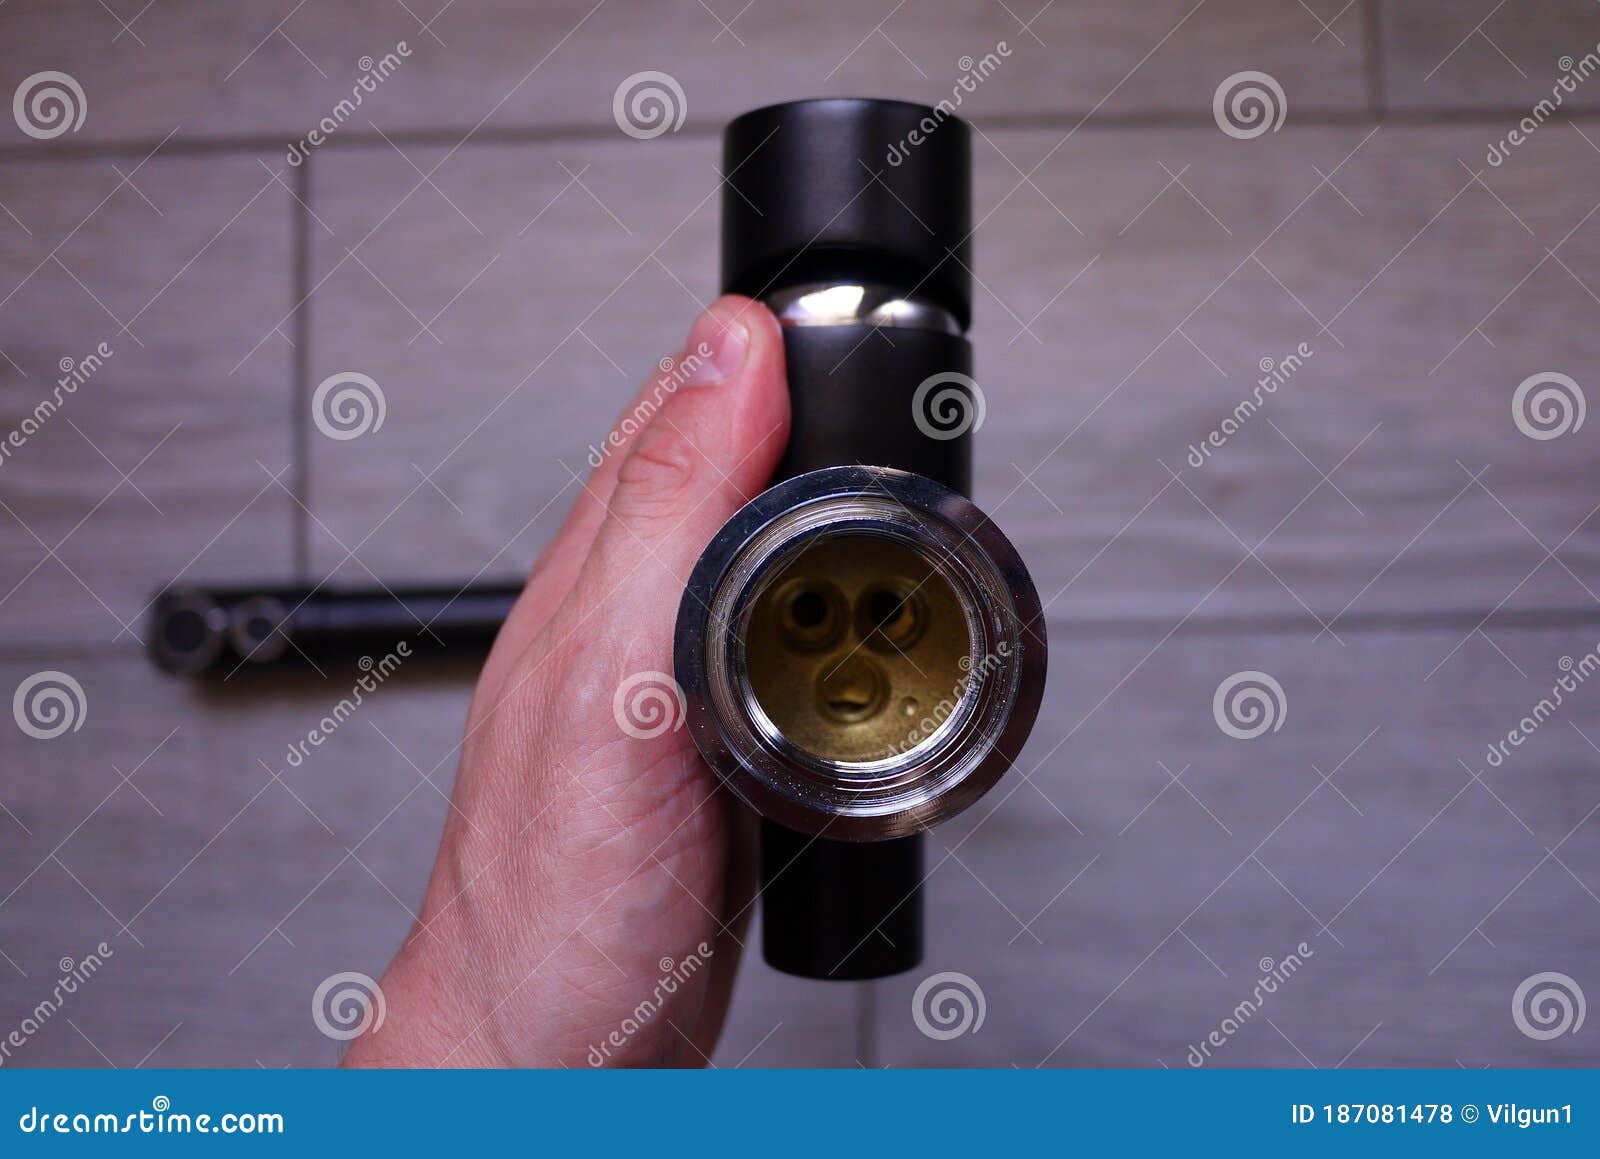
Step 4: Inspect the Cartridge or Valve Stem
 Carefully inspect the cartridge or valve stem to see if it is damaged or worn out. If it is, you will need to replace it with a new one. You can find replacement parts for your specific faucet at your local hardware store or online.
Step 5: Replace the Cartridge or Valve Stem
 Remove the old cartridge or valve stem and replace it with the new one. Make sure it is installed correctly and securely. If you are unsure, refer to the manufacturer's instructions or seek the help of a professional.
Step 6: Reassemble the Faucet
 Once the new cartridge or valve stem is in place, reassemble the faucet in the reverse order that you took it apart. Make sure all screws and fittings are tight and secure.
Step 7: Turn the Water Back On
 Finally, turn the water supply back on and test your faucet. If there are no more leaks, you have successfully repaired your kitchen sink faucet. If the issue persists, you may need to seek the help of a plumber.
Keywords: repair a leaky kitchen sink faucet, house design, kitchen, faucet, homeowner, water, utility bills, tools, adjustable wrench, flathead screwdriver, Phillips head screwdriver, shut-off valves, main water supply, handle, cartridge, valve stem, replace, reassemble, plumber
Finally, turn the water supply back on and test your faucet. If there are no more leaks, you have successfully repaired your kitchen sink faucet. If the issue persists, you may need to seek the help of a plumber.
Keywords: repair a leaky kitchen sink faucet, house design, kitchen, faucet, homeowner, water, utility bills, tools, adjustable wrench, flathead screwdriver, Phillips head screwdriver, shut-off valves, main water supply, handle, cartridge, valve stem, replace, reassemble, plumber
In conclusion, a leaky kitchen sink faucet may seem like a minor issue, but it can have a significant impact on your daily life and finances. By following these simple steps, you can save yourself time and money by repairing the faucet yourself. However, if you are uncomfortable with DIY repairs or the issue persists, it's always best to seek the help of a professional. With a properly functioning kitchen sink faucet, you can continue to enjoy the heart of your home without any interruptions.