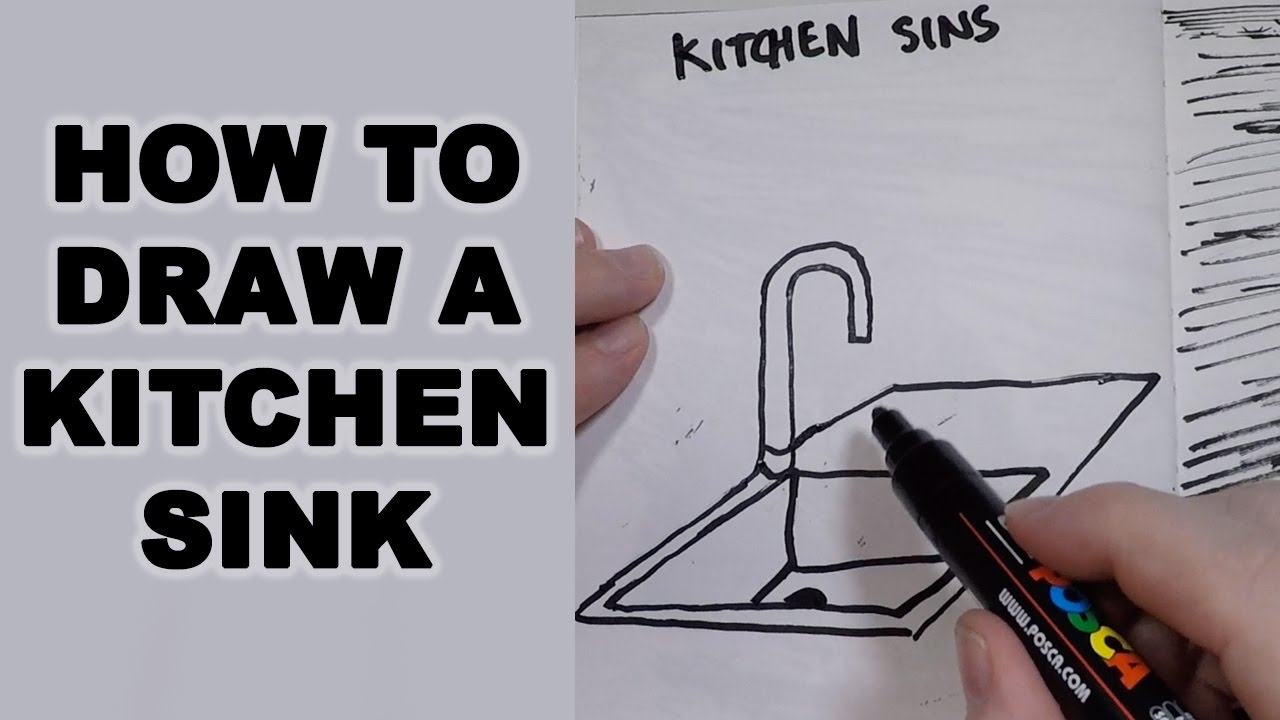
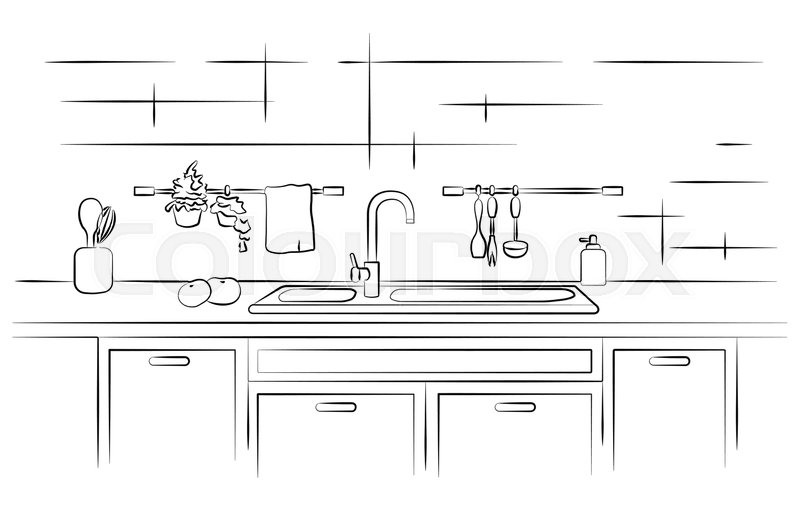
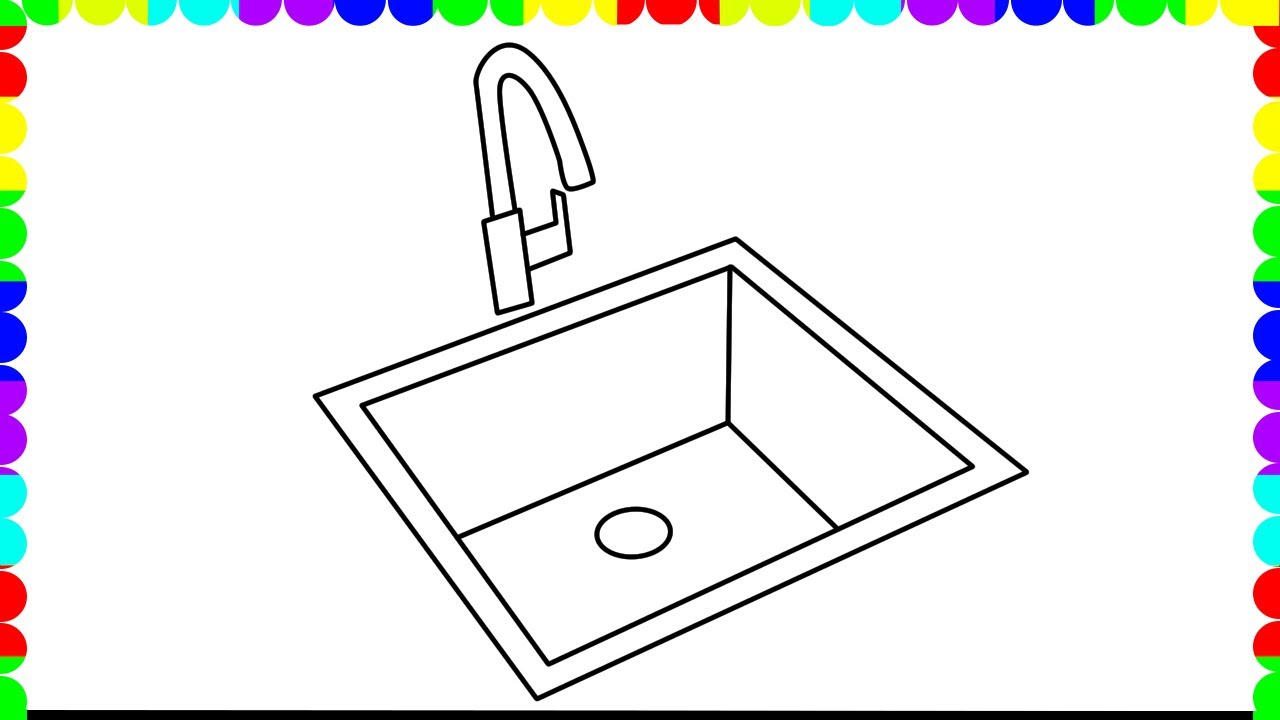
How to Draw a Kitchen Sink
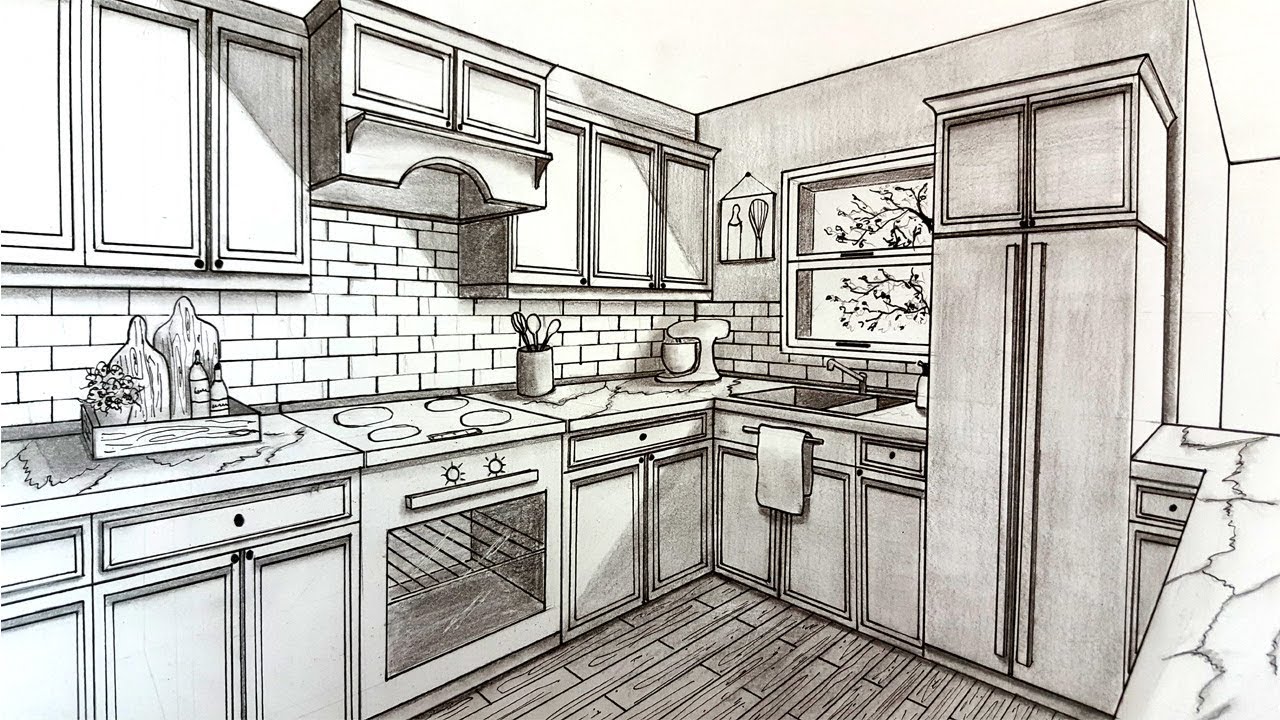
If you're looking to add some artistic flair to your kitchen decor, why not try drawing a kitchen sink? Not only is it a fun and creative activity, but it can also add a personal touch to your kitchen space. In this step by step tutorial, we'll show you how to draw a kitchen sink easily, making it perfect for beginners and experienced artists alike.


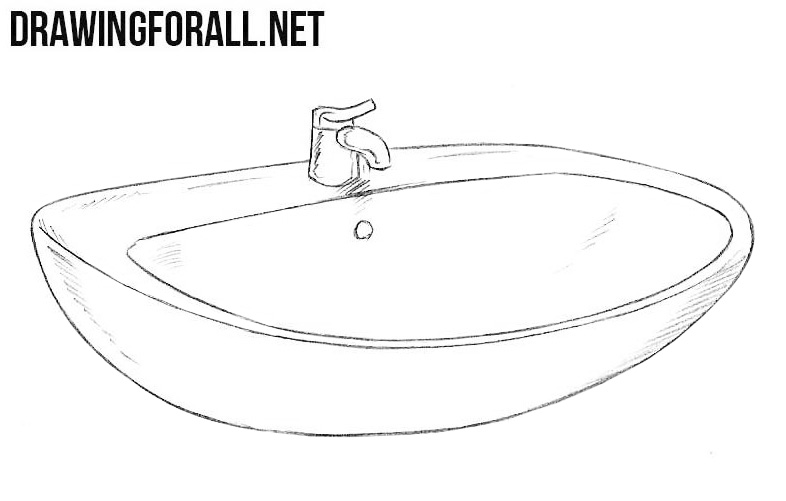
How to Draw a Kitchen Sink


Easy Kitchen Sink Drawing Tutorial
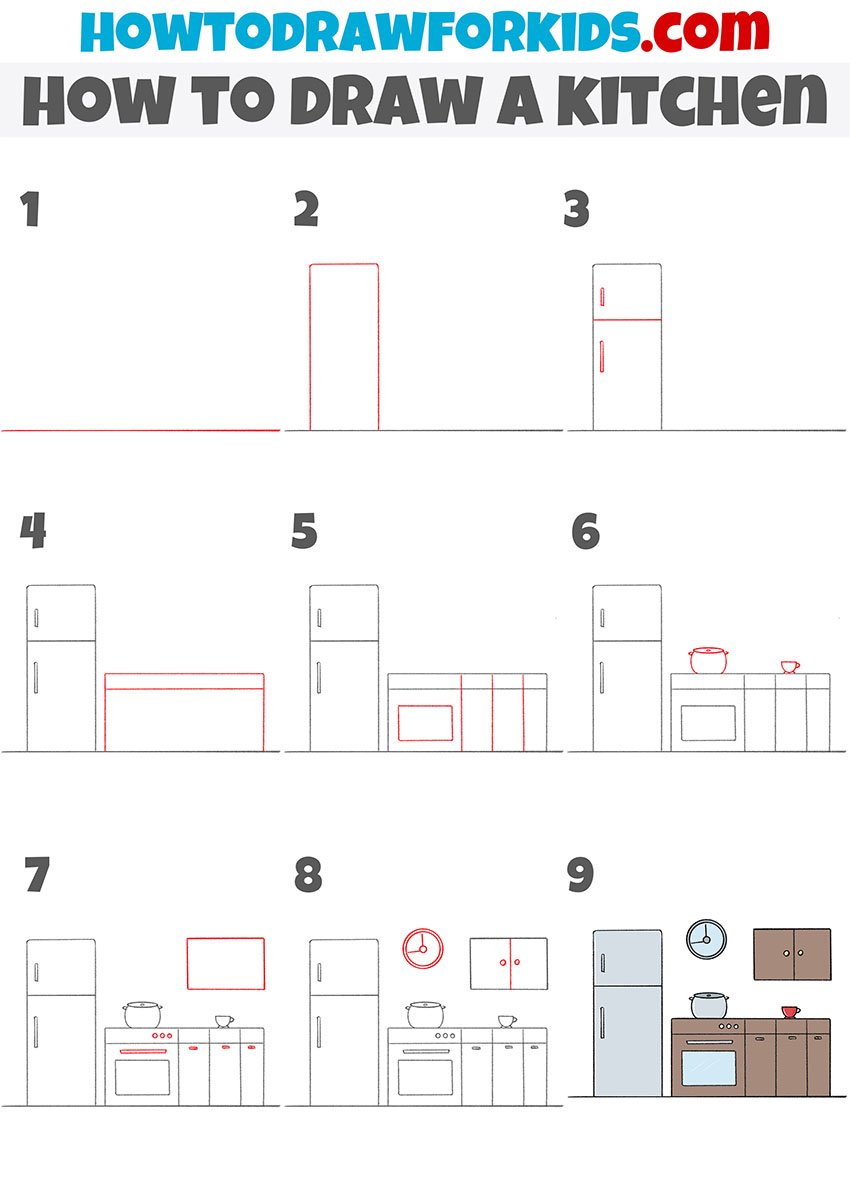
Let's get started with an easy kitchen sink drawing tutorial. First, gather your materials - a pencil, eraser, and a piece of paper. Then, follow these simple steps:
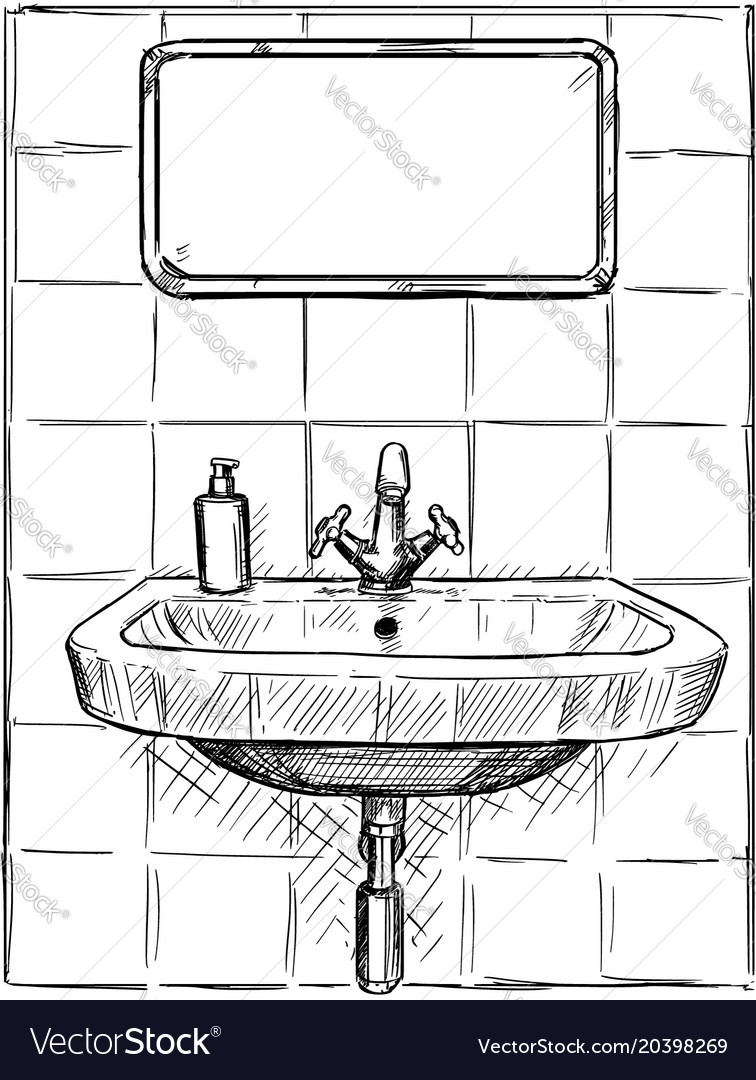
Step 1: Start by drawing a rectangle for the base of the sink. Make sure to leave some space at the top for the sink's edges.
Step 2: Next, draw a smaller rectangle on top of the base for the sink's edges. This will give it a more realistic look.
Step 3: Draw a curved line above the edges to create the sink's shape.
Step 4: Add a faucet by drawing a straight line in the center of the sink's shape. Then, draw a curved line above it for the faucet's handle.
Step 5: Draw a rectangle on the side of the sink for the soap dispenser.
Step 6: Add details such as the faucet spout, soap dispenser pump, and drain by drawing small shapes and lines.
Step 7: Erase any unnecessary lines and add shading or color to finish off your drawing.


Easy Kitchen Sink Drawing Tutorial


Step by Step Kitchen Sink Drawing
If you prefer a more detailed approach, here's a step by step kitchen sink drawing guide:
Step 1: Start by drawing a horizontal line for the sink's base. Then, draw two vertical lines on each side to create the sink's edges.
Step 2: Draw a curved line on top of the base to connect the edges and create the sink's shape.
Step 3: Add a faucet by drawing a long, thin rectangle in the center of the sink's shape. Then, draw a curved line above it for the handle.
Step 4: Next, draw a soap dispenser by drawing a rectangle on the side of the sink. Add a small circle on top for the pump.
Step 5: Draw a drain by making a small curved line at the bottom of the sink.
Step 6: Add details such as the faucet spout and soap dispenser pump by drawing small shapes and lines.
Step 7: Erase any unnecessary lines and add shading or color to bring your drawing to life.


Step by Step Kitchen Sink Drawing

Simple Kitchen Sink Sketch
If you prefer a more minimalist approach, here's a simple kitchen sink sketch that you can try:
Step 1: Start by drawing a rectangle for the sink's base.
Step 2: Next, draw two vertical lines on each side of the base to create the sink's edges.
Step 3: Draw a curved line on top of the base to connect the edges and create the sink's shape.
Step 4: Add a faucet by drawing a small rectangle in the center of the sink's shape.
Step 5: Draw a drain by making a small curved line at the bottom of the sink.
Step 6: Add some shading or color to give your sketch some dimension.


Simple Kitchen Sink Sketch

Basic Kitchen Sink Drawing
If you're just starting out with drawing, here's a basic kitchen sink drawing that you can try:
Step 1: Begin by drawing a rectangle for the sink's base.
Step 2: Next, draw two vertical lines on each side of the base for the sink's edges.
Step 3: Draw a curved line on top of the base to connect the edges and create the sink's shape.
Step 4: Add a faucet by drawing a small rectangle in the center of the sink's shape.
Step 5: Draw a drain by making a small curved line at the bottom of the sink.
Step 6: Add small details such as the faucet spout and drain by drawing small shapes and lines.
Step 7: Erase any unnecessary lines and add shading or color to complete your drawing.

Basic Kitchen Sink Drawing


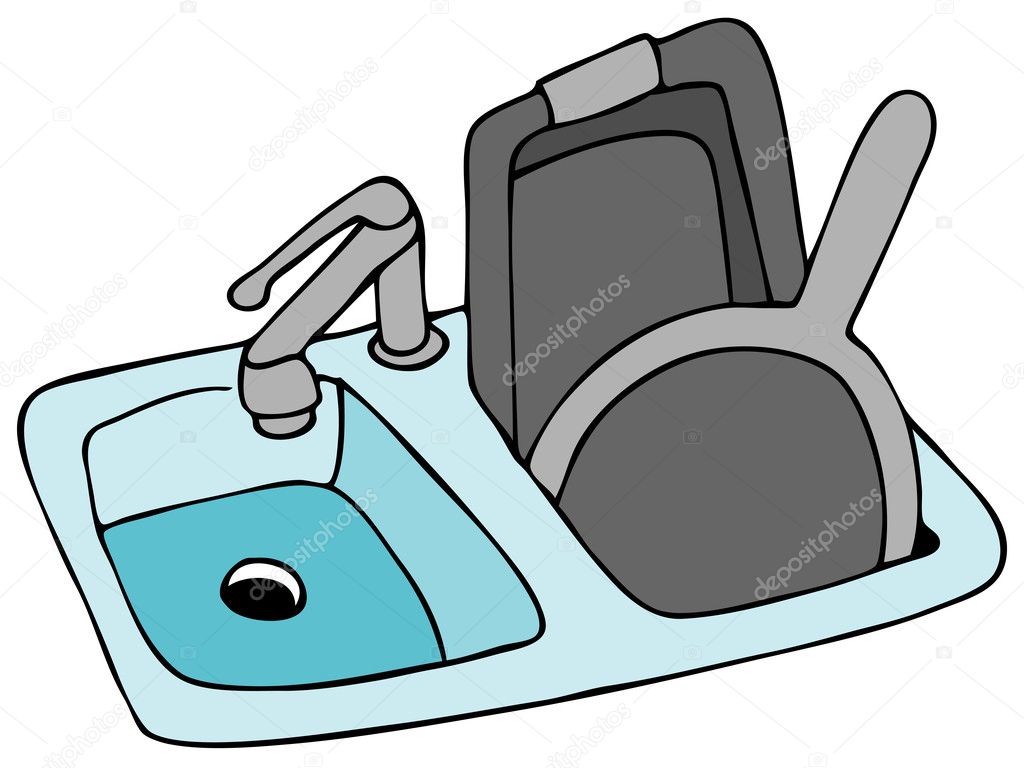
Cartoon Kitchen Sink Drawing
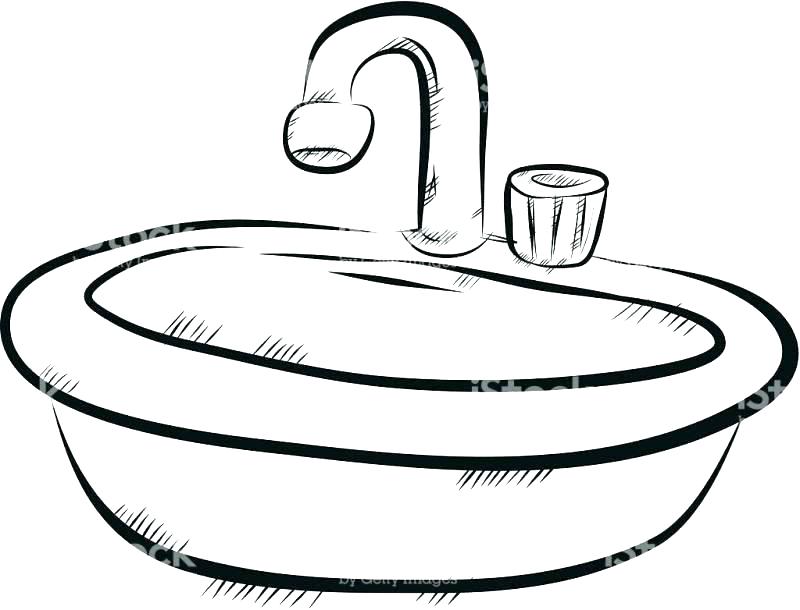
If you want to add a touch of fun and whimsy to your kitchen sink drawing, try drawing a cartoon version:
Step 1: Start by drawing a large rectangle for the sink's base.
Step 2: Next, draw two curved lines on each side of the base for the sink's edges.
Step 3: Draw a curved line on top of the base to connect the edges and create the sink's shape.
Step 4: Add a faucet by drawing a small rectangle in the center of the sink's shape. Then, add a curved line above it for the handle.
Step 5: Draw a drain by making a small curved line at the bottom of the sink.
Step 6: Add a face to your sink by drawing eyes, a nose, and a mouth.
Step 7: Add fun details such as bubbles or a scrub brush to give your cartoon sink some personality.


Cartoon Kitchen Sink Drawing


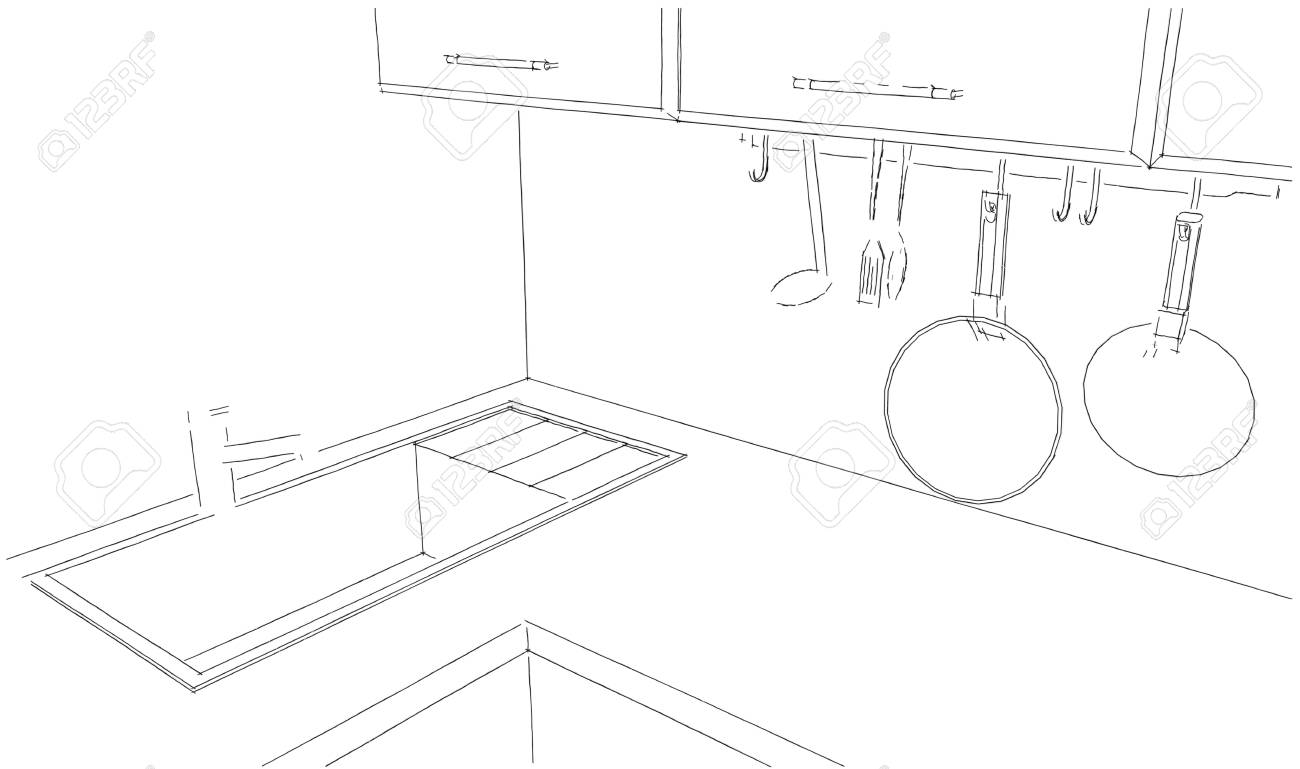
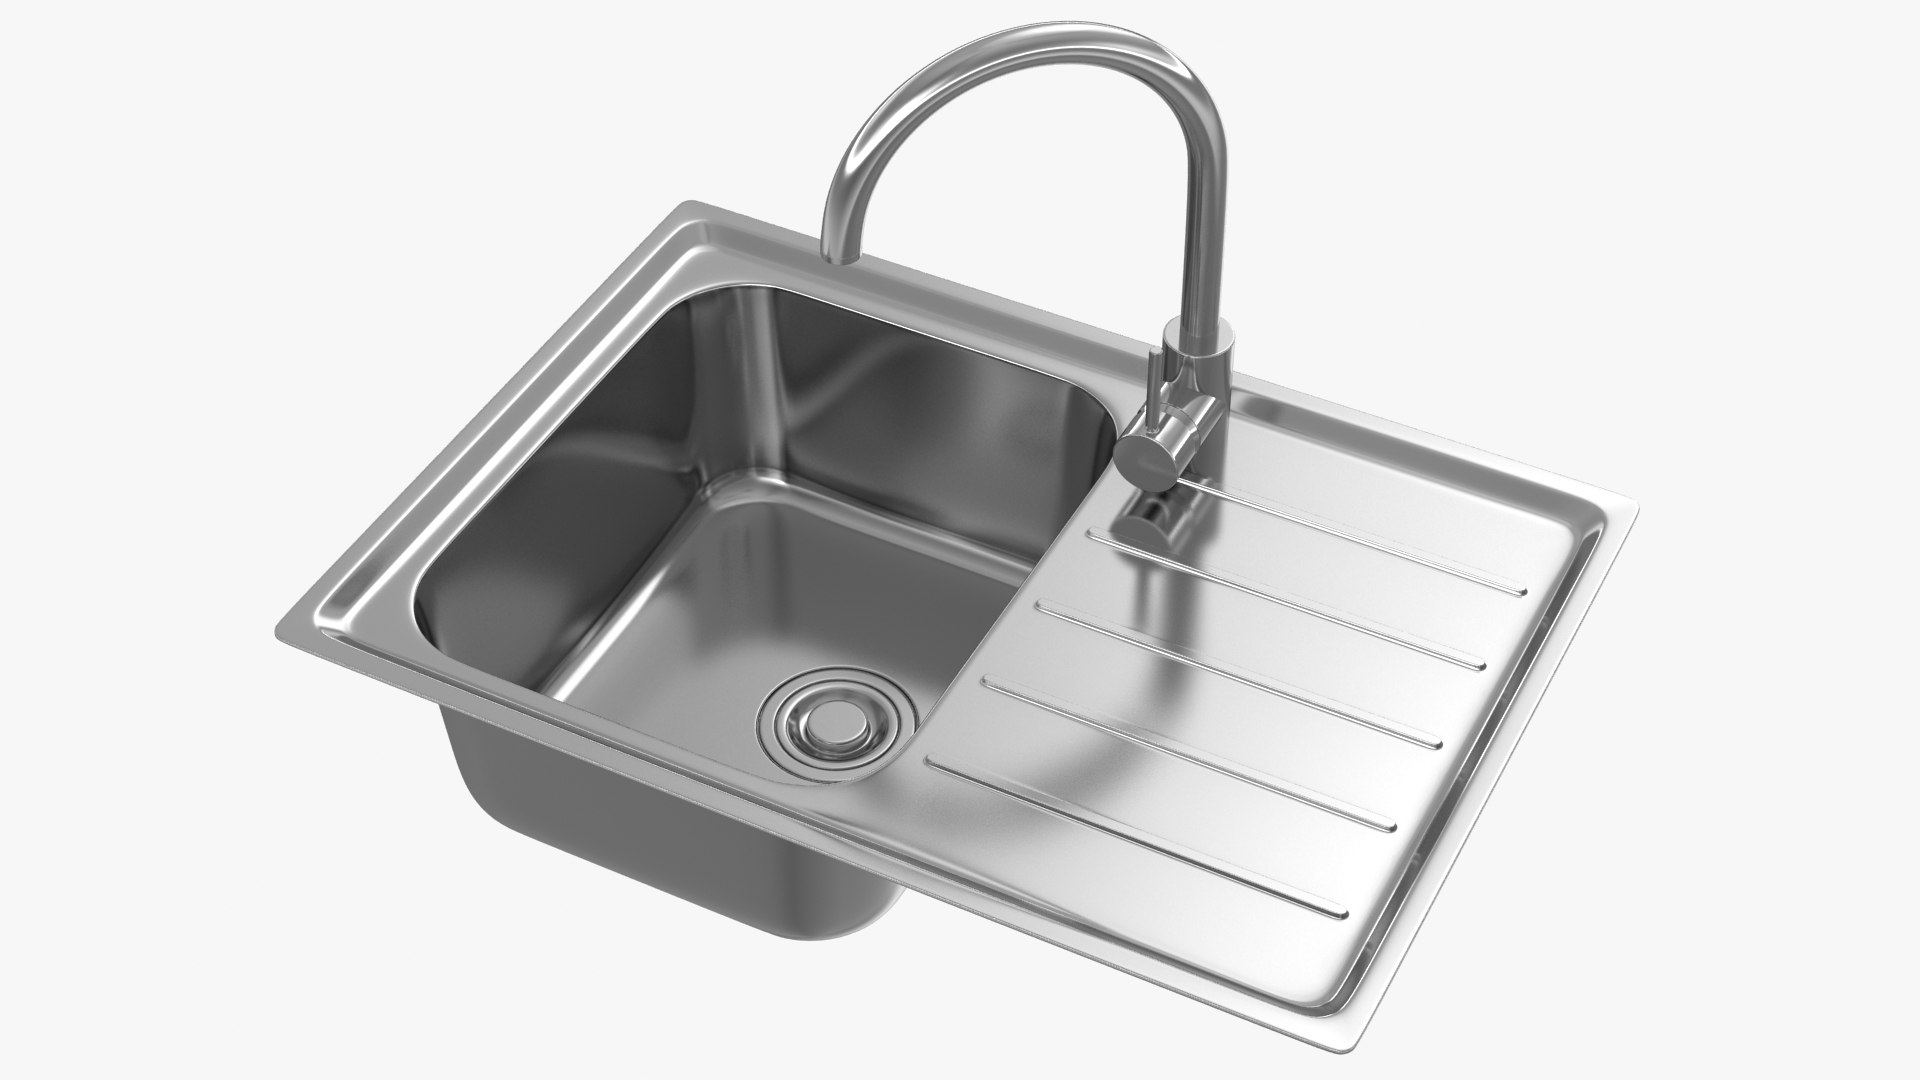
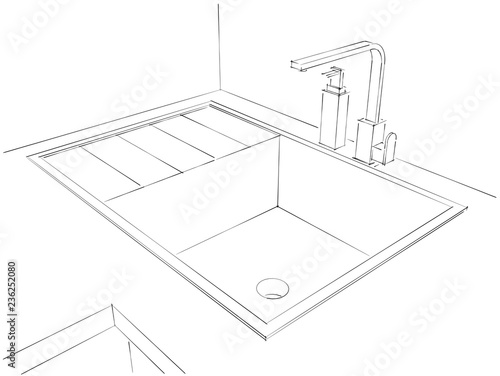
Realistic Kitchen Sink Illustration
If you want to challenge yourself and create a more realistic kitchen sink illustration, here's how:
Step 1: Begin by drawing a large rectangle for the sink's base.
Step 2: Next, draw two curved lines on each side of the base for the sink's edges.
Step 3: Draw a curved line on top of the base to connect the edges and create the sink's shape.
Step 4: Add a faucet by drawing a small rectangle in the center of the sink's shape. Then, add a curved line above it for the handle.
Step 5: Draw a soap dispenser by drawing a rectangle on the side of the sink. Add a small circle on top for the pump.
Step 6: Draw a drain by making a small curved line at the bottom of the sink.
Step 7: Add small details such as the faucet spout and drain by drawing small shapes and lines.
Step 8: Shade or add color to your illustration to give it a more realistic look.


Realistic Kitchen Sink Illustration


Beginner's Guide to Drawing a Kitchen Sink
If you're new to drawing, don't worry. This beginner's guide will help you create a kitchen sink drawing with ease:
Step 1: Start by drawing a horizontal line for the sink's base. Then, draw two vertical lines on each side to create the sink's edges.
Step 2: Draw a curved line on top of the base to connect the edges and create the sink's shape.
Step 3: Add a faucet by drawing a long, thin rectangle in the center of the sink's shape. Then, draw a curved line above it for the handle.
Step 4: Next, draw a soap dispenser by drawing a small rectangle on the side of the sink. Add a small circle on top for the pump.
Step 5: Draw a drain by making a small curved line at the bottom of the sink.
Step 6: Add details such as the faucet spout and soap dispenser pump by drawing small shapes and lines.
Step 7: Erase any unnecessary lines and add shading or color to bring your drawing to life.


Beginner's Guide to Drawing a Kitchen Sink


Quick and Easy Kitchen Sink Drawing
If you're short on time but still want to add a creative touch to your kitchen, try this quick and easy kitchen sink drawing:
Step 1: Begin by drawing a vertical line for the sink's base. Then, draw two horizontal lines on each side to create the sink's edges.
Step 2: Draw a curved line on top of the base to connect the edges and create the sink's shape.
Step 3: Add a faucet by drawing a small rectangle in the center of the sink's shape.
Step 4: Draw a drain by making a small curved line at the bottom of the sink.
Step 5: Add small details such as the faucet spout and drain by drawing small shapes and lines.
Step 6: Erase any unnecessary lines and add shading or color to complete your drawing.


Quick and Easy Kitchen Sink Drawing

Minimalist Kitchen Sink Art
If you're a fan of minimalist art, this kitchen sink drawing is perfect for you:
Step 1: Start by drawing a horizontal line for the sink's base. Then, draw two vertical lines on each side to create the sink's edges.
Step 2: Draw a curved line on top of the base to connect the edges and create the sink's shape.
Step 3: Add a faucet by drawing a small rectangle in the center of the sink's shape.
Step 4: Draw a drain by making a small curved line at the bottom of the sink.
Step 5: Add small details such as the faucet spout and drain by drawing small shapes and lines.
Step 6: Add a pop of color or keep it simple with black and white lines to create a minimalist kitchen sink art piece.


Minimalist Kitchen Sink Art


The Importance of Kitchen Sink Drawings in House Design
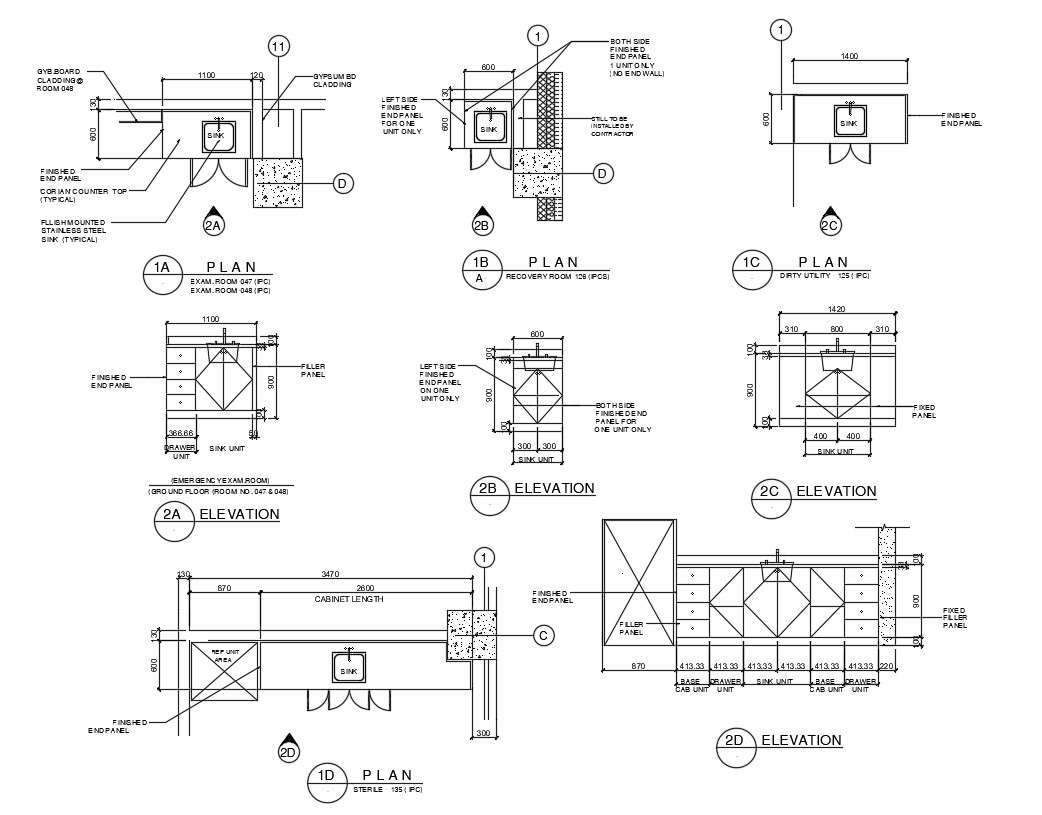
The Basics of Kitchen Sink Drawings
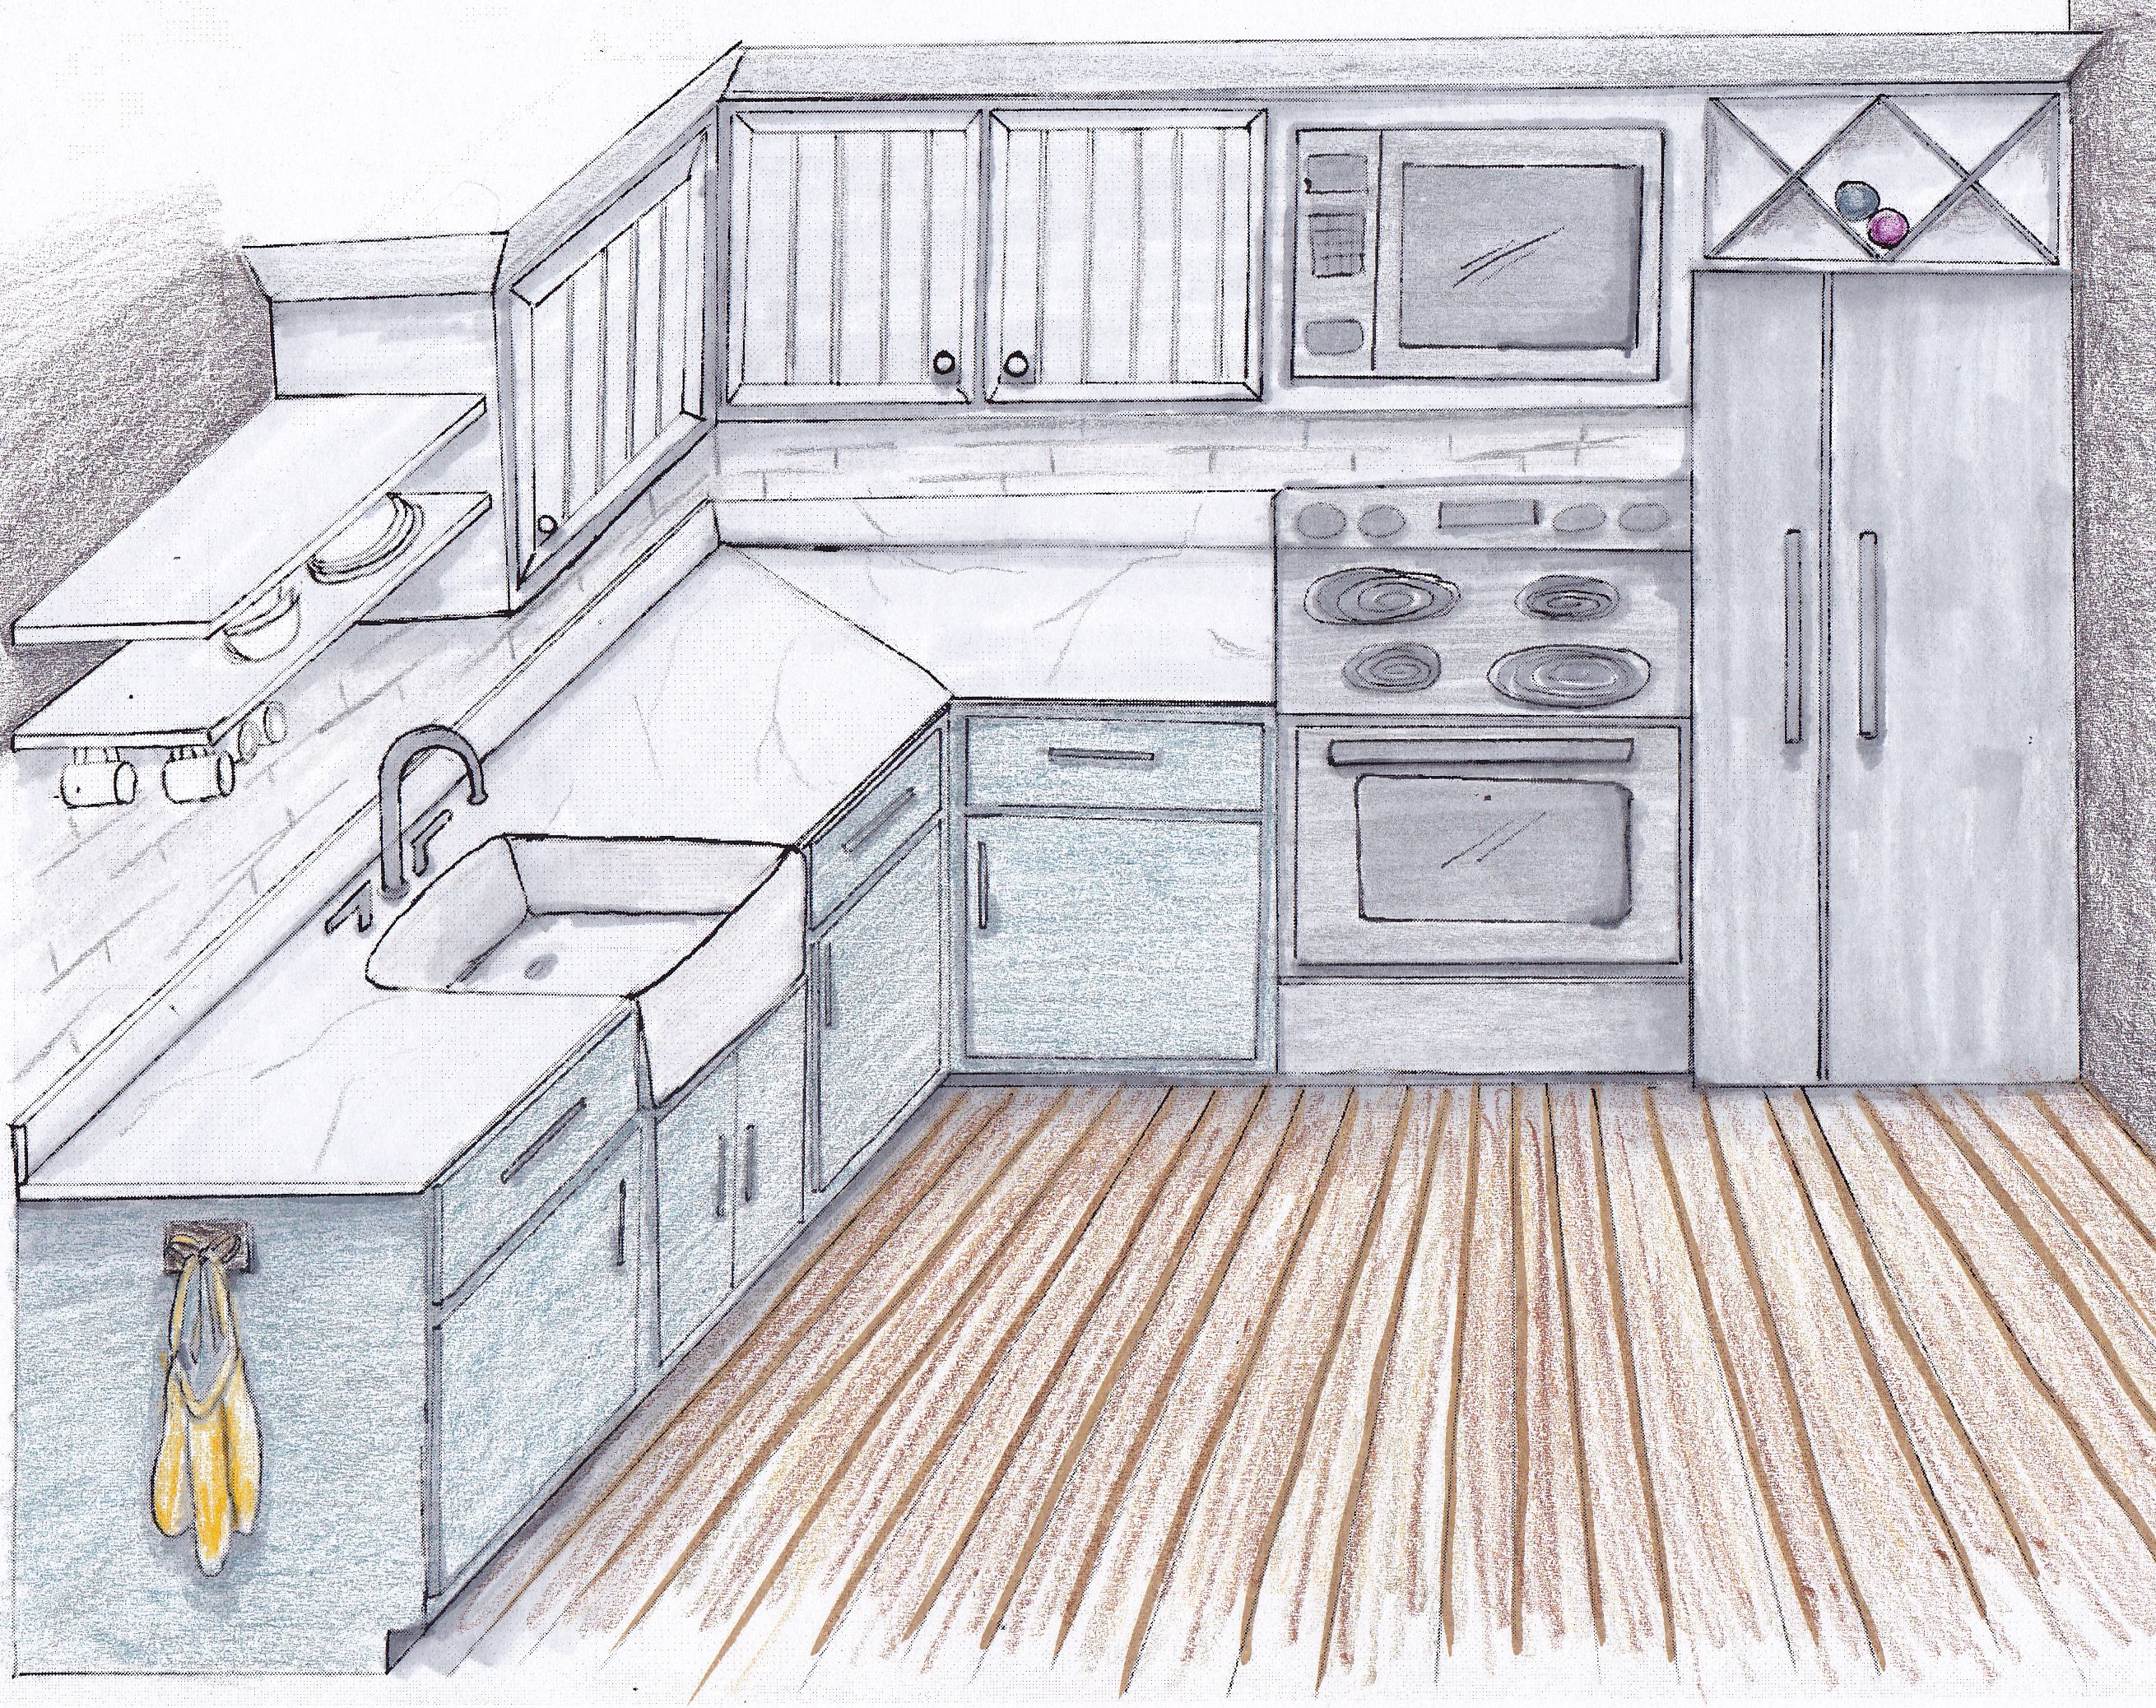
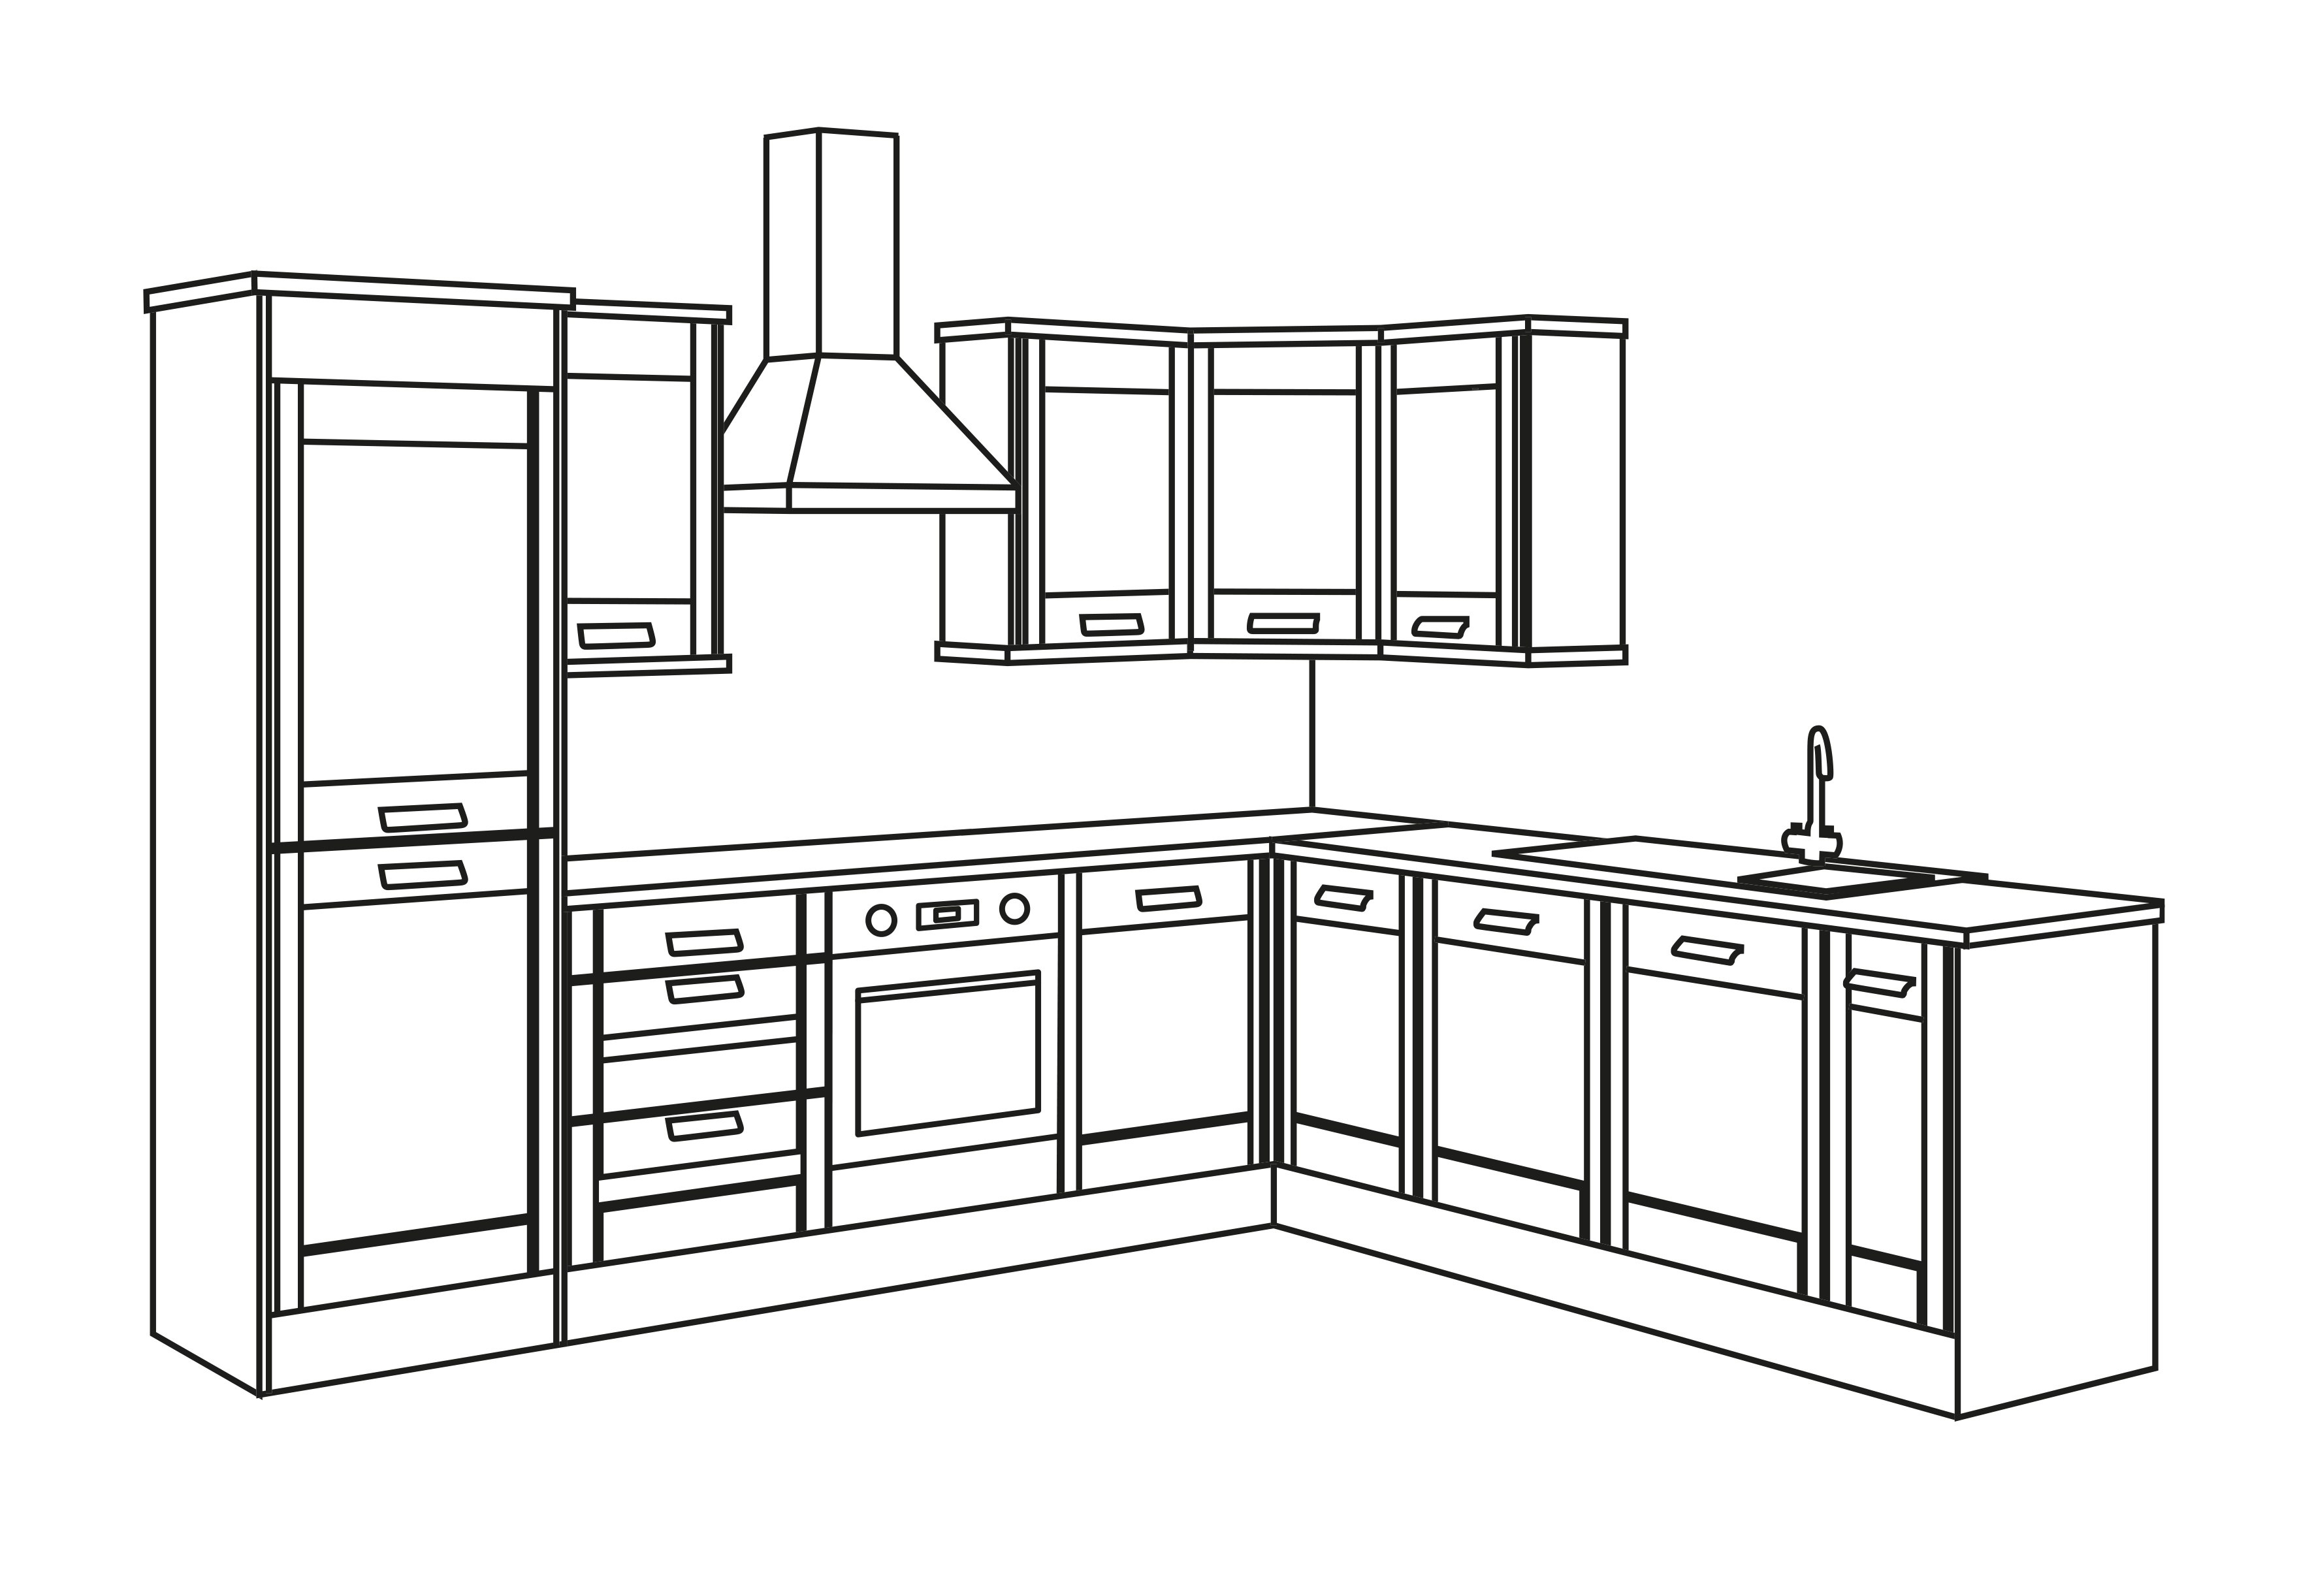
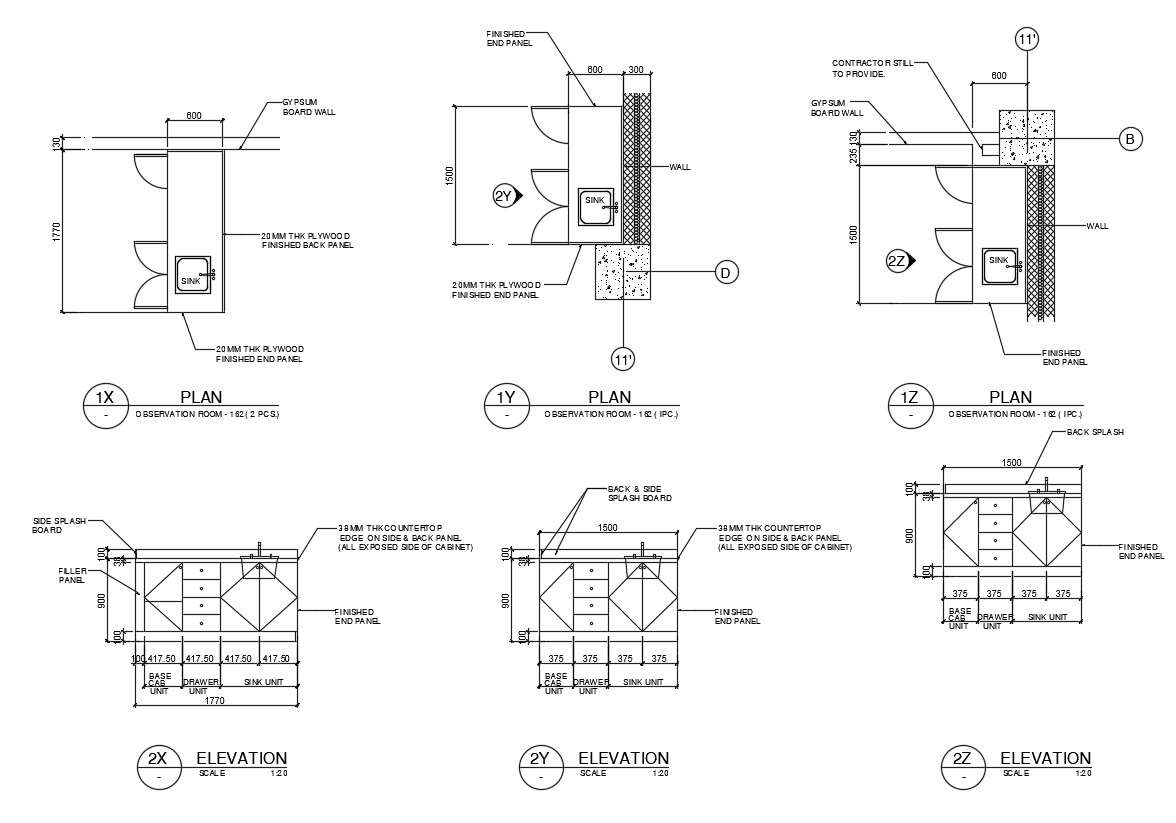
 When it comes to designing a house, one of the most important areas to focus on is the kitchen. This is where meals are prepared and memories are made, so it's essential to get the design just right. And one key element that cannot be overlooked is the kitchen sink. While it may seem like a small detail, the placement and design of the kitchen sink can have a big impact on the overall functionality and aesthetic of the space. That's where kitchen sink drawings come in.
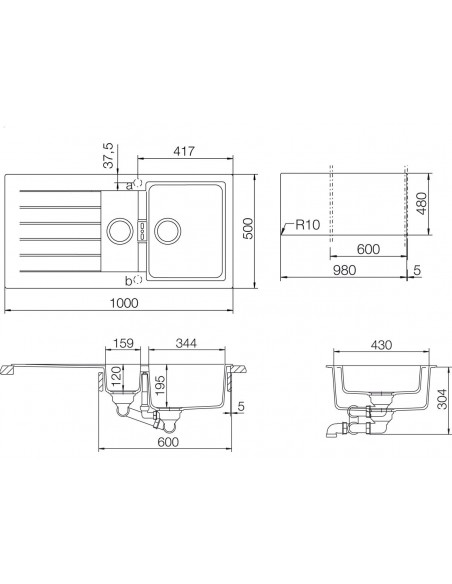
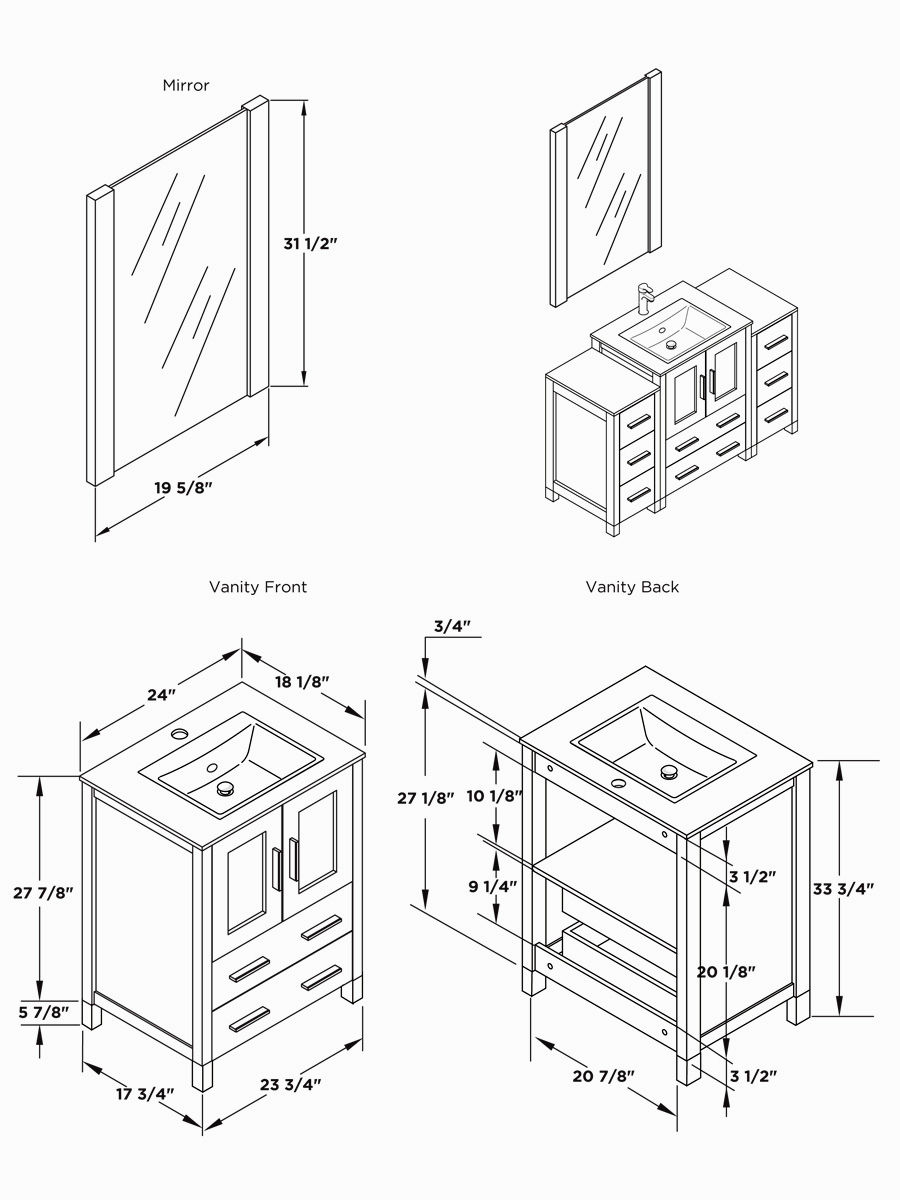
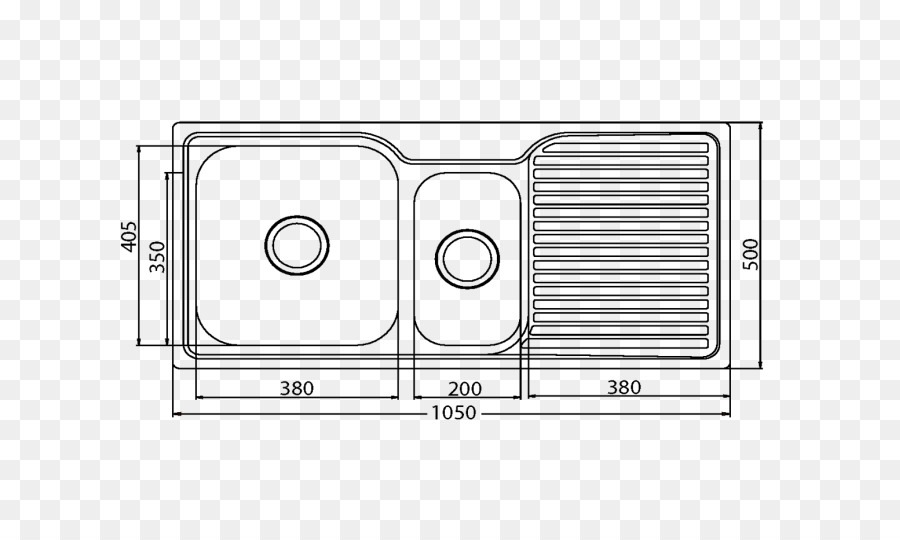
Kitchen sink drawings
are detailed illustrations of the kitchen sink area that show its dimensions, placement, and other important features. These drawings are often done by professional designers or architects, but they can also be created by homeowners who are looking to remodel their kitchen.
Easy kitchen sink drawings
are a great way to visualize the design and make any necessary adjustments before construction begins.
When it comes to designing a house, one of the most important areas to focus on is the kitchen. This is where meals are prepared and memories are made, so it's essential to get the design just right. And one key element that cannot be overlooked is the kitchen sink. While it may seem like a small detail, the placement and design of the kitchen sink can have a big impact on the overall functionality and aesthetic of the space. That's where kitchen sink drawings come in.
Kitchen sink drawings
are detailed illustrations of the kitchen sink area that show its dimensions, placement, and other important features. These drawings are often done by professional designers or architects, but they can also be created by homeowners who are looking to remodel their kitchen.
Easy kitchen sink drawings
are a great way to visualize the design and make any necessary adjustments before construction begins.
The Benefits of Kitchen Sink Drawings
 There are several benefits to creating
kitchen sink drawings
as part of the house design process. First and foremost, they allow for accurate planning and measurements. By having a detailed drawing of the kitchen sink area, designers can ensure that all the necessary elements, such as plumbing and electrical outlets, are properly placed and easily accessible.
Additionally, kitchen sink drawings can help with budgeting. By having a clear idea of the design and materials needed, homeowners can accurately estimate the cost of the project and make necessary adjustments to stay within budget. This can also prevent any unexpected expenses that may arise during the construction process.
There are several benefits to creating
kitchen sink drawings
as part of the house design process. First and foremost, they allow for accurate planning and measurements. By having a detailed drawing of the kitchen sink area, designers can ensure that all the necessary elements, such as plumbing and electrical outlets, are properly placed and easily accessible.
Additionally, kitchen sink drawings can help with budgeting. By having a clear idea of the design and materials needed, homeowners can accurately estimate the cost of the project and make necessary adjustments to stay within budget. This can also prevent any unexpected expenses that may arise during the construction process.
The Impact on House Design
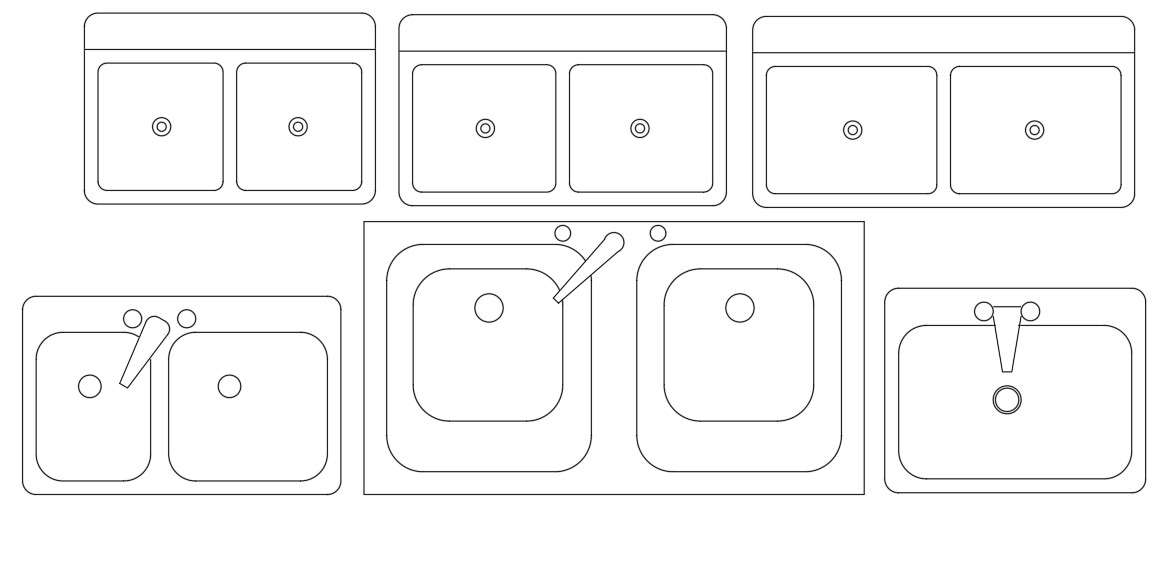
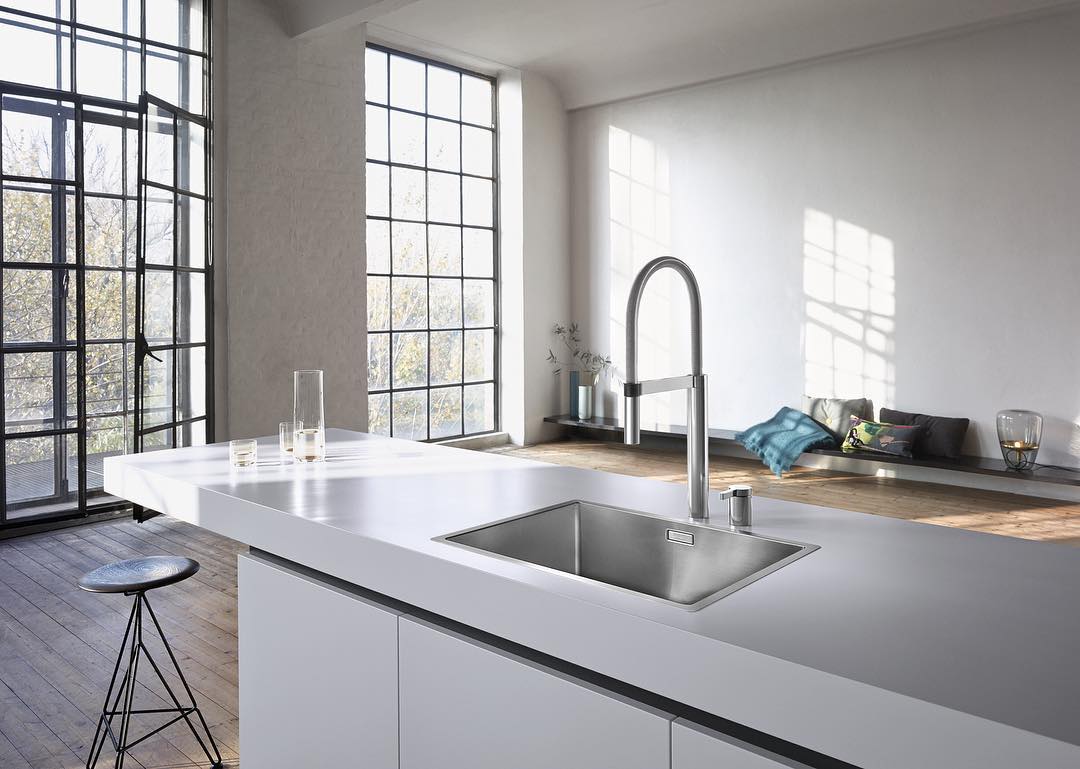
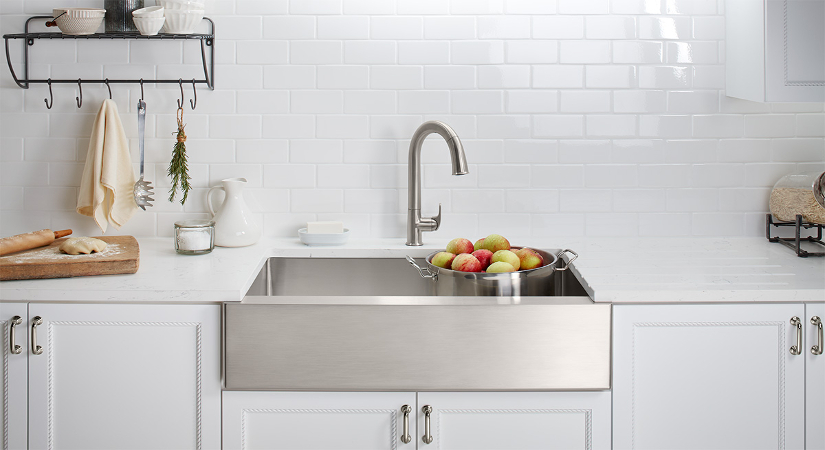
 The kitchen sink is not just a functional element in the kitchen, but it also has a significant impact on the overall design of the space. A well-designed kitchen sink can enhance the aesthetic of the kitchen and make it more visually appealing. It can also improve the flow and functionality of the space, making cooking and cleaning tasks easier and more efficient.
In addition,
kitchen sink drawings
allow for customization and personalization. Homeowners can choose from a variety of sink styles, materials, and configurations to create a unique and personalized design that fits their specific needs and preferences.
In conclusion,
kitchen sink drawings
may seem like a small detail in the grand scheme of house design, but they play a crucial role in creating a functional and visually appealing kitchen. With their accurate measurements and detailed illustrations, they are an essential tool for designers and homeowners alike. So if you're planning on remodeling your kitchen, don't forget to include
easy kitchen sink drawings
in your design process.
The kitchen sink is not just a functional element in the kitchen, but it also has a significant impact on the overall design of the space. A well-designed kitchen sink can enhance the aesthetic of the kitchen and make it more visually appealing. It can also improve the flow and functionality of the space, making cooking and cleaning tasks easier and more efficient.
In addition,
kitchen sink drawings
allow for customization and personalization. Homeowners can choose from a variety of sink styles, materials, and configurations to create a unique and personalized design that fits their specific needs and preferences.
In conclusion,
kitchen sink drawings
may seem like a small detail in the grand scheme of house design, but they play a crucial role in creating a functional and visually appealing kitchen. With their accurate measurements and detailed illustrations, they are an essential tool for designers and homeowners alike. So if you're planning on remodeling your kitchen, don't forget to include
easy kitchen sink drawings
in your design process.


