If you've noticed a leak coming from the top of your kitchen sink drain, it's important to address it as soon as possible. Not only can a leak cause damage to your sink and surrounding areas, but it can also lead to higher water bills. Luckily, fixing a leaky kitchen sink drain is a relatively simple task that you can do yourself. In this article, we'll discuss the top 10 ways to fix a kitchen sink drain leak at the top of the nut.How to Fix a Leaky Kitchen Sink Drain


How to Fix a Leaky Kitchen Sink Drain


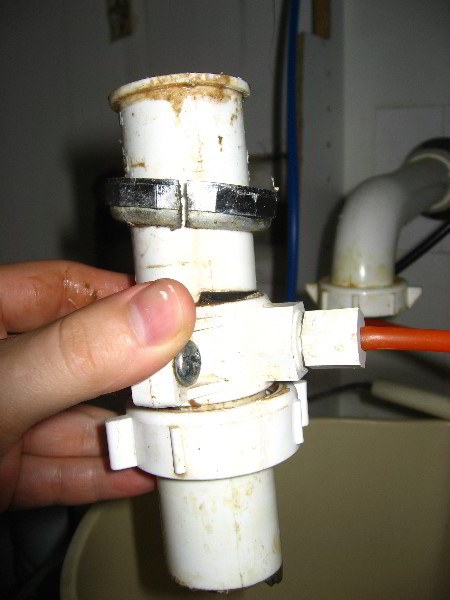
If you have a leak coming from the top of your kitchen sink drain, the first thing to check is the sink strainer. This is the basket-like piece that sits in the drain and catches food particles. Over time, the strainer can become loose or worn out, causing a leak. To fix this, you can tighten the strainer using a pair of pliers or replace it entirely if it is damaged beyond repair.How to Repair a Leaky Sink Strainer / Drain


How to Repair a Leaky Sink Strainer / Drain


In some cases, the leak may be coming from the actual drain itself. This can be caused by a damaged or worn out drain, or a loose connection between the drain and the sink. To fix this, you can try tightening the connection or replacing the drain altogether. If the leak is coming from a damaged drain, you will need to replace it with a new one.How to Fix a Leaky Sink Drain


How to Fix a Leaky Sink Drain


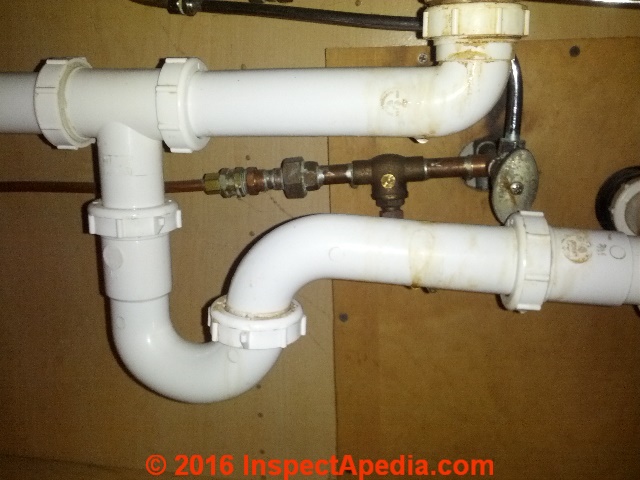
If the leak is coming from the pipe that connects the sink drain to the main plumbing line, you may need to replace the pipe. This is a bit more involved and may require some plumbing knowledge, so if you are unsure, it's best to call a professional. However, if you feel confident, you can purchase a new pipe and replace it yourself to fix the leak.How to Fix a Leaky Kitchen Sink Drain Pipe

How to Fix a Leaky Kitchen Sink Drain Pipe

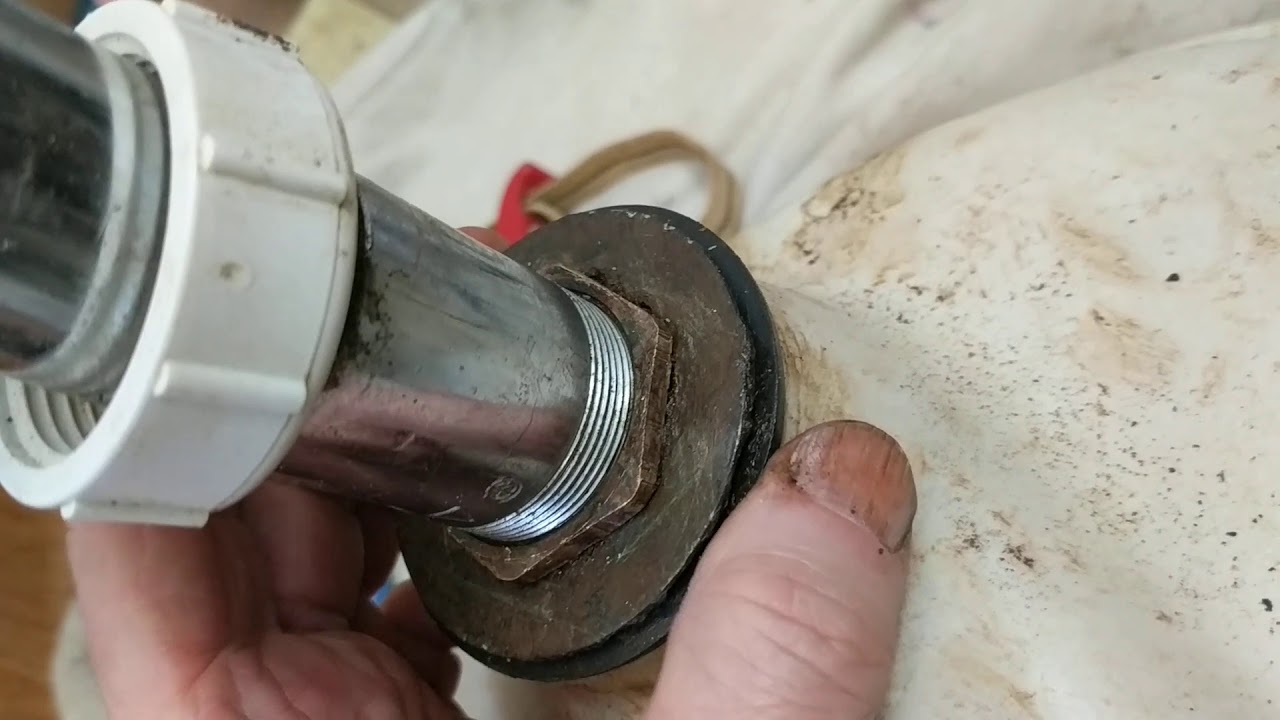
The flange is the piece that connects the sink drain to the sink itself. Over time, it can become damaged or loose, causing a leak. To fix this, you will need to remove the old flange and replace it with a new one. This may require some plumbing knowledge, so if you are unsure, it's best to call a professional.How to Fix a Leaky Kitchen Sink Drain Flange


How to Fix a Leaky Kitchen Sink Drain Flange


The drain basket is the piece that sits inside the sink and connects to the drain. If this becomes loose or damaged, it can cause a leak. To fix this, you will need to remove the old basket and replace it with a new one. This is a relatively simple task that you can do yourself with just a few tools.How to Fix a Leaky Kitchen Sink Drain Basket


How to Fix a Leaky Kitchen Sink Drain Basket


The gasket is the rubber ring that sits between the sink and the drain. Over time, it can become worn out or damaged, causing a leak. To fix this, you will need to replace the gasket with a new one. This can be done easily with just a few tools and some patience.How to Fix a Leaky Kitchen Sink Drain Gasket

How to Fix a Leaky Kitchen Sink Drain Gasket


If your sink has a pop-up drain stopper, the leak may be coming from there. This can be caused by a damaged or worn out stopper or a loose connection. To fix this, you can try tightening the connection or replacing the stopper altogether. If the stopper is damaged, you will need to replace it with a new one.How to Fix a Leaky Kitchen Sink Drain Stopper


How to Fix a Leaky Kitchen Sink Drain Stopper

The drain trap is the curved piece of pipe that connects the sink drain to the main plumbing line. Over time, it can become loose or damaged, causing a leak. To fix this, you can try tightening the connections or replacing the trap altogether. This may require some plumbing knowledge, so if you are unsure, it's best to call a professional.How to Fix a Leaky Kitchen Sink Drain Trap

How to Fix a Leaky Kitchen Sink Drain Trap


If the leak is coming from the nut at the top of the sink drain, it may simply need to be tightened. You can use a pair of pliers to do this, being careful not to over-tighten and damage the nut. If the nut is damaged, you will need to replace it with a new one. In conclusion, a leaky kitchen sink drain at the top of the nut can be caused by a variety of factors. By following these 10 methods, you can easily fix the leak and prevent any further damage. However, if you are unsure or uncomfortable with any of these steps, it's best to call a professional plumber to ensure the job is done correctly. Don't let a leaky sink drain ruin your day, take action and fix it today!How to Fix a Leaky Kitchen Sink Drain Nut

How to Fix a Leaky Kitchen Sink Drain Nut

How to Fix a Leaking Kitchen Sink Drain at the Top of the Nut

Understanding the Problem
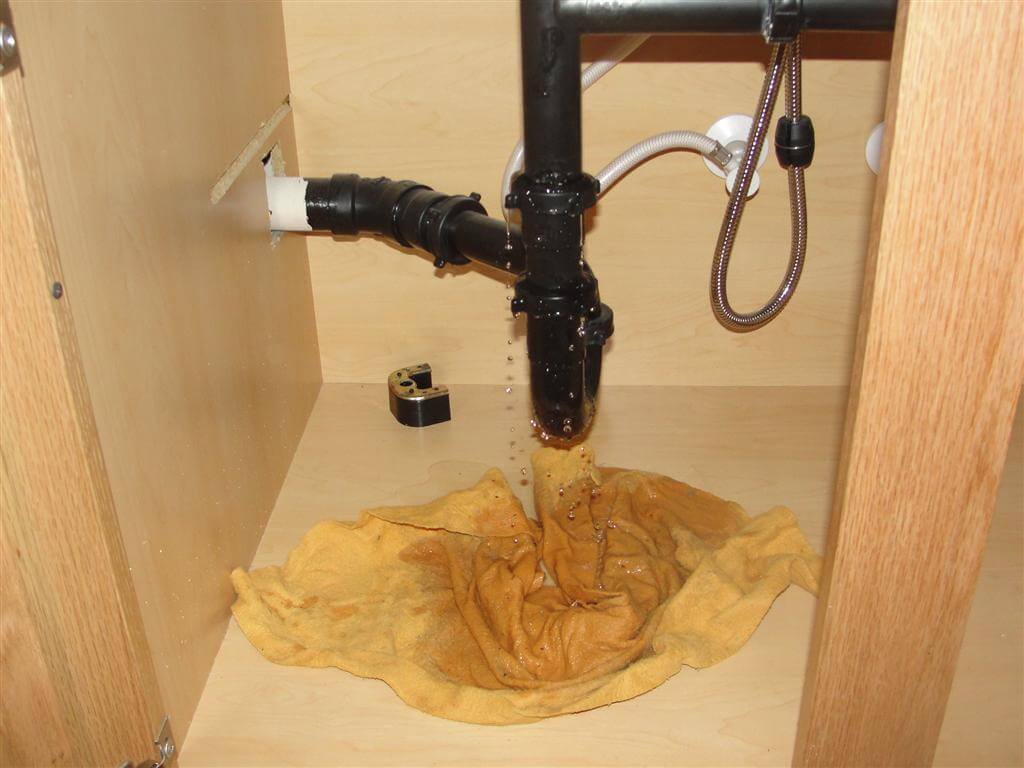
 If you've noticed water pooling under your kitchen sink or a persistent musty smell, chances are your kitchen sink drain is leaking. The top of the nut, which connects the sink to the drain pipe, is a common area for leaks to occur. This can be a frustrating and messy problem, but with the right tools and techniques, you can easily fix it yourself.
Gather Your Materials
 Before getting started, make sure you have all the necessary materials. This includes a pipe wrench, plumber's putty, Teflon tape, and a replacement gasket. These can be found at most hardware stores and are relatively inexpensive.
Step-by-Step Guide
 1. Turn off the water supply to your sink by shutting off the valves located under the sink. This will prevent any further leaks and make the repair easier.
2. Place a bucket or towel under the sink to catch any water that may leak out during the repair.
3. Using a pipe wrench, loosen the nut connecting the sink to the drain pipe. This is the nut located at the top of the drain.
4. Once the nut is loose, remove it and set it aside. This will expose the gasket, which is responsible for creating a watertight seal between the sink and the drain pipe.
5. Inspect the gasket for any signs of damage or wear. If it is cracked or worn out, it will need to be replaced.
6. Apply plumber's putty around the edges of the new gasket and place it on the drain pipe. This will create a tight seal and prevent any future leaks.
7. Place the nut back onto the drain pipe and tighten it with the pipe wrench. Make sure it is secure but not over-tightened.
8. Wrap Teflon tape around the threads of the nut to create an additional seal.
9. Turn the water supply back on and check for any leaks. If there are no leaks, congratulations, you've successfully fixed your kitchen sink drain!
1. Turn off the water supply to your sink by shutting off the valves located under the sink. This will prevent any further leaks and make the repair easier.
2. Place a bucket or towel under the sink to catch any water that may leak out during the repair.
3. Using a pipe wrench, loosen the nut connecting the sink to the drain pipe. This is the nut located at the top of the drain.
4. Once the nut is loose, remove it and set it aside. This will expose the gasket, which is responsible for creating a watertight seal between the sink and the drain pipe.
5. Inspect the gasket for any signs of damage or wear. If it is cracked or worn out, it will need to be replaced.
6. Apply plumber's putty around the edges of the new gasket and place it on the drain pipe. This will create a tight seal and prevent any future leaks.
7. Place the nut back onto the drain pipe and tighten it with the pipe wrench. Make sure it is secure but not over-tightened.
8. Wrap Teflon tape around the threads of the nut to create an additional seal.
9. Turn the water supply back on and check for any leaks. If there are no leaks, congratulations, you've successfully fixed your kitchen sink drain!
Preventative Measures
 To prevent future leaks, it's important to regularly check the connections under your sink for any signs of wear or damage. If you notice any issues, it's best to address them immediately to avoid a bigger problem down the line.
In addition, avoid using harsh chemicals or cleaners in your sink as they can corrode the gasket and cause leaks. Stick to natural and gentle cleaning solutions to keep your sink and drain functioning properly.
To prevent future leaks, it's important to regularly check the connections under your sink for any signs of wear or damage. If you notice any issues, it's best to address them immediately to avoid a bigger problem down the line.
In addition, avoid using harsh chemicals or cleaners in your sink as they can corrode the gasket and cause leaks. Stick to natural and gentle cleaning solutions to keep your sink and drain functioning properly.
In Conclusion
 A leaking kitchen sink drain at the top of the nut can be a hassle, but with the right tools and techniques, it can be easily fixed. By following these steps and taking preventative measures, you can ensure your sink stays leak-free for years to come. Remember, if you are unsure or uncomfortable with making the repair yourself, it's always best to consult a professional plumber.