The kitchen sink drain flange is an essential part of your sink, responsible for keeping the water flow going down the drain. Over time, it may become worn out or rusted, and you may need to replace it. Here is a step-by-step guide on how to remove a kitchen sink drain flange.How to Remove a Kitchen Sink Drain Flange


How to Remove a Kitchen Sink Drain Flange


If you have a damaged or rusted kitchen sink drain flange, it is crucial to replace it as soon as possible to avoid any further damage. Here are the steps to follow to replace your kitchen sink drain flange.How to Replace a Kitchen Sink Drain Flange


How to Replace a Kitchen Sink Drain Flange


Removing a kitchen sink drain flange may seem like a daunting task, but with the right tools and knowledge, you can do it yourself. Here's a DIY guide to removing your kitchen sink drain flange.DIY Kitchen Sink Drain Flange Removal


DIY Kitchen Sink Drain Flange Removal


In some cases, the kitchen sink drain flange may be stuck and difficult to remove. Here are some tips to help you remove a stubborn kitchen sink drain flange.Removing a Stuck Kitchen Sink Drain Flange
Removing a Stuck Kitchen Sink Drain Flange


Removing a kitchen sink drain flange requires a few steps, but it is a simple process that you can do yourself. Here's a step-by-step guide to help you remove your kitchen sink drain flange efficiently.Step-by-Step Guide for Kitchen Sink Drain Flange Removal


Step-by-Step Guide for Kitchen Sink Drain Flange Removal


Before you start removing your kitchen sink drain flange, it is essential to have all the necessary tools. Here are some tools you will need for a smooth removal process.Tools Needed for Kitchen Sink Drain Flange Removal


Tools Needed for Kitchen Sink Drain Flange Removal
Removing a kitchen sink drain flange can be a tricky task, but with the right tips, you can make the process easier. Here are some tips to help you remove your kitchen sink drain flange successfully.Tips for Removing a Kitchen Sink Drain Flange


Tips for Removing a Kitchen Sink Drain Flange

When removing a kitchen sink drain flange, it is important to avoid certain mistakes that can cause damage or make the process more challenging. Here are some common mistakes to avoid when removing a kitchen sink drain flange.Common Mistakes to Avoid When Removing a Kitchen Sink Drain Flange

Common Mistakes to Avoid When Removing a Kitchen Sink Drain Flange

A rusty kitchen sink drain flange can be difficult to remove, but with the right techniques, it is possible. Here's a guide on how to remove a rusty kitchen sink drain flange.How to Remove a Rusty Kitchen Sink Drain Flange


How to Remove a Rusty Kitchen Sink Drain Flange

When removing a kitchen sink drain flange, it is crucial to be careful not to damage the sink in the process. Here are some tips to help you remove a kitchen sink drain flange without causing any damage. In conclusion, removing a kitchen sink drain flange may seem like a daunting task, but with the right tools and knowledge, you can do it yourself. Just follow the steps and tips mentioned above, and you will have your old kitchen sink drain flange removed in no time. Remember to take your time and be careful to avoid any mistakes or damages. Good luck!Removing a Kitchen Sink Drain Flange Without Damaging the Sink

Removing a Kitchen Sink Drain Flange Without Damaging the Sink


How to Remove a Kitchen Sink Drain Flange: A Step-by-Step Guide
:max_bytes(150000):strip_icc()/how-to-install-a-sink-drain-2718789-hero-24e898006ed94c9593a2a268b57989a3.jpg)
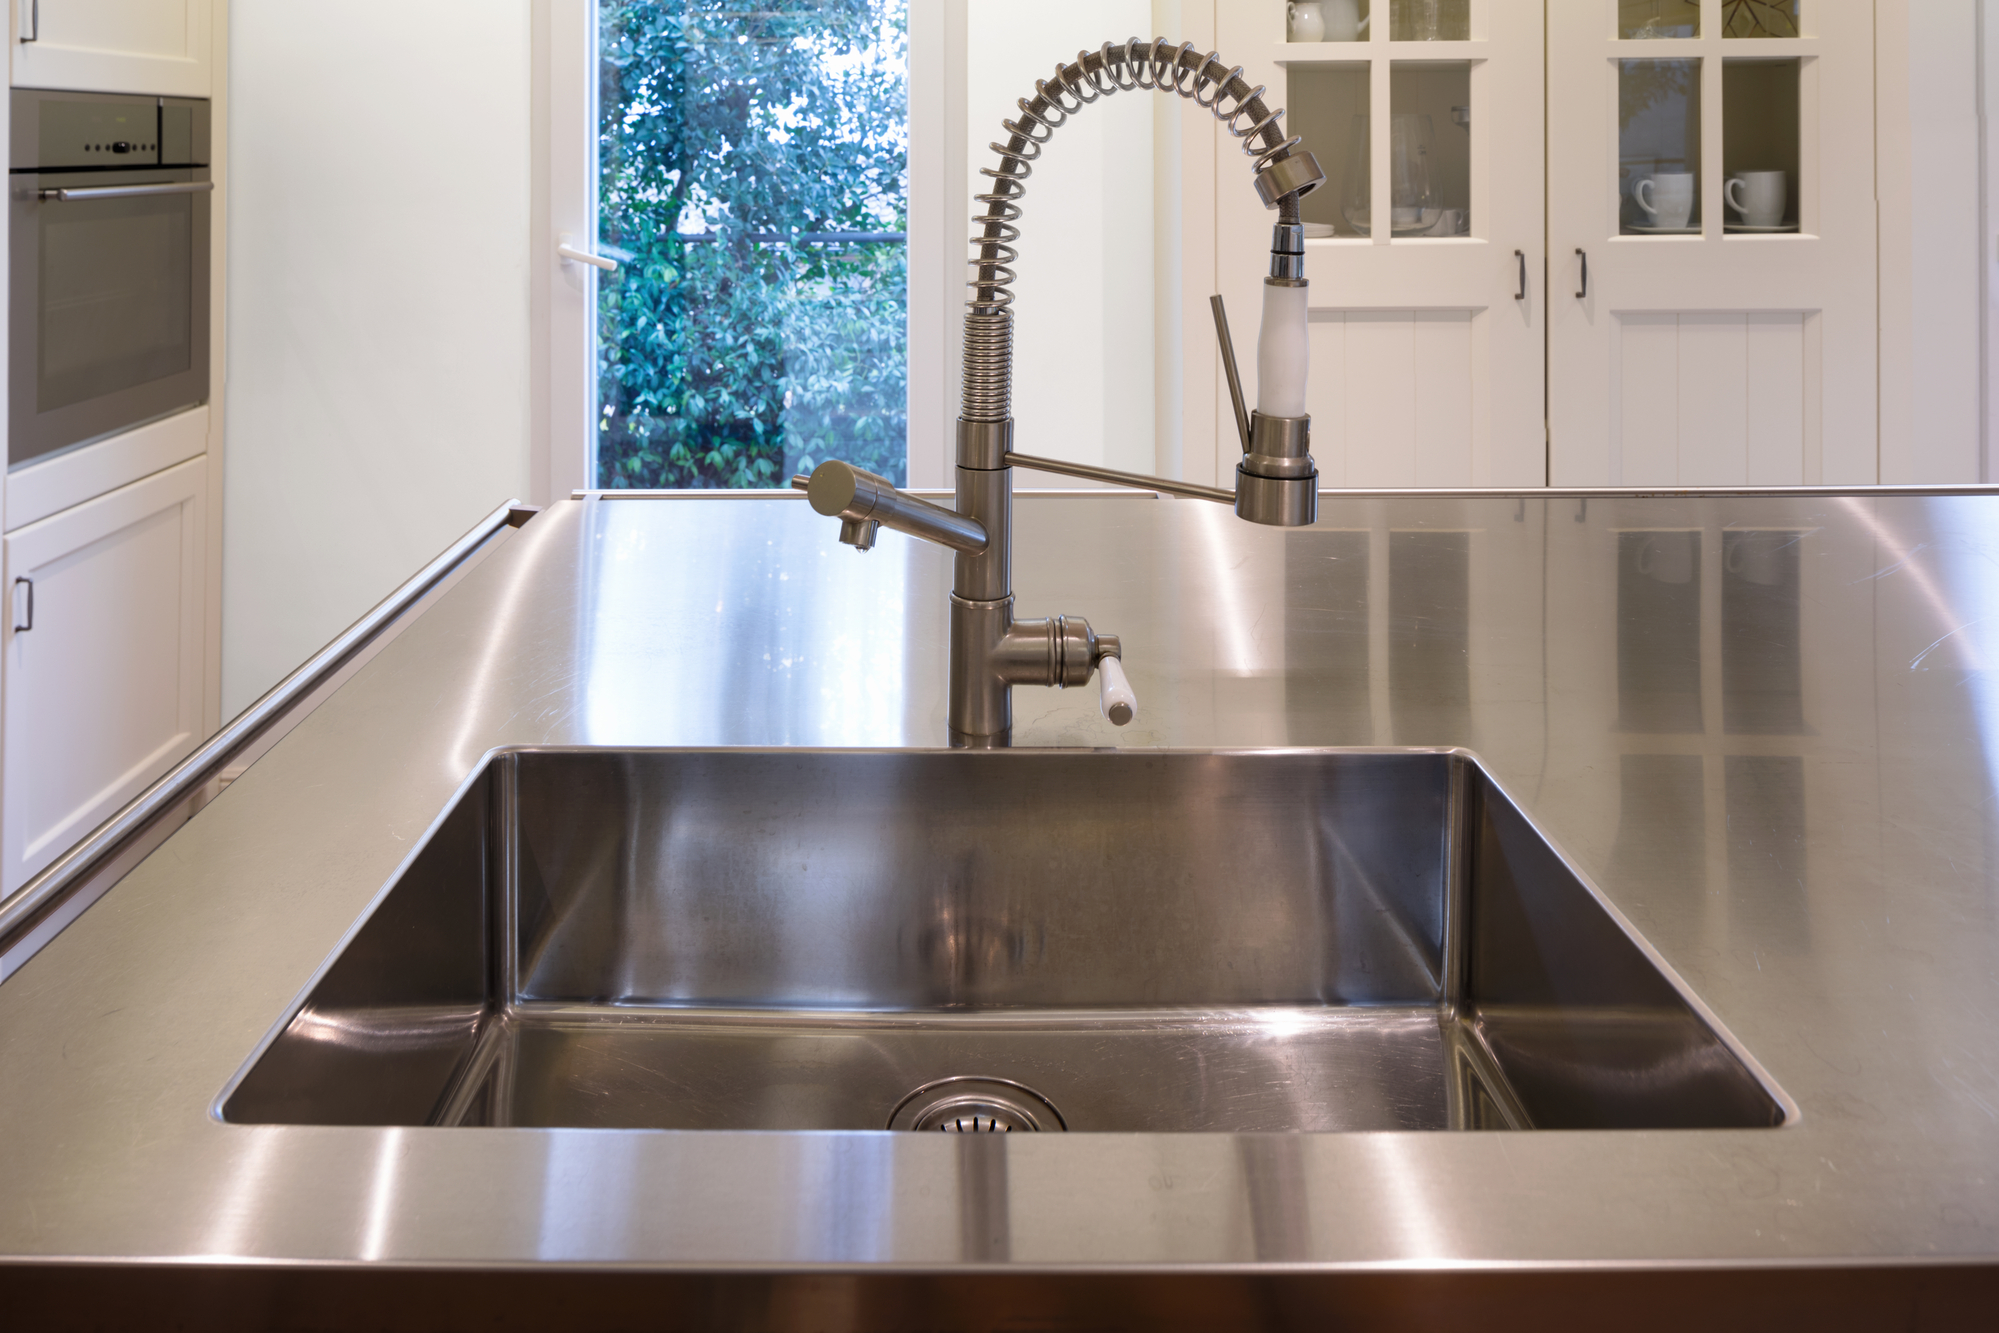
Maintaining a Functional Kitchen Sink in a Stylish House Design
 When it comes to house design, the kitchen is often considered the heart of the home. It's where meals are prepared, memories are made, and guests gather. As such, it's important to not only have a functional kitchen but also one that reflects your personal style. However, even the most stylish kitchen can experience issues, such as a clogged or damaged sink drain. In this article, we'll focus on one particular aspect of maintaining a functional kitchen sink - removing the drain flange. Follow these step-by-step instructions to keep your kitchen sink in top shape.
Gather Your Tools and Materials
 Before you begin the process of removing the kitchen sink drain flange, you'll need to gather the necessary tools and materials. These include a pair of pliers, a screwdriver, a putty knife, and a replacement drain flange. It's important to have a replacement flange on hand in case the old one is damaged and needs to be replaced.
Step 1: Clear Out the Area
 The first step in removing the kitchen sink drain flange is to clear out the area around the sink. Remove any dishes, utensils, or other items from the sink and surrounding countertops. This will give you ample workspace to complete the task at hand.
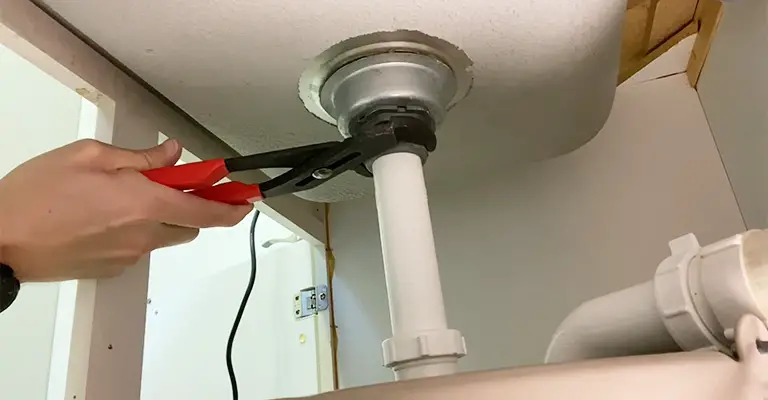
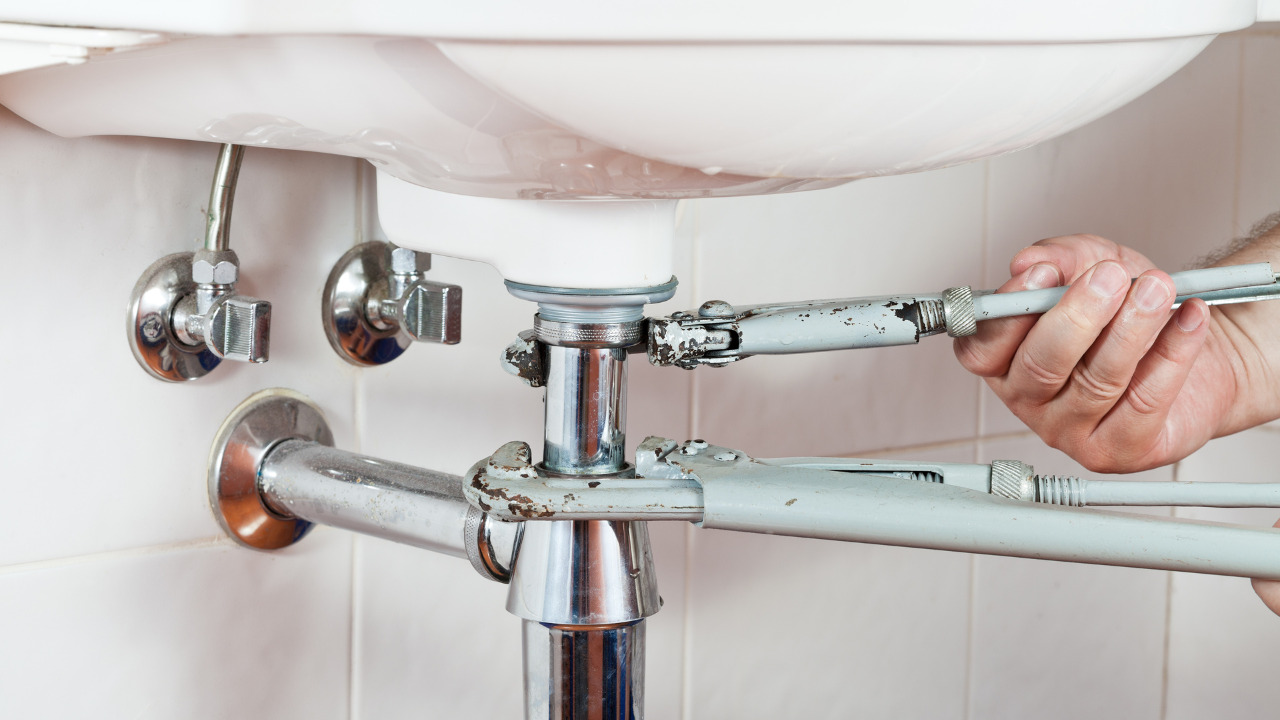
Step 2: Loosen the Drain Flange
 Using your pliers, grip the flange and turn it counterclockwise to loosen it. If the flange is stuck, you may need to use some WD-40 or a similar lubricant to help loosen it. Be sure to protect your hands with gloves and have a towel handy to clean up any excess lubricant.
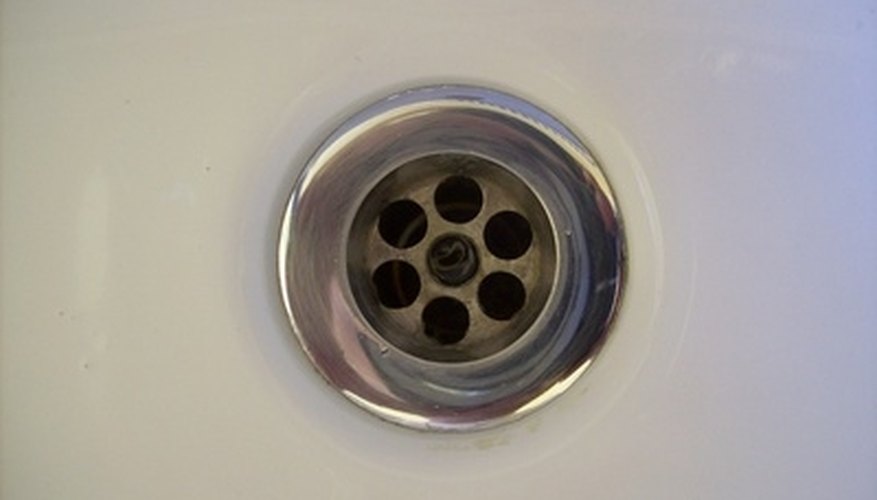
Step 3: Remove the Strainer
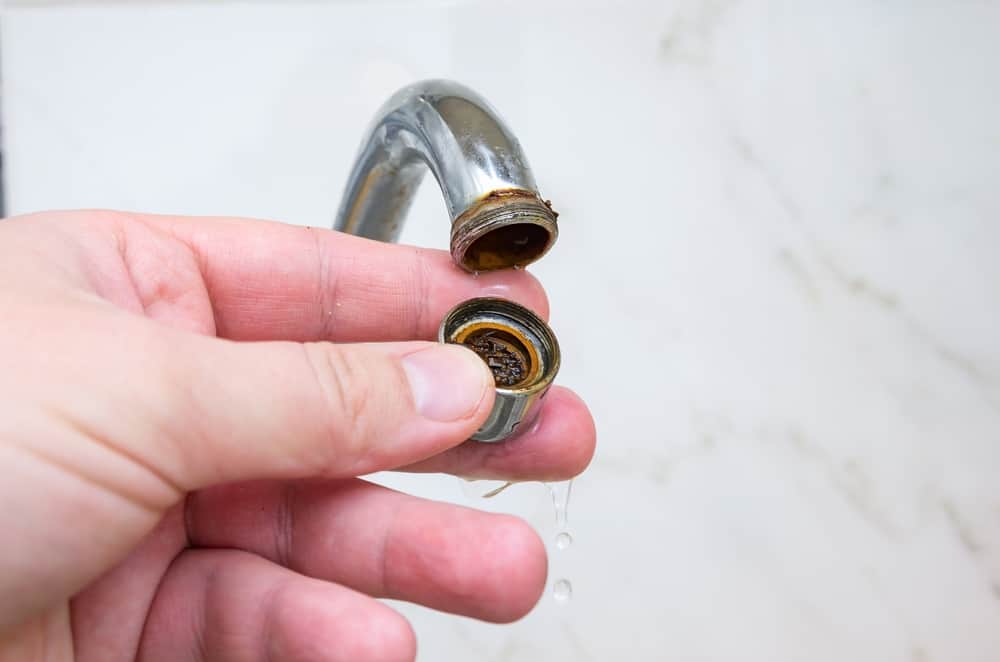 Once the flange is loosened, you can remove the strainer from the sink. This may require a little bit of force, so be careful not to damage the sink or the surrounding area. Use your putty knife to gently pry the strainer away from the sink if needed.
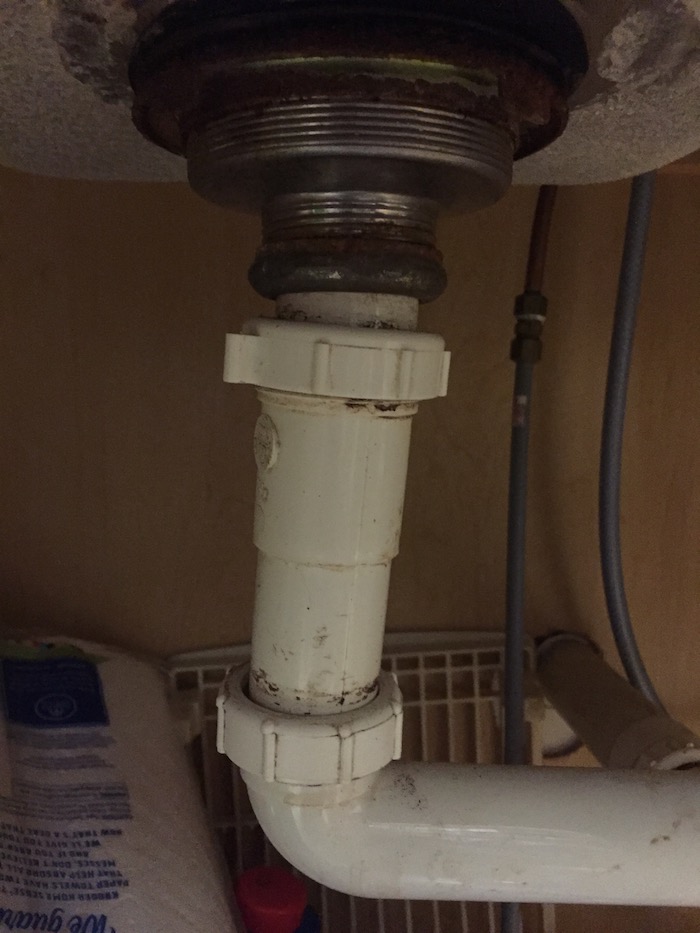
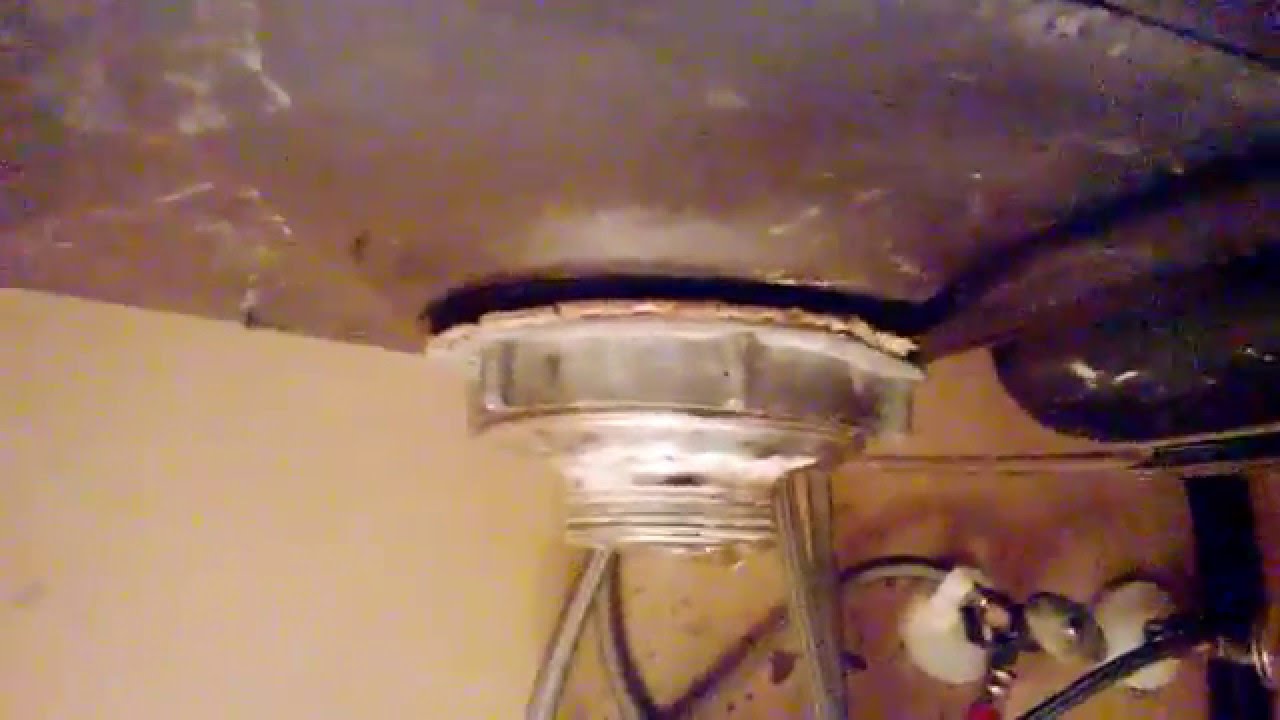
Step 4: Remove the Old Flange
 With the strainer removed, you can now focus on removing the old flange. Use your screwdriver to unscrew any screws or bolts holding the flange in place. Once removed, you can lift the old flange out of the sink.
Step 5: Clean and Prepare for the New Flange
 Before installing the new flange, be sure to clean the area around the sink and remove any old putty or debris. Apply a new layer of plumber's putty around the opening of the sink to create a watertight seal for the new flange.
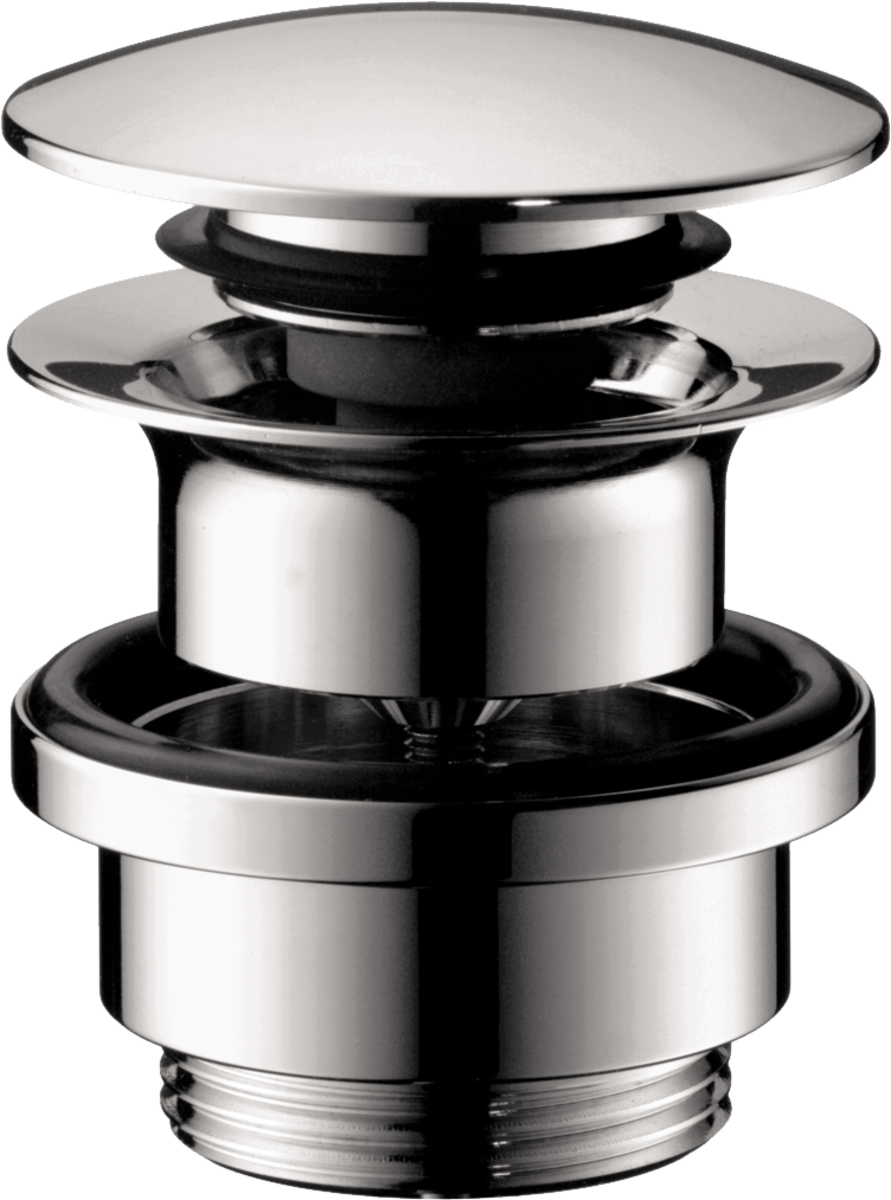
Step 6: Install the New Flange
 Place the new flange into the opening of the sink and press down firmly to create a seal with the plumber's putty. Secure the flange in place by tightening the screws or bolts with your screwdriver.
Step 7: Reattach the Strainer
/how-to-install-a-sink-drain-2718789-hero-b5b99f72b5a24bb2ae8364e60539cece.jpg) Place the strainer back into the sink and secure it in place using the same method you used to remove it. Test the new flange by running water through the sink and checking for any leaks.
Place the strainer back into the sink and secure it in place using the same method you used to remove it. Test the new flange by running water through the sink and checking for any leaks.
In Conclusion
 Removing a kitchen sink drain flange may seem like a daunting task, but with the right tools and guidance, it can be easily accomplished. By following these step-by-step instructions, you can maintain a functional kitchen sink in a stylish house design. Remember to always have a replacement flange on hand in case it needs to be replaced. With a little bit of effort, you can keep your kitchen sink in top shape for years to come.
HTML Code:
Removing a kitchen sink drain flange may seem like a daunting task, but with the right tools and guidance, it can be easily accomplished. By following these step-by-step instructions, you can maintain a functional kitchen sink in a stylish house design. Remember to always have a replacement flange on hand in case it needs to be replaced. With a little bit of effort, you can keep your kitchen sink in top shape for years to come.
HTML Code:
How to Remove a Kitchen Sink Drain Flange: A Step-by-Step Guide

Maintaining a Functional Kitchen Sink in a Stylish House Design
Gather Your Tools and Materials
Before you begin the process of removing the kitchen sink drain flange, you'll need to gather the necessary tools and materials. These include a pair of pliers , a screwdriver , a putty knife , and a replacement drain flange . It's important to have a replacement flange on hand in case the old one is damaged and needs to be replaced.
Step 1: Clear Out the Area
The first step in removing the kitchen sink drain flange is