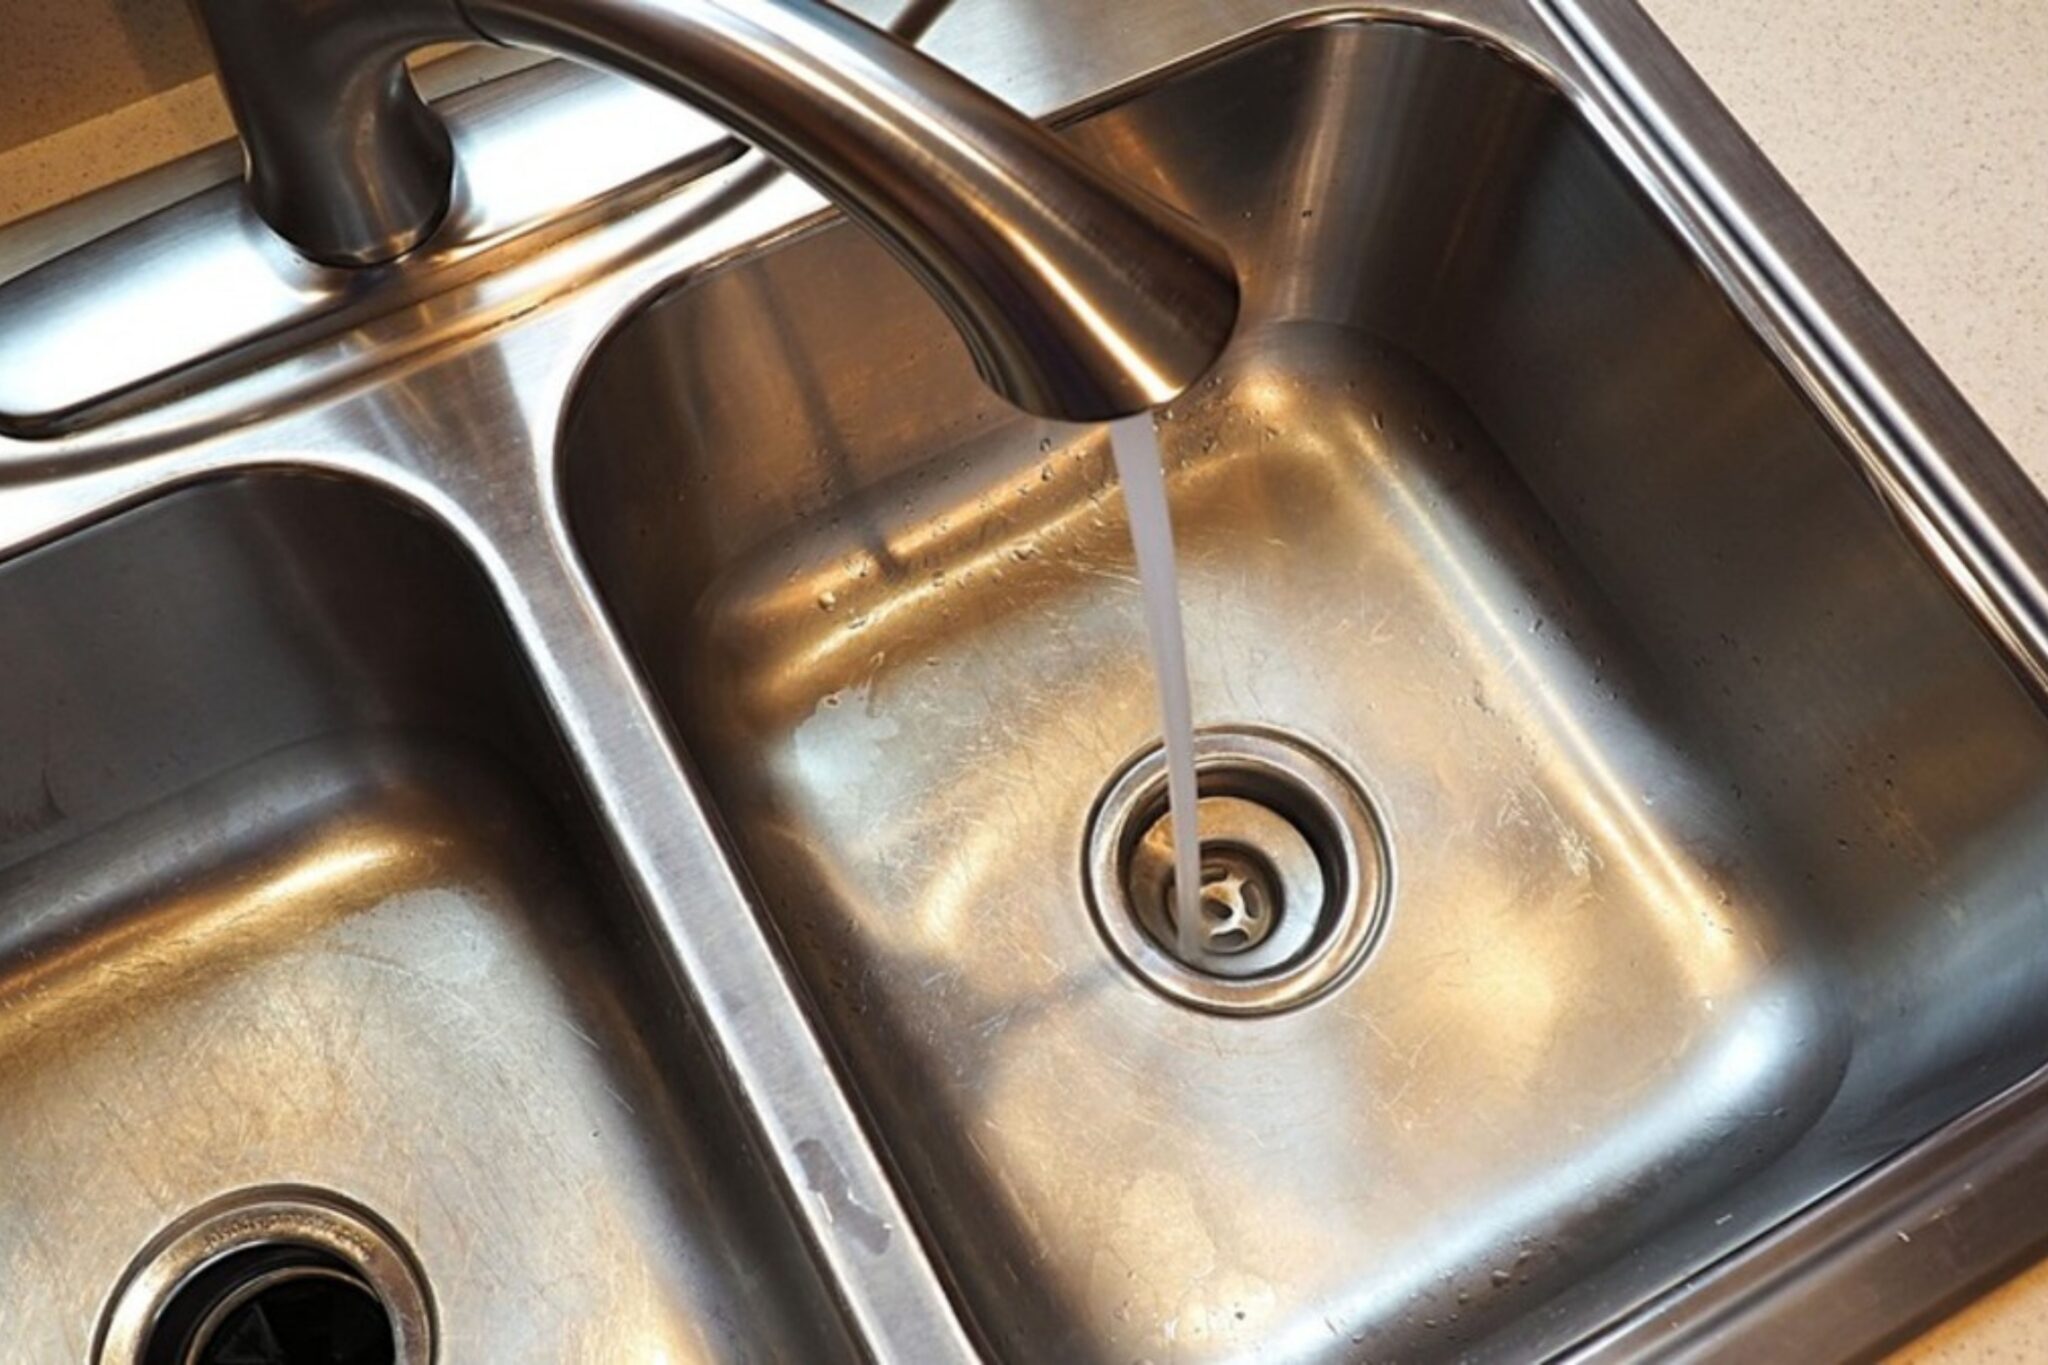
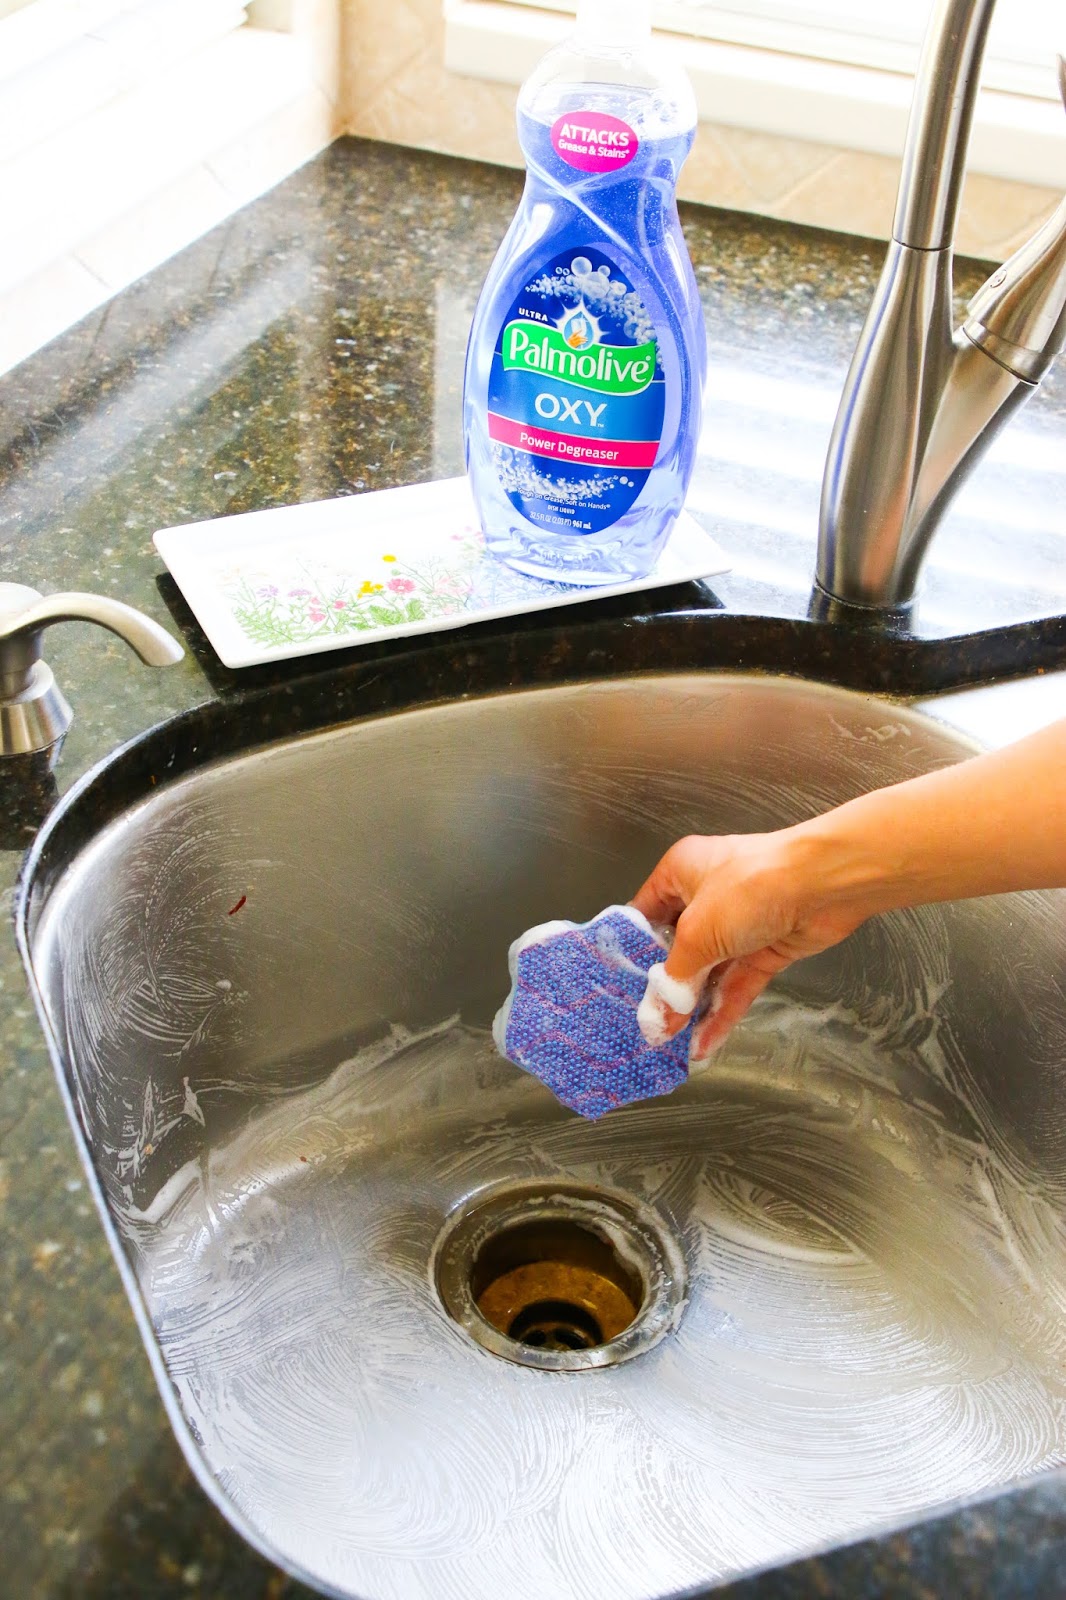
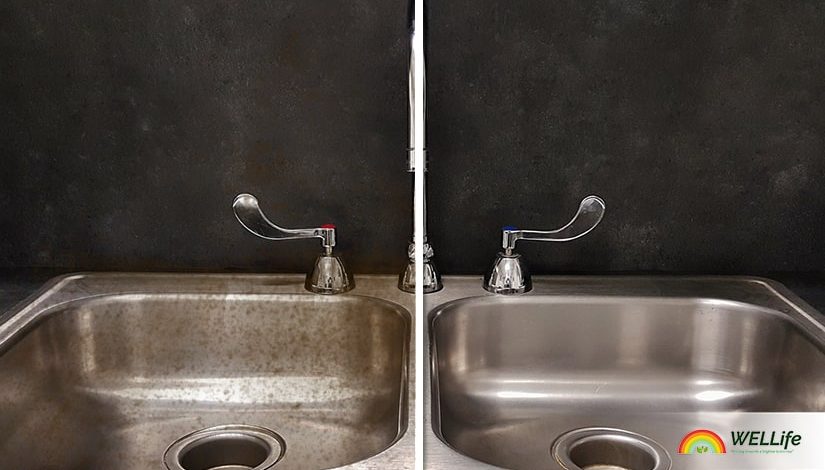
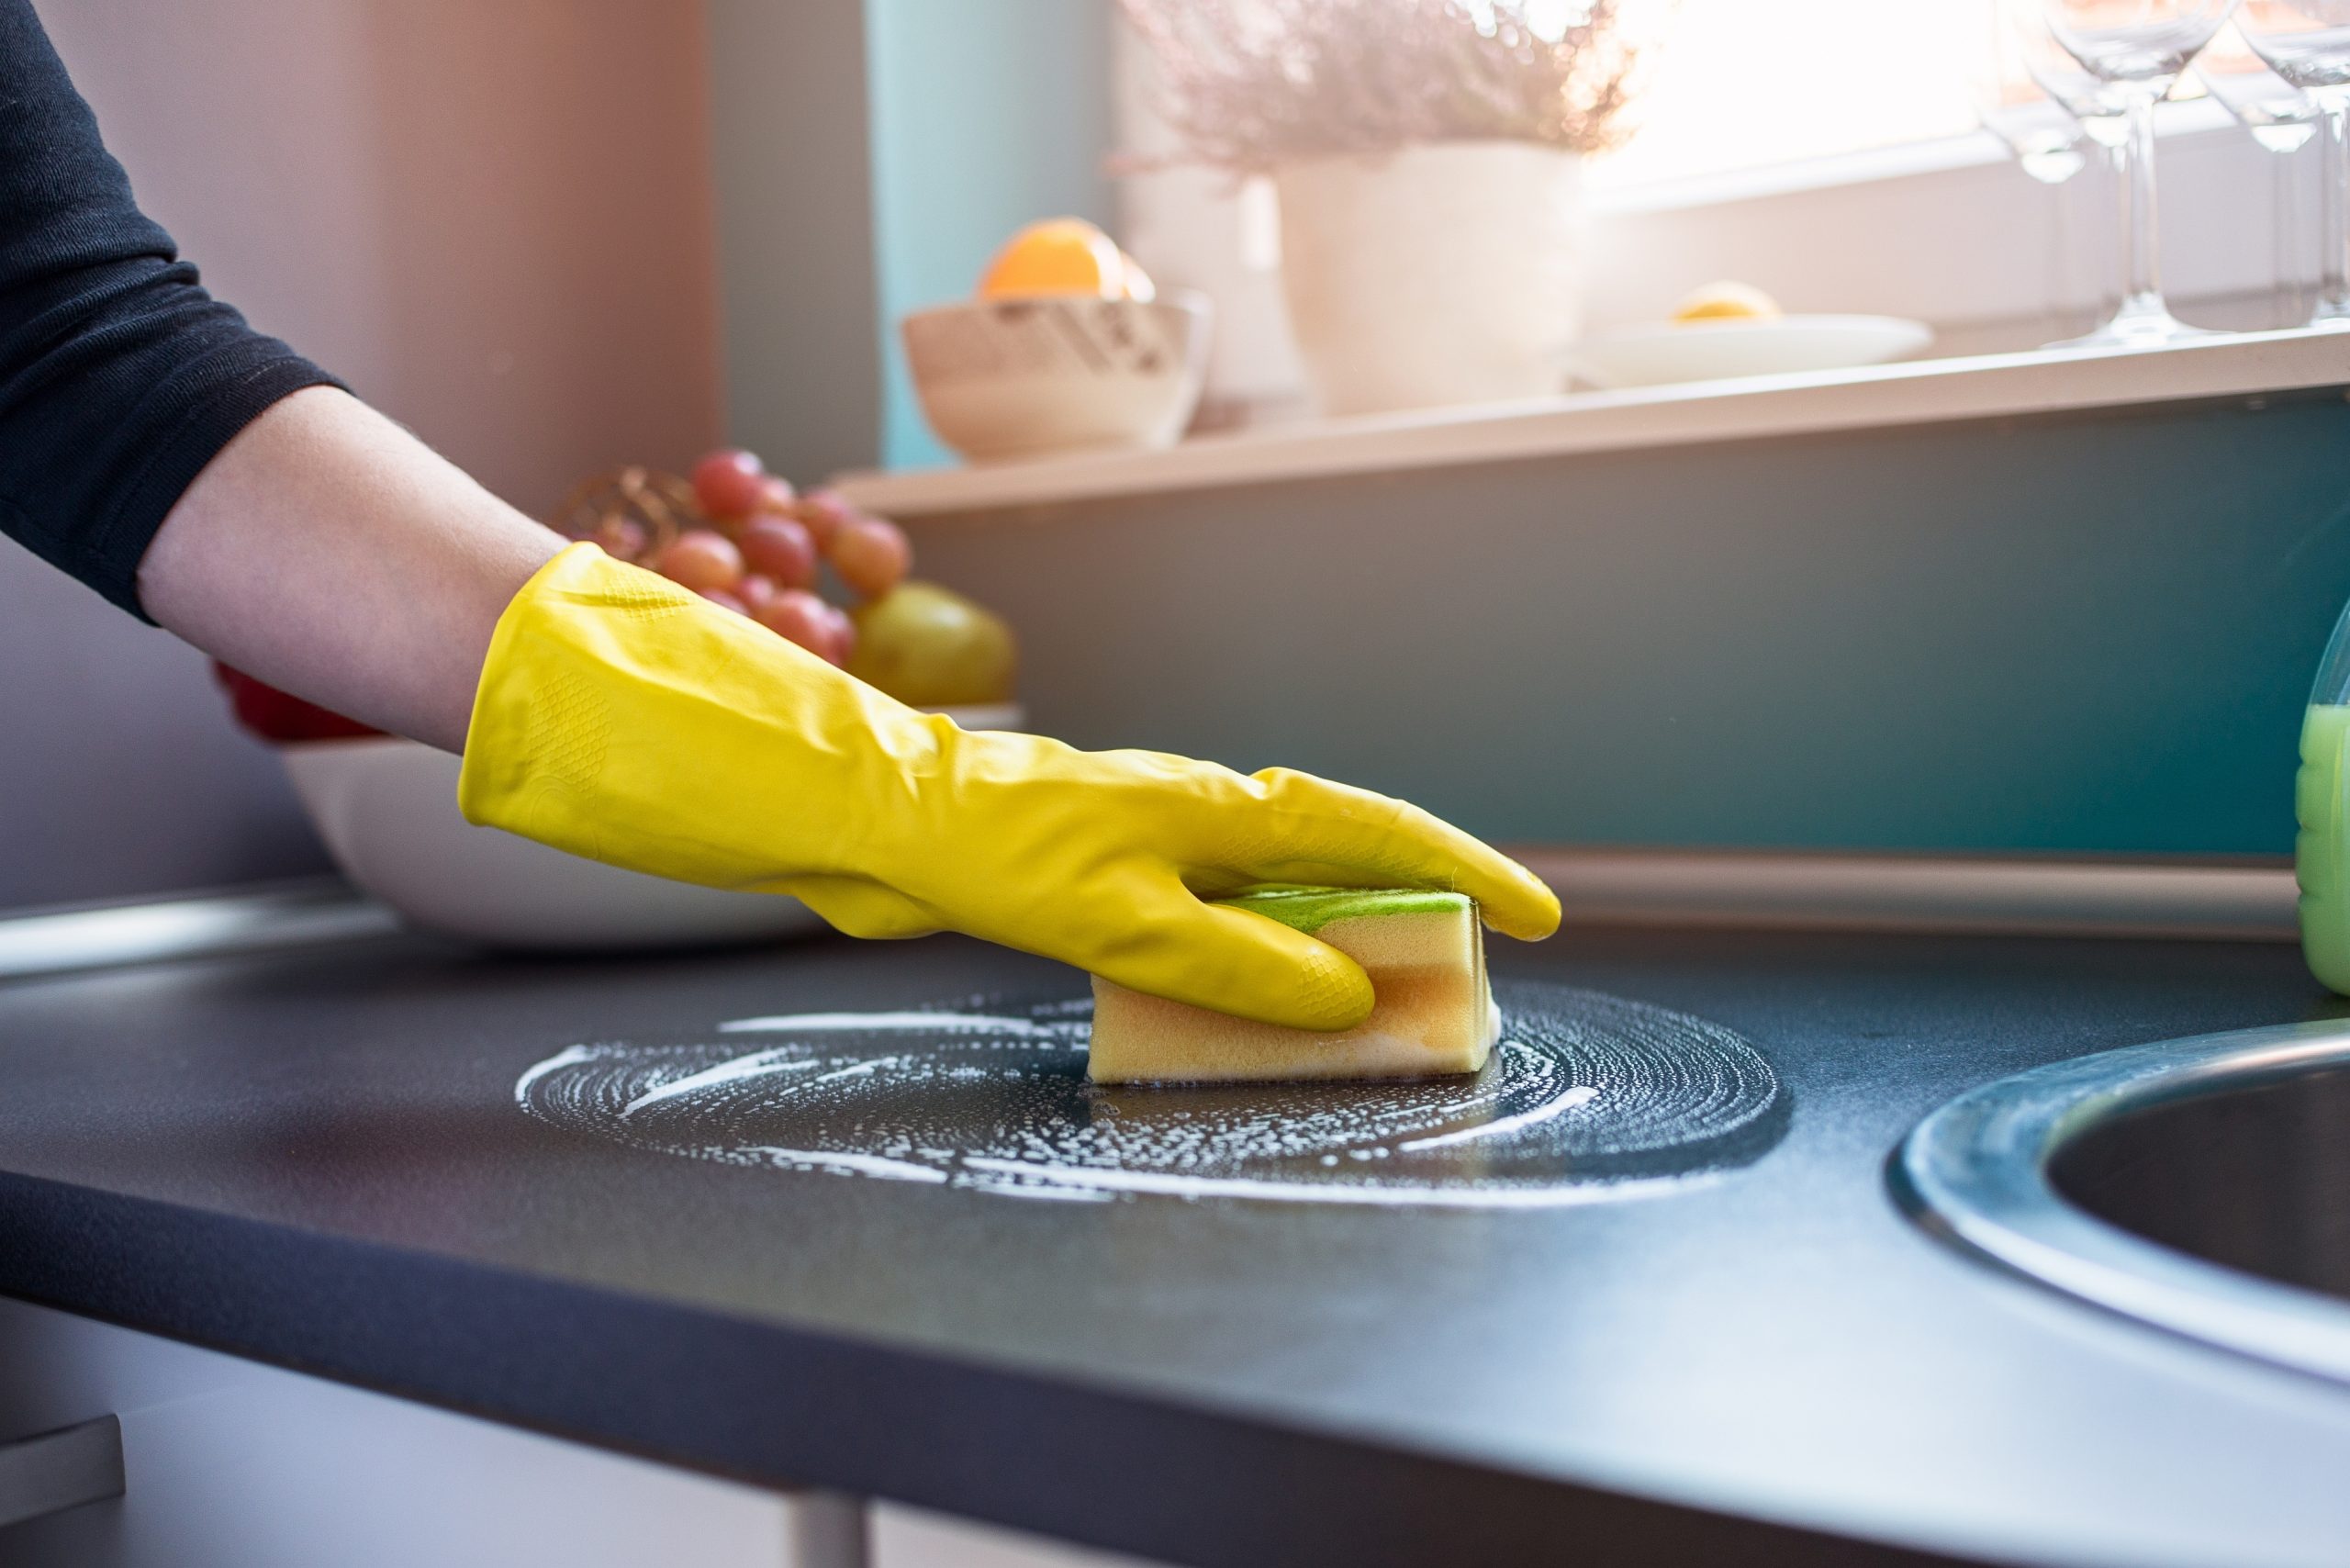
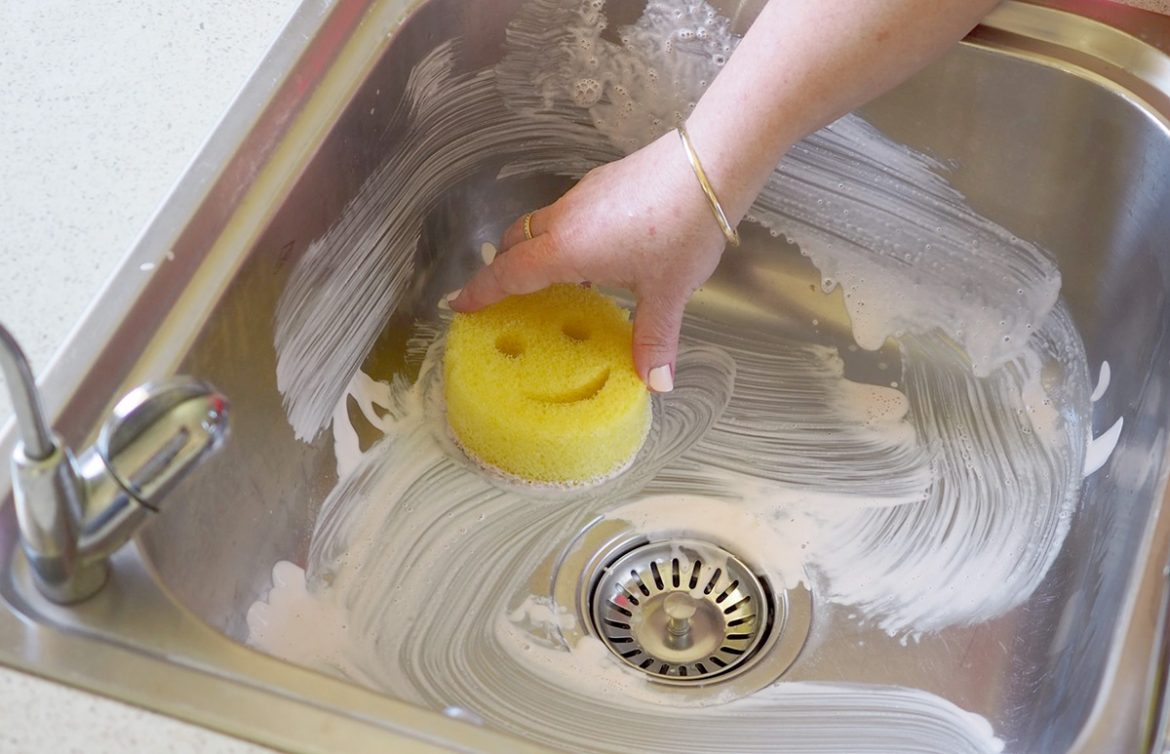
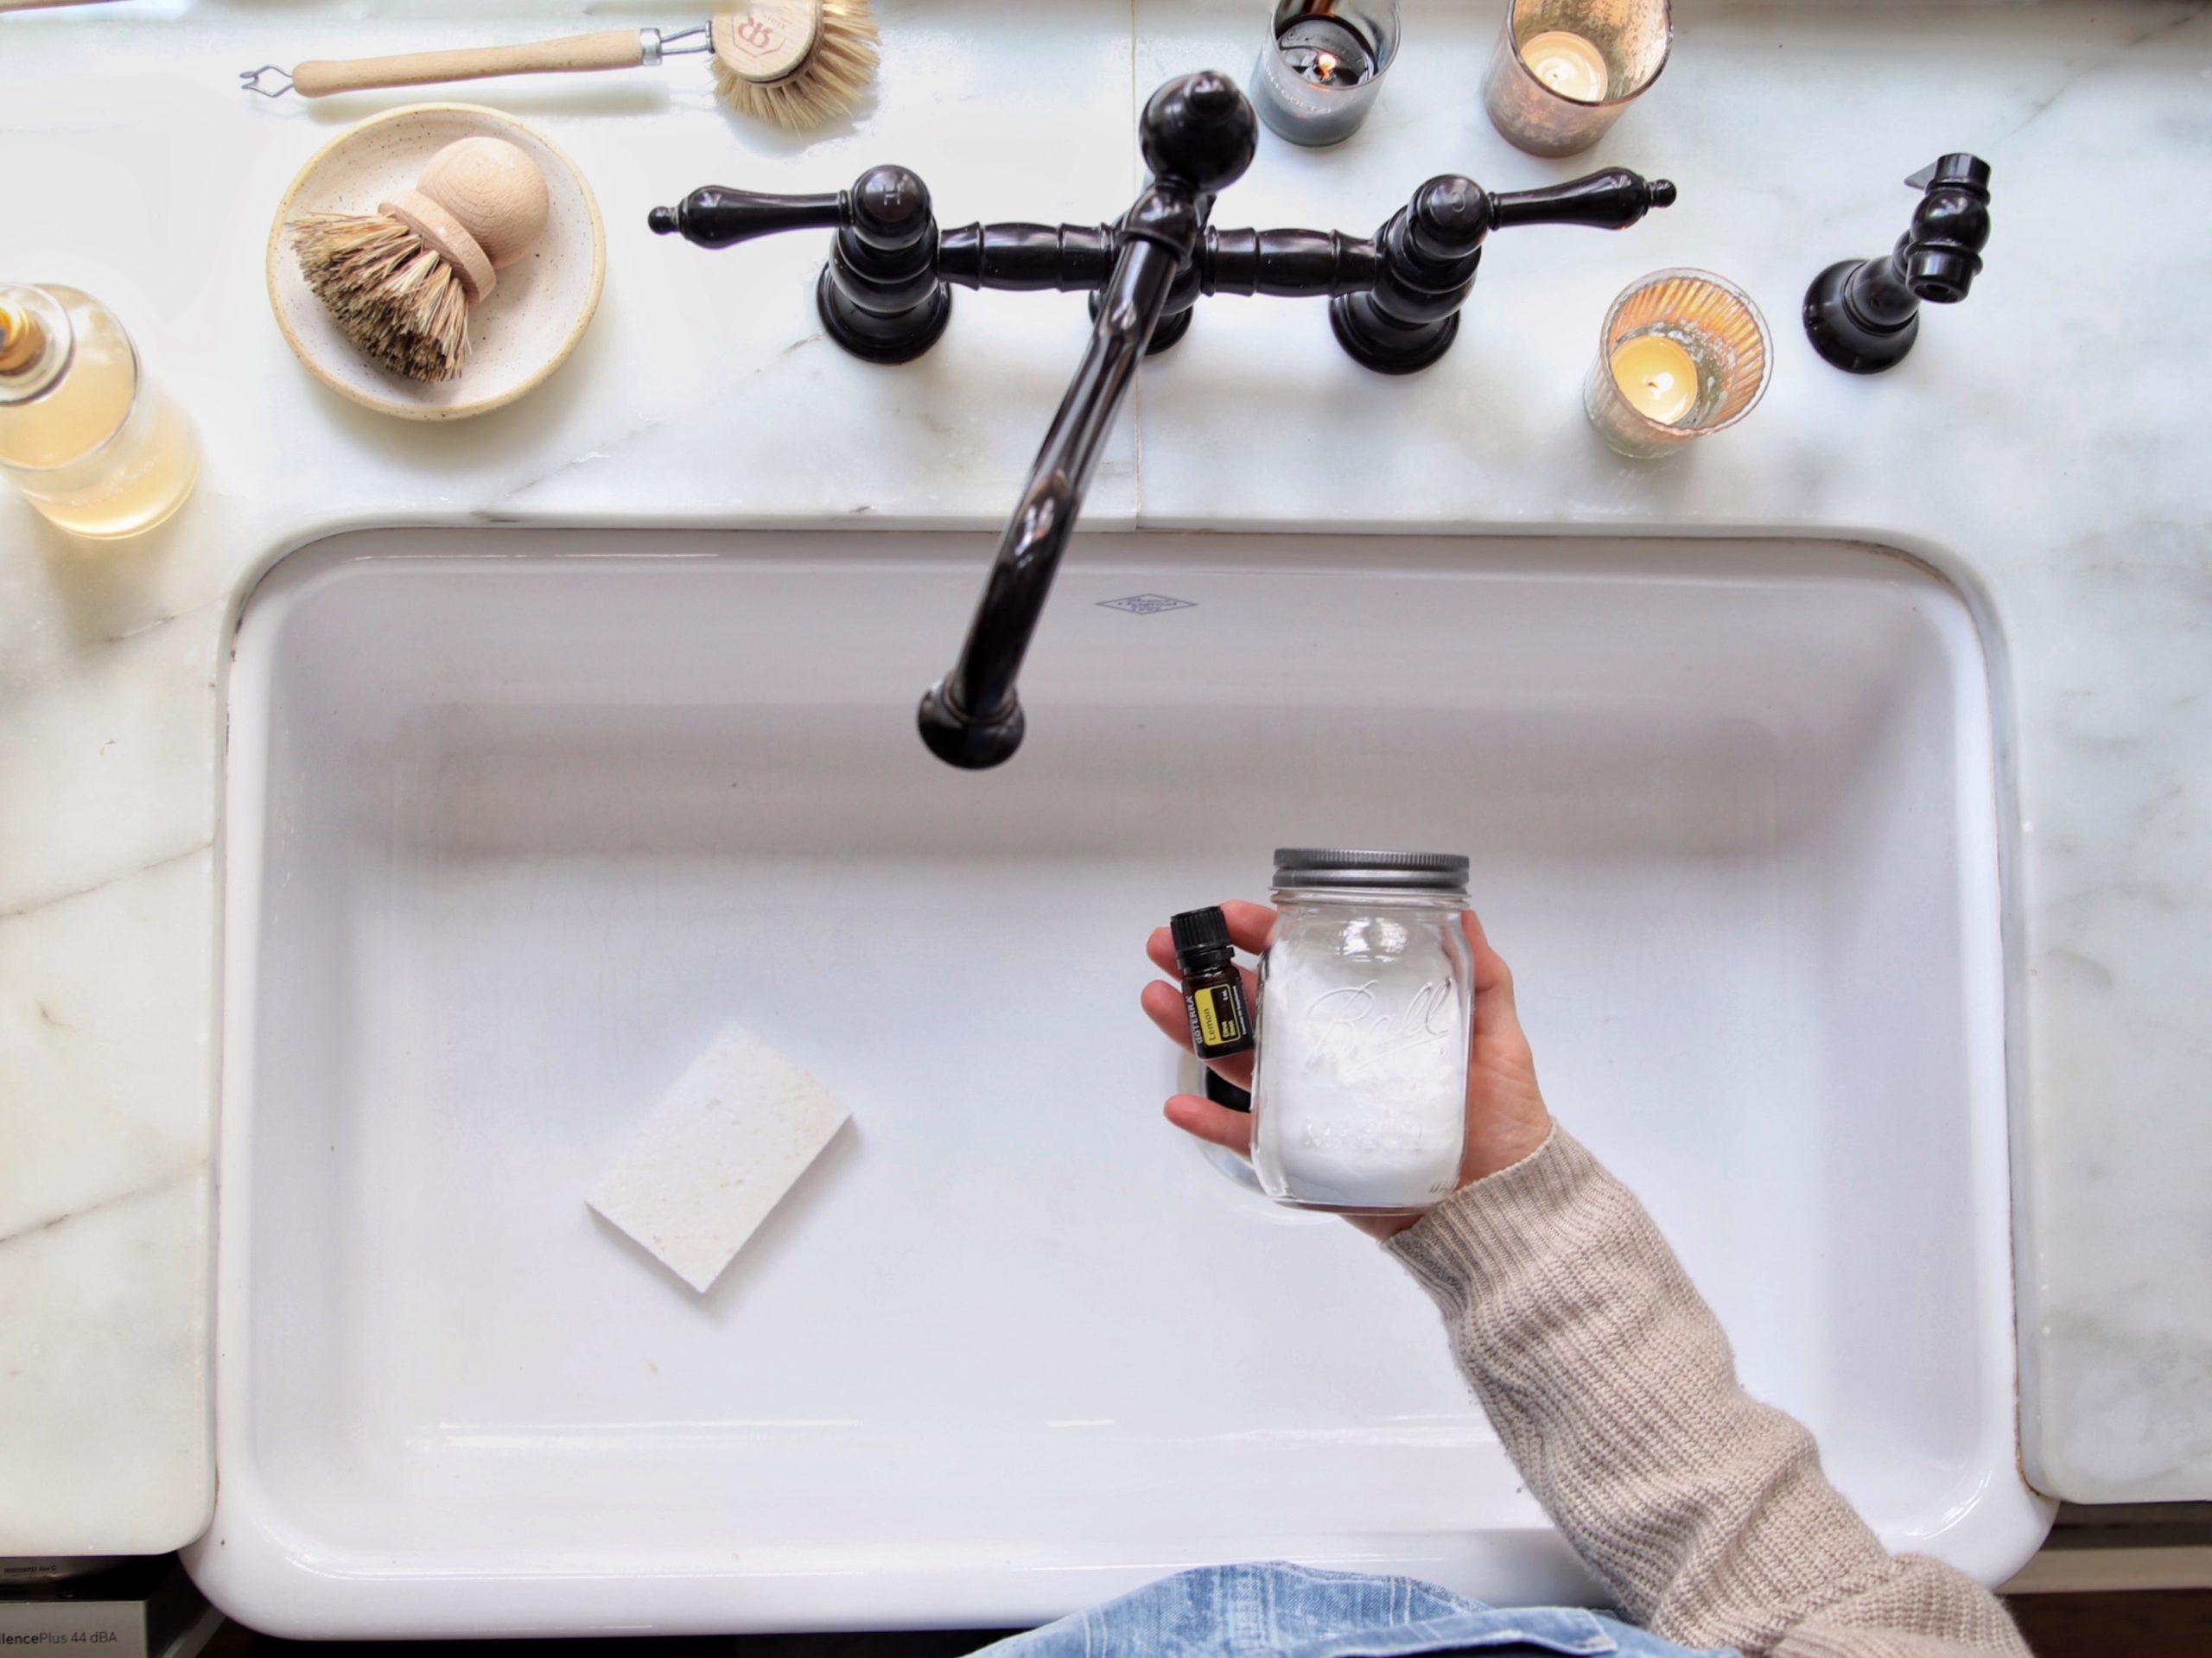
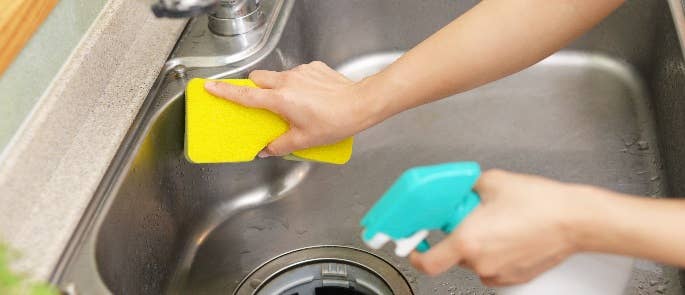
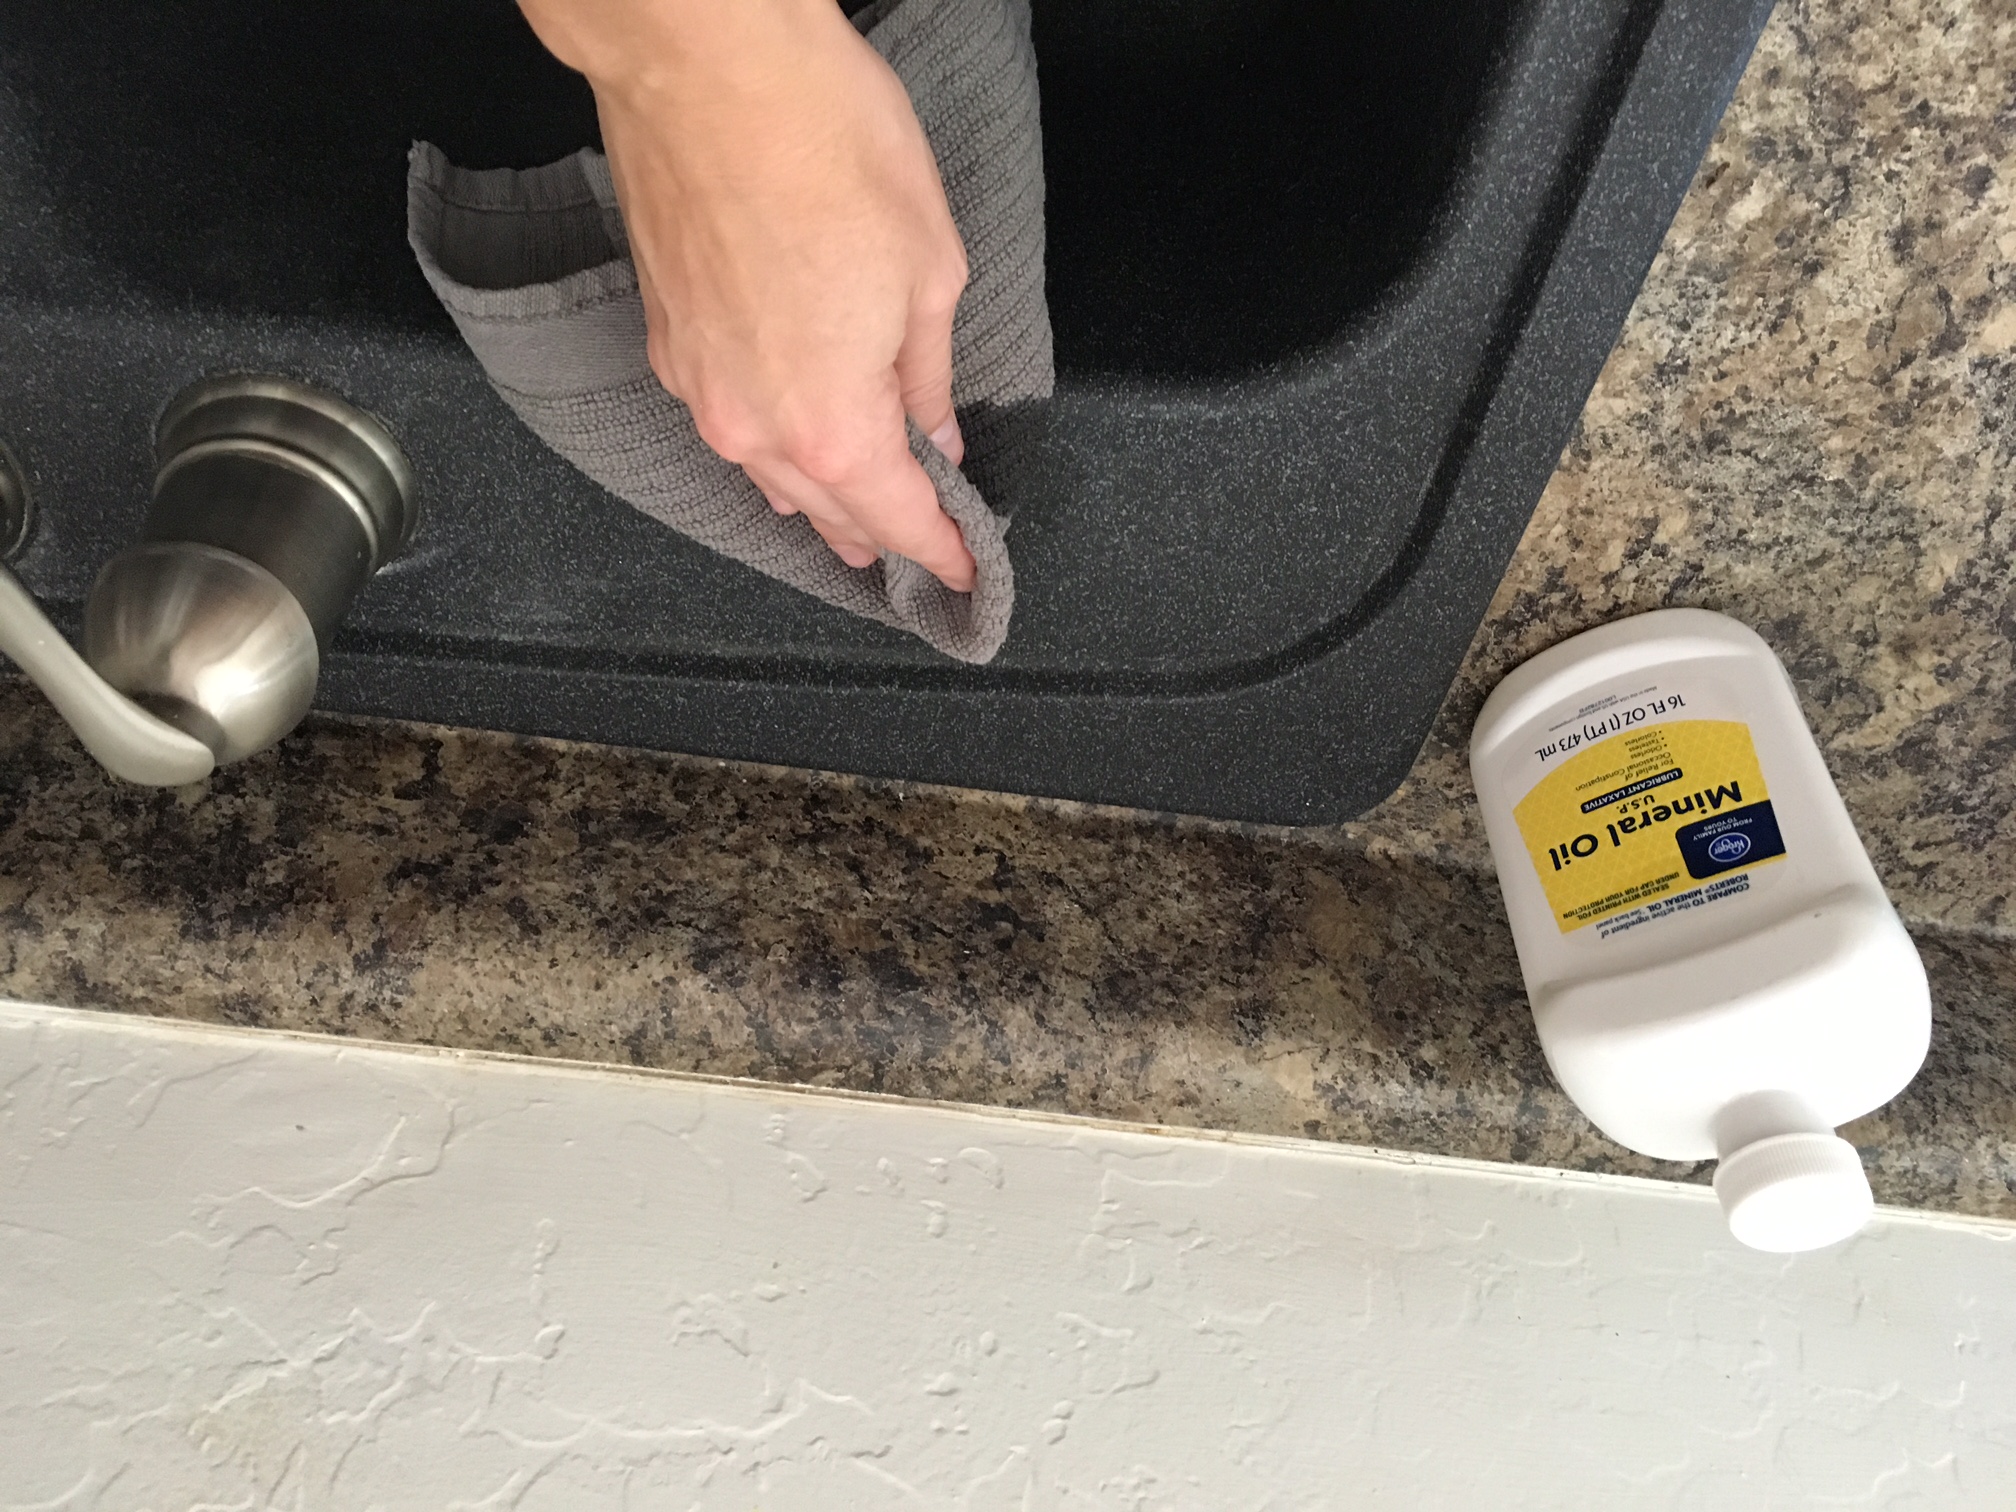
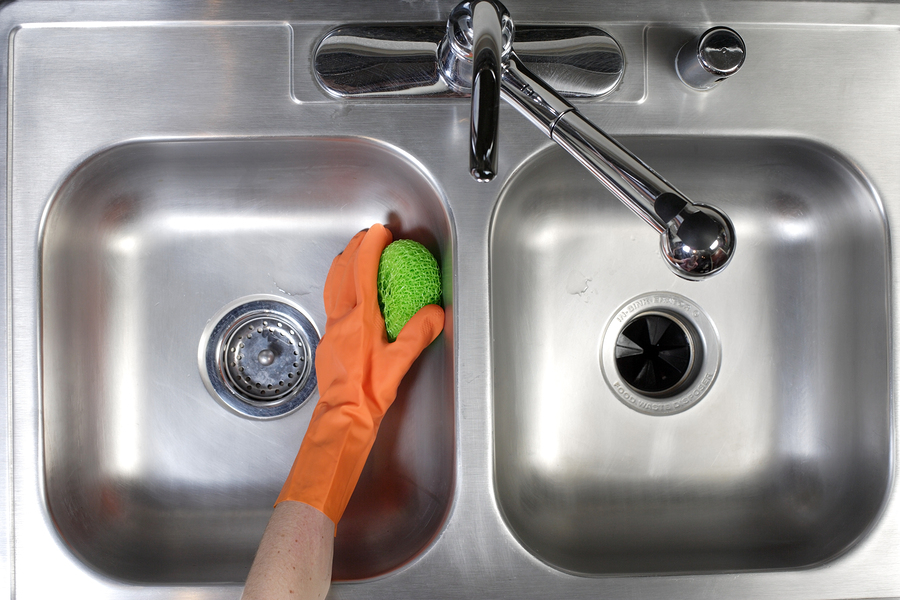
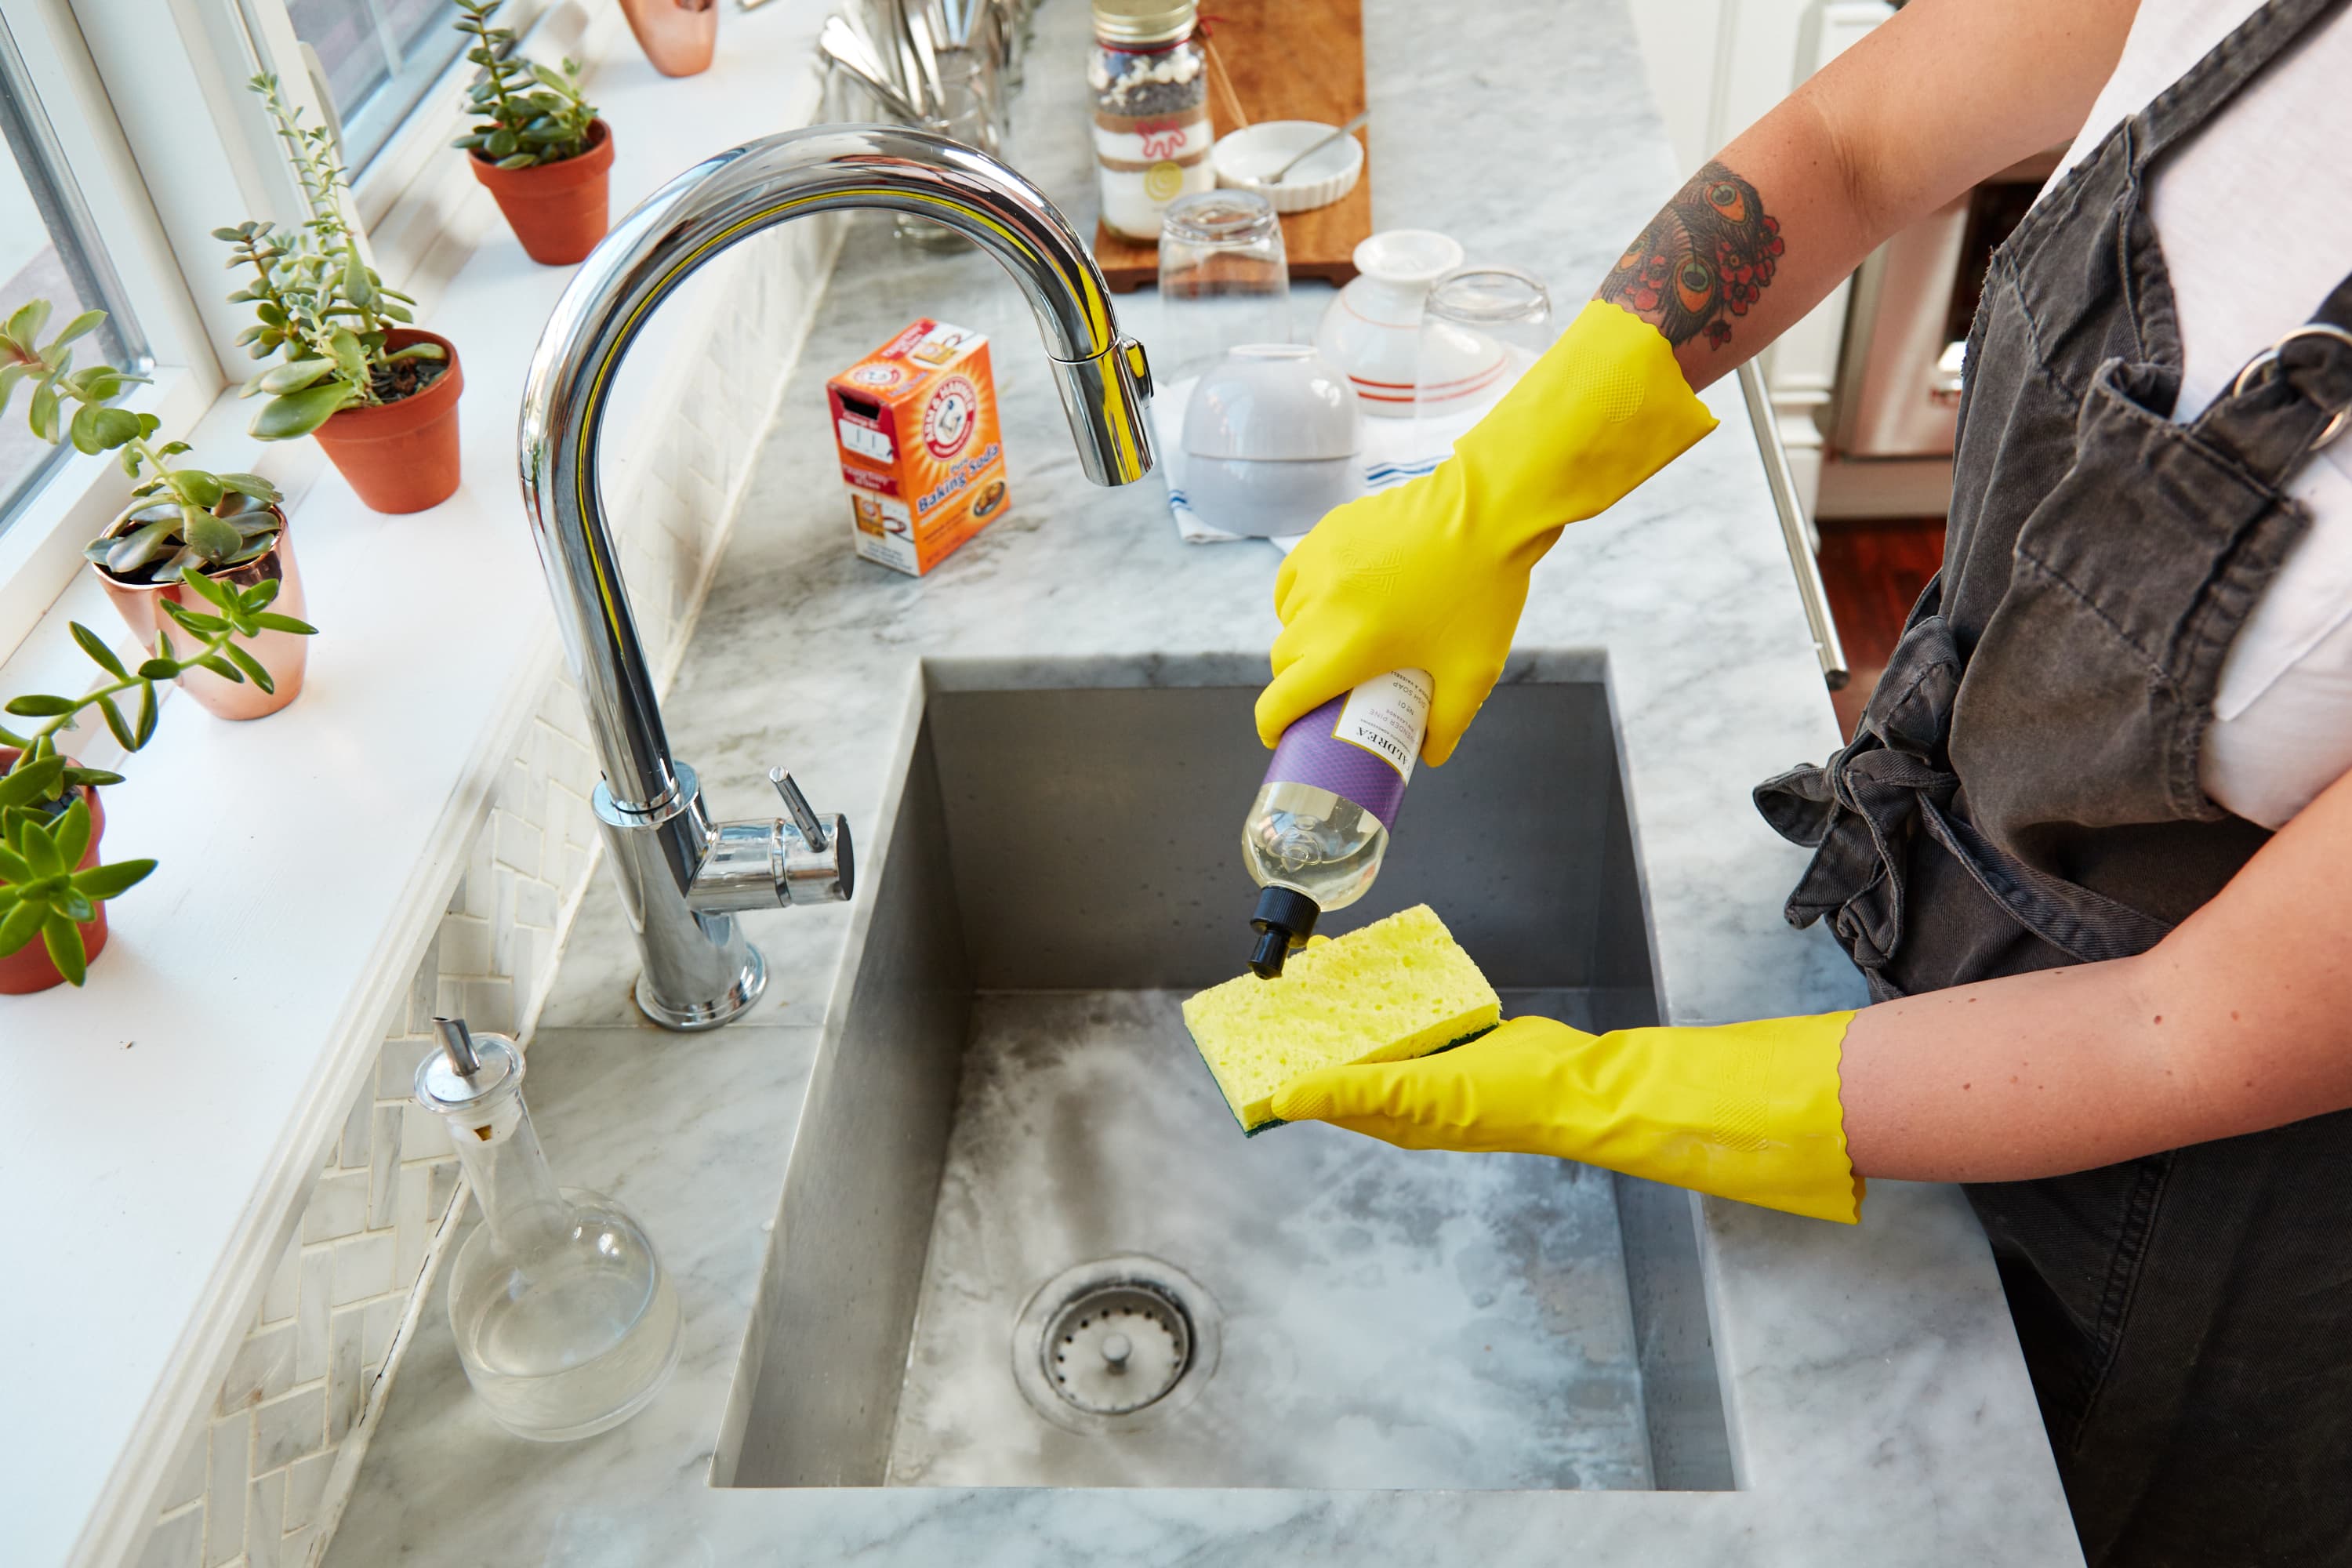
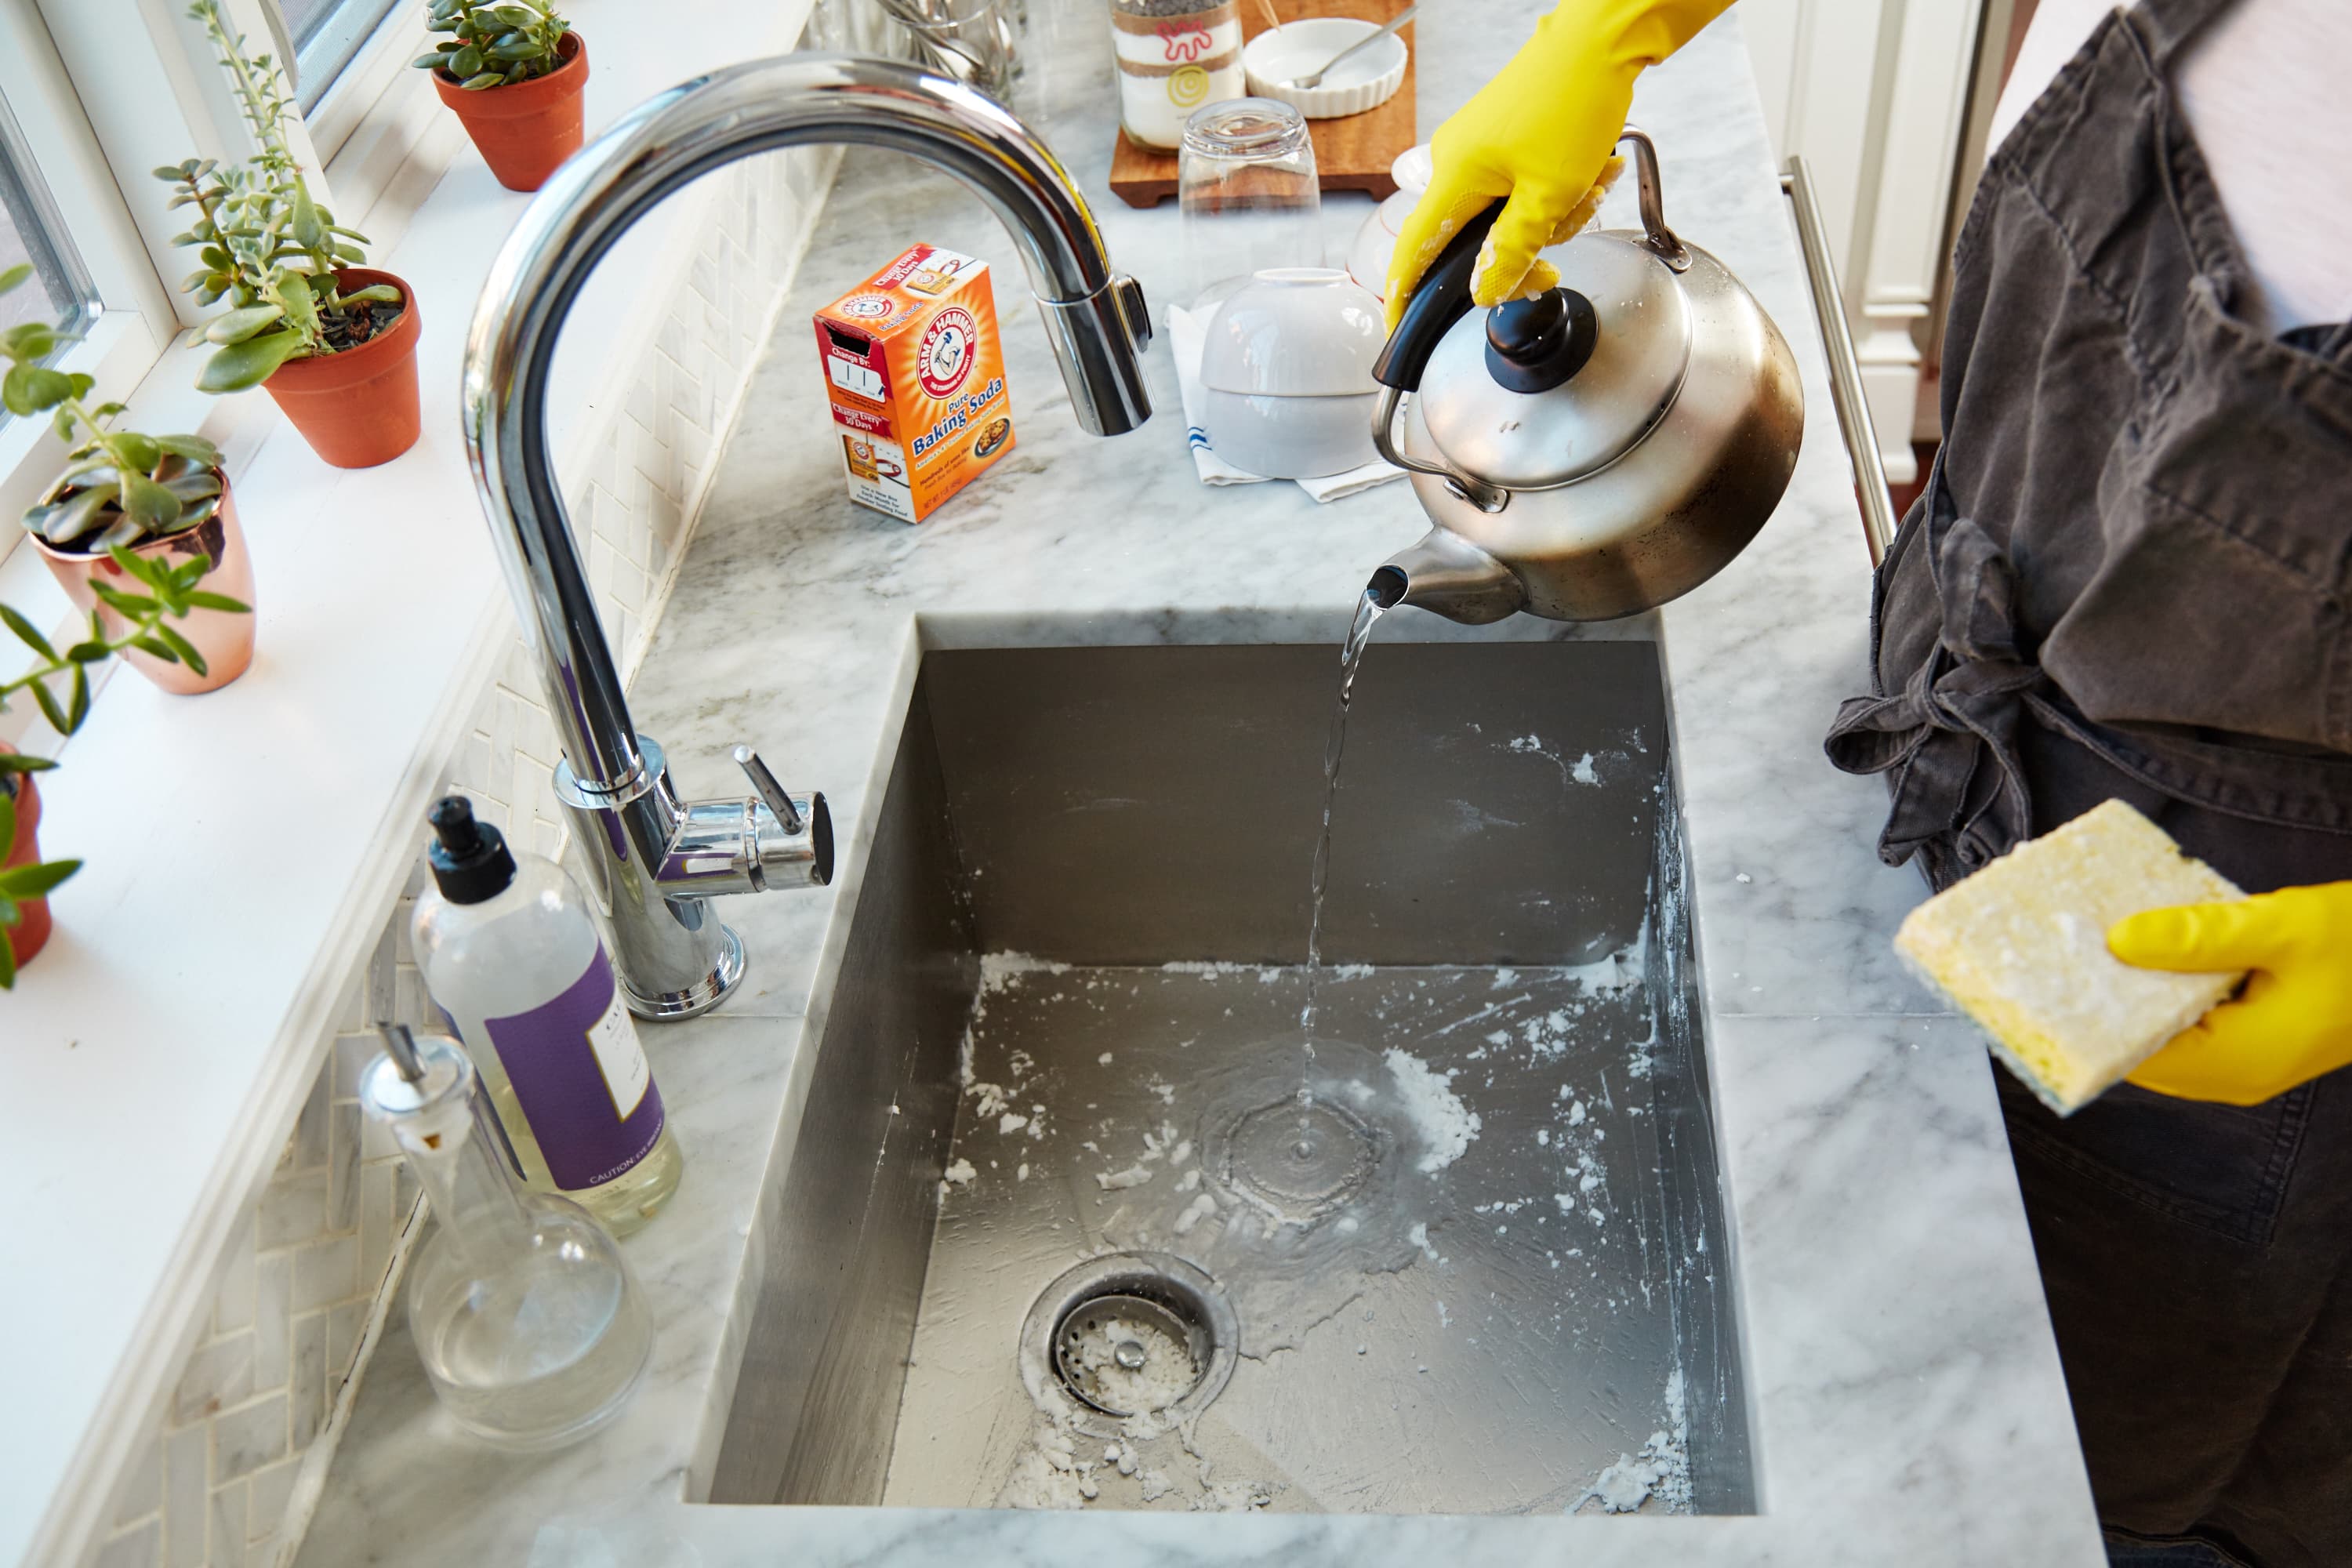
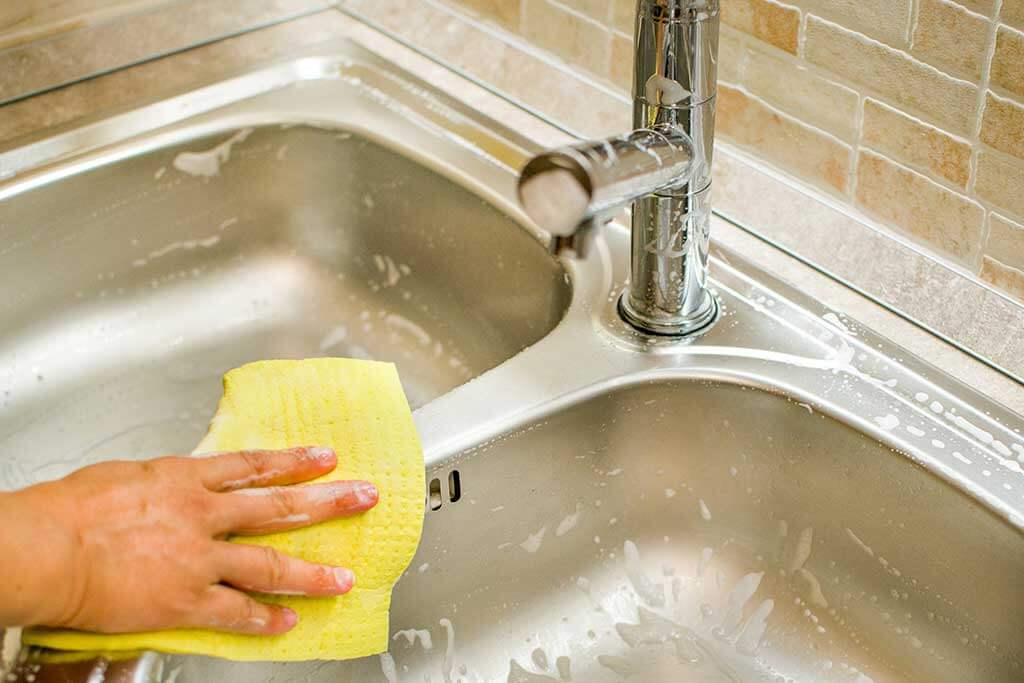
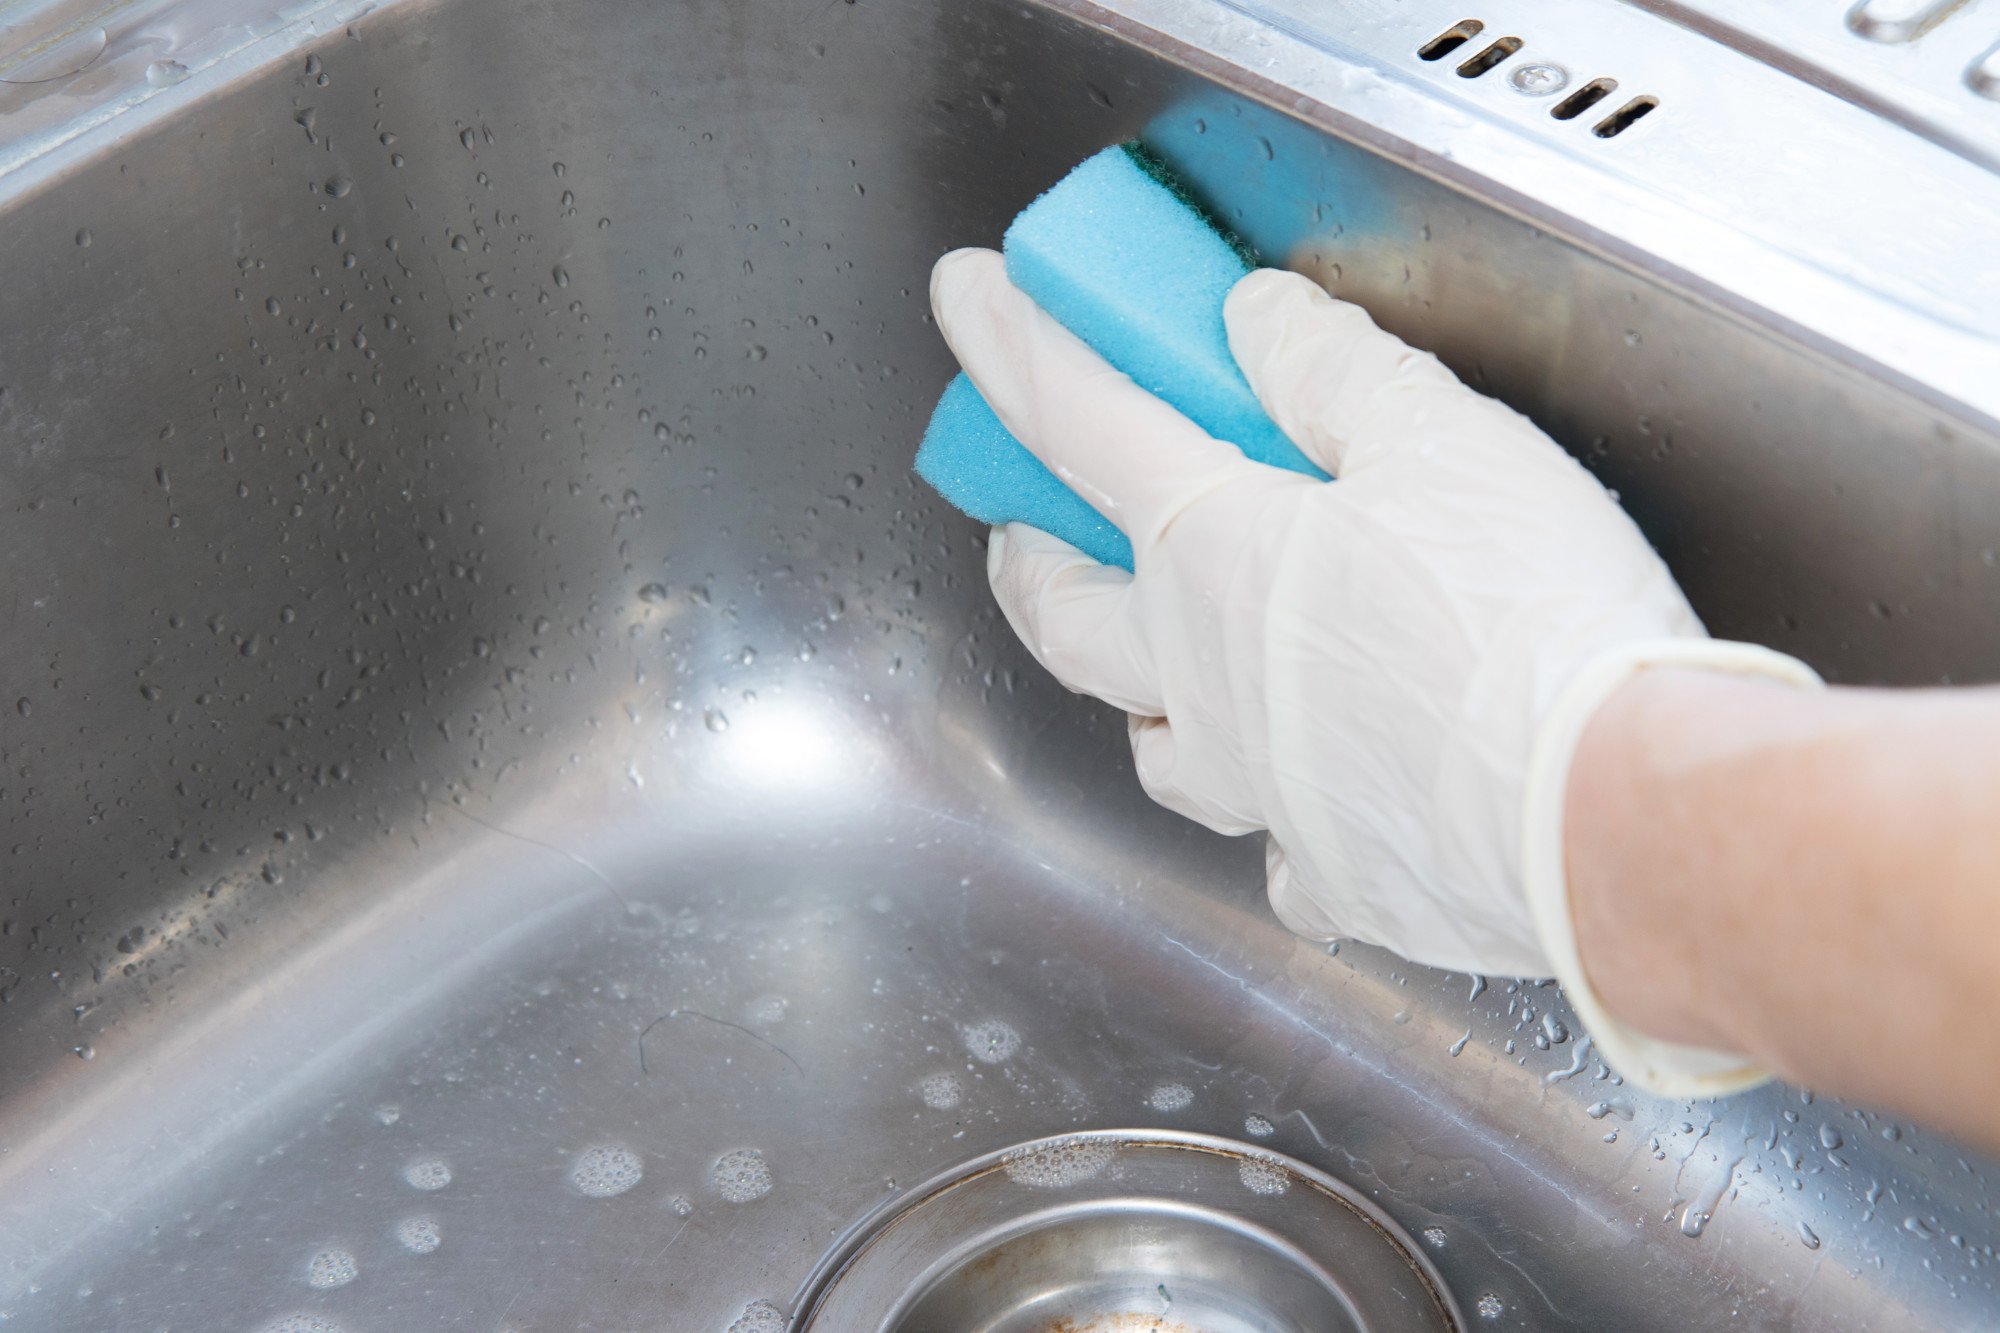
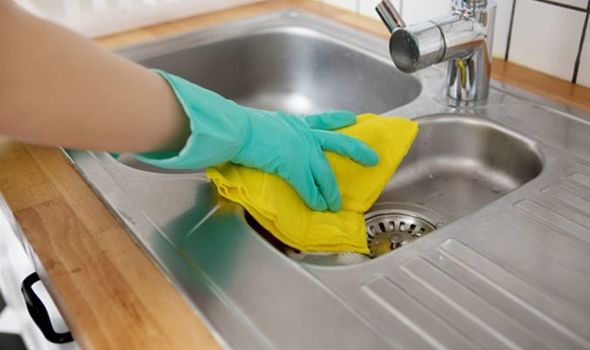
Having a clean kitchen sink is essential for maintaining a hygienic and functional kitchen. Over time, sinks can accumulate dirt, grime, and bacteria, making them look and smell unpleasant. In this guide, we will walk you through the steps on how to clean your kitchen sink effectively. The first step in cleaning your kitchen sink is to remove any dishes, utensils, and debris from the sink. This will allow you to have a clear space to work with and prevent any items from getting in the way. Next, it is important to rinse the sink with hot water to help loosen and remove any food particles or residue. You can also add a few drops of dish soap to the sink and use a scrub brush or sponge to clean the surface. Be sure to rinse the sink thoroughly with hot water afterwards. For tougher stains and build-up, you can create a paste using equal parts of baking soda and water. Apply the paste to the sink surface and let it sit for 10-15 minutes before scrubbing it off. The baking soda acts as a natural abrasive and helps to remove stubborn stains and residue. Once you have scrubbed the entire sink, rinse it thoroughly with hot water. You can also use a clean cloth or paper towel to dry the sink and prevent any water spots from forming.How to Clean a Kitchen Sink
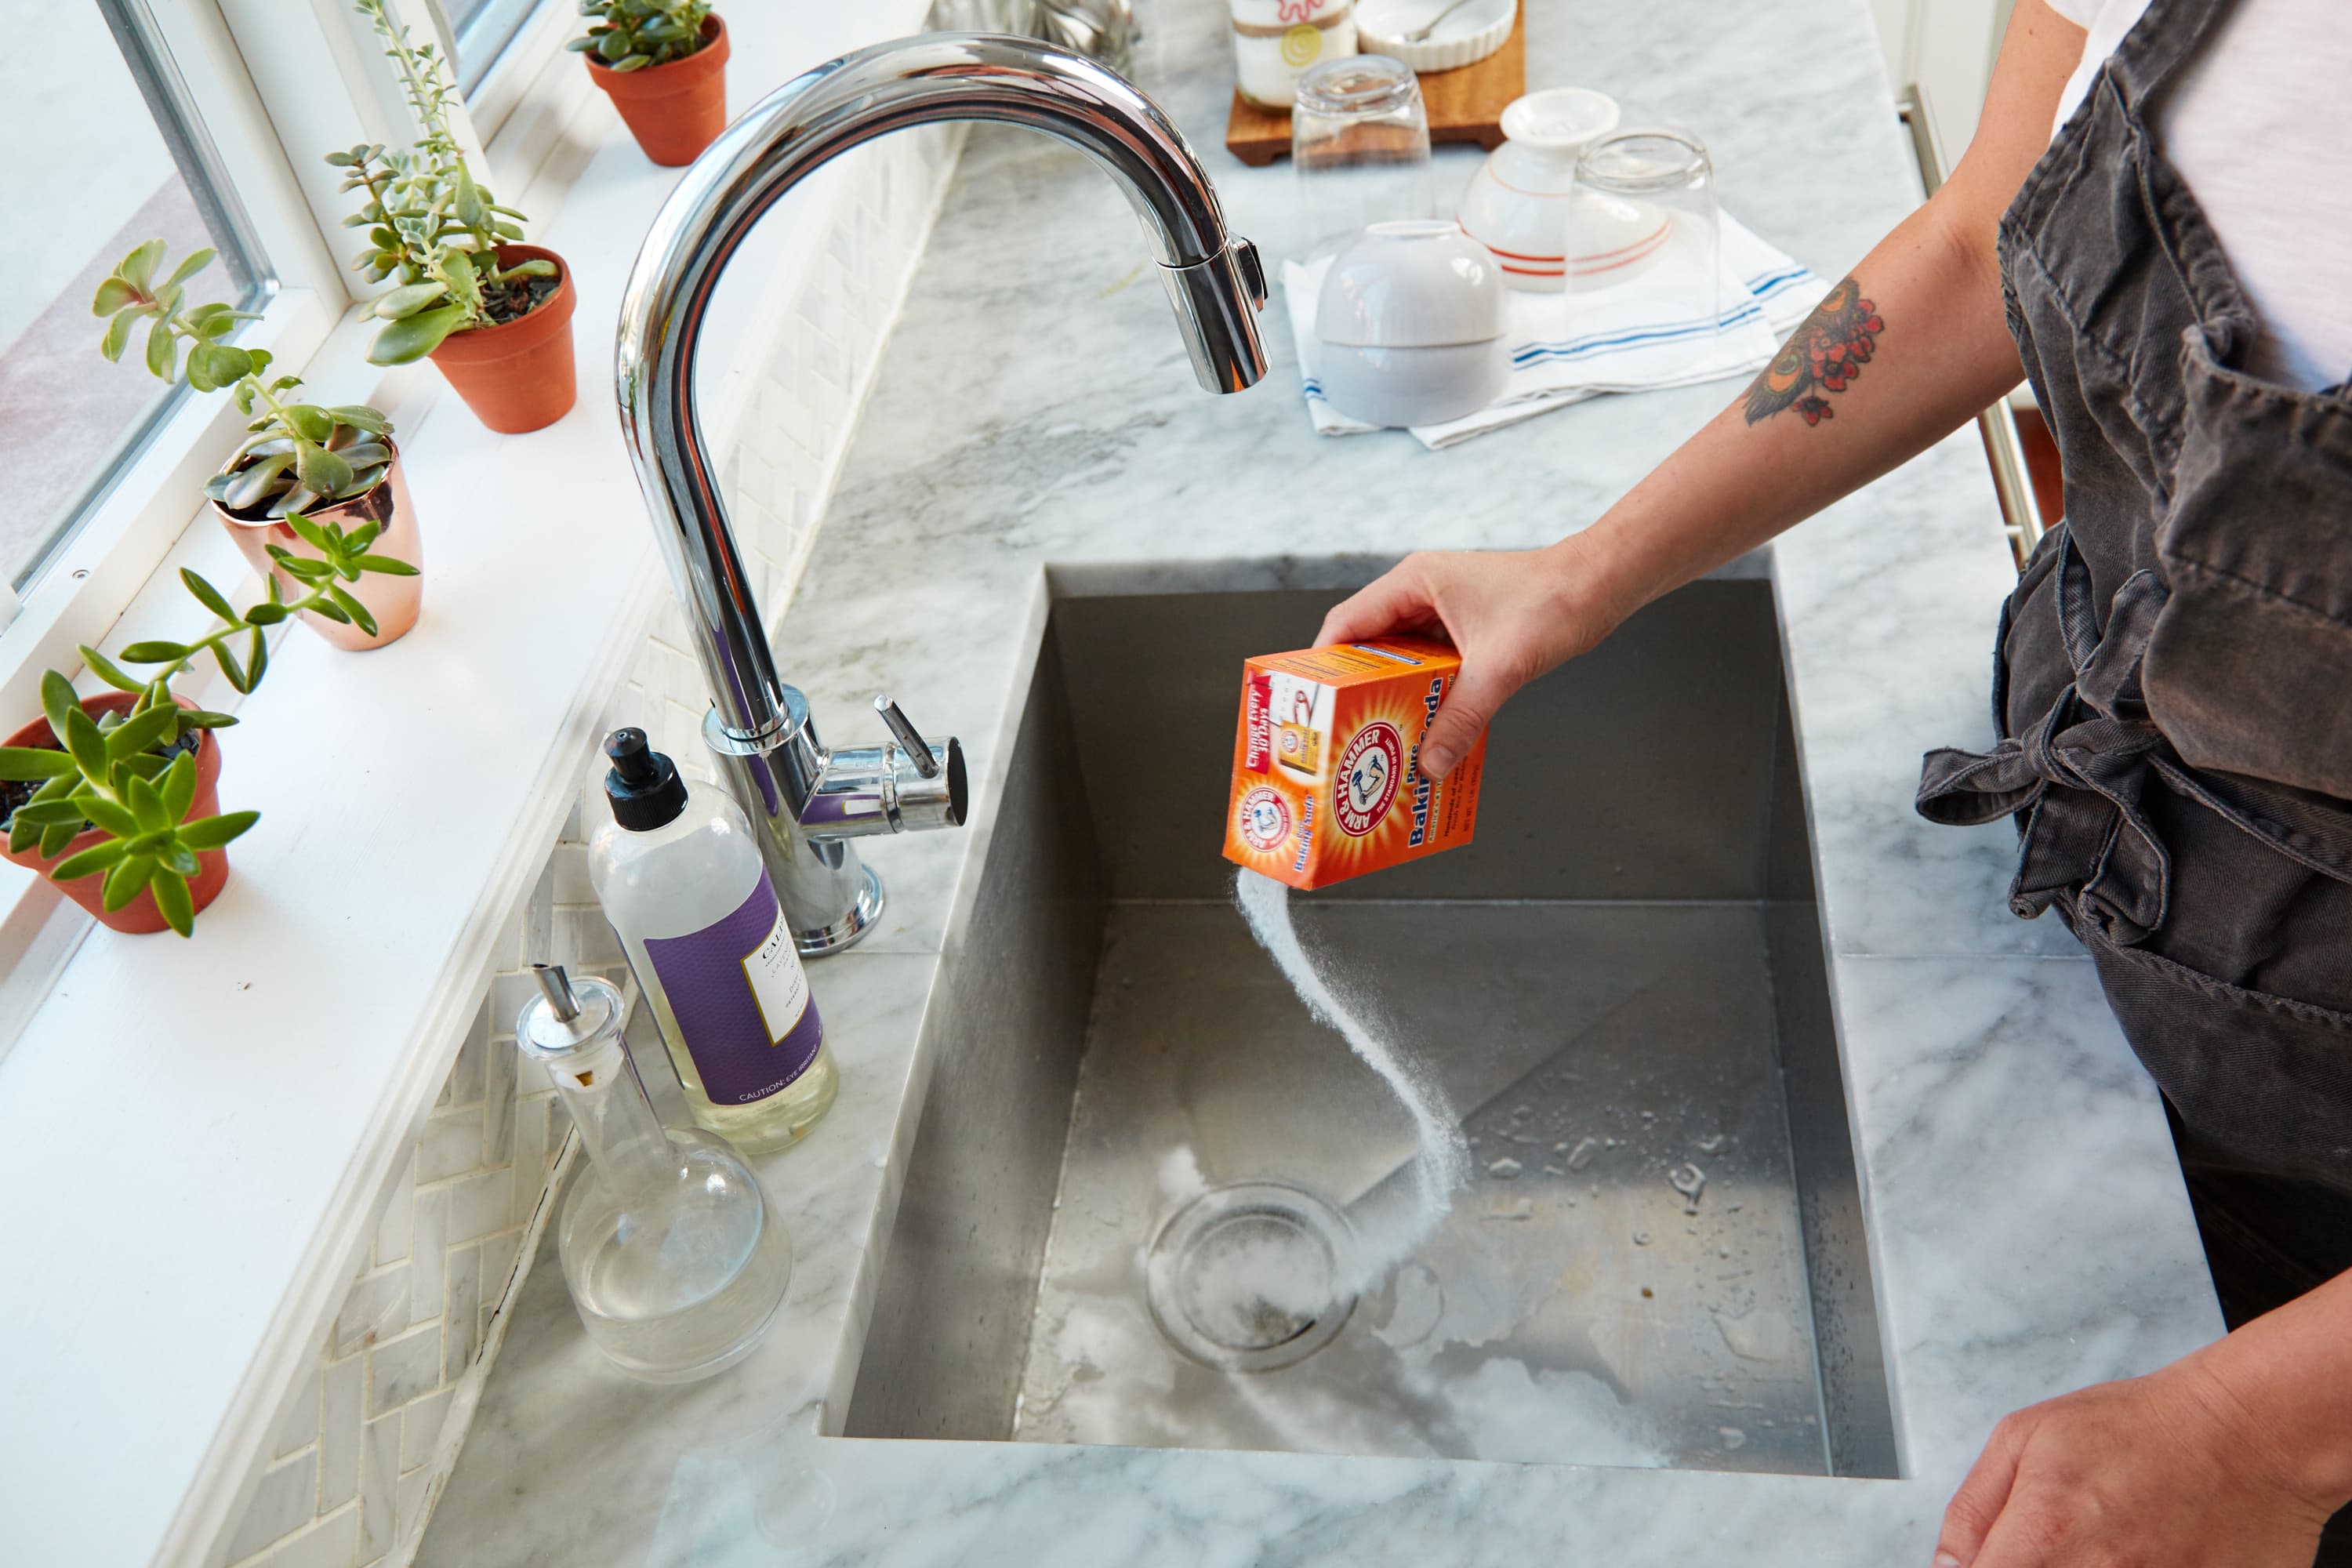
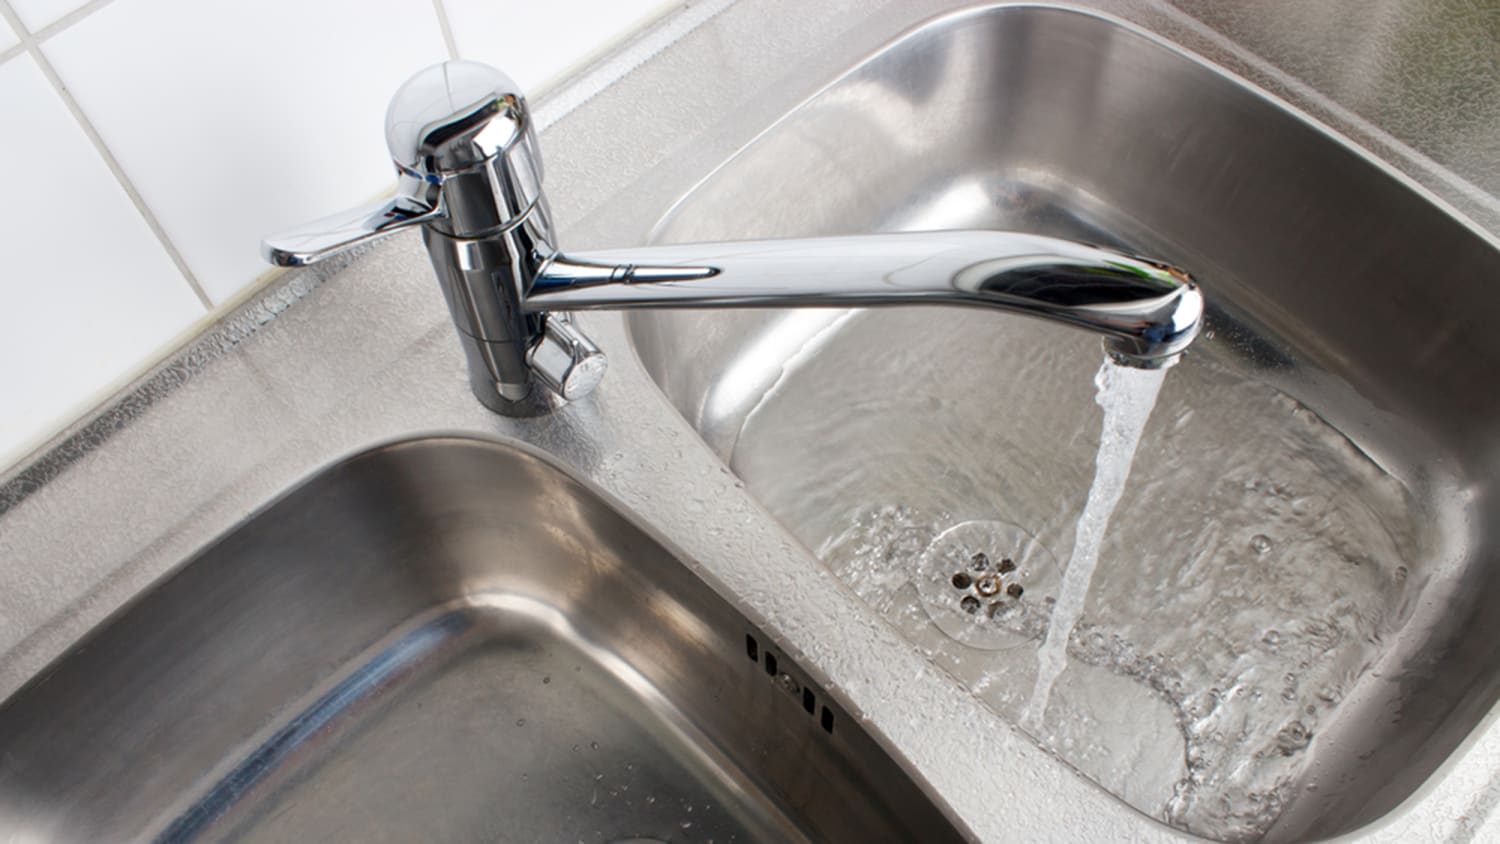
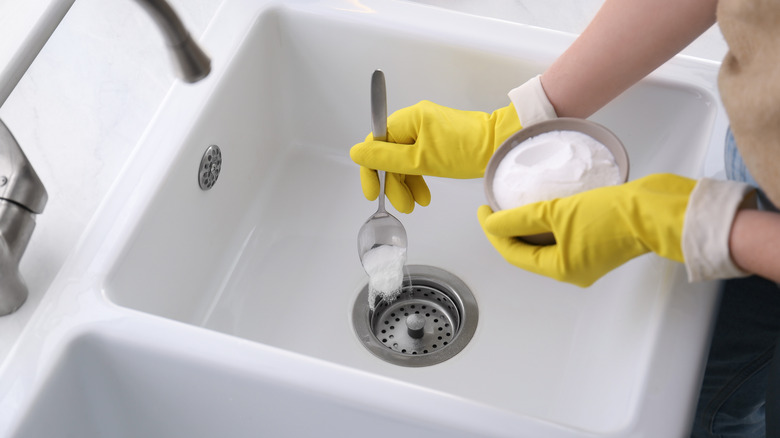
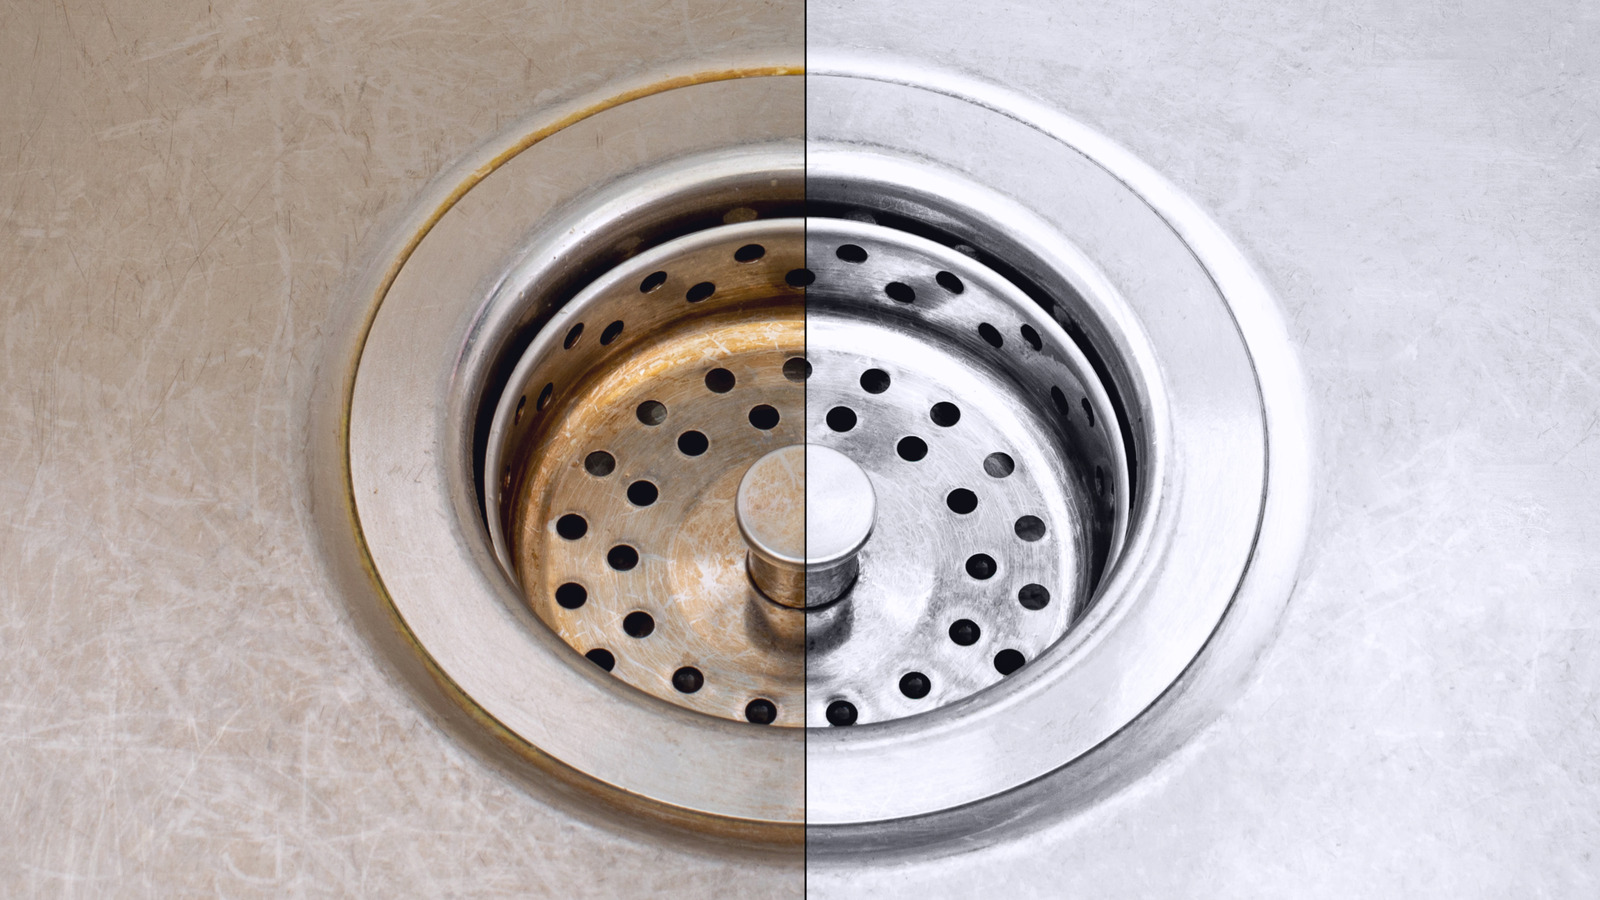
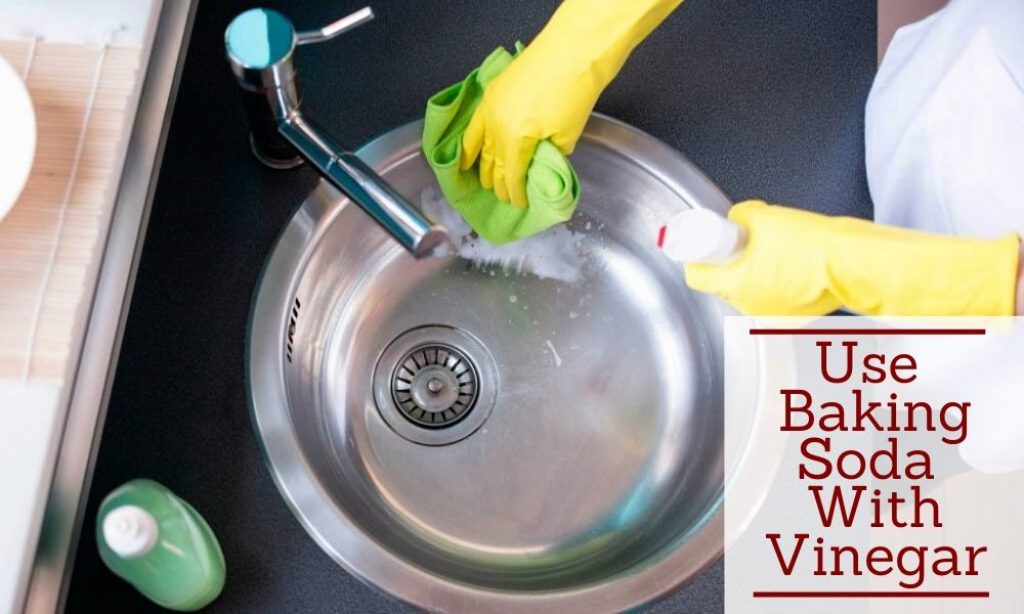
Cleaning your kitchen sink drain is just as important as cleaning the sink itself. A clogged drain can cause unpleasant odors and prevent water from draining properly. Here are some steps to help you clean your kitchen sink drain. The first step is to remove any visible debris from the drain, such as food particles or hair. You can use a pair of tongs or a plunger to remove the debris. Be sure to wear gloves to prevent any bacteria from coming in contact with your skin. Next, you can pour a solution of equal parts vinegar and baking soda down the drain. This mixture will help to break down any remaining residue and eliminate any odors. Let the solution sit in the drain for 10-15 minutes before flushing it with hot water. If your drain is still clogged, you can use a plumbing snake to remove any blockages. Insert the snake into the drain and rotate it while pushing it further down the drain. This will help to loosen and remove any debris that may be causing the clog. Once you have cleaned the drain, you can run hot water down it to ensure it is clear and functioning properly.How to Clean a Kitchen Sink Drain
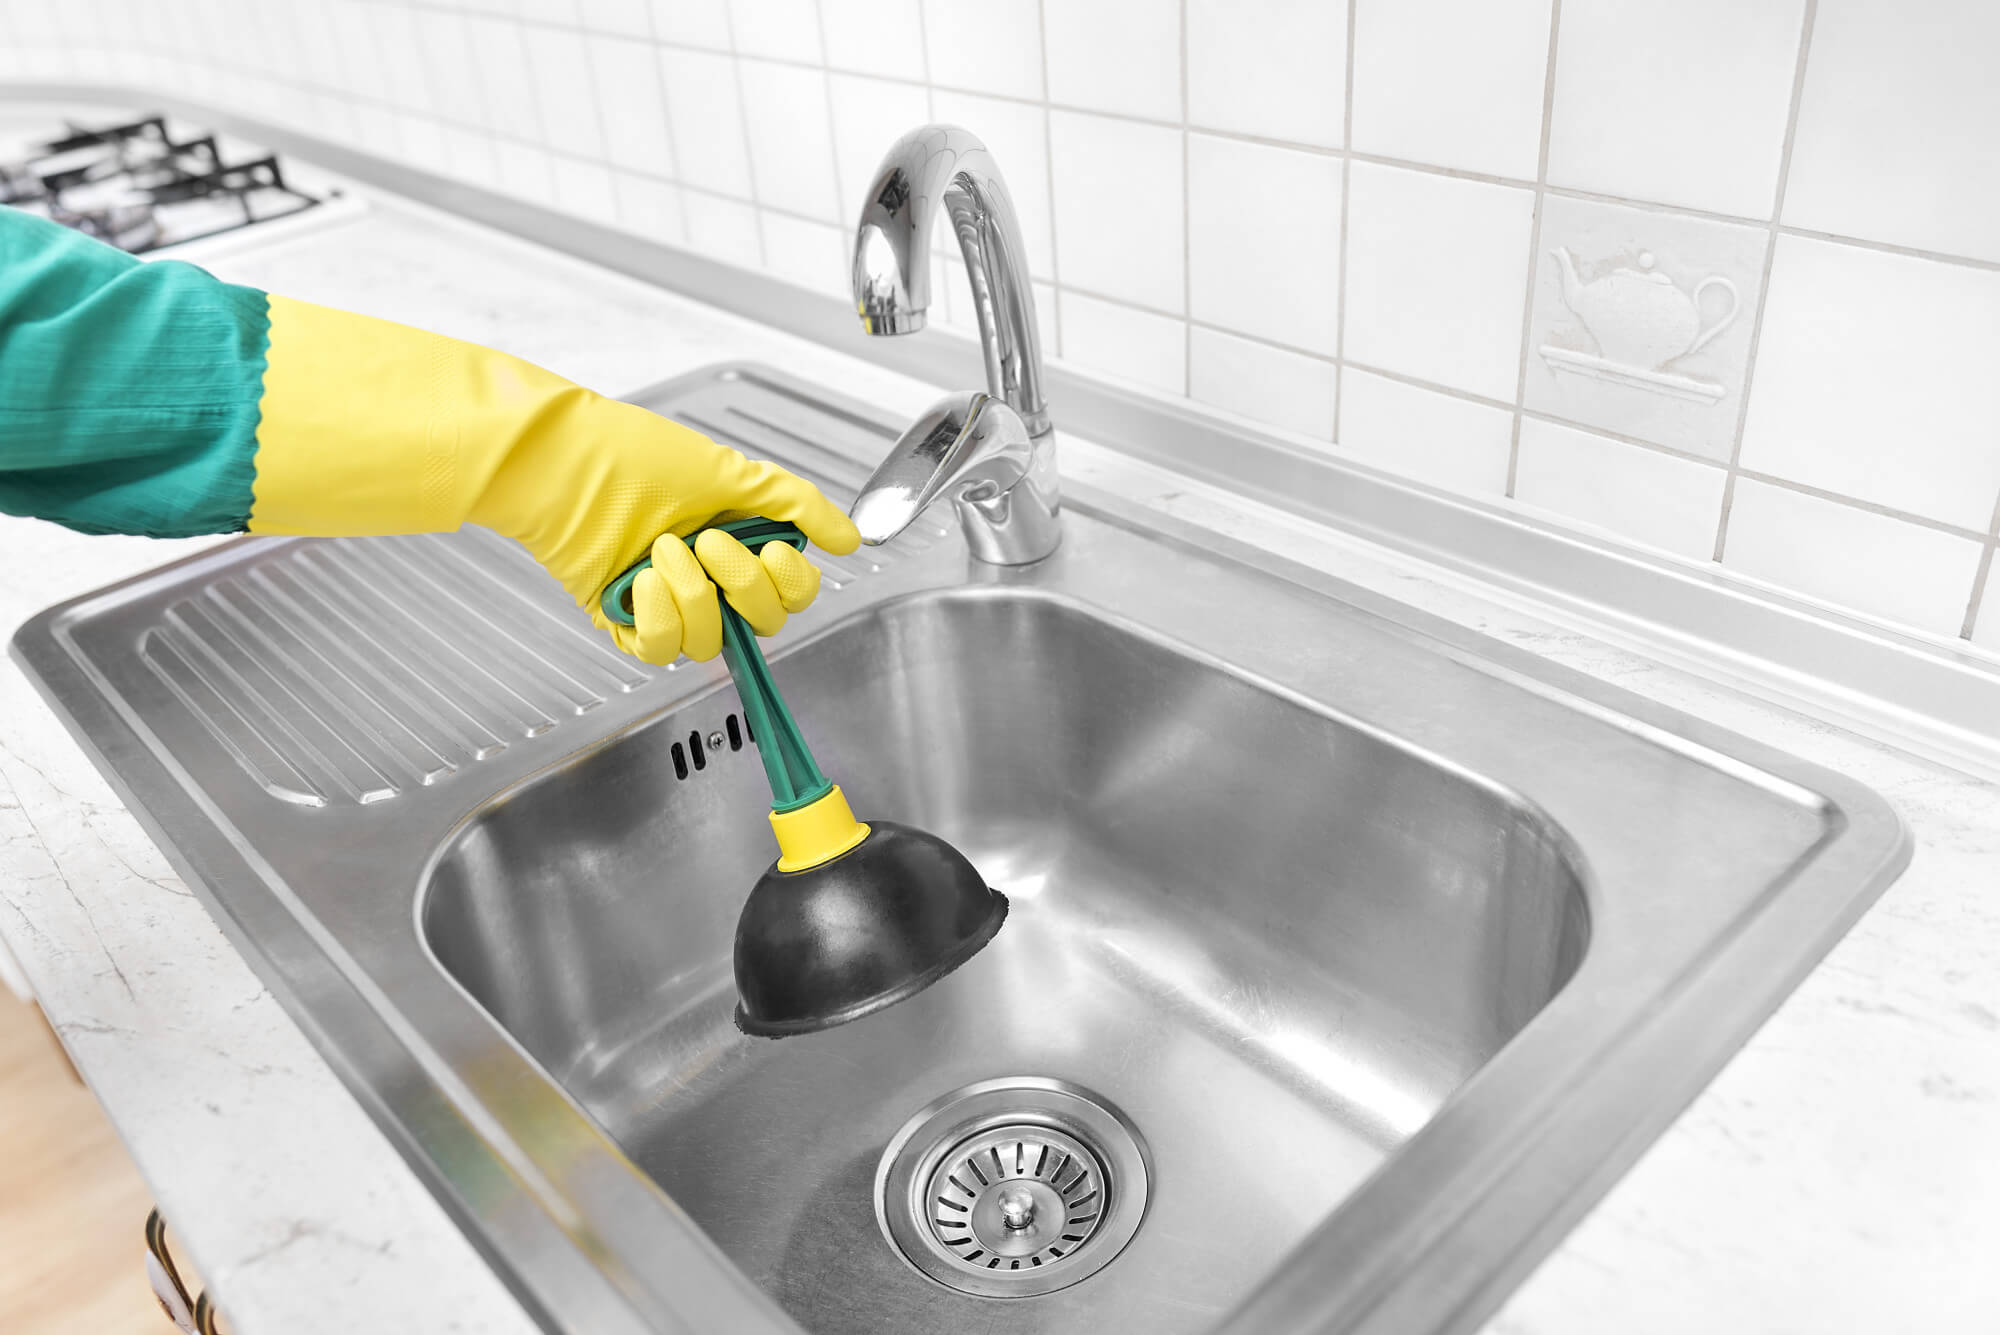
If your kitchen sink is clogged, it can be a major inconvenience. Here are some steps to help you unclog your kitchen sink and get it back to functioning properly. The first step is to try using a plunger to dislodge the clog. Place the plunger over the drain and push it down firmly, then pull up quickly. Repeat this motion several times until the clog is dislodged. If the plunger does not work, you can try using a plumbing snake to remove the clog. Insert the snake into the drain and rotate it while pushing it further down the drain. This will help to loosen and remove any blockages. If the clog is still present, you can create a mixture of equal parts vinegar and baking soda and pour it down the drain. Let it sit for 30 minutes before flushing it with hot water. This solution can help to break down and remove any remaining residue or blockages.How to Unclog a Kitchen Sink
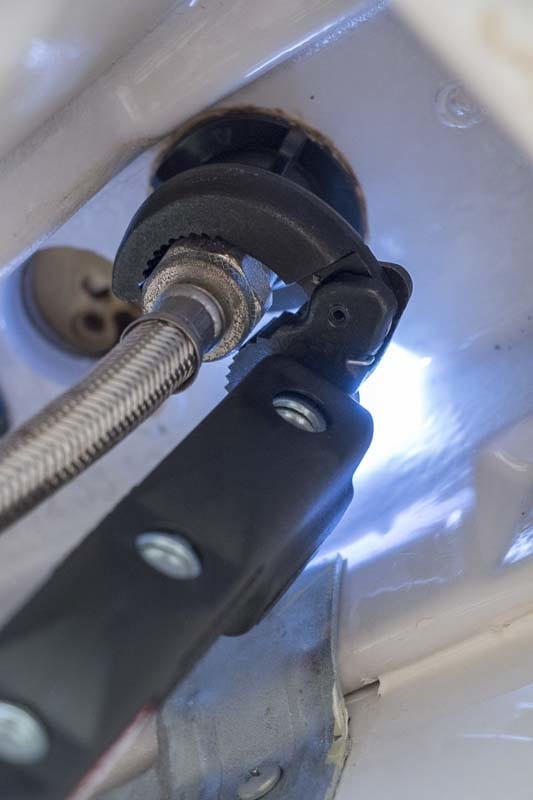
If you are looking to replace your kitchen sink, you will first need to remove the old one. Here are some steps to help you remove a kitchen sink. The first step is to turn off the water supply to the sink. You can do this by turning off the water valves located under the sink. Next, you will need to disconnect the sink from the drainpipe and water supply lines. This can usually be done by using a wrench to loosen the connections. Once the sink is disconnected, you can use a utility knife to cut through any caulk or adhesive holding the sink in place. Once the sink is free, you can lift it out of the counter and set it aside.How to Remove a Kitchen Sink
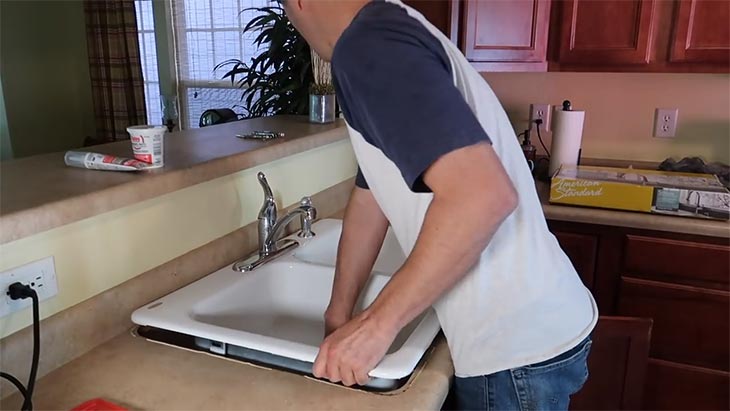
Replacing a kitchen sink can give your kitchen a fresh new look. Here are some steps to help you replace a kitchen sink. The first step is to choose a new sink that will fit into the existing cutout in your counter. You can also opt to enlarge the cutout if you are looking to install a larger sink. Next, you will need to assemble the new sink according to the manufacturer's instructions. This may include attaching clips or brackets to secure the sink to the counter. Once the sink is assembled, you can place it into the cutout and secure it in place using caulk or adhesive. Be sure to follow the manufacturer's instructions for the best results. Finally, you can reconnect the sink to the drainpipe and water supply lines using a wrench. Turn on the water supply and check for any leaks.How to Replace a Kitchen Sink
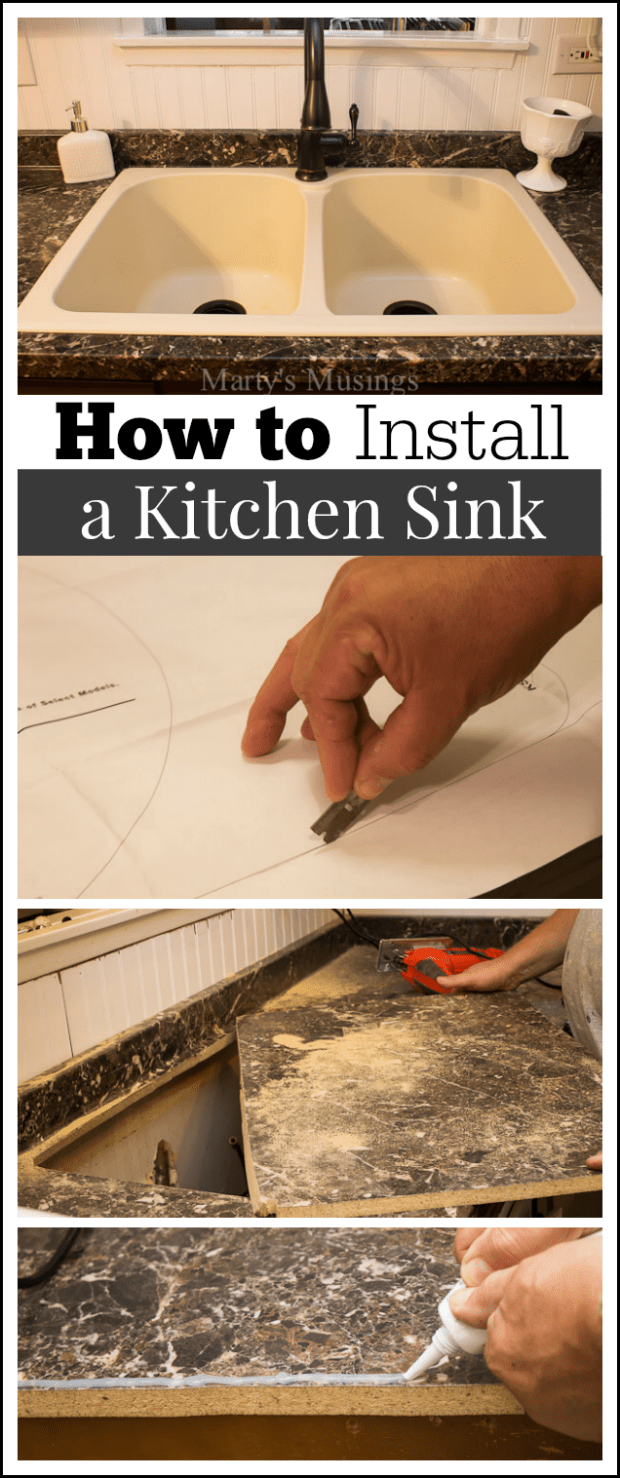
If you are looking to install a completely new kitchen sink, here are some steps to help you with the installation process. The first step is to choose a new sink that will fit into your kitchen and complement your design. You can also choose to install a garbage disposal if desired. Next, you will need to cut a hole in the counter for the sink to fit into. Be sure to follow the manufacturer's instructions for the size and placement of the cutout. Once the cutout is made, you can assemble the sink according to the manufacturer's instructions. This may include attaching clips or brackets to secure the sink to the counter. Finally, you can place the sink into the cutout and secure it in place using caulk or adhesive. Be sure to follow the manufacturer's instructions for the best results. You can then connect the drainpipe and water supply lines using a wrench and turn on the water supply.How to Install a Kitchen Sink
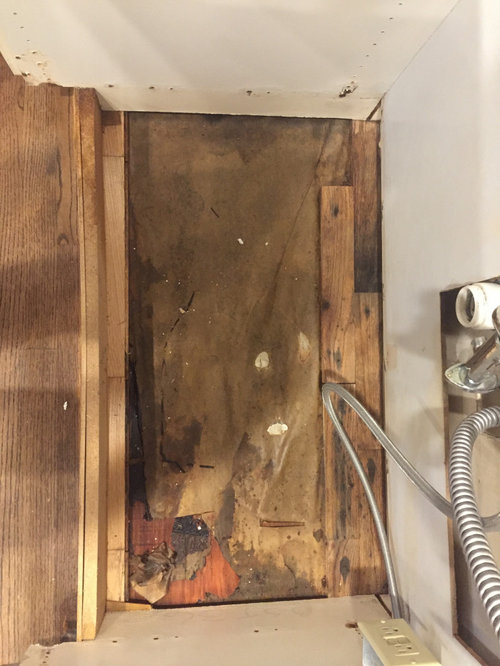
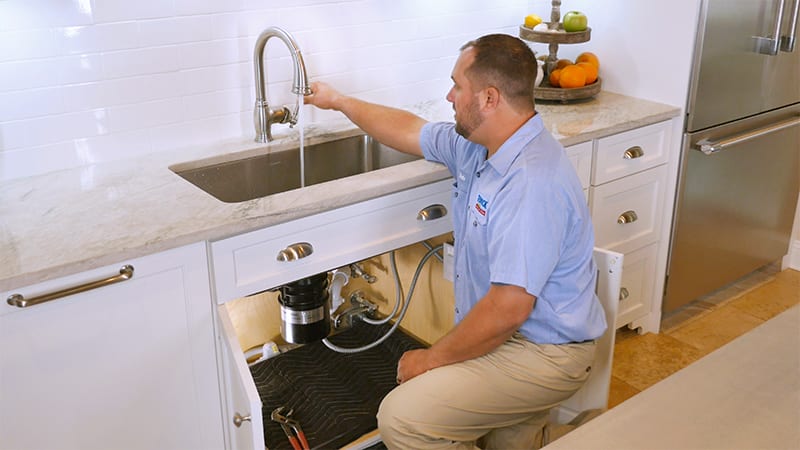
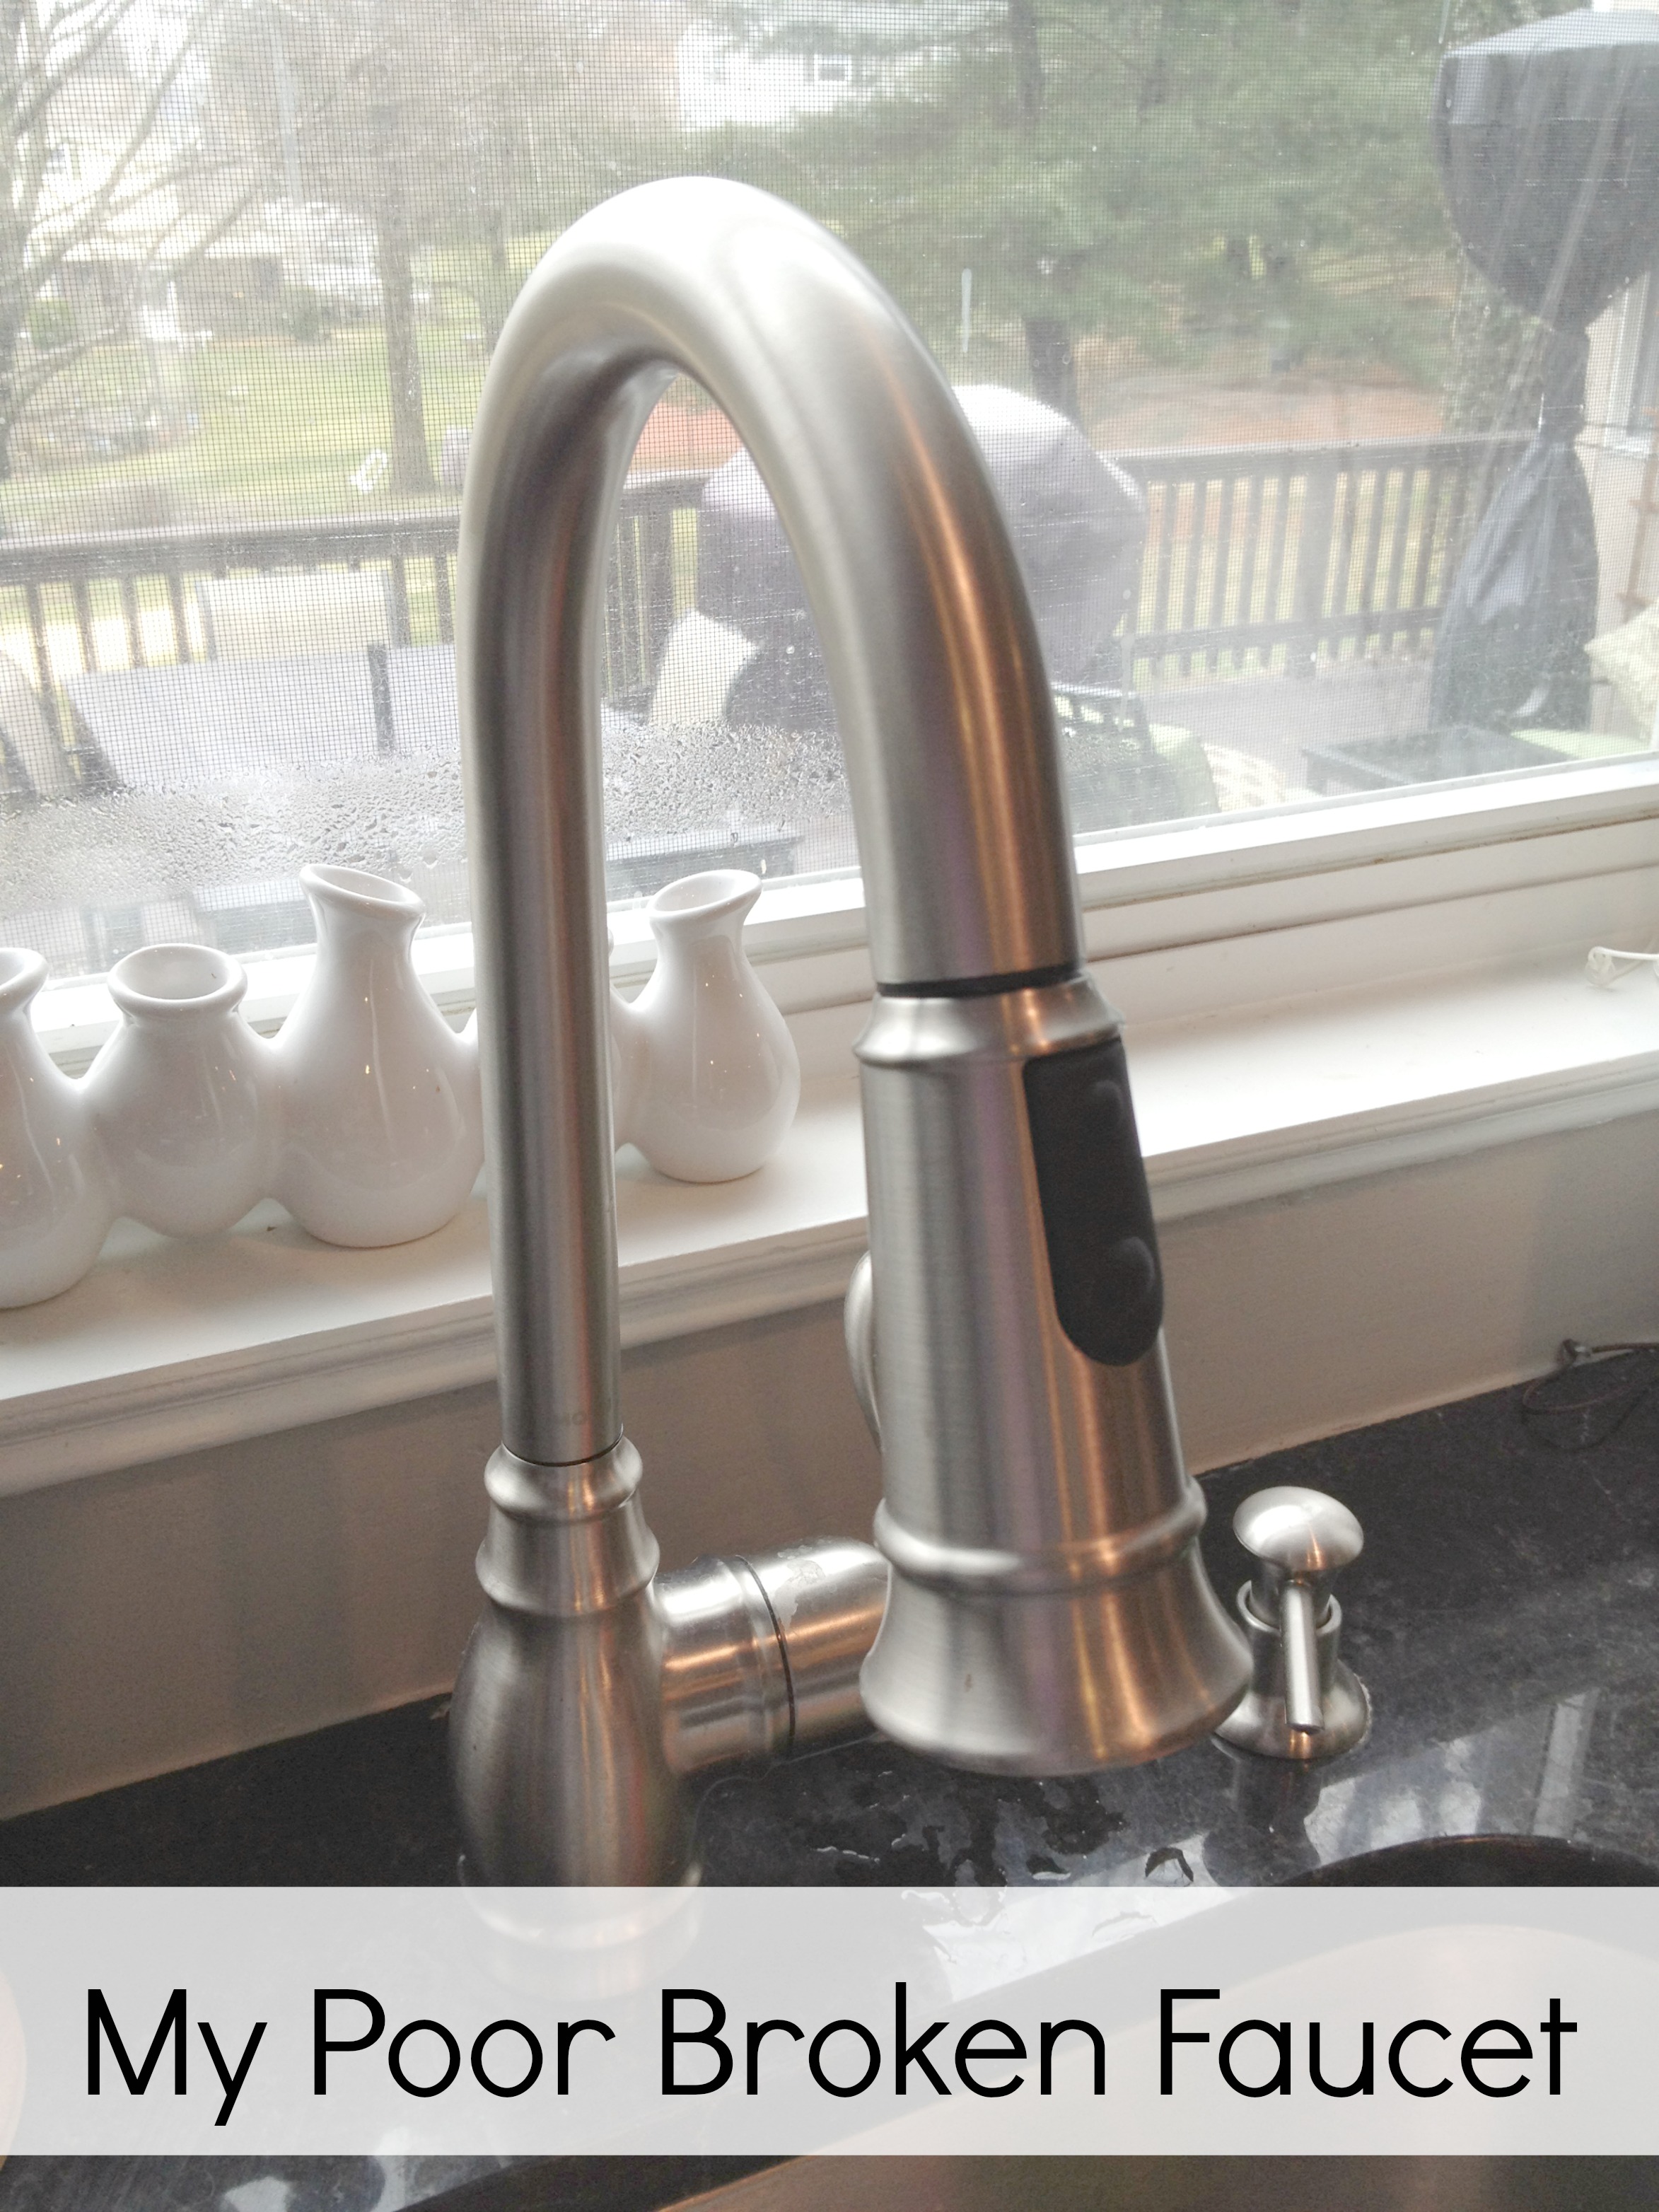
A leaky kitchen sink can be a nuisance and can also lead to water damage if left untreated. Here are some steps to help you fix a leaky kitchen sink. The first step is to identify the source of the leak. This could be from the faucet, drainpipe, or water supply lines. If the leak is coming from the faucet, you can try replacing the o-rings or washers inside the faucet. If this does not work, you may need to replace the entire faucet. If the leak is coming from the drainpipe, you can try tightening the connections using a wrench. If this does not work, you may need to replace the gaskets or pipes causing the leak. If the leak is coming from the water supply lines, you can try tightening the connections or replacing the hoses if they are damaged.How to Fix a Leaky Kitchen Sink
Deep cleaning your kitchen sink is important for removing any stubborn stains, bacteria, and odors. Here are some steps to help you deep clean your kitchen sink. The first step is to remove any debris and clean the sink using a solution of dish soap and hot water. This will help to remove any surface dirt and grime. Next, you can create a solution of equal parts vinegar and water and pour it down the drain. This will help to remove any buildup and eliminate any odors. You can also use a lemon or orange peel to rub on the sink surface and drain. The citric acid in the fruit acts as a natural cleaner and can help to remove stains and odors. For tougher stains, you can create a paste using baking soda and water and apply it to the sink surface. Let it sit for 15-20 minutes before scrubbing it off with a brush or sponge. Once you have scrubbed the entire sink, rinse it thoroughly with hot water and dry it with a clean cloth or paper towel.How to Deep Clean a Kitchen Sink
Stains on your kitchen sink can make it look dirty and unappealing. Here are some steps to help you remove stains from a kitchen sink. For rust stains, you can create a paste using baking soda and lemon juice and apply it to the stained area. Let it sit for 15-20 minutes before scrubbing it off with a brush or sponge. For hard water stains, you can create a solution of equal parts vinegar and water and apply it to the stained area. Let it sit for 15-20 minutes before scrubbing it off with a brush or sponge. For grease or oil stains, you can use a degreaser or a solution of equal parts dish soap and hot water to remove the stains. Let it sit for a few minutes before scrubbing it off with a brush or sponge. Once the stains are removed, rinse the sink thoroughly with hot water and dry it with a clean cloth or paper towel.How to Remove Stains from a Kitchen Sink
Keeping your kitchen sink clean on a regular basis is important for maintaining a hygienic and functional kitchen. Here are some tips to help you maintain a clean kitchen sink. After each use, be sure to rinse the sink thoroughly with hot water to remove any food particles or residue. Once a week, give your kitchen sink a deep clean using the steps mentioned above. This will help to remove any buildup and keep your sink looking and smelling fresh. Be sure to clean your sink drain regularly to prevent any clogs or unpleasant odors. Consider using a garbage disposal to help dispose of food scraps and prevent them from building up in the sink drain. In conclusion, a clean and well-maintained kitchen sink is essential for a functional and hygienic kitchen. By following these steps and tips, you can easily clean and maintain your kitchen sink to keep it looking and smelling its best.How to Maintain a Clean Kitchen Sink
Creating a Functional and Organized Kitchen Space with a Kitchen Sink Clean Out
The Importance of a Clean and Organized Kitchen
 A kitchen is the heart of any home, where delicious meals are prepared and memories are made. However, a cluttered and disorganized kitchen can not only make meal preparation difficult, but it can also affect the overall aesthetic and functionality of the space. One often overlooked area in the kitchen is the kitchen sink. A cluttered and dirty sink can not only be an eyesore, but it can also harbor bacteria and odors. This is why a kitchen sink clean out is essential for maintaining a clean and organized kitchen space.
What is a Kitchen Sink Clean Out?
 A kitchen sink clean out involves decluttering and deep cleaning the sink and its surrounding area. It may also involve reorganizing and optimizing the space for better functionality. This process is not only important for maintaining a clean and hygienic kitchen, but it can also improve the overall aesthetics and functionality of the space.
The Benefits of a Kitchen Sink Clean Out
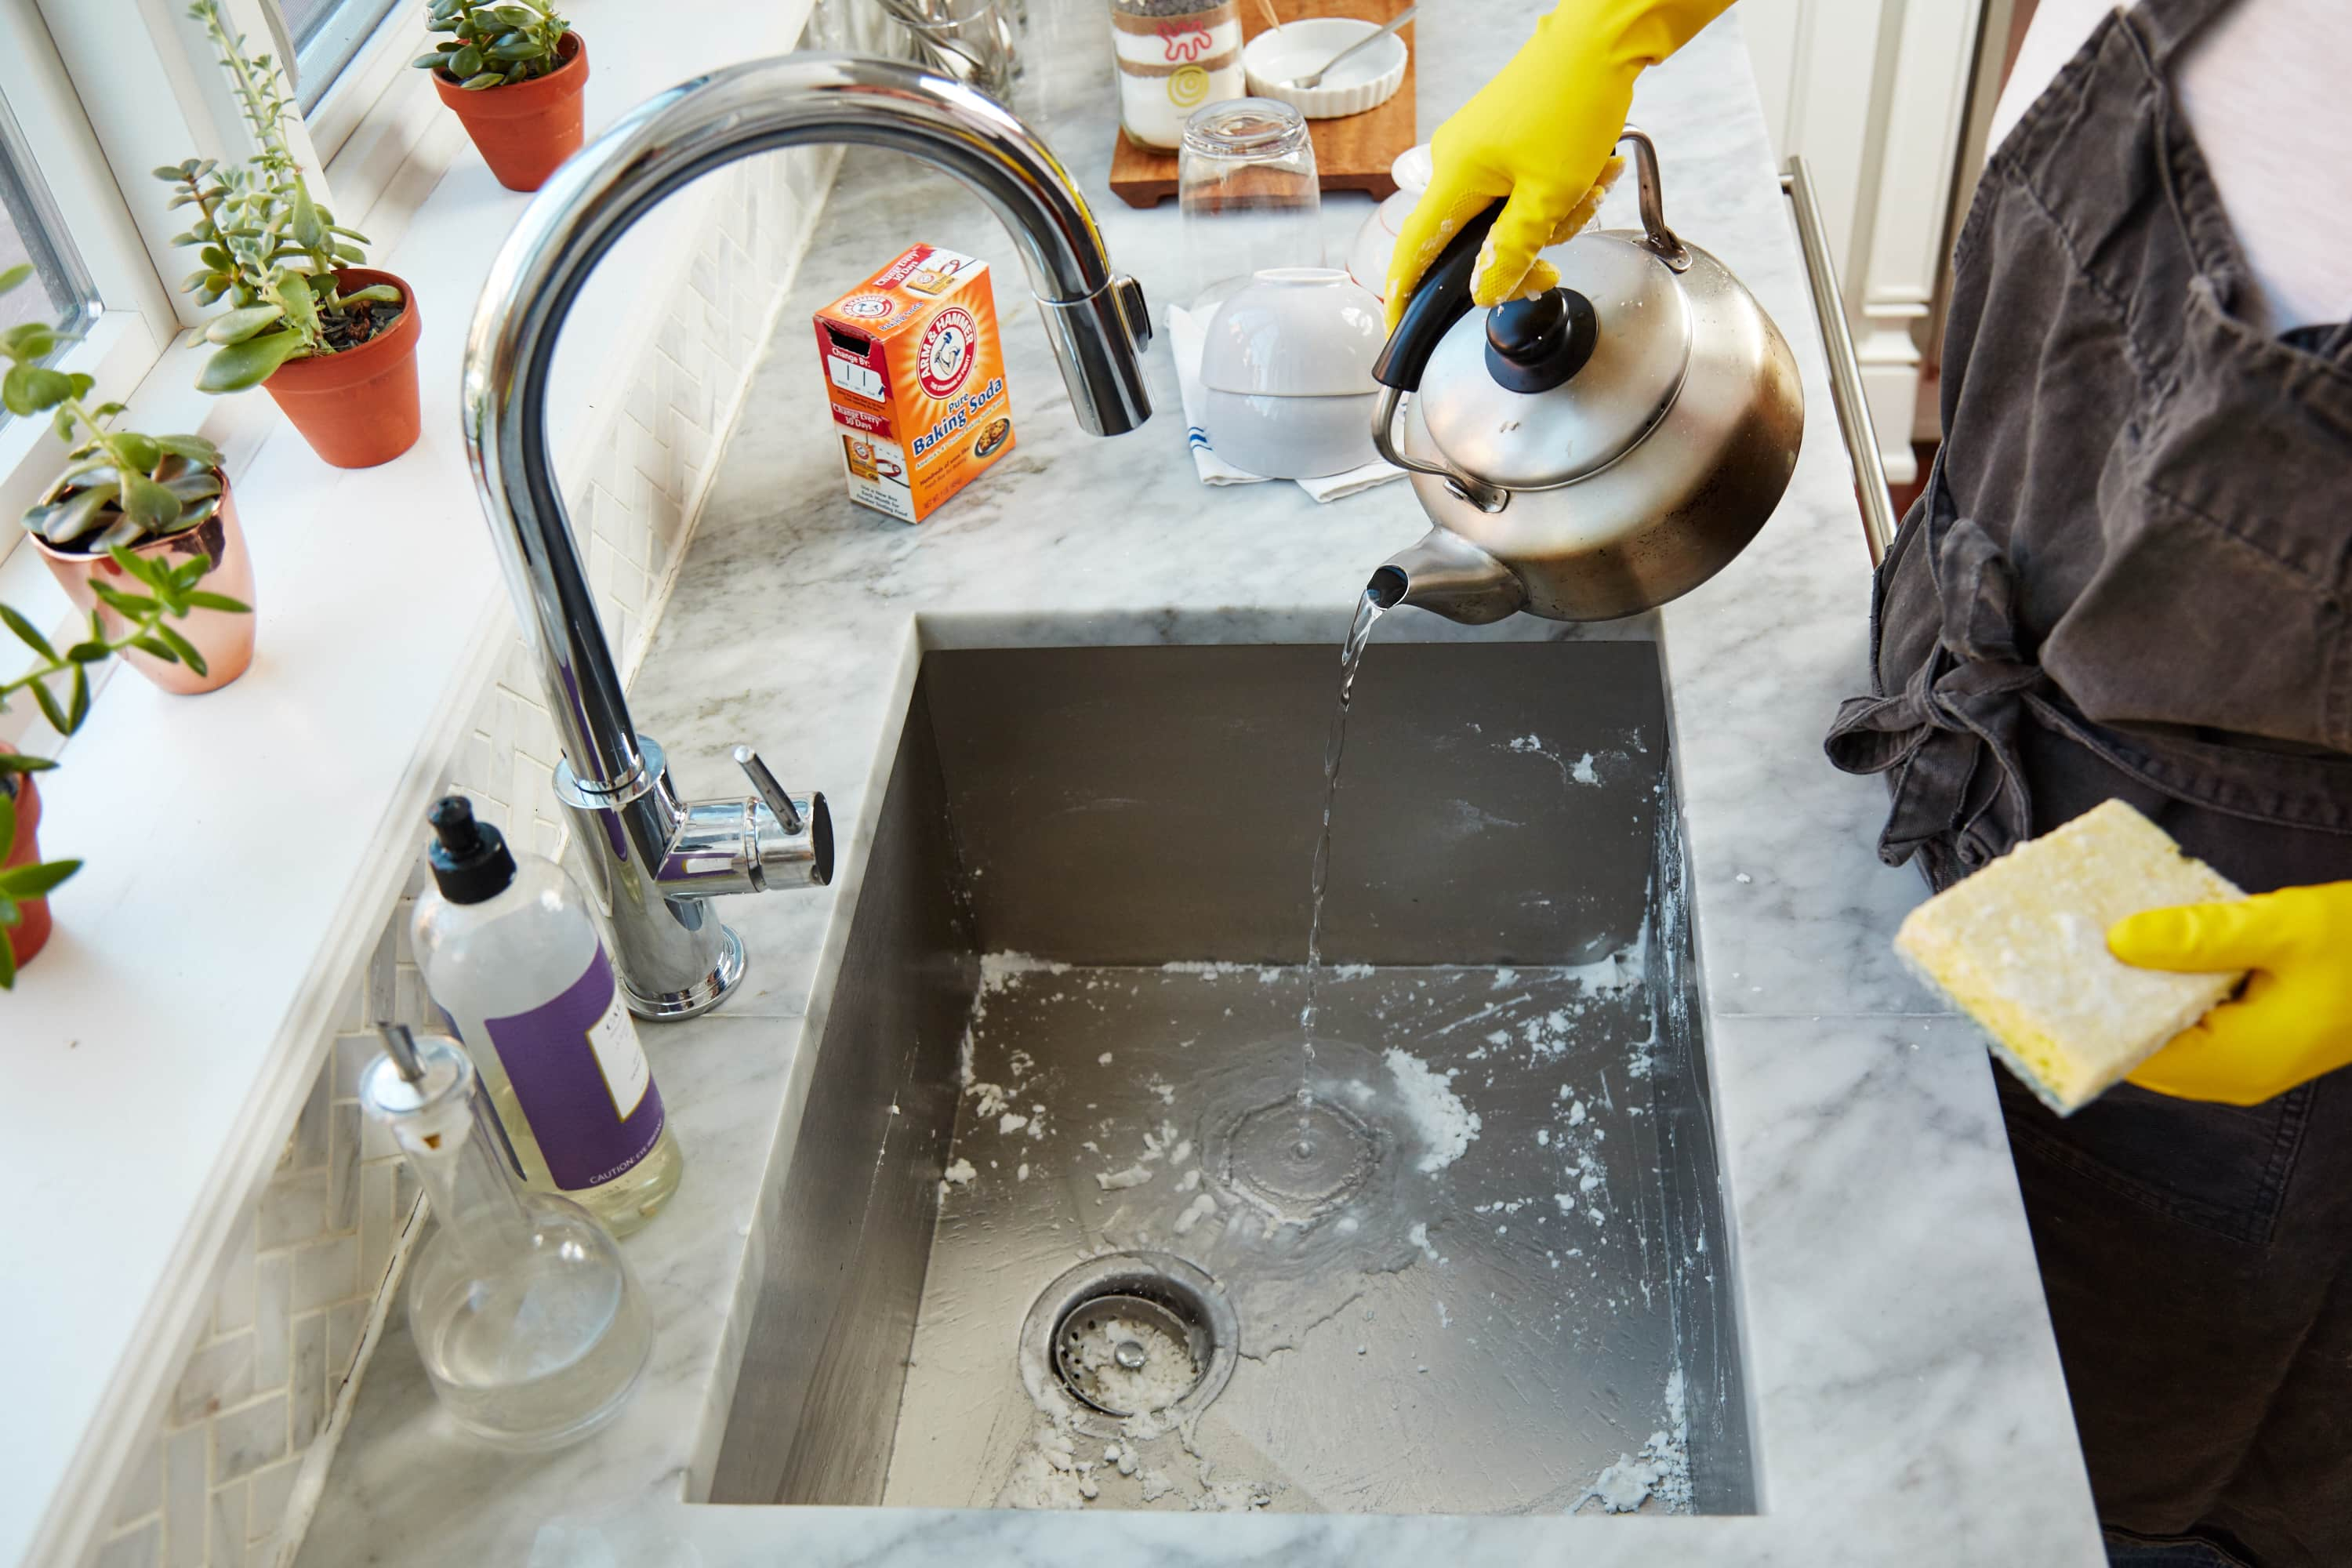 There are several benefits to having a clean and organized kitchen sink. Firstly, it can improve the overall hygiene of the kitchen. A dirty sink can harbor bacteria, mold, and unpleasant odors, which can be harmful to your health. By regularly cleaning and disinfecting the sink, you can reduce the risk of foodborne illnesses and create a healthier cooking environment.
In addition, a kitchen sink clean out can also save you time and make meal preparation more efficient. By decluttering the sink and its surrounding area, you can easily access necessary tools and ingredients while cooking. This can also help to prevent accidents and spills, making the cooking process smoother and more enjoyable.
How to Perform a Kitchen Sink Clean Out
 Start by decluttering the sink area and removing any items that do not belong there. This may include dishes, utensils, and other objects that have accumulated over time. Then, scrub the sink with a mixture of warm water and
antibacterial cleaner
to remove any dirt and grime. For tougher stains, use a mixture of baking soda and water or a specialized
stainless steel cleaner
.
Next, deep clean the surrounding area, including the countertops and cabinets. Wipe down all surfaces with a disinfectant cleaner and organize any remaining items in a logical and functional manner.
Keeping Your Kitchen Sink Clean and Organized
 To maintain a clean and organized kitchen sink, it is important to develop good habits. Always wash dishes and wipe down the sink after each use to prevent buildup and odors. Make it a habit to declutter and deep clean the sink area at least once a week. Additionally, regularly check for any leaks or clogs in the sink and address them promptly to prevent further damage and maintain the functionality of the space.
In conclusion, a kitchen sink clean out is an essential part of maintaining a clean and organized kitchen. By regularly decluttering and deep cleaning the sink and its surrounding area, you can improve the hygiene and functionality of the space. So, take the time to give your kitchen sink the attention it deserves and enjoy a cleaner and more efficient cooking experience.





:max_bytes(150000):strip_icc()/freshen-and-unclog-drain-with-baking-soda-1900466-22-bbf940b70afa4d5abef0c54da23b1d3f.jpg)
:max_bytes(150000):strip_icc()/how-to-clean-a-kitchen-sink-and-drain-01-5660035-a1d8afe3894346f9a579e66c55e64b7d.jpg)
/plumber-unclogging-kitchen-sink-169270382-5797a9355f9b58461f27f024.jpg)


/how-to-unclog-a-kitchen-sink-2718799_sketch_FINAL-8c5caa805a69493ab22dfb537c72a1b7.png)


