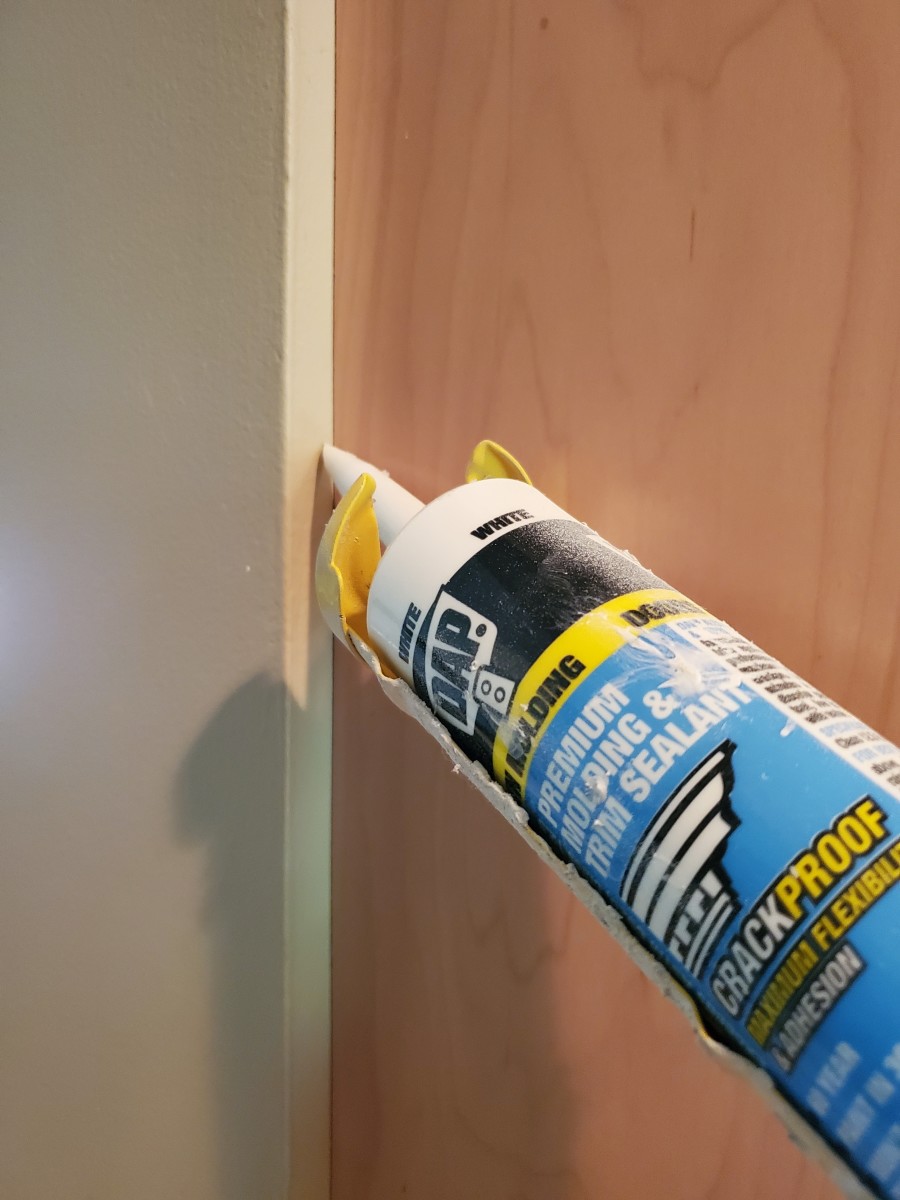
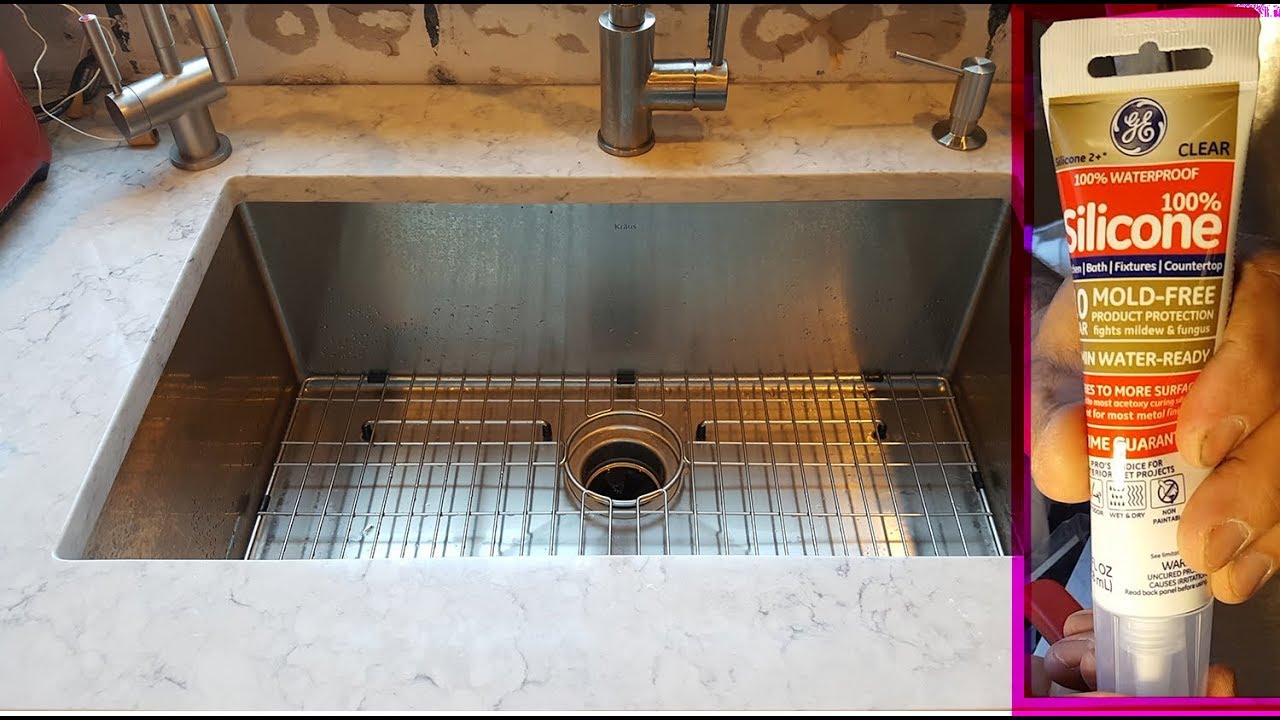
When it comes to caulking your kitchen sink, choosing the right caulk is essential for a long-lasting and professional finish. The best caulk for kitchen sink should be waterproof, mold-resistant, and able to withstand constant exposure to water and cleaning products. Look for a caulk that is specifically designed for use in kitchens and bathrooms, as these are typically more durable and have antimicrobial properties to prevent mold and mildew growth. Featured Keywords: best caulk, kitchen sink, waterproof, mold-resistant, antimicrobial, durable1. Best Caulk for Kitchen Sink


1. Best Caulk for Kitchen Sink


.jpg)


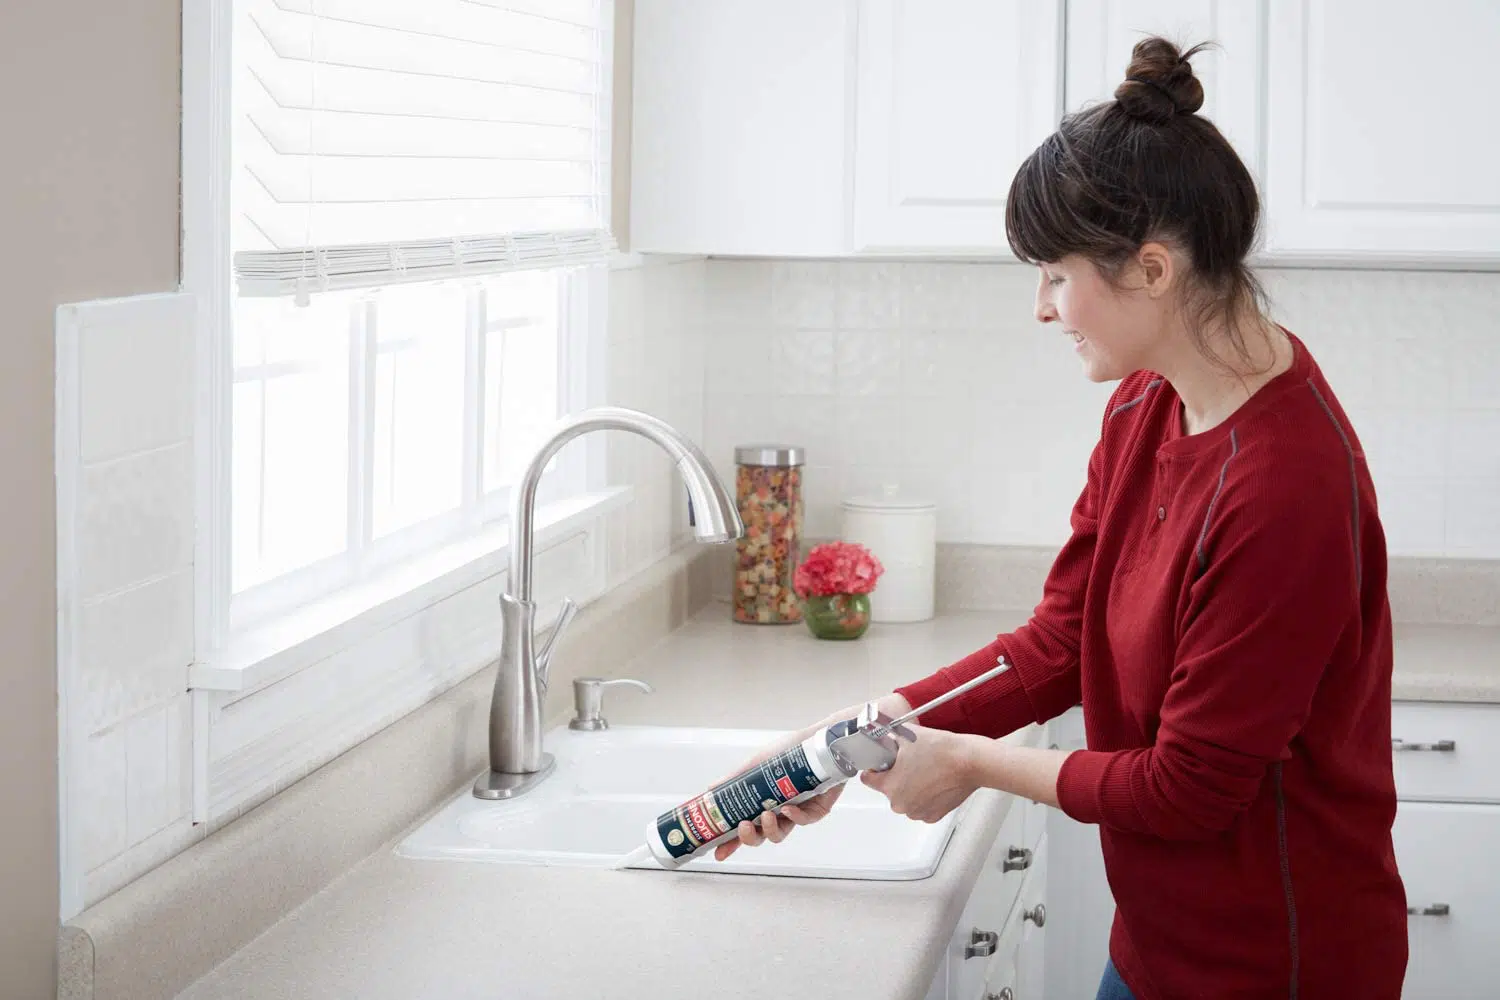
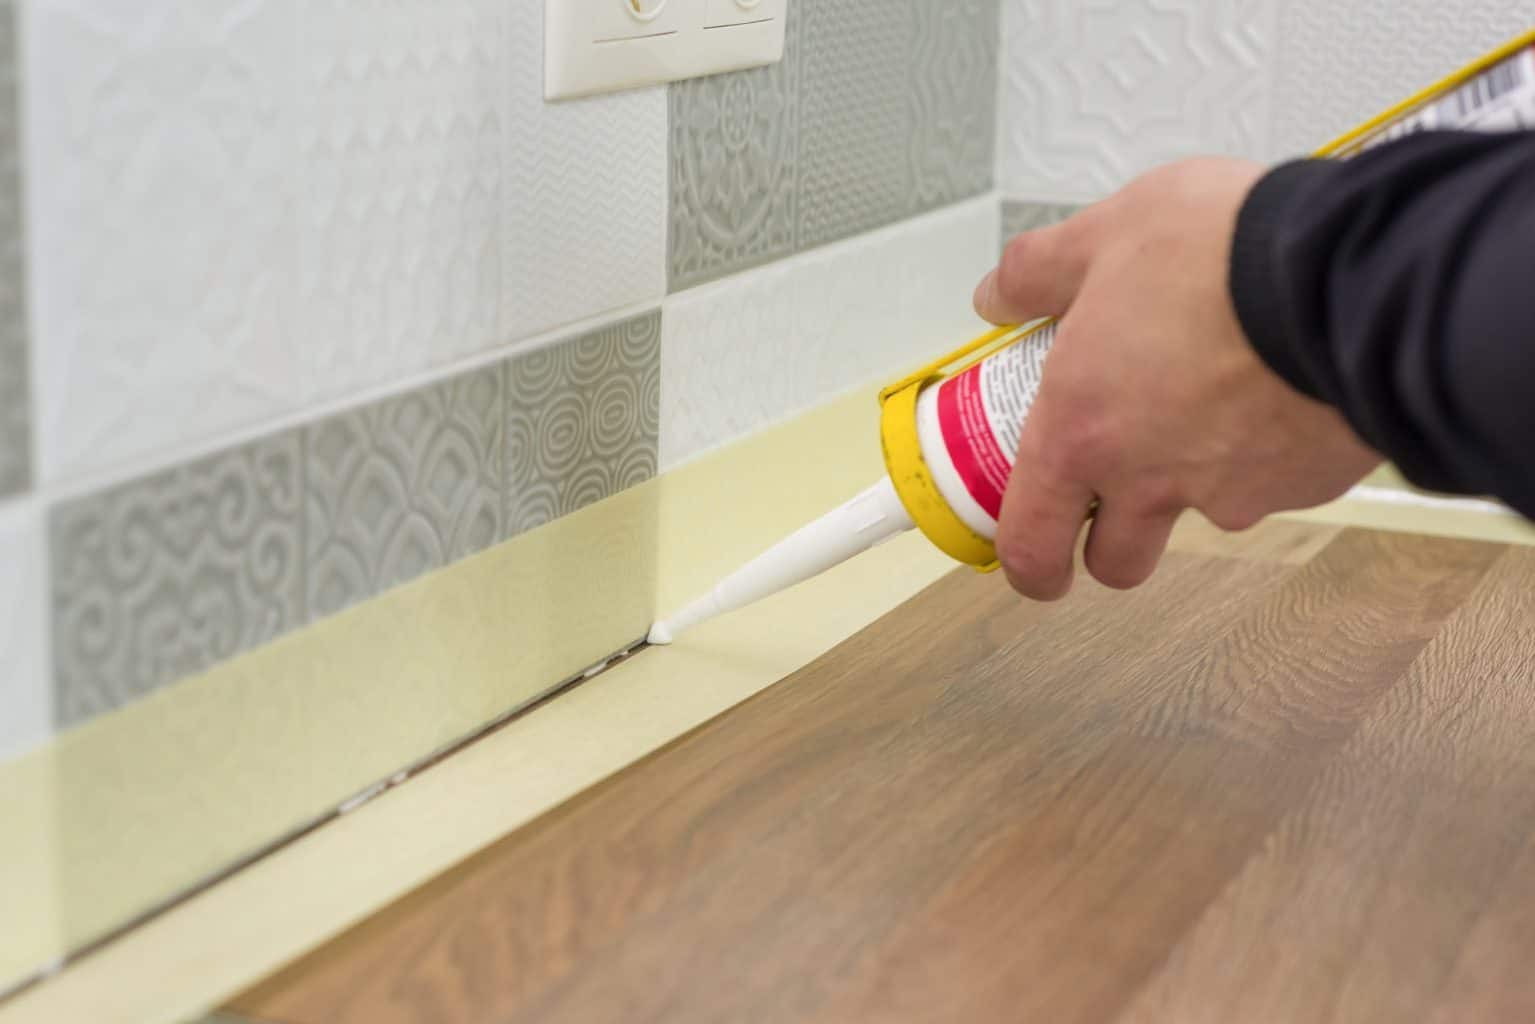
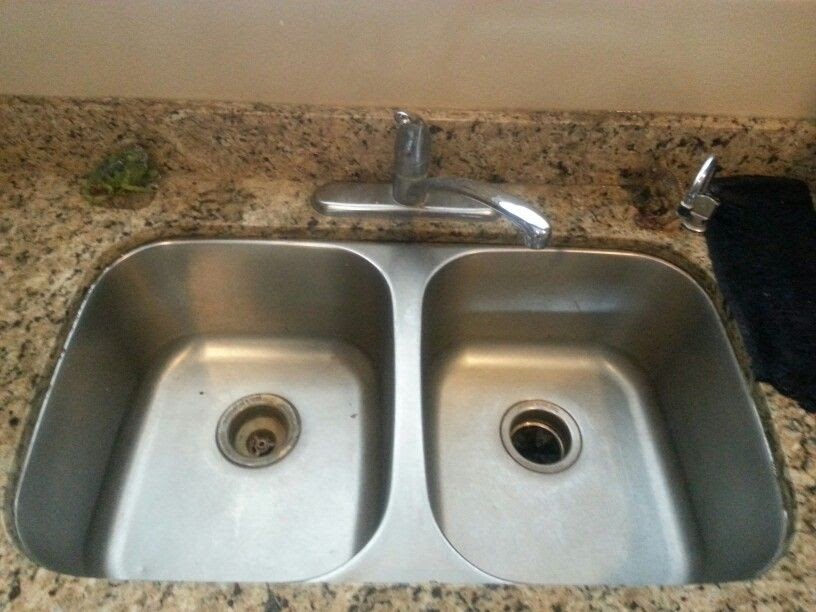
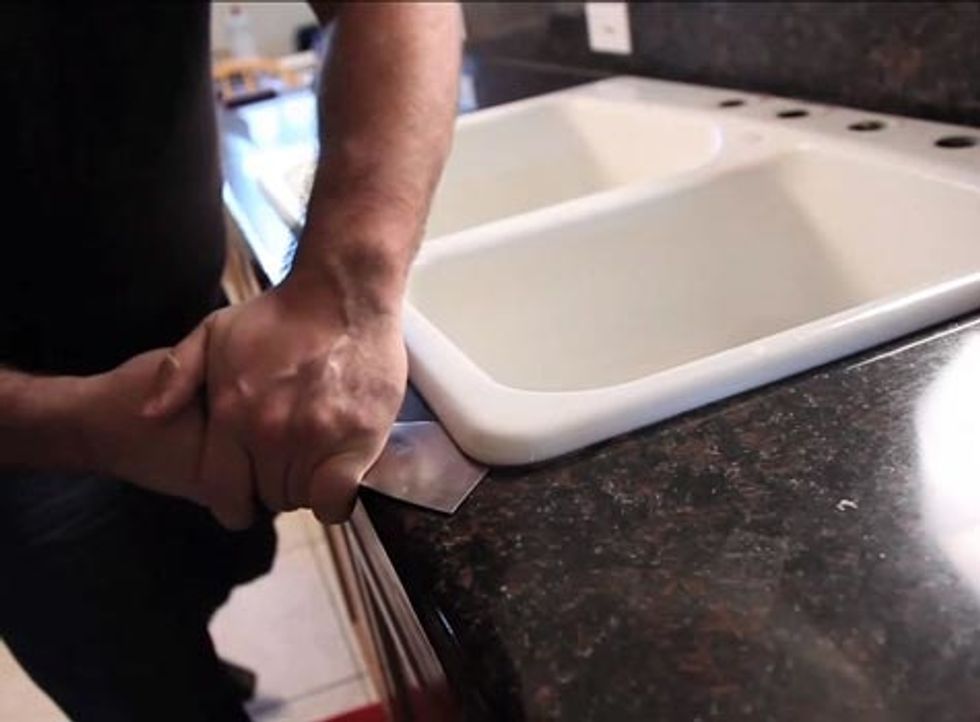
Caulking a kitchen sink may seem like a daunting task, but with the right tools and techniques, it can be a simple and straightforward process. Start by cleaning the area around the sink, removing any old caulk or debris. Next, cut the tip of the caulk tube at a 45-degree angle and apply a thin and even bead of caulk along the joint between the sink and the countertop. Use a caulk smoothing tool or your finger to smooth out the caulk and remove any excess. Let the caulk dry completely before using the sink. Featured Keywords: caulk, kitchen sink, tools, techniques, joint, countertop, caulk smoothing tool, dry2. How to Caulk a Kitchen Sink


2. How to Caulk a Kitchen Sink


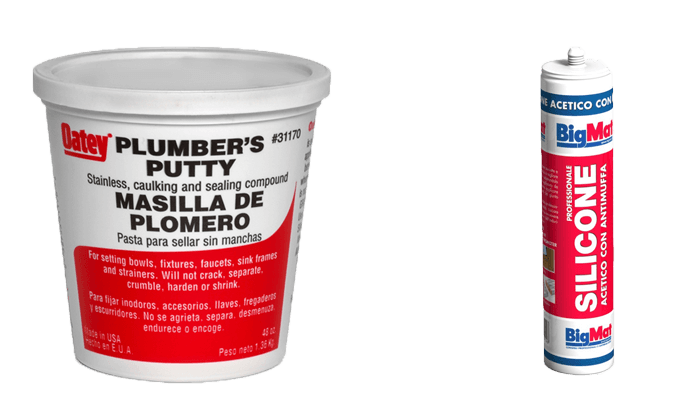
Silicone caulk is a popular choice for kitchen sink caulking as it is waterproof, flexible, and has excellent adhesive properties. It is also resistant to mold and mildew, making it a great option for high-moisture areas like the kitchen. However, silicone caulk can be more challenging to work with and requires a special solvent for cleanup. It's essential to follow the manufacturer's instructions carefully when using silicone caulk for your kitchen sink. Featured Keywords: silicone caulk, kitchen sink, waterproof, flexible, adhesive, mold-resistant, solvent, instructions3. Silicone Caulk for Kitchen Sink


3. Silicone Caulk for Kitchen Sink


The kitchen sink is constantly exposed to water, making it crucial to use a waterproof caulk to prevent leaks and water damage. Look for a caulk that is specifically labeled as waterproof, and check the manufacturer's instructions to ensure it is suitable for use in areas with high moisture. It's also a good idea to choose a caulk that is mildew-resistant to prevent any unsightly mold growth. Featured Keywords: waterproof caulk, kitchen sink, leaks, water damage, high moisture, mildew-resistant, manufacturer's instructions4. Waterproof Caulk for Kitchen Sink

4. Waterproof Caulk for Kitchen Sink


When it comes to sealing your kitchen sink, you may be wondering whether to use caulk or putty. Caulk is a flexible, waterproof material that is perfect for filling gaps and joints, while putty is a pliable material that is better suited for filling holes and cracks. If you have a new sink installation, use caulk to seal the edges, and putty to seal around the drain. For an existing sink, you can use either caulk or putty, depending on the type of repair needed. Featured Keywords: kitchen sink, caulk, putty, sealing, flexible, waterproof, pliable, installation, repair5. Kitchen Sink Caulk vs Putty


5. Kitchen Sink Caulk vs Putty


If you need to replace or repair your kitchen sink caulk, you will first need to remove the old caulk. Start by using a caulk-removing tool or razor blade to scrape away as much of the old caulk as possible. Next, use a caulk softener or a mixture of equal parts white vinegar and warm water to soften the remaining caulk. Once the caulk is soft, use a putty knife or scraper to remove it completely. Thoroughly clean and dry the area before applying new caulk. Featured Keywords: caulk, kitchen sink, remove, caulk-removing tool, razor blade, softener, white vinegar, warm water, putty knife, scraper, clean, dry, apply6. How to Remove Caulk from Kitchen Sink


6. How to Remove Caulk from Kitchen Sink


If you're using putty to seal your kitchen sink, it's essential to choose the right type for the job. For sealing around the sink drain, a plumber's putty is the most suitable option. It is pliable, waterproof, and easy to work with. For larger repairs or filling holes, a wood filler putty or epoxy putty may be a better choice. These putties are more durable and can be sanded and painted for a seamless finish. Featured Keywords: putty, kitchen sink, seal, plumber's putty, waterproof, wood filler putty, epoxy putty, durable, sanded, painted, seamless finish7. Best Putty for Kitchen Sink


7. Best Putty for Kitchen Sink


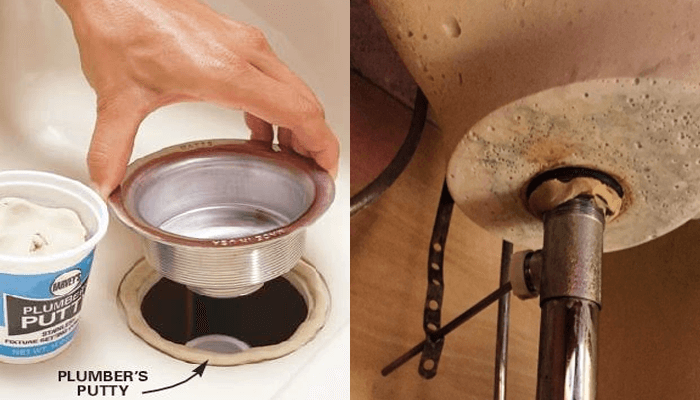
When applying putty to your kitchen sink, start by cleaning and drying the area thoroughly. Next, take a small amount of putty and roll it into a thin rope. Press the putty rope into the gap or hole that needs to be filled, using your fingers to mold and shape it as needed. Once the putty is in place, use a putty knife or scraper to smooth out the surface and remove any excess. Let the putty dry completely before sanding or painting. Featured Keywords: putty, kitchen sink, apply, clean, dry, putty rope, mold, shape, putty knife, scraper, smooth, excess, dry, sanding, painting8. How to Apply Putty to Kitchen Sink


8. How to Apply Putty to Kitchen Sink


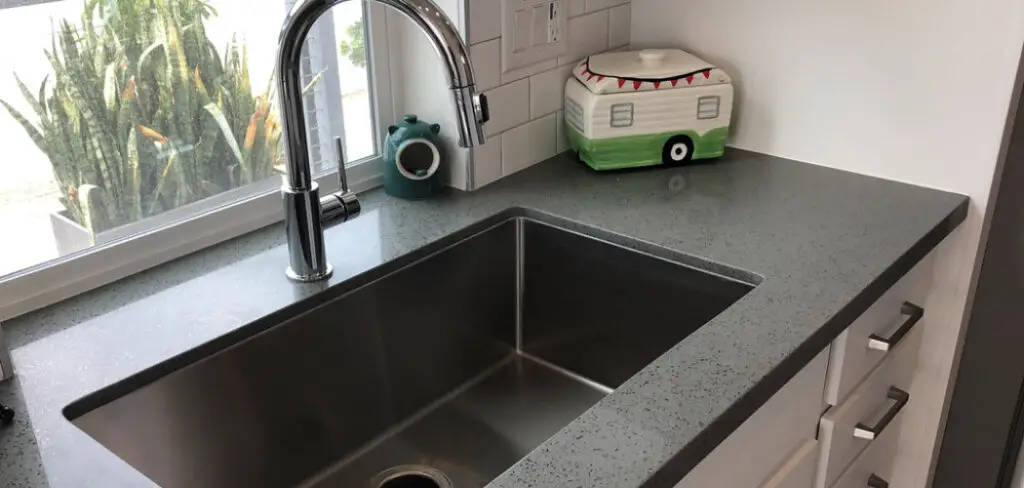
When it comes to sealing a kitchen sink drain, both caulk and putty can be used. However, caulk is the more popular choice as it is easier to work with and provides a more secure seal. If you have a stainless steel sink, be sure to use a caulk that is specifically designed for use on metal surfaces. For porcelain or ceramic sinks, a silicone caulk is typically the best option. Featured Keywords: caulk, putty, kitchen sink, drain, sealing, easy, secure seal, stainless steel, metal surfaces, porcelain, ceramic, silicone caulk9. Caulk or Putty for Kitchen Sink Drain


9. Caulk or Putty for Kitchen Sink Drain


Sealing a kitchen sink with putty is a relatively straightforward process. Start by cleaning and drying the area around the sink. Next, roll a small amount of putty into a thin rope and place it around the edge of the sink where it meets the countertop. Use your fingers to press and mold the putty into place, creating a tight seal. Once the putty is in place, use a putty knife or scraper to smooth out the surface and remove any excess. Let the putty dry completely before using the sink. Featured Keywords: seal, kitchen sink, putty, clean, dry, putty rope, mold, tight seal, putty knife, scraper, smooth, excess, dry10. How to Seal a Kitchen Sink with Putty


10. How to Seal a Kitchen Sink with Putty


Introducing Kitchen Sink Caulk or Putty: Which is the Best Choice for Your Home?

The Importance of a Properly Sealed Kitchen Sink
 When it comes to designing and maintaining a functional and aesthetically pleasing kitchen, the sink plays a crucial role. It is not only a staple for daily chores, but it also adds a touch of elegance to the overall design of the kitchen. But a common issue that homeowners face is water leakage around the kitchen sink, which can lead to a host of problems such as mold growth, water damage, and even structural damage. This is where
kitchen sink caulk
or putty comes into play. These two products are specifically designed to seal the gaps between the sink and the countertop, preventing any water leakage and ensuring a clean and hygienic kitchen.
When it comes to designing and maintaining a functional and aesthetically pleasing kitchen, the sink plays a crucial role. It is not only a staple for daily chores, but it also adds a touch of elegance to the overall design of the kitchen. But a common issue that homeowners face is water leakage around the kitchen sink, which can lead to a host of problems such as mold growth, water damage, and even structural damage. This is where
kitchen sink caulk
or putty comes into play. These two products are specifically designed to seal the gaps between the sink and the countertop, preventing any water leakage and ensuring a clean and hygienic kitchen.
Understanding the Difference between Caulk and Putty
 Both
kitchen sink caulk
and putty serve the same purpose of sealing gaps, but they differ in terms of their composition and application.
Caulk
is a flexible material made of silicone, latex or acrylic, which is applied using a caulk gun. It is ideal for filling small gaps and cracks and can be easily molded to fit any shape. On the other hand,
putty
is a pliable adhesive composed of linseed oil, clay, and powdered limestone. It is usually applied by hand and is better suited for larger gaps and cracks.
Both
kitchen sink caulk
and putty serve the same purpose of sealing gaps, but they differ in terms of their composition and application.
Caulk
is a flexible material made of silicone, latex or acrylic, which is applied using a caulk gun. It is ideal for filling small gaps and cracks and can be easily molded to fit any shape. On the other hand,
putty
is a pliable adhesive composed of linseed oil, clay, and powdered limestone. It is usually applied by hand and is better suited for larger gaps and cracks.
Factors to Consider when Choosing between Caulk and Putty
 When it comes to choosing between
kitchen sink caulk
and putty, there are a few factors that you need to consider. The first and foremost is the size of the gap. If the gap is small and narrow, then caulk would be the best choice as it can easily fill in the space. But for wider gaps, putty would be a better option as it can be molded to fit the shape of the gap. Another important factor is the material of your sink and countertop. If both are made of non-porous materials such as stainless steel or granite, then caulk would be the ideal choice as it will adhere better. However, for porous materials such as ceramic or porcelain, putty would be a better option as it can grip onto the surface and create a watertight seal.
When it comes to choosing between
kitchen sink caulk
and putty, there are a few factors that you need to consider. The first and foremost is the size of the gap. If the gap is small and narrow, then caulk would be the best choice as it can easily fill in the space. But for wider gaps, putty would be a better option as it can be molded to fit the shape of the gap. Another important factor is the material of your sink and countertop. If both are made of non-porous materials such as stainless steel or granite, then caulk would be the ideal choice as it will adhere better. However, for porous materials such as ceramic or porcelain, putty would be a better option as it can grip onto the surface and create a watertight seal.
The Verdict: Kitchen Sink Caulk or Putty?
 In conclusion, both
kitchen sink caulk
and putty are effective in sealing gaps around your kitchen sink. The choice ultimately depends on the size of the gap and the material of your sink and countertop. Whichever option you choose, make sure to follow the instructions carefully and apply the product evenly for a clean and professional finish. With the right sealing product, you can ensure a leak-free and visually appealing kitchen for years to come.
In conclusion, both
kitchen sink caulk
and putty are effective in sealing gaps around your kitchen sink. The choice ultimately depends on the size of the gap and the material of your sink and countertop. Whichever option you choose, make sure to follow the instructions carefully and apply the product evenly for a clean and professional finish. With the right sealing product, you can ensure a leak-free and visually appealing kitchen for years to come.