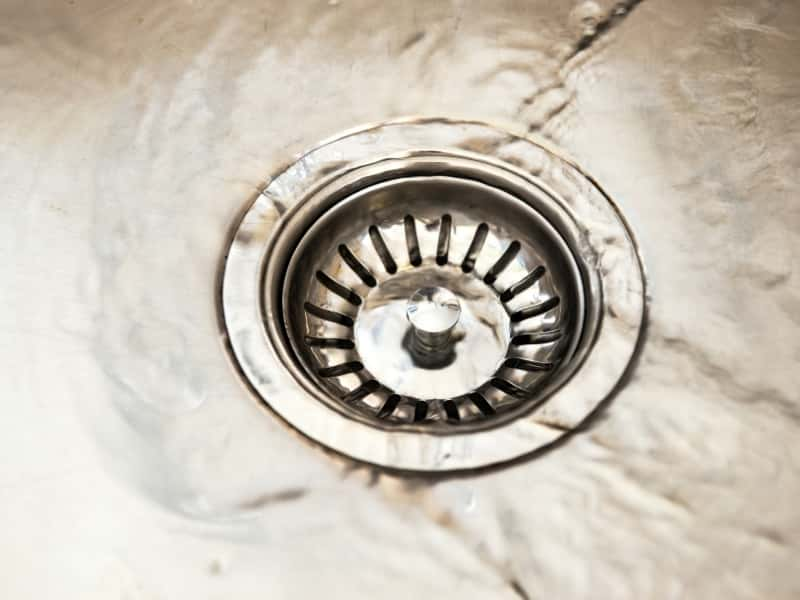
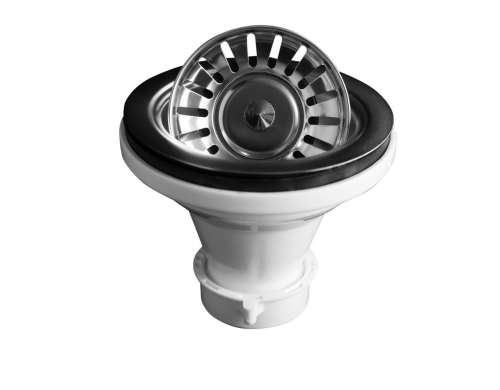
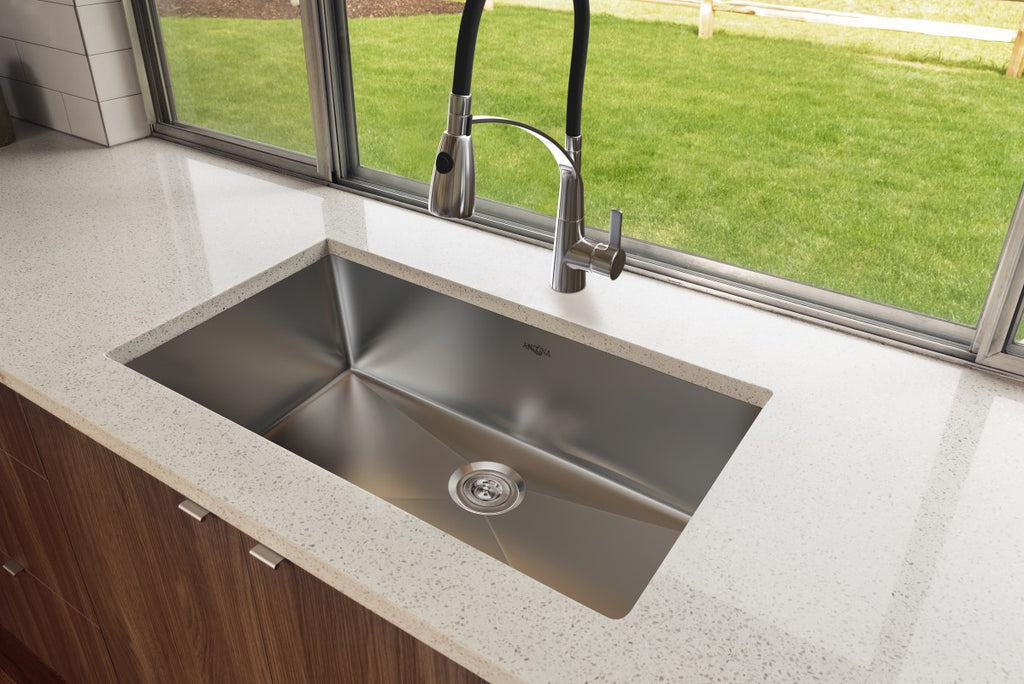
If you're looking to update your kitchen sink, one of the essential components you'll need to install is a kitchen sink basket strainer. This small but mighty part plays an important role in keeping your sink functioning properly and preventing clogs. Follow these steps to easily install a kitchen sink basket strainer in your sink. Step 1: Gather Your Tools and Materials Before you begin, make sure you have all the necessary tools and materials on hand. You'll need a pair of pliers, a putty knife, plumber's putty, and a screwdriver. It's also helpful to have a bucket or bowl to catch any water that may spill out during the installation process. Step 2: Remove the Old Basket Strainer If you're replacing an old kitchen sink basket strainer, start by removing the old one. Use your pliers to loosen the coupling nut that connects the basket strainer to the sink's drain. Once the nut is loose, you should be able to pull out the old basket strainer. Step 3: Clean the Sink and Drain Before installing the new basket strainer, it's important to clean the sink and drain thoroughly. Use a putty knife to scrape away any old putty or debris from the sink's surface and drain opening. Step 4: Apply Plumber's Putty Take a small amount of plumber's putty and roll it into a thin rope. Place the putty around the underside of the sink's drain opening. This will create a watertight seal between the sink and the basket strainer. Step 5: Install the New Basket Strainer Place the new basket strainer into the drain opening, making sure it sits flat against the sink's surface. From underneath the sink, screw on the coupling nut to secure the basket strainer in place. Step 6: Connect the Tailpiece The tailpiece is the pipe that connects the basket strainer to the sink's drain. Make sure the tailpiece is properly aligned with the basket strainer, then use your pliers to tighten the slip nut and secure the connection. Step 7: Test for Leaks Turn on the water and let it run for a few minutes to check for any leaks. If you notice any leaks, tighten the connections as needed. Step 8: Clean Up and Enjoy Your New Sink! Now that your kitchen sink basket strainer is installed, clean up any excess putty and enjoy using your new and improved sink!1. How to Install a Kitchen Sink Basket Strainer
Installing a kitchen sink basket may seem like a daunting task, but with the right tools and instructions, it can be a simple DIY project. Follow these step-by-step instructions for a successful kitchen sink basket installation. Step 1: Turn Off the Water Before beginning any plumbing project, always make sure to turn off the water supply to your sink. This will prevent any water from spilling out and causing a mess during the installation process. Step 2: Gather Your Tools and Materials Make sure you have all the necessary tools and materials before starting. You'll need a basket strainer, plumber's putty, a putty knife, pliers, and a screwdriver. Step 3: Remove the Old Basket Strainer If you're replacing an old basket strainer, use your pliers to loosen and remove the coupling nut that connects it to the sink's drain. Then, pull out the old basket strainer. Step 4: Clean the Sink and Drain Thoroughly clean the sink's surface and drain opening with a putty knife to remove any old putty or debris. Step 5: Apply Plumber's Putty Roll a small amount of plumber's putty into a thin rope and place it around the underside of the sink's drain opening. Step 6: Install the New Basket Strainer Place the new basket strainer into the drain opening and secure it from underneath with the coupling nut. Step 7: Connect the Tailpiece Align the tailpiece with the basket strainer and tighten the slip nut to secure the connection. Step 8: Turn the Water Back On Once everything is connected, turn the water back on and check for any leaks. Tighten the connections as needed. Step 9: Clean Up and Enjoy Your New Sink! Clean up any excess putty and enjoy your newly installed kitchen sink basket!2. Step-by-Step Guide for Installing a Kitchen Sink Basket
If you're a fan of DIY projects, installing a kitchen sink basket is a great way to update your sink without hiring a professional. Follow this simple tutorial for a successful DIY kitchen sink basket installation. Step 1: Gather Your Tools and Materials Make sure you have all the necessary tools and materials, including a basket strainer, plumber's putty, a putty knife, pliers, and a screwdriver. Step 2: Turn Off the Water Before beginning any plumbing project, always turn off the water supply to your sink. Step 3: Remove the Old Basket Strainer If you're replacing an old basket strainer, use pliers to loosen and remove the coupling nut, then pull out the old strainer. Step 4: Clean the Sink and Drain Use a putty knife to clean the sink's surface and drain opening of any old putty or debris. Step 5: Apply Plumber's Putty Roll a thin rope of plumber's putty and place it around the underside of the sink's drain opening. Step 6: Install the New Basket Strainer Place the new basket strainer into the drain opening and secure it from underneath with the coupling nut. Step 7: Connect the Tailpiece Align the tailpiece with the basket strainer and tighten the slip nut to secure the connection. Step 8: Turn the Water Back On Once everything is connected, turn the water back on and check for any leaks. Tighten the connections as needed. Step 9: Clean Up and Enjoy Your New Sink! Clean up any excess putty and admire your newly installed kitchen sink basket!3. DIY Kitchen Sink Basket Installation Tutorial
Installing a kitchen sink basket may seem like a simple task, but there are a few tips and tricks that can make the process even easier. Tip 1: Use Plumber's Putty Plumber's putty is a necessary tool for creating a watertight seal between the sink and the basket strainer. Make sure to use a quality putty and roll it into a thin rope for easy application. Tip 2: Don't Over-Tighten Connections When connecting the basket strainer to the sink and tailpiece, be careful not to over-tighten the connections. This can cause damage to the sink or drain and may lead to leaks. Tip 3: Check for Leaks After installation, turn on the water and check for any leaks. If you notice any, tighten the connections as needed. Tip 4: Clean Up Excess Putty Once the basket strainer is installed, clean up any excess putty to prevent it from hardening and causing future issues. Tip 5: Follow Instructions Carefully Always make sure to read and follow the manufacturer's instructions for your specific basket strainer. This will ensure proper installation and prevent any potential issues.4. Tips for Installing a Kitchen Sink Basket
While installing a kitchen sink basket may seem like a simple task, there are a few common mistakes that can lead to issues down the road. Avoid these mistakes for a successful installation. 1. Not Using Plumber's Putty Plumber's putty is an essential tool for creating a watertight seal between the sink and the basket strainer. Skipping this step can lead to leaks and water damage. 2. Over-Tightening Connections It's important not to over-tighten the connections when installing a basket strainer. This can cause damage and lead to leaks. 3. Incorrectly Aligning the Tailpiece Make sure the tailpiece is properly aligned with the basket strainer to ensure a secure connection and prevent leaks. 4. Not Checking for Leaks After installation, always turn on the water and check for any leaks. If you notice any, tighten the connections as needed. 5. Not Following Instructions Always make sure to read and follow the manufacturer's instructions for your specific basket strainer. This will ensure proper installation and prevent any potential issues.5. Common Mistakes to Avoid When Installing a Kitchen Sink Basket
Before installing a kitchen sink basket, make sure you have all the necessary tools and materials on hand. Here's a list of what you'll need: Tools: - Pliers - Putty Knife - Screwdriver Materials: - Basket Strainer - Plumber's Putty - Slip Nuts - Tailpiece6. Tools and Materials Needed for Installing a Kitchen Sink Basket
If you have a damaged or malfunctioning kitchen sink basket, you may need to replace it. Here's a simple guide for replacing a kitchen sink basket. Step 1: Turn off the Water Before beginning any plumbing project, always turn off the water supply to your sink. Step 2: Remove the Old Basket Strainer Use pliers to loosen and remove the coupling nut that connects the basket strainer to the sink's drain. Then, pull out the old basket strainer. Step 3: Clean the Sink and Drain Use a putty knife to clean the sink's surface and drain opening of any old putty or debris. Step 4: Apply Plumber's Putty Roll a thin rope of plumber's putty and place it around the underside of the sink's drain opening. Step 5: Install the New Basket Strainer Place the new basket strainer into the drain opening and secure it from underneath with the coupling nut. Step 6: Connect the Tailpiece Align the tailpiece with the basket strainer and tighten the slip nut to secure the connection. Step 7: Turn the Water Back On Once everything is connected, turn the water back on and check for any leaks. Tighten the connections as needed. Step 8: Clean Up and Enjoy Your New Sink! Clean up any excess putty and enjoy your newly replaced kitchen sink basket!7. How to Replace a Kitchen Sink Basket
When it comes to installing a kitchen sink basket, you may be wondering whether you should hire a professional or attempt it yourself. Here are some factors to consider: Professional Installation: - May save time and effort - May have access to specialized tools and equipment - May have experience with different sink and basket strainer types DIY Installation: - Can save money on labor costs - Can be a satisfying DIY project - Can be done on your own schedule8. Professional vs. DIY Kitchen Sink Basket Installation
Even with careful installation, issues may arise with your kitchen sink basket. Here are some common problems and how to troubleshoot them: Leaking Connections If you notice any leaks, check the connections and make sure they are tightened properly. If the leaks persist, you may need to replace the basket strainer or call a professional plumber for assistance. Water Backup9. Troubleshooting Common Issues with Kitchen Sink Basket Installation
Kitchen Sink Basket Installation for a Functional and Stylish Kitchen

Why You Need a Kitchen Sink Basket
 When designing or remodeling your kitchen, it's important to not overlook the smaller details, such as the kitchen sink basket.
Kitchen sink baskets
are essential for keeping your sink and surrounding area clean and organized. It acts as a strainer, preventing food scraps and debris from clogging up your pipes, while also providing a convenient place to store your sponges and dishwashing tools.
The Installation Process
 Installing a kitchen sink basket may seem like a daunting task, but with the right tools and instructions, it can be a simple and quick process. The first step is to
remove your old sink basket
if you have one. This can usually be done by loosening the locknut underneath the sink and pulling out the old basket.
Next, you'll need to
measure the diameter of your sink drain
to ensure you purchase the correct size basket. Once you have the right size, you can begin the installation process by placing a bead of plumber's putty around the rim of the sink hole. Then, place the
kitchen sink basket
into the hole and press down firmly to create a seal.
Ensuring a Proper Fit
 To ensure a proper fit, it's important to
tighten the locknut underneath the sink
until the basket is secure and doesn't move around. Wipe away any excess plumber's putty around the edges of the basket.
Once your kitchen sink basket is installed, you can
place a basket strainer inside
to catch any food scraps or debris that may fall into the sink. This will prevent your pipes from getting clogged and save you from any future plumbing headaches.
Choosing the Right Style
 Not only are kitchen sink baskets functional, but they can also add a touch of style to your kitchen. There are a variety of styles and finishes to choose from, such as stainless steel, chrome, or even colorful options. Consider the overall design of your kitchen and choose a basket that complements it.
In conclusion, a
kitchen sink basket installation
is a small but important step in creating a functional and stylish kitchen. With the right tools and proper installation, you can keep your sink and surrounding area clean and organized while also adding a personal touch to your kitchen design. Don't overlook this simple yet essential component in your kitchen renovation process.


.jpg)


