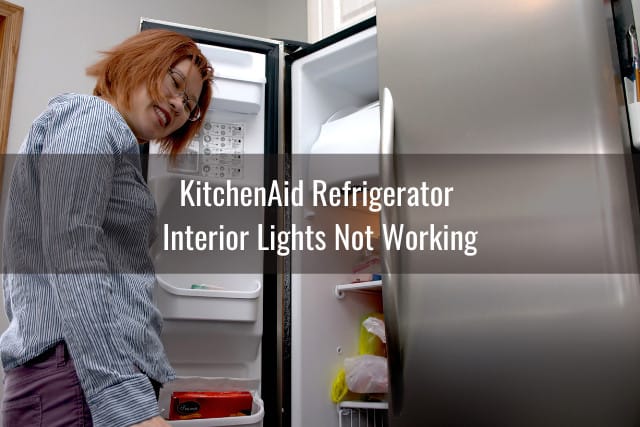
If your KitchenAid refrigerator light bulb has burnt out, don't panic! Replacing it is a simple and easy process that can be done in just a few minutes. In this guide, we will walk you through the steps on how to replace the light bulb in your KitchenAid refrigerator.How to Replace the Light Bulb in a KitchenAid Refrigerator

How to Replace the Light Bulb in a KitchenAid Refrigerator


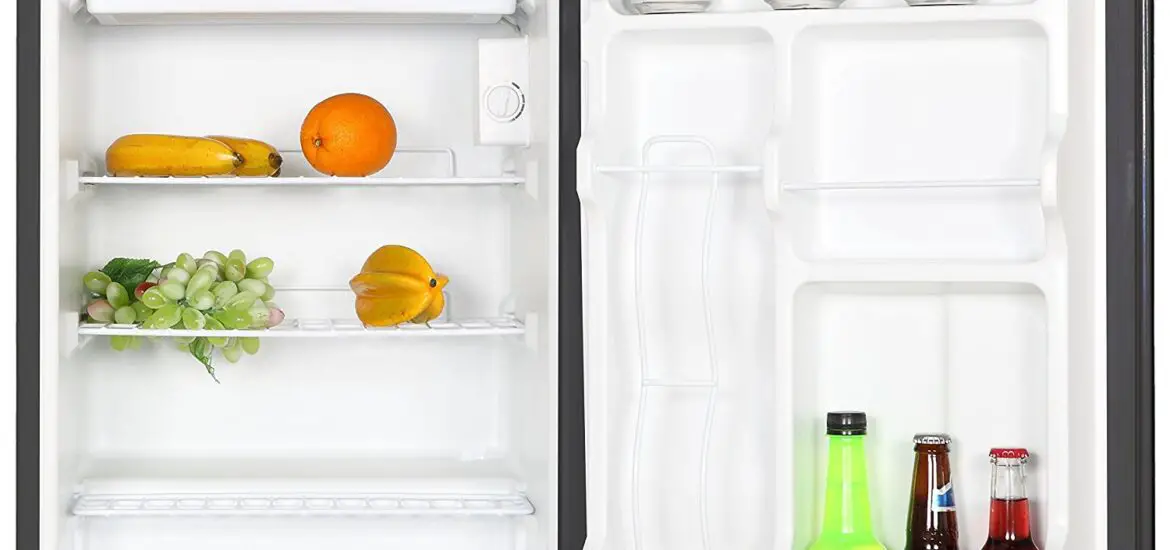
Replacing the light bulb in your KitchenAid refrigerator is an important maintenance task to ensure that your fridge is properly illuminated. A burnt out light bulb can make it difficult to see inside your fridge and can also be a safety hazard. Follow these steps to replace the light bulb in your KitchenAid refrigerator:KitchenAid Refrigerator Light Bulb Replacement


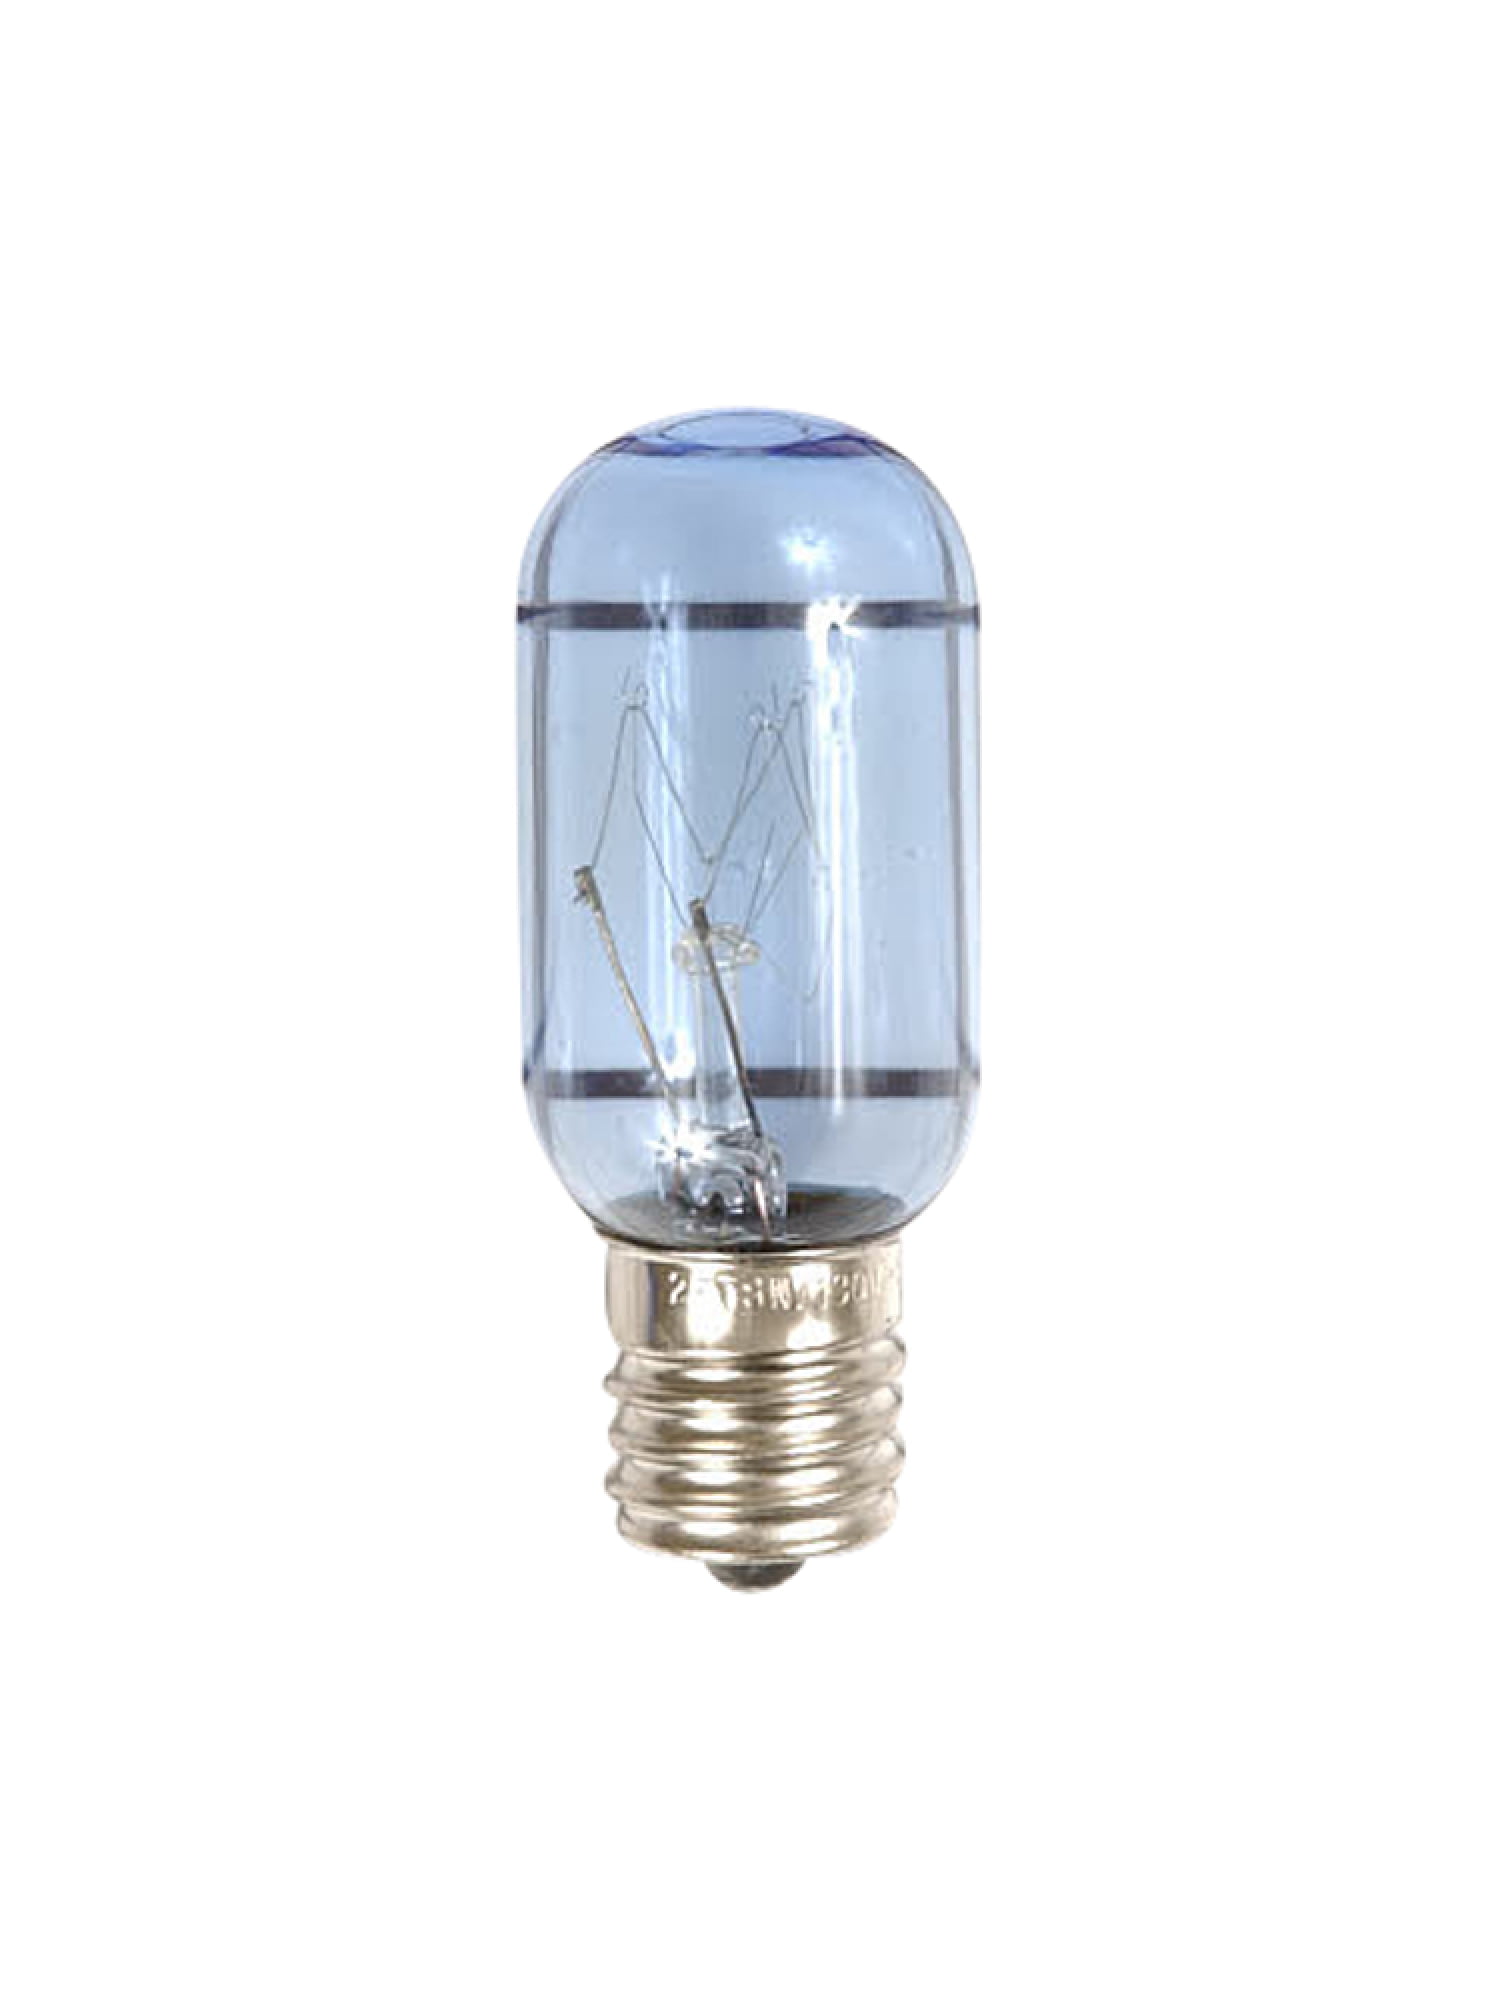
KitchenAid Refrigerator Light Bulb Replacement


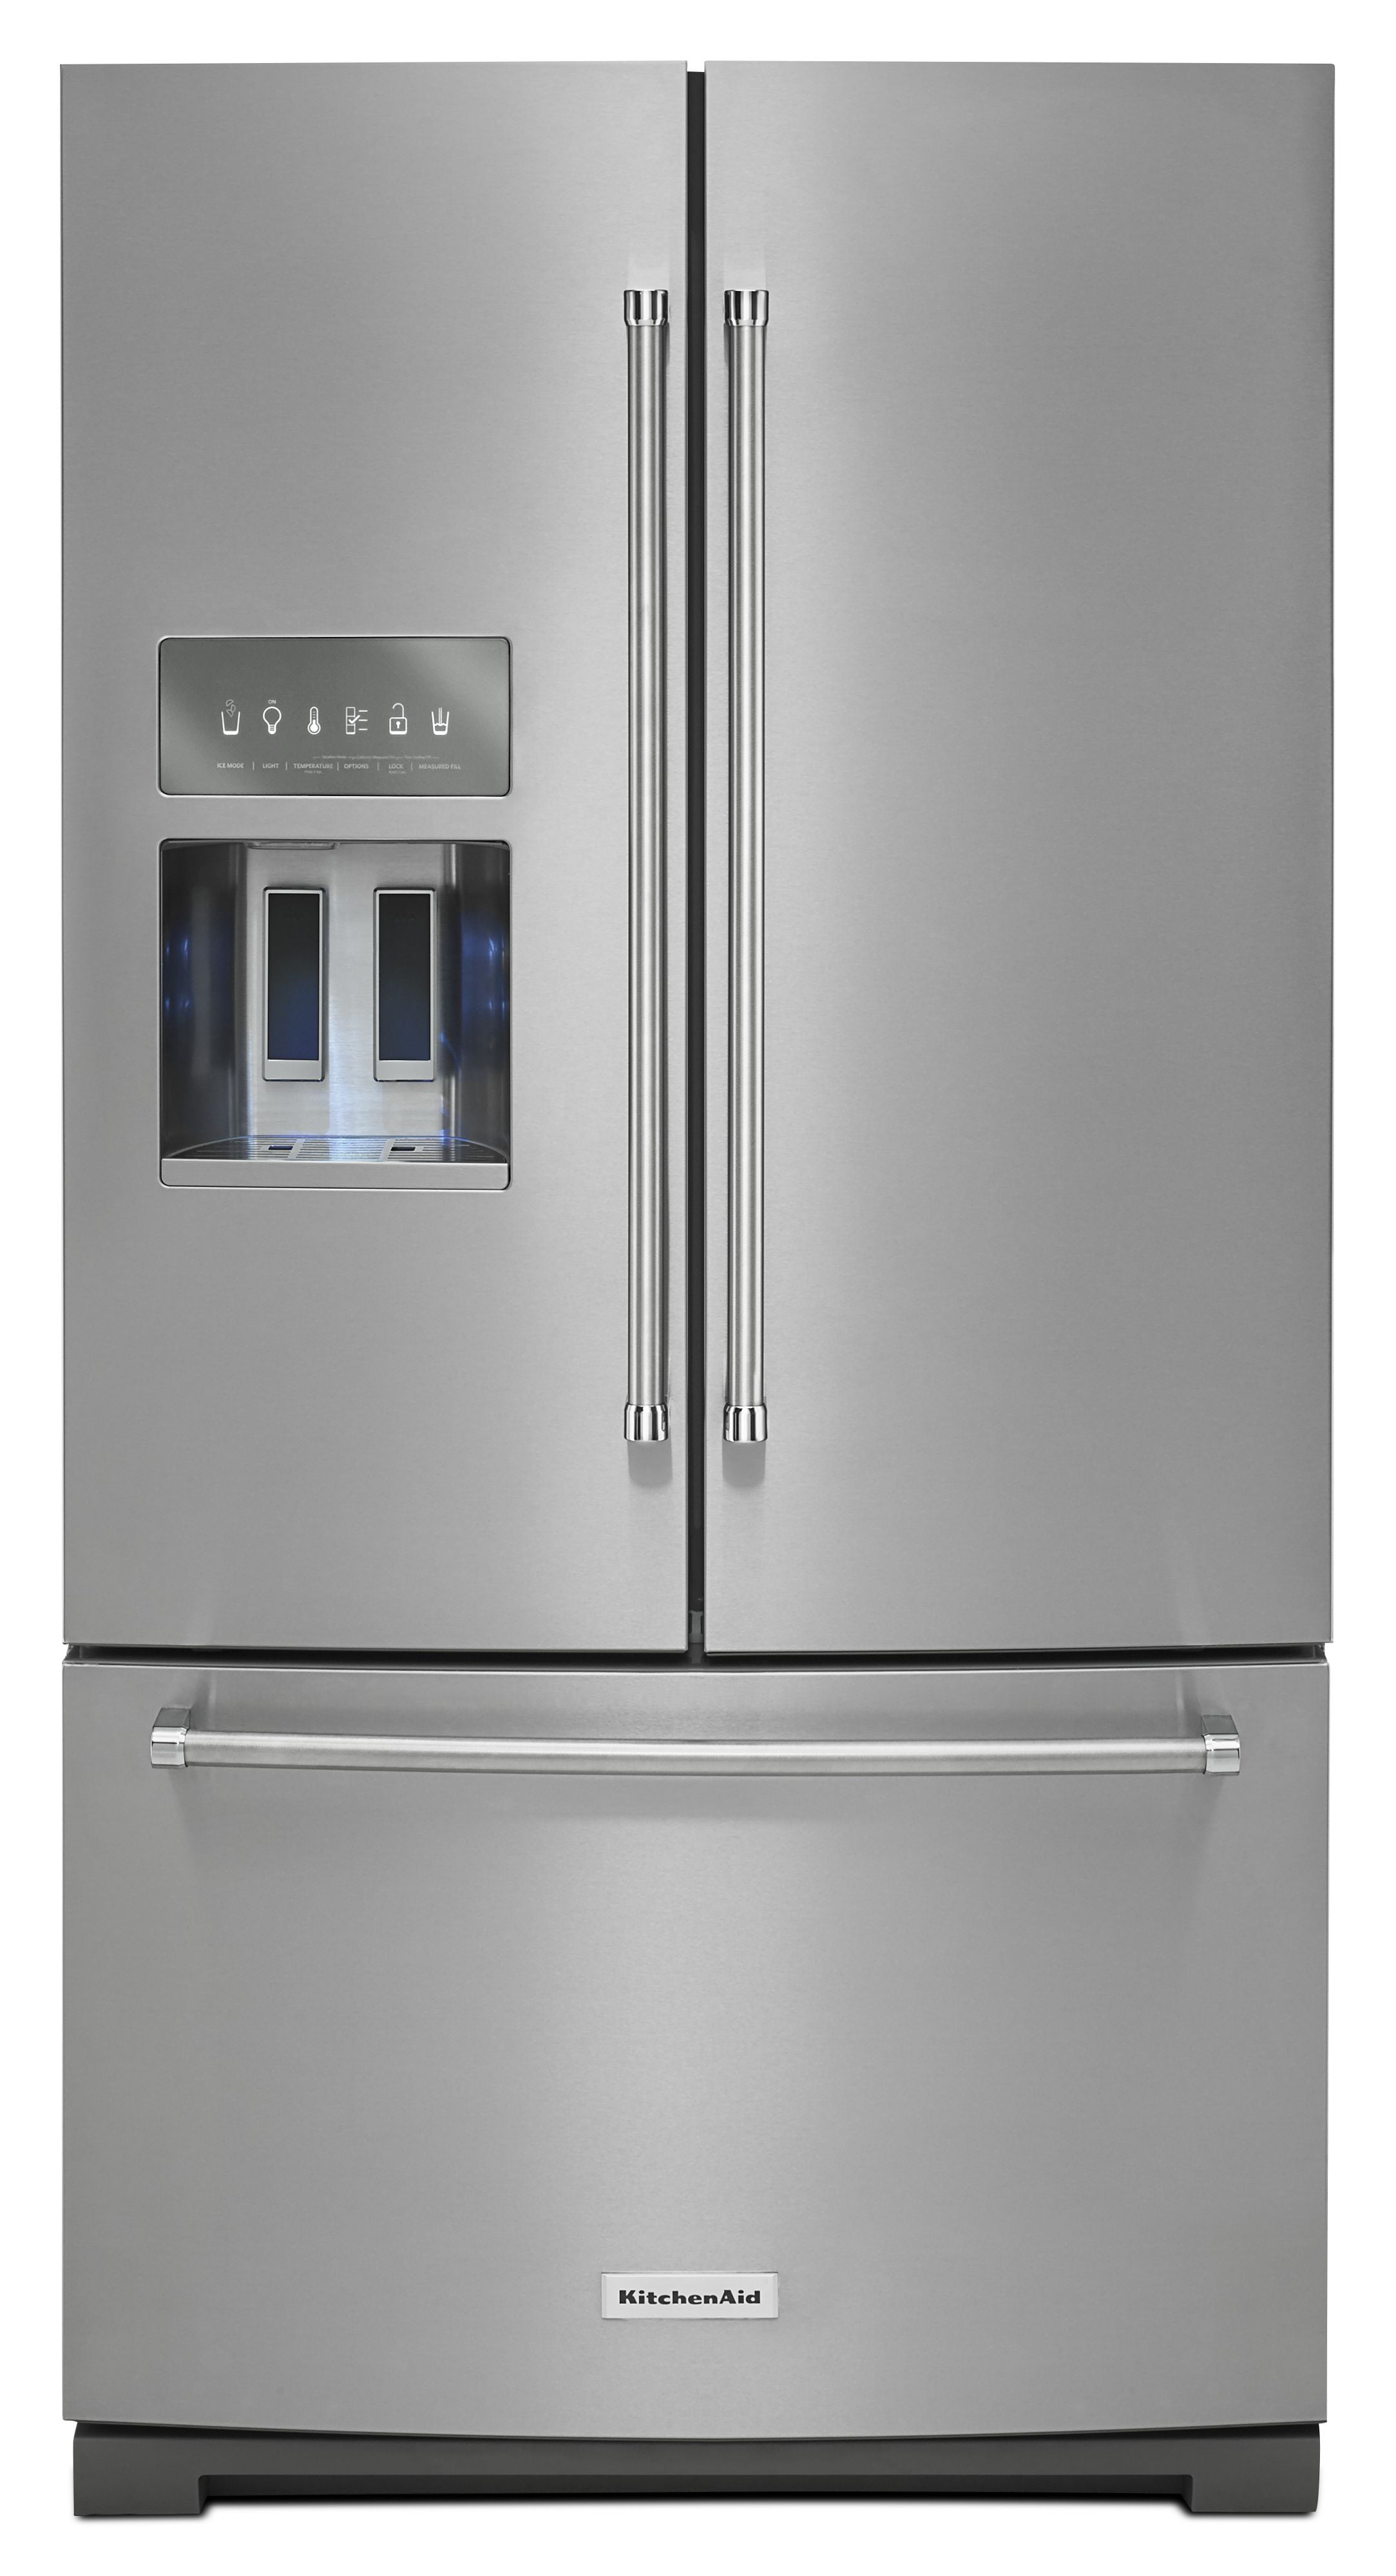
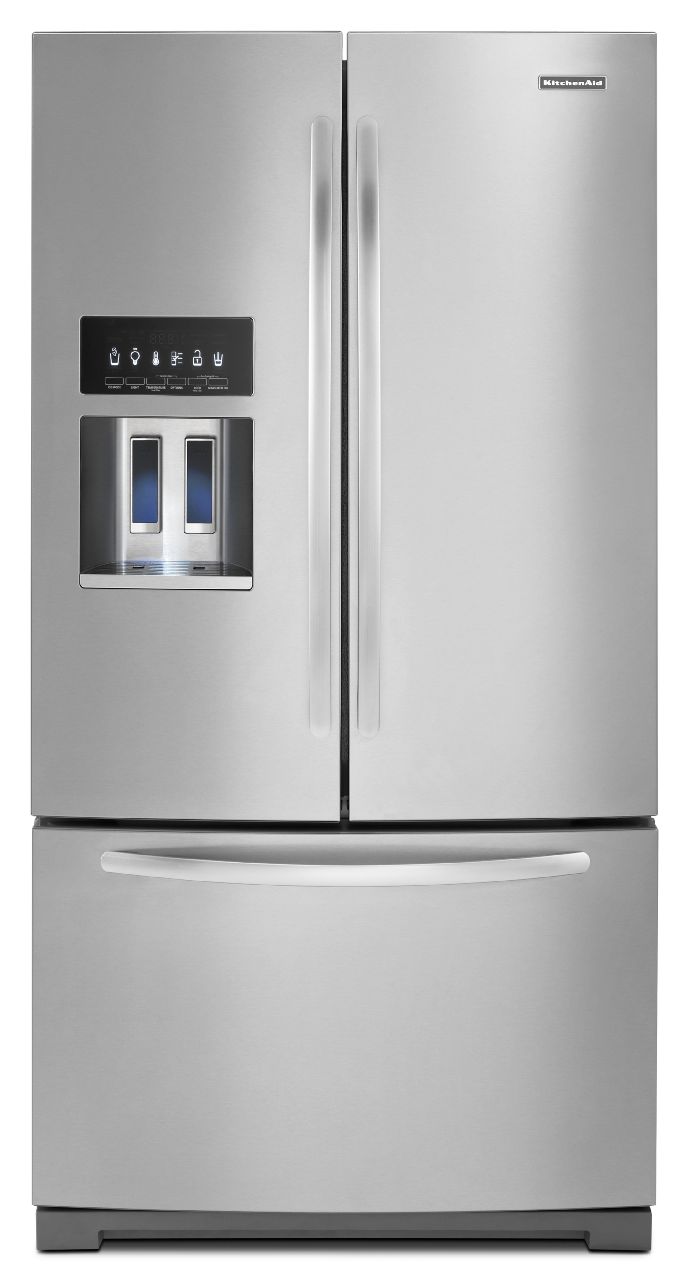
The first step in replacing the light bulb in your KitchenAid refrigerator is to locate the light bulb. Depending on the model of your fridge, the light bulb may be located in different places. Typically, it can be found on the ceiling of the refrigerator compartment or behind the control panel.KitchenAid Refrigerator Light Bulb Change


KitchenAid Refrigerator Light Bulb Change

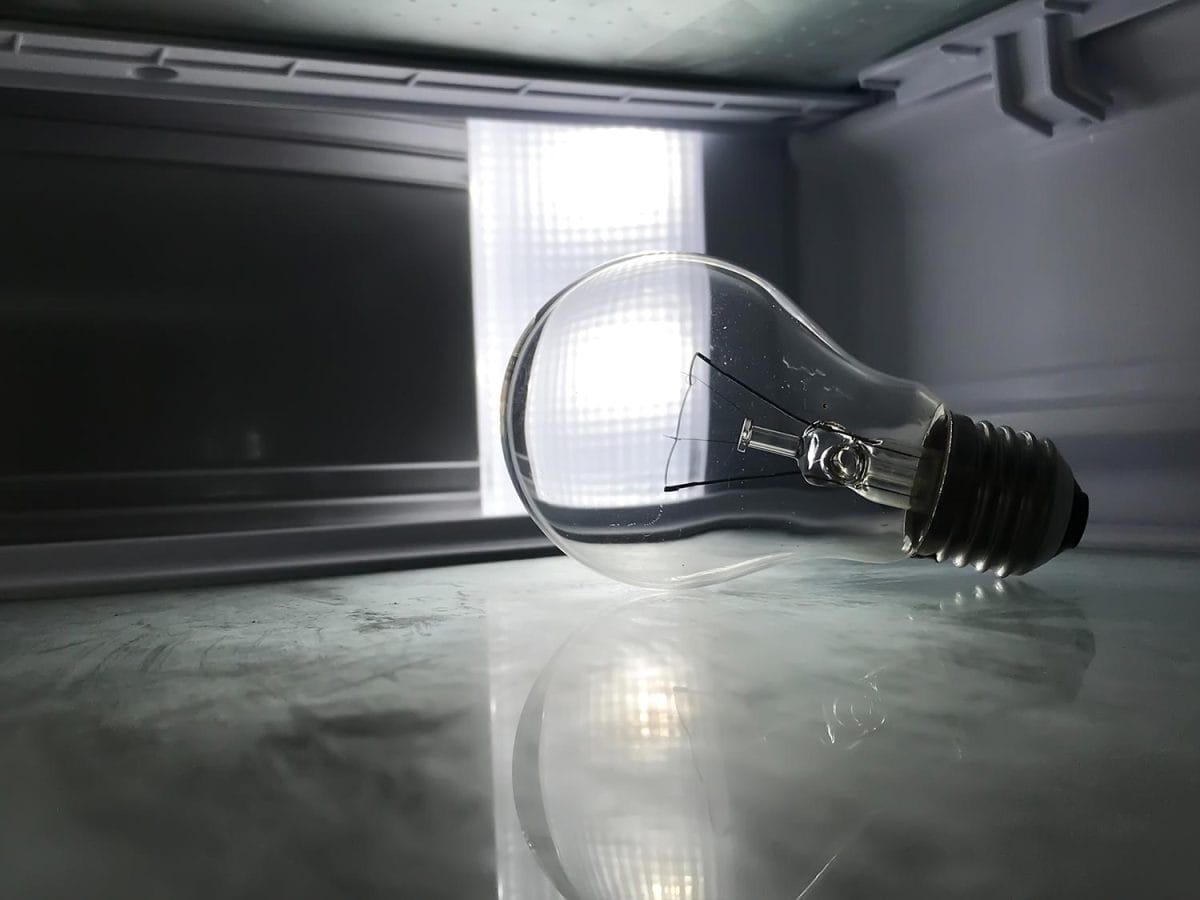
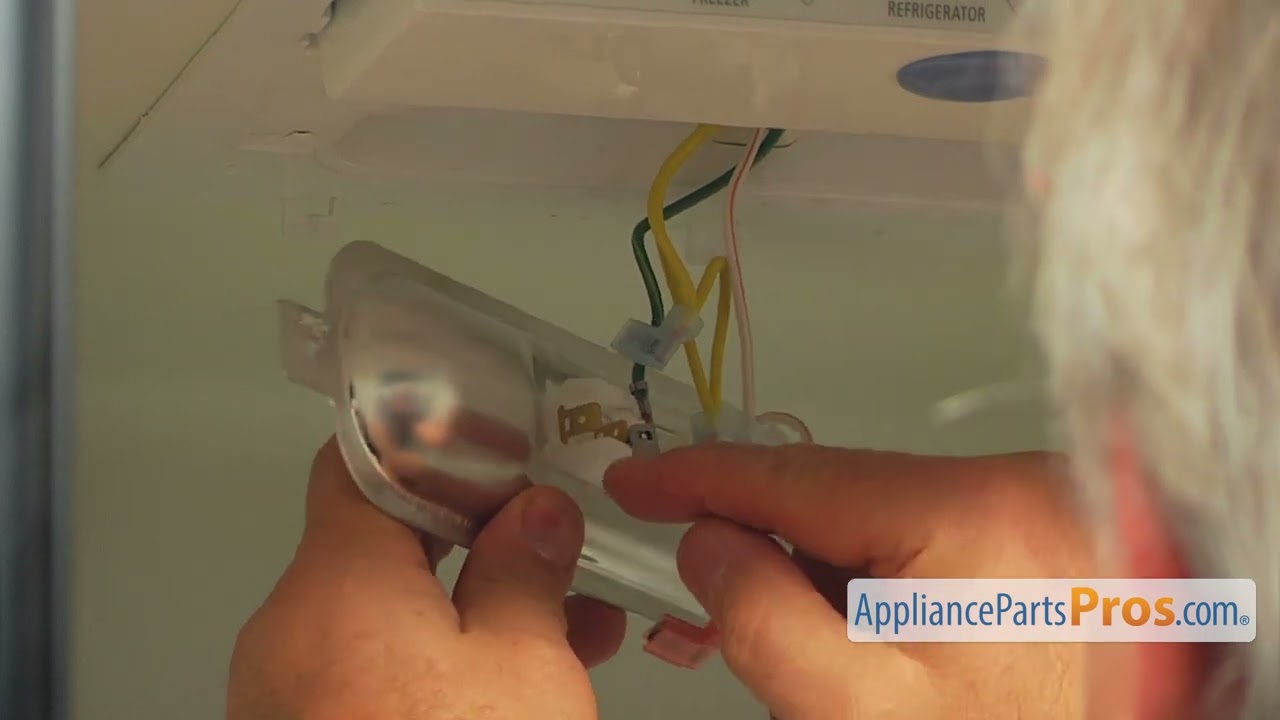
Once you have located the light bulb, gently twist it counterclockwise to remove it from its socket. Be careful not to apply too much force as the bulb may break. If the bulb is stuck, try using a cloth or gloves to get a better grip.KitchenAid Refrigerator Light Bulb Removal
KitchenAid Refrigerator Light Bulb Removal


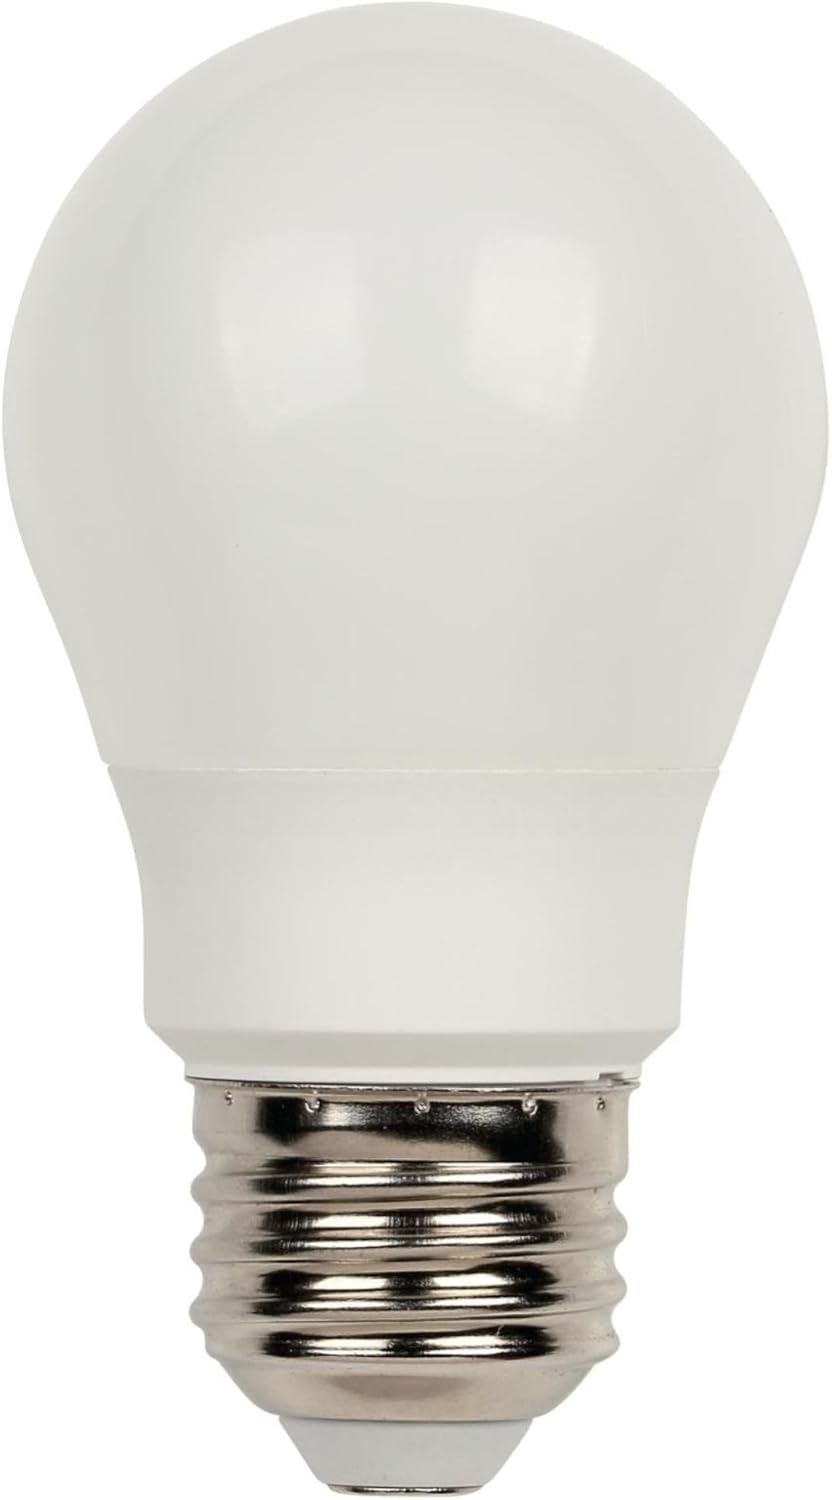
Next, take your new light bulb and gently insert it into the socket. Twist it clockwise to secure it in place. Make sure the bulb is firmly in place before turning on the light.KitchenAid Refrigerator Light Bulb Installation

KitchenAid Refrigerator Light Bulb Installation
If you need more detailed instructions on how to replace the light bulb in your KitchenAid refrigerator, consult your appliance manual or look it up online. Different models may have slight variations in the steps, so it's always best to refer to the specific instructions for your fridge.KitchenAid Refrigerator Light Bulb Replacement Guide


KitchenAid Refrigerator Light Bulb Replacement Guide

If you're more of a visual learner, you can also search for tutorials on how to replace the light bulb in your specific model of KitchenAid refrigerator. There are many helpful videos available on YouTube that can guide you through the process step by step.KitchenAid Refrigerator Light Bulb Replacement Tutorial
KitchenAid Refrigerator Light Bulb Replacement Tutorial
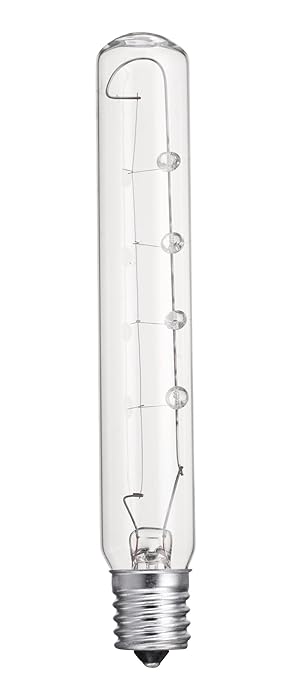
When purchasing a replacement light bulb for your KitchenAid refrigerator, make sure to check the wattage and size to ensure it is compatible with your fridge. Using the wrong bulb can cause damage to your appliance or even be a fire hazard.KitchenAid Refrigerator Light Bulb Replacement Instructions
KitchenAid Refrigerator Light Bulb Replacement Instructions
For those who prefer a visual demonstration, there are also many helpful videos online that show you exactly how to replace the light bulb in your KitchenAid refrigerator. These videos can also provide tips and tricks to make the process even easier.KitchenAid Refrigerator Light Bulb Replacement Video
KitchenAid Refrigerator Light Bulb Replacement Video
If you're unable to find a replacement light bulb for your KitchenAid refrigerator at your local hardware store, you can always purchase them online. Make sure to check the model number of your fridge to ensure you are purchasing the correct bulb. Now that you know how to replace the light bulb in your KitchenAid refrigerator, you can easily keep your fridge properly illuminated and functioning. Remember to always unplug your fridge before attempting any maintenance tasks and be careful when handling the light bulb. With these steps, your fridge will be shining bright again in no time!KitchenAid Refrigerator Light Bulb Replacement Parts

KitchenAid Refrigerator Light Bulb Replacement Parts
How to Replace a Kitchen Aid Refrigerator Light

Importance of a Functional Refrigerator Light
 The kitchen is often considered the heart of a home, and the refrigerator is one of its most essential appliances. It stores and preserves our food, keeping it fresh and safe to eat. But, what happens when the refrigerator light goes out? It may seem like a minor issue, but having a functional refrigerator light is crucial for efficient and safe use of your refrigerator. Not only does it help you see what's inside, but it also indicates that the refrigerator is functioning properly. If you have a Kitchen Aid refrigerator and are facing this problem, don't worry. This article will guide you through the steps of replacing the light, ensuring your refrigerator is in optimal condition.
Gather Necessary Materials
 Before we get started, make sure you have all the necessary materials. You will need a replacement light bulb specifically designed for your Kitchen Aid refrigerator model. You can find this information in the refrigerator's user manual or by checking the model number on the inside of the refrigerator. Additionally, you will need a flathead screwdriver and a pair of gloves for safety.
Step-by-Step Guide
 1. Unplug your refrigerator to ensure safety.
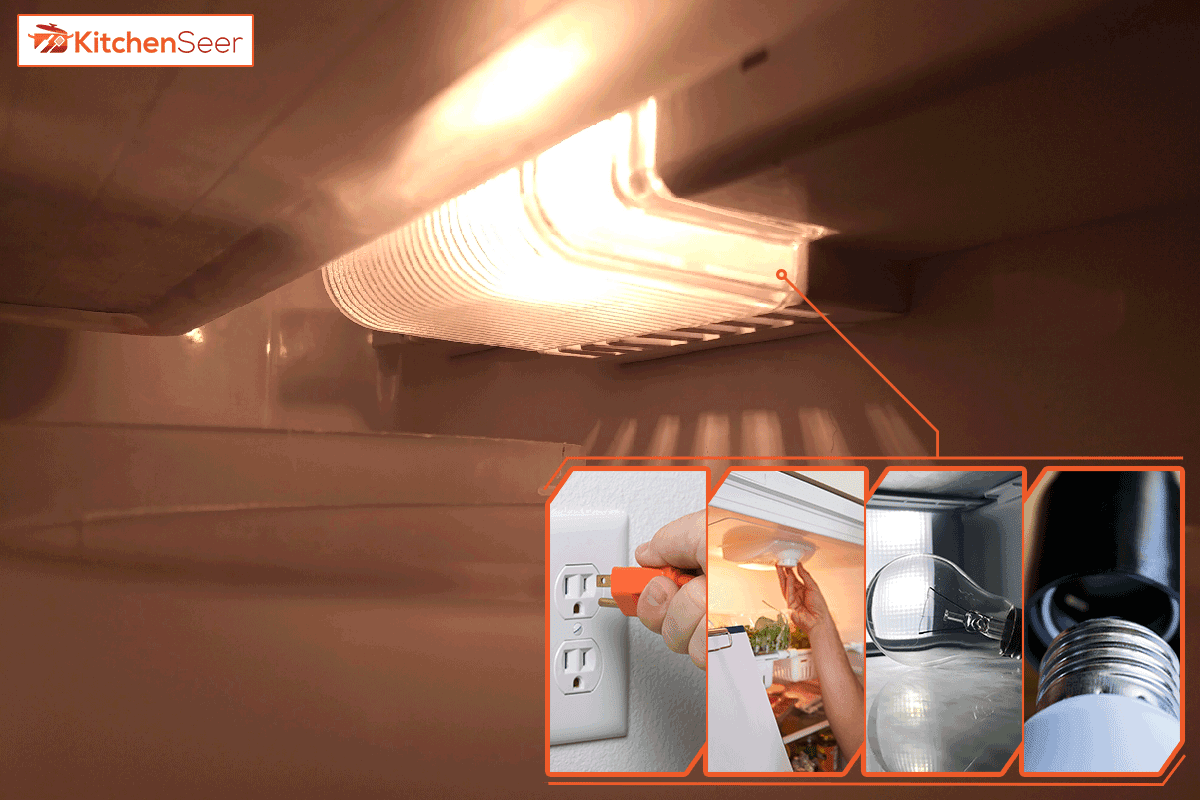
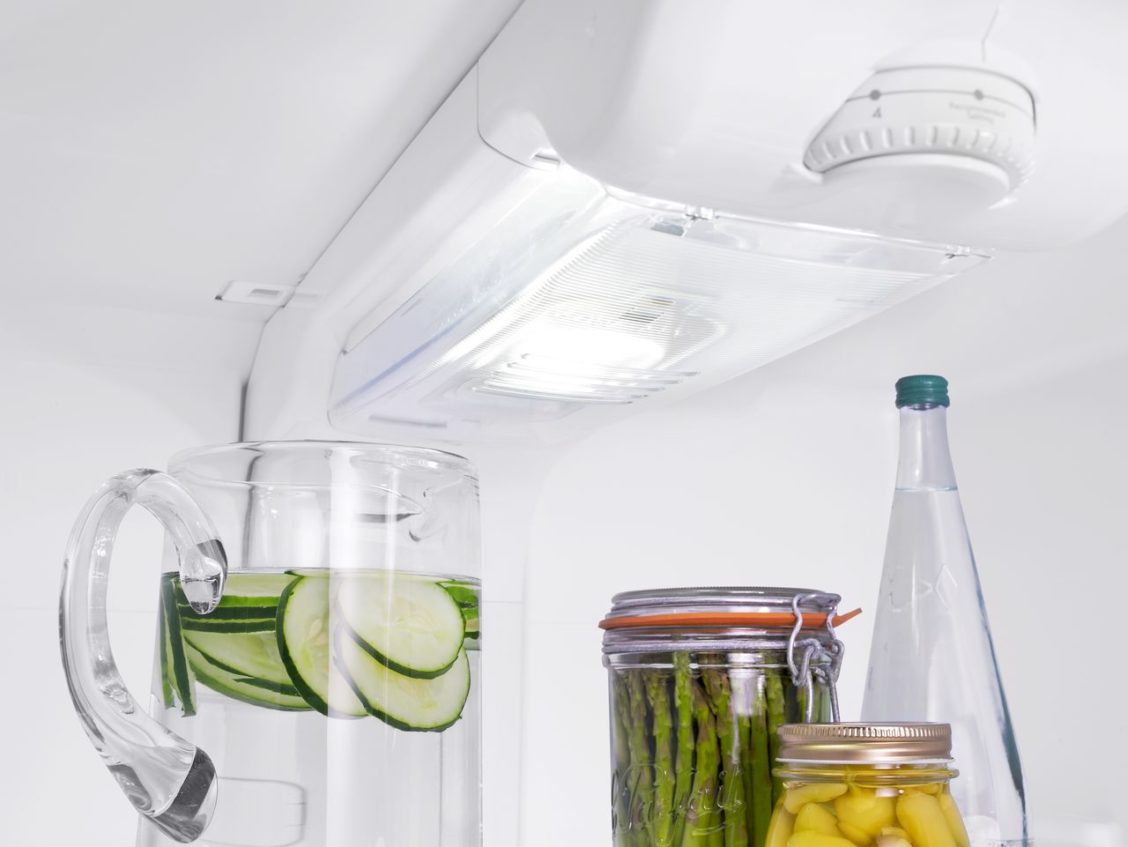
2. Locate the light cover on the top or back of your refrigerator's interior. It is usually made of plastic and has a small notch or tab for easy removal.
3. Carefully remove the light cover by pulling it down or pushing it in the direction of the notch or tab.
4. Once the cover is removed, you will see the light bulb. Using gloves, gently unscrew the bulb counterclockwise to remove it.
5.
Replace the old bulb with the new one, making sure it is securely screwed in.
6.
Reattach the light cover by aligning it with the notches or tabs and pushing it back into place.
7. Plug your refrigerator back in and test the light by opening and closing the door.
1. Unplug your refrigerator to ensure safety.
2. Locate the light cover on the top or back of your refrigerator's interior. It is usually made of plastic and has a small notch or tab for easy removal.
3. Carefully remove the light cover by pulling it down or pushing it in the direction of the notch or tab.
4. Once the cover is removed, you will see the light bulb. Using gloves, gently unscrew the bulb counterclockwise to remove it.
5.
Replace the old bulb with the new one, making sure it is securely screwed in.
6.
Reattach the light cover by aligning it with the notches or tabs and pushing it back into place.
7. Plug your refrigerator back in and test the light by opening and closing the door.
Final Thoughts
 Replacing a Kitchen Aid refrigerator light is a simple and quick process that can save you from potential hazards and inconvenience. It is recommended to replace the light bulb with the same wattage and type to ensure proper functioning. If the light still does not work after following these steps, it may be an indicator of a larger issue with your refrigerator. In this case, it is best to seek professional help. By keeping your refrigerator's light in working condition, you can ensure a well-functioning and efficient kitchen for years to come.