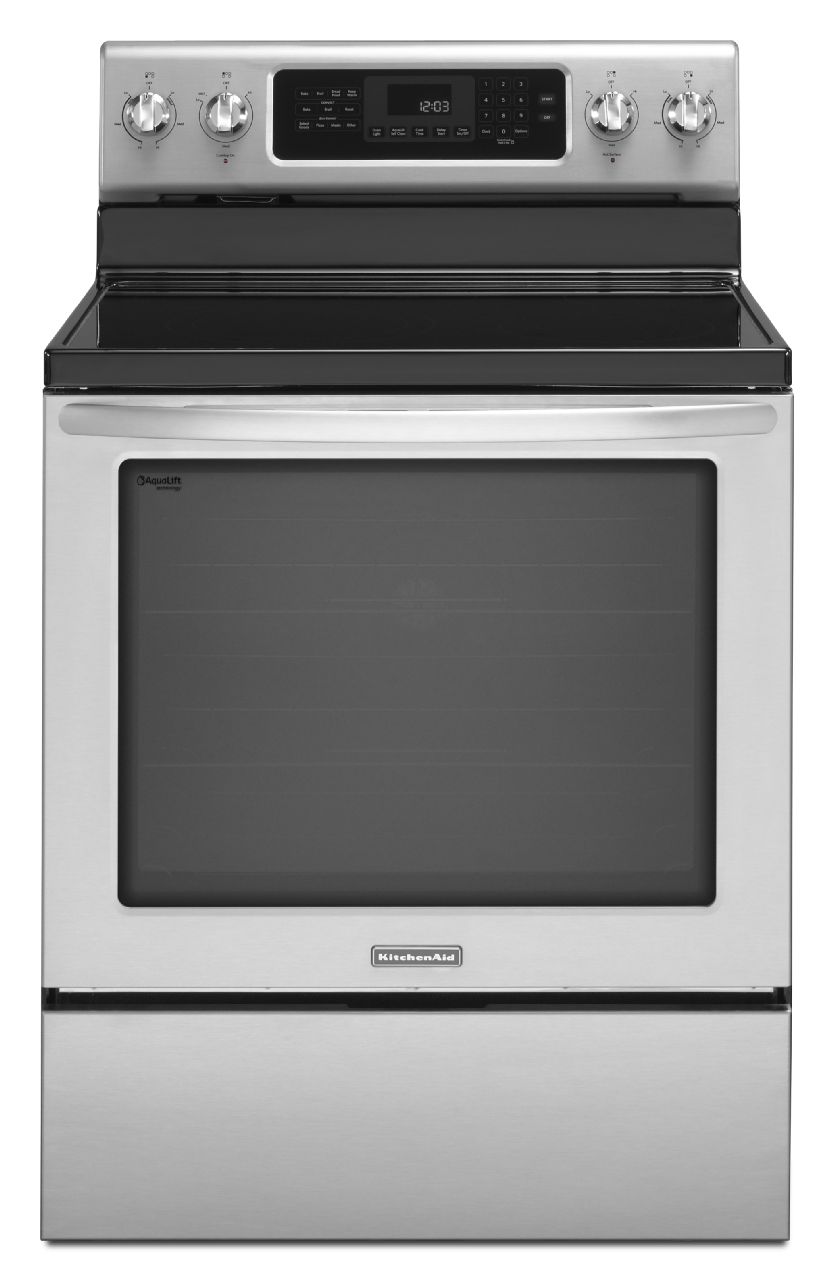
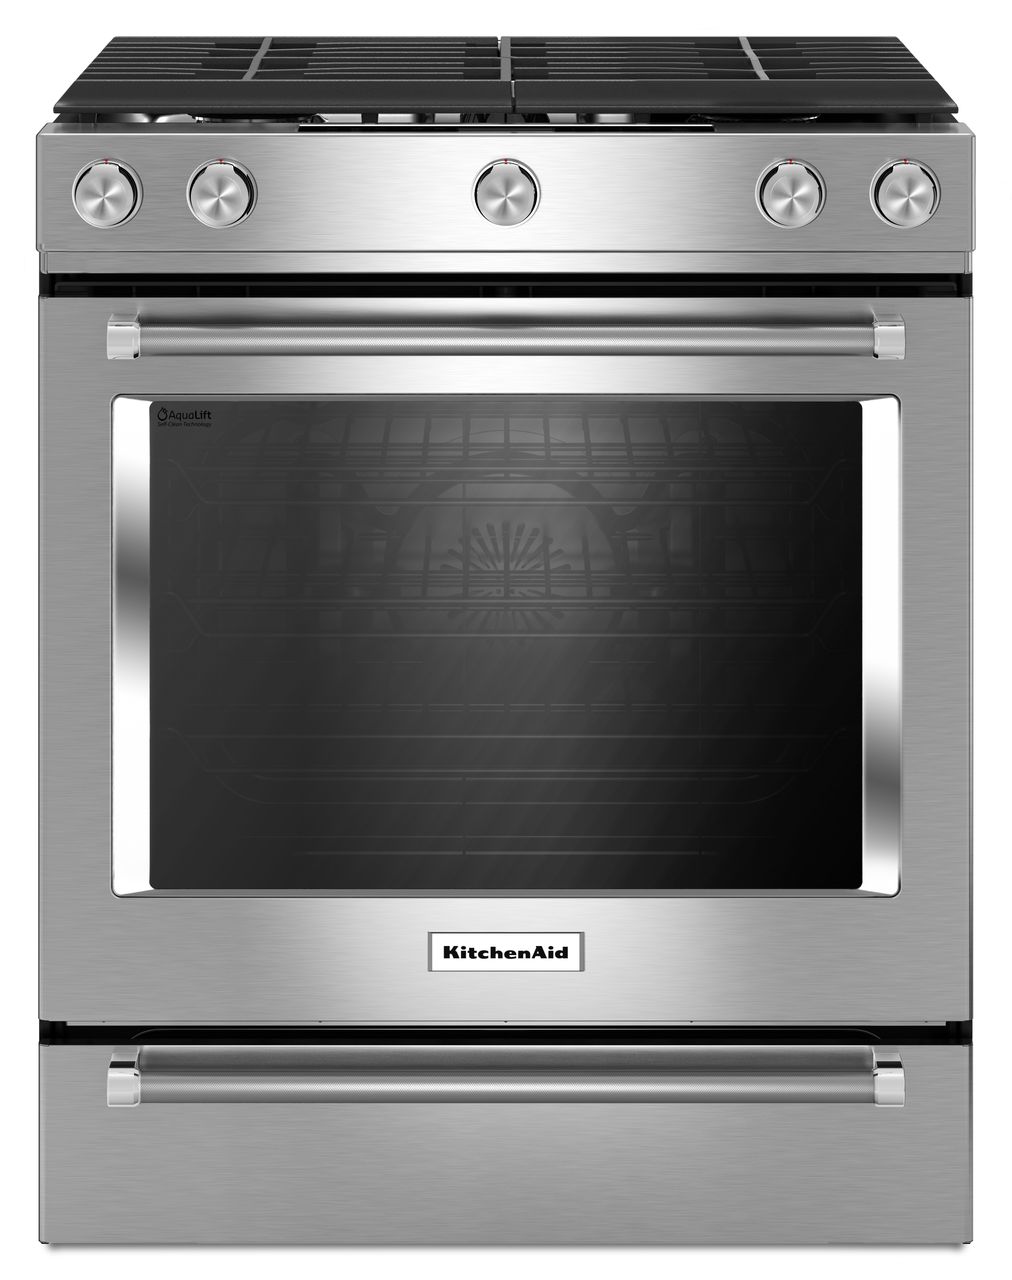
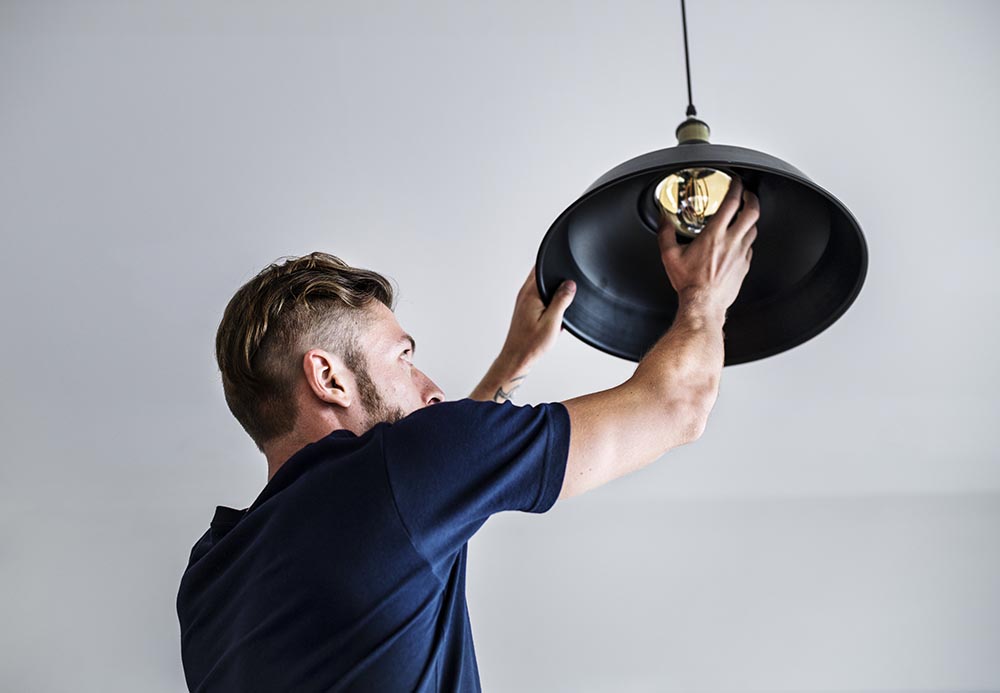
How to Replace the Light Bulb in a KitchenAid Oven
If you've noticed that the light in your KitchenAid oven has burned out, don't panic. Replacing the light bulb is a simple and straightforward process that you can easily do yourself. Follow these steps to get your oven shining bright again in no time.
Step 1: Turn off the power to your oven by unplugging it from the wall or flipping the circuit breaker.
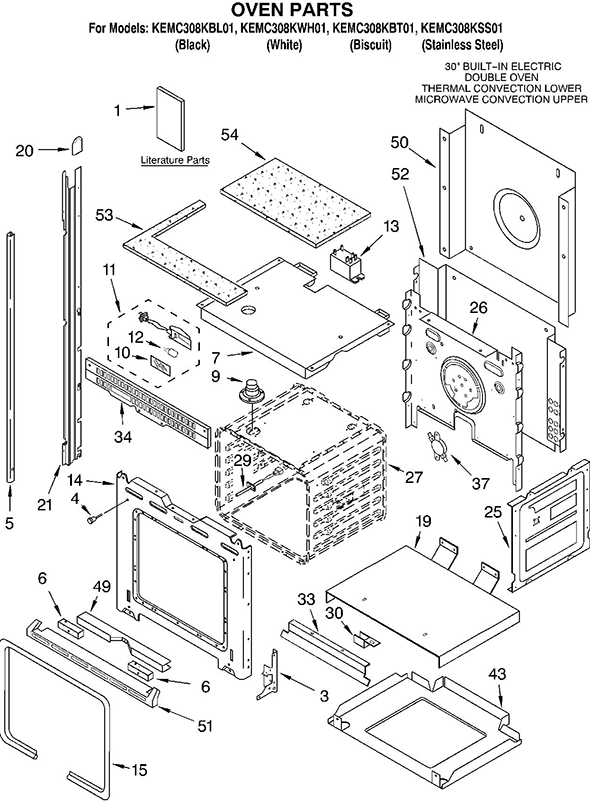
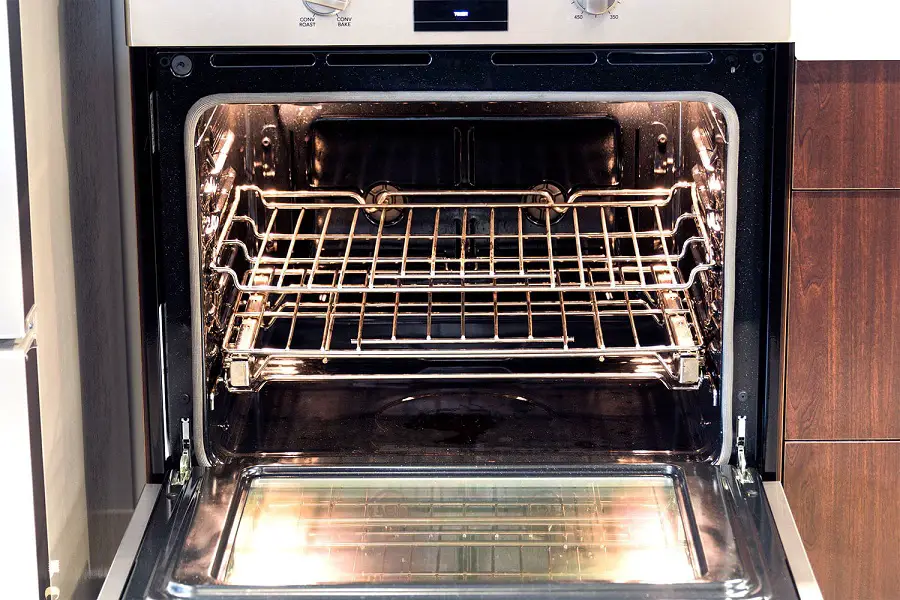
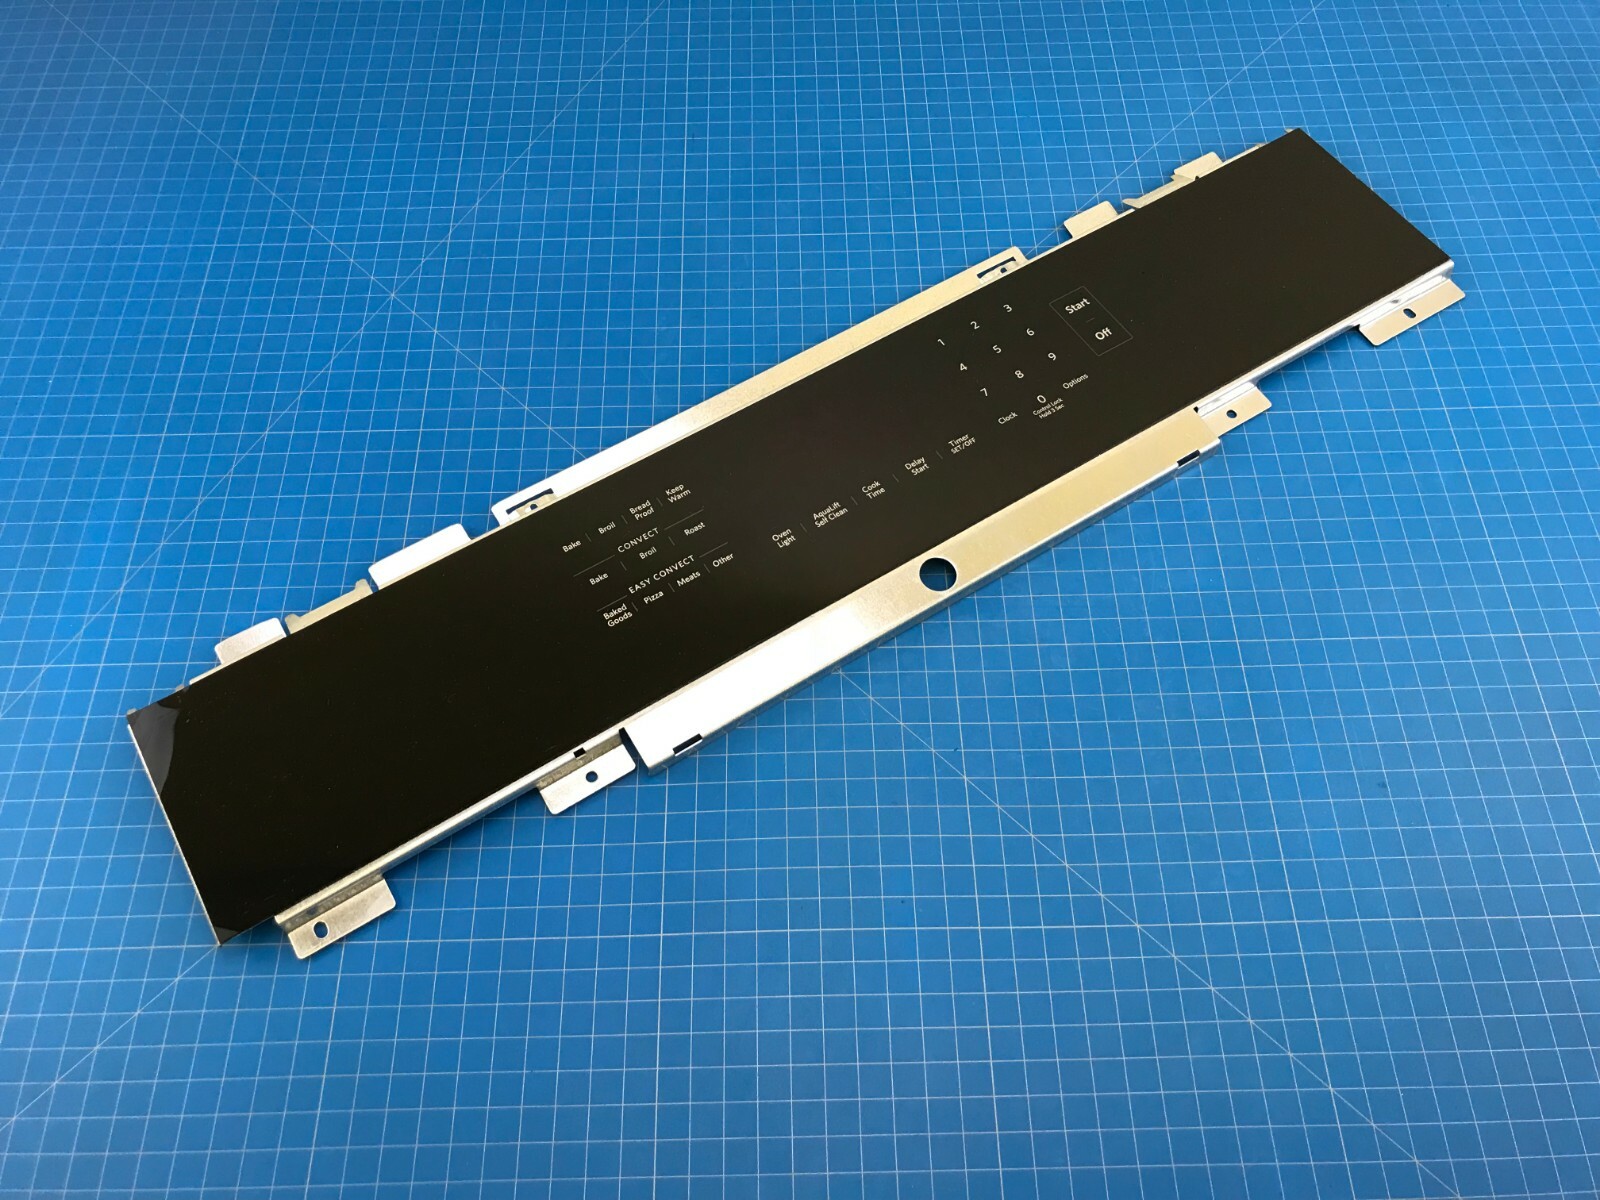
Step 2: Locate the light bulb cover on the inside of your oven. It is usually located on the back wall, near the top of the oven.
Step 3: Remove the cover by twisting it counterclockwise or pulling it straight out, depending on the model of your KitchenAid oven.
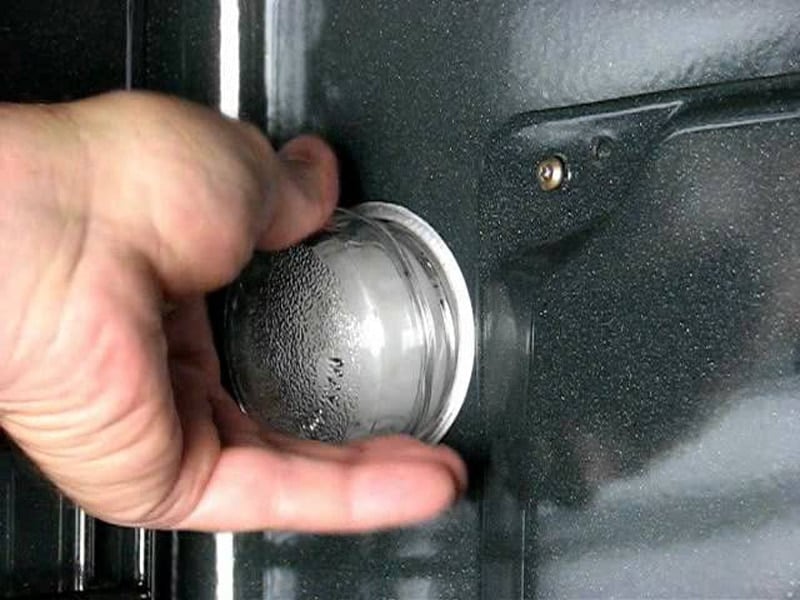
Step 4: Gently remove the old light bulb and replace it with a new one. Make sure the new bulb is the correct wattage and size for your oven.
Step 5: Replace the light bulb cover by twisting it clockwise or pushing it back in, depending on the model of your oven.
Step 6: Turn the power back on to your oven and test the light to make sure it is working properly.


How to Replace the Light Bulb in a KitchenAid Oven


How to Fix a KitchenAid Oven Light That Won't Turn On
If your KitchenAid oven light won't turn on, there could be a few different reasons for this issue. Follow these troubleshooting steps to determine the cause and fix the problem.
Step 1: Check the light bulb to make sure it is not burned out. If it is, follow the steps outlined in the previous section to replace it with a new one.
Step 2: If the light bulb is not the issue, check the oven's light switch. It may be faulty and in need of replacement. Follow the steps below to replace the light switch.
Step 3: Turn off the power to your oven by unplugging it from the wall or flipping the circuit breaker.
Step 4: Locate the light switch, which is usually located near the top of the oven on the inside.
Step 5: Remove the old light switch by gently pulling it out from its socket.
Step 6: Insert the new light switch into the socket and make sure it is securely in place.
Step 7: Turn the power back on to your oven and test the light to make sure it is working properly.


How to Fix a KitchenAid Oven Light That Won't Turn On


KitchenAid Oven Light Not Working: Troubleshooting Guide
If your KitchenAid oven light is not working, it can be frustrating and inconvenient. Use this troubleshooting guide to help you determine the cause and find a solution.
Issue: Light bulb is burned out.
Solution: Follow the steps outlined in the first section to replace the light bulb with a new one.
Issue: Light switch is faulty.
Solution: Follow the steps outlined in the second section to replace the light switch with a new one.
Issue: Light socket is damaged.
Solution: Follow the steps outlined in the next section to replace the light socket.

KitchenAid Oven Light Not Working: Troubleshooting Guide


Replacing the Light Socket in a KitchenAid Oven
If you have determined that the light socket in your KitchenAid oven is damaged, here's how you can replace it.
Step 1: Turn off the power to your oven by unplugging it from the wall or flipping the circuit breaker.
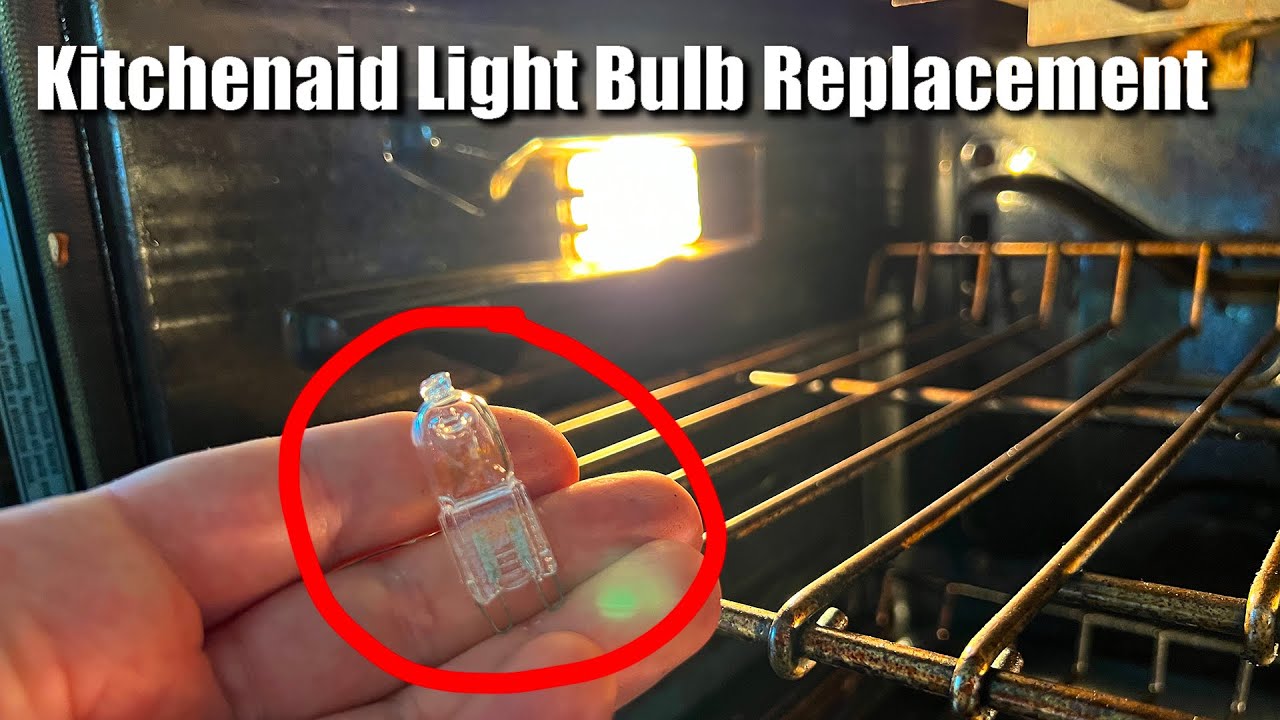
Step 2: Locate the light socket, which is usually located near the top of the oven on the inside.
Step 3: Unscrew the light socket and remove it from the oven.
Step 4: Disconnect the wires attached to the old light socket and remove it completely.
Step 5: Connect the wires to the new light socket and screw it back into place.
Step 6: Turn the power back on to your oven and test the light to make sure it is working properly.


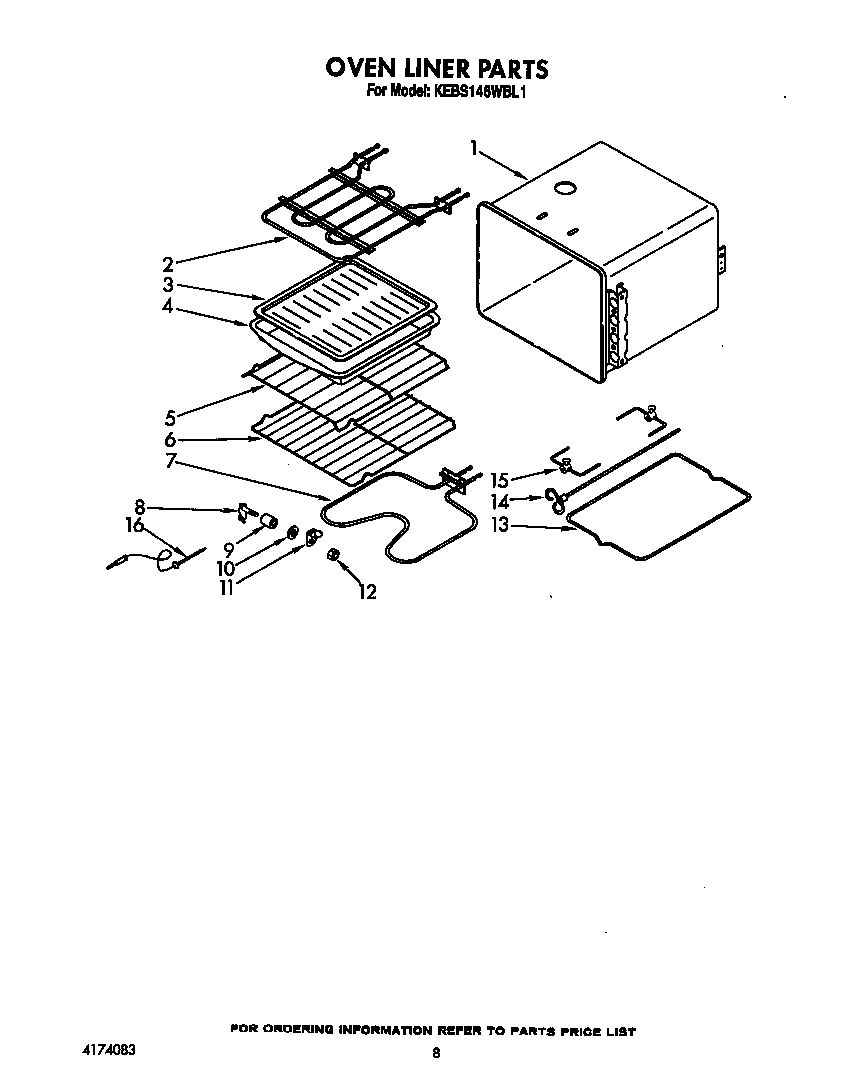
Replacing the Light Socket in a KitchenAid Oven


How to Replace the Light Switch in a KitchenAid Oven
If you have determined that the light switch in your KitchenAid oven is faulty, here's how you can replace it.
Step 1: Turn off the power to your oven by unplugging it from the wall or flipping the circuit breaker.
Step 2: Locate the light switch, which is usually located near the top of the oven on the inside.
Step 3: Gently remove the old light switch by pulling it out from its socket.
Step 4: Insert the new light switch into the socket and make sure it is securely in place.
Step 5: Turn the power back on to your oven and test the light to make sure it is working properly.


How to Replace the Light Switch in a KitchenAid Oven


Common Problems with KitchenAid Oven Lights
While KitchenAid ovens are known for their high quality and reliability, there are a few common problems that may occur with the oven lights. These include:
Flickering light: This could be caused by a loose light bulb or a faulty light switch. Follow the steps outlined in the previous sections to fix these issues.
Burned out light bulb: This is a common issue and can easily be fixed by replacing the light bulb following the steps outlined earlier.
Light not turning on: This could be due to a faulty light switch or a damaged light socket. Follow the steps in the previous sections to replace these components.

Common Problems with KitchenAid Oven Lights


DIY KitchenAid Oven Light Repair: Step-by-Step Guide
If you are experiencing issues with your KitchenAid oven light, don't fret. You can easily fix most problems yourself by following the step-by-step guide outlined in this article.
Step 1: Determine the issue with your oven light by following the troubleshooting guide in the previous section.
Step 2: If the issue is a burned out light bulb, replace it with a new one following the steps outlined earlier.
Step 3: If the issue is a faulty light switch, replace it with a new one following the steps outlined earlier.
Step 4: If the issue is a damaged light socket, replace it with a new one following the steps outlined earlier.
Step 5: Once you have fixed the issue, turn the power back on to your oven and test the light to make sure it is working properly.


DIY KitchenAid Oven Light Repair: Step-by-Step Guide


How to Replace the Light Cover in a KitchenAid Oven
If you need to replace the light cover in your KitchenAid oven, follow these steps.
Step 1: Turn off the power to your oven by unplugging it from the wall or flipping the circuit breaker.
Step 2: Locate the light cover, which is usually located on the back wall of the oven near the top.
Step 3: Remove the old light cover by twisting it counterclockwise or pulling it straight out, depending on the model of your oven.
Step 4: Install the new light cover by twisting it clockwise or pushing it back into place, depending on the model of your oven.
Step 5: Turn the power back on to your oven and test the light to make sure it is working properly.

How to Replace the Light Cover in a KitchenAid Oven

Fixing a Flickering KitchenAid Oven Light
If your KitchenAid oven light is flickering, it can be a nuisance and may even be a safety hazard. Here's how you can fix this issue.
Step 1: Turn off the power to your oven by unplugging it from the wall or flipping the circuit breaker.
Step 2: Check the light bulb to make sure it is securely screwed in. If it is loose, tighten it.
Step 3: If the light bulb is not the issue, check the light switch. It may be faulty and in need of replacement.
Step 4: If the issue persists, check the light socket to make sure it is not damaged.
Step 5: If none of these solutions work, it may be best to call a professional for further assistance.


Fixing a Flickering KitchenAid Oven Light

:max_bytes(150000):strip_icc()/replace-a-light-socket-1152456-09-97f01caee207481a9affbc8708565729.jpg)


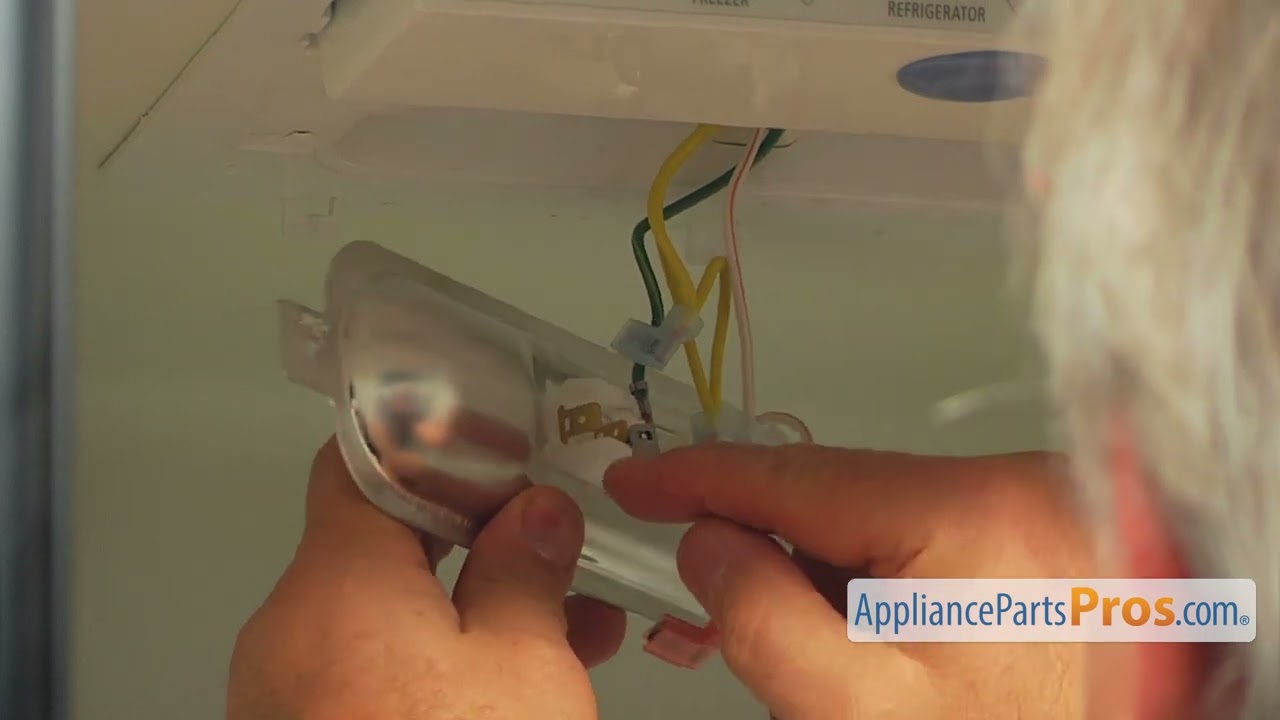
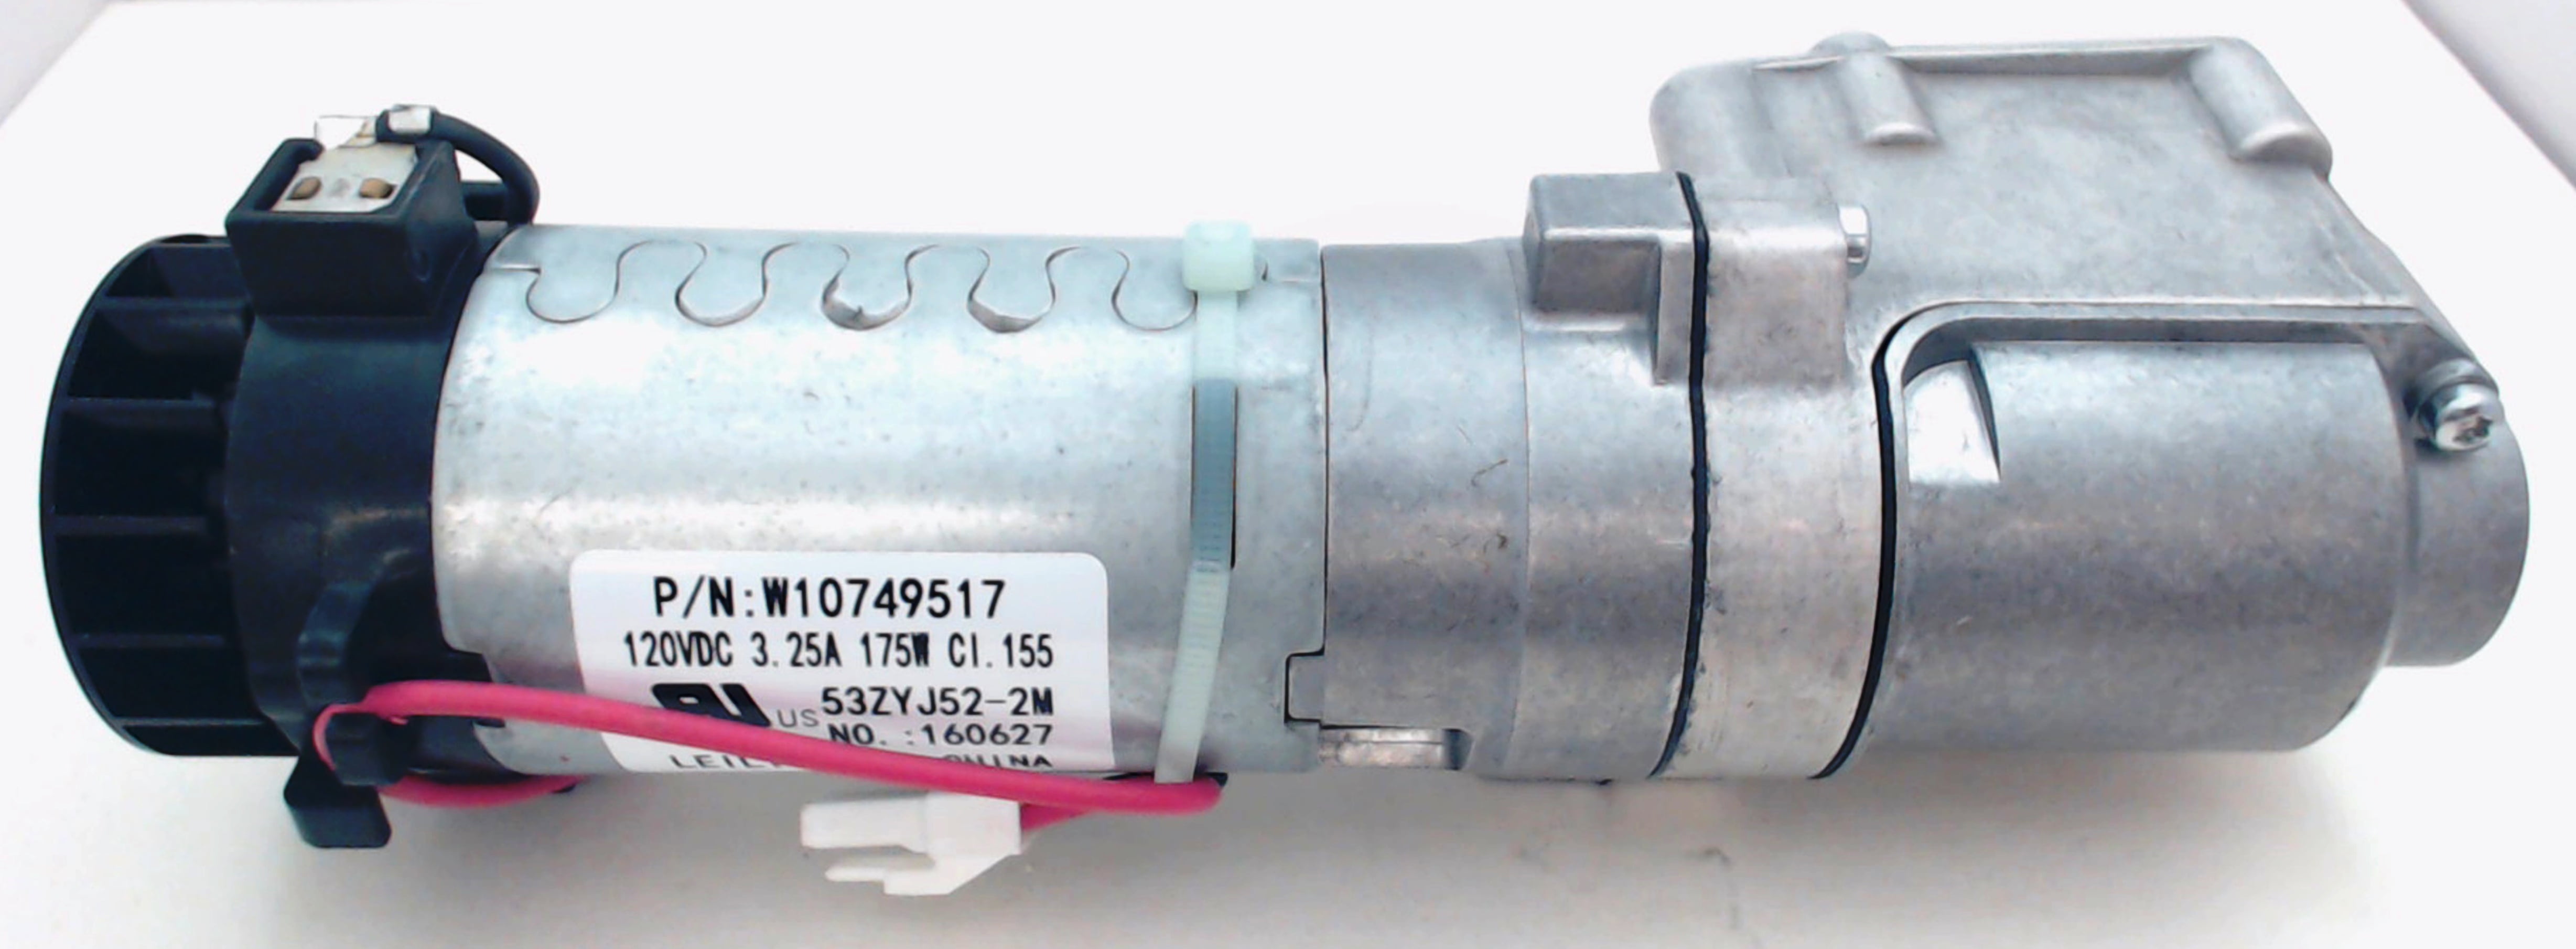
Replacing the Light Assembly in a KitchenAid Oven
If you need to replace the entire light assembly in your KitchenAid oven, follow these steps.
Step 1: Turn off the power to your oven by unplugging it from the wall or flipping the circuit breaker.
Step 2: Locate the light assembly, which is usually located near the top of the oven on the inside.
Step 3: Gently remove the old light assembly by pulling it out from its socket.
Step 4: Insert the new light assembly into the socket and make sure it is securely in place.
Step 5: Turn the power back on to your oven and test the light to make sure it is working properly.

Replacing the Light Assembly in a KitchenAid Oven

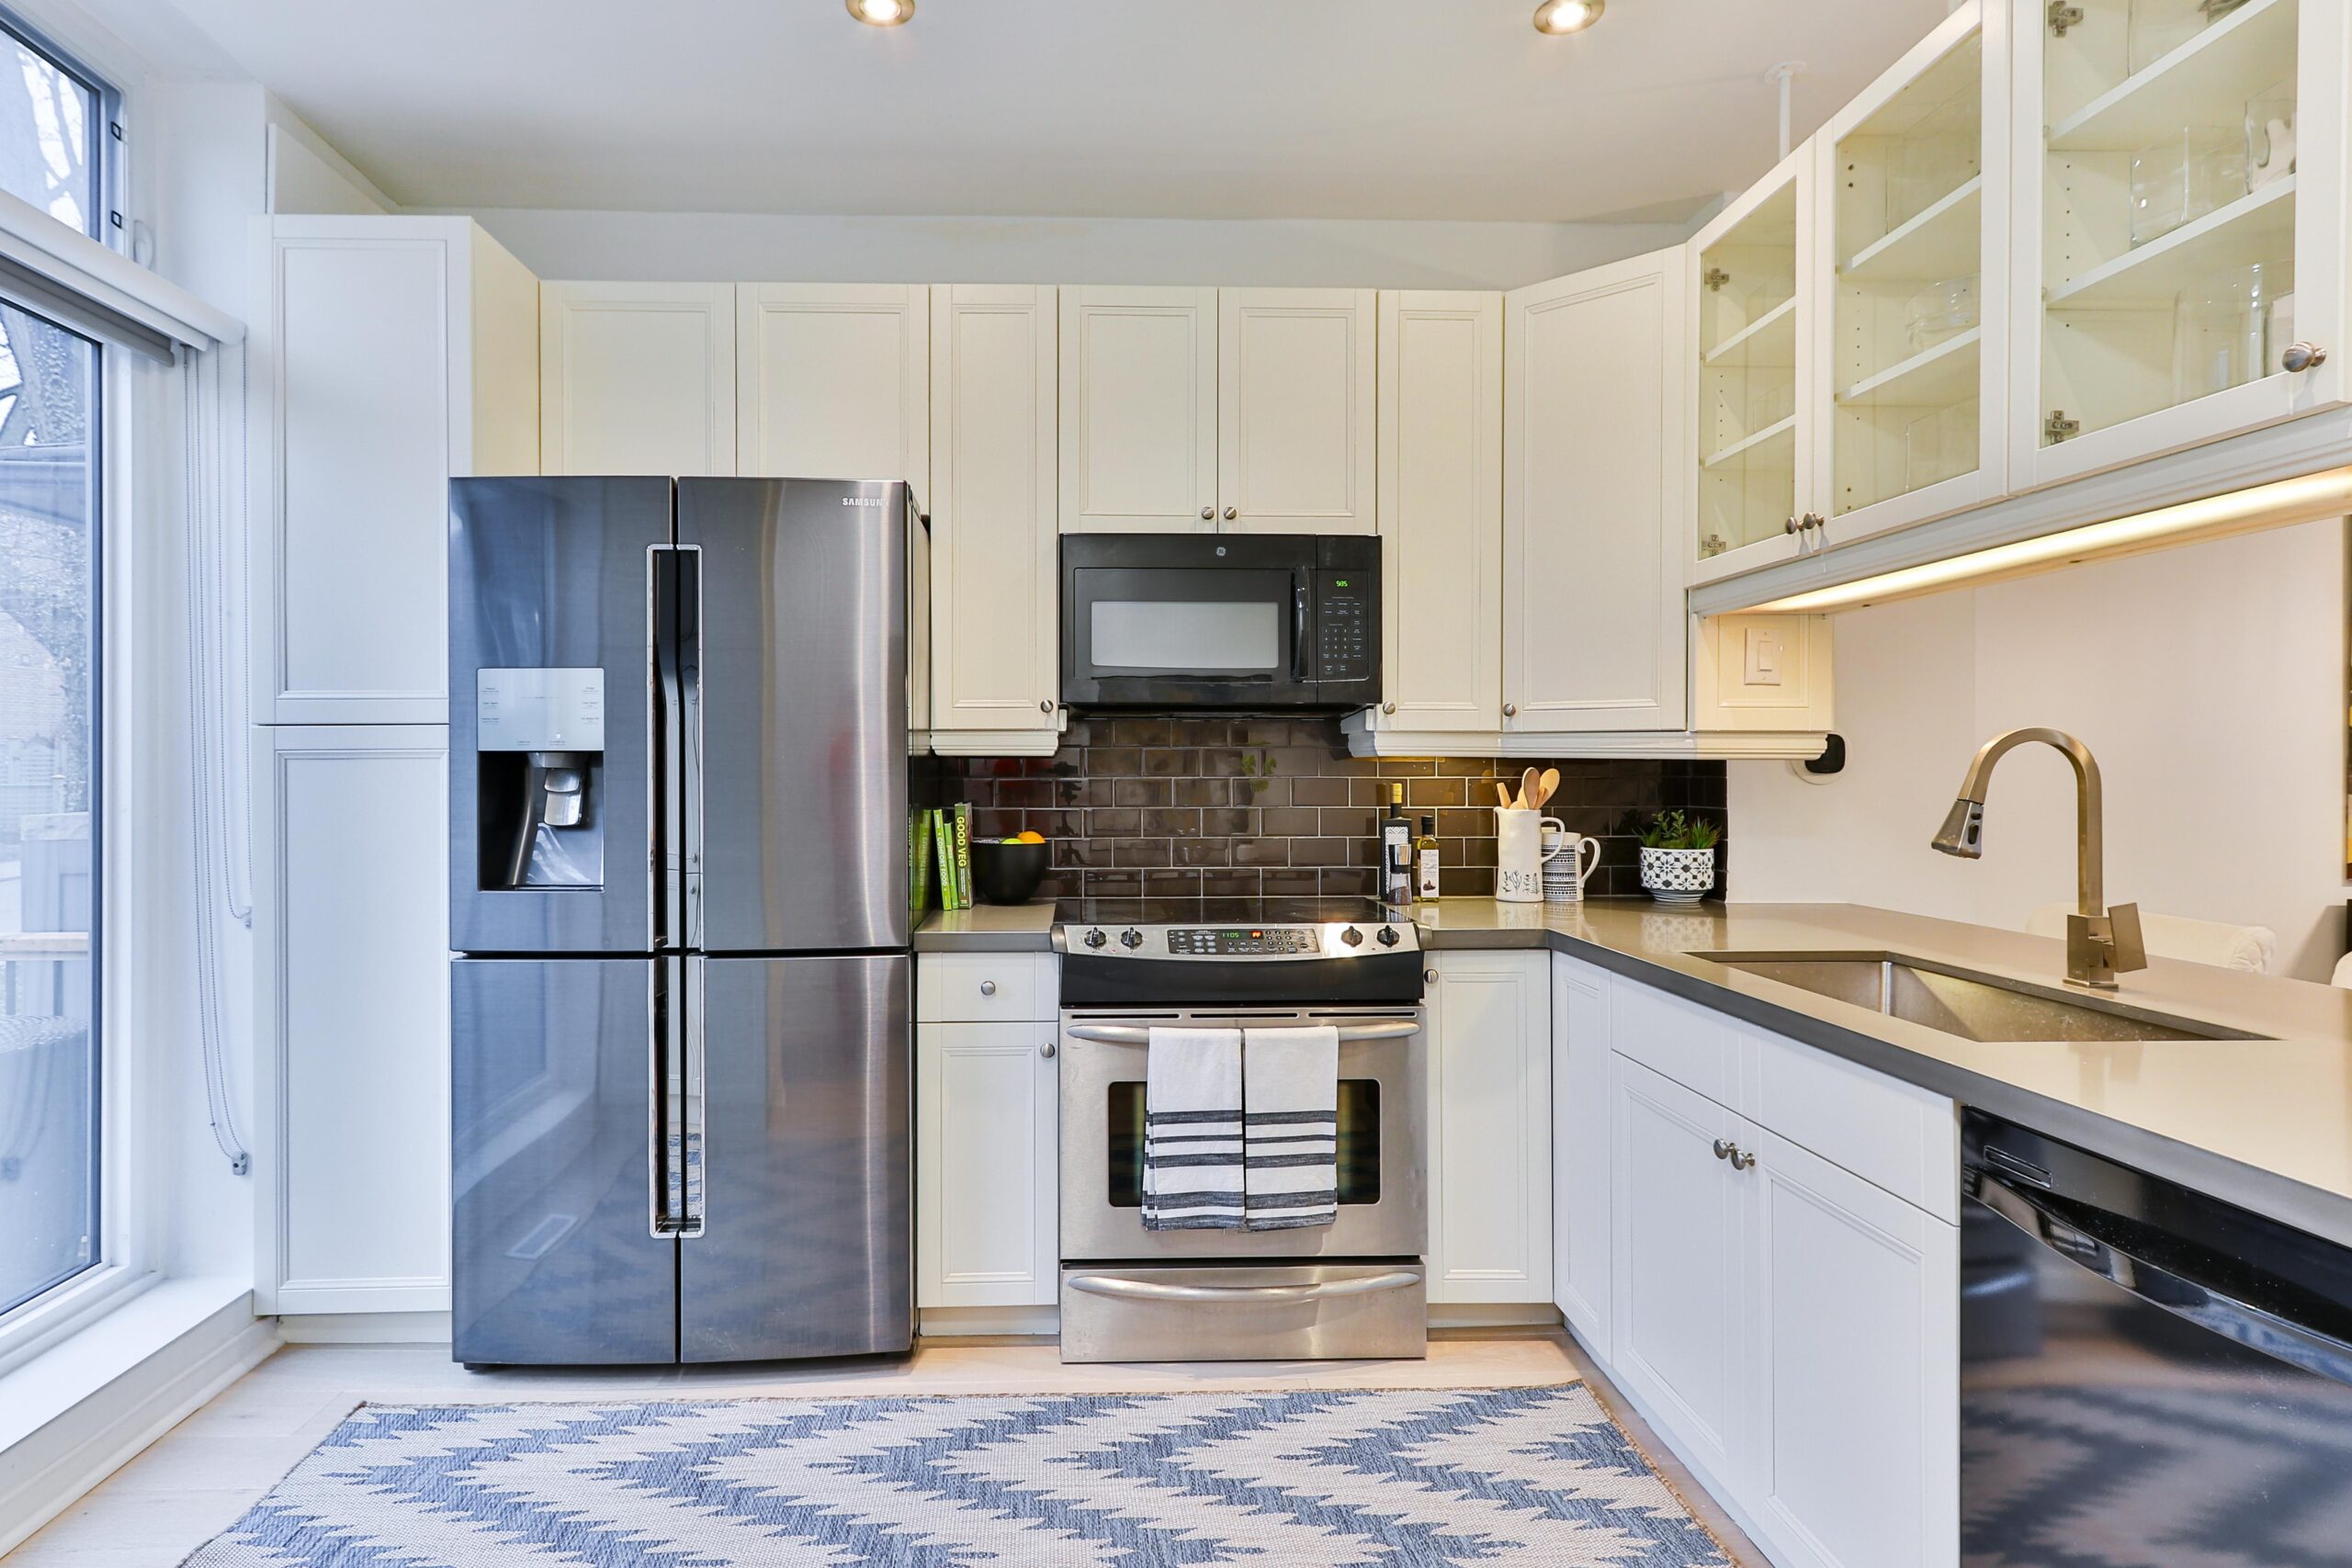
Why Proper Lighting is Essential in Your Kitchen Design

The Importance of Good Lighting
 When designing your kitchen, it's easy to get caught up in choosing the perfect cabinets, countertops, and appliances. However, one important aspect that often gets overlooked is lighting. Good lighting plays a crucial role in not only the functionality of your kitchen, but also its overall design. A well-lit kitchen not only makes it easier to prepare meals and complete tasks, but it also creates a warm and inviting atmosphere for family and guests. With that being said, it's important to ensure that your kitchen lighting is in good working condition, including your
kitchen aid oven light
.
When designing your kitchen, it's easy to get caught up in choosing the perfect cabinets, countertops, and appliances. However, one important aspect that often gets overlooked is lighting. Good lighting plays a crucial role in not only the functionality of your kitchen, but also its overall design. A well-lit kitchen not only makes it easier to prepare meals and complete tasks, but it also creates a warm and inviting atmosphere for family and guests. With that being said, it's important to ensure that your kitchen lighting is in good working condition, including your
kitchen aid oven light
.
The Impact of Kitchen Aid Oven Light Repair
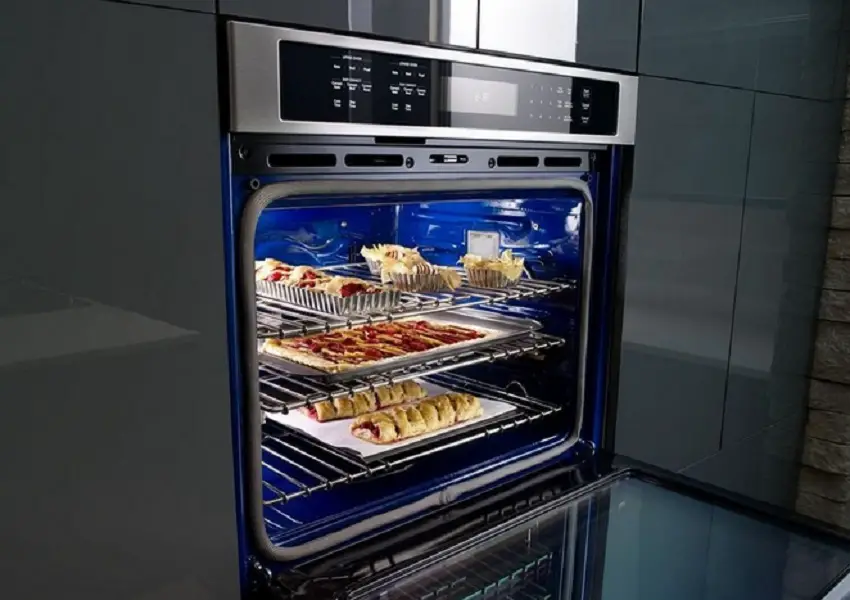 The oven is the heart of any kitchen, and its light is essential for cooking and baking. When the
oven light
is not functioning properly, it can make it difficult to see the progress of your dishes and may even lead to overcooking or burning. Additionally, a broken oven light can be a safety hazard, as you may not be able to see if there are any spills or potential dangers inside the oven. This is why it's important to prioritize
kitchen aid oven light repair
as soon as you notice an issue.
The oven is the heart of any kitchen, and its light is essential for cooking and baking. When the
oven light
is not functioning properly, it can make it difficult to see the progress of your dishes and may even lead to overcooking or burning. Additionally, a broken oven light can be a safety hazard, as you may not be able to see if there are any spills or potential dangers inside the oven. This is why it's important to prioritize
kitchen aid oven light repair
as soon as you notice an issue.
How to Repair Your Kitchen Aid Oven Light
 Fortunately, repairing your
kitchen aid oven light
is a relatively simple task. The first step is to identify the issue. If the light bulb is simply burnt out, you can easily replace it with a new one. However, if there is a more serious issue, such as a faulty electrical connection, it may be best to call a professional electrician or appliance repair technician. They will have the expertise and tools to properly diagnose and fix the issue.
Fortunately, repairing your
kitchen aid oven light
is a relatively simple task. The first step is to identify the issue. If the light bulb is simply burnt out, you can easily replace it with a new one. However, if there is a more serious issue, such as a faulty electrical connection, it may be best to call a professional electrician or appliance repair technician. They will have the expertise and tools to properly diagnose and fix the issue.
Conclusion
 In conclusion, proper lighting is an essential element in any kitchen design. It not only enhances the functionality of the space, but also creates a warm and inviting atmosphere. If you notice any issues with your
kitchen aid oven light
, it's important to address them as soon as possible to ensure the safety and efficiency of your kitchen. With regular maintenance and timely repairs, your kitchen will continue to shine bright for years to come.
In conclusion, proper lighting is an essential element in any kitchen design. It not only enhances the functionality of the space, but also creates a warm and inviting atmosphere. If you notice any issues with your
kitchen aid oven light
, it's important to address them as soon as possible to ensure the safety and efficiency of your kitchen. With regular maintenance and timely repairs, your kitchen will continue to shine bright for years to come.