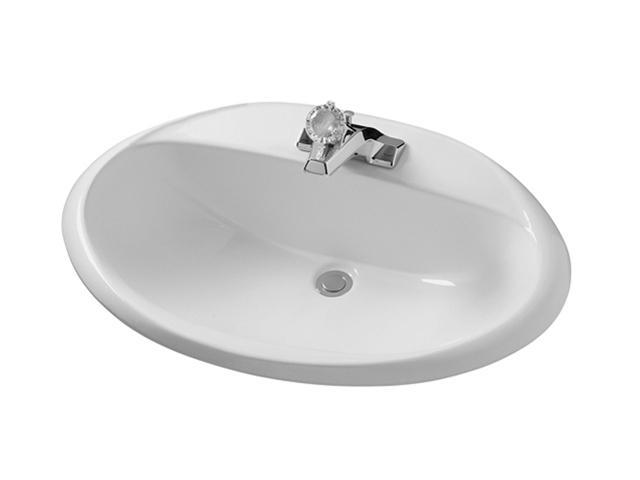
Paint for Bathroom Vanity
Choosing the right paint for your bathroom vanity is an important decision. Not only does it need to withstand the humidity and moisture of a bathroom, but it also needs to complement the rest of your bathroom design. Here are some tips for selecting the perfect paint for your bathroom vanity.
Waterproof and Durable: When it comes to bathroom vanity paint, durability is key. Look for paints that are specifically designed for high-moisture areas and have a waterproof or water-resistant finish. This will ensure that your vanity stays looking fresh and new for years to come.
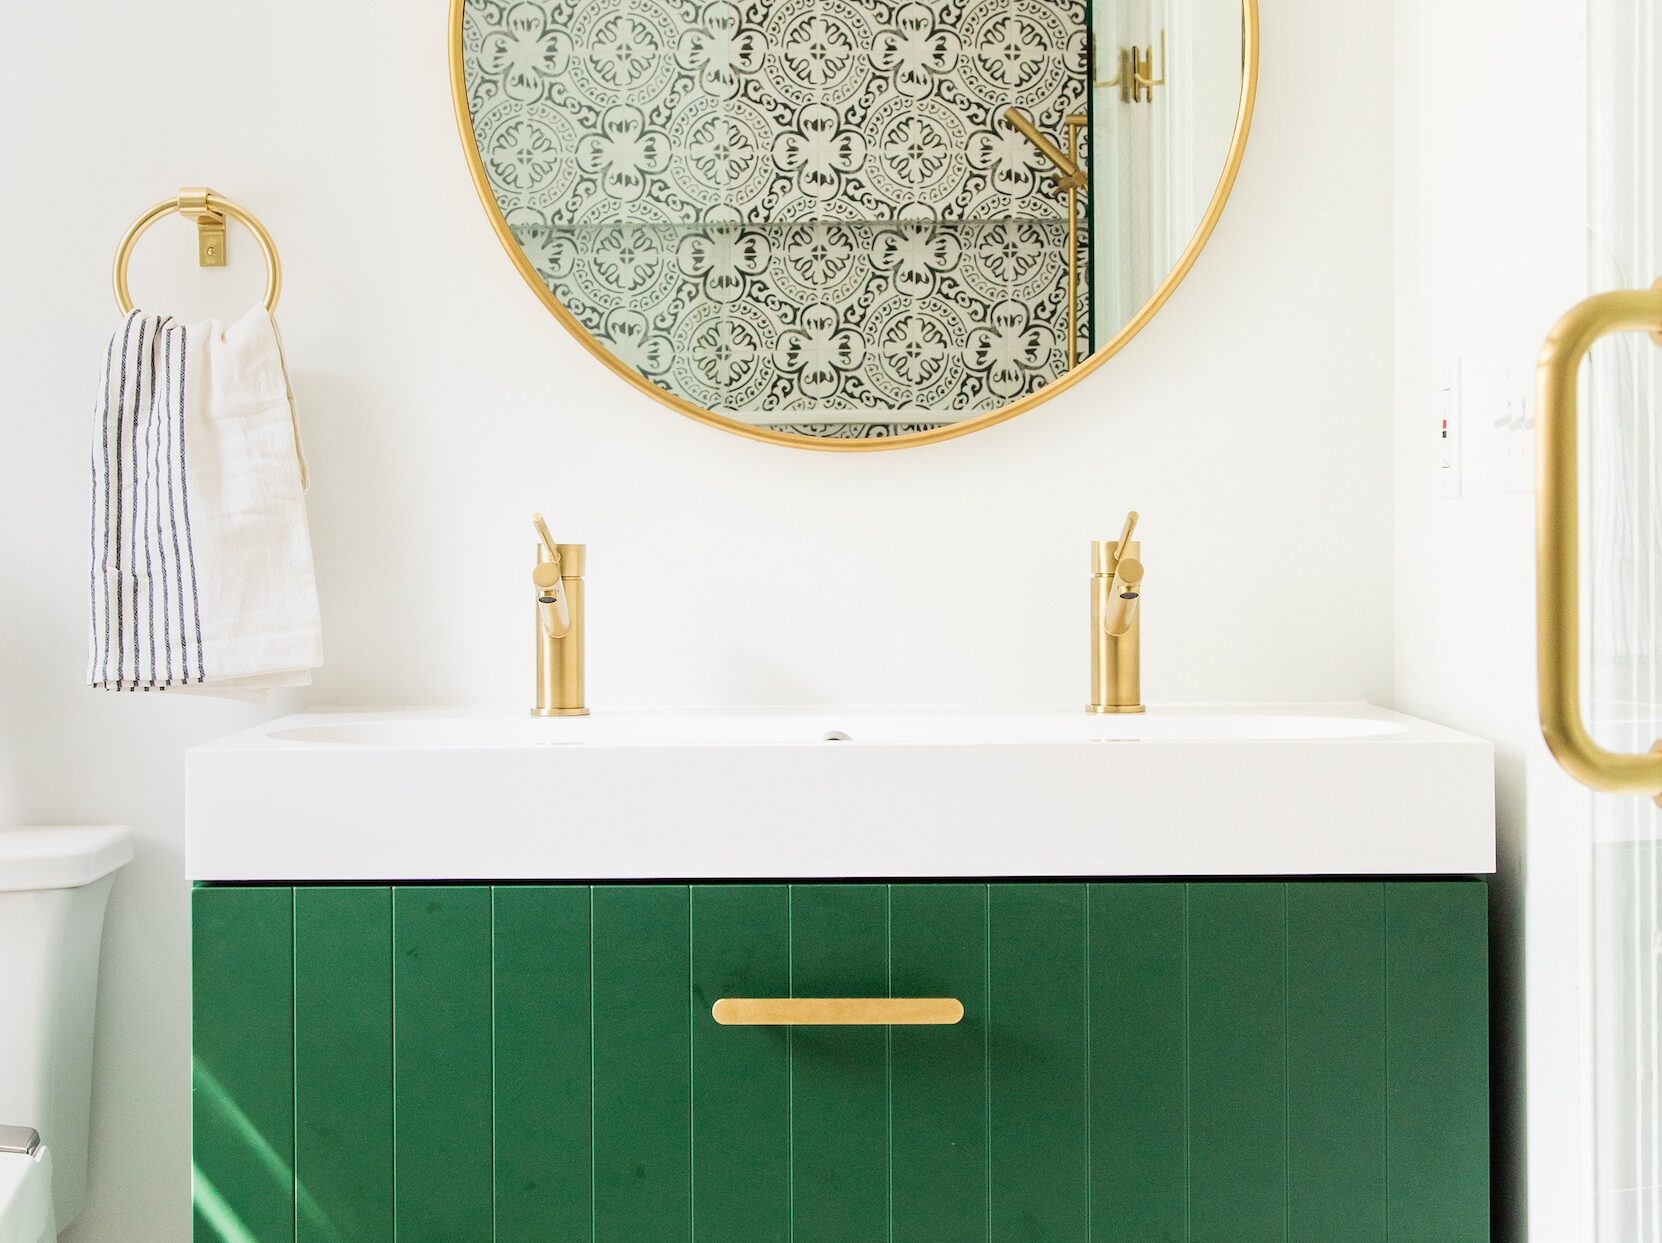
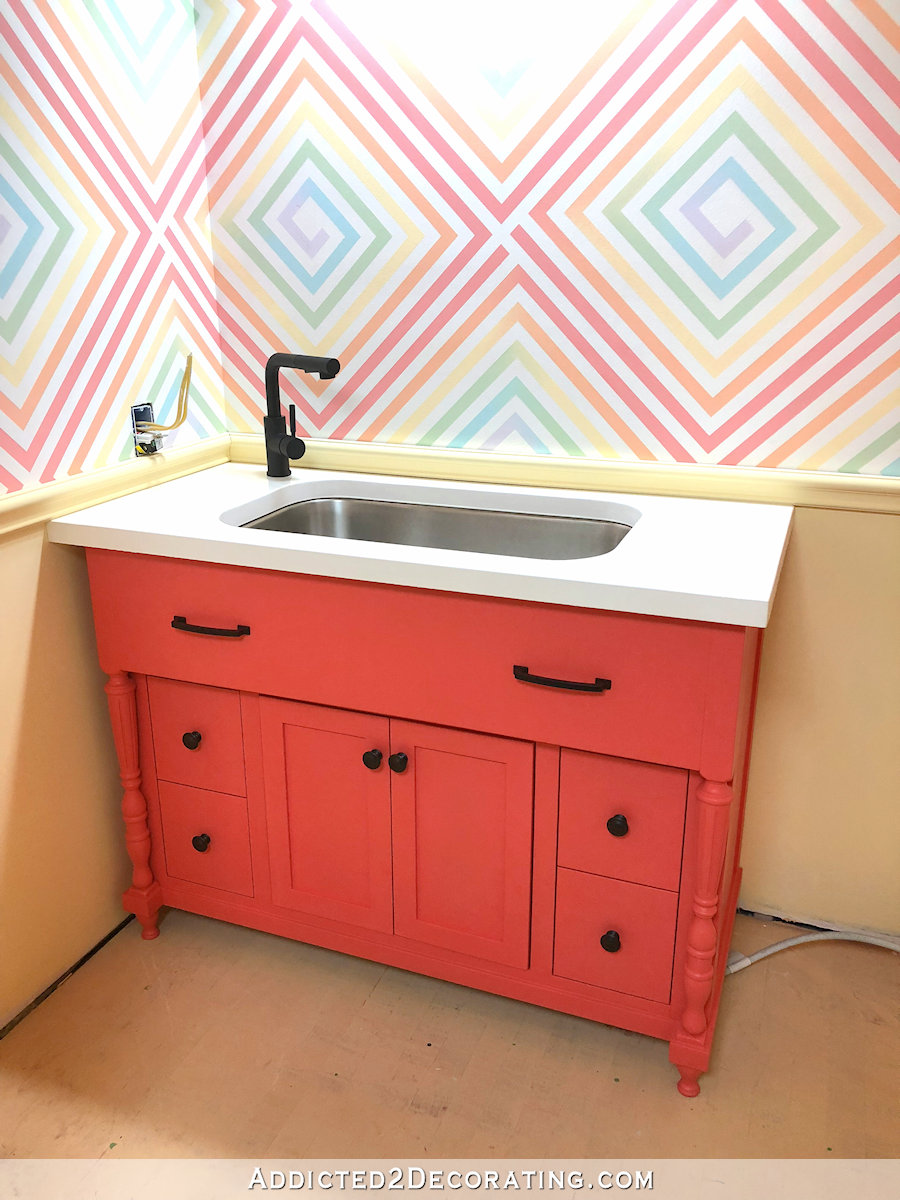
Color Selection: The color you choose for your bathroom vanity can have a big impact on the overall look and feel of your bathroom. While white is a classic and popular choice, don’t be afraid to experiment with bolder colors or even a fun pattern. Just make sure it complements the rest of your bathroom design.
Sheen: The sheen of your paint can also make a difference in the appearance of your bathroom vanity. A high-gloss finish will provide a sleek and modern look, while a matte or eggshell finish will give a more subtle and traditional feel. Consider the overall style of your bathroom when selecting the sheen of your paint.
Preparation and Application: Proper preparation and application are crucial for a successful paint job. Make sure to clean and sand the surface of your vanity before painting to ensure proper adhesion. Follow the instructions on the paint can for the best results.
Coving for Bathroom Vanity
Coving, also known as crown molding, can add a touch of elegance and sophistication to your bathroom vanity. Here are some ideas for incorporating coving into your vanity design.
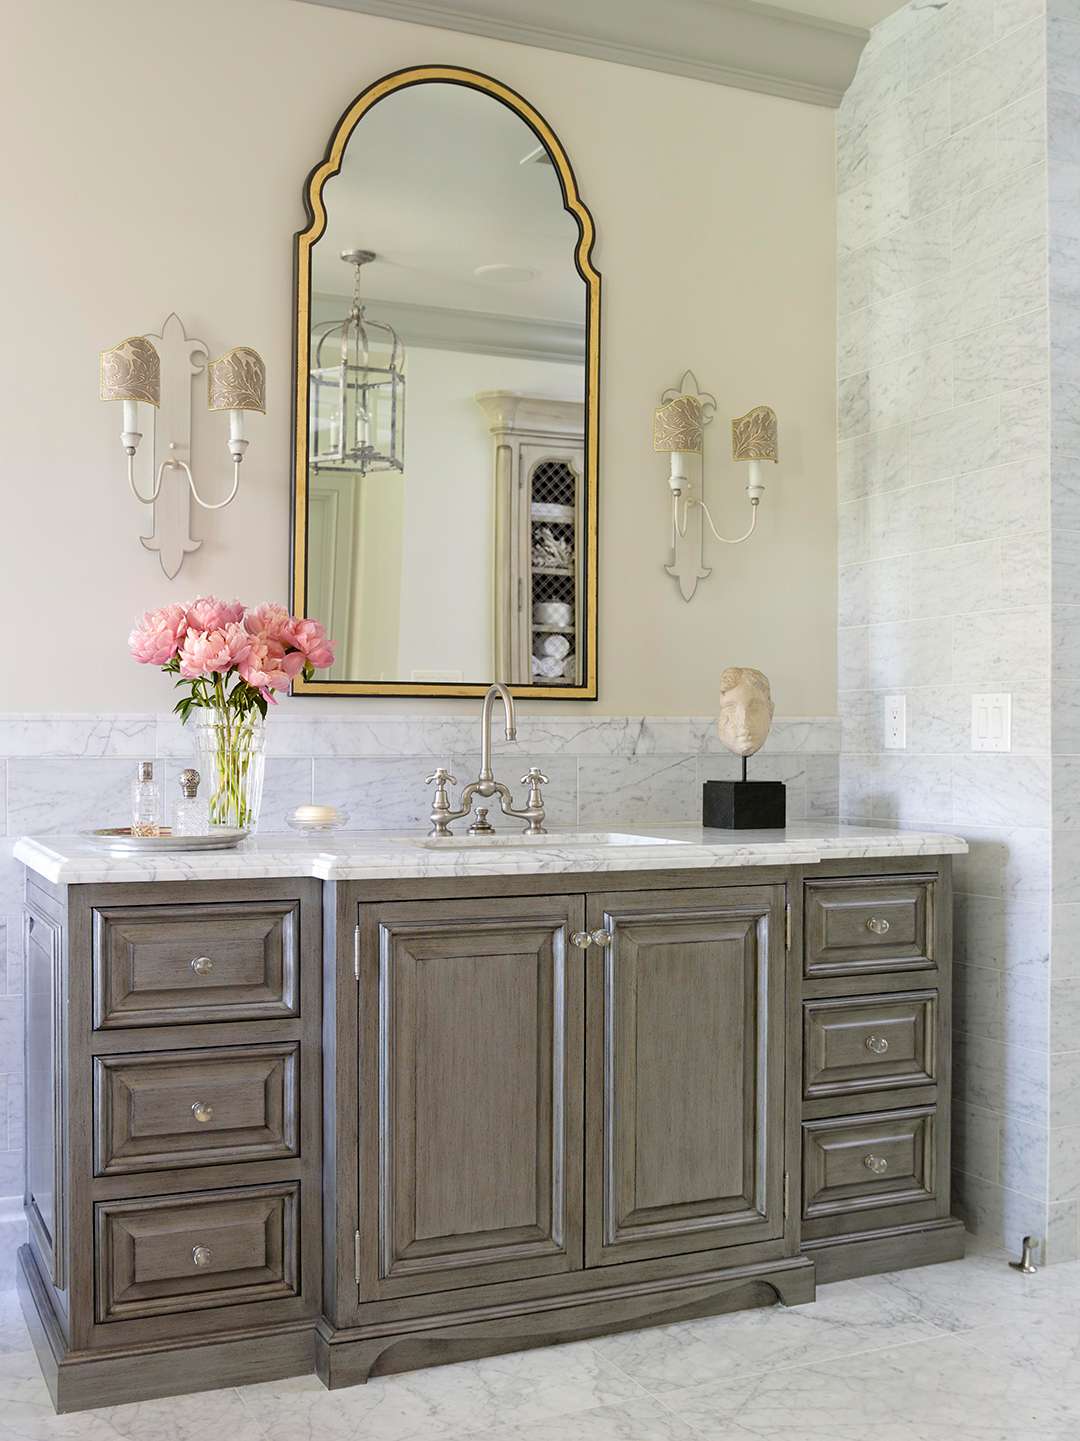
Traditional Elegance: If you have a more traditional or classic bathroom design, coving can add a finishing touch to your vanity. Look for detailed and ornate coving options to really make a statement.
Modern Twist: For a more modern and contemporary look, consider using coving in a different material or color than your vanity. This can create a unique and eye-catching design element in your bathroom.
Simple and Subtle: Coving doesn’t have to be elaborate to make an impact. A simple and subtle cove molding can add just the right touch of detail and sophistication to your vanity.
DIY Coving Installation: Installing coving may seem like a daunting task, but with the right tools and materials, it can be done as a DIY project. However, if you’re not comfortable with DIY, it’s always best to hire a professional for a flawless installation.
Bathroom Vanity Paint Ideas
Looking for some inspiration for your bathroom vanity paint? Here are some ideas to get you started.
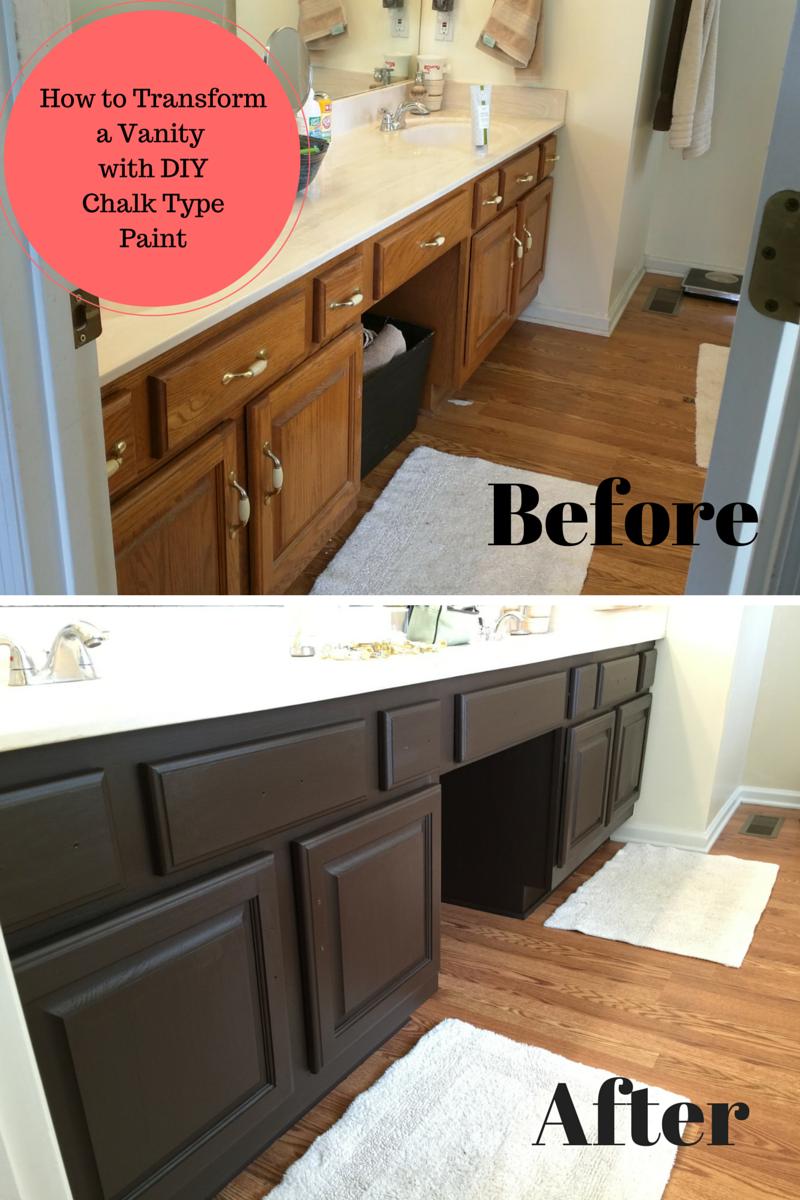
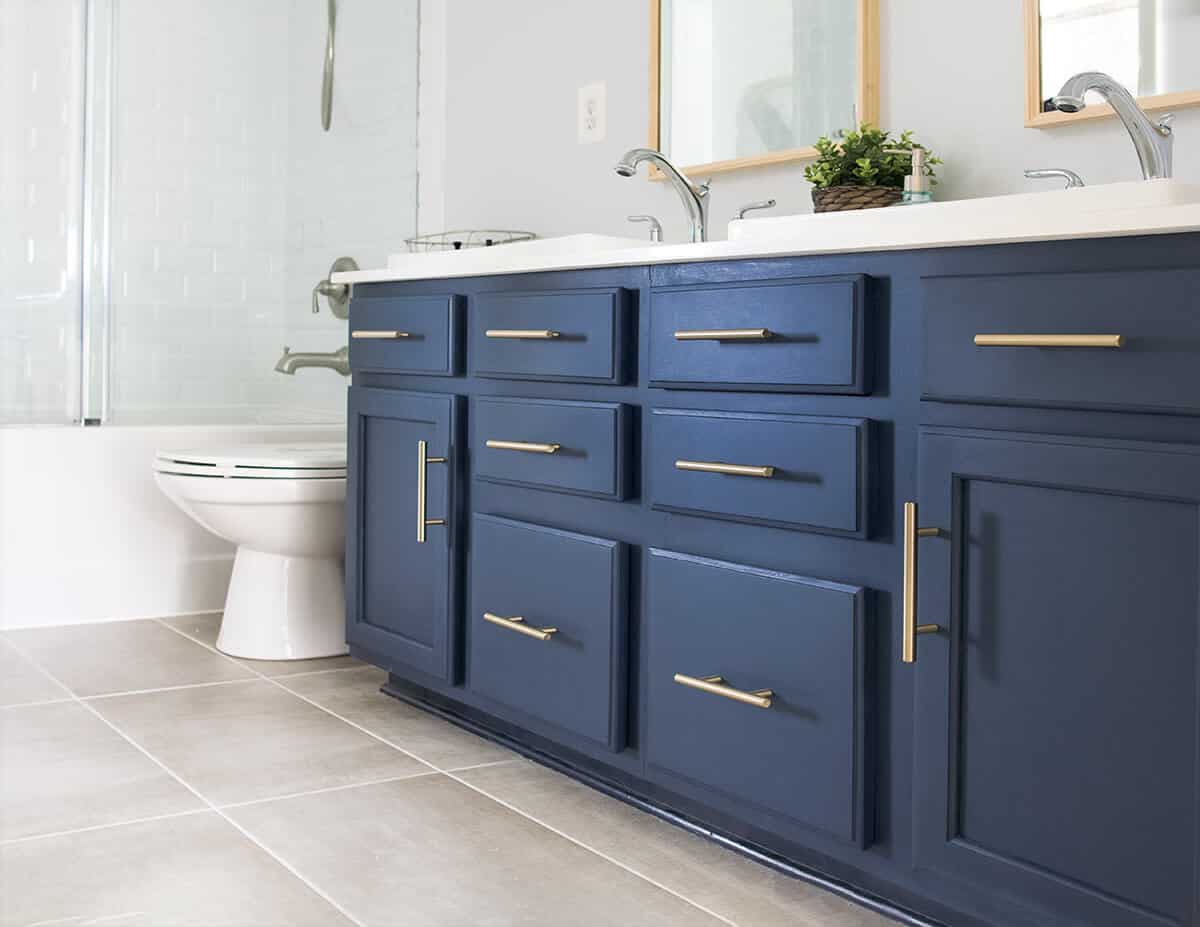
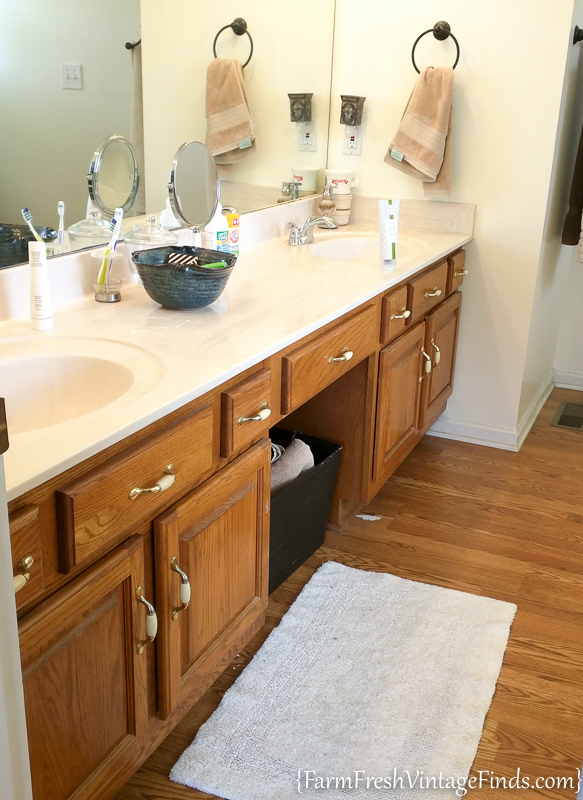
Two-Tone: Painting your vanity in two different colors can add dimension and visual interest to your bathroom. Consider using a darker color on the bottom and a lighter color on the top for a modern and stylish look.
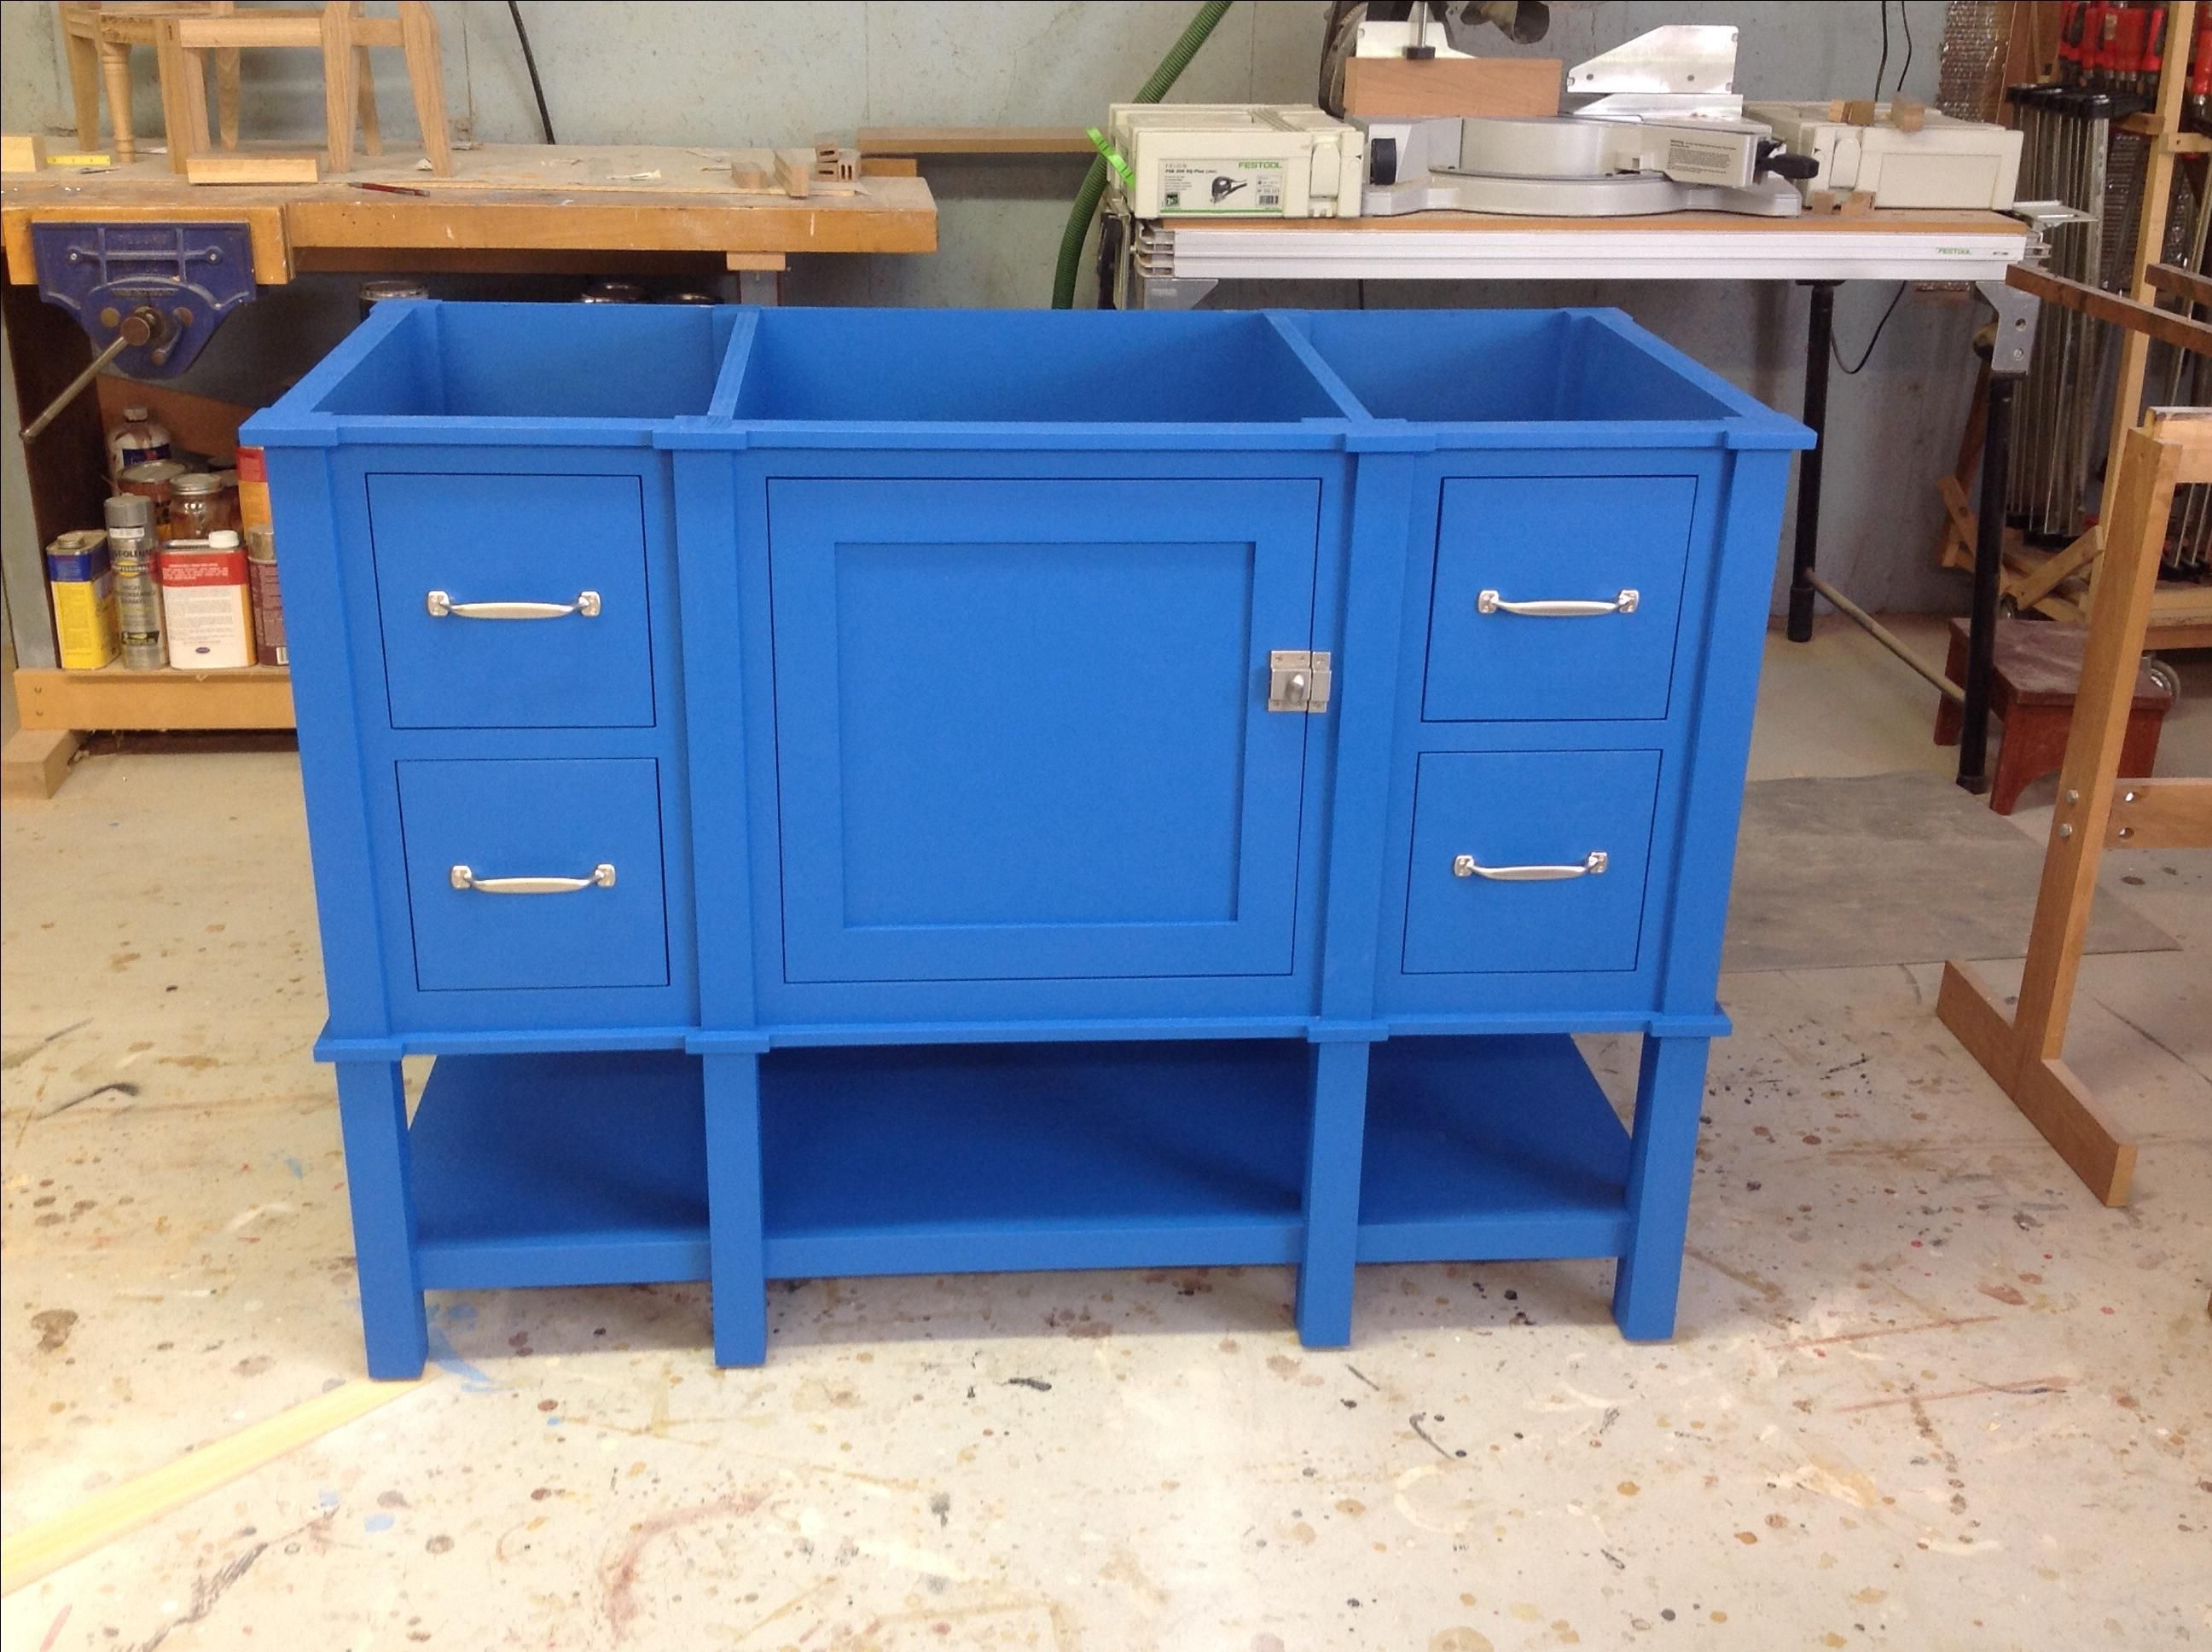
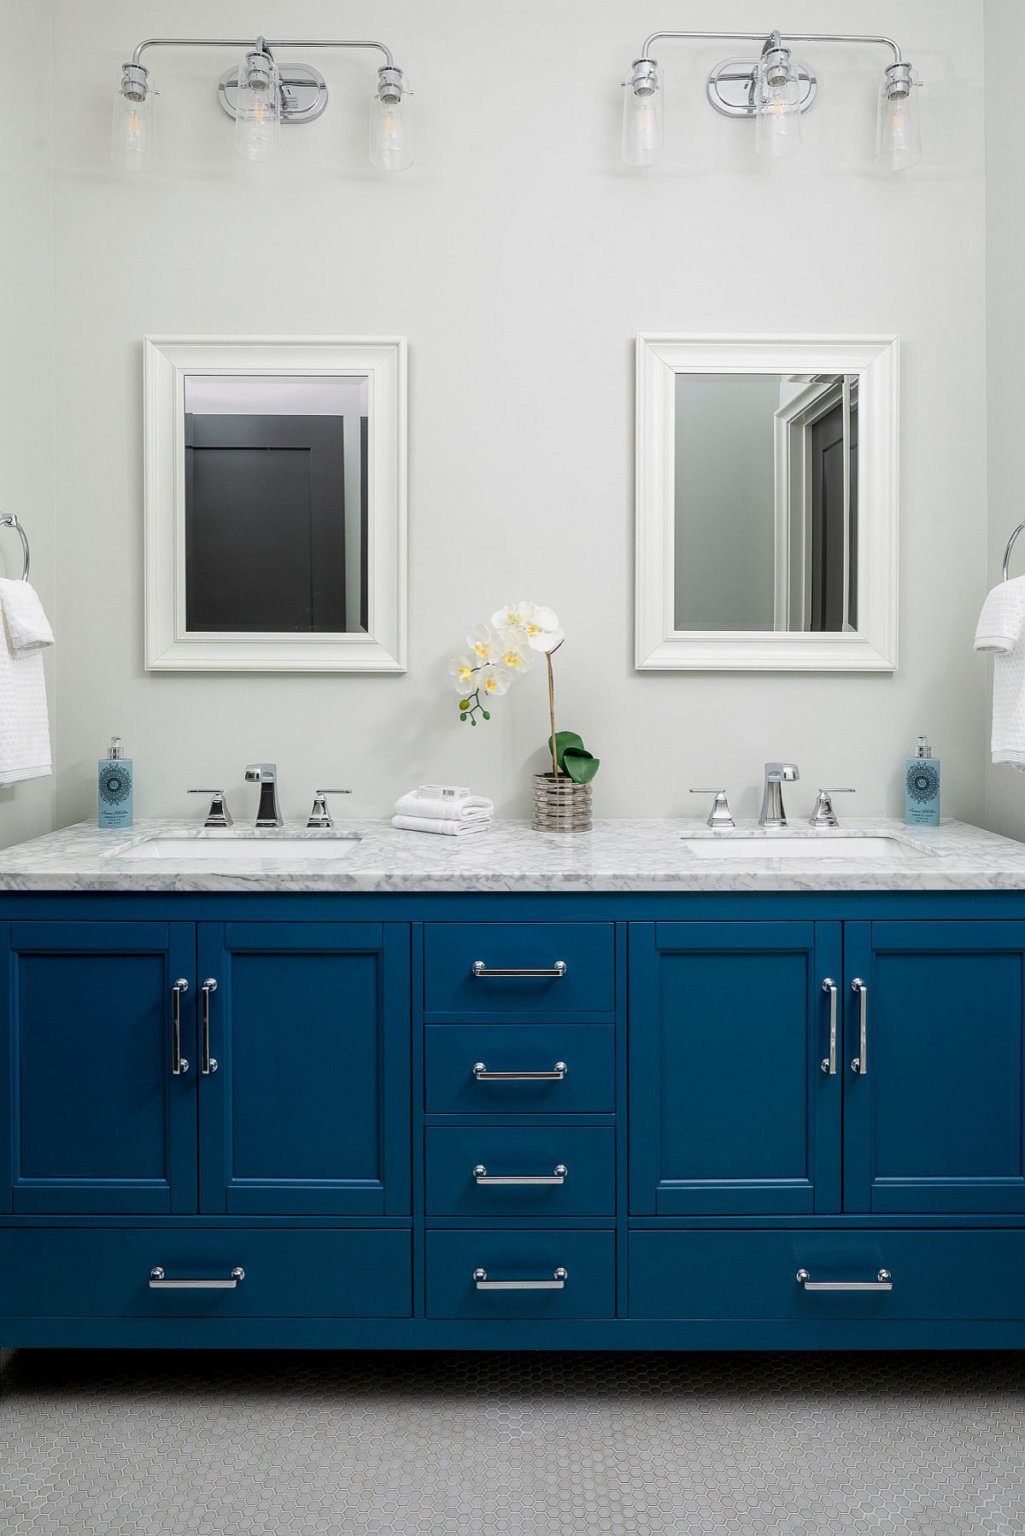
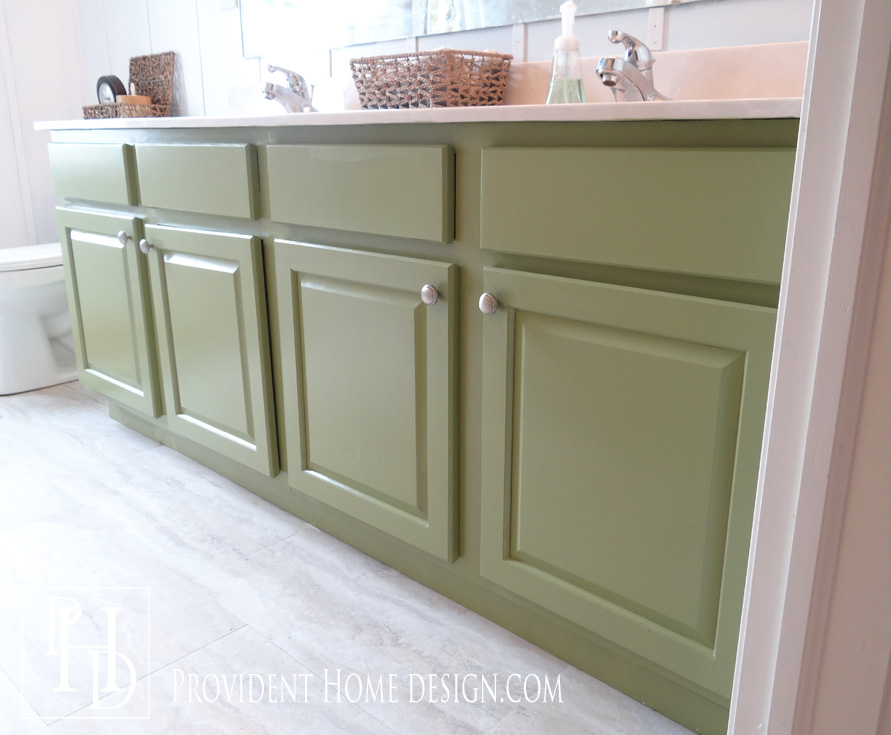
Color Block: Create a bold statement by painting your vanity in a bright and vibrant color. This is a great way to add a pop of color to an otherwise neutral bathroom.
Ombre Effect: For a unique and trendy look, try creating an ombre effect on your vanity. This can be achieved by gradually blending different shades of the same color or using a different color for each drawer or cabinet.
Chalkboard Paint: Chalkboard paint is not just for walls. Consider using it on your vanity for a fun and functional twist. You can use it to write notes, reminders, or even draw fun designs.
Bathroom Vanity Coving Designs
The design options for coving on your bathroom vanity are endless. Here are some popular choices to consider.
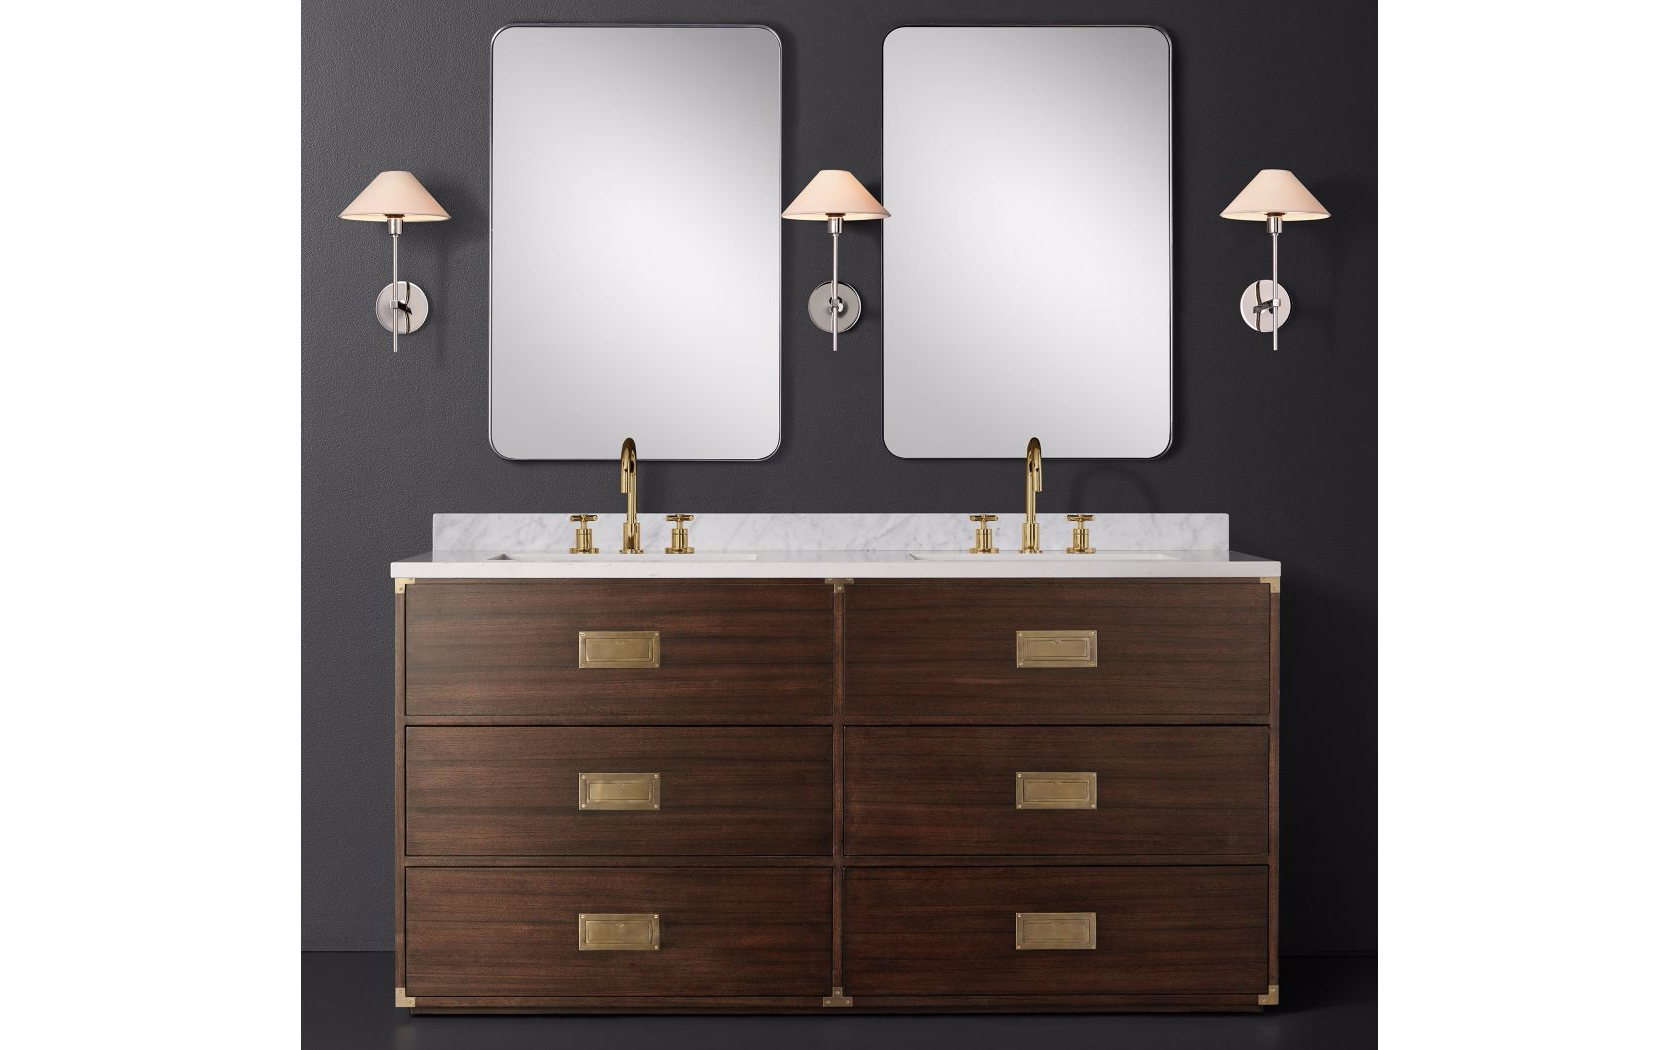
Classic Crown Molding: Traditional crown molding is always a safe and elegant choice for your bathroom vanity. It adds a touch of sophistication and can work with a variety of design styles.
Faux Coving: If you want the look of coving without the expense, consider using a faux coving option. These can be made from lightweight materials and come in a variety of designs to fit your aesthetic.
Geometric Shapes: For a more modern and unique look, consider using coving in geometric shapes. This can add a modern and artistic touch to your vanity.
Custom Designs: If you want a truly one-of-a-kind coving design, consider hiring a professional to create a custom coving pattern for your bathroom vanity. This will add a personal and luxurious touch to your space.
Best Paint for Bathroom Vanity
Choosing the best paint for your bathroom vanity can be overwhelming with the endless options available. To make your decision easier, here are some top-rated paints for bathroom vanities.
Sherwin Williams Emerald Urethane Trim Enamel: This paint is specifically designed for high-moisture areas and has a durable and waterproof finish. It also comes in a variety of colors and sheens to fit your design aesthetic.
Benjamin Moore Advance Interior Satin Paint: This paint is known for its excellent coverage and durability. It also has a mildew-resistant finish, making it a great choice for a bathroom vanity.
Valspar Cabinet Enamel Semi-Gloss Paint: This paint is specifically designed for cabinets and furniture and has a smooth and durable finish. It also comes in a variety of colors and has a low odor formula for easy application.
Behr Marquee Semi-Gloss Enamel Paint: This paint is highly rated for its coverage and durability. It also has a mildew-resistant finish and comes in a variety of colors to fit your design vision.
How to Paint a Bathroom Vanity
Ready to tackle painting your bathroom vanity? Here are the basic steps for a successful paint job.
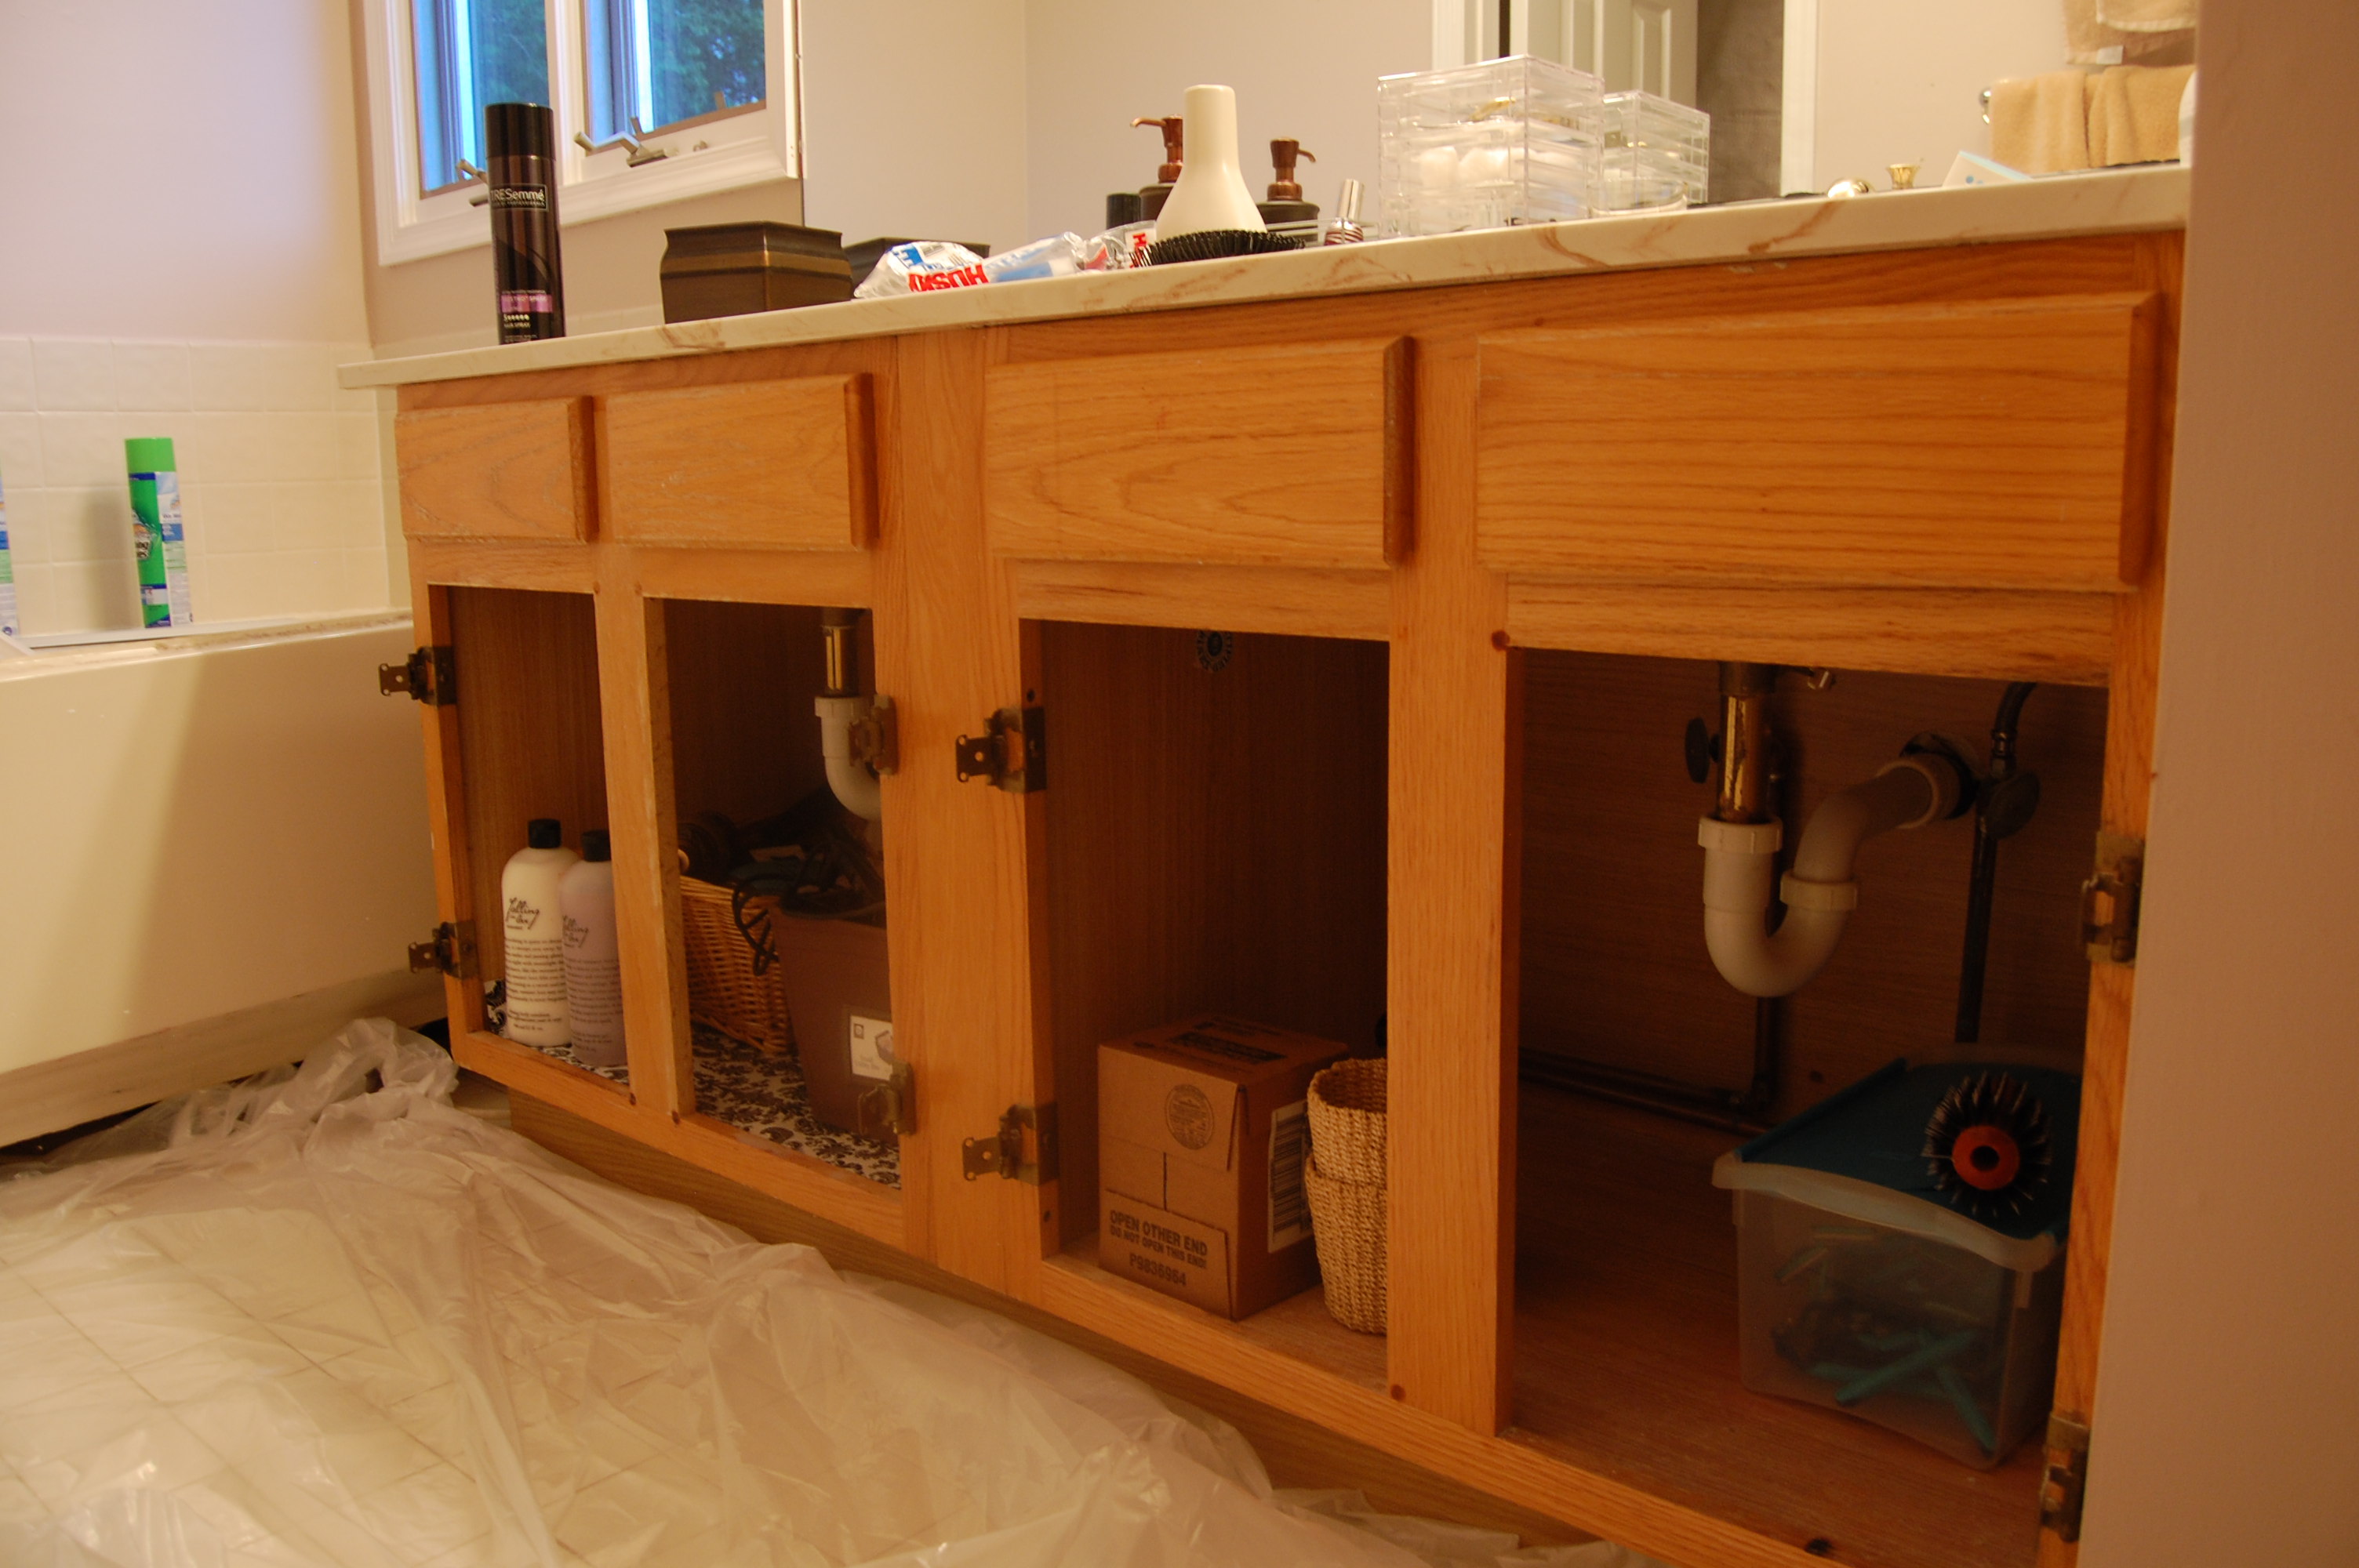
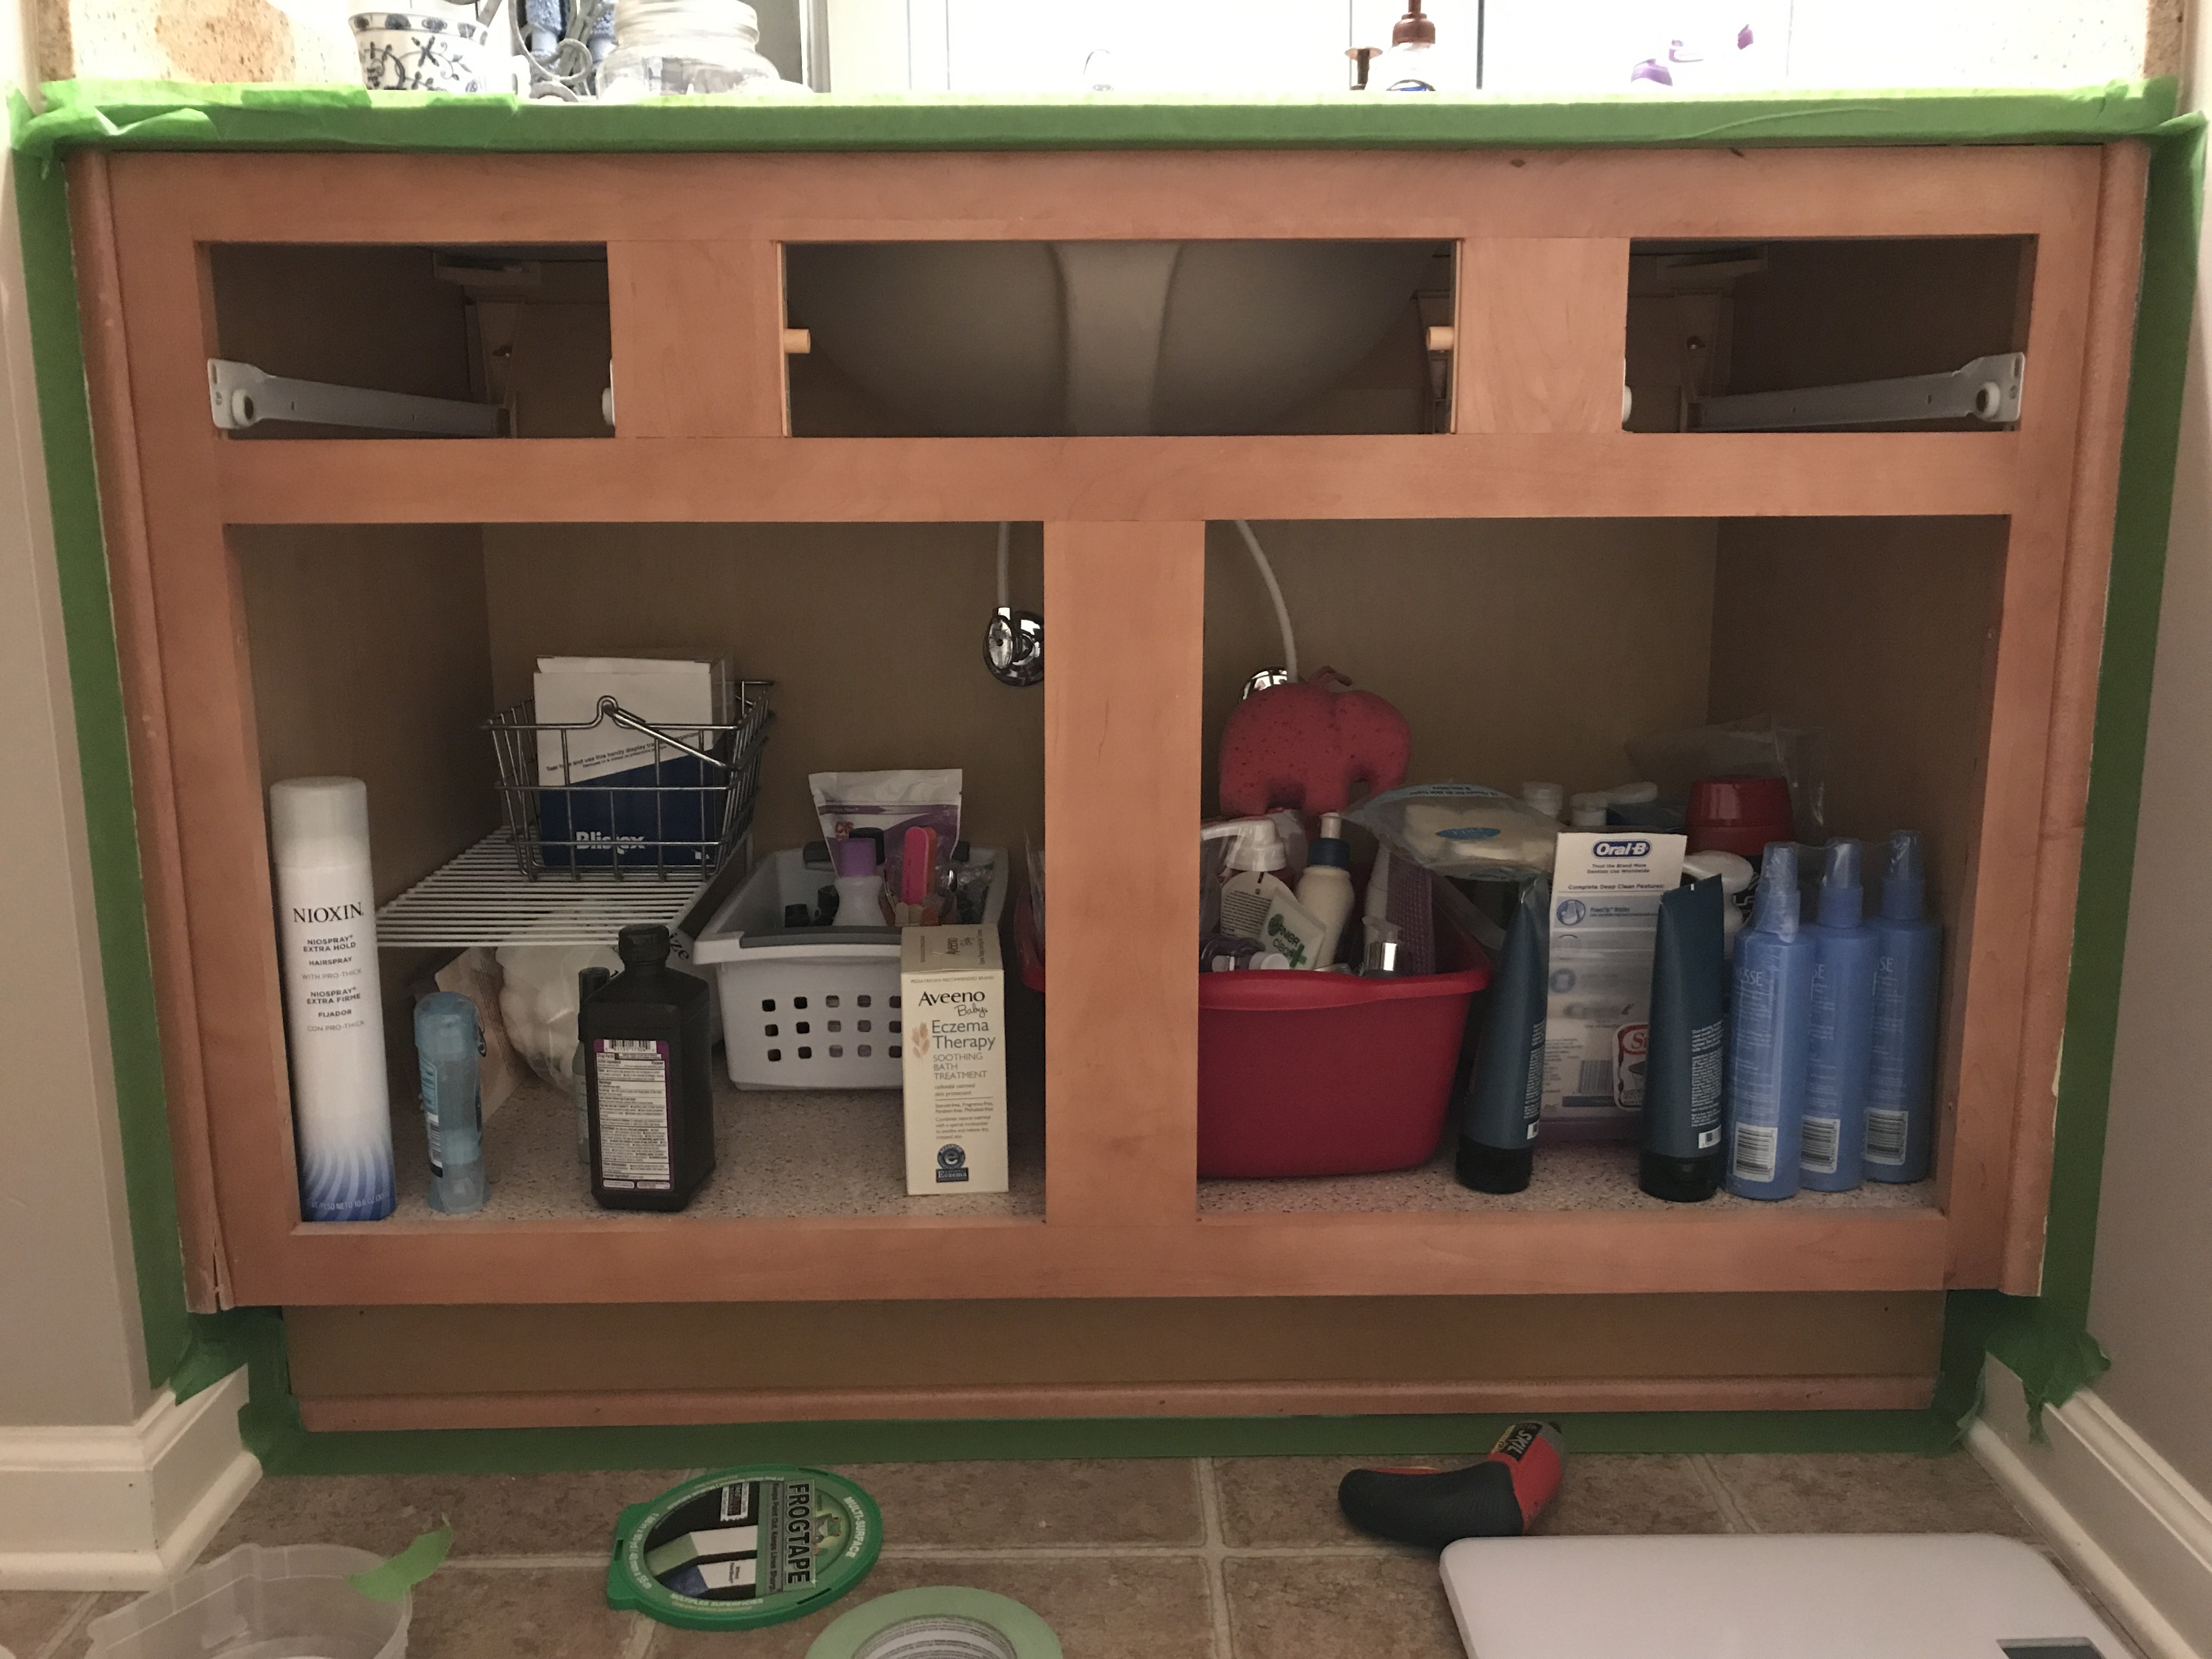
Step 1: Prepare the Surface: Clean and sand the surface of your vanity to ensure proper adhesion of the paint.
Step 2: Remove Hardware: If your vanity has hardware, remove it before painting. This will make it easier to paint and avoid getting paint on your hardware.
Step 3: Prime: Apply a coat of primer to your vanity to help the paint adhere and prevent any stains or discoloration from showing through.
Step 4: Paint: Using a high-quality paintbrush or roller, apply your chosen paint to the vanity. Be sure to follow the instructions on the paint can for the best results.
Step 5: Finishing Touches: Once the paint is dry, you can reattach any hardware and install any new coving or trim to complete the look.
Coving for Bathroom Vanity Installation
Installing coving for your bathroom vanity may seem like a daunting task, but with the right tools and materials, it can be done as a DIY project. Here are the basic steps for installing coving on your vanity.
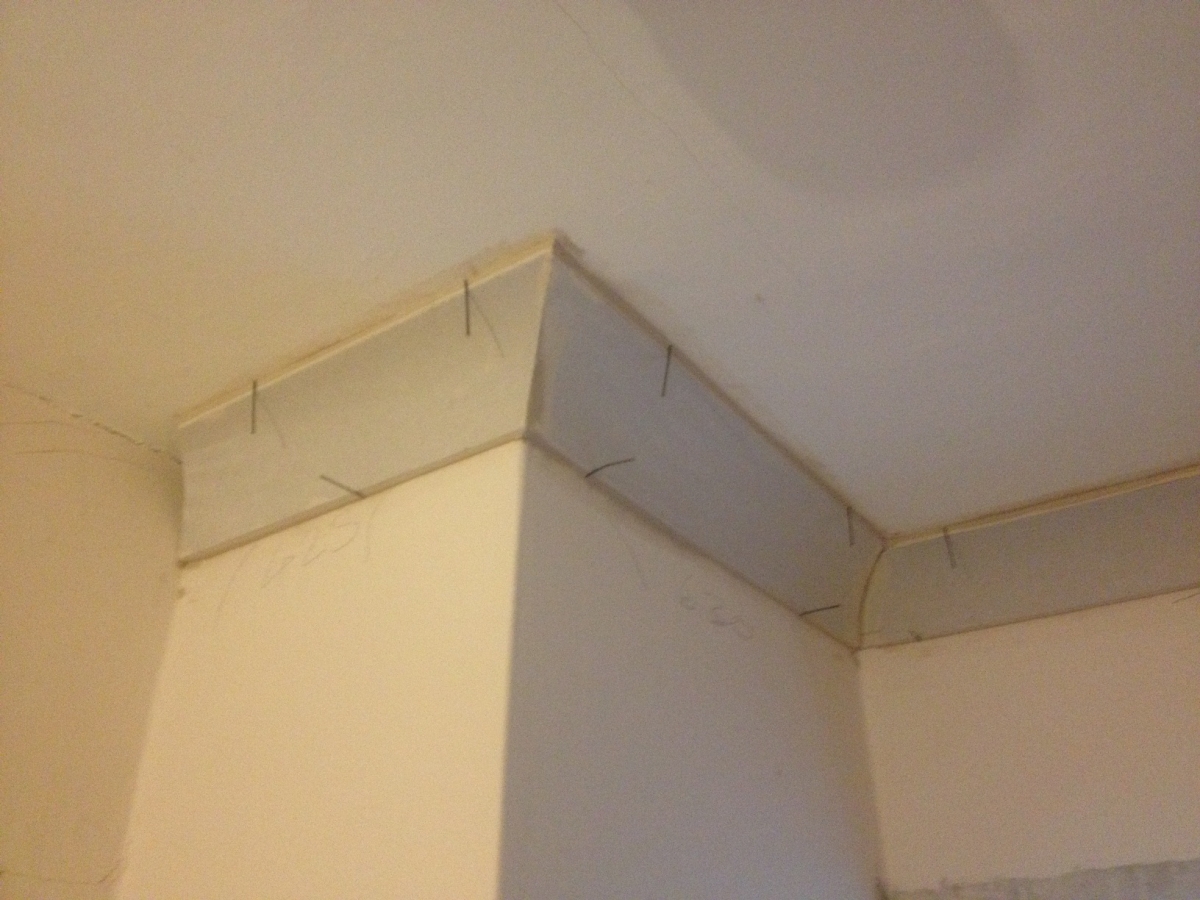
Step 1: Measure and Cut: Measure the length of your vanity and use those measurements to cut your coving to the correct size. You may need to use a miter saw to cut the corners at a 45-degree angle.
Step 2: Sand and Paint: Sand the edges of the coving and paint it the desired color before installation. This will make it easier to paint and avoid getting paint on your vanity during installation.
Step 3: Install: Using a nail gun or adhesive, attach the coving to your vanity. Make sure it is level and secure before moving on to the next piece.
Step 4: Caulk: Once all the pieces are installed, use caulk to fill in any gaps or seams between the coving and the vanity to create a seamless look.
Bathroom Vanity Paint Colors
When it comes to choosing a paint color for your bathroom vanity, the sky's the limit. Here are some popular color options to consider.
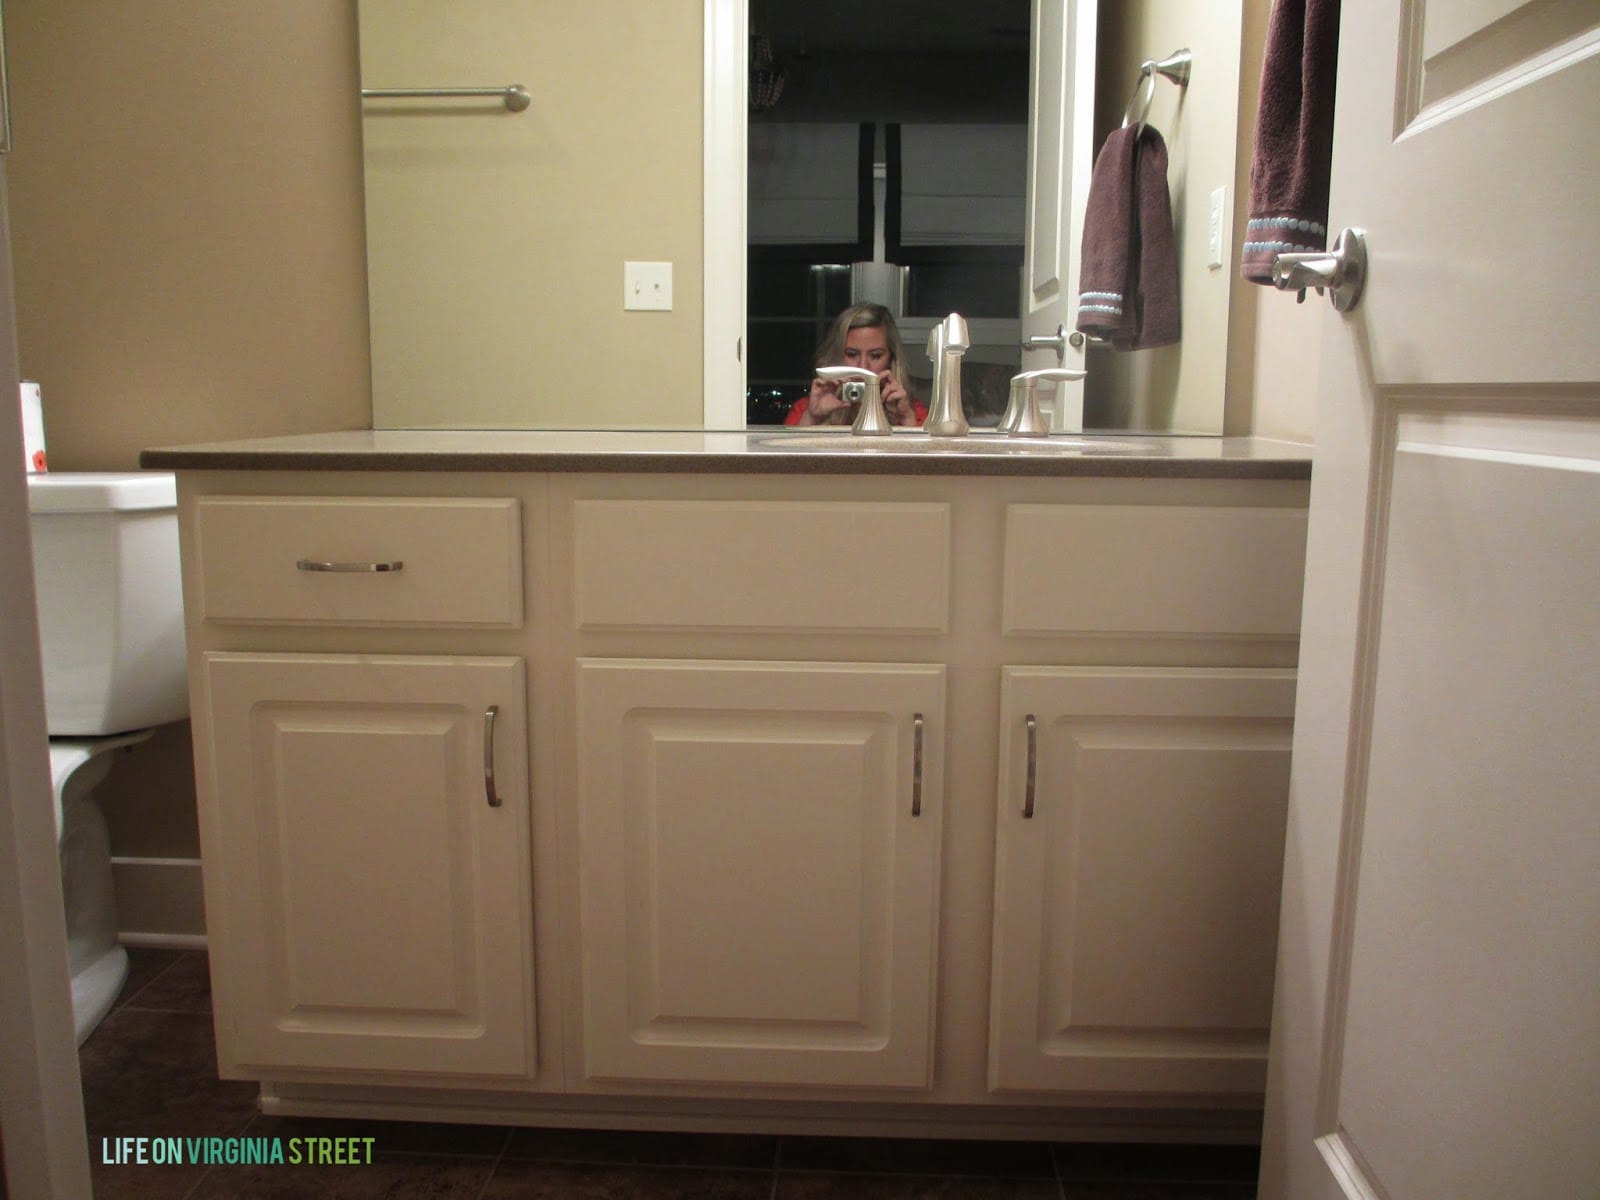
White: A classic and timeless choice, white is always a popular color for bathroom vanities. It can create a clean and bright look in your bathroom.
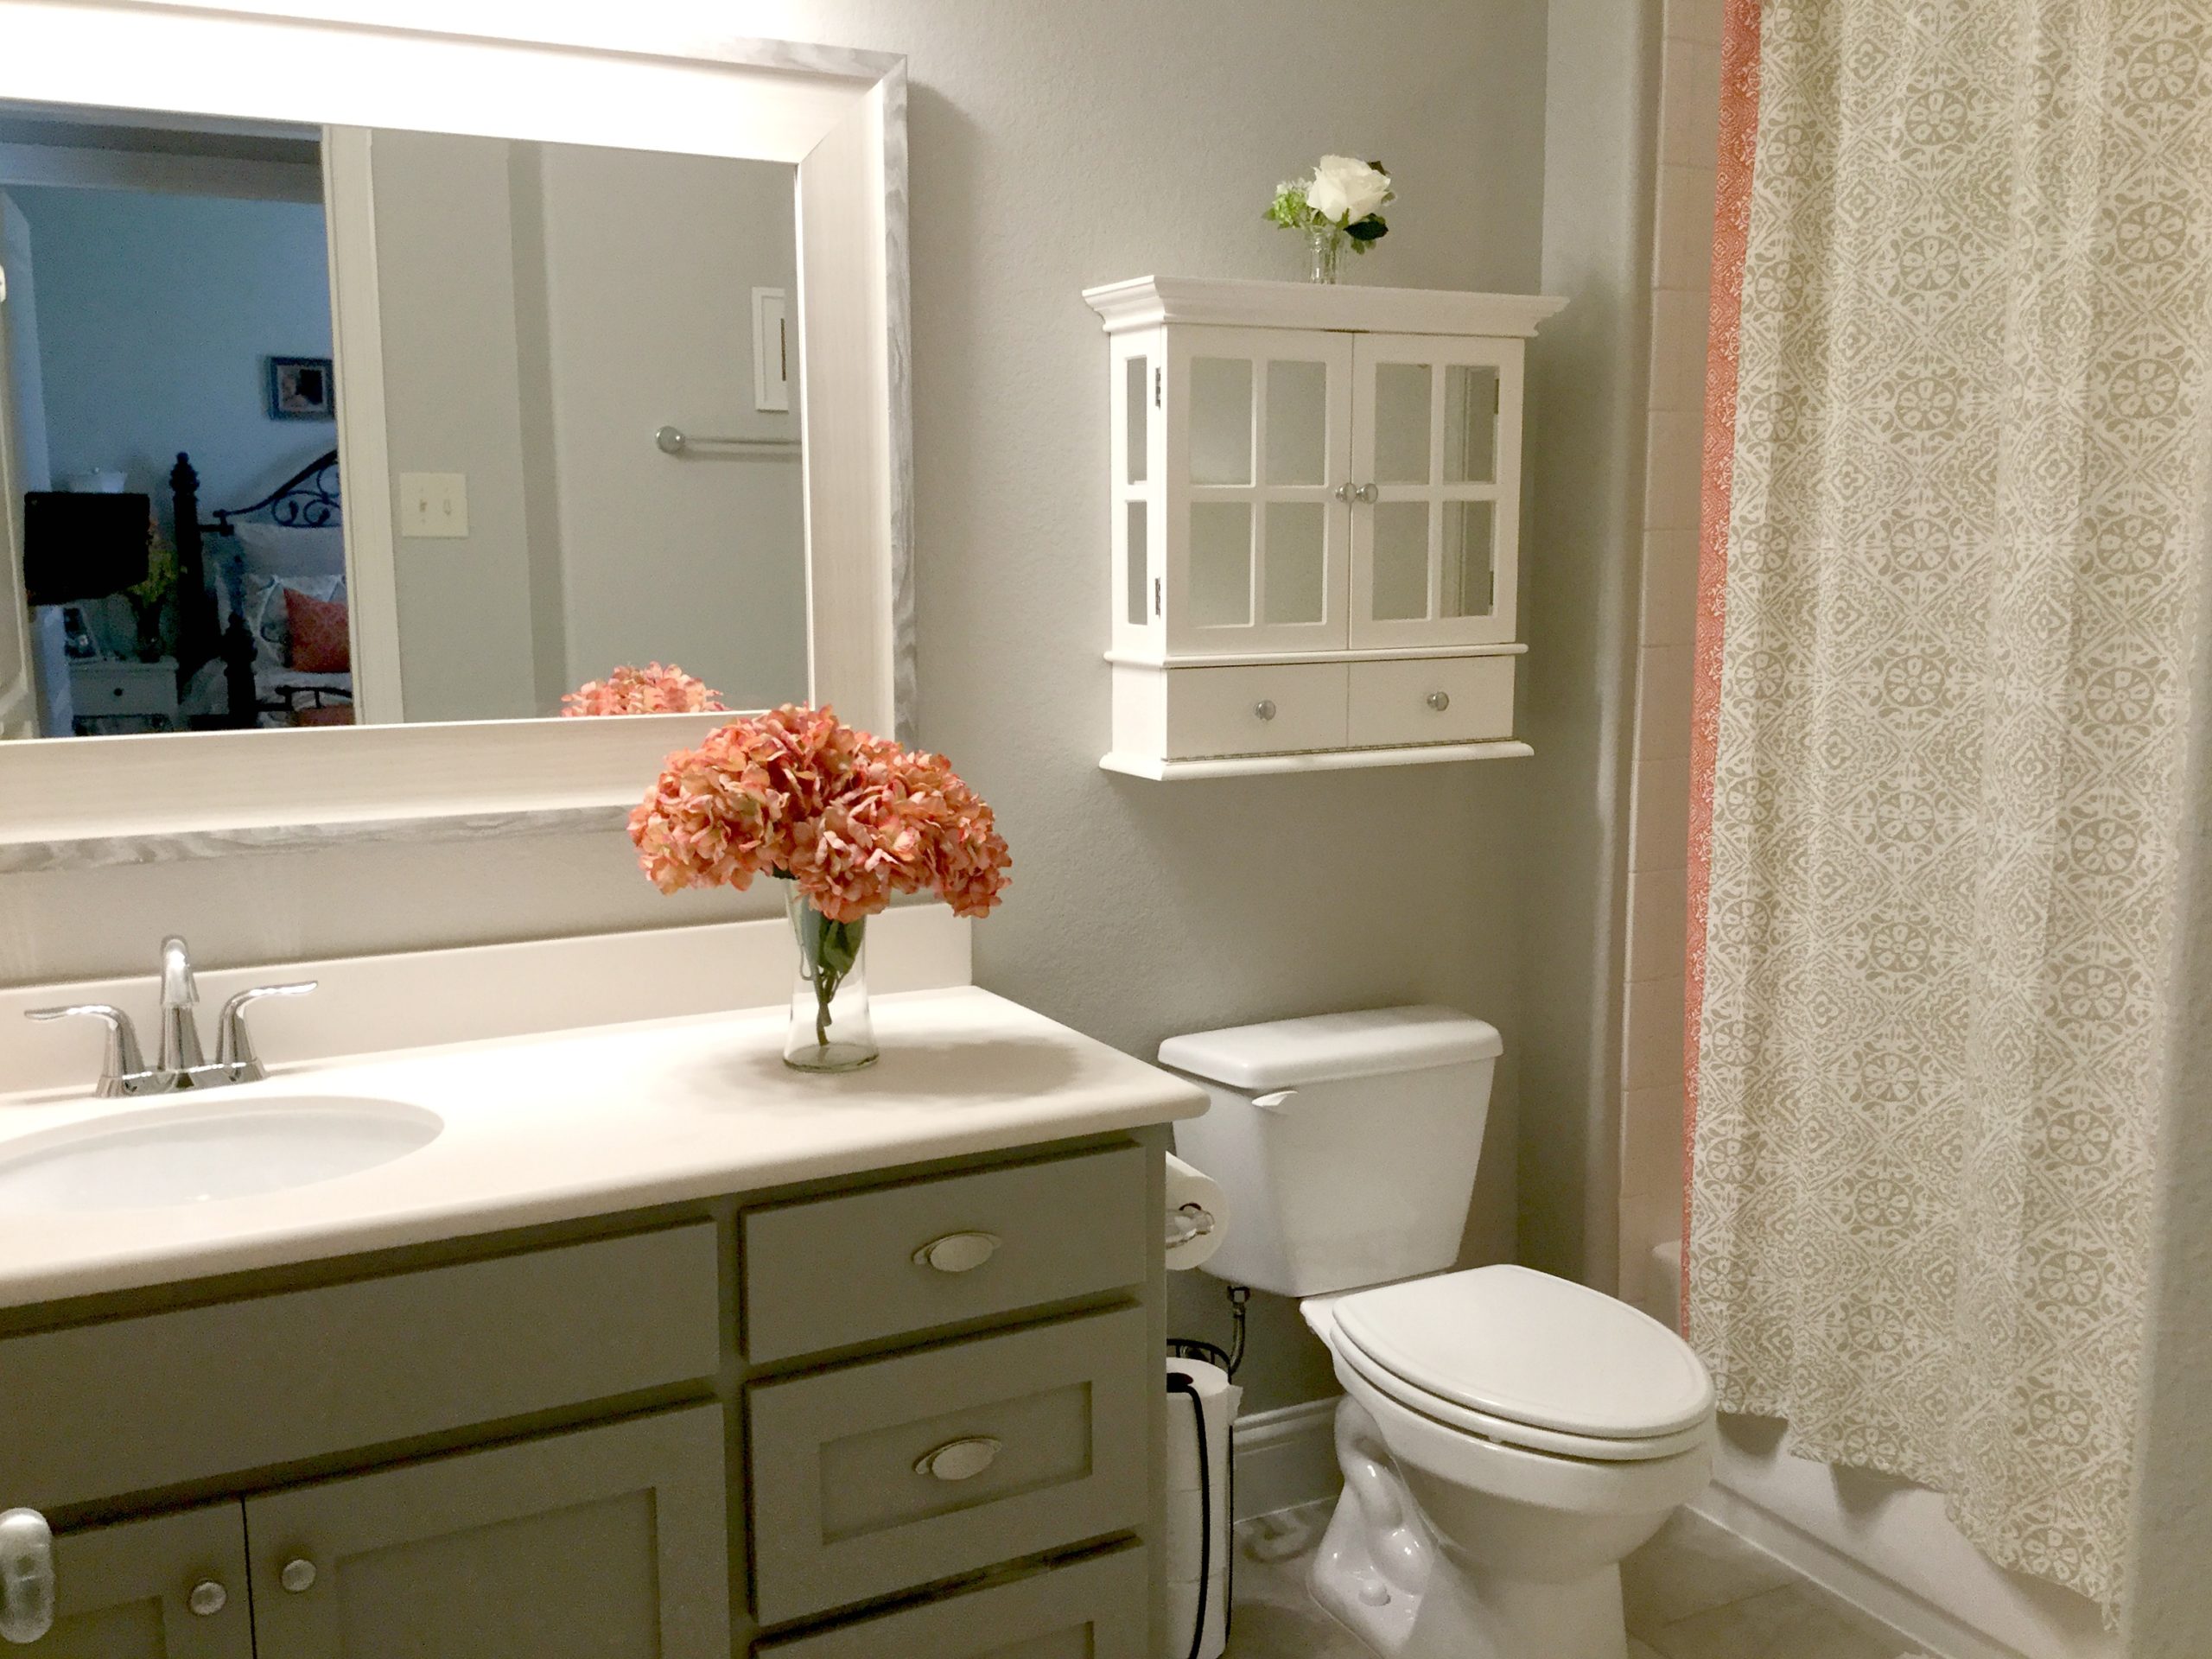
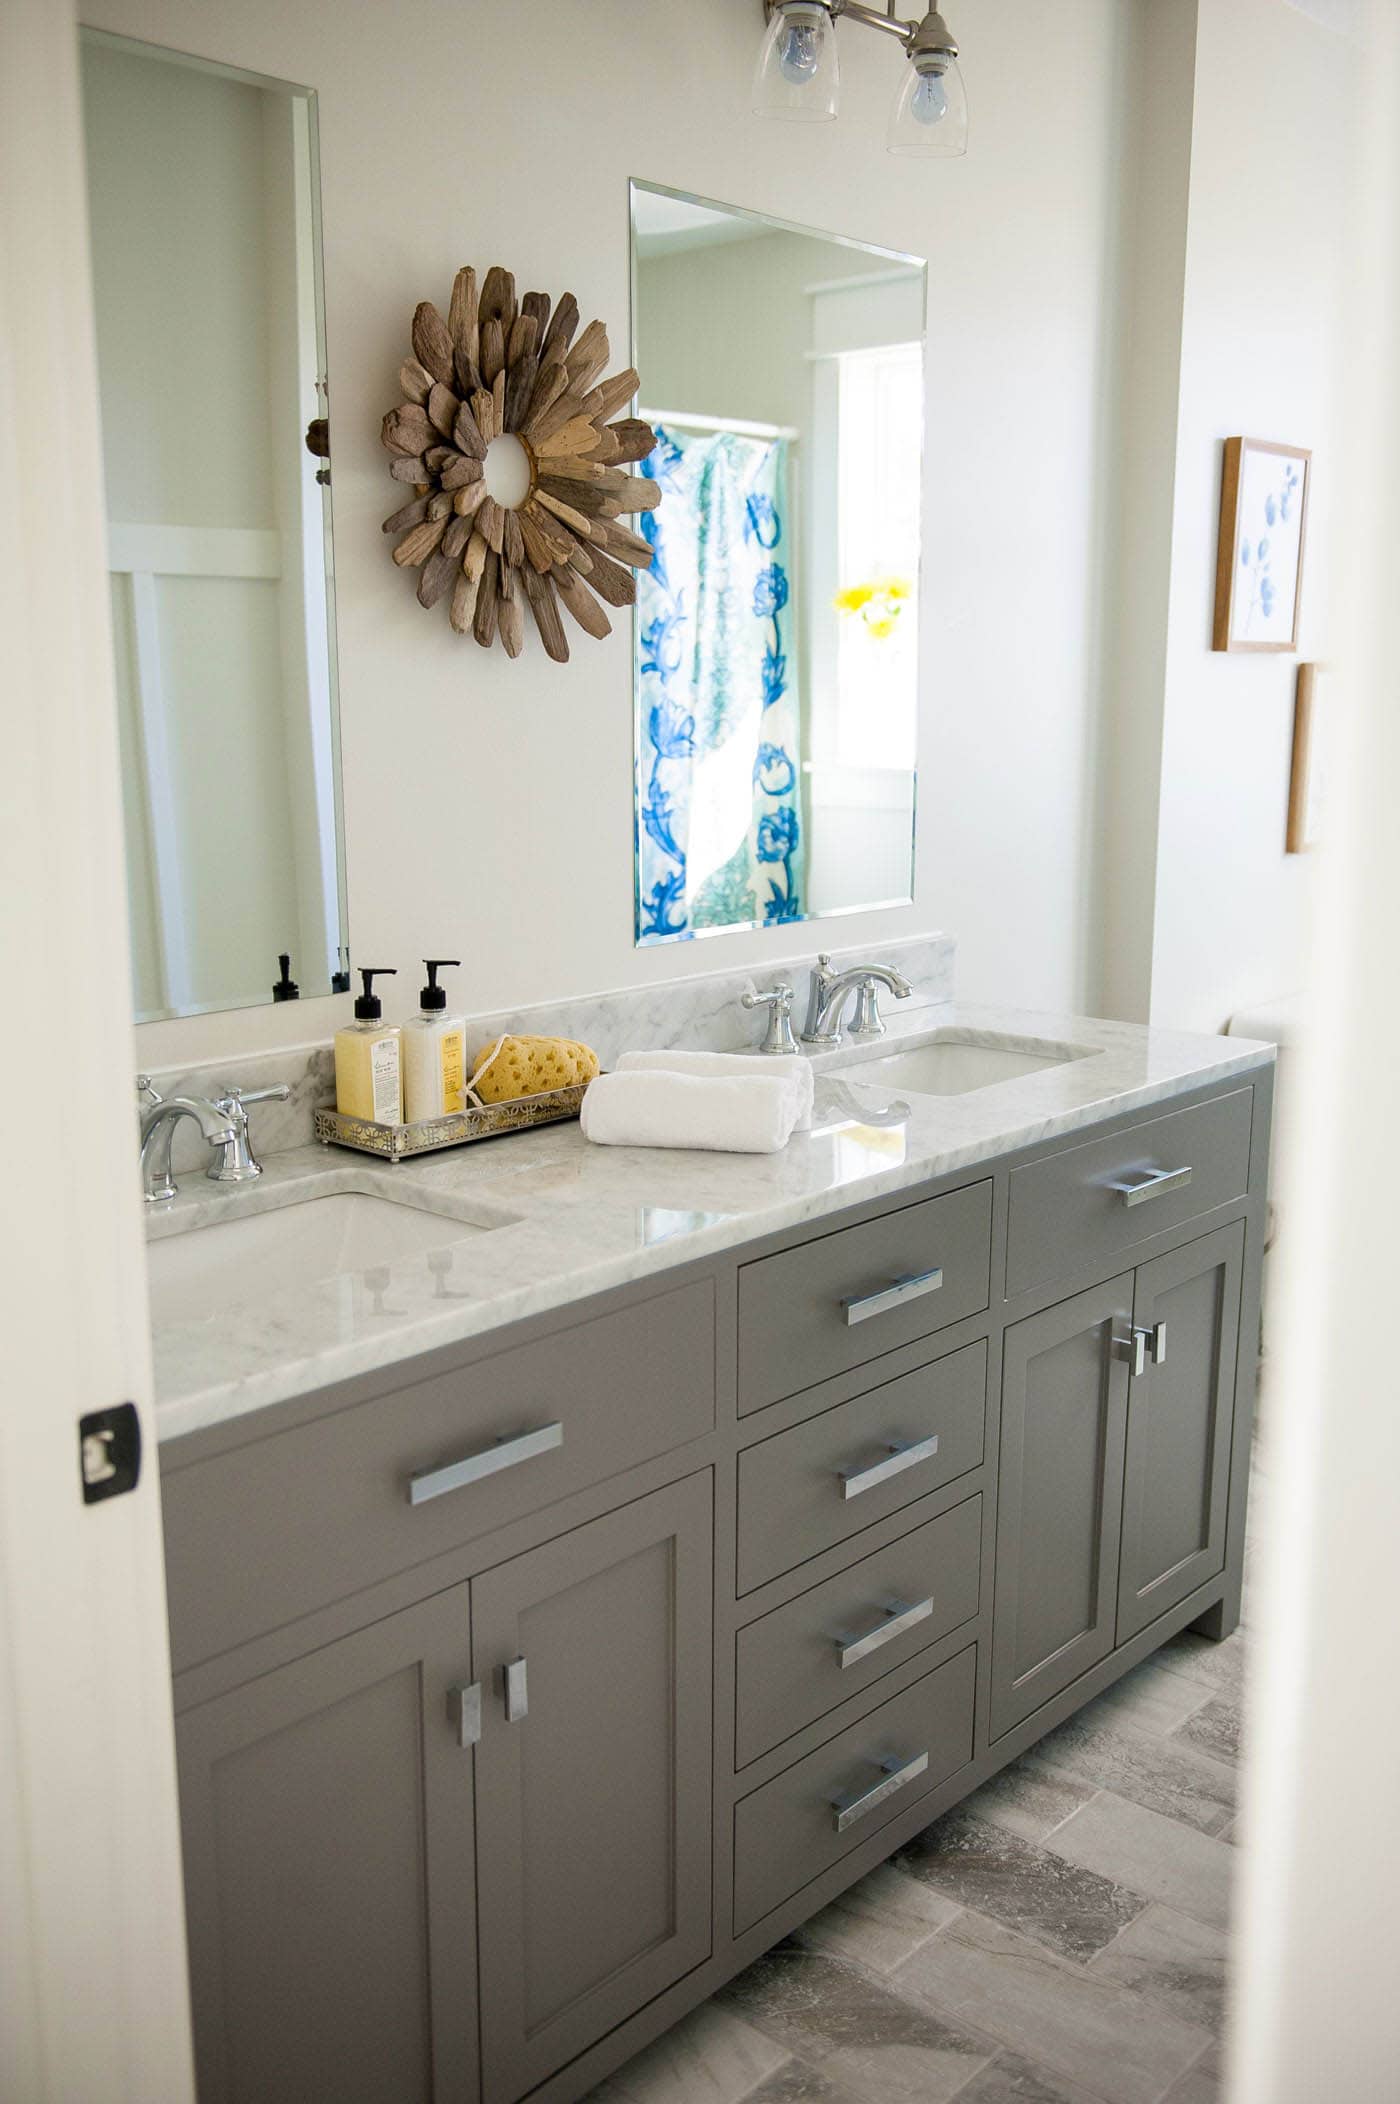
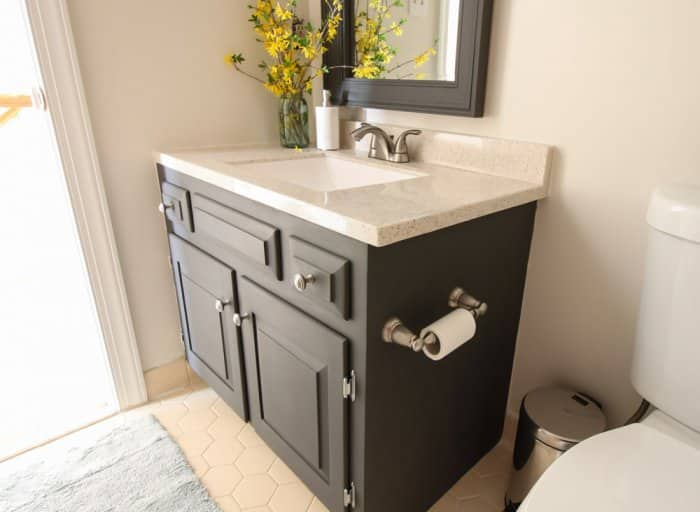
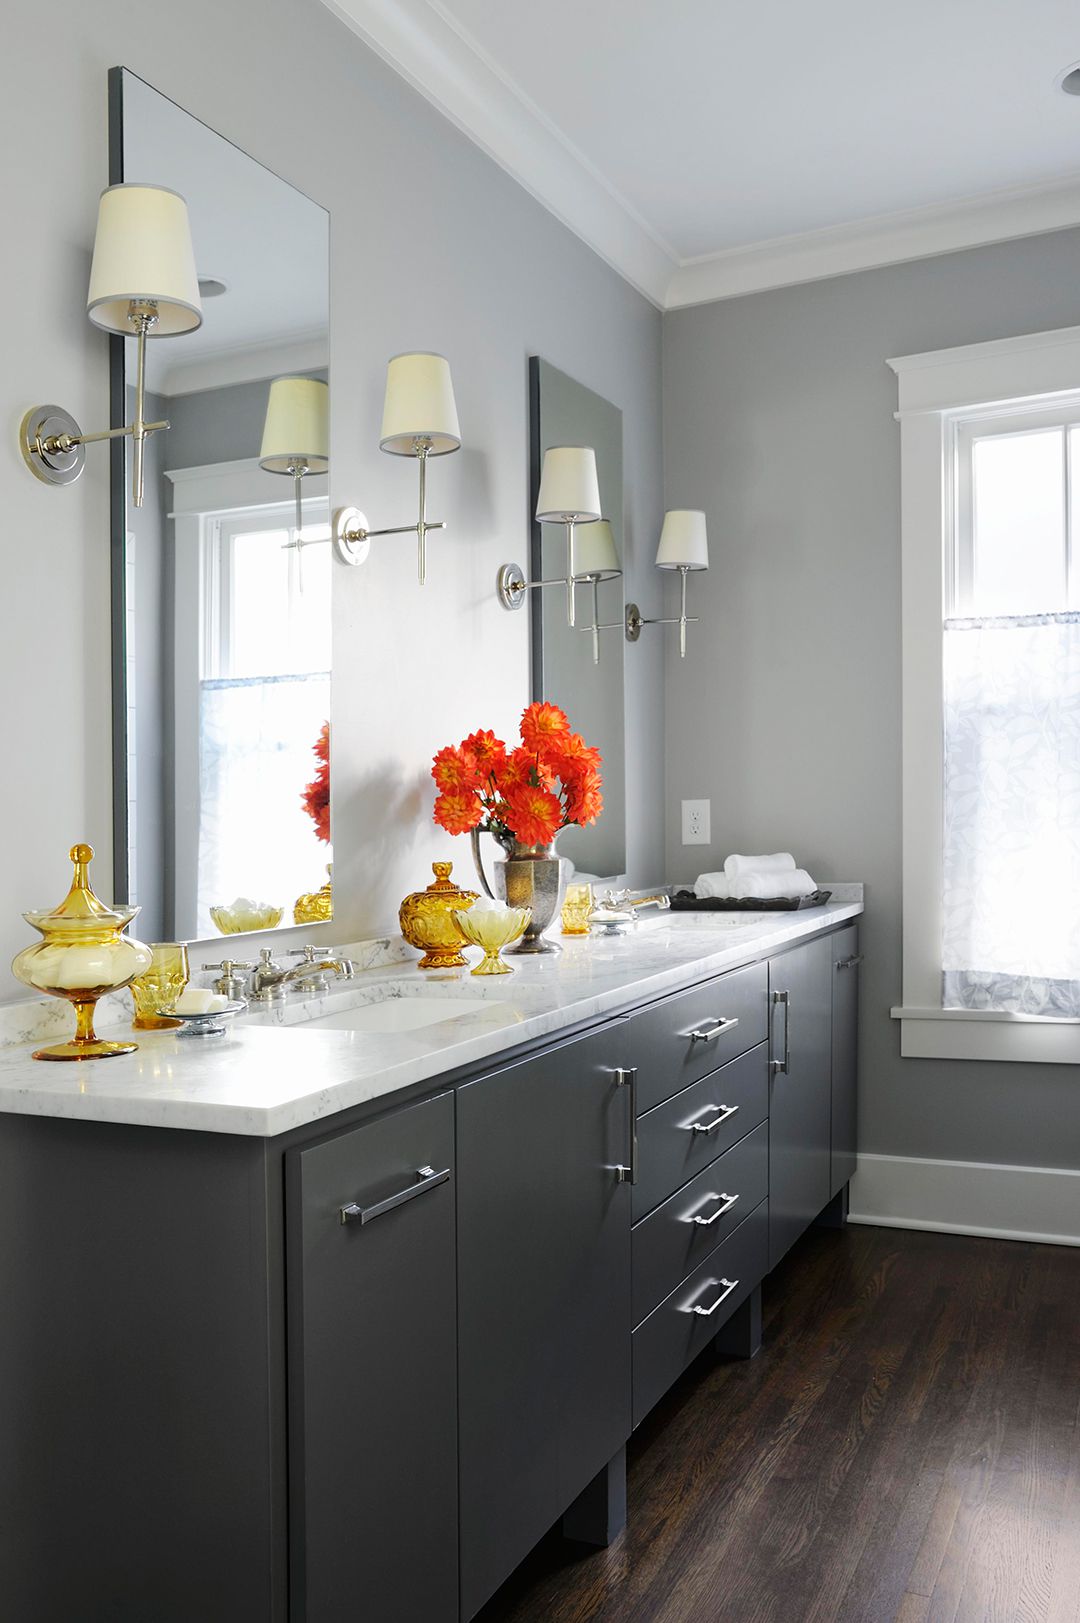
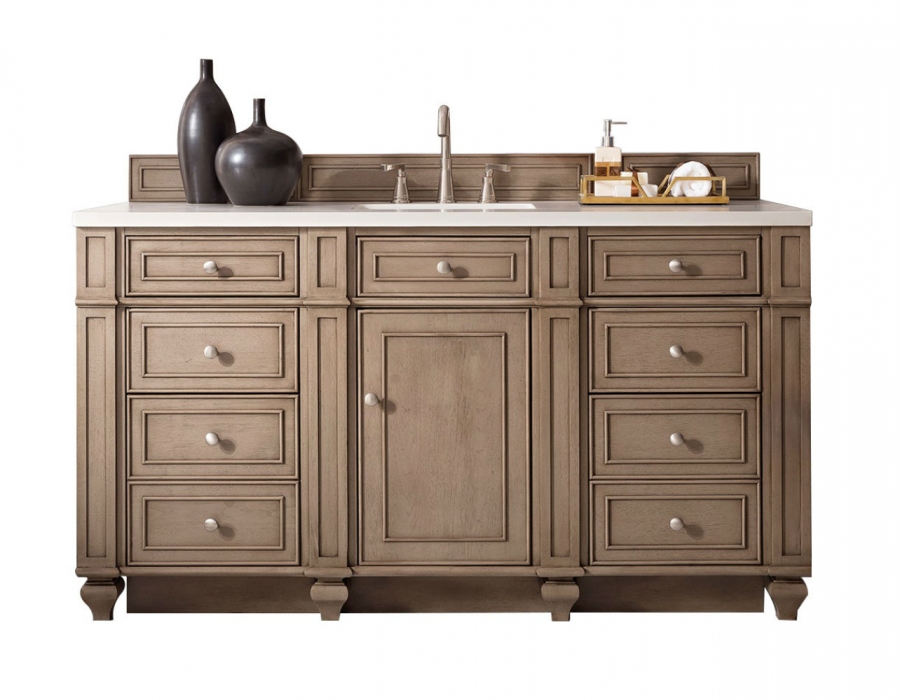
Gray: A neutral and modern color, gray can add a touch of sophistication to your bathroom vanity. It also pairs well with a variety of other colors.
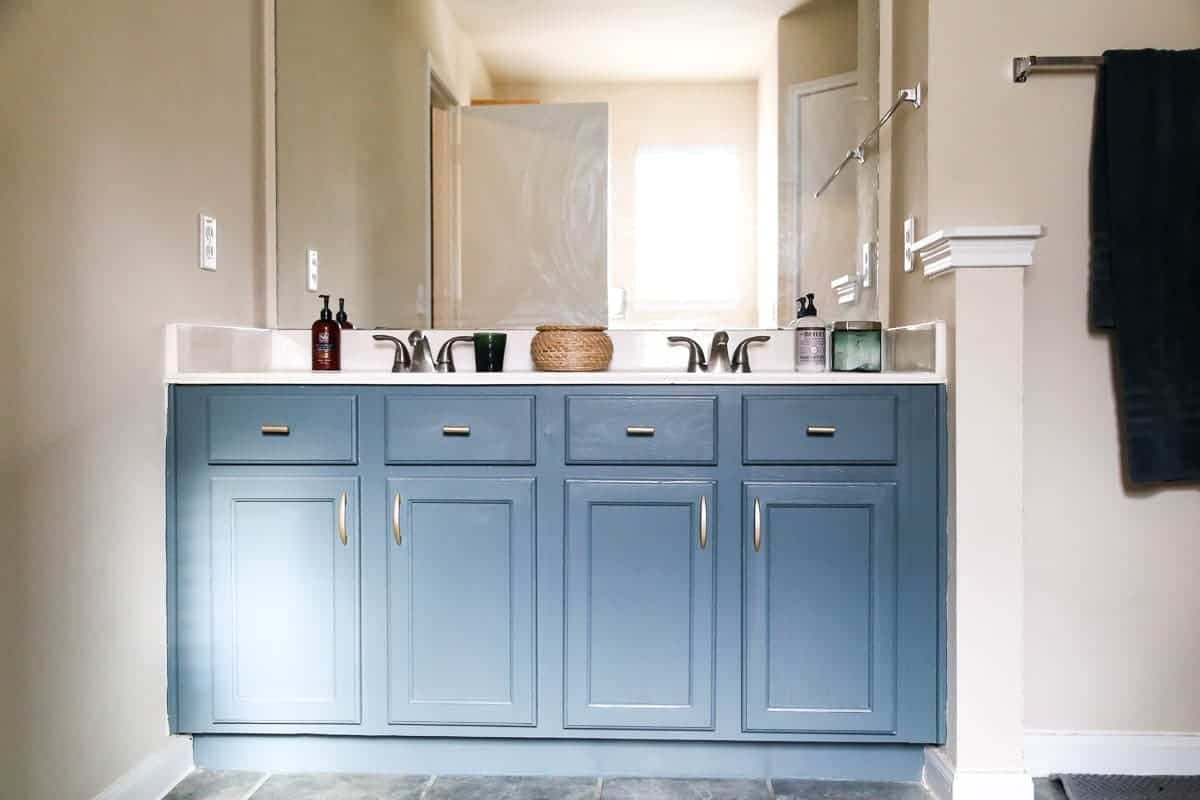
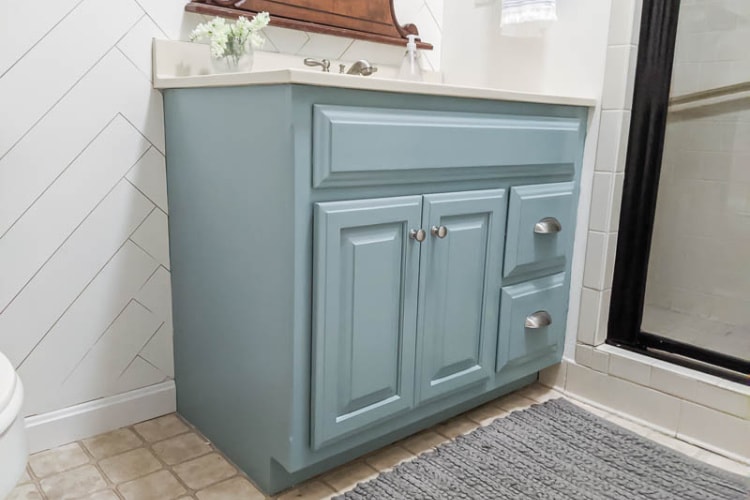
Blue: For a calming and spa-like feel, consider painting your vanity in a soft blue hue. This color can also add a pop of color to an otherwise neutral bathroom.
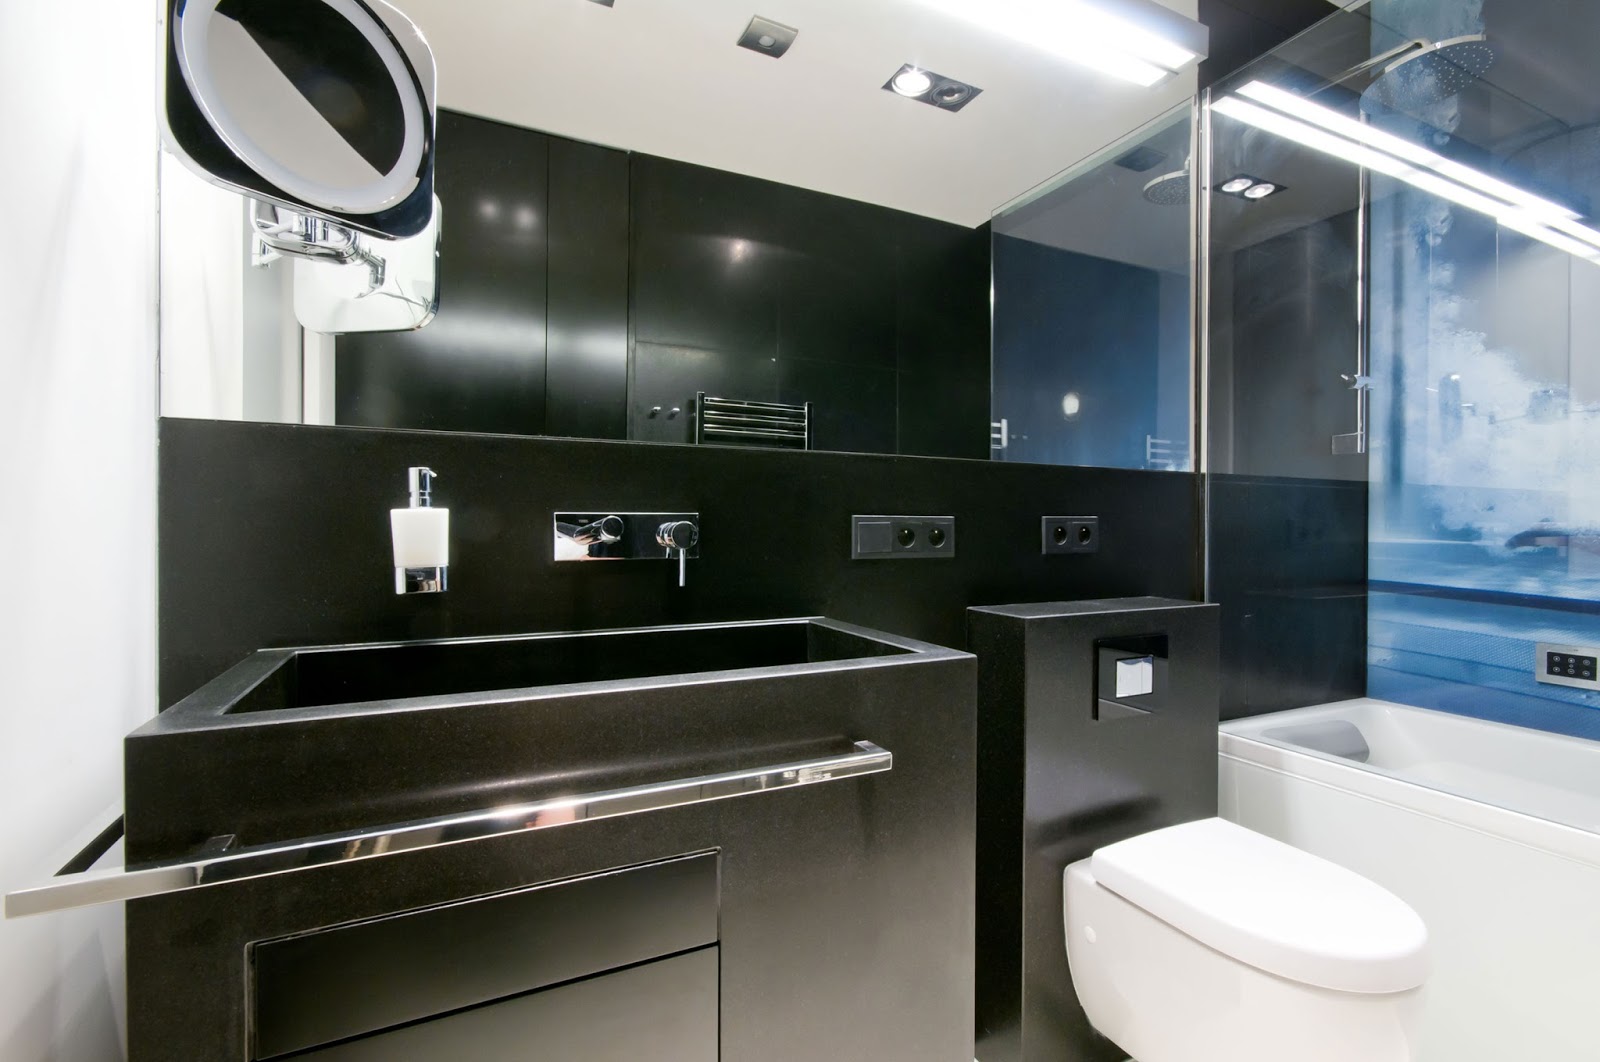
Black: For a dramatic and bold look, consider painting your vanity black. This color can add a touch of elegance and drama to your bathroom design.
Coving for Bathroom Vanity Trim
Coving can be used as a finishing touch for your bathroom vanity. Here are some ideas for incorporating coving into your vanity’s trim.
Top of Vanity: Adding coving to the top of your vanity can create a seamless and elegant transition from the vanity to the wall. This can also add a touch of detail and dimension to your vanity design.
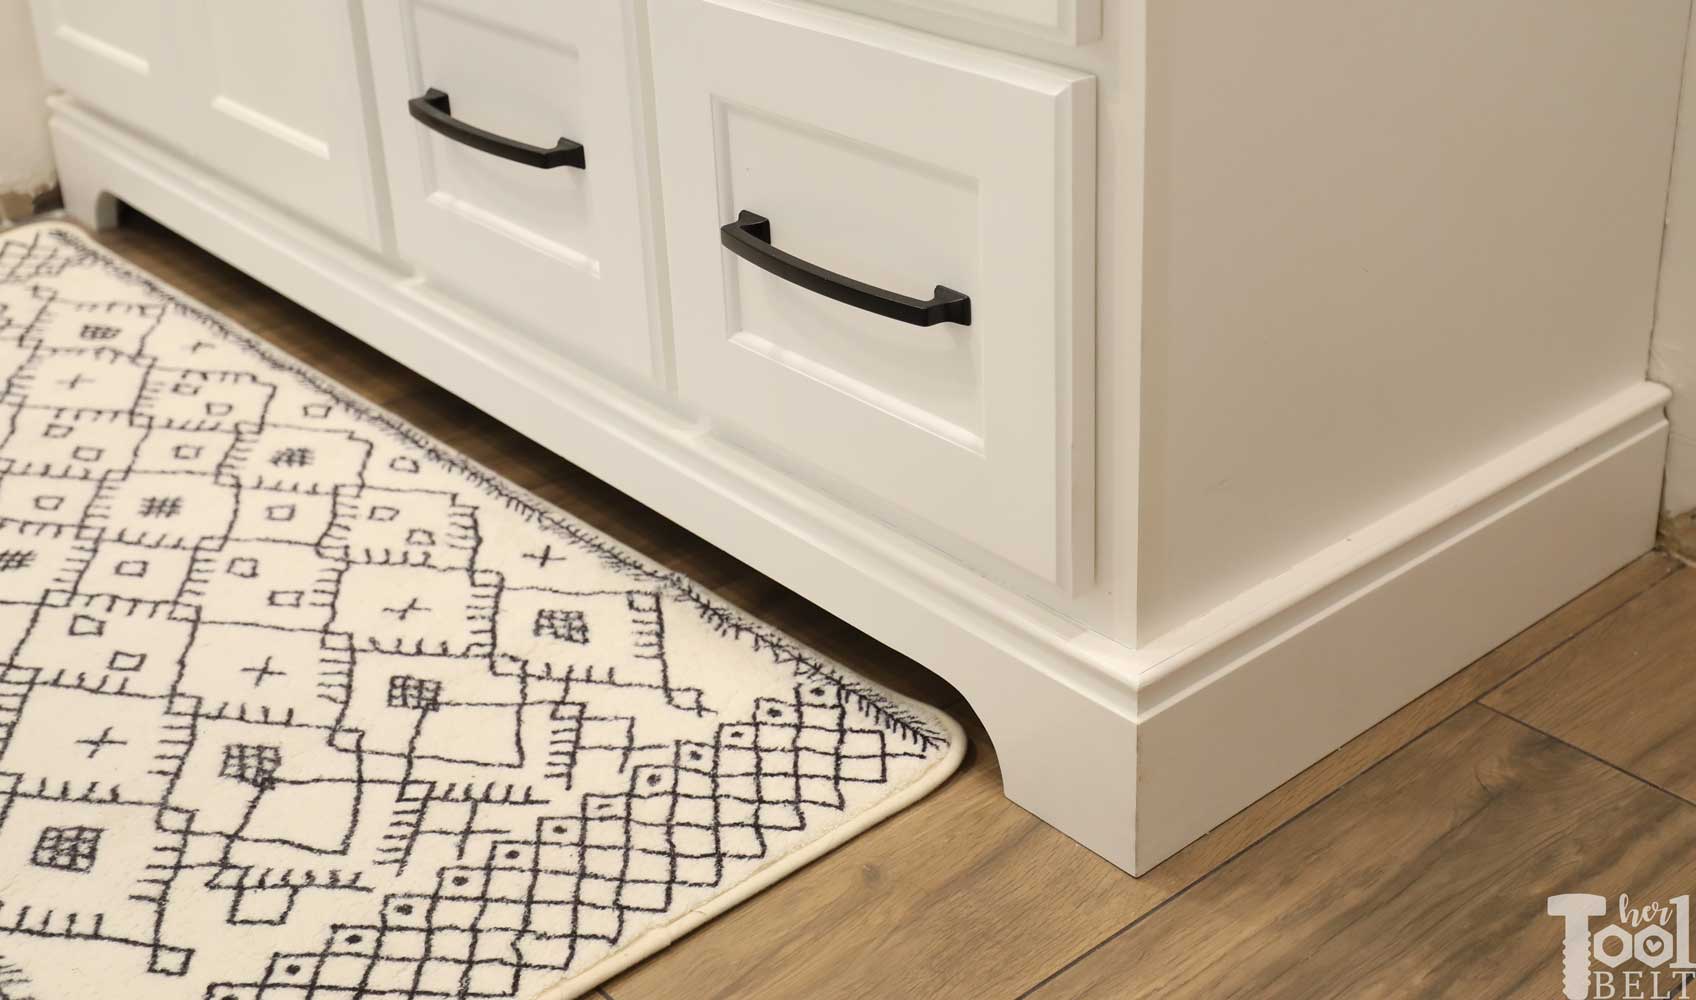
Bottom of Vanity: For a unique and unexpected look, consider adding coving to the bottom of your vanity. This can create a visually interesting design element and add a touch of sophistication to your vanity.
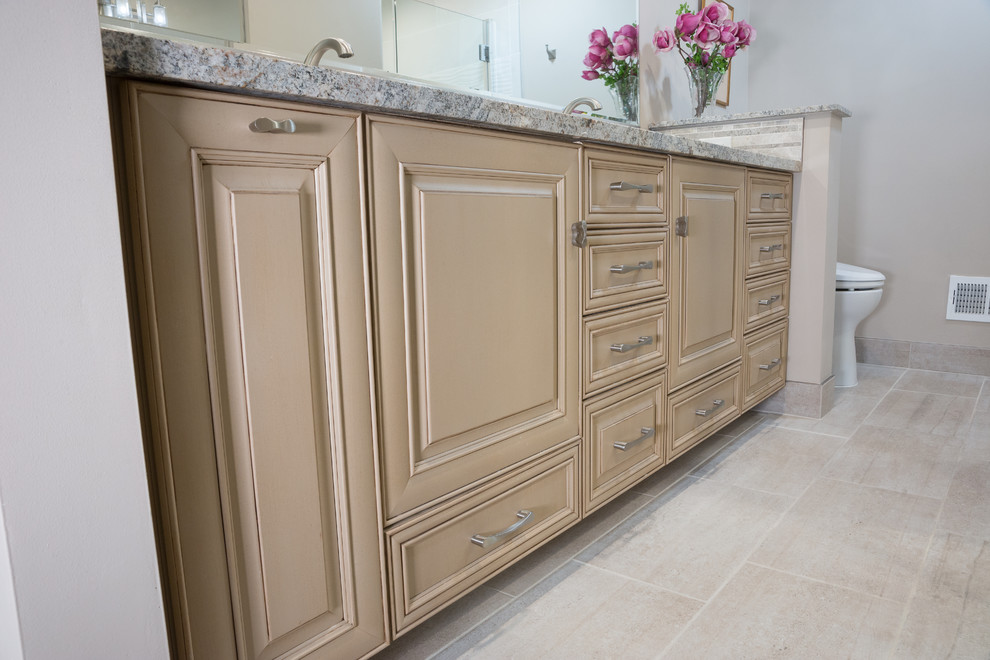
Drawers and Doors: Coving can also be used on the drawers and doors of your vanity to add a touch of detail and create a cohesive look throughout your bathroom.
Baseboard: Using coving as a baseboard for your bathroom vanity can add a unique and elegant touch to your space. This can also help tie in the coving used on the vanity itself.
DIY Bathroom Vanity Paint
If you’re feeling handy and want to save some money, painting your bathroom vanity can be done as a DIY project. Here are some tips for a successful DIY bathroom vanity paint job.
Choose the Right Paint: Make sure to select a paint that is specifically designed for high-moisture areas and has a waterproof or water-resistant finish. This will ensure that your paint job lasts and looks great.
Proper Preparation: Properly cleaning and sanding the surface of your vanity before painting is crucial for a successful DIY paint job. This will help the paint adhere and provide a smooth and professional finish.
Take Your Time: Rushing through a DIY paint job can lead to mistakes and a less-than-perfect finish. Take your time and follow the instructions on the paint can for the best results.
Seek Help When Needed: If you’re not comfortable with DIY or run into any issues, don’t be afraid to seek help from a professional. It’s better to have a flawless paint job than to risk damaging your vanity.
In conclusion, when it comes to paint and coving for your bathroom vanity, there are endless options to choose from. Consider the style of your bathroom and your personal preferences when making your decisions. With the right paint and coving, your bathroom vanity can become a stunning and functional focal point in your space.
Why Paint or Coving is Essential for Your Bathroom Vanity

Creating a Cohesive and Stylish Look
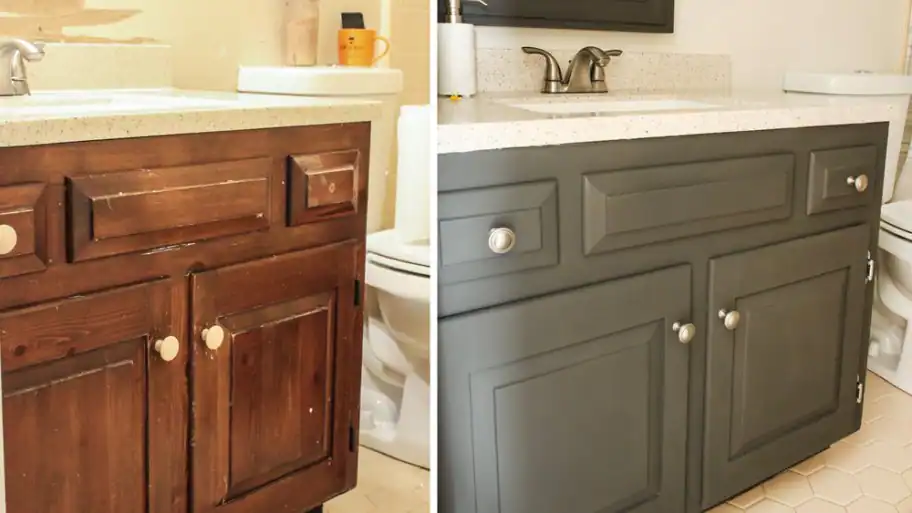 When it comes to designing your bathroom, the vanity is often the focal point. It's where you start and end your day, and it should reflect your personal style and taste. That's why choosing the right materials for your vanity is crucial.
Paint or coving
can play a significant role in elevating the look of your bathroom and tying the overall design together.
Protecting Your Vanity from Moisture
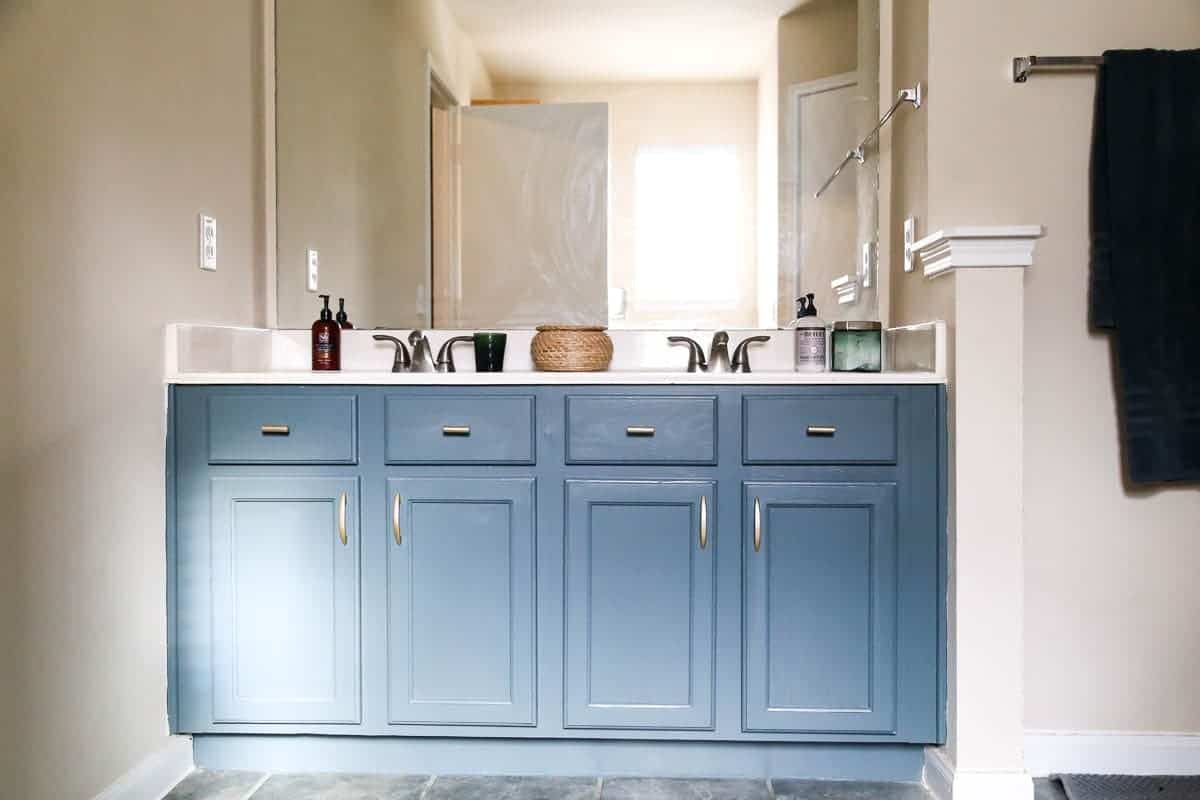 Bathrooms are known for their high levels of moisture, which can be damaging to certain materials.
Paint or coving
can provide a protective barrier for your vanity, preventing any water damage or warping. This is especially important for wooden vanities, as they are more susceptible to water damage. A well-sealed coat of paint or coving can also make cleaning your vanity much easier, as it can easily withstand wiping and scrubbing.
Customizing Your Vanity to Your Unique Style
 One of the great things about
paint or coving
is that it allows you to get creative and add your personal touch to your bathroom vanity. You can choose from a wide range of colors, patterns, and finishes to complement your existing bathroom decor or to make a bold statement. Whether you want a sleek and modern look or a more traditional and elegant design, there is a paint or coving option for every style.
Cost-Effective Solution
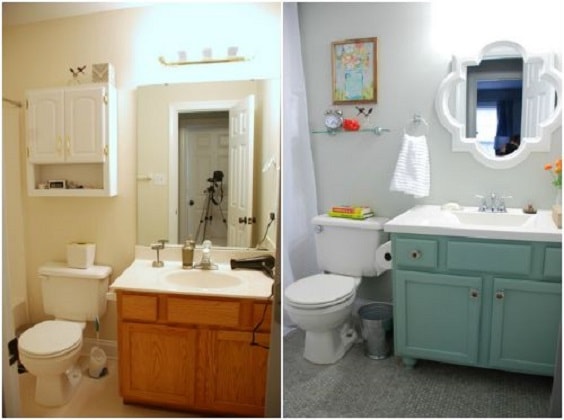 If you're on a budget,
paint or coving
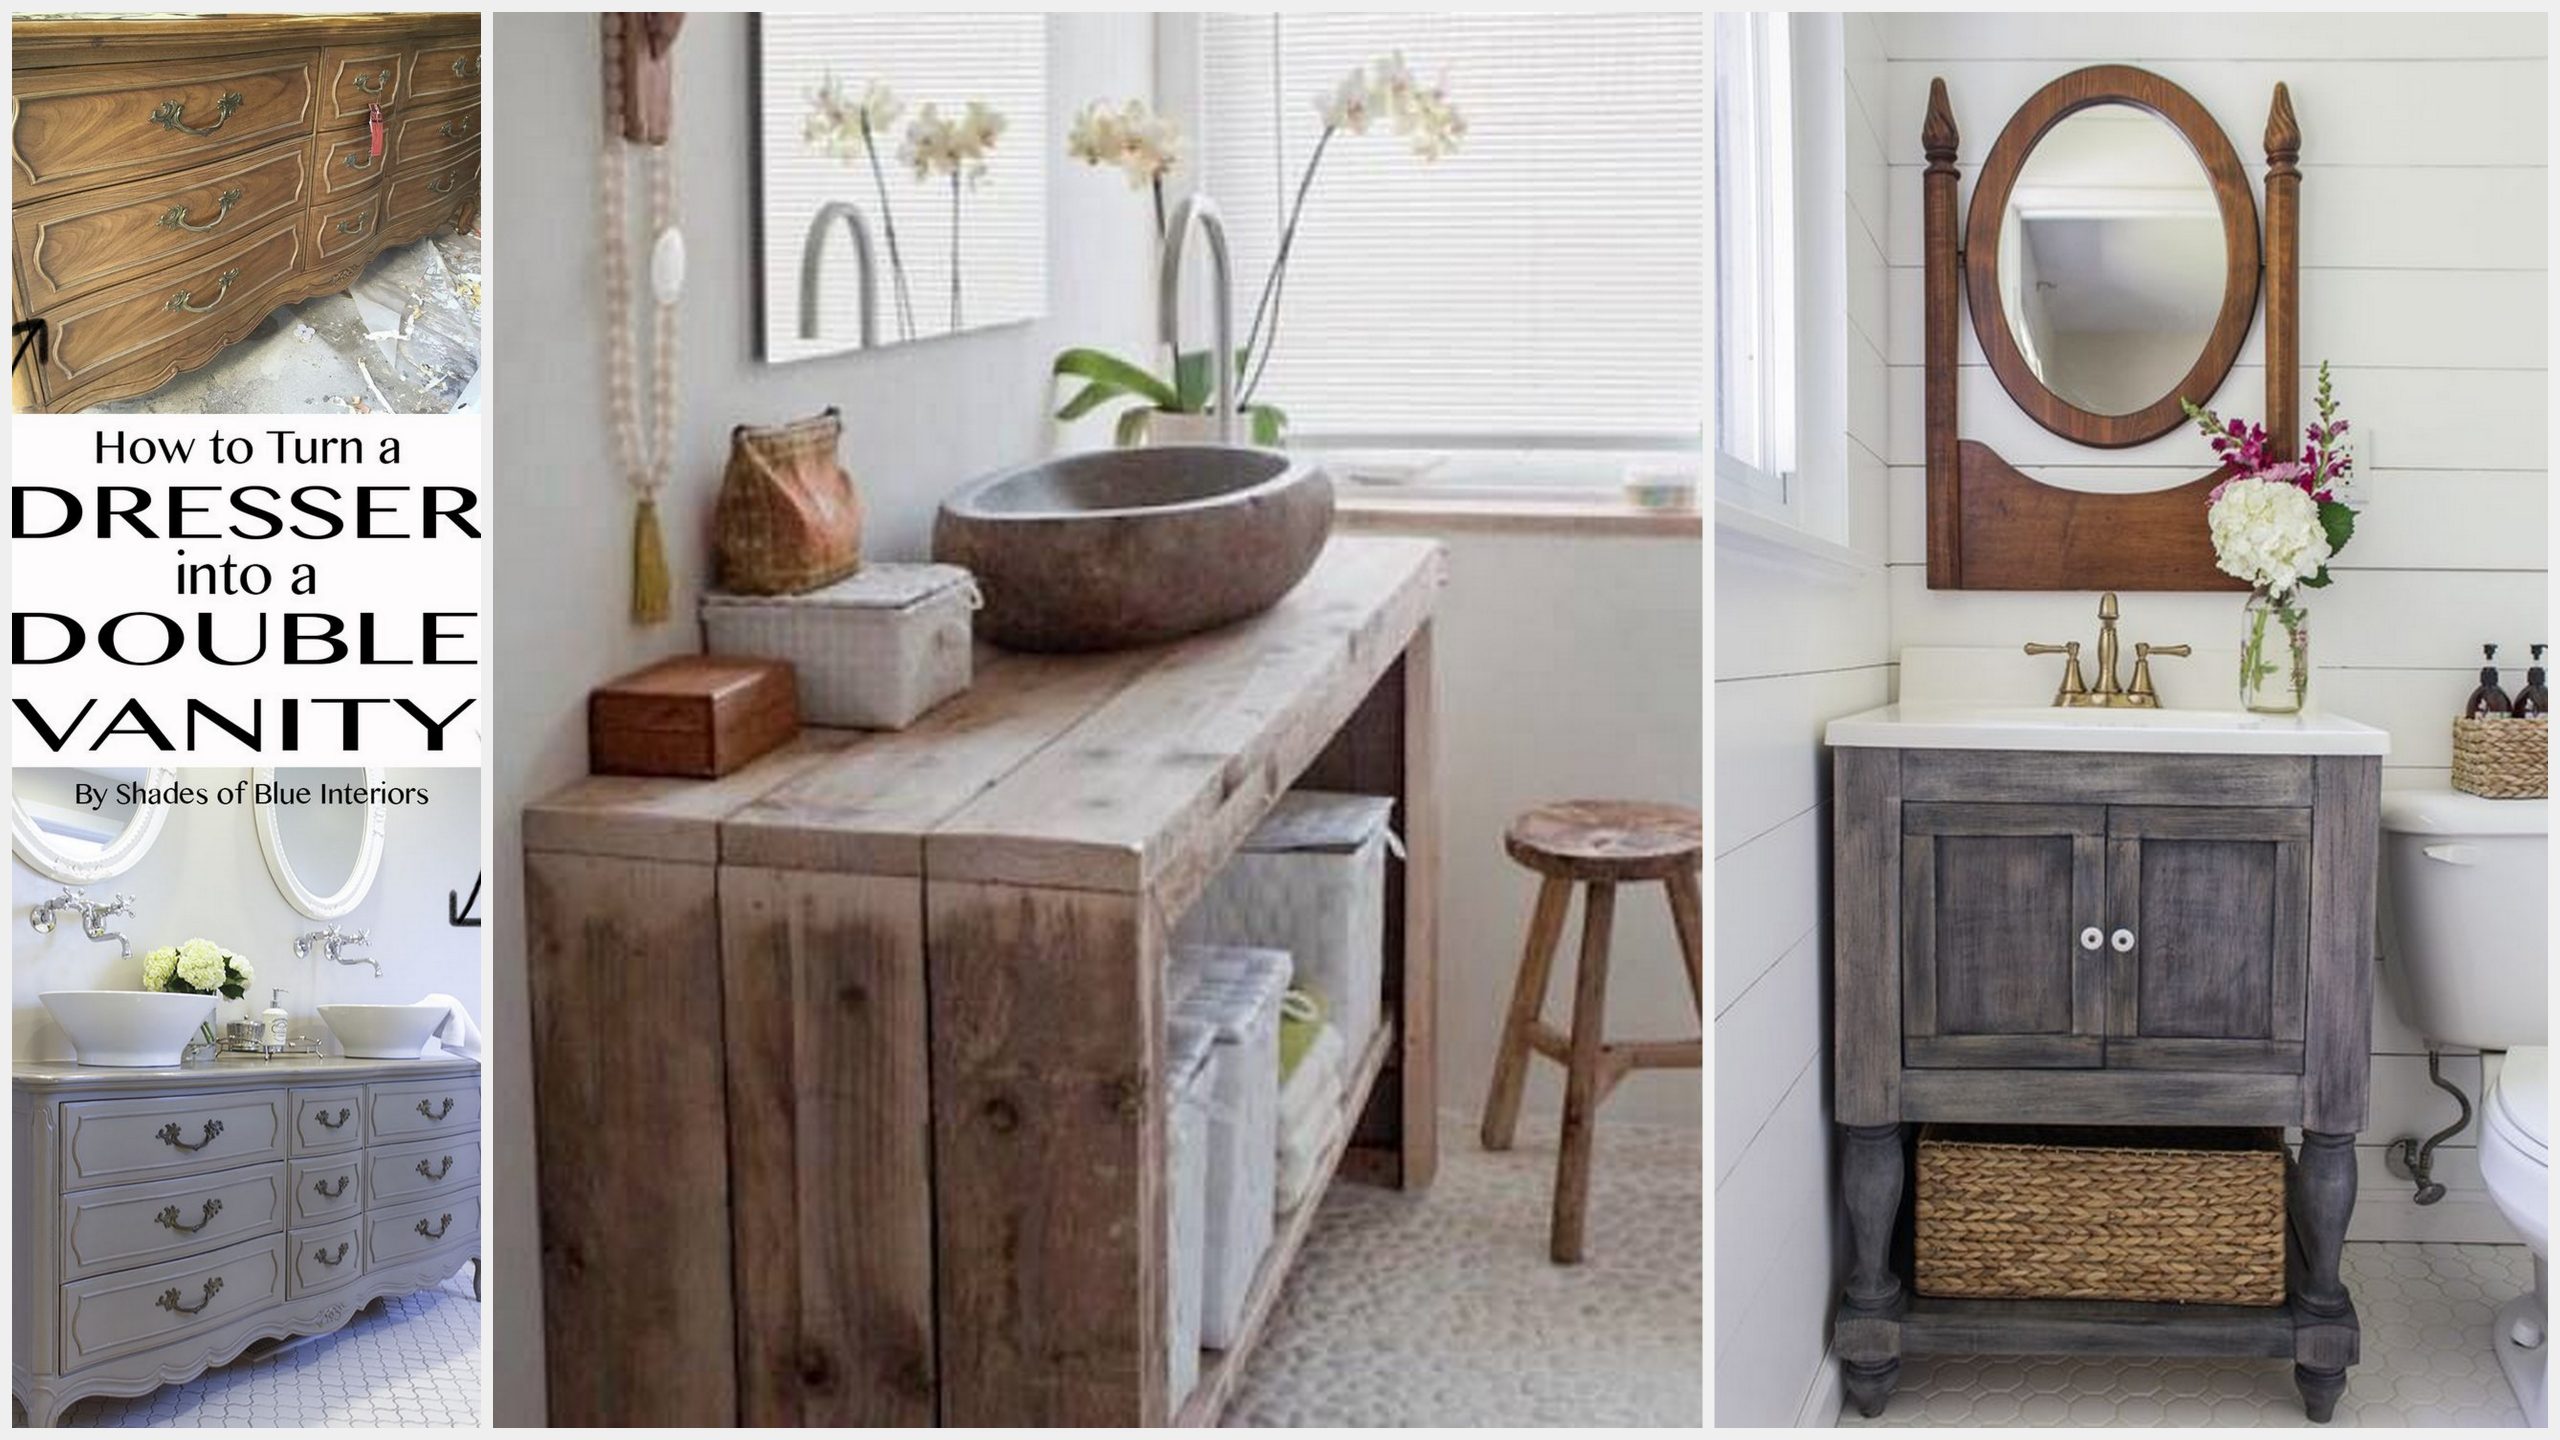
is a cost-effective way to update and refresh your bathroom vanity. Instead of replacing the entire vanity, a fresh coat of paint or new coving can make a significant difference in the overall look and feel of your bathroom. You can even repurpose an old piece of furniture as a vanity and give it a new life with a coat of paint or coving.
In conclusion,
paint or coving
is a versatile and essential element in designing a functional and stylish bathroom vanity. Not only does it protect your vanity from moisture and damage, but it also allows you to customize and elevate the overall look of your bathroom. So, when planning your bathroom design, don't overlook the power of
paint or coving
in creating a cohesive and beautiful space.


