How to Install a KitchenAid Disposal in a Sink Opening
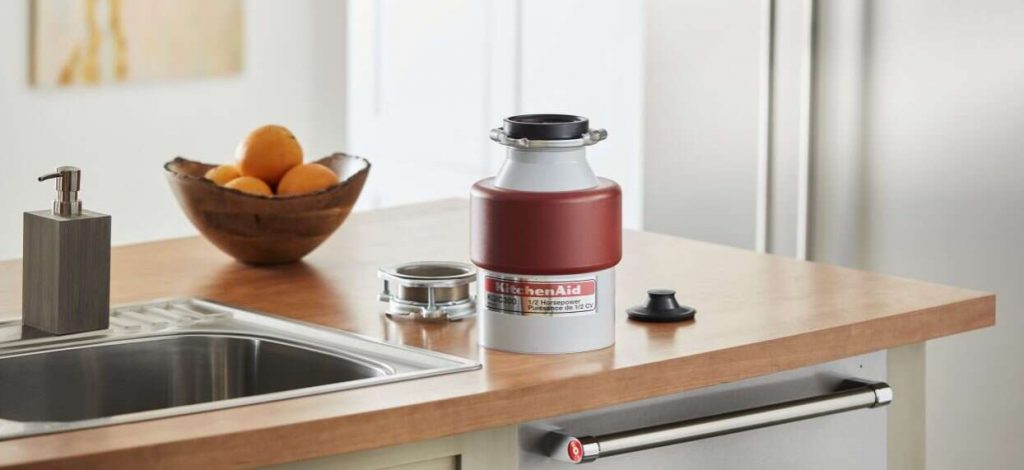
Installing a KitchenAid disposal in a sink opening may seem like a daunting task, but with the right tools and instructions, it can be a simple and straightforward process. Before you begin, make sure you have all the necessary tools and materials, including a new KitchenAid disposal, a screwdriver, pliers, and plumber's putty. Once you have everything ready, follow these steps to successfully install your new disposal.
Step 1: Turn off the Power - Before you start working on your disposal, make sure to turn off the power at the circuit breaker to avoid any accidents.
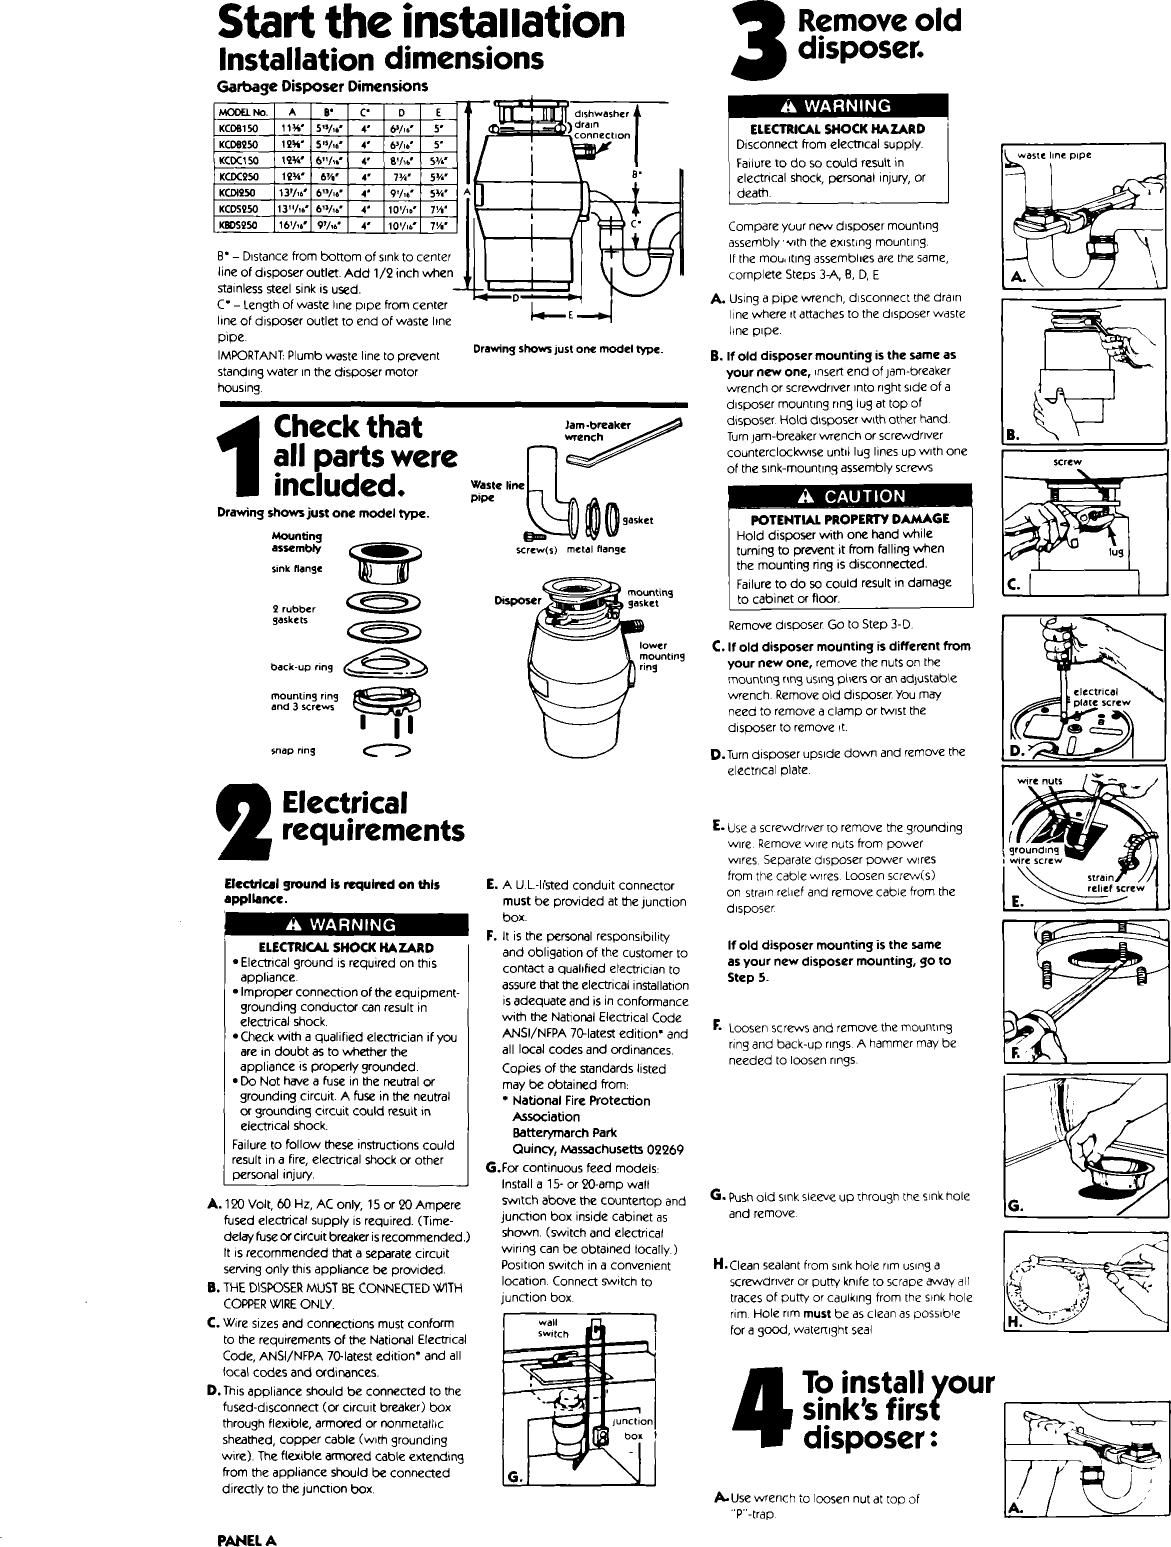
Step 2: Disconnect the Old Disposal - Using a screwdriver, disconnect the old disposal from the mounting assembly and remove it from the sink opening. Make sure to disconnect the power and drain connections as well.
Step 3: Install the Mounting Assembly - The mounting assembly comes with your new KitchenAid disposal and will need to be installed before you can attach the disposal to the sink. Follow the instructions provided with the disposal to install the mounting assembly correctly.
Step 4: Attach the Disposal to the Mounting Assembly - Once the mounting assembly is in place, you can attach the disposal to it using the mounting ring and snap ring provided. Make sure to tighten the snap ring securely.
Step 5: Connect the Power and Drain - Using the instructions provided with the disposal, connect the power and drain connections to the new disposal. Make sure all connections are secure.
Step 6: Test the Disposal - Once everything is connected, turn the power back on and test the disposal by running water and turning it on. If it works properly, you have successfully installed your new KitchenAid disposal.

How to Install a KitchenAid Disposal in a Sink Opening


How to Replace a KitchenAid Disposal in a Sink Opening
If you already have a KitchenAid disposal installed in your sink opening but it's not working properly, you may need to replace it. Here are the steps to follow to replace your KitchenAid disposal.
Step 1: Turn off the Power - Just like when installing a new disposal, make sure to turn off the power at the circuit breaker before you start working on the disposal.
Step 2: Disconnect the Old Disposal - Using a screwdriver, disconnect the old disposal from the mounting assembly and remove it from the sink opening. Make sure to disconnect the power and drain connections as well.
Step 3: Install the New Disposal - Follow the steps outlined in the previous section to install your new KitchenAid disposal in the sink opening.
Step 4: Connect the Power and Drain - Using the instructions provided with the disposal, connect the power and drain connections to the new disposal. Make sure all connections are secure.
Step 5: Test the Disposal - Turn the power back on and test the disposal to make sure it's working properly. If not, check all connections and make sure they are secure.

How to Replace a KitchenAid Disposal in a Sink Opening


Troubleshooting a KitchenAid Disposal in a Sink Opening
Even with proper installation and maintenance, your KitchenAid disposal may run into some issues. Here are some common problems and how to troubleshoot them.
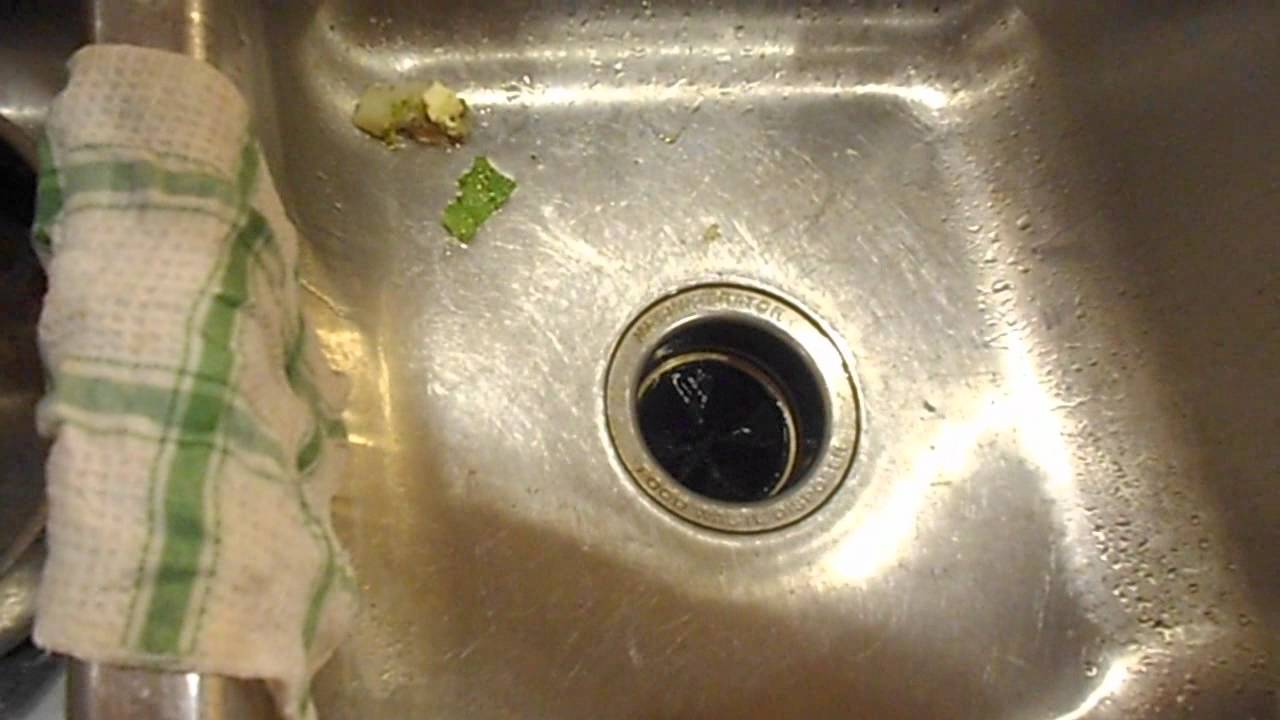
Problem: Disposal is Jammed - If your disposal is not turning on or making a humming noise, it may be jammed. Use a hex wrench or a broom handle to manually turn the disposal blades and clear any blockages.
Problem: Disposal is Leaking - If you notice water leaking from your disposal, it's likely due to loose connections. Make sure all connections are tight and secure.
Problem: Disposal is Not Draining - If your disposal is not draining properly, it may be due to a clogged drain. Try using a plunger or a drain snake to clear the clog.
Problem: Disposal is Not Turning On - If your disposal is not turning on at all, check the power connection and make sure it is securely connected.


Troubleshooting a KitchenAid Disposal in a Sink Opening

/GettyImages-171366298-5b7328fd46e0fb002c0e8ce4.jpg)
How to Clean a KitchenAid Disposal in a Sink Opening
To keep your KitchenAid disposal running smoothly, it's important to clean it regularly. Here's how to clean your disposal in a sink opening.
Step 1: Turn off the Power - Always make sure to turn off the power at the circuit breaker before cleaning your disposal.
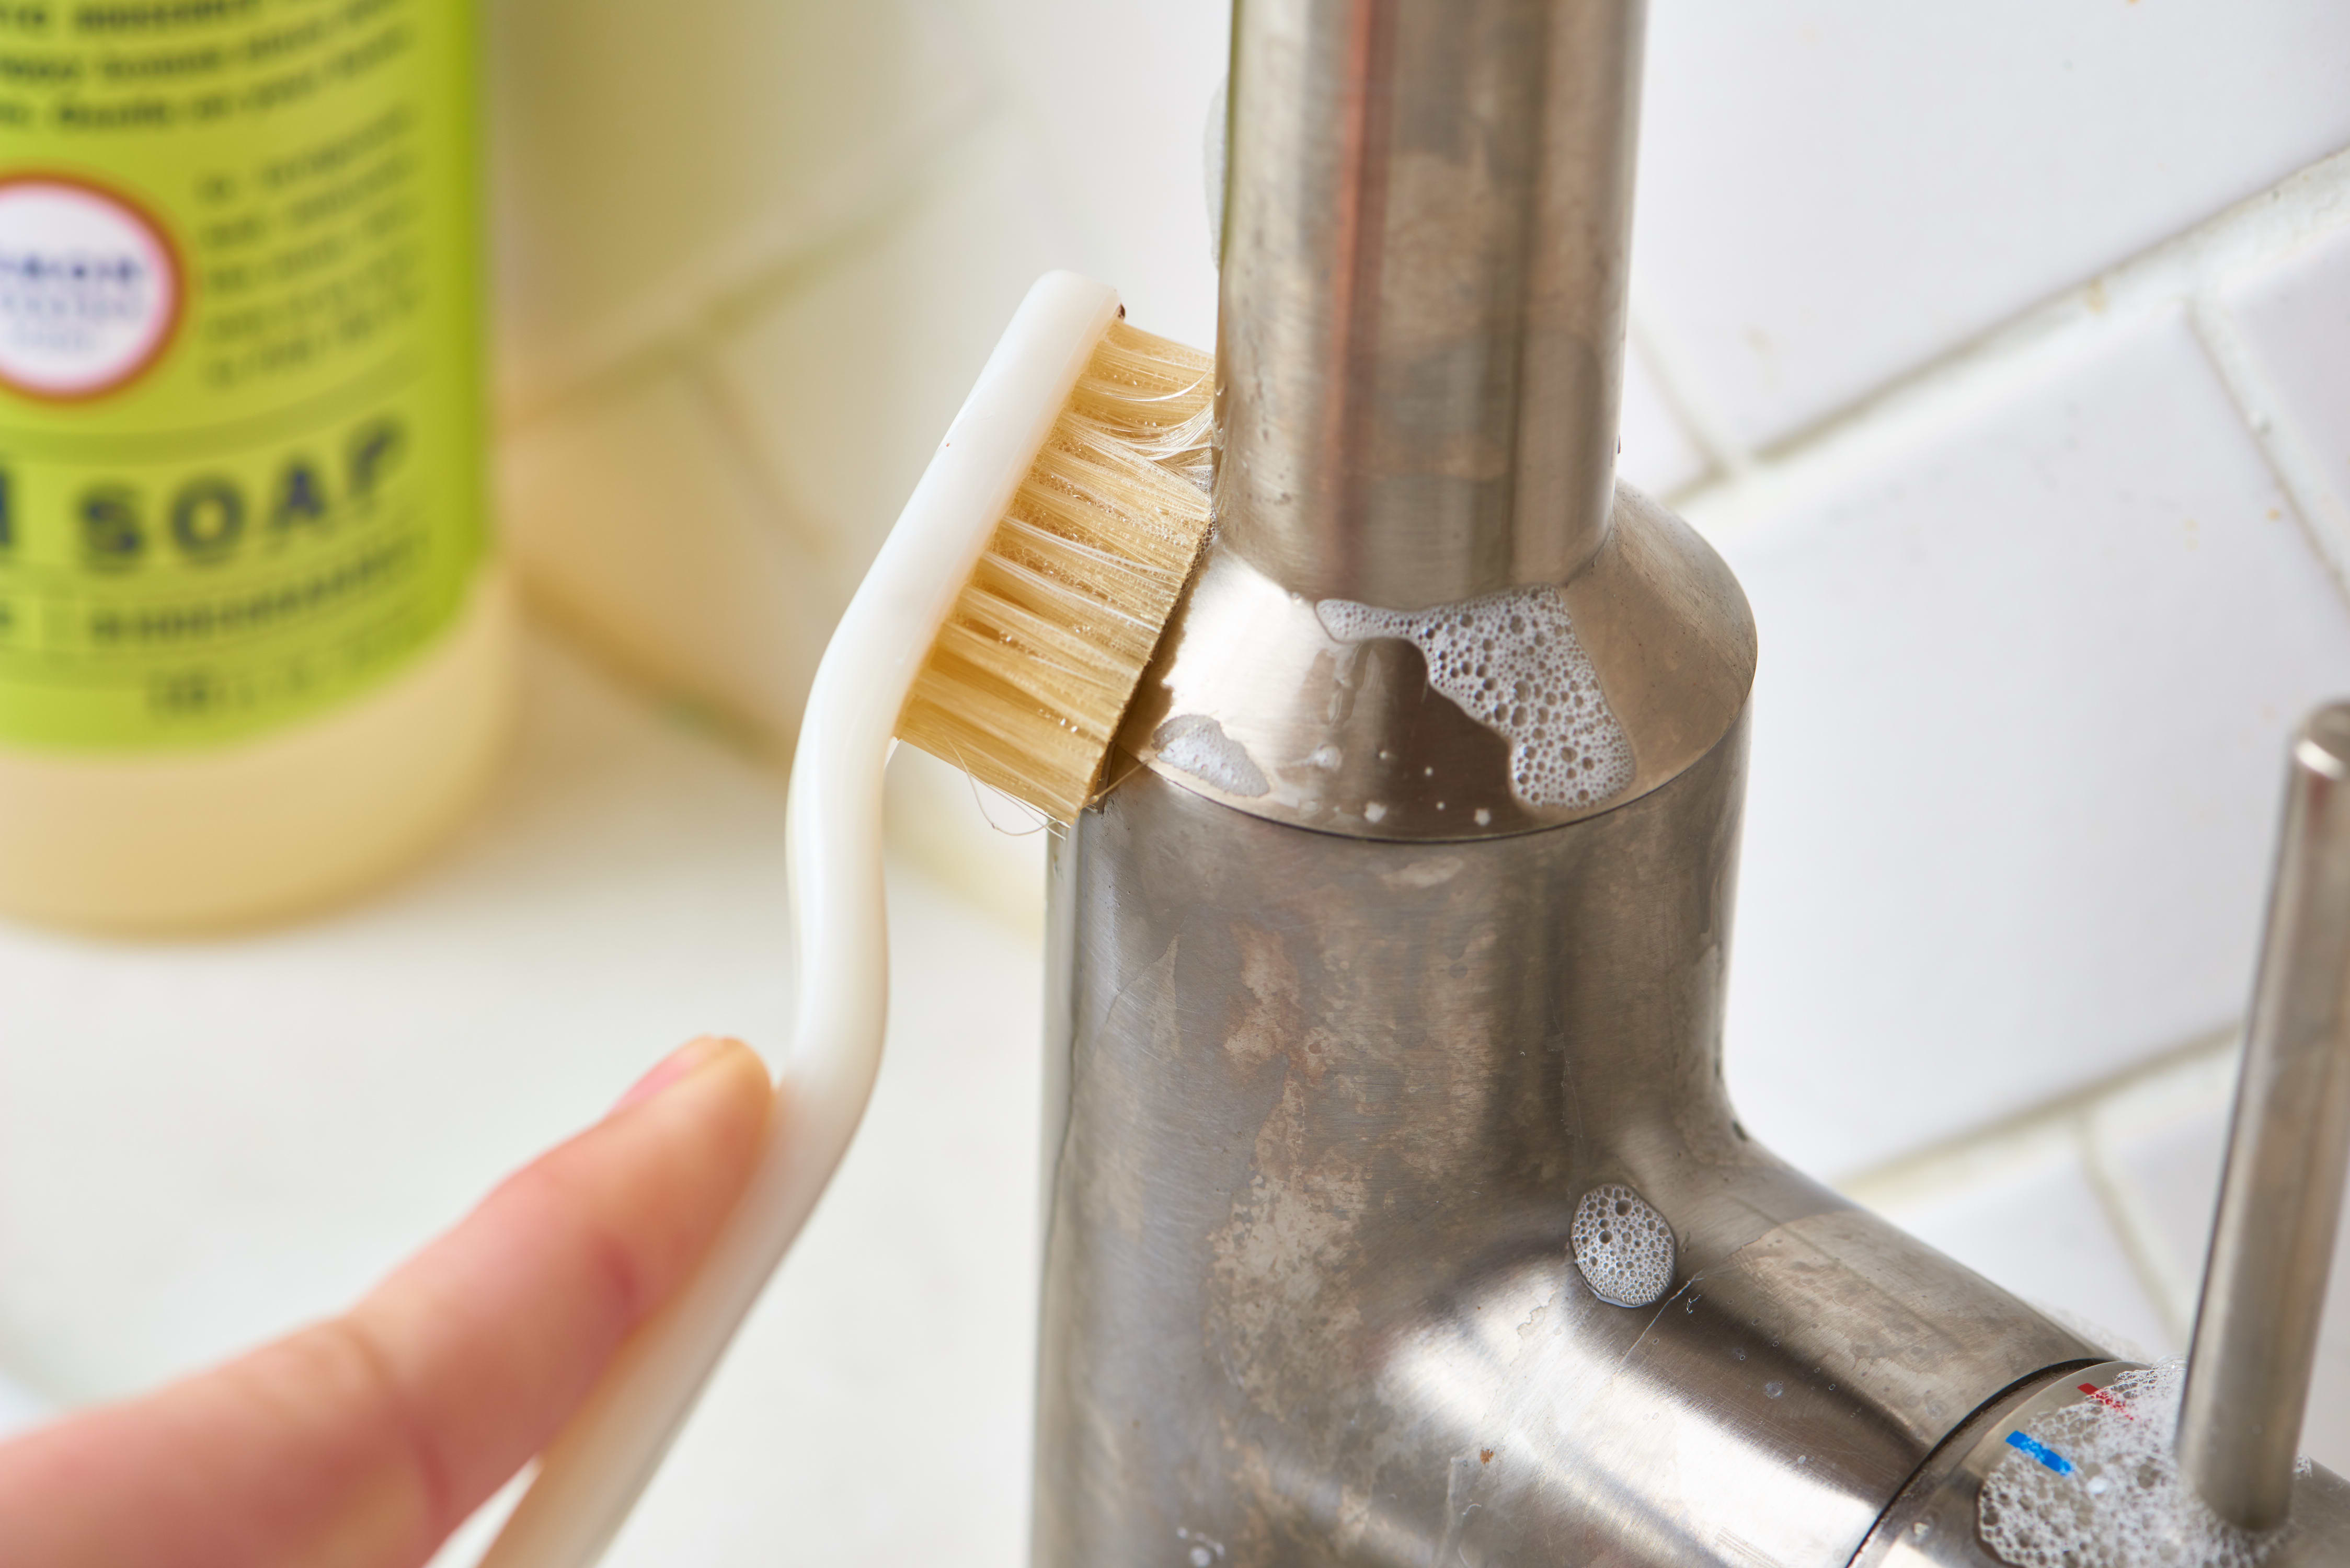
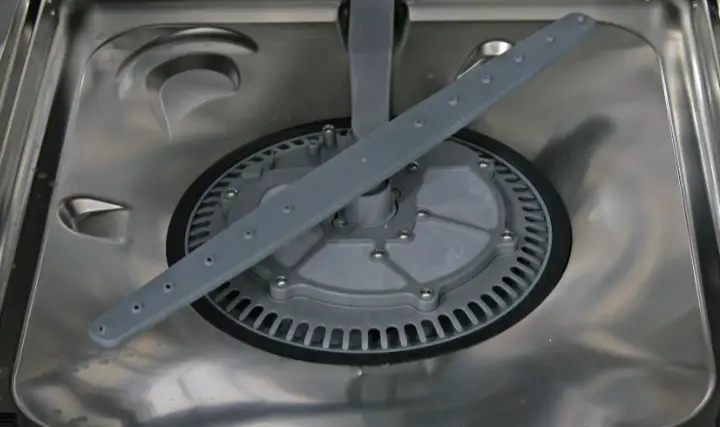
Step 2: Clean the Exterior - Use a mild cleaner and a sponge or cloth to clean the exterior of the disposal. Make sure to wipe away any food particles or debris.
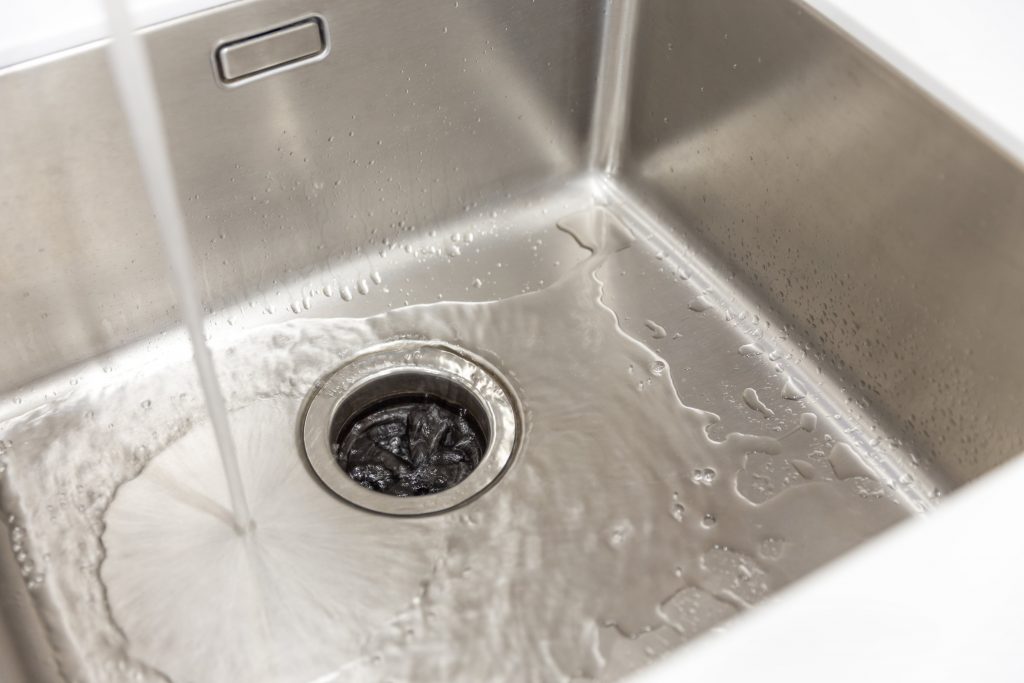
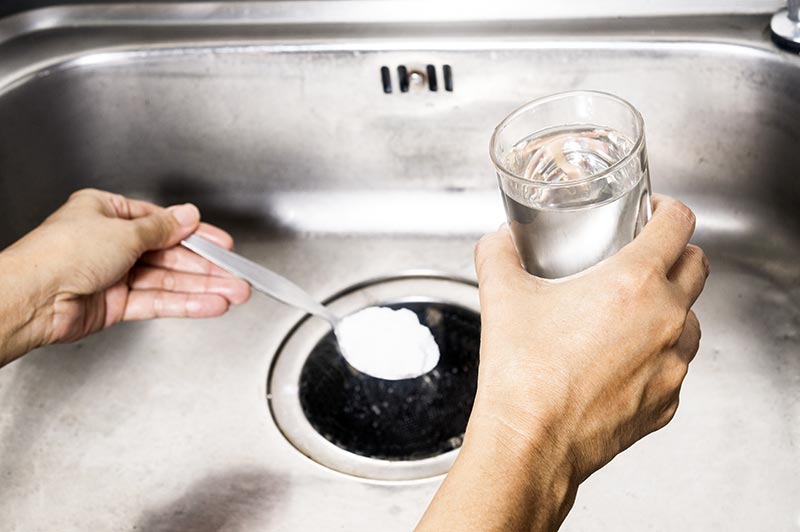
Step 3: Clean the Grinding Chamber - To clean the grinding chamber, pour a cup of ice cubes and half a cup of rock salt into the disposal, and run it for a few seconds. The ice and salt will help clean the blades and remove any buildup. Rinse with cold water.
Step 4: Deodorize - To get rid of any unpleasant odors, pour a cup of baking soda into the disposal, followed by a cup of vinegar. Let it sit for a few minutes, then run cold water to rinse it out.


How to Clean a KitchenAid Disposal in a Sink Opening


:max_bytes(150000):strip_icc()/cleaning-a-garbage-disposal-2718863-step-06-eefb70a116b741eb82beec94e062c915.jpg)
Common Problems with KitchenAid Disposals in Sink Openings
While KitchenAid disposals are reliable and durable, they may encounter some common problems over time. Here are some of the most common issues and how to address them.
Problem: Disposal is Making a Loud Noise - A loud noise coming from your disposal is usually an indication of worn out blades. You will need to replace the blades to fix this issue.
Problem: Disposal is Tripping the Circuit Breaker - If your disposal keeps tripping the circuit breaker, it may be due to an electrical issue. Make sure to turn off the power and call a professional electrician to fix the problem.
Problem: Disposal is Not Grinding Food Properly - If your disposal is not grinding food properly, it may be due to dull blades. You will need to replace the blades to fix this issue.


Common Problems with KitchenAid Disposals in Sink Openings


How to Fix a Clogged KitchenAid Disposal in a Sink Opening
A clogged disposal can be a frustrating and messy problem, but it can be easily fixed with a few simple steps.
Step 1: Turn off the Power - As always, make sure to turn off the power before attempting to fix a clogged disposal.
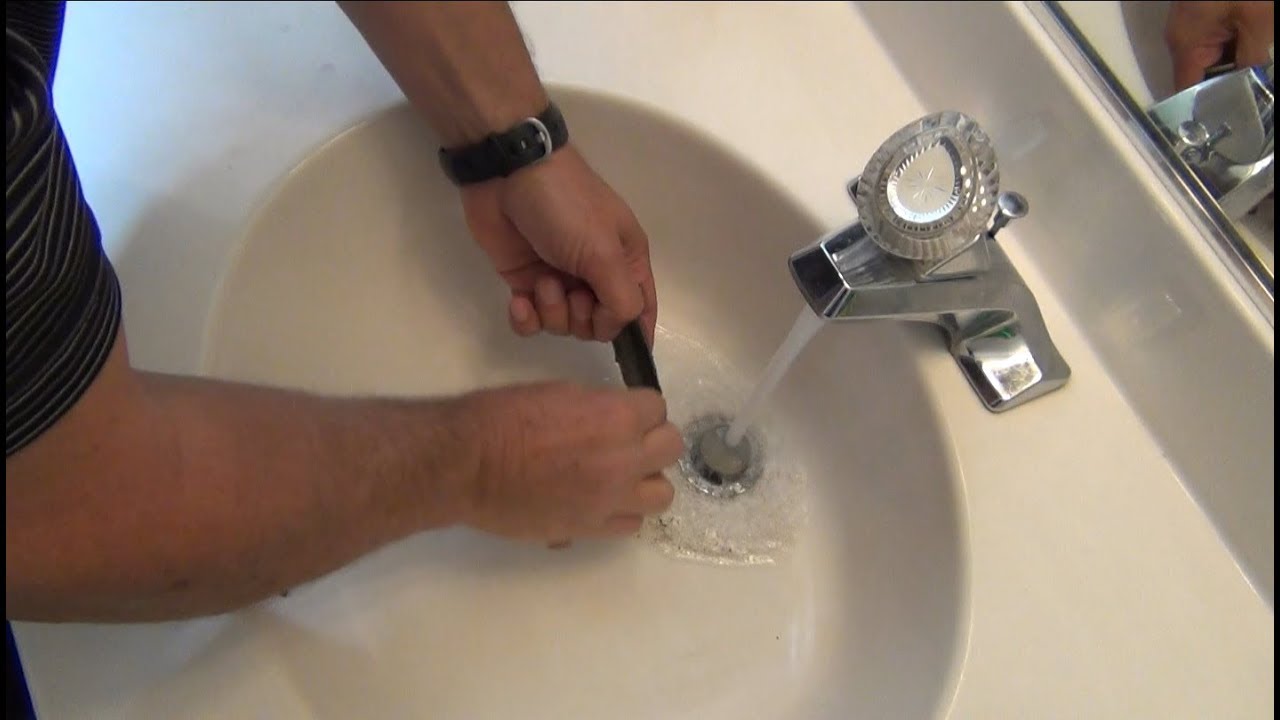
Step 2: Use a Plunger - Fill the sink with a few inches of water, place a plunger over the drain, and plunge vigorously. This can help clear any clogs in the disposal.
Step 3: Try a Drain Snake - If the plunger doesn't work, you can try using a drain snake to clear the clog. Insert the snake into the disposal and turn it to break up any blockages.
Step 4: Use a Chemical Drain Cleaner - If the clog persists, you can try using a chemical drain cleaner to dissolve the blockage. Make sure to follow the instructions carefully and use protective gear.

How to Fix a Clogged KitchenAid Disposal in a Sink Opening


/kitchen-sink-171366298-57fe93b75f9b5805c26b283a.jpg)


How to Maintain a KitchenAid Disposal in a Sink Opening
Proper maintenance is key to keeping your KitchenAid disposal running smoothly for years to come. Here are some tips to help you maintain your disposal.
Tip 1: Run Cold Water - Always run cold water when using your disposal. This helps harden any food particles, making it easier for the disposal to grind them up.
Tip 2: Avoid Putting Certain Foods Down the Disposal - Certain foods, such as eggshells, coffee grounds, and fibrous vegetables, can damage your disposal. Avoid putting these down the drain.
Tip 3: Clean Your Disposal Regularly - As mentioned earlier, regular cleaning can help prevent any buildup and keep your disposal functioning properly.
Tip 4: Use Your Disposal Often - Using your disposal regularly can help prevent any rust or corrosion from building up inside the unit.

How to Maintain a KitchenAid Disposal in a Sink Opening


Choosing the Right KitchenAid Disposal for Your Sink Opening
KitchenAid offers a variety of disposals to fit different sink openings and households. When choosing the right disposal for your sink opening, consider the size of your sink, the amount of waste you typically generate, and your budget.
Size: KitchenAid disposals come in different sizes, so make sure to measure your sink opening before making a purchase.
Continuous Feed vs Batch Feed: Continuous feed disposals allow you to continuously add waste while the disposal is running, while batch feed disposals require you to fill the disposal before turning it on.
Horsepower: KitchenAid disposals range from 1/3 to 1 horsepower, with higher horsepower units being able to handle more waste and grind it finer.


Choosing the Right KitchenAid Disposal for Your Sink Opening


How to Use a KitchenAid Disposal in a Sink Opening
Using a KitchenAid disposal is simple and straightforward, but there are a few things to keep in mind to ensure safe and efficient use.
Step 1: Run Cold Water - Always run cold water when using your disposal, and continue running it for a few seconds after turning off the disposal to help clear any remaining waste.
Step 2: Avoid Putting Certain Foods Down the Disposal - As mentioned earlier, certain foods can damage your disposal, so make sure to avoid putting them down the drain.
Step 3: Don't Overload the Disposal - Only add small amounts of waste at a time to avoid overloading the disposal and causing it to jam.
Step 4: Run the Disposal Regularly - To keep your disposal functioning properly, make sure to use it regularly.

How to Use a KitchenAid Disposal in a Sink Opening


Benefits of Installing a KitchenAid Disposal in a Sink Opening
If you're still on the fence about installing a KitchenAid disposal in your sink opening, here are some benefits that may convince you.
Convenience: A disposal makes it easy to dispose of food waste, saving you time and effort.
Reduced Odors: With a disposal, food waste is ground up and flushed away, reducing any unpleasant odors in your kitchen.
Environmental Impact: By using a disposal, you can reduce the amount of food waste that ends up in landfills, helping the environment.
In conclusion, a KitchenAid disposal is a handy addition to any kitchen sink opening. With proper installation, maintenance, and use, you can enjoy the convenience and benefits it has to offer for years to come. So why wait? Install a KitchenAid disposal in your sink opening today and make your kitchen cleanup process a breeze!


Benefits of Installing a KitchenAid Disposal in a Sink Opening
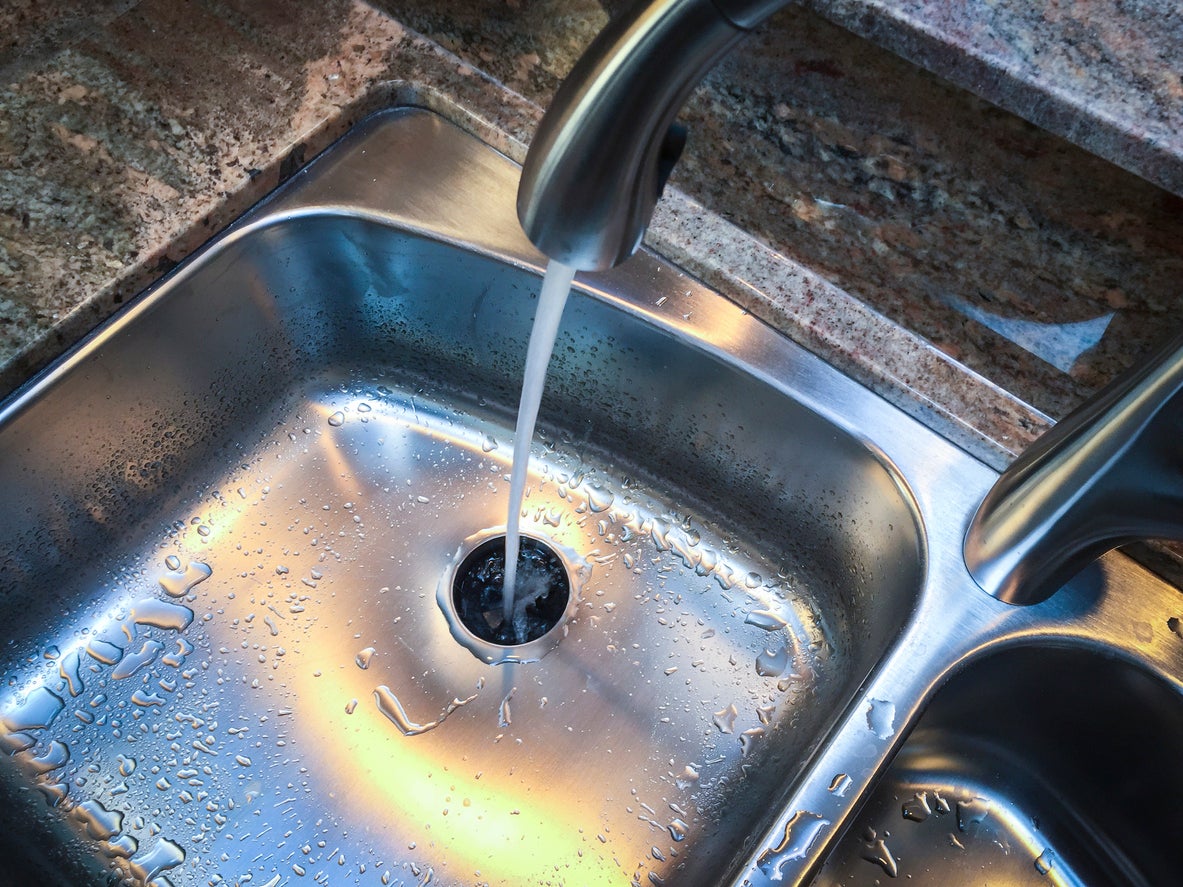
Kitchen Aid Disposal Sink Opening: A Functional and Stylish Addition to Your Kitchen
/how-to-install-a-sink-drain-2718789-hero-24e898006ed94c9593a2a268b57989a3.jpg)
Efficiency and Aesthetics in One
 The kitchen is often the heart of a home, and having the right tools and appliances can make all the difference in its functionality and design. One essential appliance that can enhance both aspects is the kitchen aid disposal sink opening. This innovative feature combines the convenience of a garbage disposal with the sleek design of a sink, creating a seamless and efficient space for meal prep and clean-up.
Streamlined Clean-Up Process
 Kitchen aid disposal sink openings
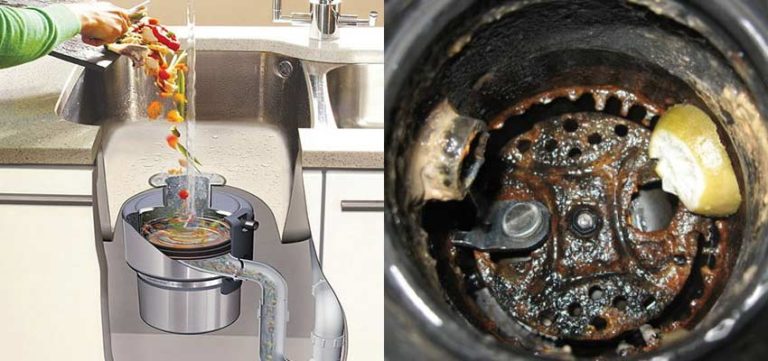
eliminate the need for a separate garbage disposal unit, saving valuable space under the sink and reducing clutter on the countertop. The disposal mechanism is built into the sink, making it convenient to scrape food scraps directly into the opening and grind them up with a simple flip of a switch. This eliminates the hassle of having to constantly empty a separate garbage bin and reduces the risk of unpleasant odors in the kitchen.
Kitchen aid disposal sink openings
eliminate the need for a separate garbage disposal unit, saving valuable space under the sink and reducing clutter on the countertop. The disposal mechanism is built into the sink, making it convenient to scrape food scraps directly into the opening and grind them up with a simple flip of a switch. This eliminates the hassle of having to constantly empty a separate garbage bin and reduces the risk of unpleasant odors in the kitchen.
Stylish and Versatile
 In addition to its practical benefits, a
kitchen aid disposal sink opening
also adds a touch of style to the kitchen. With a variety of designs, materials, and finishes to choose from, homeowners can easily find one that complements their kitchen's aesthetic. Some options even come with a cover, allowing the opening to seamlessly blend into the sink when not in use. This versatility makes it a popular choice among homeowners looking to upgrade their kitchen's design.
In addition to its practical benefits, a
kitchen aid disposal sink opening
also adds a touch of style to the kitchen. With a variety of designs, materials, and finishes to choose from, homeowners can easily find one that complements their kitchen's aesthetic. Some options even come with a cover, allowing the opening to seamlessly blend into the sink when not in use. This versatility makes it a popular choice among homeowners looking to upgrade their kitchen's design.
Easy Maintenance and Durability
 Not only are
kitchen aid disposal sink openings
convenient and stylish, but they are also built to last. Made from durable materials such as stainless steel, they can withstand daily use and will not easily corrode or rust. They also require minimal maintenance, as the grinding mechanism is self-cleaning and does not need to be manually cleared or cleaned frequently.
Not only are
kitchen aid disposal sink openings
convenient and stylish, but they are also built to last. Made from durable materials such as stainless steel, they can withstand daily use and will not easily corrode or rust. They also require minimal maintenance, as the grinding mechanism is self-cleaning and does not need to be manually cleared or cleaned frequently.
The Perfect Addition to Any Kitchen
 In conclusion, a
kitchen aid disposal sink opening
is a functional and stylish addition to any kitchen. It streamlines the clean-up process, adds a touch of elegance to the space, and is easy to maintain and durable. Whether you are looking to upgrade your current kitchen or designing a new one, consider adding this innovative feature for a more efficient and beautiful space.
In conclusion, a
kitchen aid disposal sink opening
is a functional and stylish addition to any kitchen. It streamlines the clean-up process, adds a touch of elegance to the space, and is easy to maintain and durable. Whether you are looking to upgrade your current kitchen or designing a new one, consider adding this innovative feature for a more efficient and beautiful space.