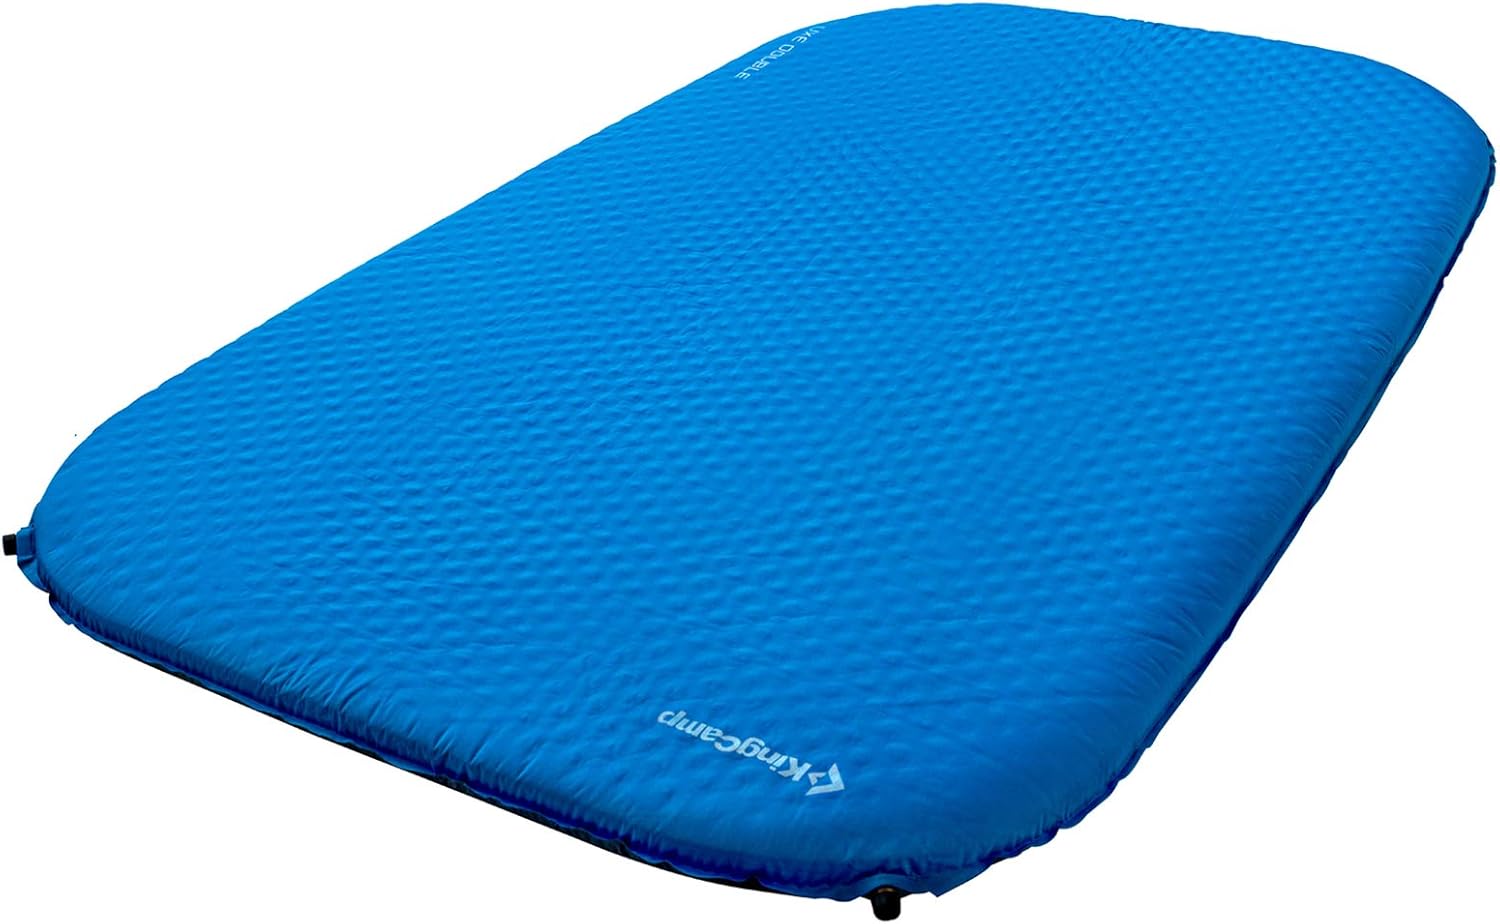
How to Install a Kayak Air Valve in an Air Mattress
Are you tired of constantly pumping air into your air mattress while camping or traveling? Look no further, as installing a kayak air valve in your air mattress can save you time and effort. Not only will it help keep your air mattress inflated for longer periods, but it can also provide a more comfortable sleep experience. Here's a step-by-step guide on how to install a kayak air valve in your air mattress.


How to Install a Kayak Air Valve in an Air Mattress


The Process of Installing a Kayak Air Valve in an Air Mattress
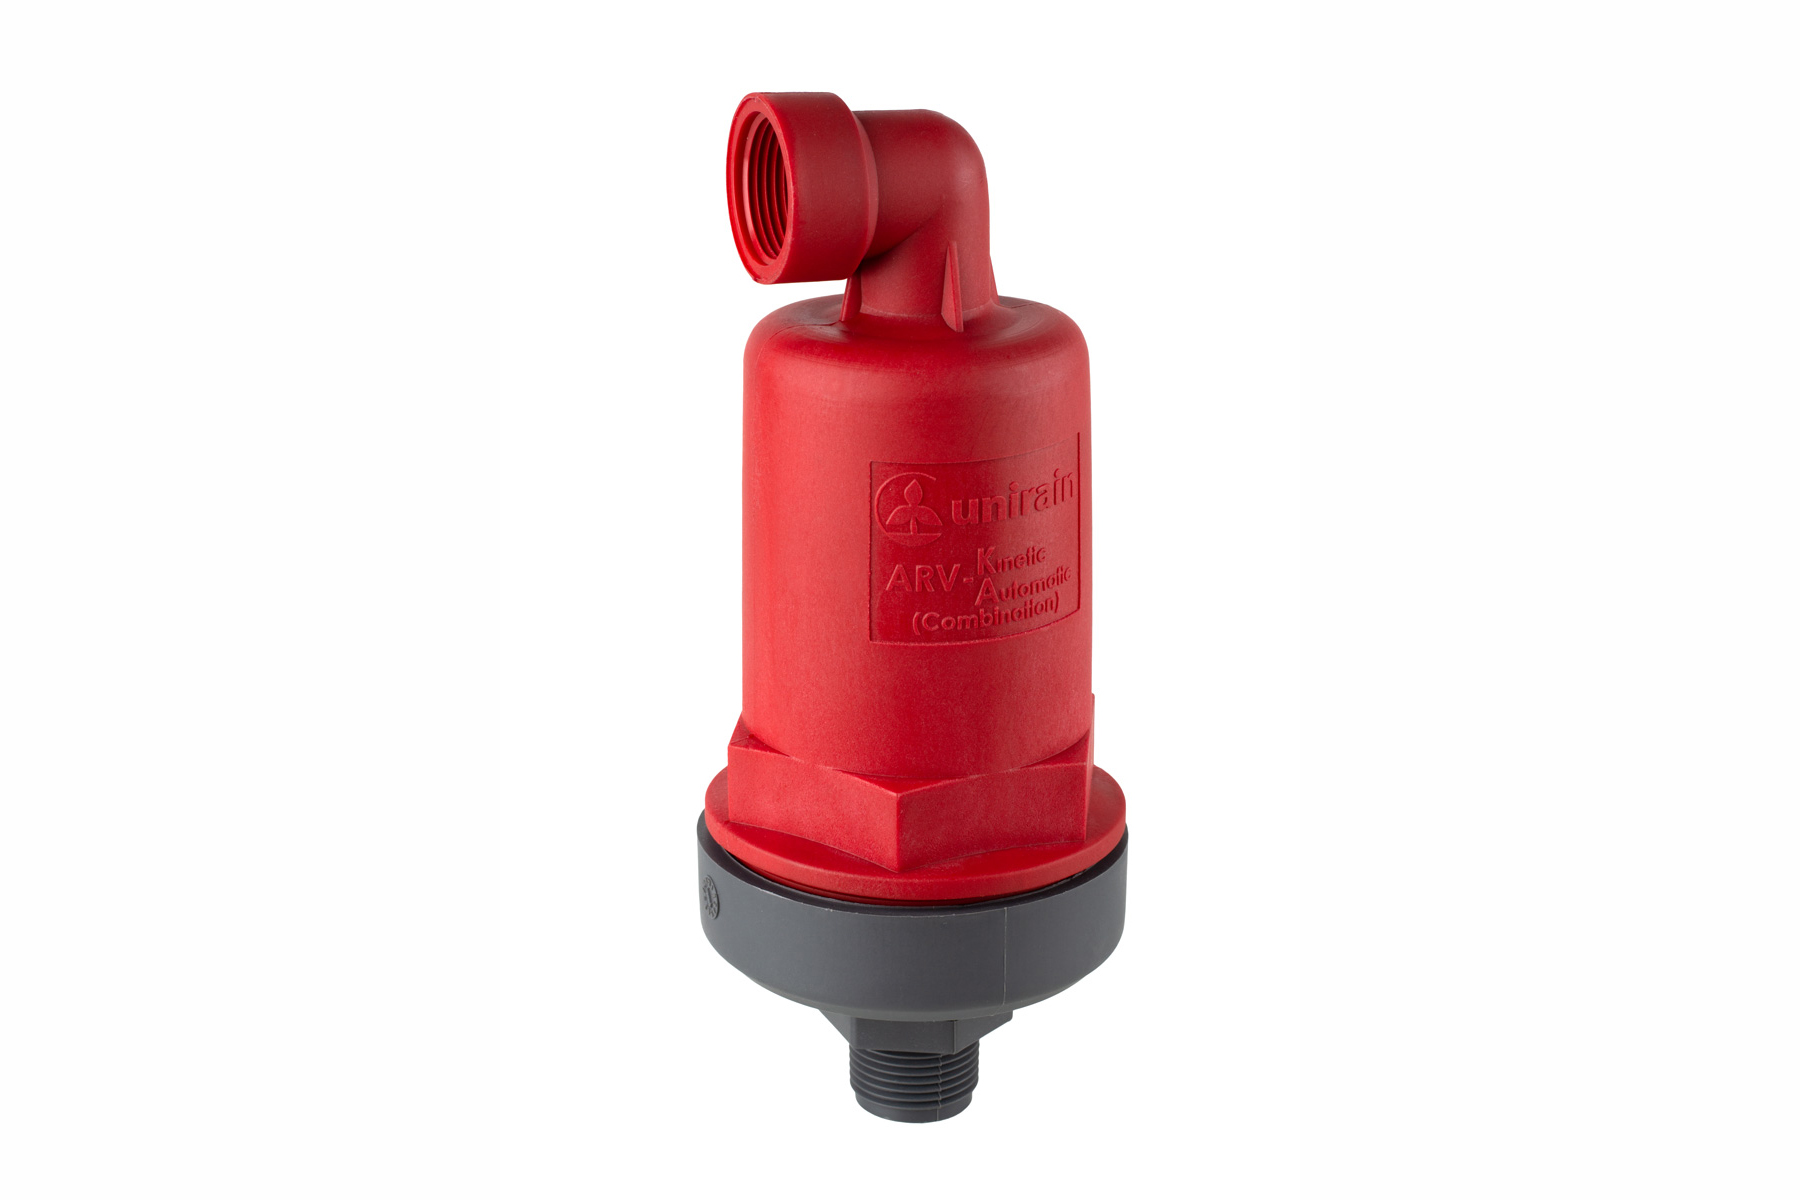
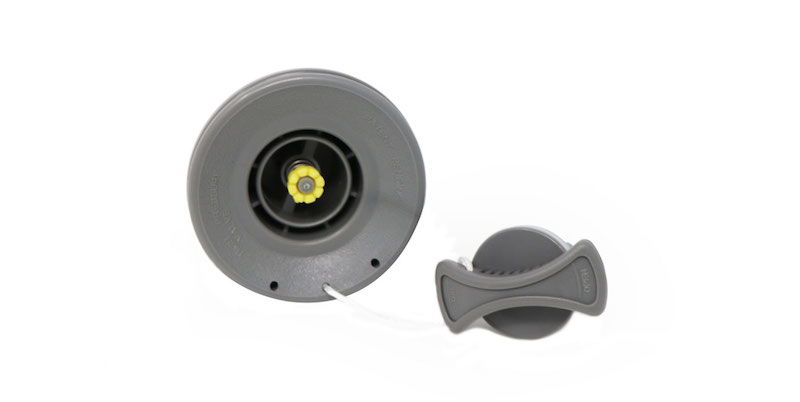
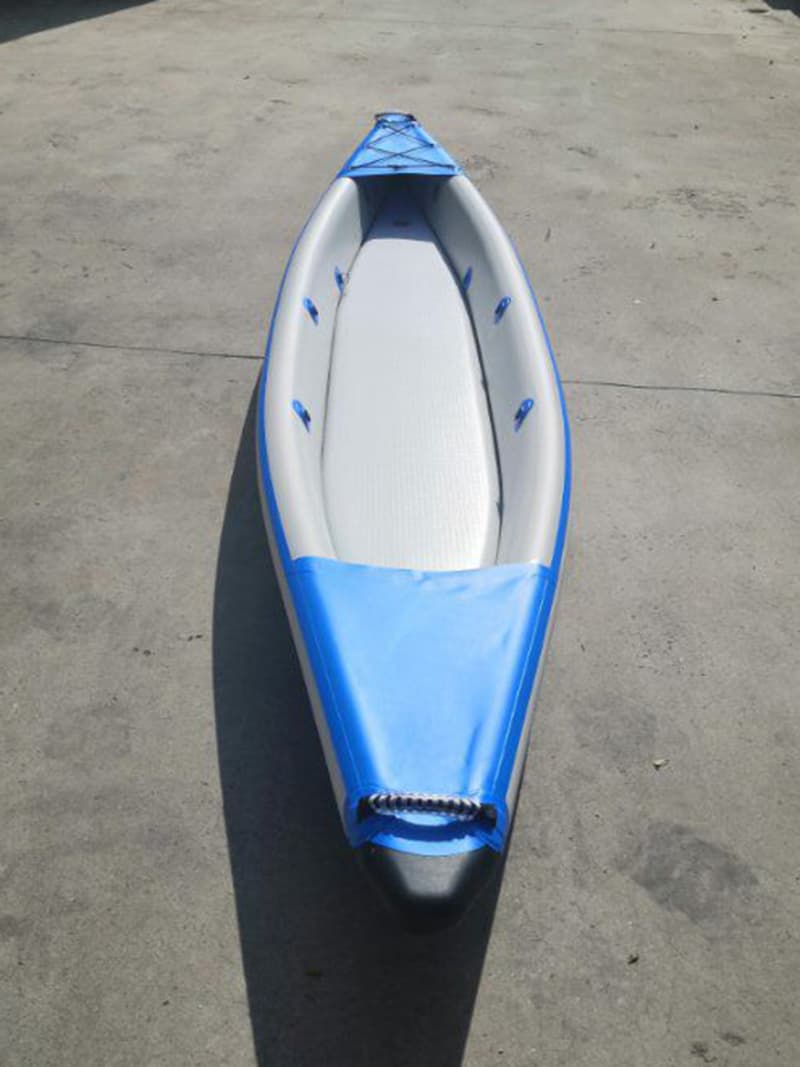
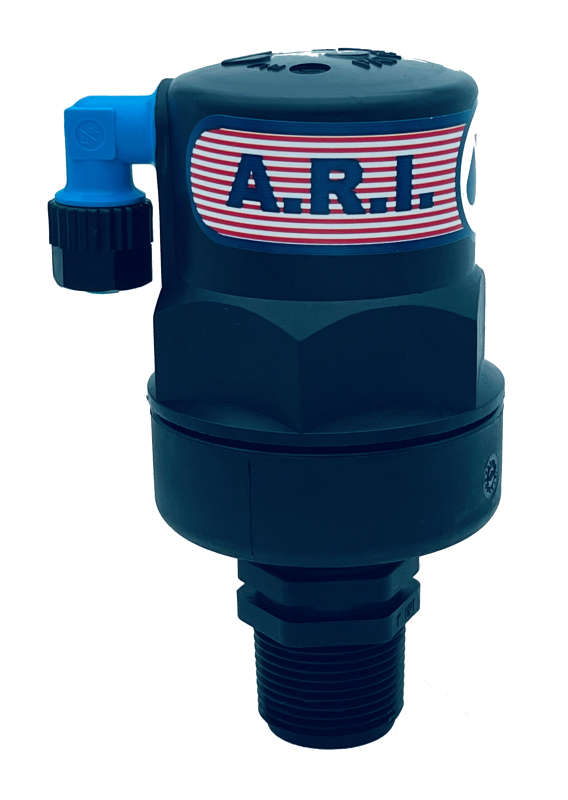
Before we dive into the installation process, it's essential to know what a kayak air valve is. It's a type of air valve commonly used in inflatable kayaks, but it can also be used in air mattresses. It works similarly to a standard air valve, but it has a twist and lock mechanism that keeps the air from escaping. Now, let's get started with the installation process.


The Process of Installing a Kayak Air Valve in an Air Mattress


Step-by-Step Guide for Installing a Kayak Air Valve in an Air Mattress
Step 1: Gather the necessary materials – You will need a kayak air valve, a knife, a marker, a ruler, and a heat gun. You can purchase a kayak air valve from your local camping or outdoor store or online.
Step 2: Locate the spot for the valve – Using the ruler, measure the size of the valve, and mark the spot on your air mattress with the marker. Make sure to choose a flat and smooth area to ensure a secure seal.
Step 3: Cut the hole – Using the knife, carefully cut the hole into the marked spot. Make sure to cut slightly smaller than the valve's size to create a tight fit.
Step 4: Heat the area – Using the heat gun, gently heat the edges of the hole to make them more pliable. This will help create a better seal between the valve and the air mattress.
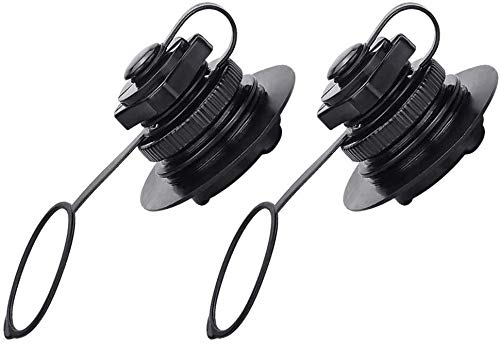
Step 5: Insert the valve – Carefully insert the valve into the hole and push it all the way through. Make sure it is centered and straight.
Step 6: Secure the valve – Using the heat gun, heat the valve's outer edges and gently press them onto the air mattress to create a seal. You can also use a roller or a flat surface to ensure a secure bond.
Step 7: Test the valve – Once the valve is securely attached, test it by inflating and deflating the air mattress. If there are any leaks, use the heat gun to reseal the valve.


Step-by-Step Guide for Installing a Kayak Air Valve in an Air Mattress


DIY: Installing a Kayak Air Valve in an Air Mattress
If you're a DIY enthusiast, you can also make your own kayak air valve using a plastic bottle cap, a rubber gasket, and a twist and lock mechanism. Simply follow the same steps as above, but instead of purchasing a valve, create one using these materials. However, make sure to test it before using it to ensure a secure seal.
Installing a Kayak Air Valve in an Air Mattress: A Comprehensive Guide


What You Need to Know Before Installing a Kayak Air Valve in an Air Mattress
Before you start the installation process, here are some essential things to keep in mind. Firstly, make sure to choose a flat and smooth area to attach the valve. Secondly, do not overheat the material as it can damage the air mattress. Lastly, always test the valve before using it to avoid any inconvenience during your camping trip.


DIY: Installing a Kayak Air Valve in an Air Mattress
Expert Tips for Installing a Kayak Air Valve in an Air Mattress
Here are some expert tips to help you with the installation process. Firstly, use a heat gun instead of a hairdryer as it provides more precise heat control. Secondly, make sure to use a roller or a flat surface to ensure a secure bond between the valve and the air mattress. Lastly, practice caution while using a knife to avoid any injuries.

What You Need to Know Before Installing a Kayak Air Valve in an Air Mattress


Common Mistakes to Avoid When Installing a Kayak Air Valve in an Air Mattress
While installing a kayak air valve may seem like a simple task, there are some common mistakes that people make. One of them is not heating the edges of the hole properly, which can result in a weak seal. Another mistake is not testing the valve before using it, which can lead to a deflated air mattress during your trip. Make sure to avoid these mistakes for a successful installation.
Expert Tips for Installing a Kayak Air Valve in an Air Mattress
Troubleshooting: How to Fix Issues with a Kayak Air Valve in an Air Mattress
If you encounter any issues with your kayak air valve, here are some troubleshooting tips to help you out. If there are any leaks, use the heat gun to reseal the edges. If the valve is not functioning correctly, check if it is centered and straight or reheat and reattach it if needed. If the valve is too loose, use an adhesive to create a better bond.


Common Mistakes to Avoid When Installing a Kayak Air Valve in an Air Mattress


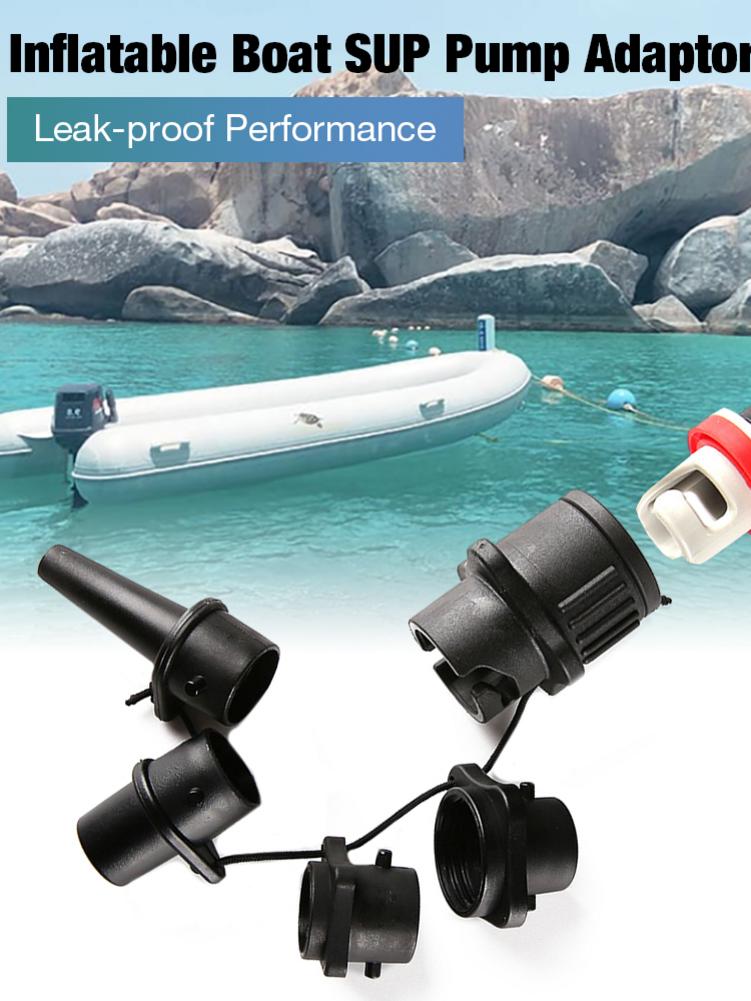
Where to Buy a Kayak Air Valve for Your Air Mattress
You can purchase a kayak air valve from your local camping or outdoor store or online. Make sure to choose a reputable brand to ensure a quality product. You can also purchase a plastic bottle cap and a twist and lock mechanism to create your own valve. Alternatively, you can also find DIY tutorials online on how to make a kayak air valve.
With these easy-to-follow steps and tips, you can now install a kayak air valve in your air mattress and enjoy a comfortable and hassle-free camping experience. So go ahead and try it out for yourself!

Troubleshooting: How to Fix Issues with a Kayak Air Valve in an Air Mattress

Why Installing a Kayak Air Valve in Your Air Mattress is a Game-Changer

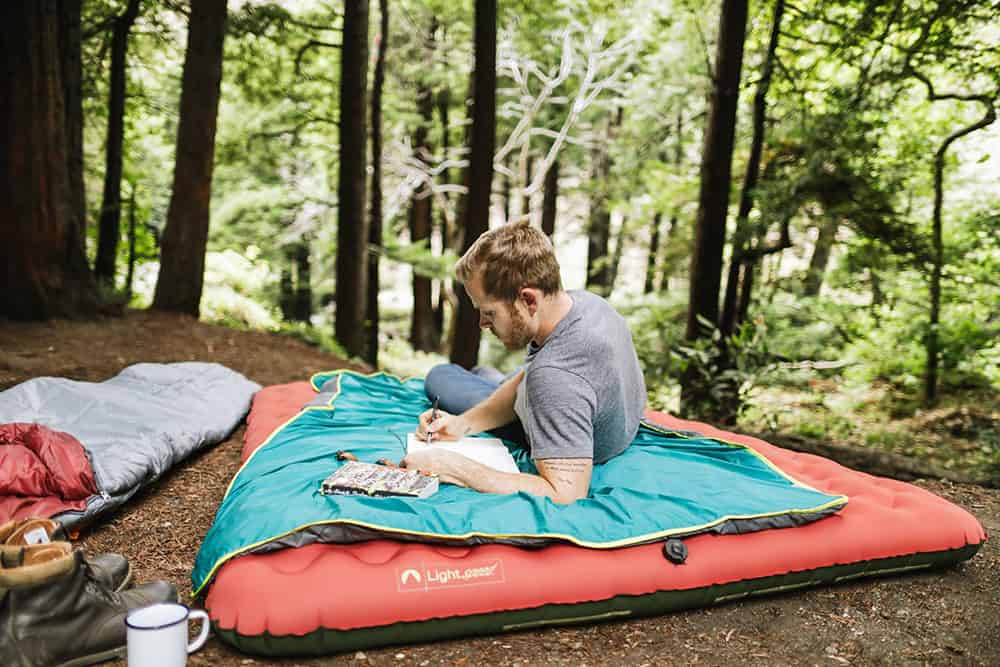
The Importance of a Good Night's Sleep
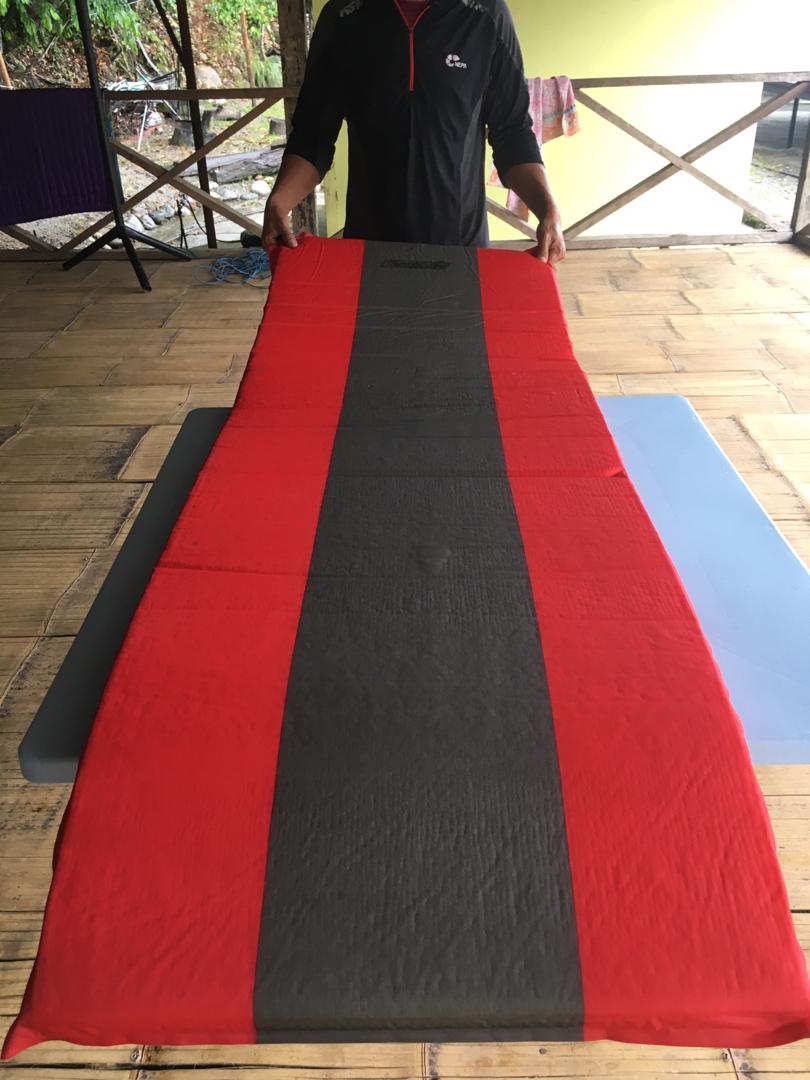
 We all know the struggle of trying to get a good night's sleep on an uncomfortable air mattress. Waking up with a sore back or feeling like you've been sleeping on a deflated balloon is not the ideal way to start your day. That's why finding the right air mattress and ensuring it stays inflated throughout the night is crucial for a good night's sleep.
One innovative solution to this problem is installing a kayak air valve in your air mattress.
We all know the struggle of trying to get a good night's sleep on an uncomfortable air mattress. Waking up with a sore back or feeling like you've been sleeping on a deflated balloon is not the ideal way to start your day. That's why finding the right air mattress and ensuring it stays inflated throughout the night is crucial for a good night's sleep.
One innovative solution to this problem is installing a kayak air valve in your air mattress.
The Benefits of a Kayak Air Valve
 A kayak air valve is a small, but mighty addition to your air mattress. It is designed to provide a secure and airtight seal, preventing any air from leaking out. This means you can say goodbye to constantly having to re-inflate your air mattress throughout the night.
With a kayak air valve, you can have a comfortable and uninterrupted sleep.
Not only does a kayak air valve keep your air mattress inflated, but it also allows for easy inflation and deflation. Most kayak air valves are designed with a one-way system, which means air can only enter and not escape. This makes inflating your air mattress a breeze, and deflating it even easier.
No more struggling with bulky pumps or trying to squeeze all the air out of your mattress.
A kayak air valve is a small, but mighty addition to your air mattress. It is designed to provide a secure and airtight seal, preventing any air from leaking out. This means you can say goodbye to constantly having to re-inflate your air mattress throughout the night.
With a kayak air valve, you can have a comfortable and uninterrupted sleep.
Not only does a kayak air valve keep your air mattress inflated, but it also allows for easy inflation and deflation. Most kayak air valves are designed with a one-way system, which means air can only enter and not escape. This makes inflating your air mattress a breeze, and deflating it even easier.
No more struggling with bulky pumps or trying to squeeze all the air out of your mattress.
How to Install a Kayak Air Valve
 Installing a kayak air valve in your air mattress is a simple process that can be done in a matter of minutes. First, you will need to purchase a kayak air valve and ensure it is compatible with your air mattress. Then, locate the spot on your air mattress where you want to install the valve.
It is recommended to choose a spot that is flat and easily accessible.
Next, using a sharp knife, cut a small hole in the air mattress, making sure it is big enough for the valve to fit through.
Be careful not to make the hole too big, as this can cause air to leak out.
Finally, insert the valve into the hole and secure it with the accompanying adhesive or patch.
Installing a kayak air valve in your air mattress is a simple process that can be done in a matter of minutes. First, you will need to purchase a kayak air valve and ensure it is compatible with your air mattress. Then, locate the spot on your air mattress where you want to install the valve.
It is recommended to choose a spot that is flat and easily accessible.
Next, using a sharp knife, cut a small hole in the air mattress, making sure it is big enough for the valve to fit through.
Be careful not to make the hole too big, as this can cause air to leak out.
Finally, insert the valve into the hole and secure it with the accompanying adhesive or patch.
Conclusion
 Investing in a kayak air valve for your air mattress is a game-changer. It not only ensures a comfortable and uninterrupted sleep, but also makes inflating and deflating your mattress a breeze. So why settle for a subpar air mattress when you can easily upgrade it with a kayak air valve?
Say goodbye to restless nights and hello to a good night's sleep with a kayak air valve installed in your air mattress.
Investing in a kayak air valve for your air mattress is a game-changer. It not only ensures a comfortable and uninterrupted sleep, but also makes inflating and deflating your mattress a breeze. So why settle for a subpar air mattress when you can easily upgrade it with a kayak air valve?
Say goodbye to restless nights and hello to a good night's sleep with a kayak air valve installed in your air mattress.