If you've noticed that your kitchen sink spray nozzle is no longer functioning as it should, it may be time for a replacement. While this may seem like a daunting task, it is actually a simple DIY project that can save you time and money. In this article, we will provide you with step-by-step instructions on how to replace your kitchen sink spray nozzle.How to Replace a Kitchen Sink Spray Nozzle


How to Replace a Kitchen Sink Spray Nozzle


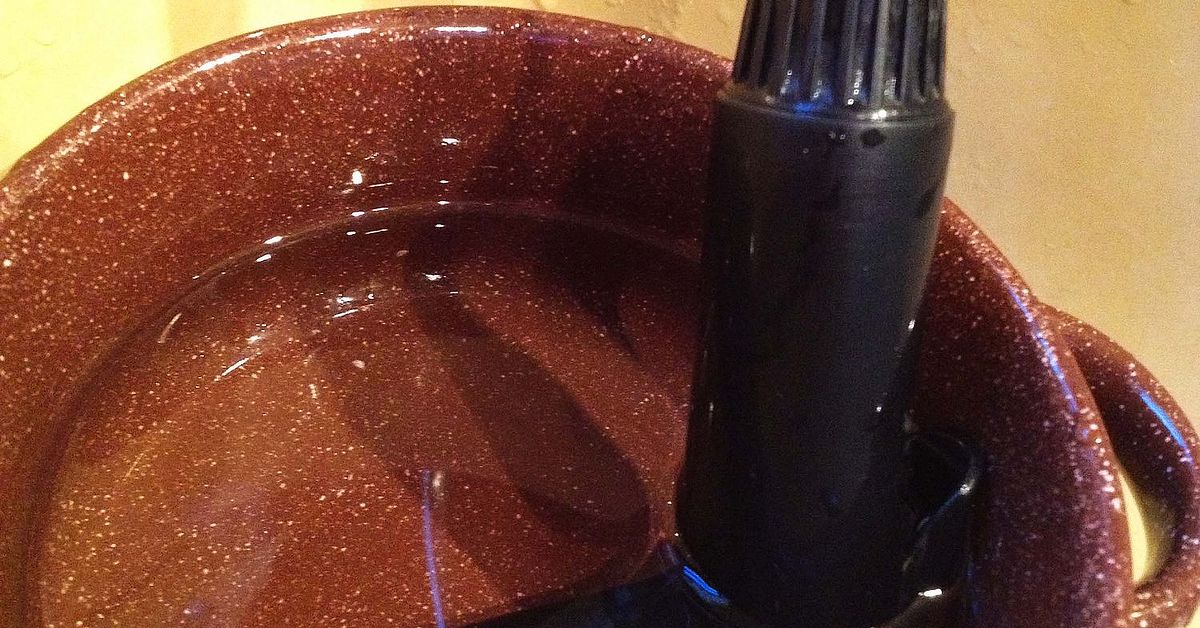
/25089301983_c5145fe85d_o-58418ef15f9b5851e5f392b5.jpg)
Before you begin, make sure you have all the necessary tools and materials. You will need a new kitchen sink spray nozzle, an adjustable wrench, a cloth or rag, and plumber's tape. Once you have everything, follow these easy steps: Step 1: Turn off the water supply to your kitchen sink. This can usually be done by turning the shut-off valves under the sink clockwise. If you cannot find these valves, you may need to turn off the main water supply to your house. Step 2: Remove the old spray nozzle by twisting it counterclockwise. You may need to use pliers or an adjustable wrench to loosen it if it is stuck. Step 3: Clean the area where the old spray nozzle was attached. Use a cloth or rag to wipe away any residue or debris. Step 4: Wrap plumber's tape around the threads of the new spray nozzle. This will help create a tight seal and prevent any leaks. Step 5: Attach the new spray nozzle by twisting it clockwise. Use an adjustable wrench to tighten it if necessary, but be careful not to over-tighten as this can cause damage. Step 6: Turn the water supply back on and test the new spray nozzle. If there are any leaks, tighten the connections or reapply plumber's tape as needed. Step 7: Once everything is functioning properly, clean up any excess water and debris and enjoy your new kitchen sink spray nozzle!Replacing a Kitchen Sink Spray Nozzle: Step-by-Step Instructions


Replacing a Kitchen Sink Spray Nozzle: Step-by-Step Instructions


Not only is replacing a kitchen sink spray nozzle a simple DIY project, but it can also save you money on hiring a plumber. With a few tools and some basic knowledge, you can easily complete this task on your own.DIY: Replacing a Kitchen Sink Spray Nozzle


DIY: Replacing a Kitchen Sink Spray Nozzle


For those who are new to DIY projects, here is a step-by-step guide on how to replace a kitchen sink spray nozzle: Step 1: Gather all necessary tools and materials. Step 2: Turn off the water supply to your kitchen sink. Step 3: Remove the old spray nozzle. Step 4: Clean the area where the old spray nozzle was attached. Step 5: Wrap plumber's tape around the threads of the new spray nozzle. Step 6: Attach the new spray nozzle. Step 7: Turn the water supply back on and test the new spray nozzle.Step-by-Step Guide for Replacing a Kitchen Sink Spray Nozzle


Step-by-Step Guide for Replacing a Kitchen Sink Spray Nozzle


If you are new to DIY projects, replacing a kitchen sink spray nozzle is a great place to start. It is a simple and straightforward task that can boost your confidence and save you money. Follow our beginner's guide and you'll have a new spray nozzle in no time!Replacing a Kitchen Sink Spray Nozzle: A Beginner's Guide


Replacing a Kitchen Sink Spray Nozzle: A Beginner's Guide


Don't let the thought of replacing a kitchen sink spray nozzle intimidate you. With our easy instructions, you can have your new spray nozzle installed quickly and easily. Say goodbye to a faulty spray nozzle and hello to a more functional kitchen sink!Easy Instructions for Replacing a Kitchen Sink Spray Nozzle

Easy Instructions for Replacing a Kitchen Sink Spray Nozzle


While replacing a kitchen sink spray nozzle is a simple task, there are a few tips and tricks that can make the process even easier: Tip 1: Use an adjustable wrench to loosen the old spray nozzle if it is stuck. Tip 2: Apply a small amount of plumber's tape to the threads of the new spray nozzle for a tighter seal. Tip 3: Turn the water supply back on slowly to check for any leaks.Replacing a Kitchen Sink Spray Nozzle: Tips and Tricks


Replacing a Kitchen Sink Spray Nozzle: Tips and Tricks

If you have just purchased a new kitchen sink spray nozzle and are unsure of how to install it, follow these easy steps: Step 1: Gather all necessary tools and materials. Step 2: Turn off the water supply to your kitchen sink. Step 3: Remove the old spray nozzle. Step 4: Clean the area where the old spray nozzle was attached. Step 5: Wrap plumber's tape around the threads of the new spray nozzle. Step 6: Attach the new spray nozzle. Step 7: Turn the water supply back on and test the new spray nozzle.How to Install a New Kitchen Sink Spray Nozzle

How to Install a New Kitchen Sink Spray Nozzle


While replacing a kitchen sink spray nozzle is a relatively simple task, there are a few common mistakes that you should avoid: Mistake 1: Over-tightening the connections, which can cause damage. Mistake 2: Forgetting to turn off the water supply, resulting in a messy and potentially damaging leak. Mistake 3: Not cleaning the area before installing the new spray nozzle, which can cause a poor seal and lead to leaks.Replacing a Kitchen Sink Spray Nozzle: Common Mistakes to Avoid

Replacing a Kitchen Sink Spray Nozzle: Common Mistakes to Avoid
If you prefer a more visual approach, follow our step-by-step tutorial for replacing a kitchen sink spray nozzle: Step 1: Turn off the water supply. Step 2: Remove the old spray nozzle. Step 3: Clean the area where the old spray nozzle was attached. Step 4: Wrap plumber's tape around the threads of the new spray nozzle. Step 5: Attach the new spray nozzle. Step 6: Turn the water supply back on and test the new spray nozzle. Now that you have all the necessary information, you can confidently replace your kitchen sink spray nozzle. Remember to take your time and follow the instructions carefully to ensure a successful installation. Your kitchen sink will be back to functioning at its best in no time!Step-by-Step Tutorial for Replacing a Kitchen Sink Spray Nozzle


Step-by-Step Tutorial for Replacing a Kitchen Sink Spray Nozzle


Replacing Your Kitchen Sink Spray Nozzle: An Easy Guide

Why Replace Your Kitchen Sink Spray Nozzle?
 Kitchen sink spray nozzles
are essential tools in any kitchen, allowing for easy rinsing and cleaning of dishes, fruits, and vegetables. However, over time, these nozzles can become clogged with mineral deposits or break due to wear and tear. This can result in reduced water pressure and a less efficient
kitchen
cleaning
experience. In such cases, it is best to replace the nozzle instead of trying to fix it. Here's a simple guide on how to replace your kitchen sink spray nozzle.
Kitchen sink spray nozzles
are essential tools in any kitchen, allowing for easy rinsing and cleaning of dishes, fruits, and vegetables. However, over time, these nozzles can become clogged with mineral deposits or break due to wear and tear. This can result in reduced water pressure and a less efficient
kitchen
cleaning
experience. In such cases, it is best to replace the nozzle instead of trying to fix it. Here's a simple guide on how to replace your kitchen sink spray nozzle.
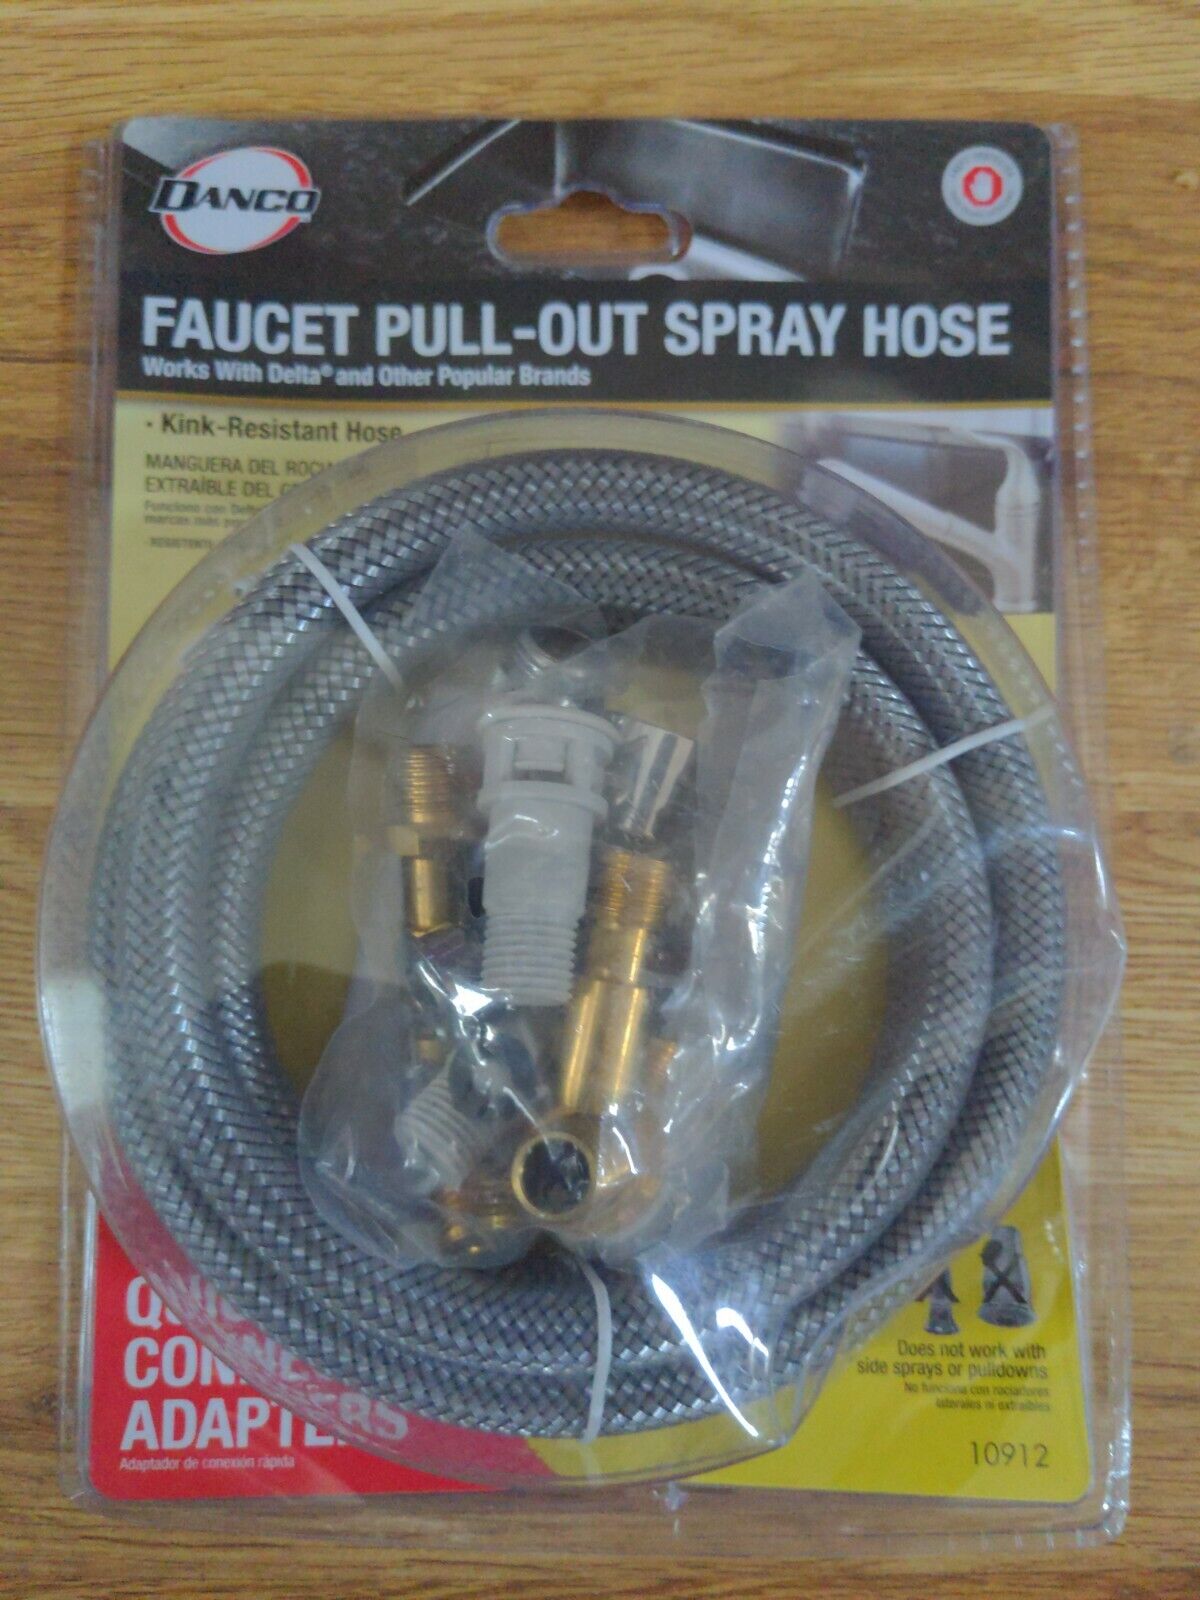
Gather Your Tools
 Before starting the replacement process, make sure you have all the necessary tools. These include a new
kitchen sink spray nozzle
, pliers, a screwdriver, and plumber's tape. You may also need a bucket to catch any water that may come out during the process.
Before starting the replacement process, make sure you have all the necessary tools. These include a new
kitchen sink spray nozzle
, pliers, a screwdriver, and plumber's tape. You may also need a bucket to catch any water that may come out during the process.
Step 1: Shut off the Water Supply
 The first step is to shut off the water supply to your kitchen sink. This can usually be done by turning off the
water valves
located under the sink. If you cannot locate these valves, you can turn off the main
water valve
for your house.
The first step is to shut off the water supply to your kitchen sink. This can usually be done by turning off the
water valves
located under the sink. If you cannot locate these valves, you can turn off the main
water valve
for your house.
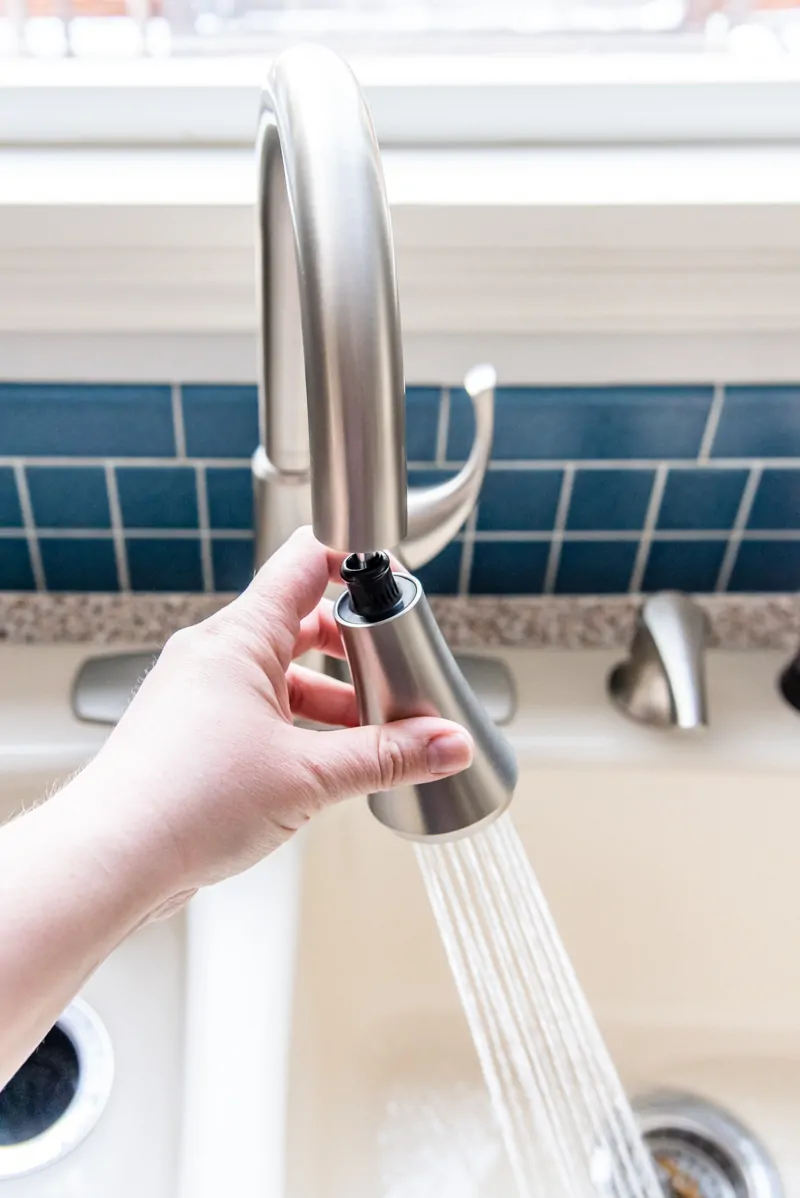
Step 2: Remove the Old Nozzle
 Using your pliers, loosen the
nut
that connects the
spray hose
to the base of the
kitchen faucet
. Once the nut is removed, you can pull out the old nozzle and set it aside.
Using your pliers, loosen the
nut
that connects the
spray hose
to the base of the
kitchen faucet
. Once the nut is removed, you can pull out the old nozzle and set it aside.
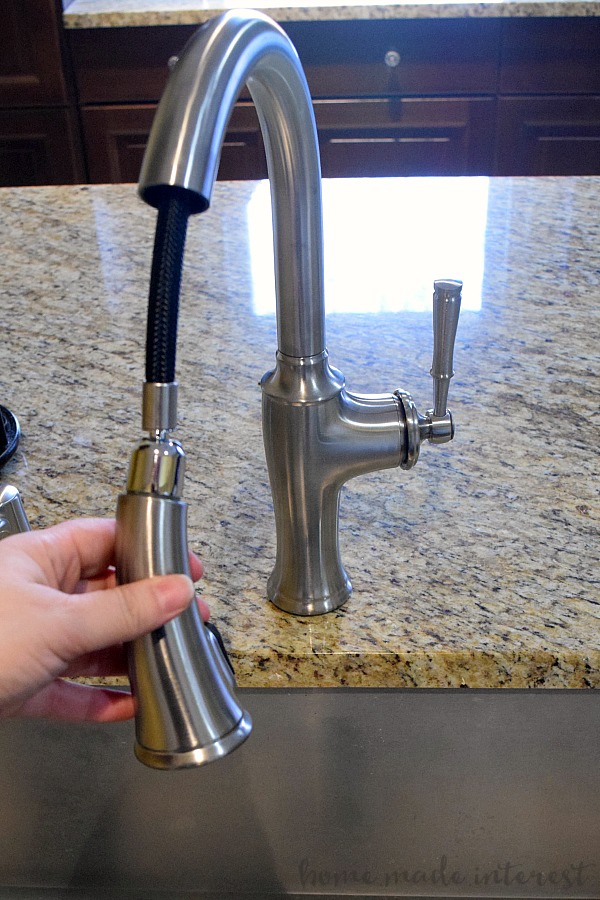
Step 3: Install the New Nozzle
 Take your new
kitchen sink spray nozzle
and wrap plumber's tape around the threads. This will help create a tight seal and prevent any leaks. Then, insert the nozzle into the spray hose and tighten the nut with your pliers.
Take your new
kitchen sink spray nozzle
and wrap plumber's tape around the threads. This will help create a tight seal and prevent any leaks. Then, insert the nozzle into the spray hose and tighten the nut with your pliers.
Step 4: Test the Water Flow
 Once the new nozzle is installed, turn on the water supply and test the water flow. If the water pressure is still low, check to make sure the nozzle is securely attached and the
water valves
are fully open.
Once the new nozzle is installed, turn on the water supply and test the water flow. If the water pressure is still low, check to make sure the nozzle is securely attached and the
water valves
are fully open.
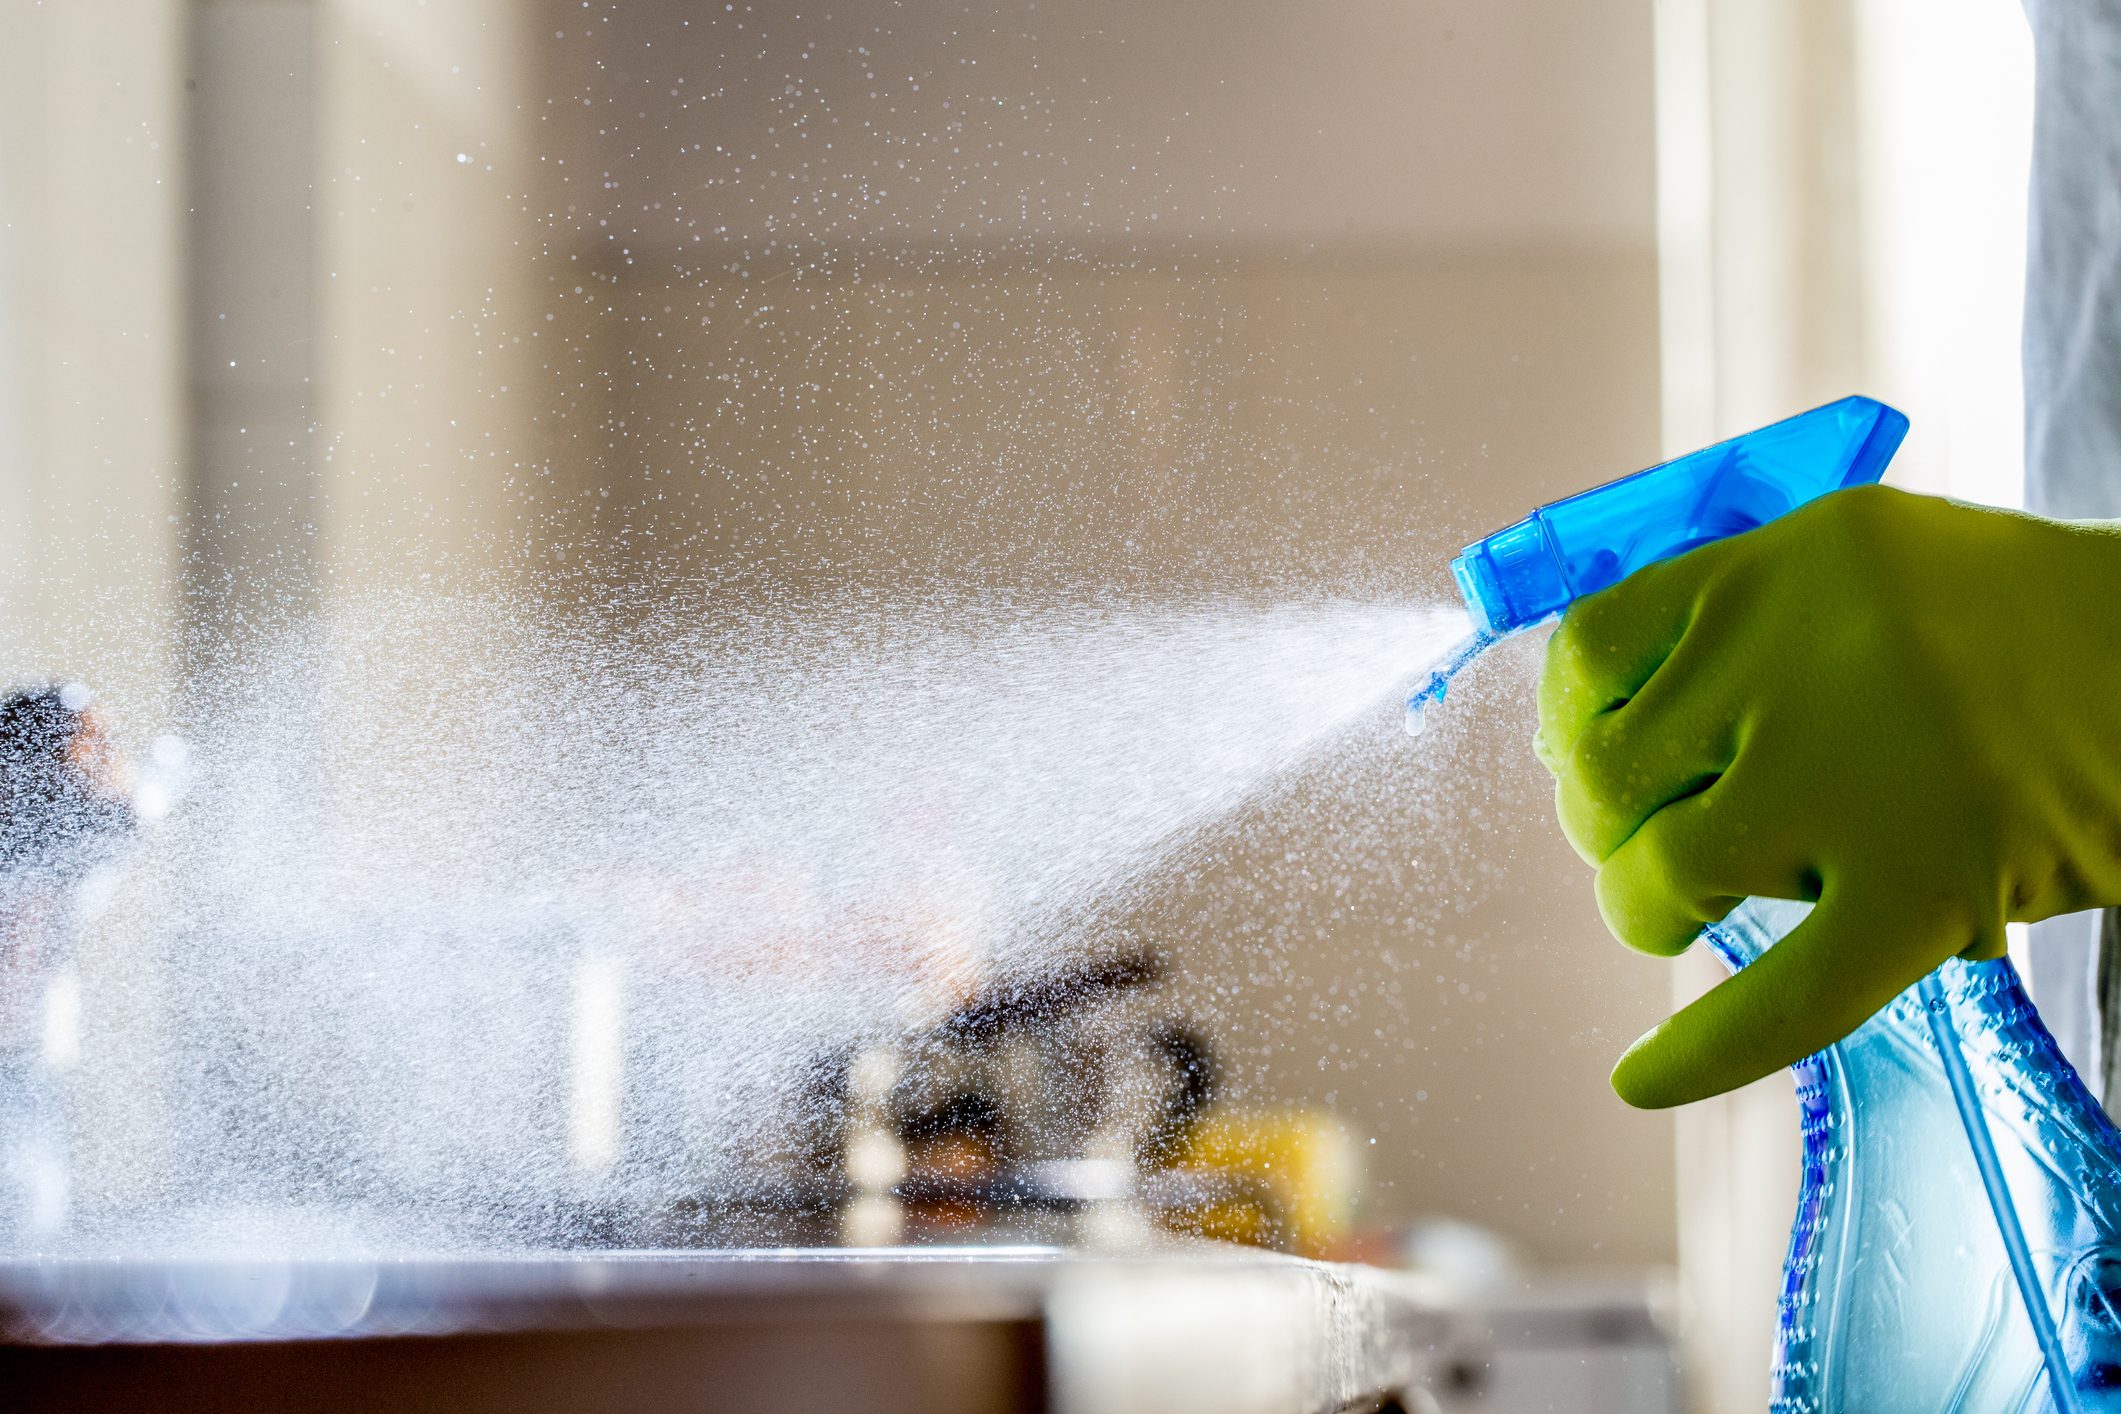
Step 5: Clean and Reattach the Nozzle
 If everything is working properly, you can now clean the nozzle with a gentle
cleaner
and reattach it to the base of the
kitchen faucet
. Make sure the nozzle is tightly secured and the water flow is consistent.
If everything is working properly, you can now clean the nozzle with a gentle
cleaner
and reattach it to the base of the
kitchen faucet
. Make sure the nozzle is tightly secured and the water flow is consistent.
Enjoy Your New Nozzle!
 Congratulations, you have successfully replaced your kitchen sink spray nozzle! Not only will your dishes and produce be cleaner, but you will also have a more efficient
kitchen cleaning
experience. Remember to periodically check and clean your nozzle to prevent any future clogs or issues. Happy
kitchen
designing
!
Congratulations, you have successfully replaced your kitchen sink spray nozzle! Not only will your dishes and produce be cleaner, but you will also have a more efficient
kitchen cleaning
experience. Remember to periodically check and clean your nozzle to prevent any future clogs or issues. Happy
kitchen
designing
!