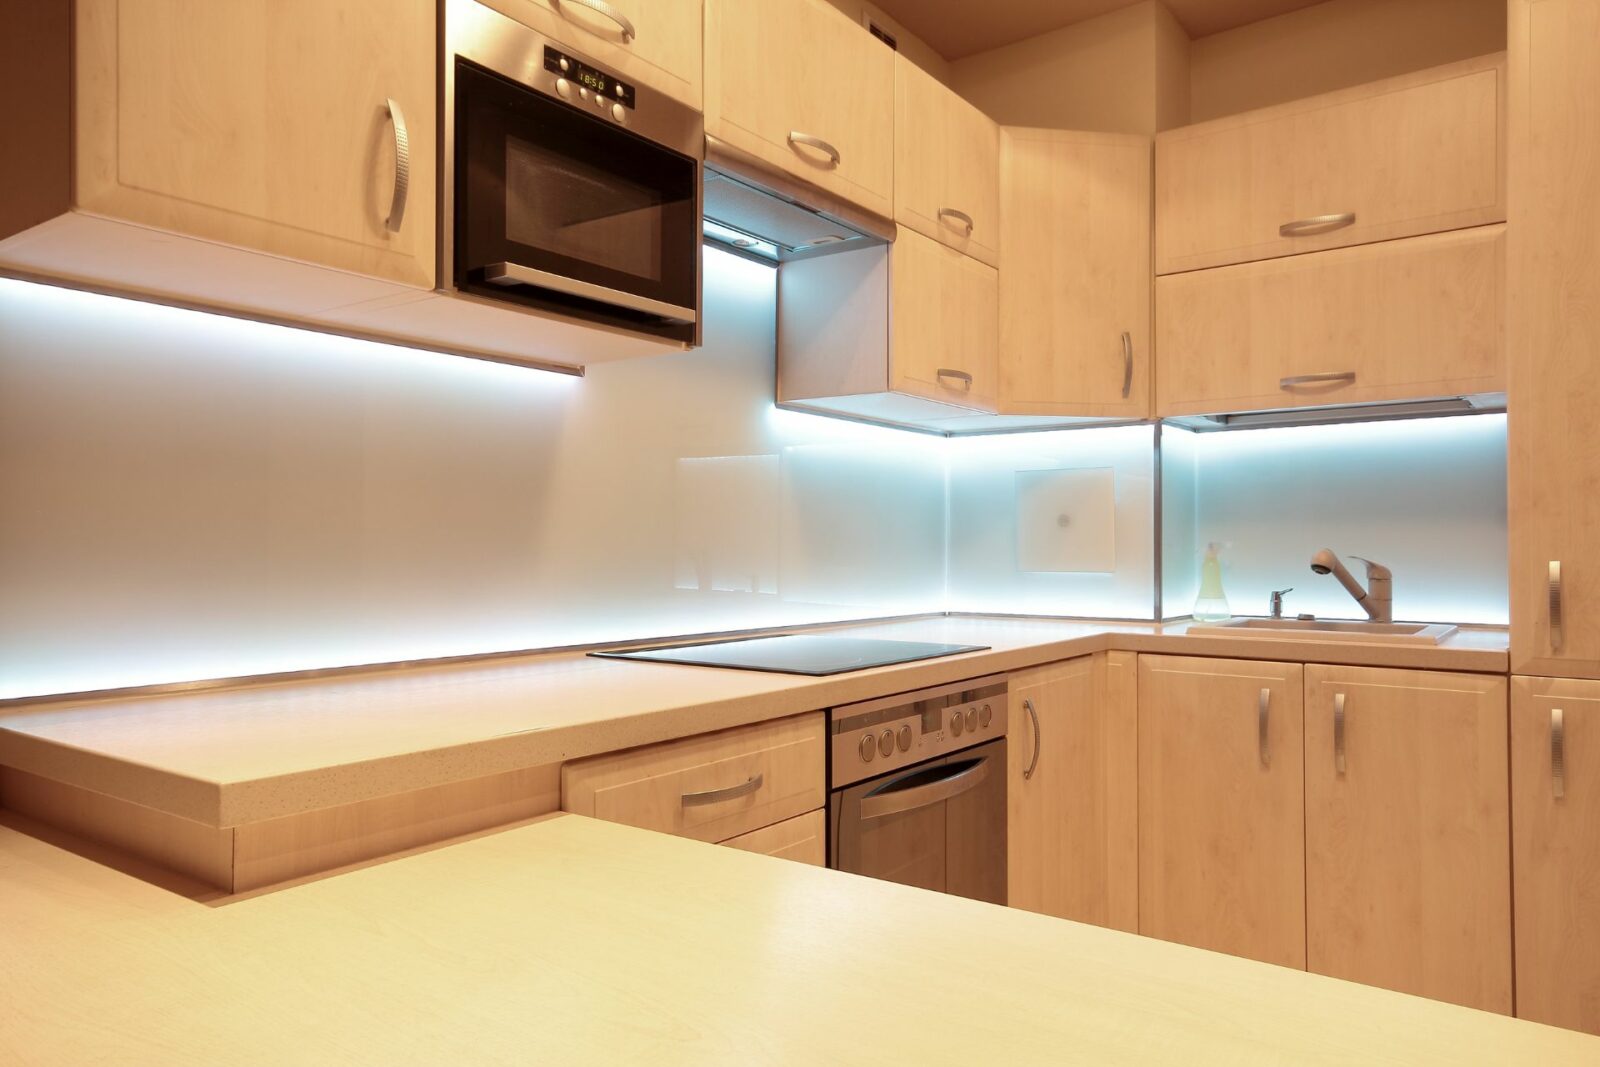
Installing under counter lighting in your kitchen is a great way to add both functionality and style to your space. Not only does it provide extra lighting for your countertops, but it can also create a warm and inviting ambiance in your kitchen. In this article, we will discuss the top 10 steps for installing under counter lights in your kitchen.Introduction
If you're looking to install under cabinet lighting in your kitchen, follow these steps for a successful and professional-looking installation:How to Install Under Cabinet Lighting in Your Kitchen
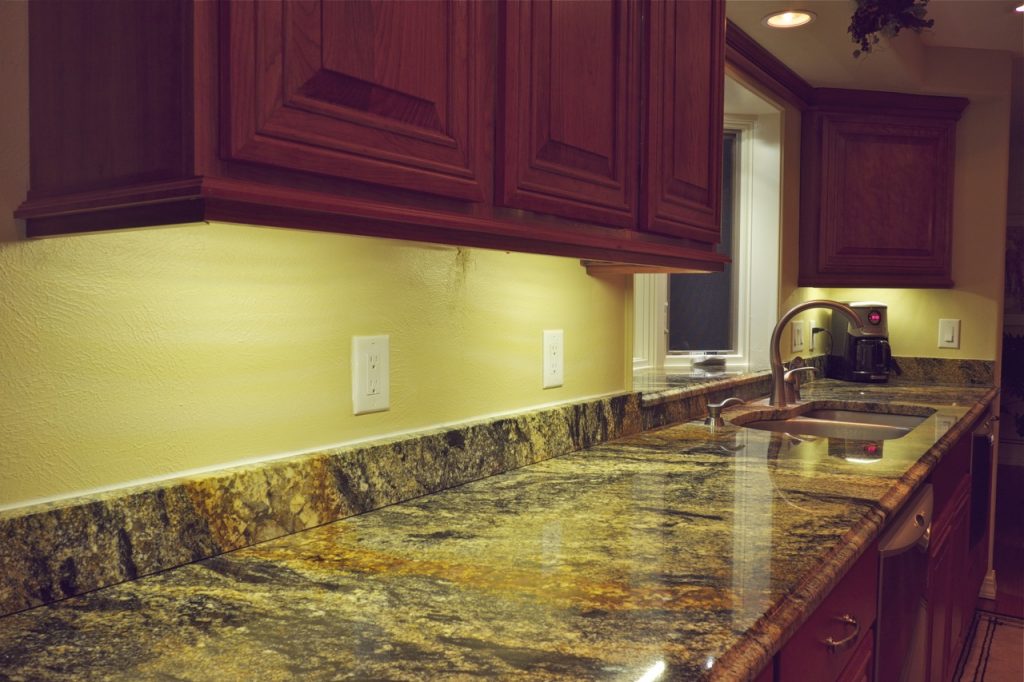
The first step is to plan and measure the area where you want to install the under cabinet lights. Take note of the length and width of your cabinets and countertops to determine how many lights you will need.Step 1: Plan and Measure
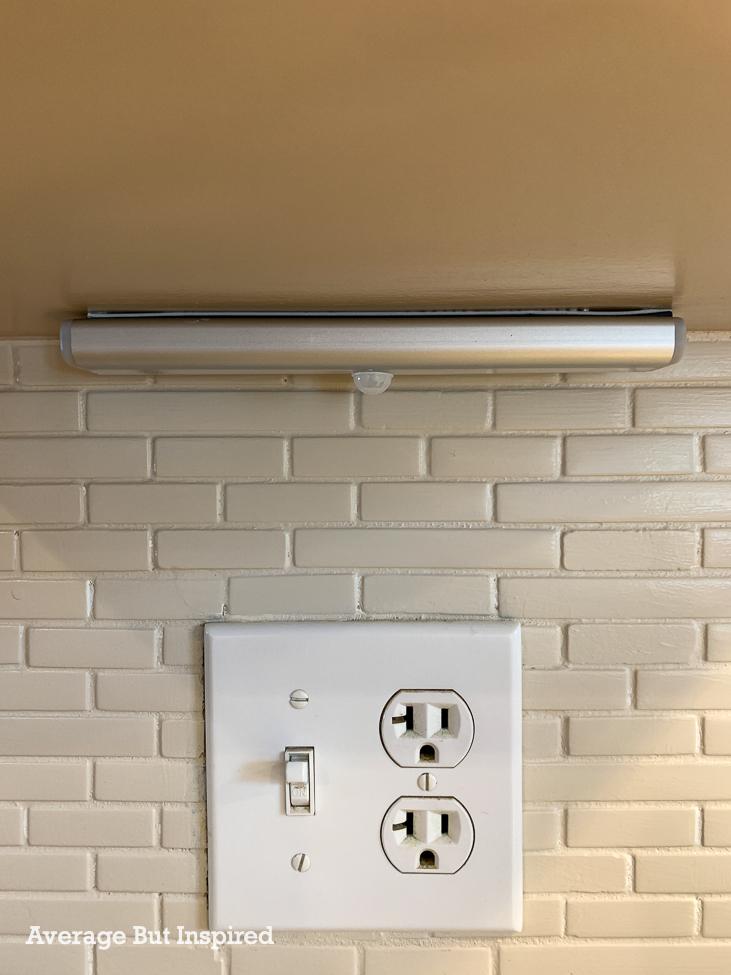
There are various options for under cabinet lighting, including LED, fluorescent, and battery-powered lights. Consider the size of your cabinets, the type of light you want (warm or cool), and your budget when choosing the right lighting for your kitchen.Step 2: Choose the Right Under Cabinet Lighting
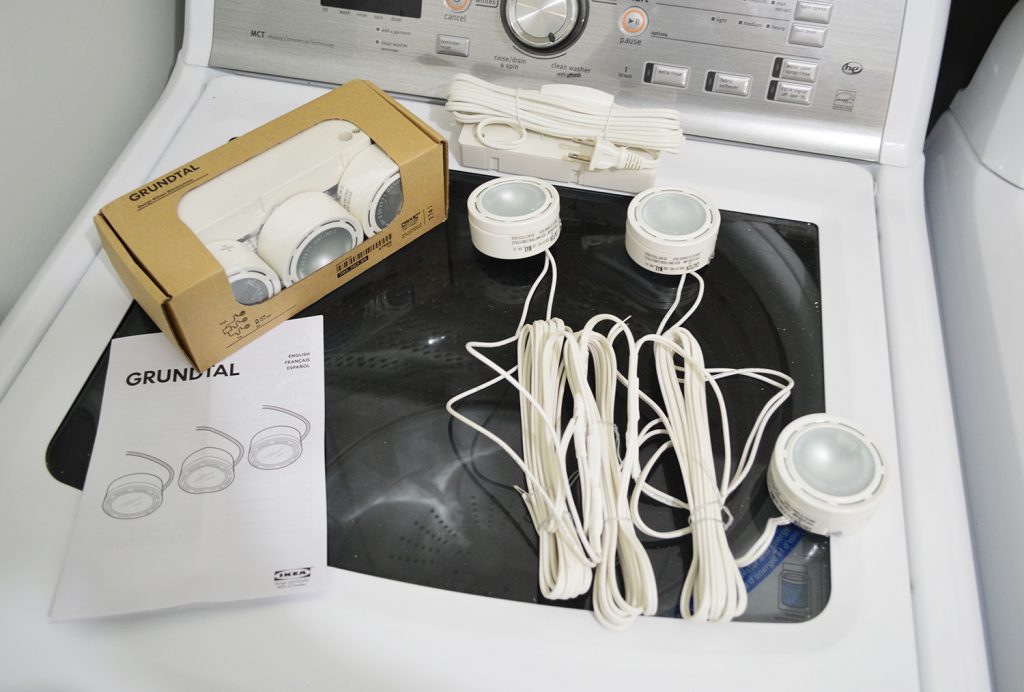
Before you start the installation process, make sure you have all the necessary tools and materials. These may include a screwdriver, drill, screws, wire strippers, and wire nuts.Step 3: Gather Your Tools and Materials
For safety purposes, turn off the power to the kitchen at the circuit breaker before beginning the installation process.Step 4: Turn Off the Power
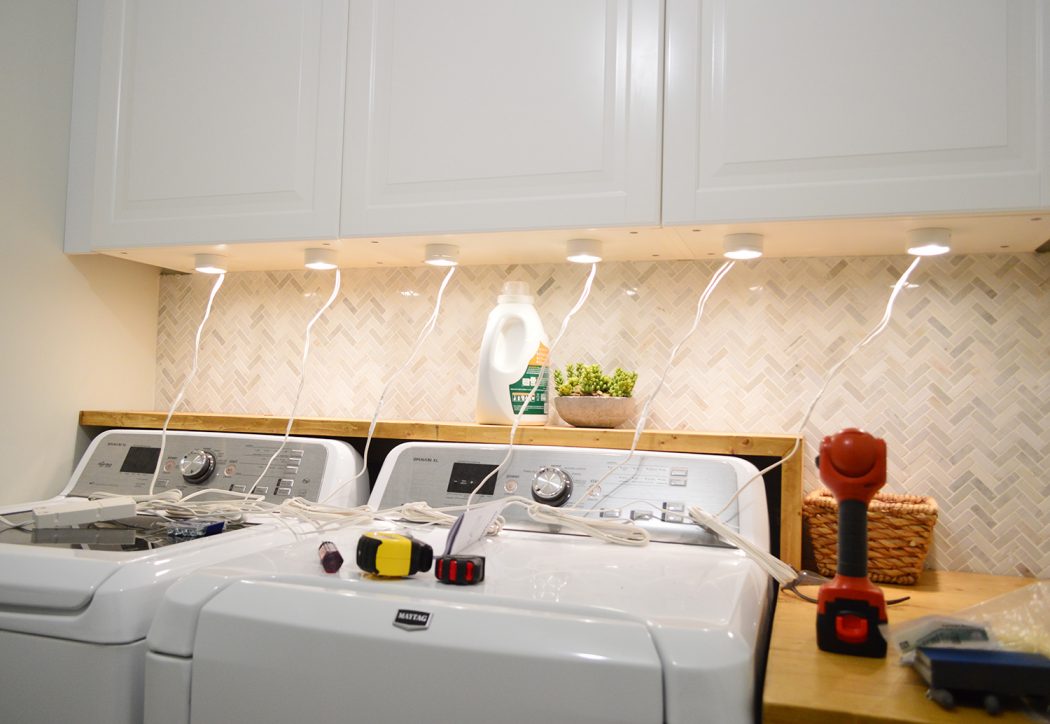
Using a pencil, mark the placement of the lights on the bottom of your cabinets. Make sure they are evenly spaced and centered under the cabinets.Step 5: Mark the Placement of the Lights
Using a drill, create holes on the marked spots for the lights to be installed. Make sure the holes are slightly smaller than the lights to ensure a snug fit.Step 6: Drill Holes
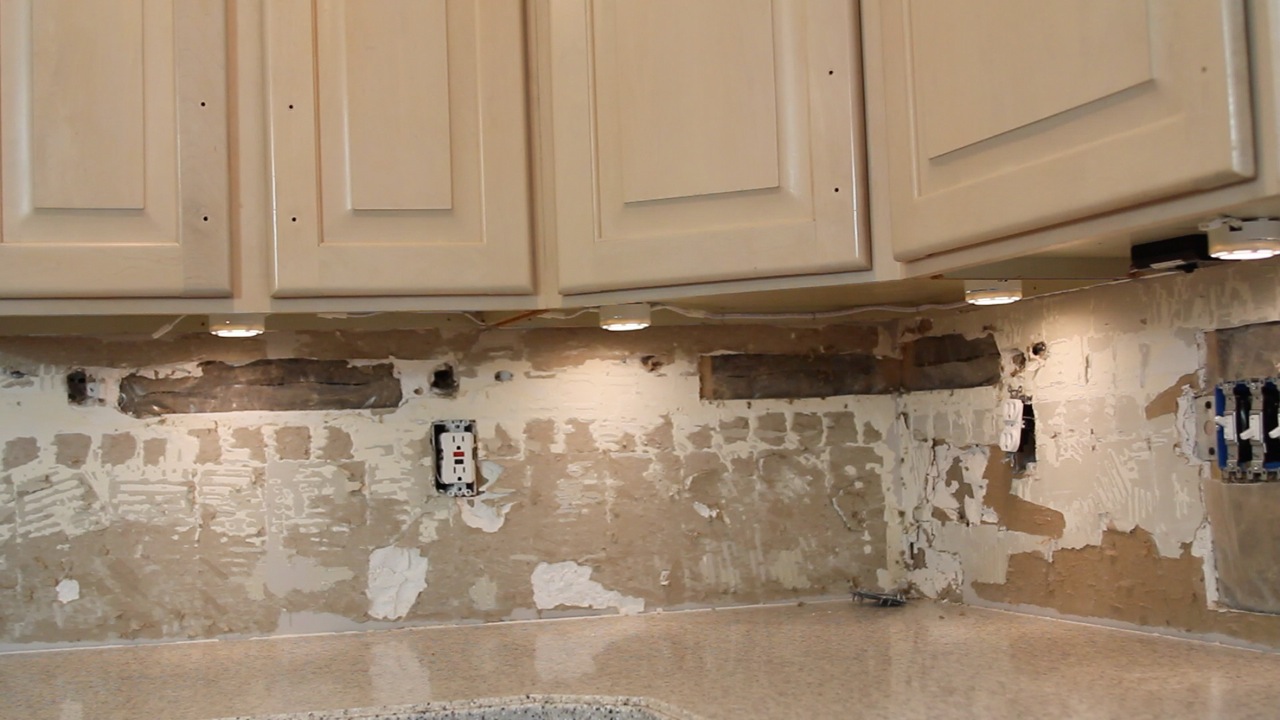
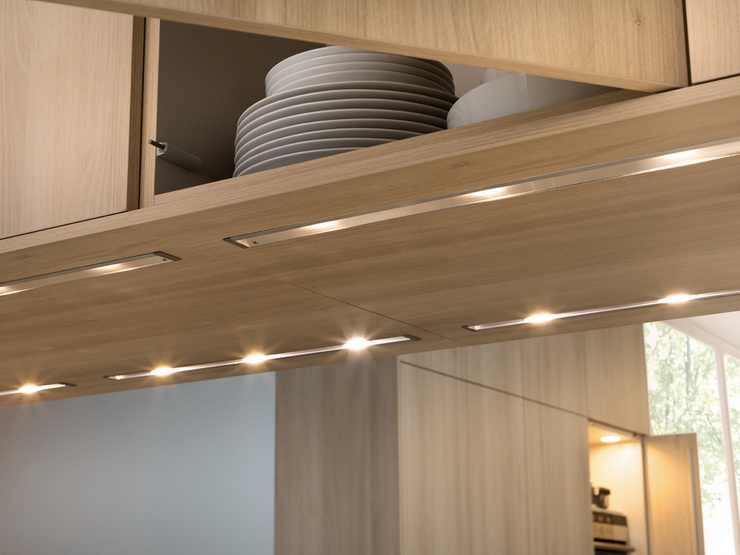
Carefully feed the wires of the lights through the holes and secure the lights in place with screws. Make sure the lights are flush against the bottom of the cabinets.Step 7: Install the Lights
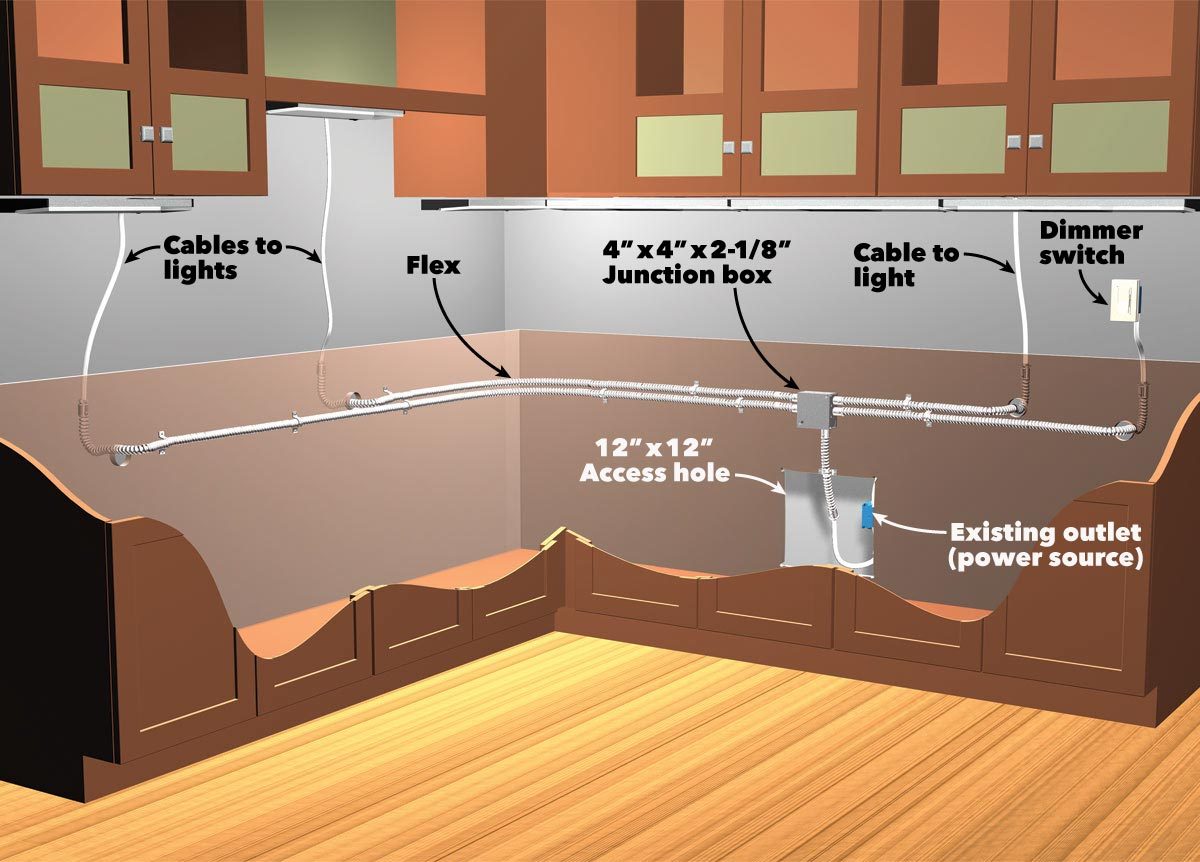
Using wire nuts, connect the wires of the lights to the corresponding wires in the wall. Make sure to follow the manufacturer's instructions for proper wiring.Step 8: Connect the Wires
Why Under Counter Lights are a Must-Have in Your Kitchen

Efficient and Effective Lighting
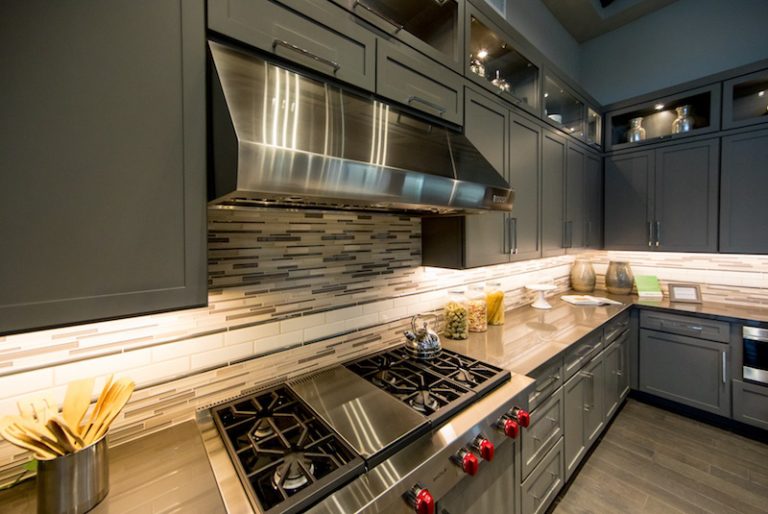
 Under counter lights are a game-changer when it comes to kitchen design. These lights provide efficient and effective lighting that is essential for any functional kitchen. Many homeowners struggle with dim and inadequate lighting in their kitchen, making it difficult to see while cooking or preparing meals. With under counter lights, not only will your kitchen be well-lit, but you'll also have the perfect amount of light for any task.
Enhanced Aesthetics
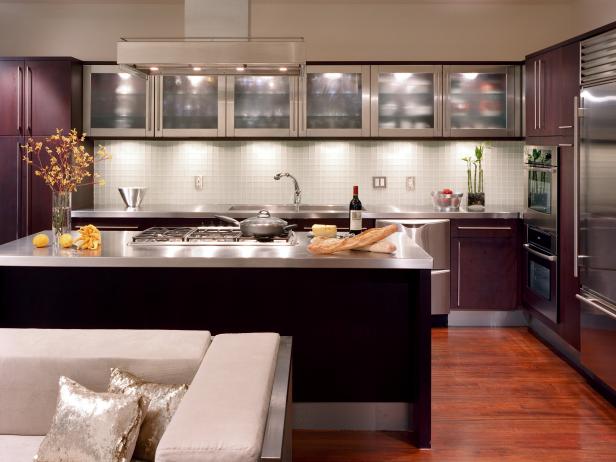
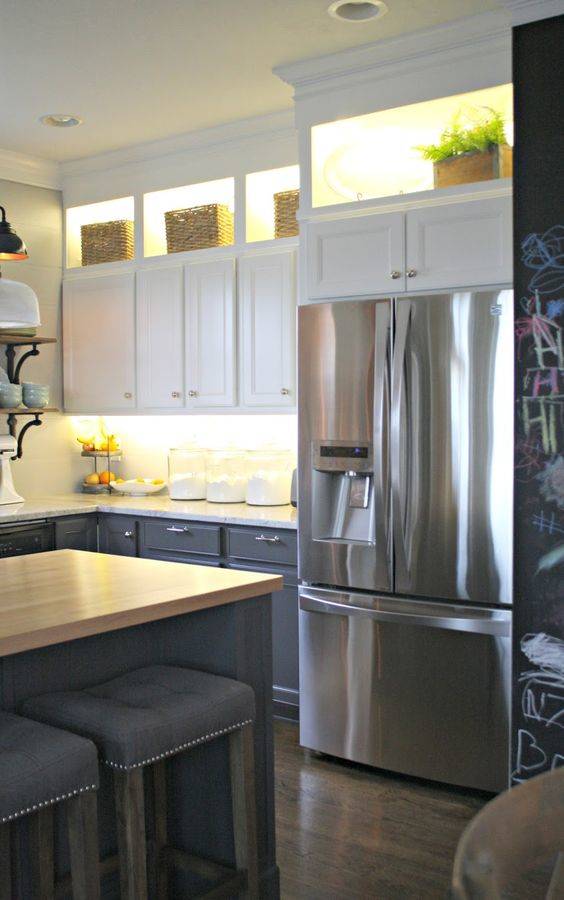
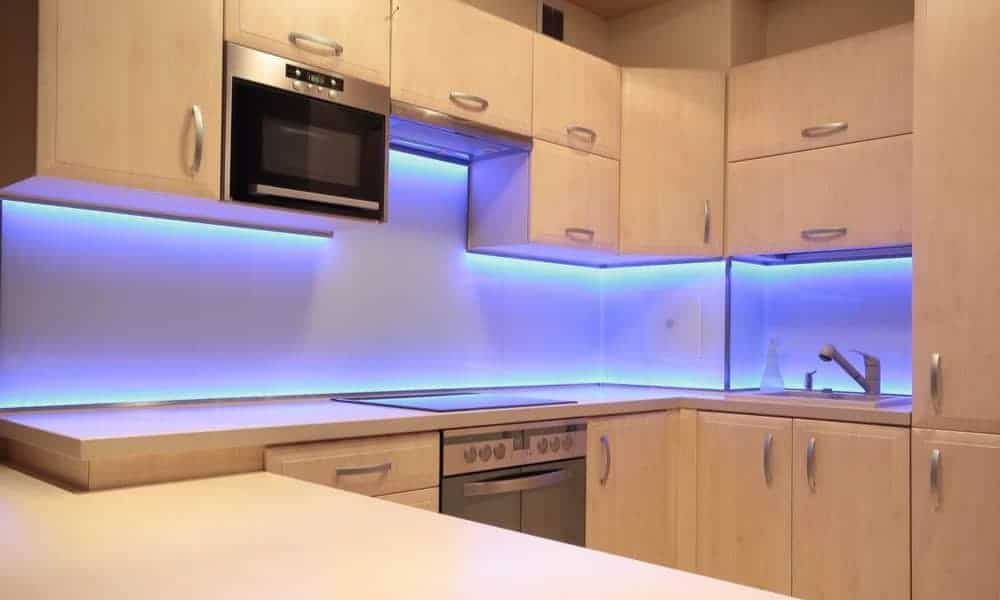
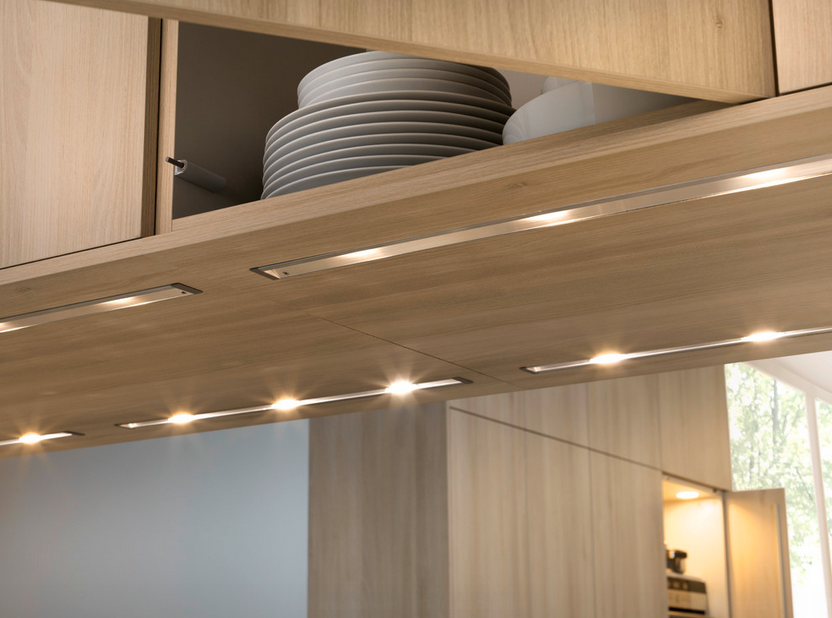
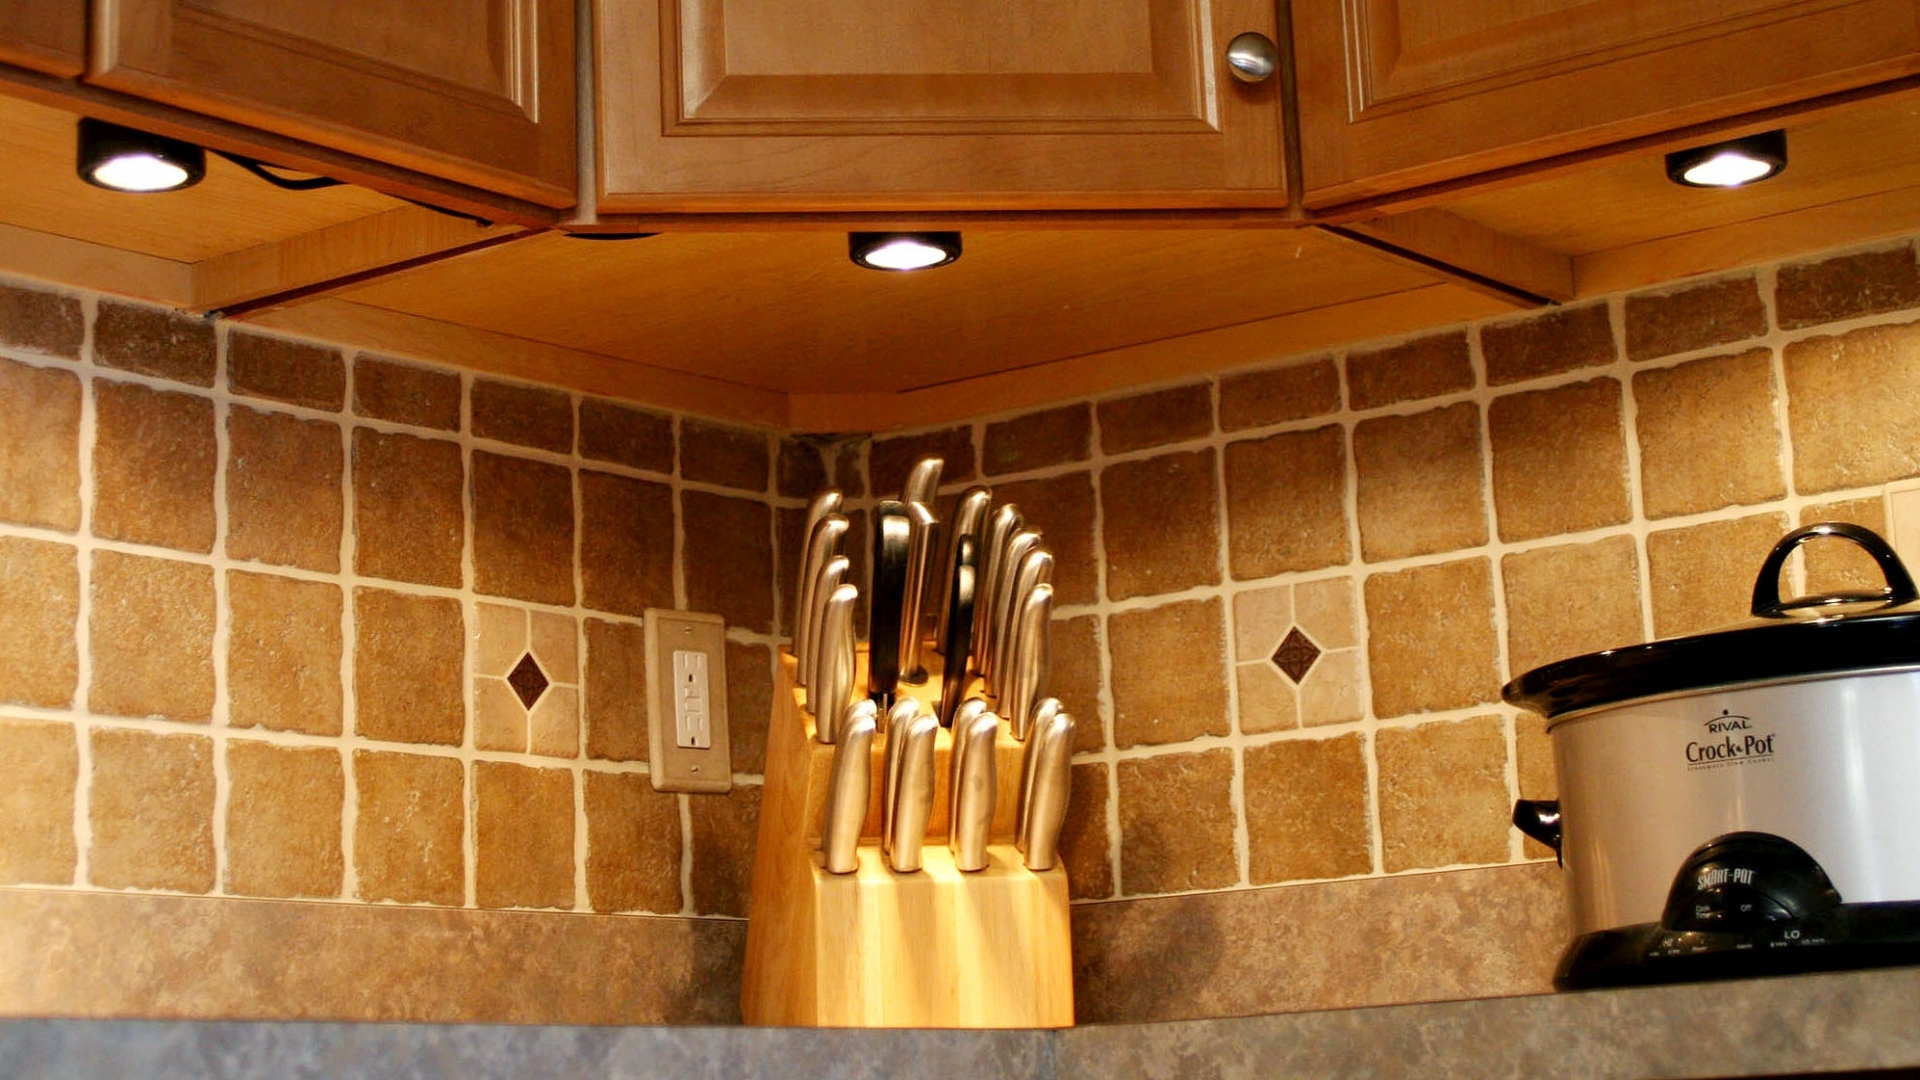
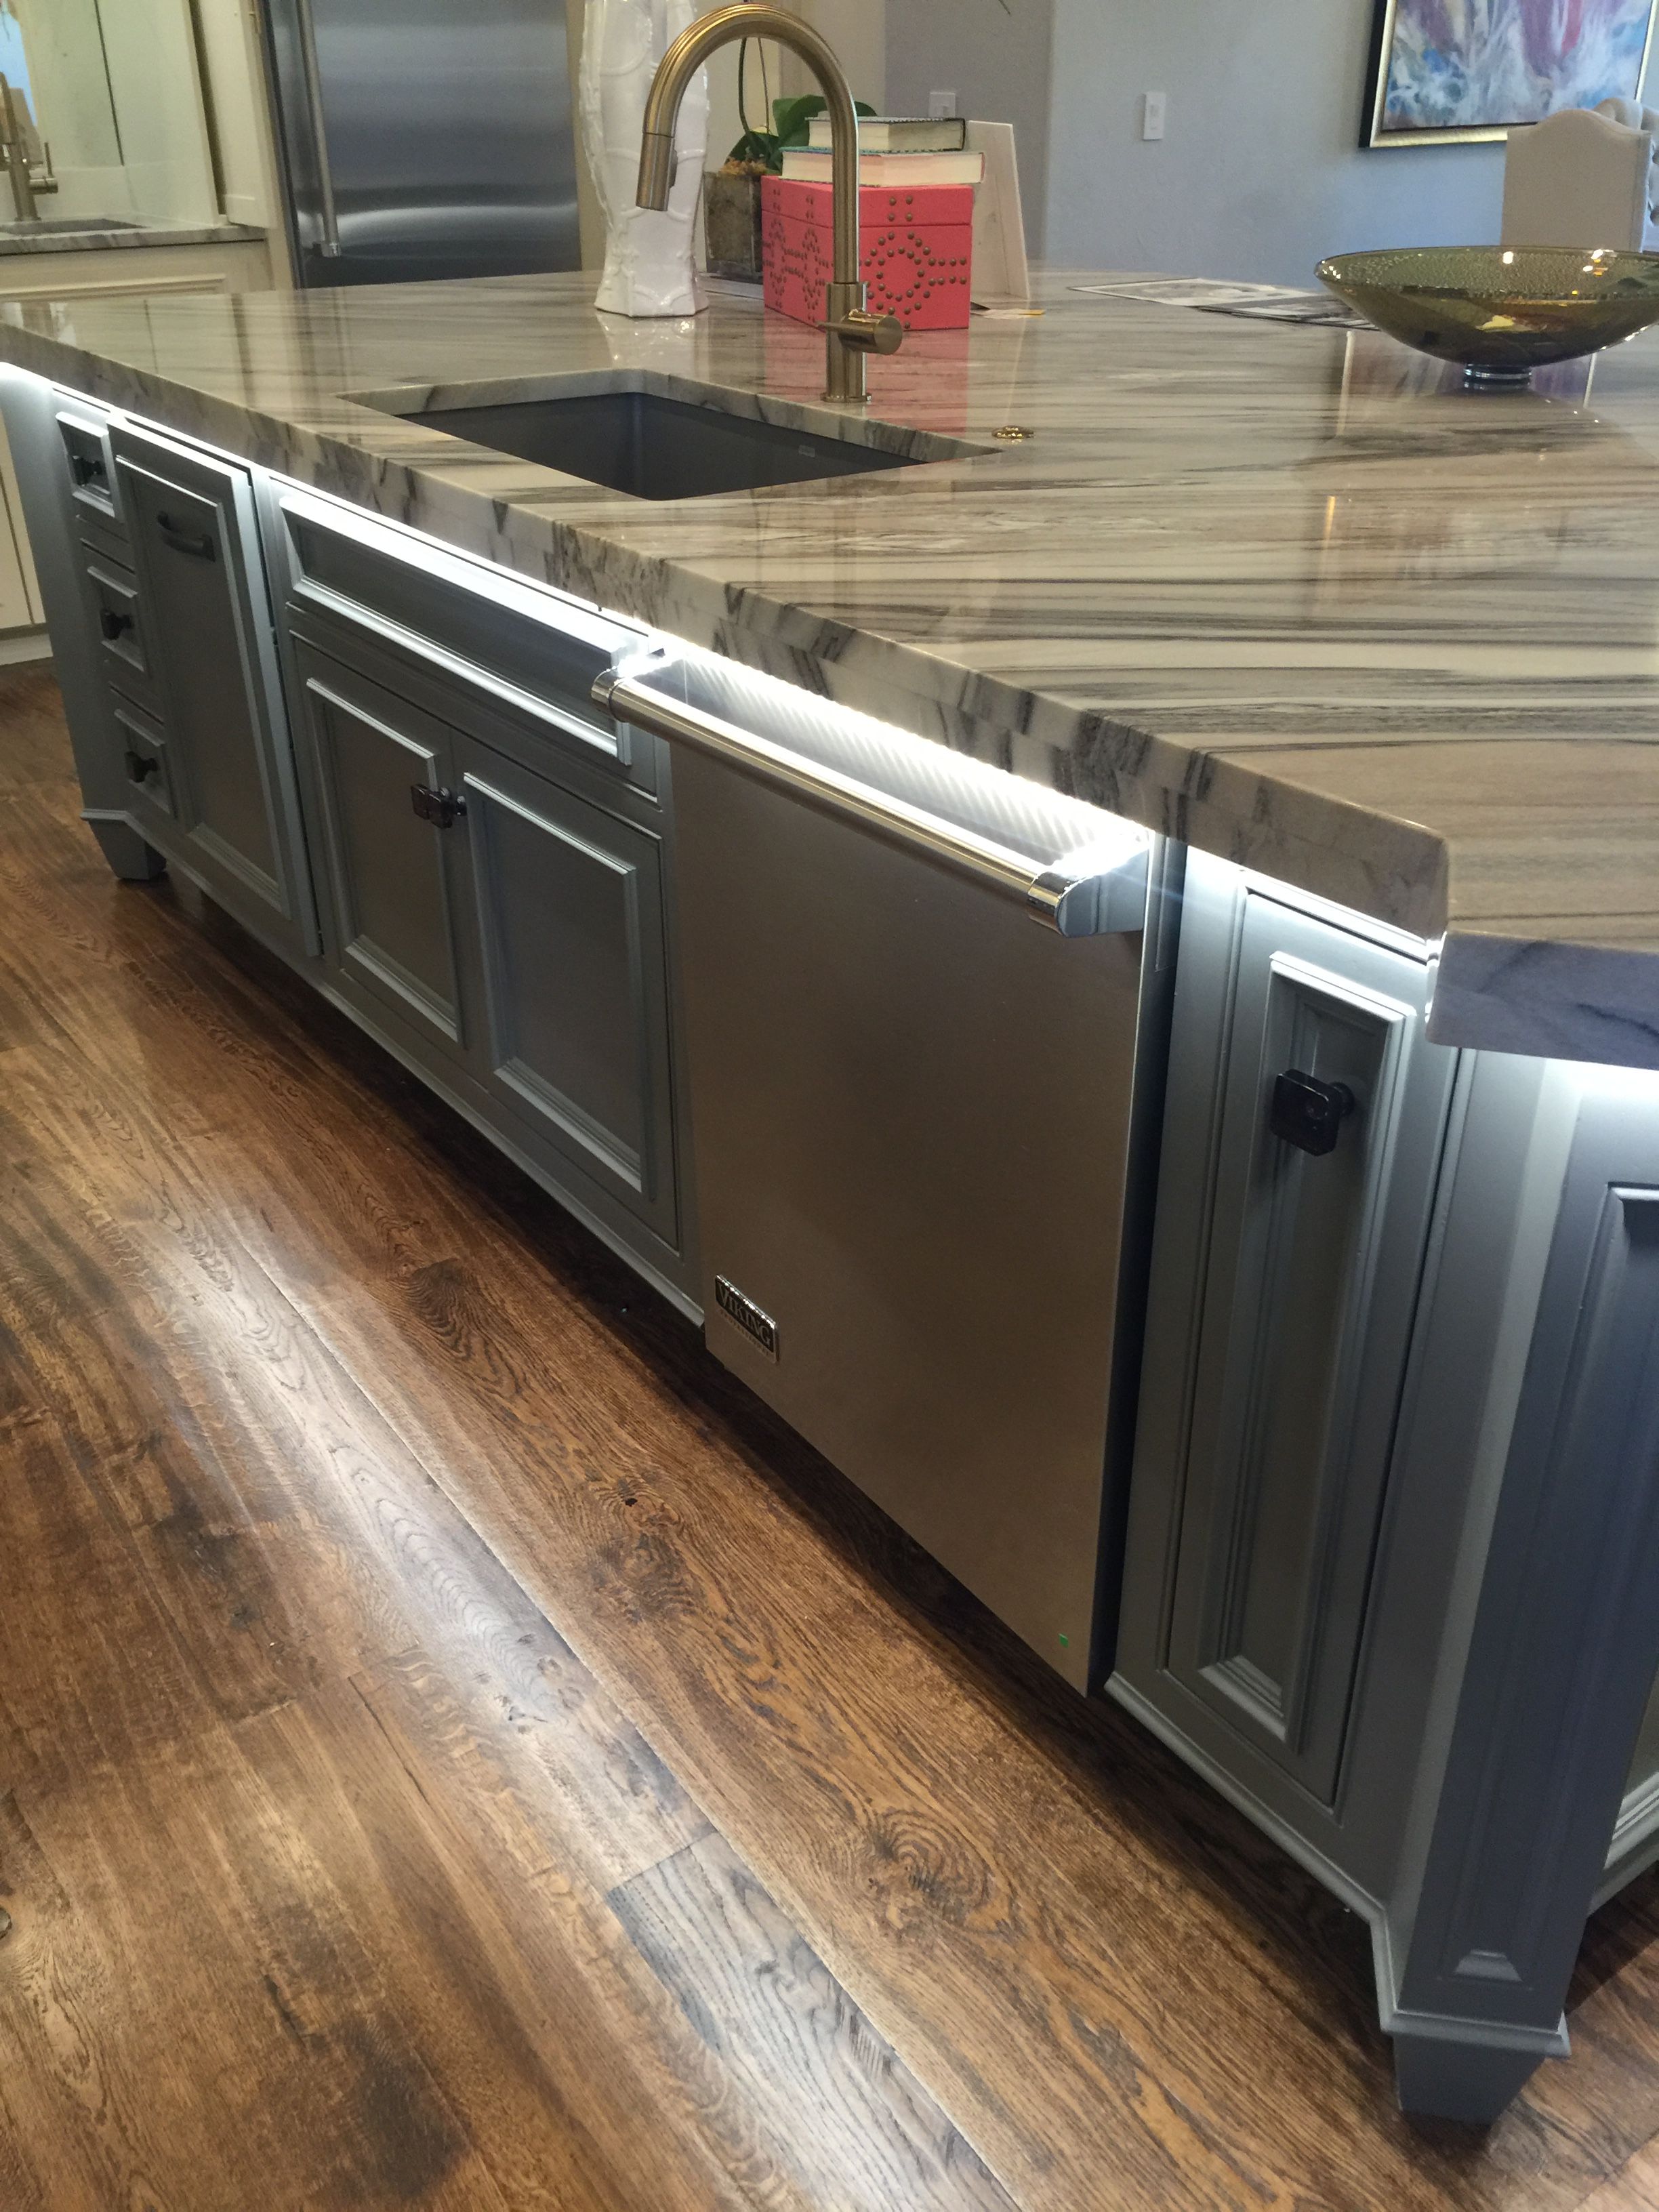
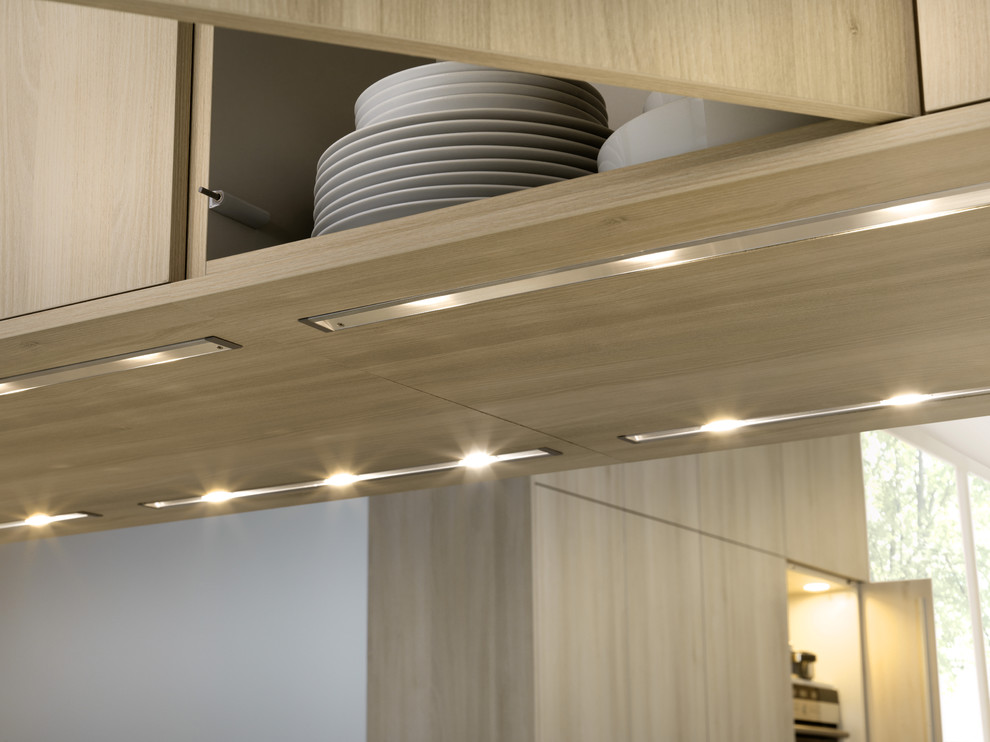
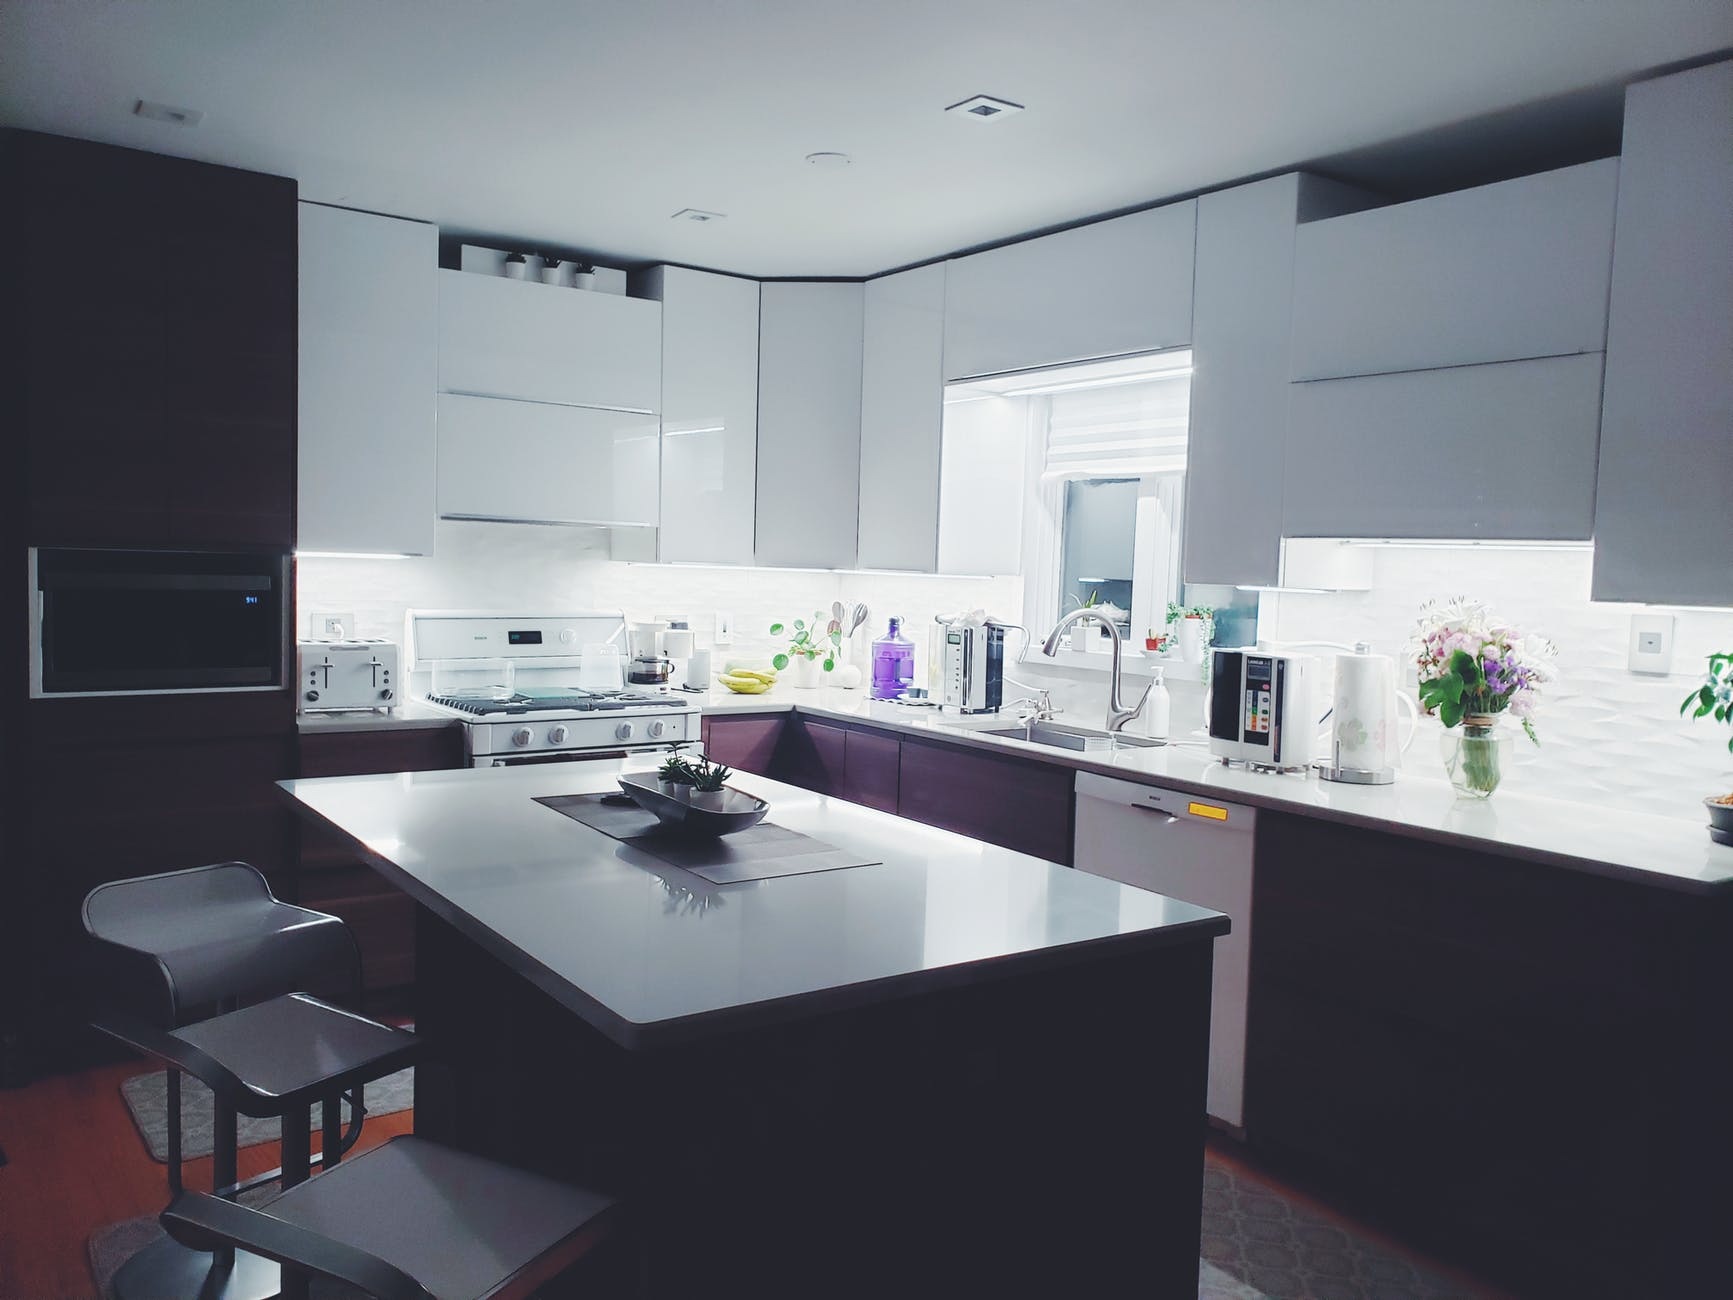
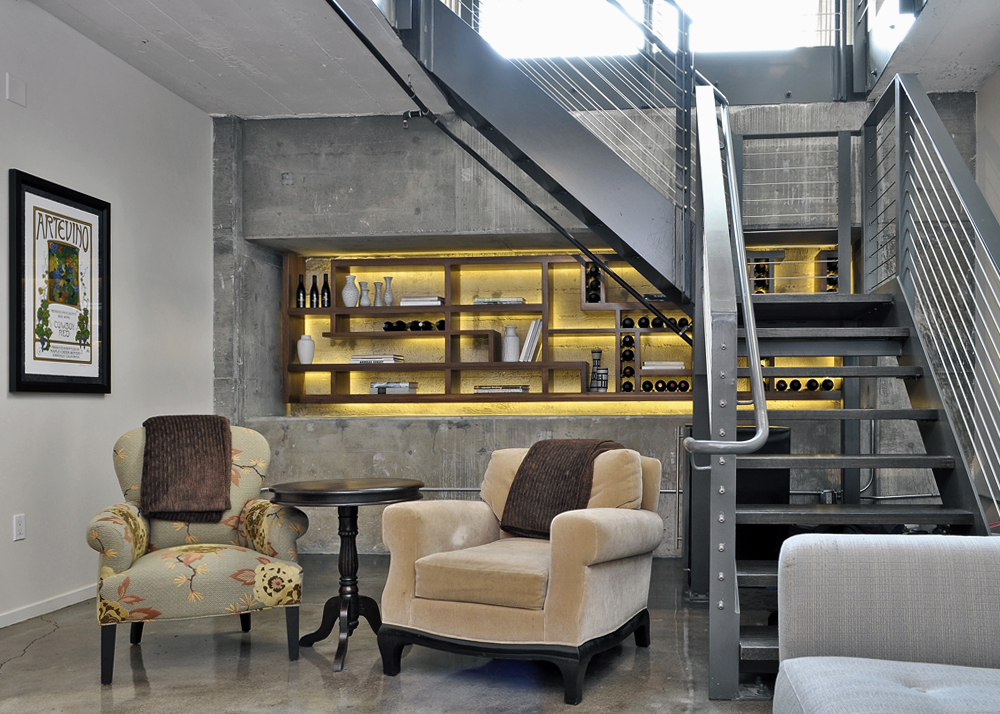
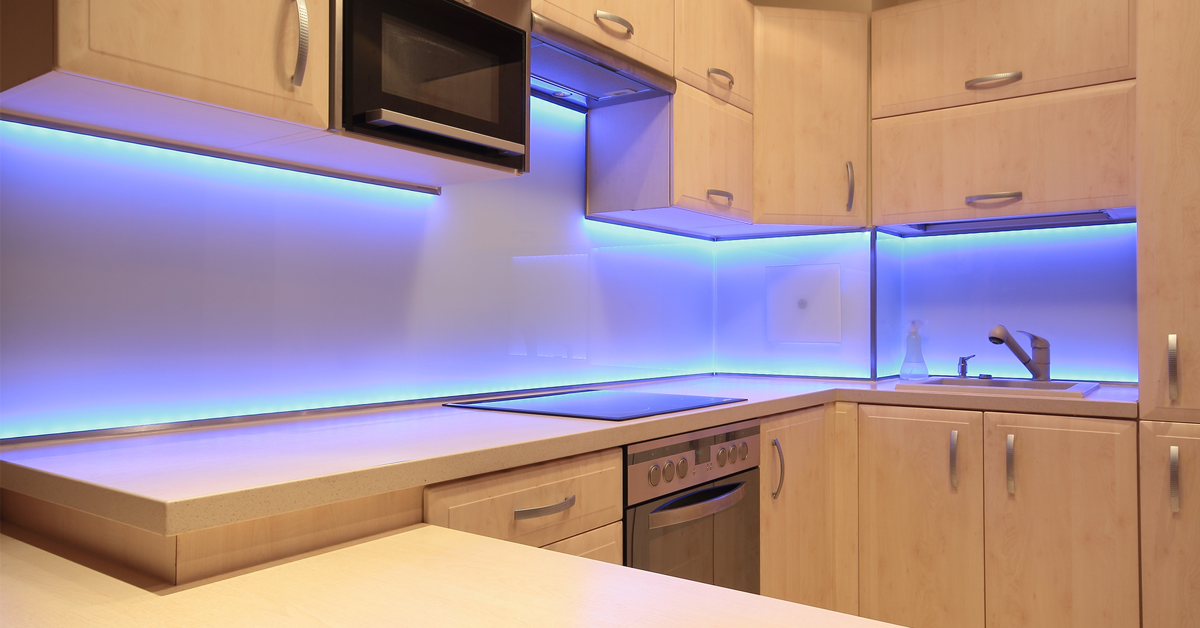
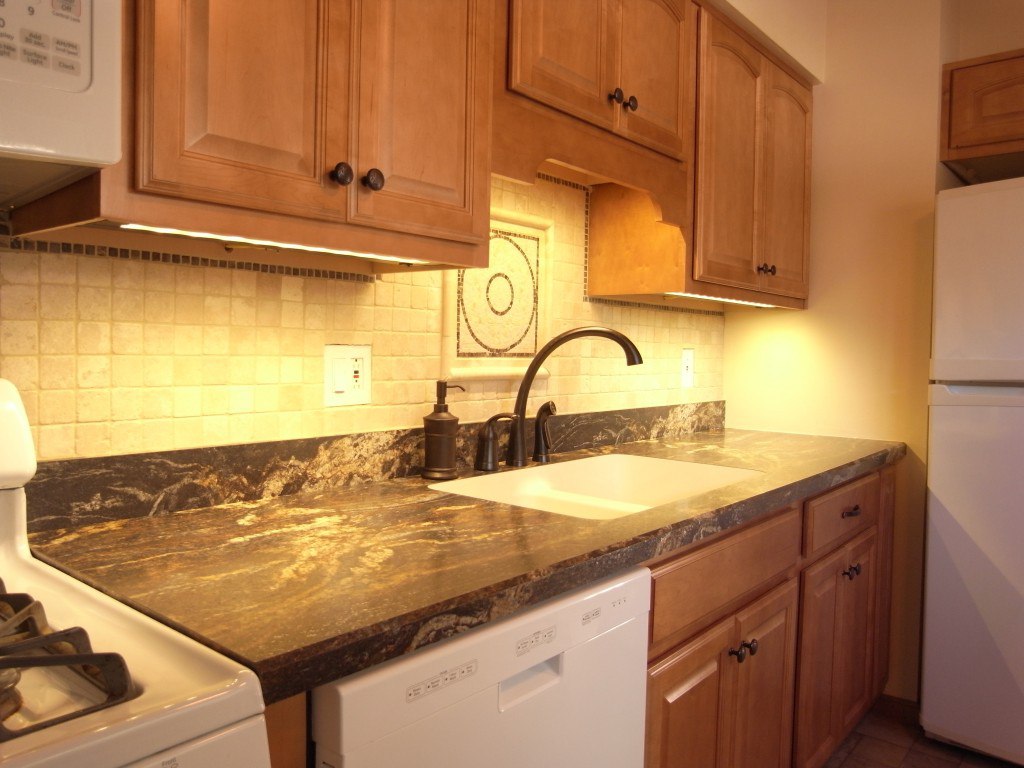
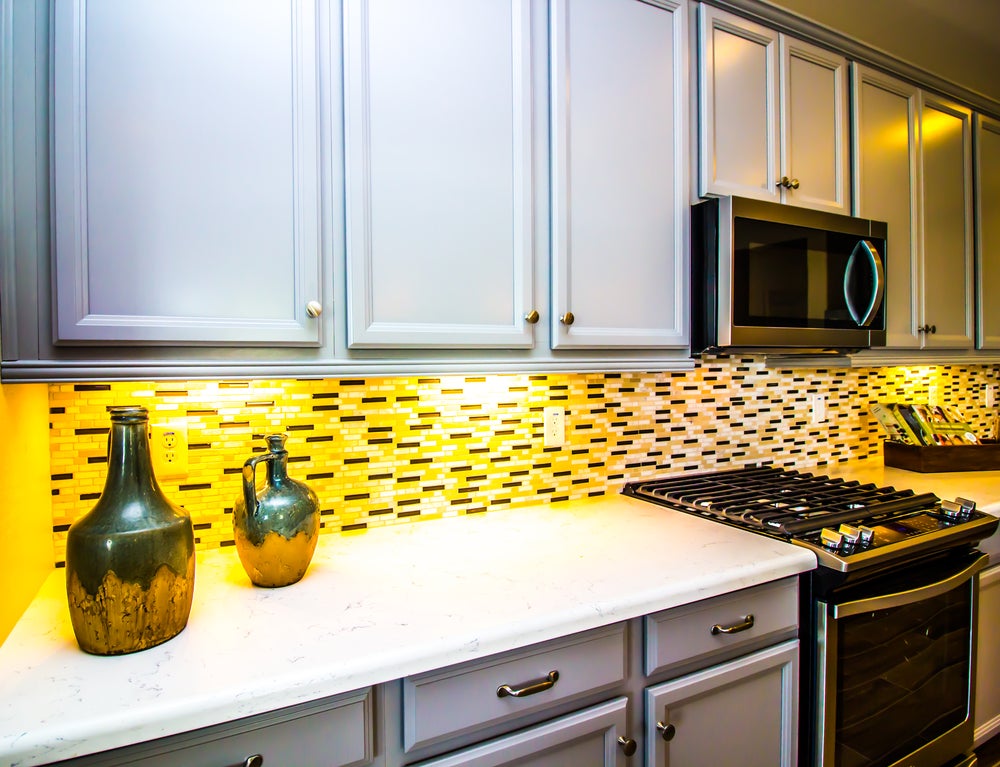
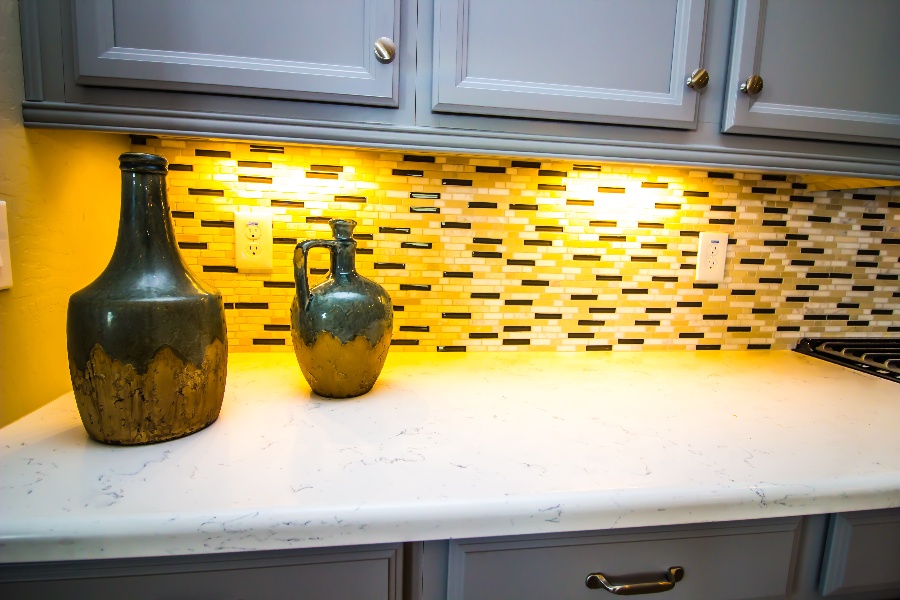
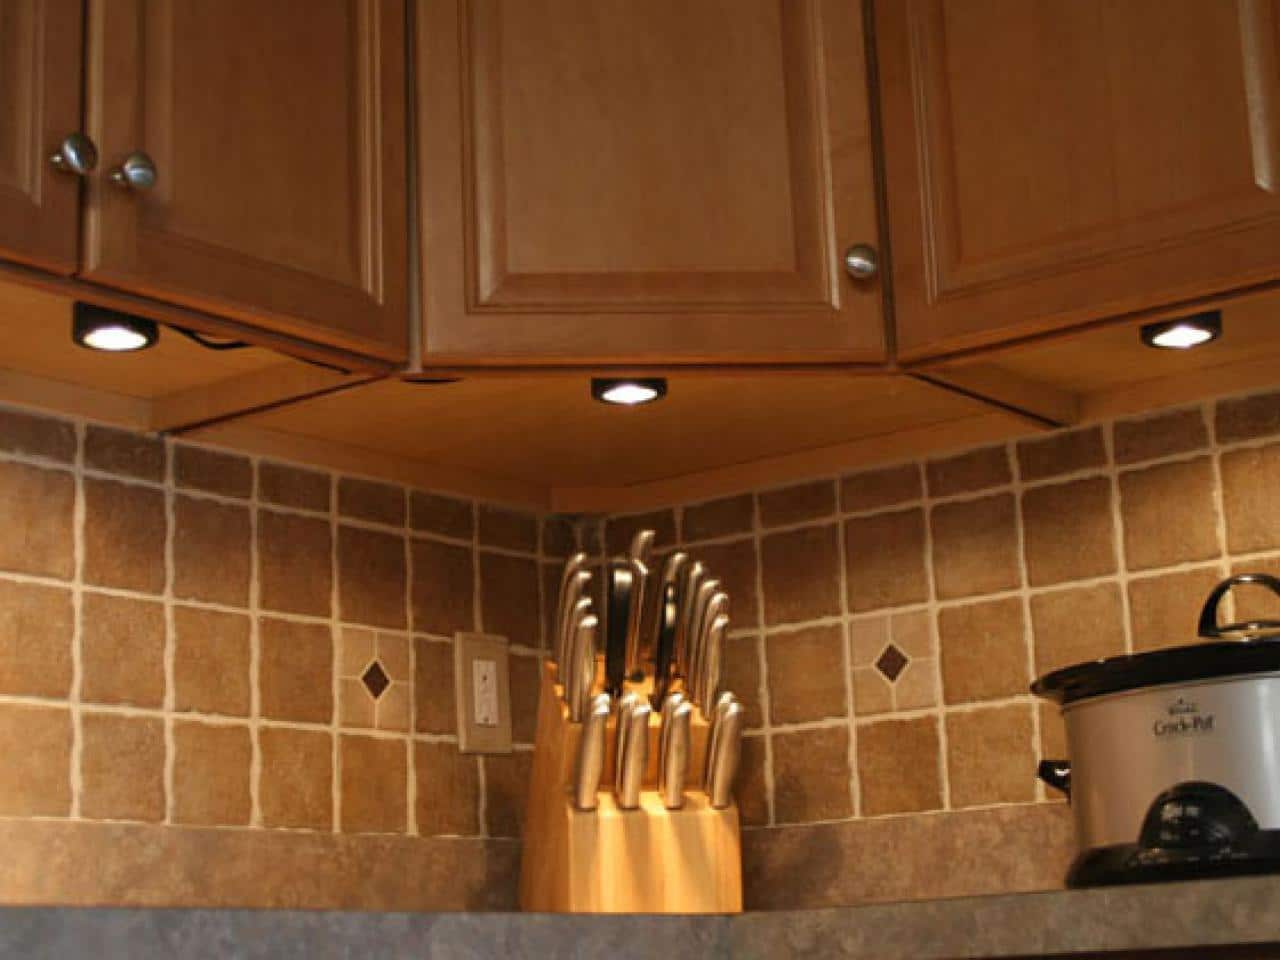 Aside from practical reasons, under counter lights also bring a touch of elegance and style to your kitchen. These lights can be installed under cabinets, shelves, or even the kitchen island, creating a beautiful and inviting atmosphere. You can choose from a variety of colors and styles to match your kitchen's overall aesthetic. Plus, with the right placement, under counter lights can also help create an illusion of more space in your kitchen.
Customizable Options
 One of the best things about under counter lights is that they come in various options, allowing you to customize the lighting in your kitchen according to your needs and preferences. You can choose from different types of lights, such as LED, fluorescent, or incandescent, depending on your budget and desired level of brightness. You can also opt for dimmable lights, giving you even more control over the ambiance of your kitchen.
Easy Installation
 Installing under counter lights in your kitchen is a relatively simple and hassle-free process. With the right tools and materials, you can easily install them yourself and save money on professional installation. Plus, these lights are designed to be discreet and hidden, so they won't take up any additional space in your already cluttered kitchen.
Final Thoughts
 In conclusion, under counter lights are a must-have in any kitchen design. They provide efficient and effective lighting, enhance the overall aesthetics of your kitchen, and offer customizable options to fit your needs. With easy installation and various styles to choose from, there's no reason not to add under counter lights to your kitchen. So, if you're looking to upgrade your kitchen's lighting, consider installing under counter lights for a functional and beautiful space.
















/108273212a-56a5a6955f9b58b7d0ddd3d6.jpg)





.jpg)
