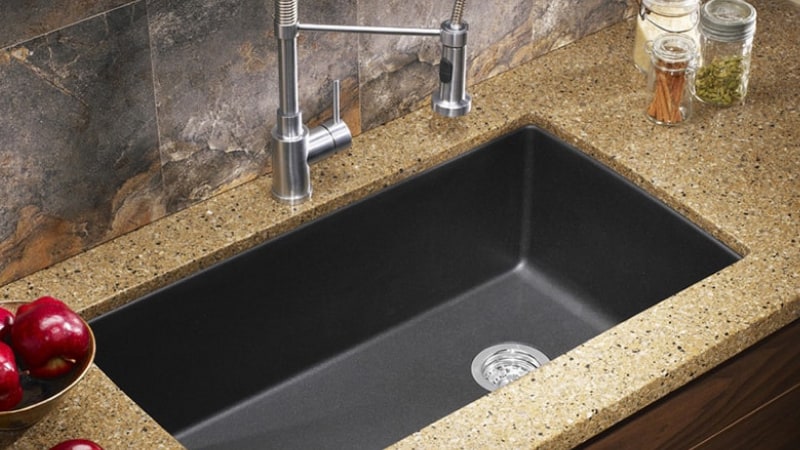
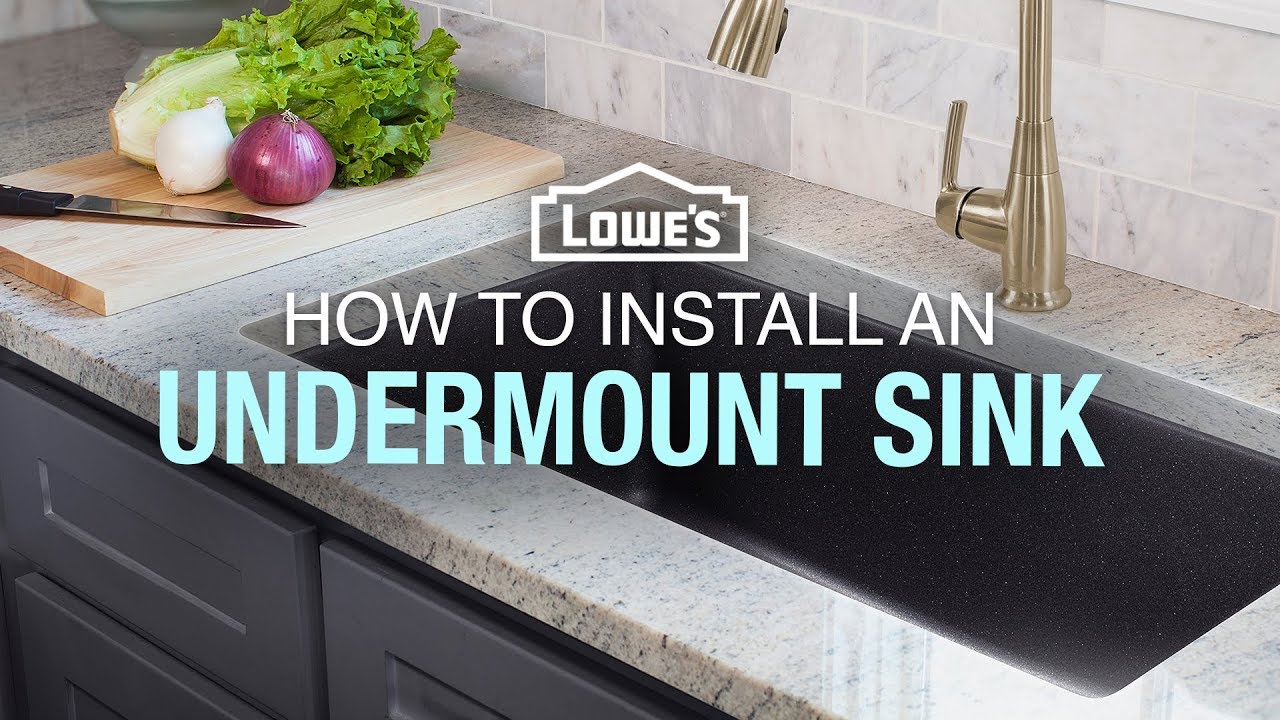
If you're looking to upgrade your kitchen and give it a sleek, modern look, installing an undermount sink is a great option. Not only does it add visual appeal, but it also makes cleaning your countertops a breeze. In this guide, we'll walk you through the step-by-step process of installing an undermount sink in your kitchen.How to Install an Undermount Sink


How to Install an Undermount Sink


Before you begin the installation process, it's important to gather all the necessary materials. This includes the undermount sink, mounting hardware, silicone adhesive, a drill, and a jigsaw. Make sure you have all the tools and materials ready before starting the installation.How to Install an Undermount Kitchen Sink


How to Install an Undermount Kitchen Sink


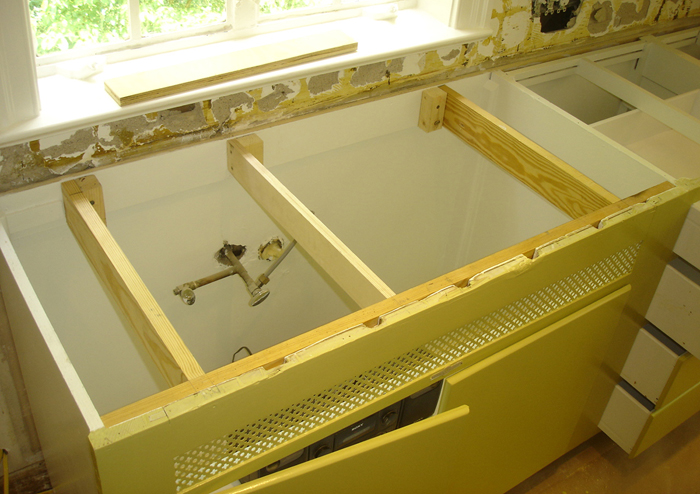
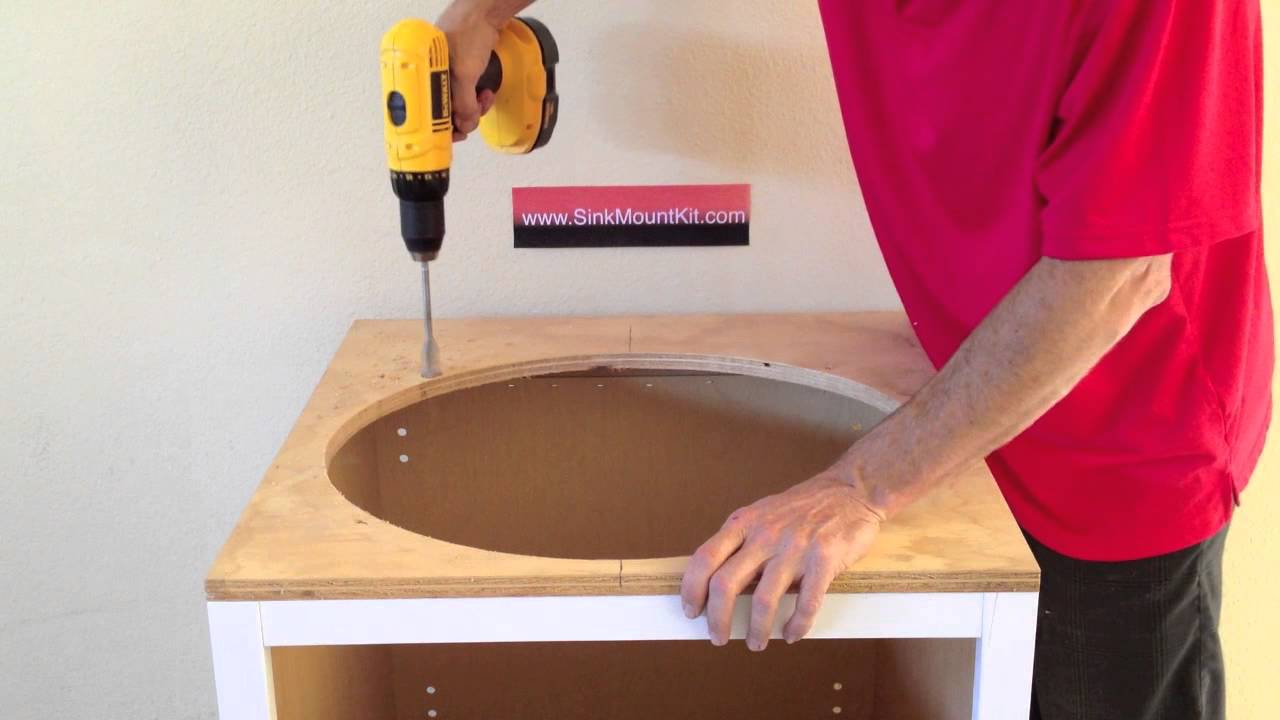
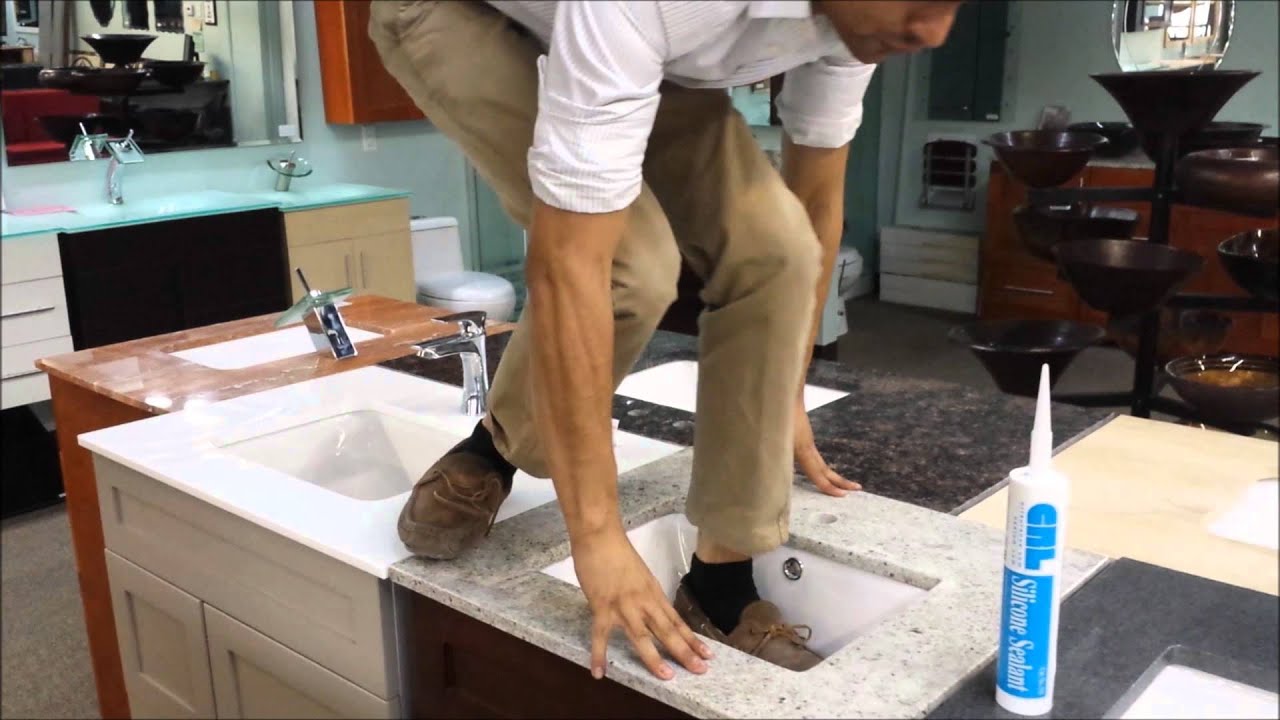
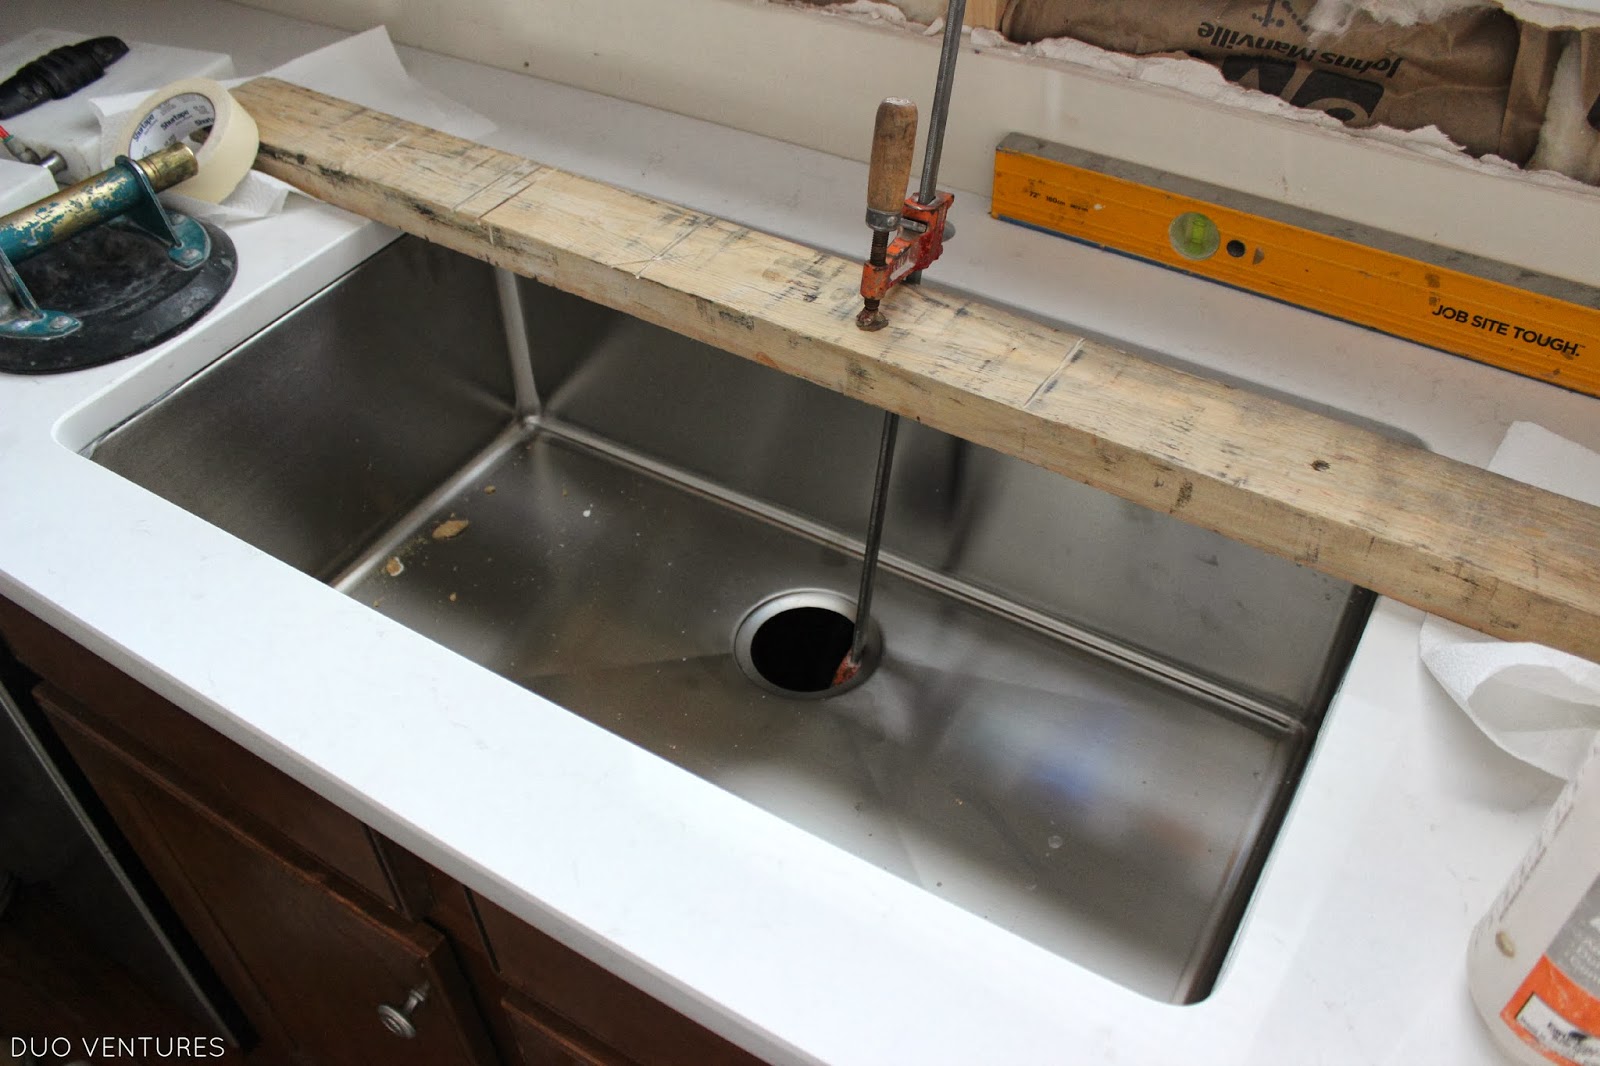
Step 1: Prepare the Sink Area Start by clearing out the cabinet under your sink and removing any old fixtures. Then, measure and mark the placement of your sink on the countertop. Use a jigsaw to carefully cut out the opening for the sink, following the marked lines. Step 2: Install the Mounting Hardware Next, attach the mounting hardware to the underside of the countertop. This will hold the sink securely in place. Follow the manufacturer's instructions for proper placement and installation. Step 3: Apply Silicone Adhesive Apply a bead of silicone adhesive around the edge of the sink opening on the underside of the countertop. This will create a waterproof seal and prevent any leaks. Step 4: Place the Sink Carefully lower the sink into the opening and press it firmly into place. Wipe away any excess adhesive that may have squeezed out from the edges. Step 5: Secure the Sink Using the mounting hardware, secure the sink to the underside of the countertop. This will hold it in place while the adhesive dries. Step 6: Clean Up Wipe away any remaining adhesive and clean the sink and countertop with a mild soap and water.Step-by-Step Guide for Installing an Undermount Sink


Step-by-Step Guide for Installing an Undermount Sink


If you're feeling handy, installing an undermount sink can be a great DIY project. Just make sure you have all the necessary tools and materials and follow the steps carefully. However, if you're not comfortable with DIY projects, it's always best to hire a professional for a flawless installation.DIY Undermount Sink Installation


DIY Undermount Sink Installation


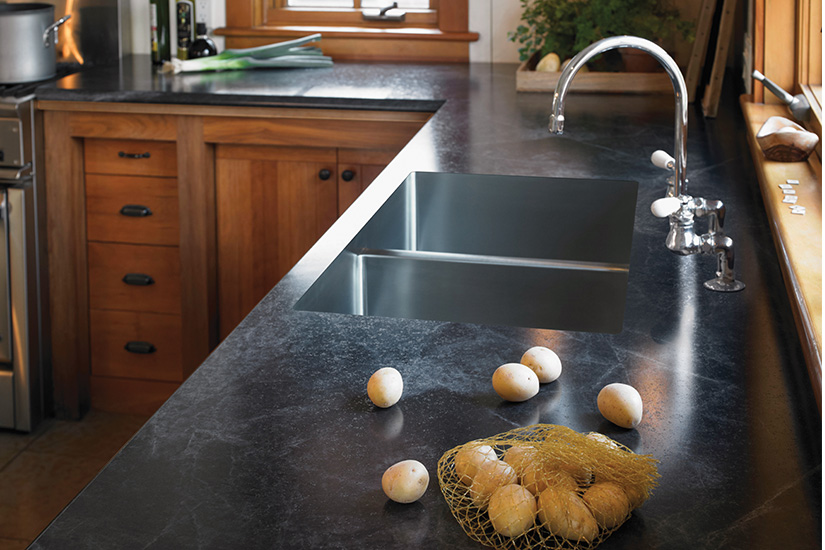
Installing an undermount sink in a granite countertop follows the same steps as any other countertop material. The only difference is that you'll need special drill bits designed for drilling into granite. These can be found at most hardware stores.Installing an Undermount Sink in a Granite Countertop


Installing an Undermount Sink in a Granite Countertop

Here's a list of the tools and materials you'll need for a successful undermount sink installation:Tools and Materials Needed for Installing an Undermount Sink


Tools and Materials Needed for Installing an Undermount Sink


:no_upscale()/cdn.vox-cdn.com/uploads/chorus_asset/file/19495086/drain_0.jpg)
When installing an undermount sink in a laminate countertop, it's important to be extra careful. Laminate is a delicate material and can easily crack or chip. Use a jigsaw with a fine-toothed blade and make your cuts slowly and carefully.Tips for Installing an Undermount Sink in a Laminate Countertop

Tips for Installing an Undermount Sink in a Laminate Countertop


One of the most common mistakes when installing an undermount sink is using the wrong type of adhesive. Make sure you use a waterproof silicone adhesive specifically designed for sinks. Another mistake is not properly securing the sink with the mounting hardware, which can lead to leaks and damage to your countertops.Common Mistakes to Avoid When Installing an Undermount Sink


Common Mistakes to Avoid When Installing an Undermount Sink


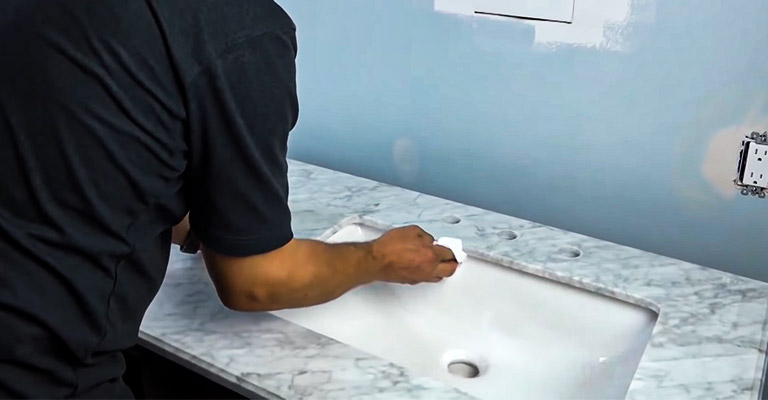
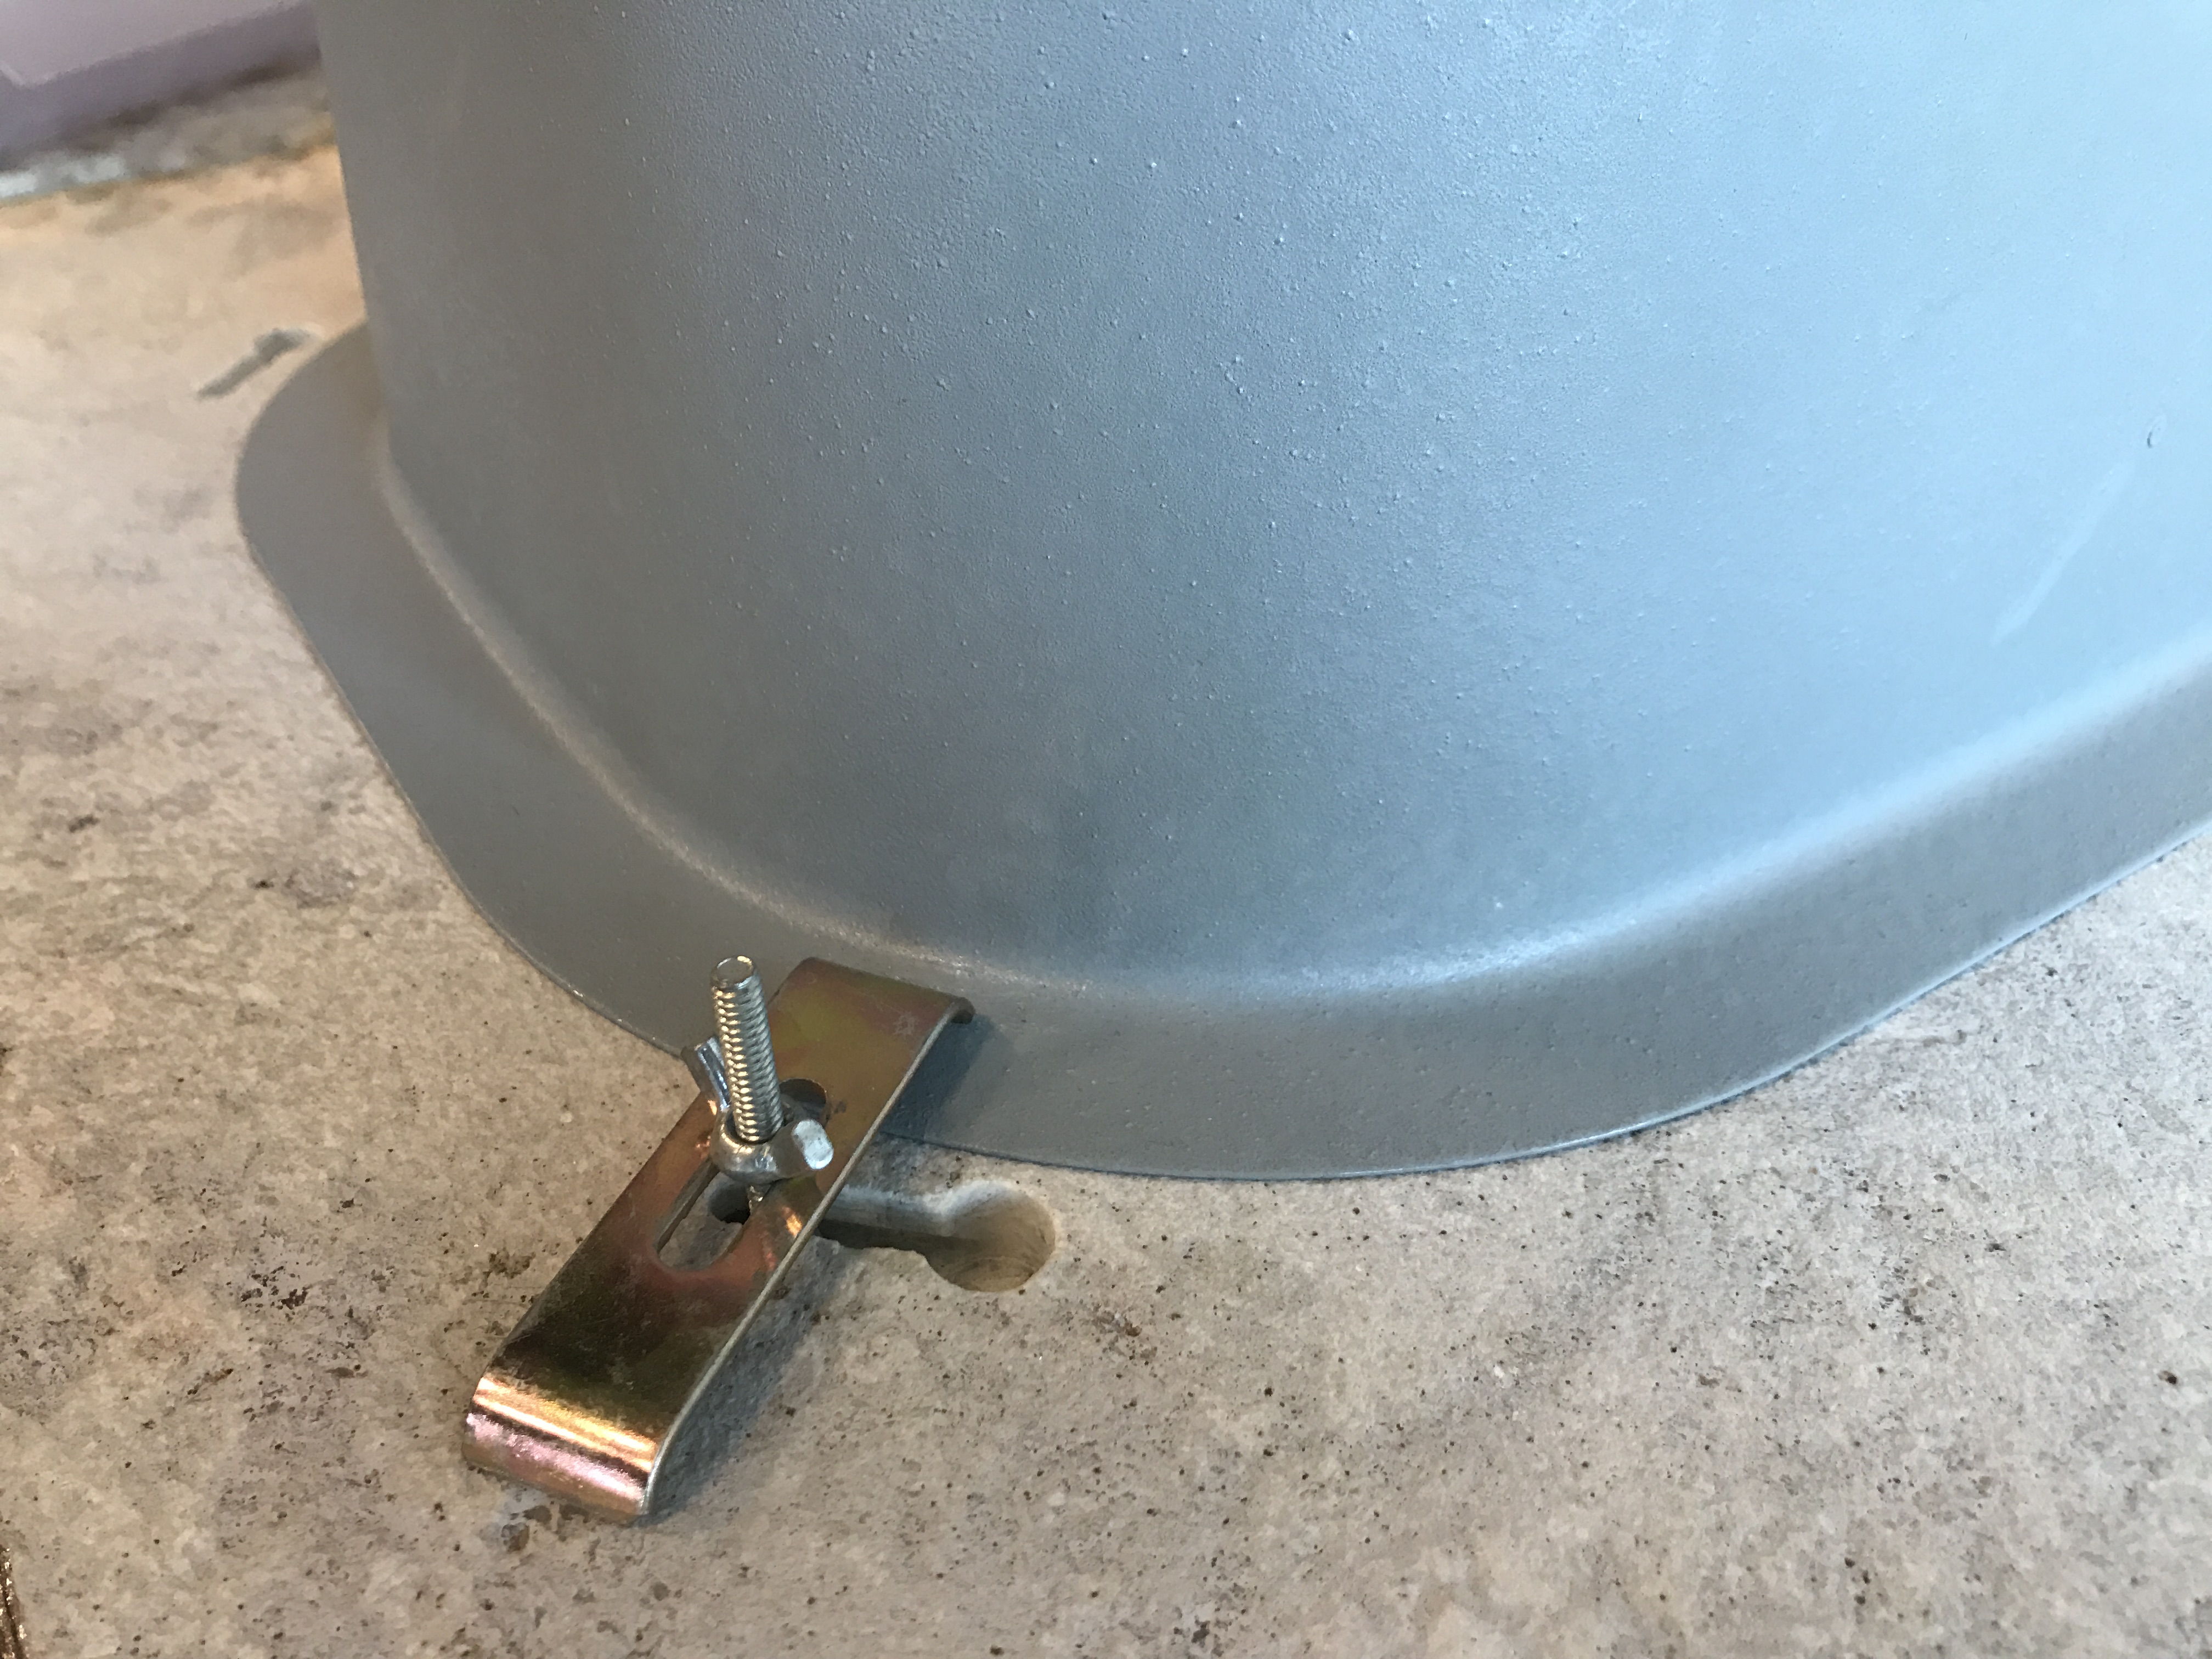
After the sink is installed, it's important to seal and secure it properly to prevent any leaks. Use a silicone caulk to seal the edges of the sink and the countertop. Then, tighten the mounting hardware to ensure a secure fit.How to Seal and Secure an Undermount Sink


How to Seal and Secure an Undermount Sink


While installing an undermount sink yourself can save you money, there are also benefits to hiring a professional. A professional will have the necessary tools and experience to ensure a flawless installation. However, if you're confident in your DIY skills, installing an undermount sink can be a fun and rewarding project.Professional vs. DIY Undermount Sink Installation: Pros and Cons


Professional vs. DIY Undermount Sink Installation: Pros and Cons


Why Choose an Under Counter Kitchen Sink for your House Design

Efficient Use of Space
 One of the main reasons homeowners choose an under counter kitchen sink for their house design is because of its efficient use of space. Unlike traditional top-mounted sinks, under counter sinks are installed beneath the countertop, freeing up valuable counter space. This is especially beneficial for smaller kitchens where every inch counts. With an under counter sink, you can have more room for food preparation, cooking, and other kitchen tasks without feeling cramped or cluttered.
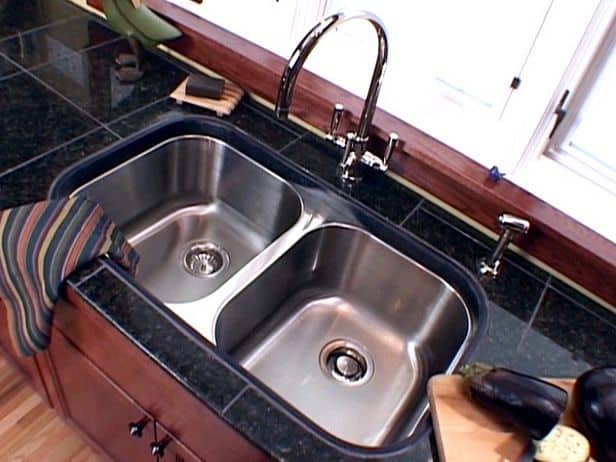
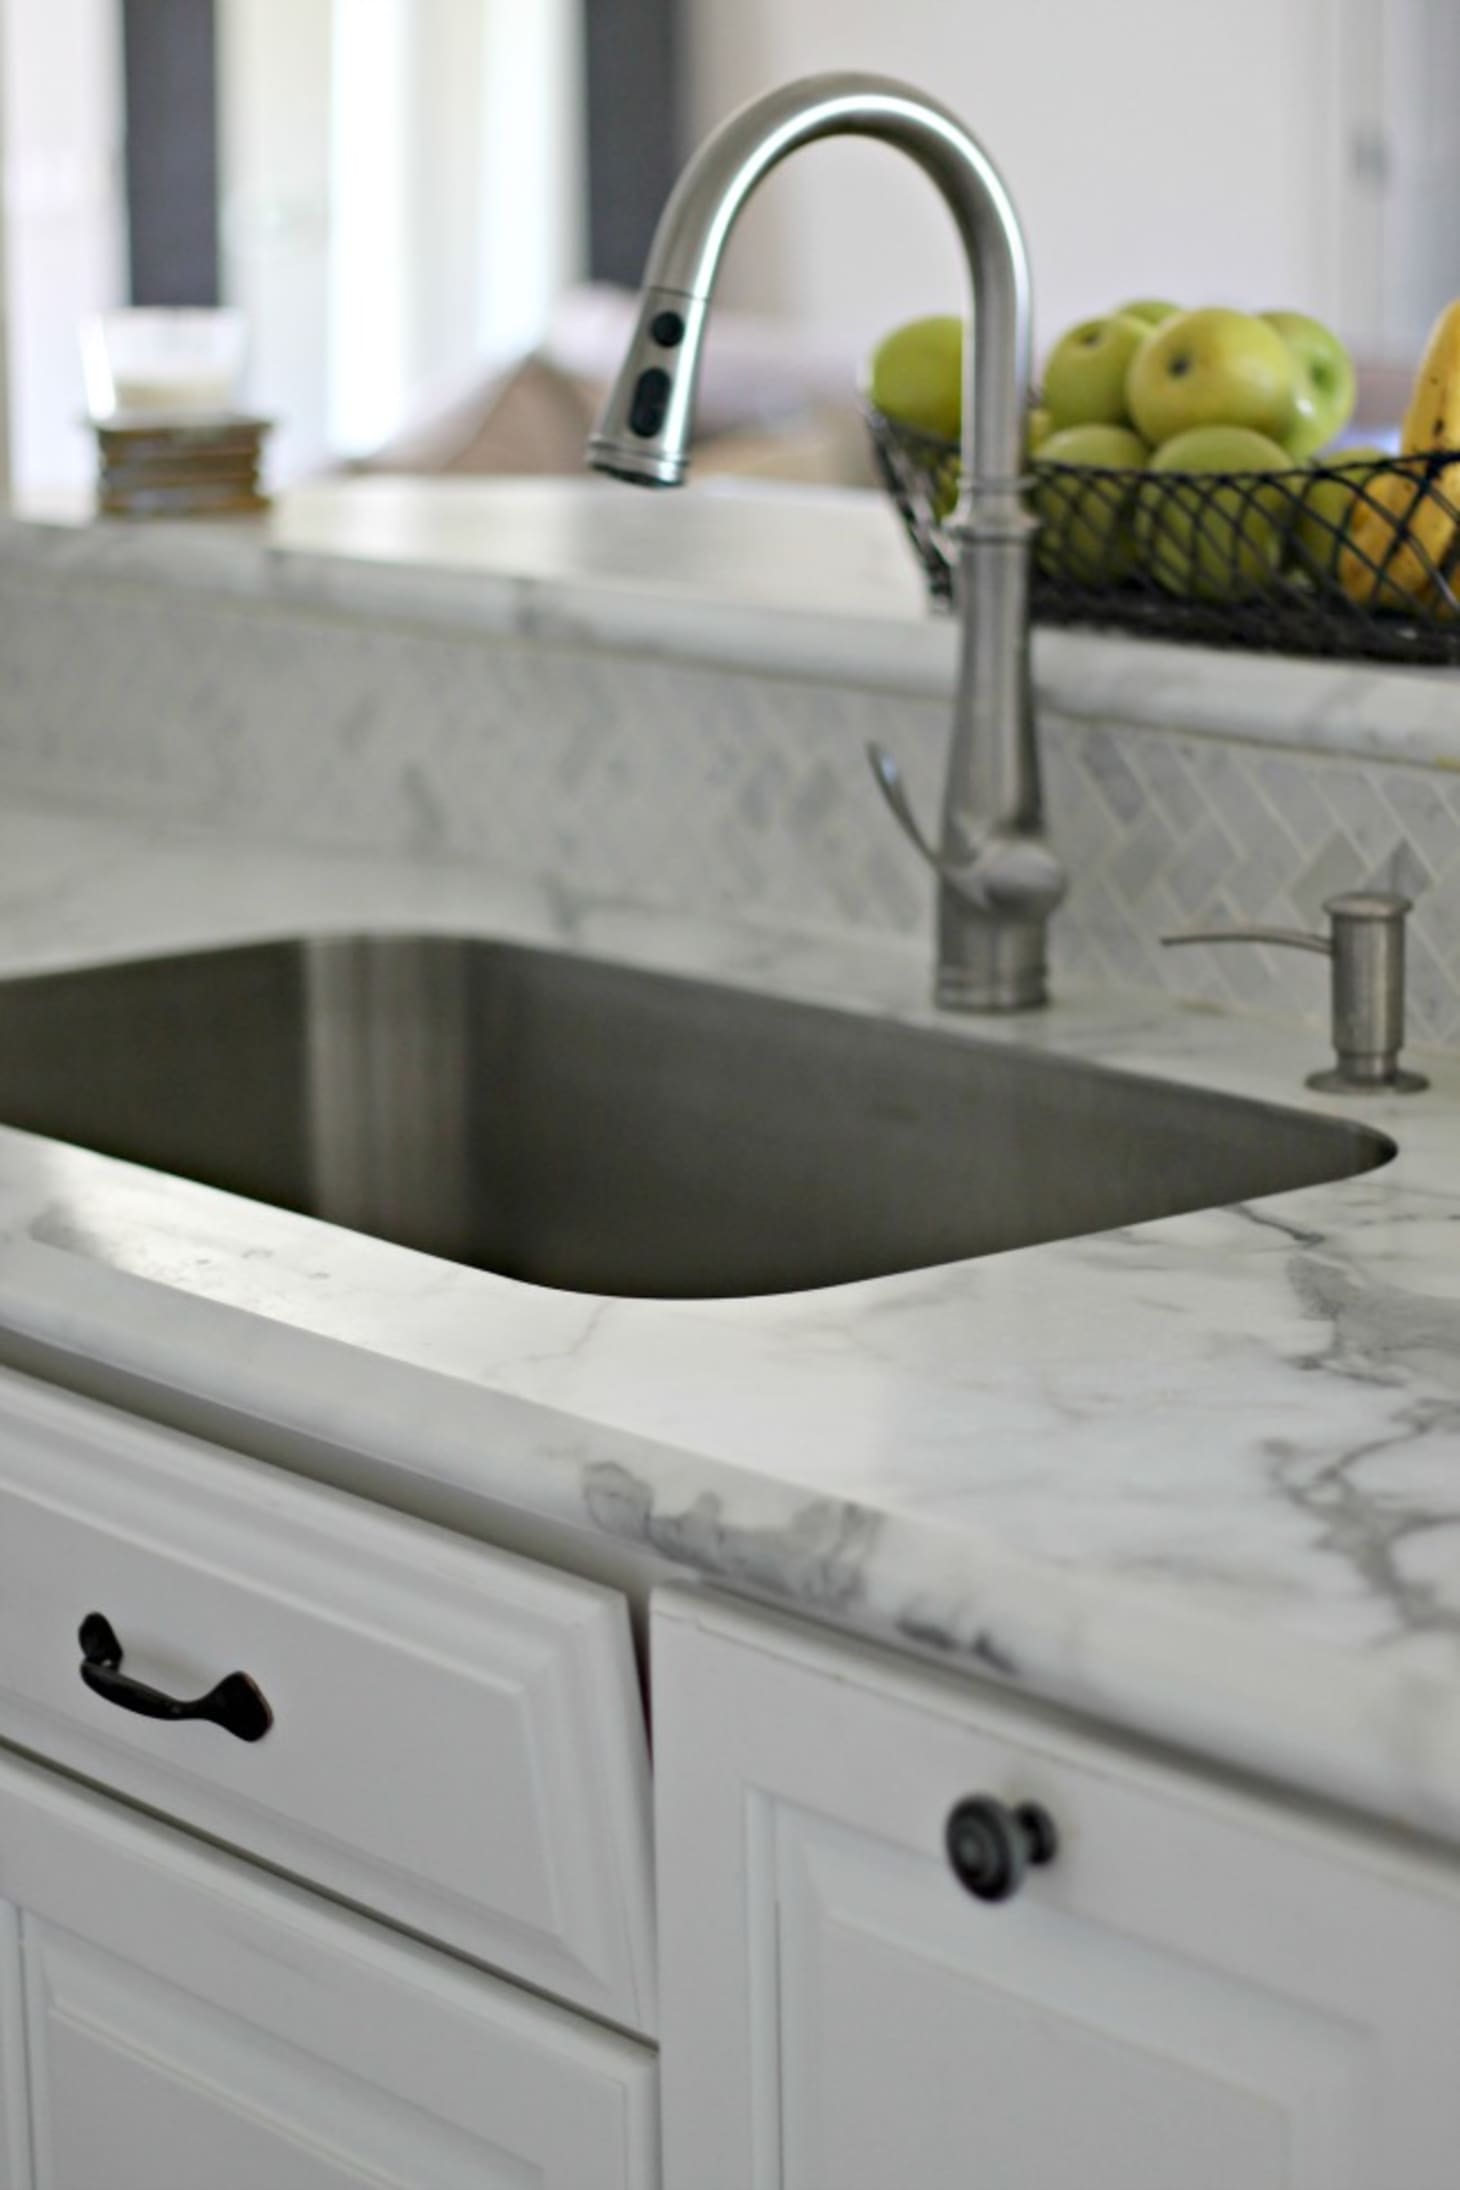
Sleek and Modern Look
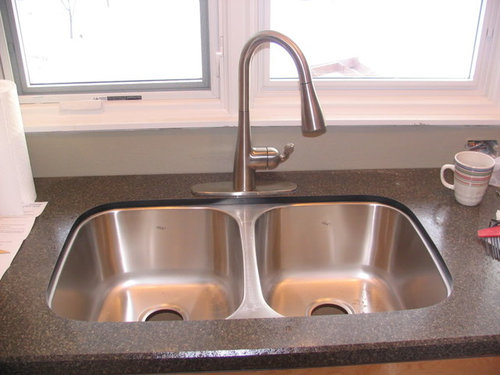
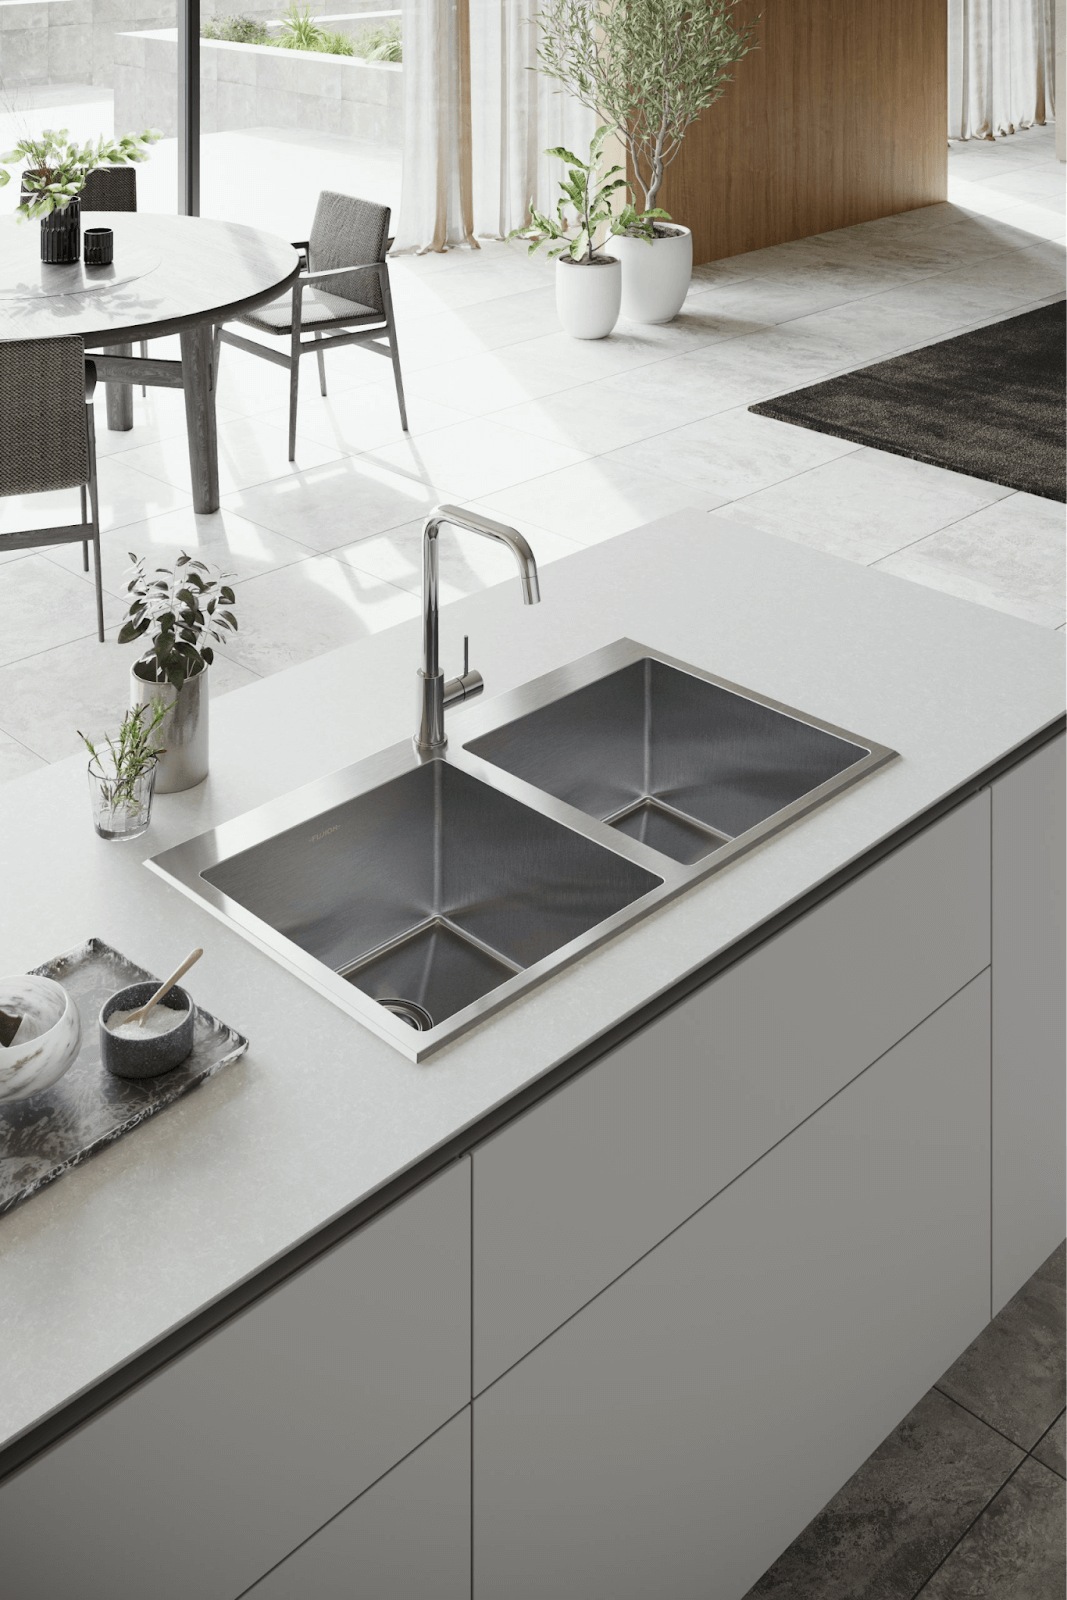
 Under counter kitchen sinks are also a popular choice for their sleek and modern look. The seamless transition from the countertop to the sink creates a clean and streamlined appearance, making your kitchen look more spacious and sophisticated. This type of sink is also available in a variety of materials such as stainless steel, granite, and porcelain, allowing you to choose one that best complements your overall house design.
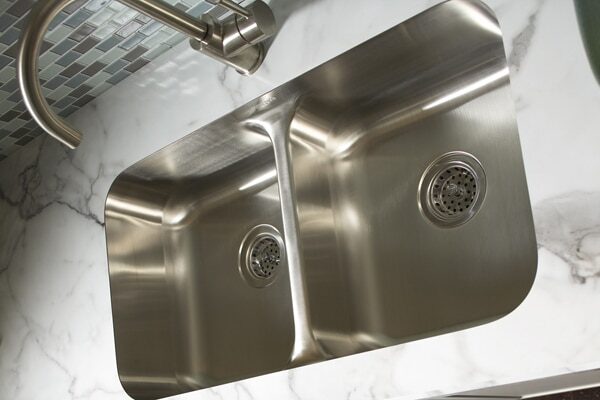
Easy to Clean and Maintain
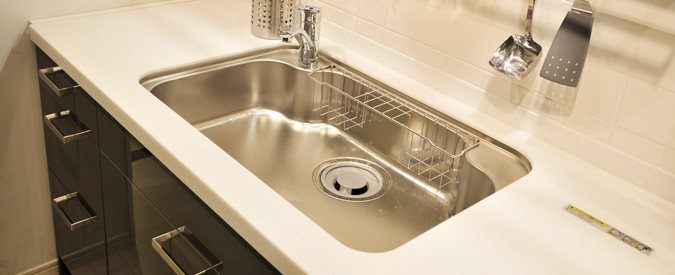
 Cleaning and maintaining an under counter kitchen sink is a breeze. Since there is no lip or rim around the sink, there are no crevices for food particles and grime to get stuck in. This makes it easier to wipe down and keep clean. Additionally, since the sink is installed below the counter, you don't have to worry about water and debris getting trapped between the sink and the countertop, preventing mold and mildew growth.
Increased Property Value
 Investing in an under counter kitchen sink can also add value to your home. Many homebuyers are attracted to modern and updated kitchen designs, and an under counter sink can be a selling point for potential buyers. It not only adds a stylish touch to the kitchen but also offers practical benefits that make it a desirable feature for any house design.
Final Thoughts
 In conclusion, installing an under counter kitchen sink is a smart choice for any house design. It not only maximizes space and enhances the look of your kitchen, but it also offers ease of maintenance and can increase the value of your home. So, if you're considering a kitchen renovation or simply want to upgrade your sink, an under counter kitchen sink is definitely worth considering.