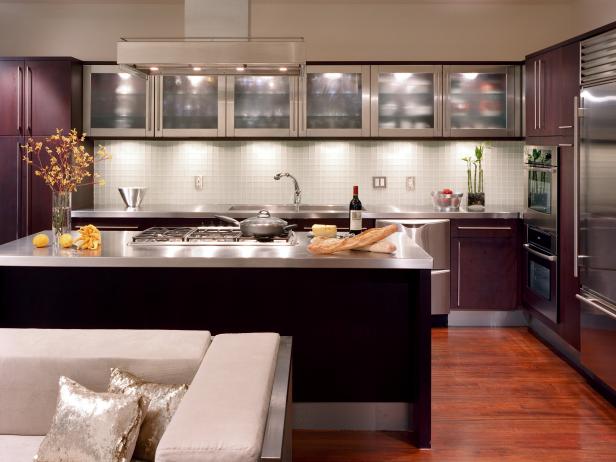
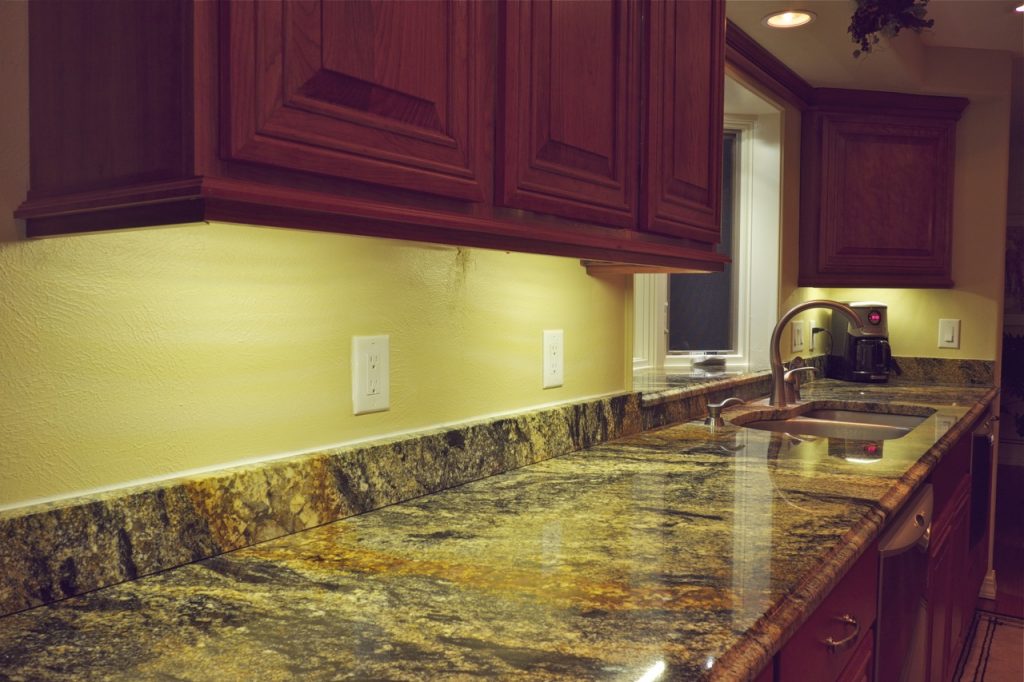
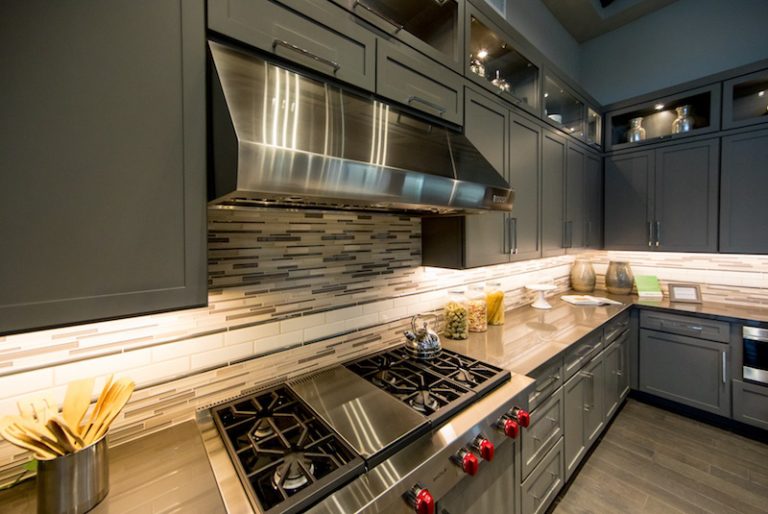
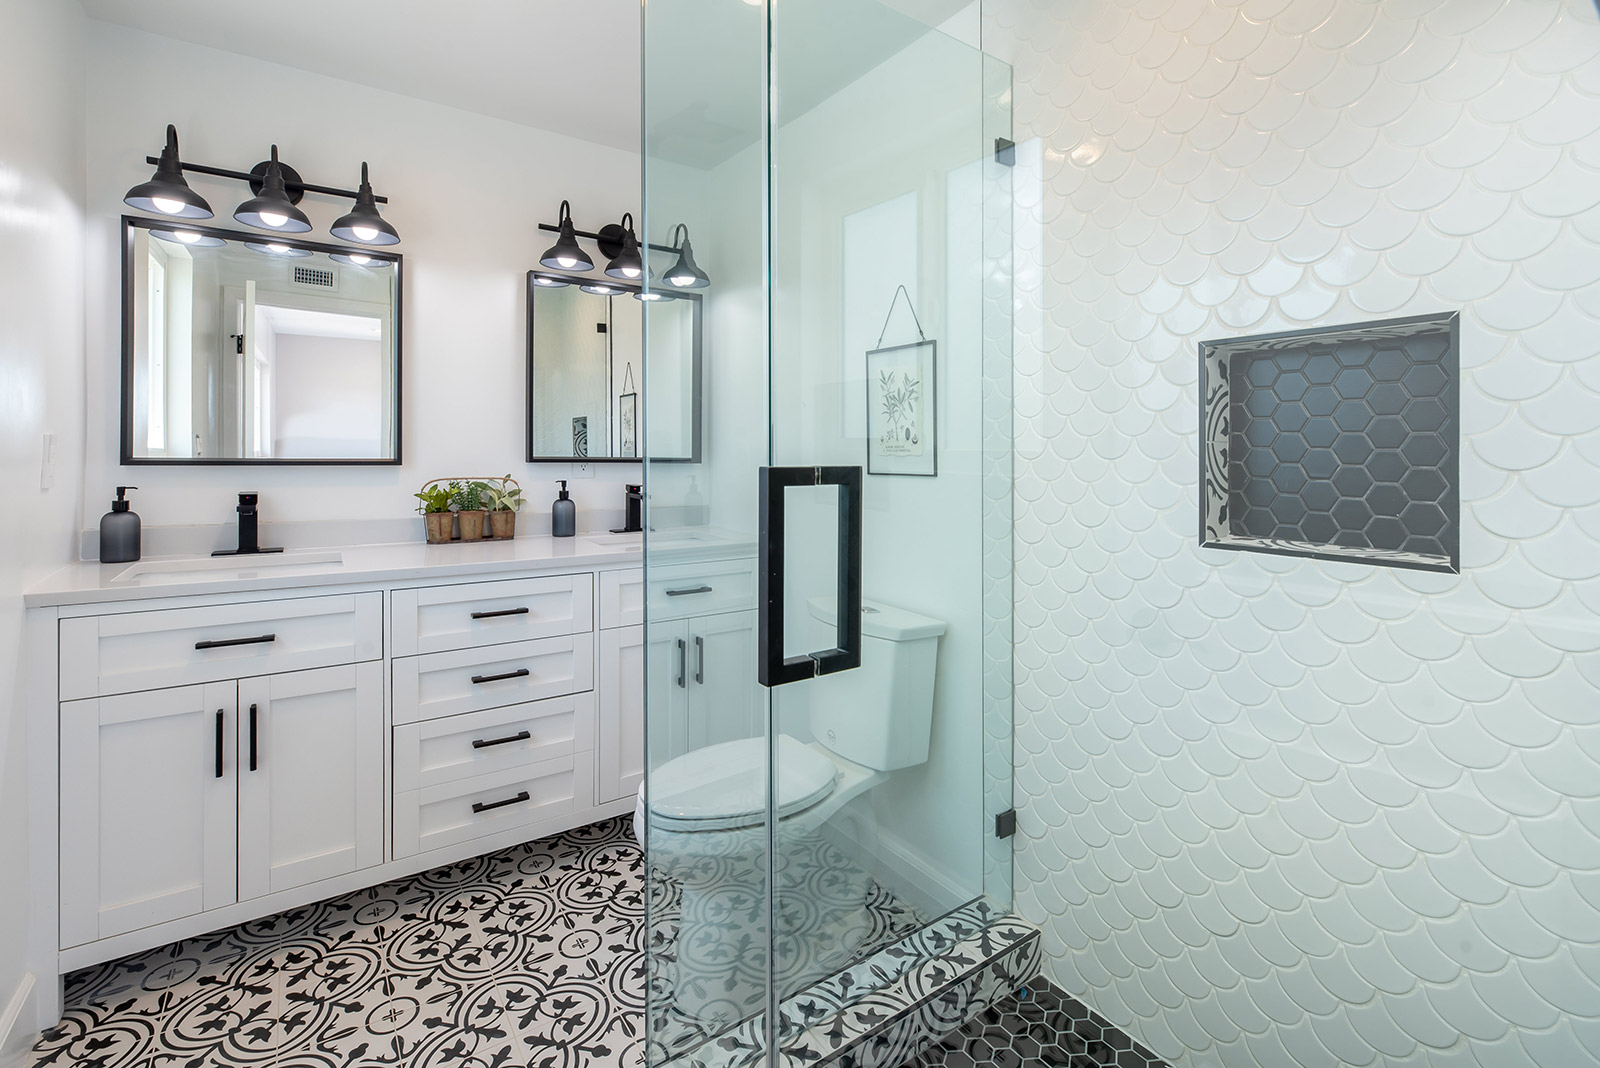
Under cabinet lighting is a great way to add both functionality and style to your kitchen. Not only does it provide much-needed light for cooking and food prep, but it also creates a warm and inviting atmosphere. If you're looking to install under cabinet lighting in your kitchen, follow these simple steps for a successful DIY project.How to Install Under Cabinet Lighting
Before diving into the installation process, it's important to plan out your lighting design. Consider the layout of your cabinets and where you want the lights to be placed. You can choose to install lights underneath all of your cabinets or just in specific areas for task lighting. Once you have a plan in place, gather all the necessary tools and materials. This will typically include a power drill, screws, wire cutters, wire connectors, and the lighting kit itself. Make sure to read the instructions carefully before starting.How to Install Under Cabinet Lighting in Your Kitchen
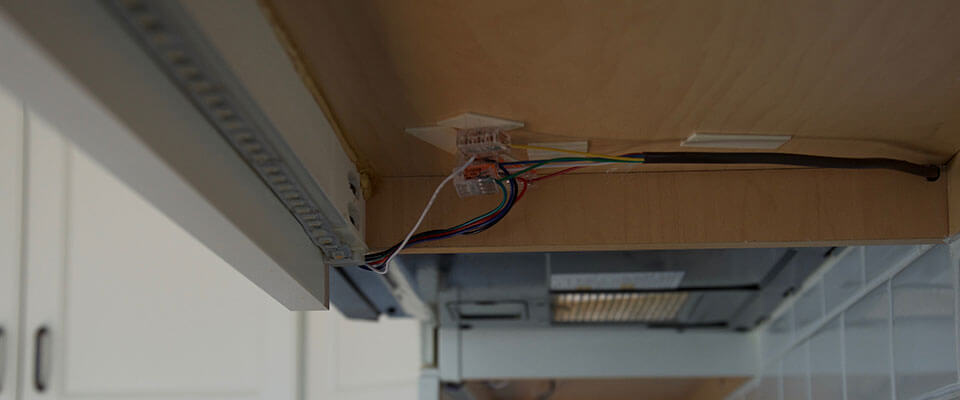
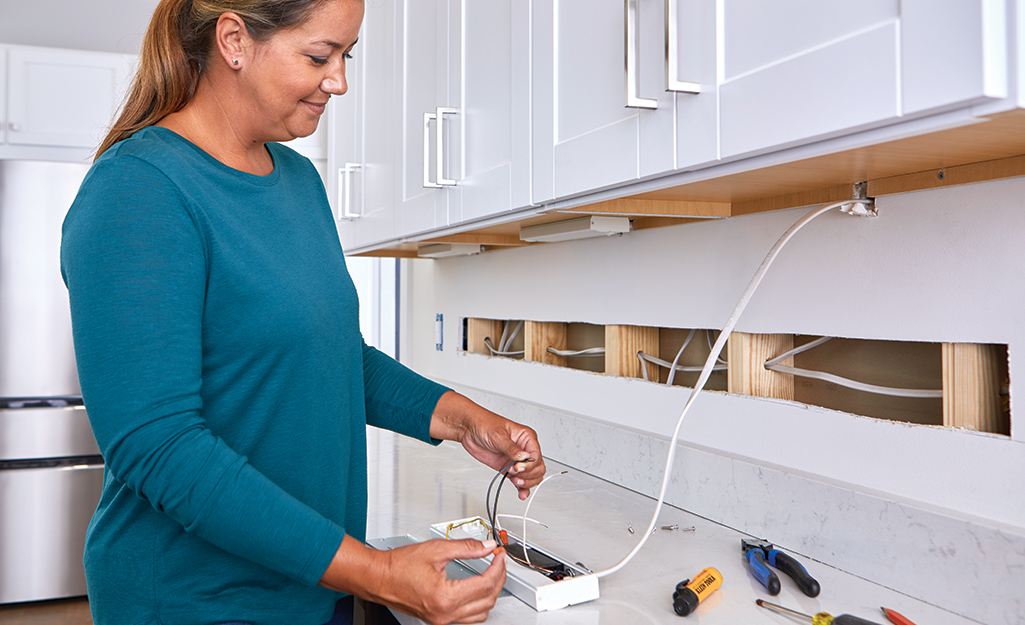
Step 1: Start by turning off the power to your kitchen at the circuit breaker. This will ensure your safety while working with electricity. Step 2: Use a stud finder to locate the studs in the area where you will be installing the lights. This will help you determine where to place the screws for a secure installation. Step 3: Measure and mark where you want the lights to be placed. Use a level to ensure they are straight. Step 4: Next, you will need to drill holes for the screws to go in. Make sure they are slightly smaller than the screws to ensure a tight fit. Step 5: Install the lights by attaching them to the cabinet with the screws provided in the kit. Make sure to follow the manufacturer's instructions for proper installation. Step 6: Once the lights are securely in place, it's time to connect the wiring. This may involve stripping the wires and using wire connectors to join them together. Refer to the instructions for specific guidance. Step 7: Once the wiring is connected, turn the power back on at the circuit breaker and test the lights to make sure they are working properly.Step-by-Step Guide to Installing Under Cabinet Lighting
Installing under cabinet lighting is a relatively simple DIY project, but it does require some basic electrical knowledge. If you are uncomfortable working with electricity, it's best to hire a professional to do the installation for you. However, if you feel confident in your abilities, a DIY installation can save you money and give you a sense of accomplishment. Just be sure to follow all safety precautions and consult with an electrician if needed.DIY Under Cabinet Lighting Installation
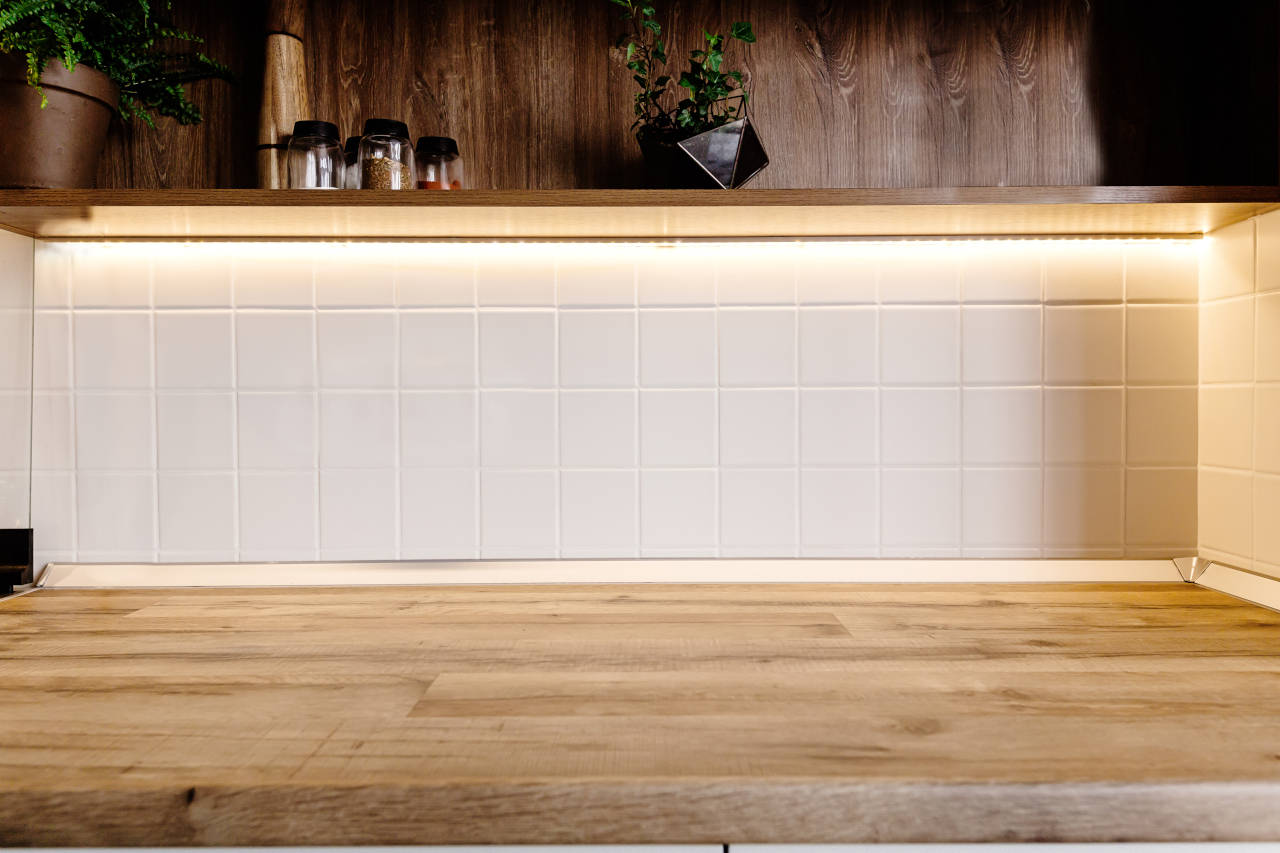
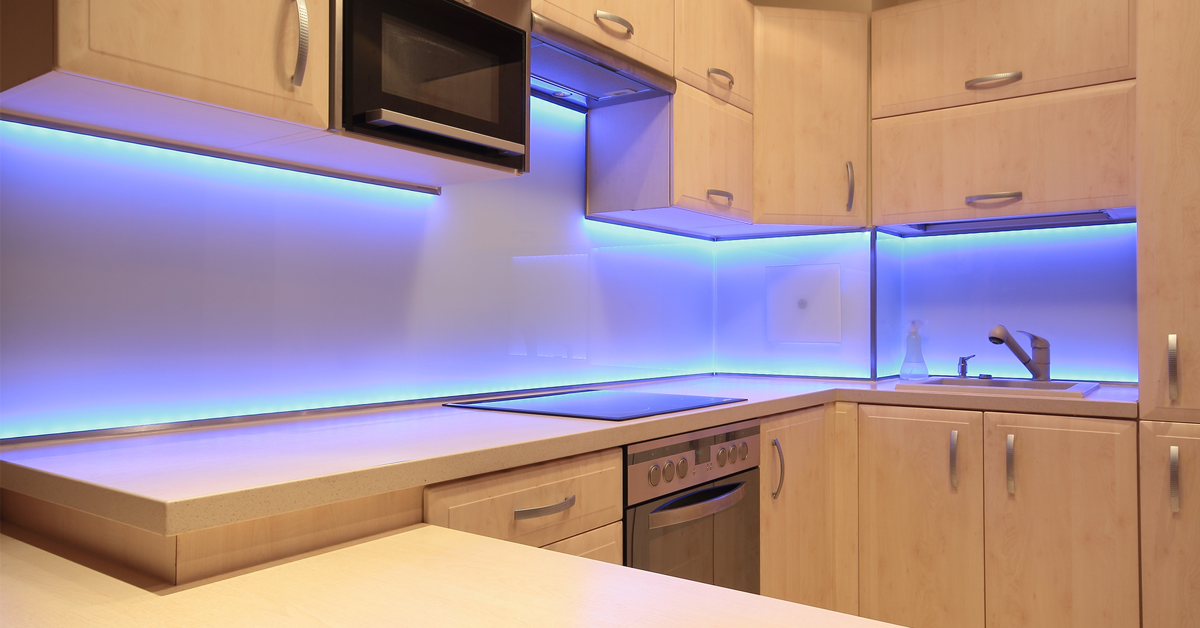
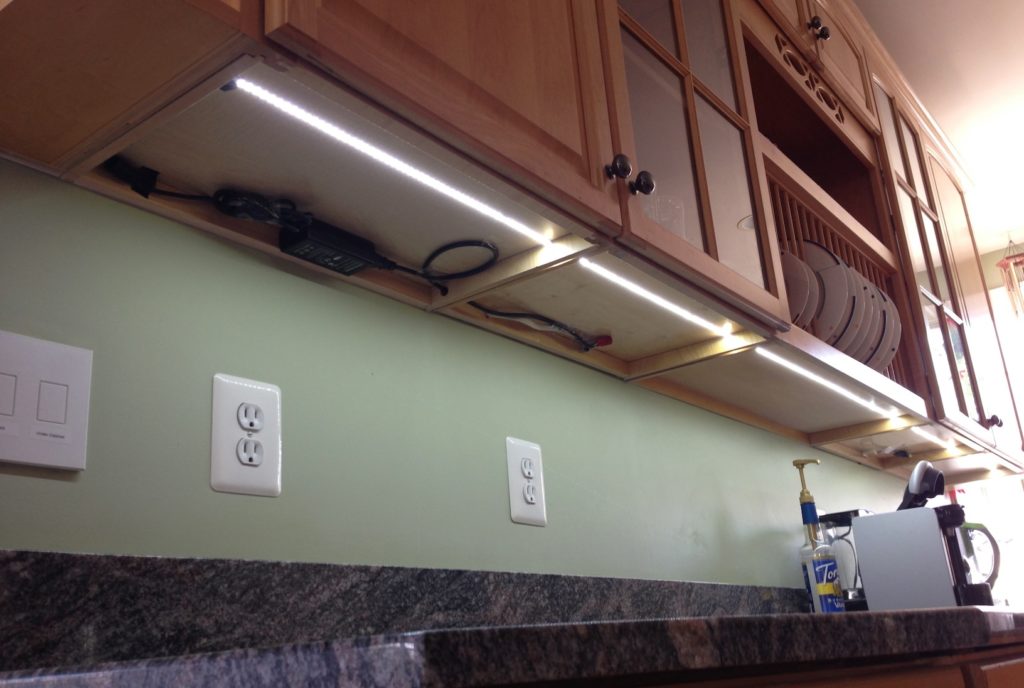
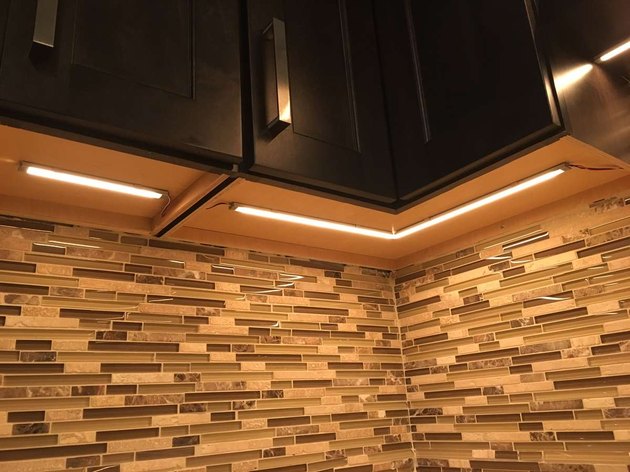
One popular option for under cabinet lighting is LED strip lights. These thin, flexible lights can be easily installed and provide a bright, energy-efficient light source for your kitchen. To install LED strip lights, follow the same steps mentioned above. However, instead of using individual lights, you will be using one long strip that can be cut to fit the length of your cabinets. These strips typically come with adhesive backing for easy installation.Installing LED Strip Lights Under Kitchen Cabinets
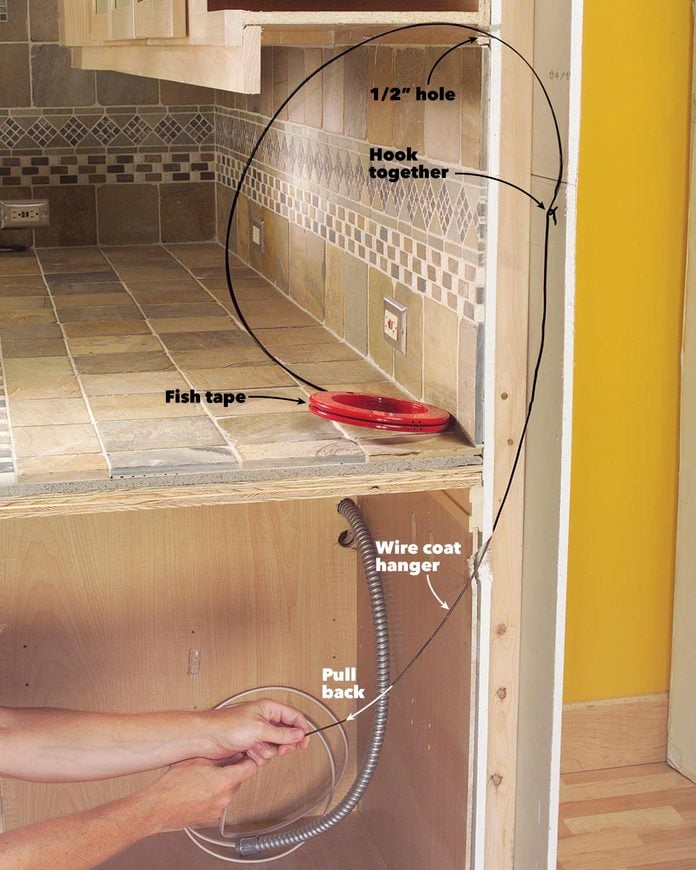
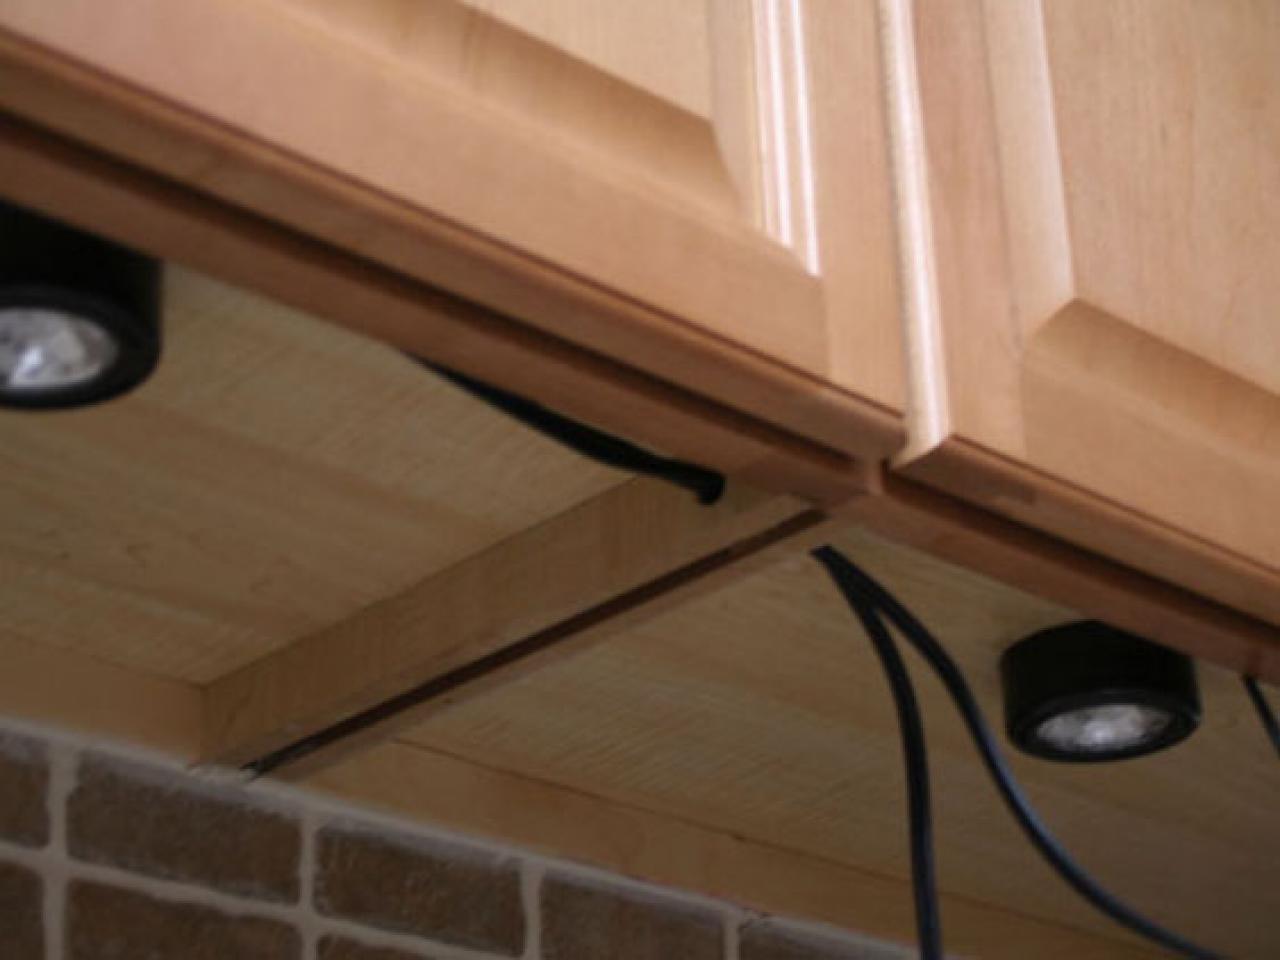
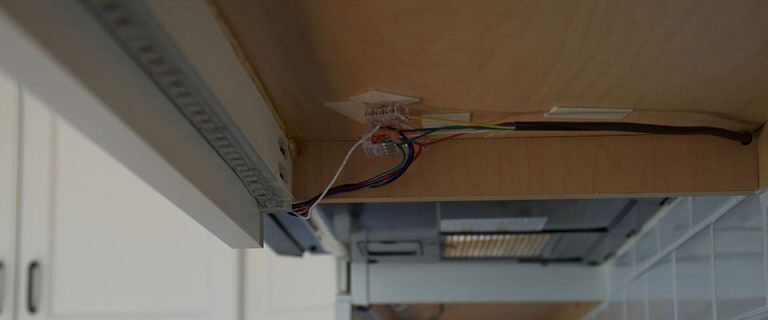
Here are some best practices to keep in mind when installing under cabinet lighting: Choose the right type of lighting: There are various options for under cabinet lighting, including LED, fluorescent, and incandescent. Consider your budget and desired level of brightness before making a decision. Use a dimmer switch: Installing a dimmer switch will allow you to adjust the level of light in your kitchen, making it easy to create the perfect ambiance for any occasion. Hide the wires: To create a clean and professional look, make sure to hide the wires behind the cabinets or use wire channels to keep them out of sight.Best Practices for Installing Under Cabinet Lighting
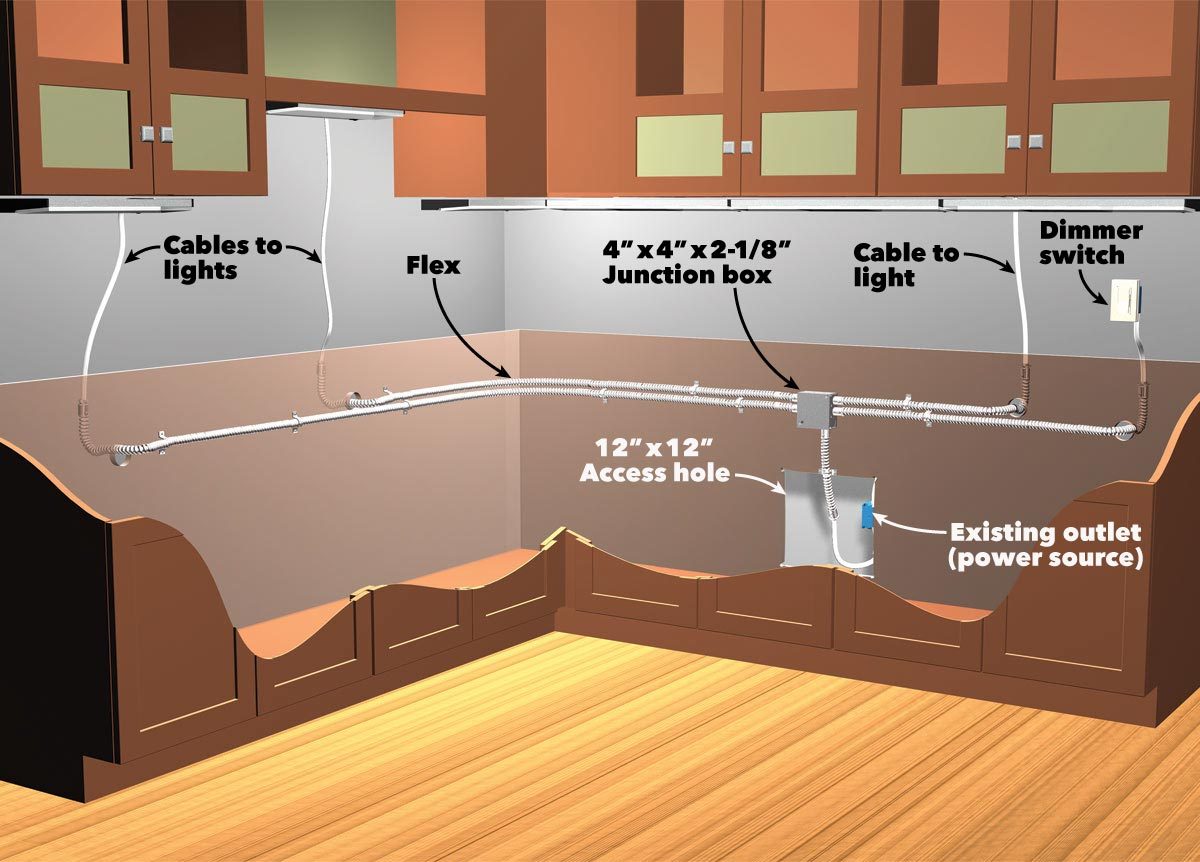
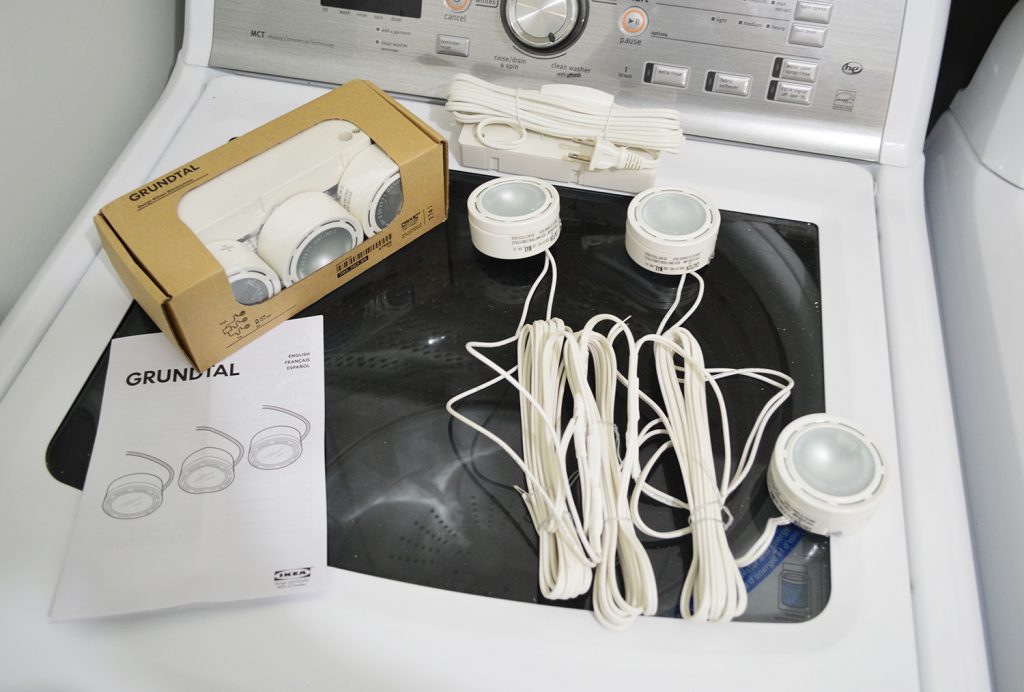
Here is a list of the tools and materials you will need for a successful under cabinet lighting installation: - Power drill - Screws - Wire cutters - Wire connectors - Stud finder - Level - Under cabinet lighting kitTools and Materials Needed for Installing Under Cabinet Lighting
Before starting the installation process, it's important to understand some basic wiring and electrical considerations. First, make sure you have turned off the power to your kitchen at the circuit breaker. If you are unsure which breaker controls your kitchen, it's best to turn off the main power to your home. Additionally, make sure to follow the manufacturer's instructions for wiring and connecting the lights. If you are unsure about any step of the process, consult with an electrician for assistance.Wiring and Electrical Considerations for Under Cabinet Lighting Installation
When selecting under cabinet lighting, here are a few tips to keep in mind: Consider the style of your kitchen: You want the lighting to complement the overall style of your kitchen, so choose a style and finish that will blend well with your existing décor. Think about the purpose: Are you looking for task lighting for food prep or ambient lighting for a cozy atmosphere? Consider the purpose of the lighting before making a decision. Take measurements: Make sure to measure the length of your cabinets before purchasing the lighting to ensure you get the right size.Tips for Choosing the Right Under Cabinet Lighting for Your Kitchen
Here are some common mistakes to avoid when installing under cabinet lighting: Not turning off the power: Always turn off the power to your kitchen before starting the installation process to avoid the risk of electric shock. Not measuring correctly: Make sure to measure the length of your cabinets accurately to ensure you purchase the correct size for your lighting. Not following instructions: It's important to carefully read and follow the manufacturer's instructions for installation to avoid any mistakes or accidents. In conclusion, installing under cabinet lighting in your kitchen is a great way to add both functionality and style. With the right tools, materials, and knowledge, you can easily complete this DIY project and enjoy a beautifully lit kitchen.Common Mistakes to Avoid When Installing Under Cabinet Lighting
Benefits of Installing Shape Lighting Underneath Kitchen Cabinets
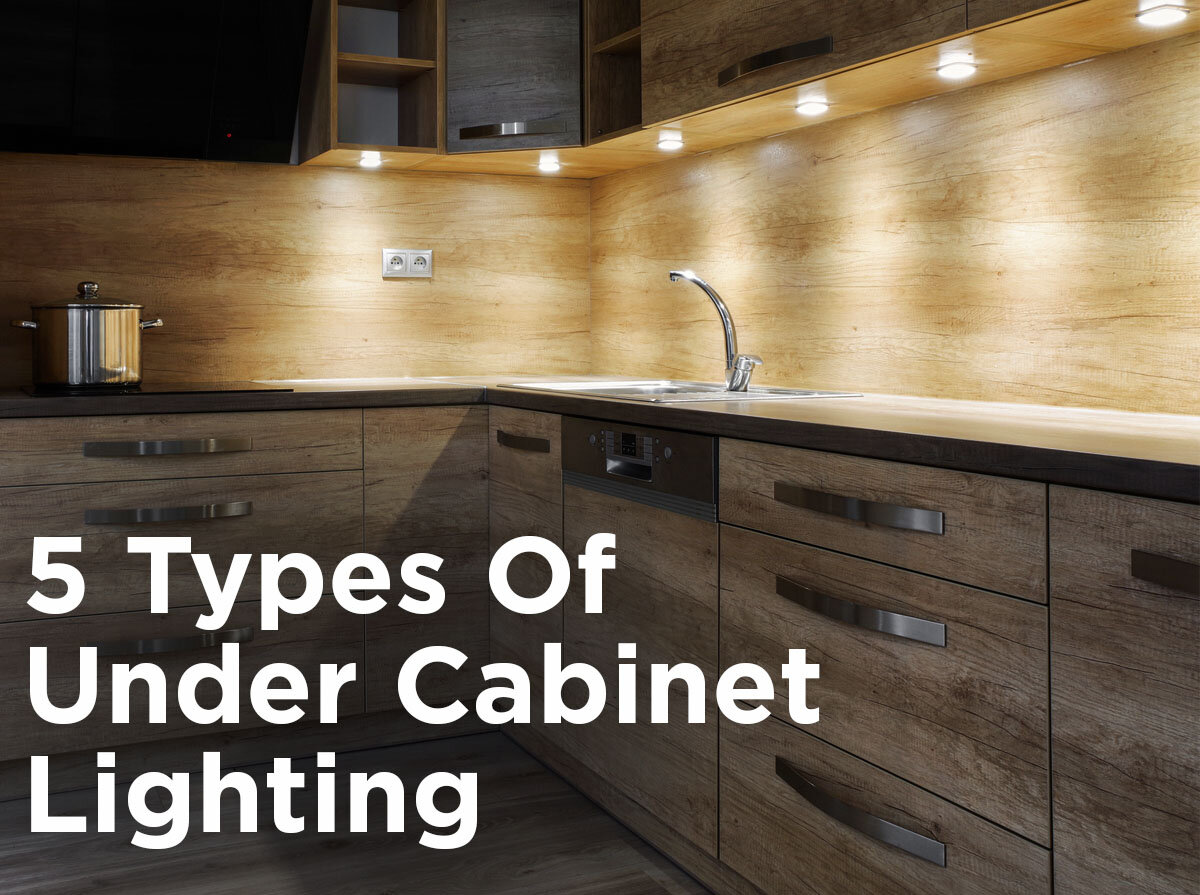
Enhances the Overall Aesthetics
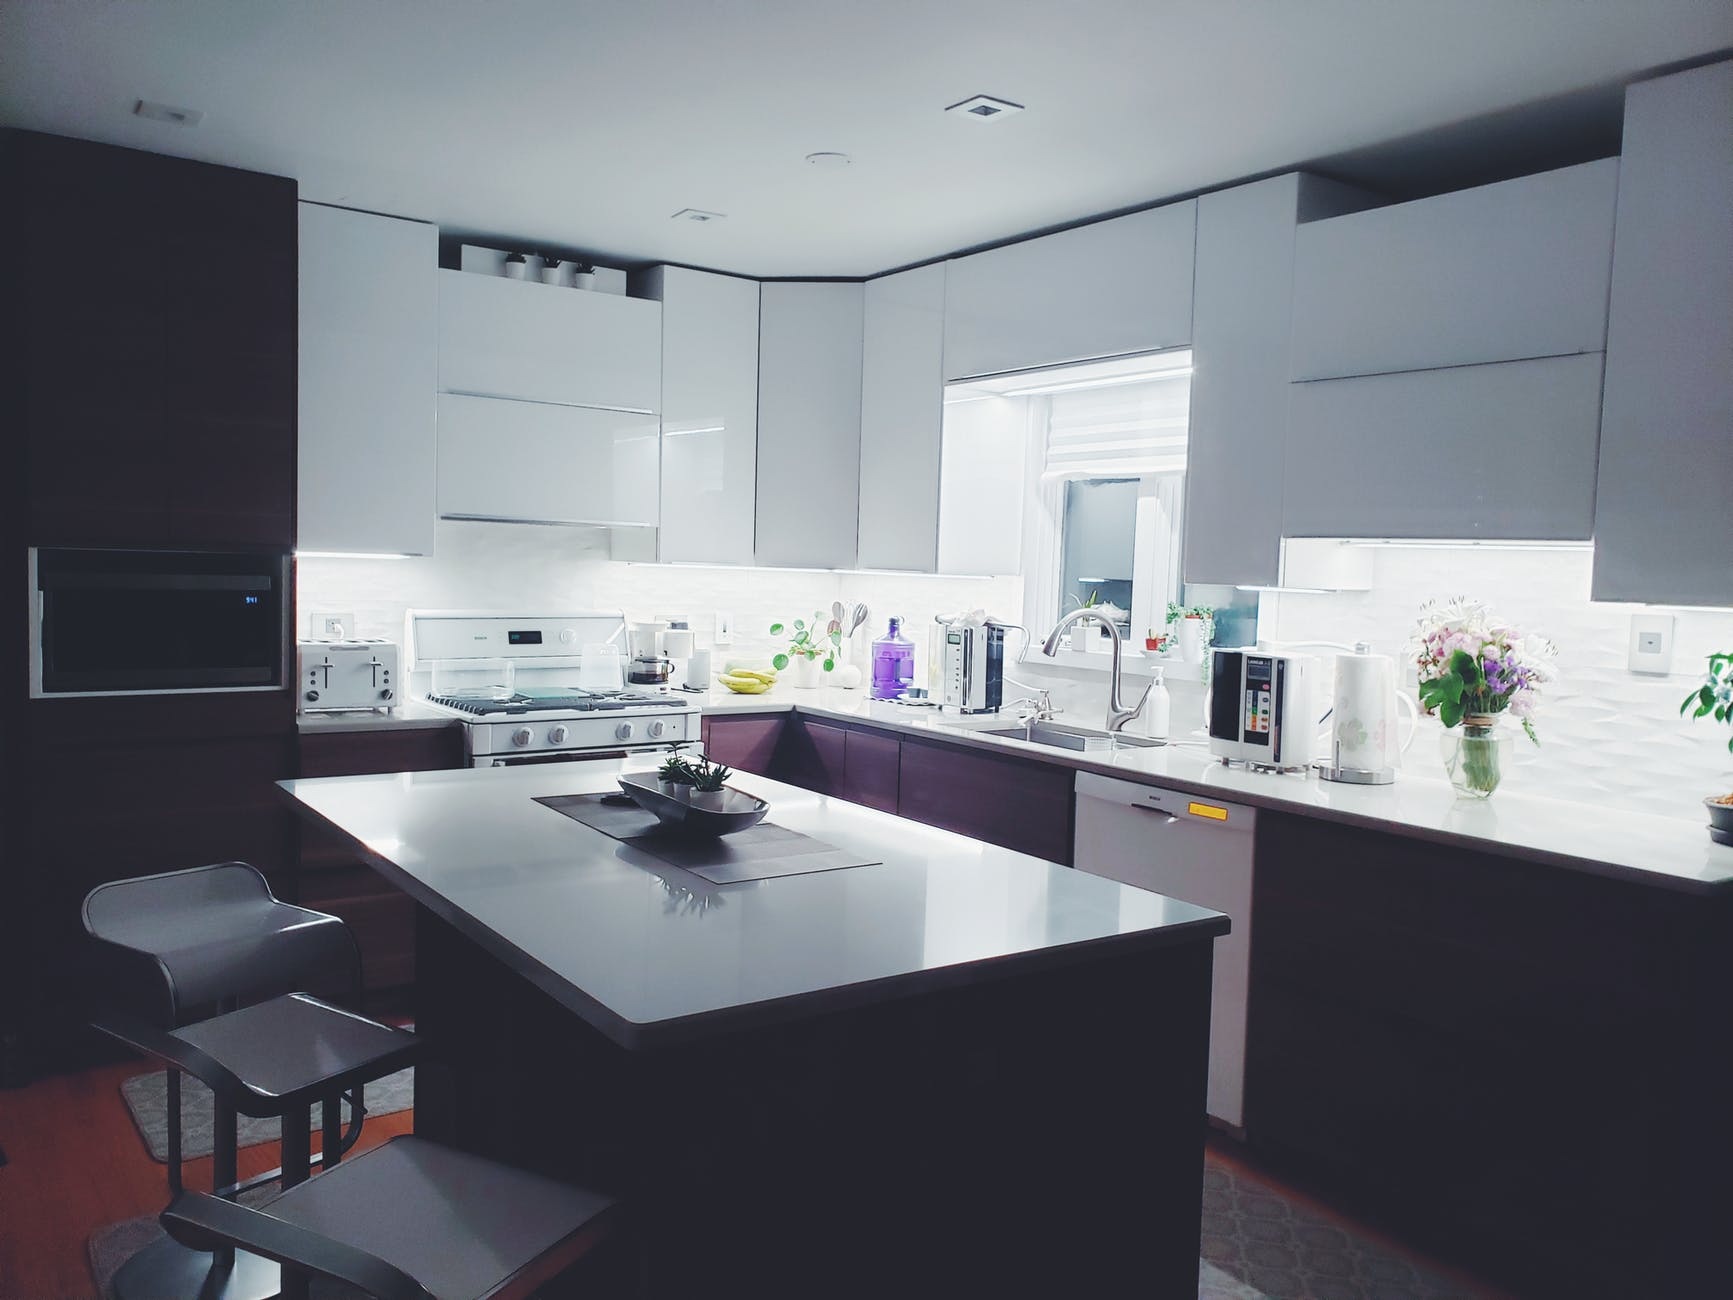
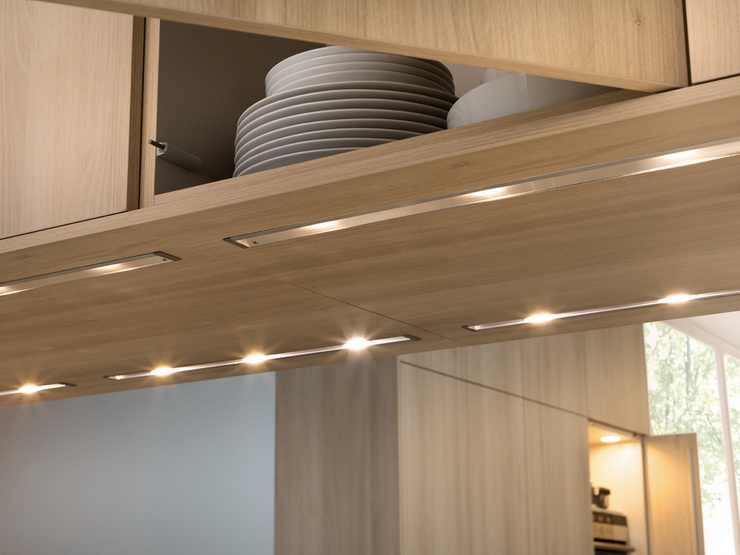
 Installing shape lighting underneath kitchen cabinets is a simple yet effective way to elevate the overall aesthetics of your kitchen. These lights add a touch of warmth and depth to the space, making it feel more inviting and cozy. With the right choice of lighting, you can create a stunning visual effect that will leave your guests in awe. Plus, the added ambiance can make your kitchen feel more upscale and luxurious without breaking the bank.
Provides Better Task Lighting
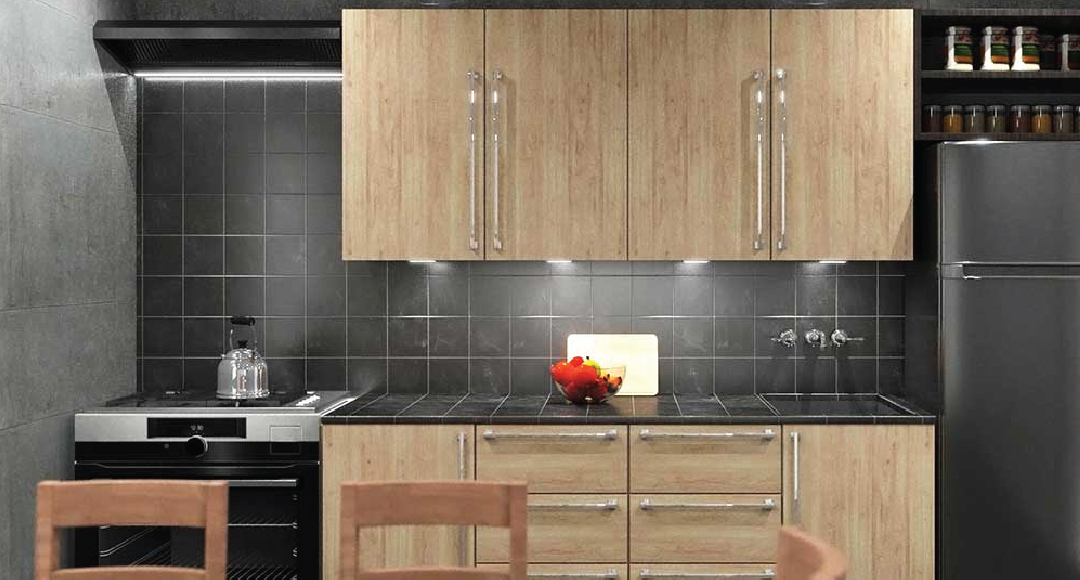
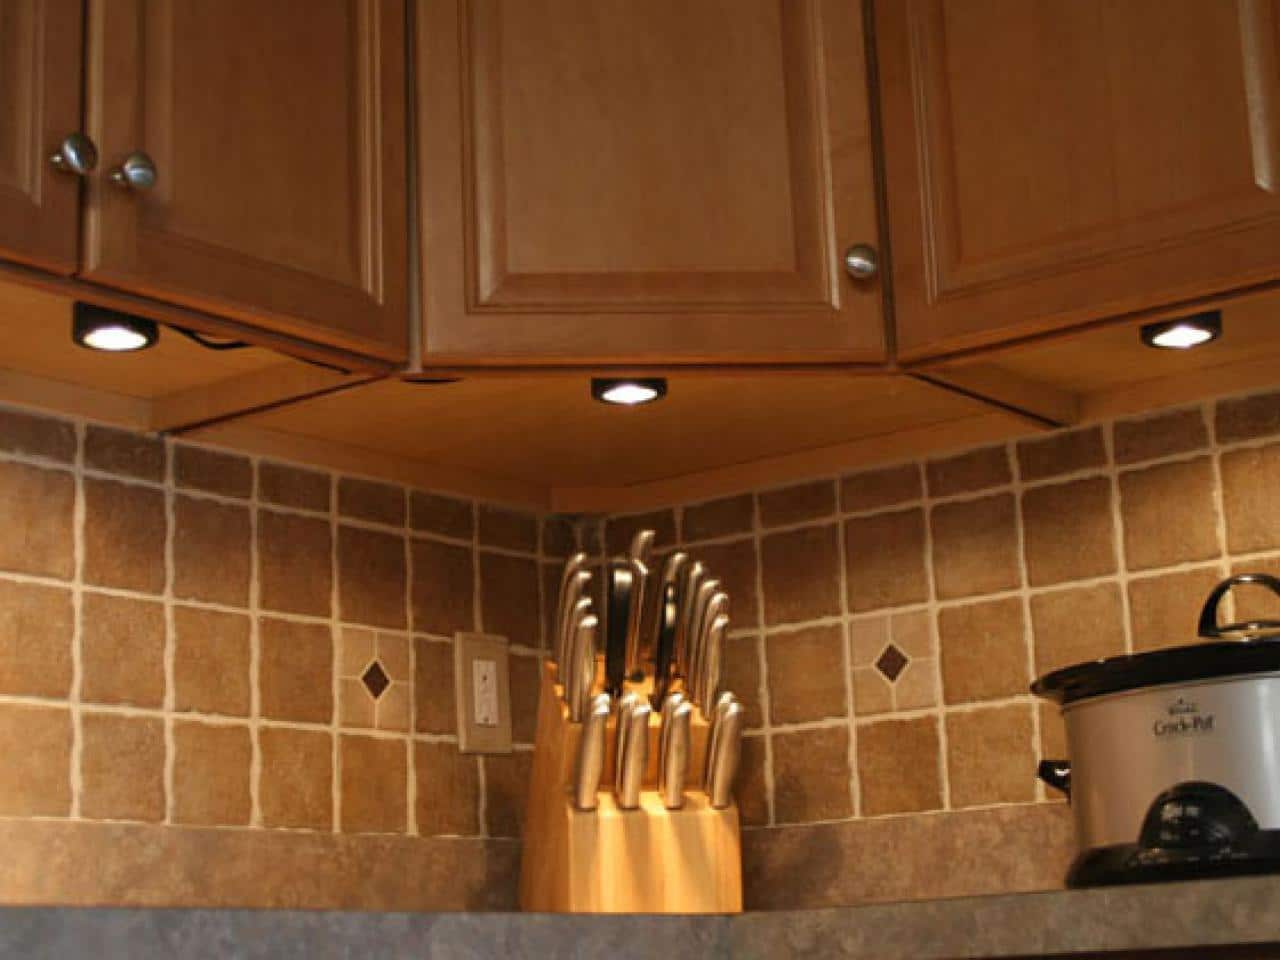 In addition to enhancing the look of your kitchen, shape lighting also serves a practical purpose by providing better task lighting. It illuminates the countertop workspace, making it easier to see while cooking or preparing food. This is especially useful for those with darker kitchen countertops or for those who have trouble seeing in low light. With shape lighting underneath your cabinets, you can say goodbye to dimly lit workspaces and hello to bright and functional lighting.
Saves Energy and Money
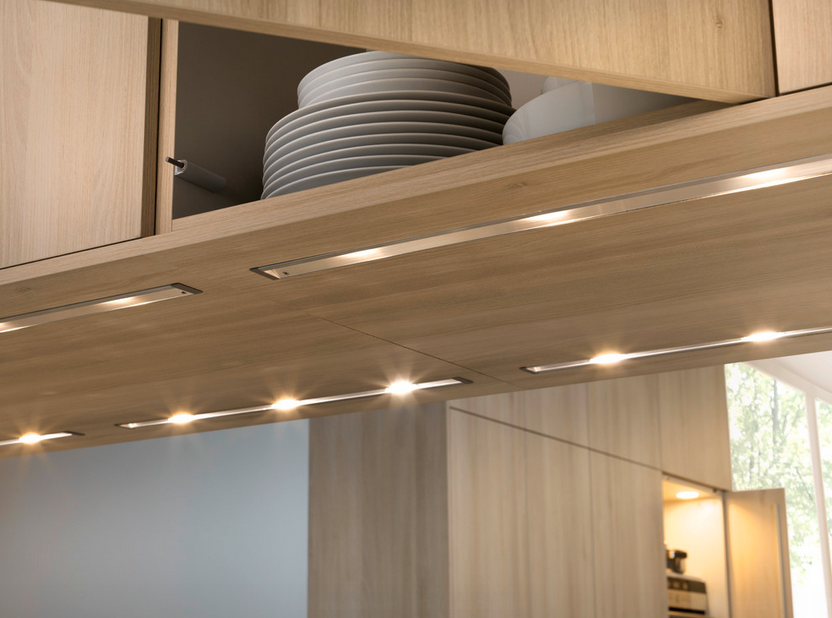 Shape lighting typically uses LED bulbs, which are known for their energy efficiency. By choosing to install shape lighting underneath your kitchen cabinets, you can save on your energy bills in the long run. LED lights also have a longer lifespan compared to traditional incandescent bulbs, which means they will need to be replaced less frequently. This can help save you money on replacement bulbs and reduce your carbon footprint at the same time.
Creates a Customizable Lighting Design
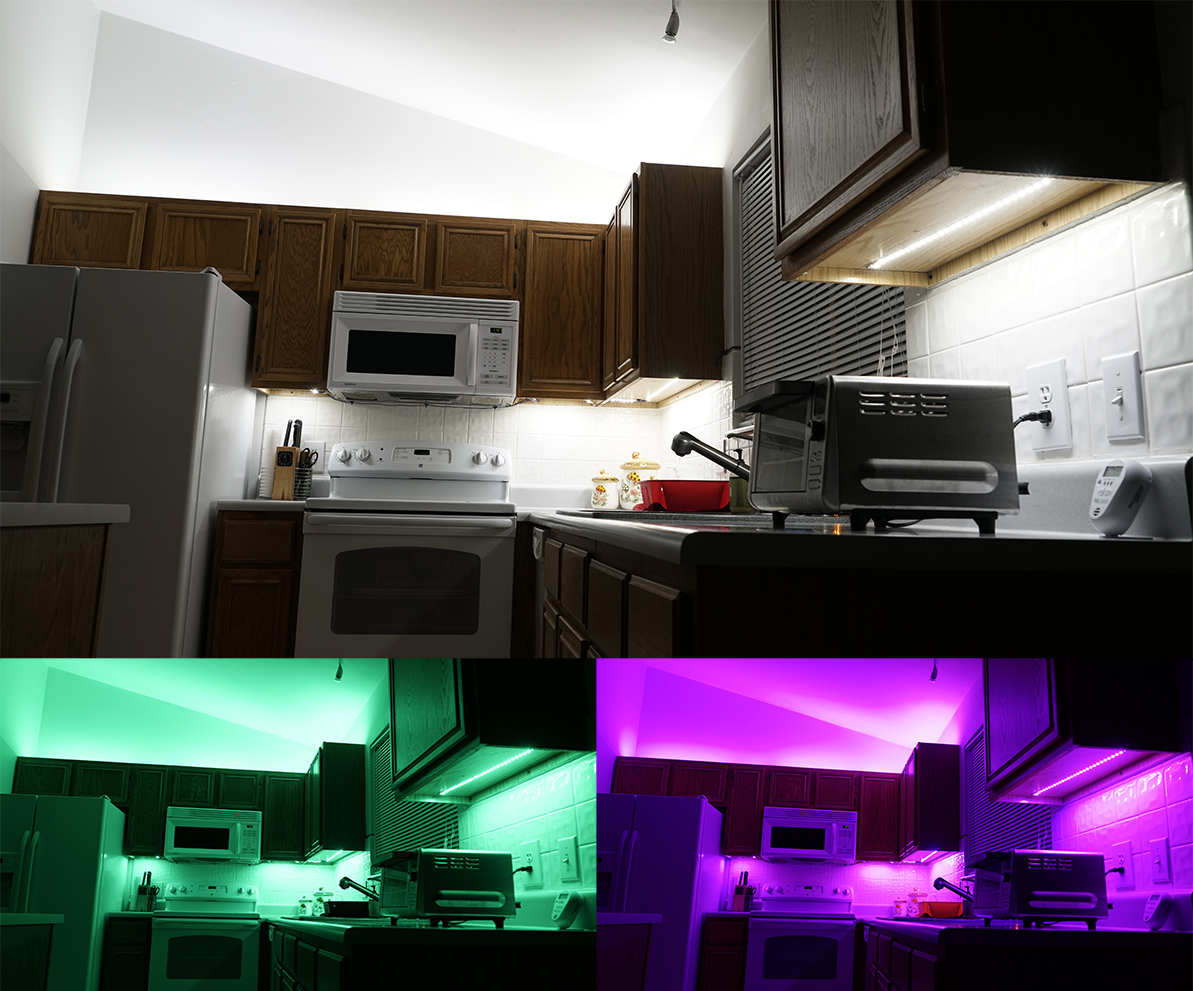
 One of the greatest advantages of shape lighting is the ability to customize the lighting design to your liking. You can choose from a variety of colors, brightness levels, and even add dimmers to create the perfect ambiance for any occasion. With the right placement and combination of shape lights, you can create a visually appealing and functional lighting design that suits your personal style and needs.
Easy to Install
 Installing shape lighting underneath kitchen cabinets is a relatively easy and straightforward process. With the right tools and a little bit of DIY know-how, you can have your shape lights up and running in no time. This makes it a cost-effective way to upgrade your kitchen without having to hire a professional. Plus, if you ever decide to remodel or change the layout of your kitchen, the shape lights can easily be removed and reinstalled in their new location.
In conclusion, installing shape lighting underneath kitchen cabinets is a simple yet effective way to enhance the look and functionality of your kitchen. Not only does it provide better task lighting and a customizable design, but it also saves energy and money in the long run. So why not add some shape lighting to your kitchen and see the difference it can make?

























.jpg)

