If you're looking to add some extra lighting to your kitchen cabinets, recessed lighting is a great option. It provides a sleek and modern look, while also maximizing space. Plus, it's a relatively simple DIY project that can make a big impact. Here's a step-by-step guide on how to install recessed lighting in your kitchen cabinets.How to Install Recessed Lighting in Kitchen Cabinets
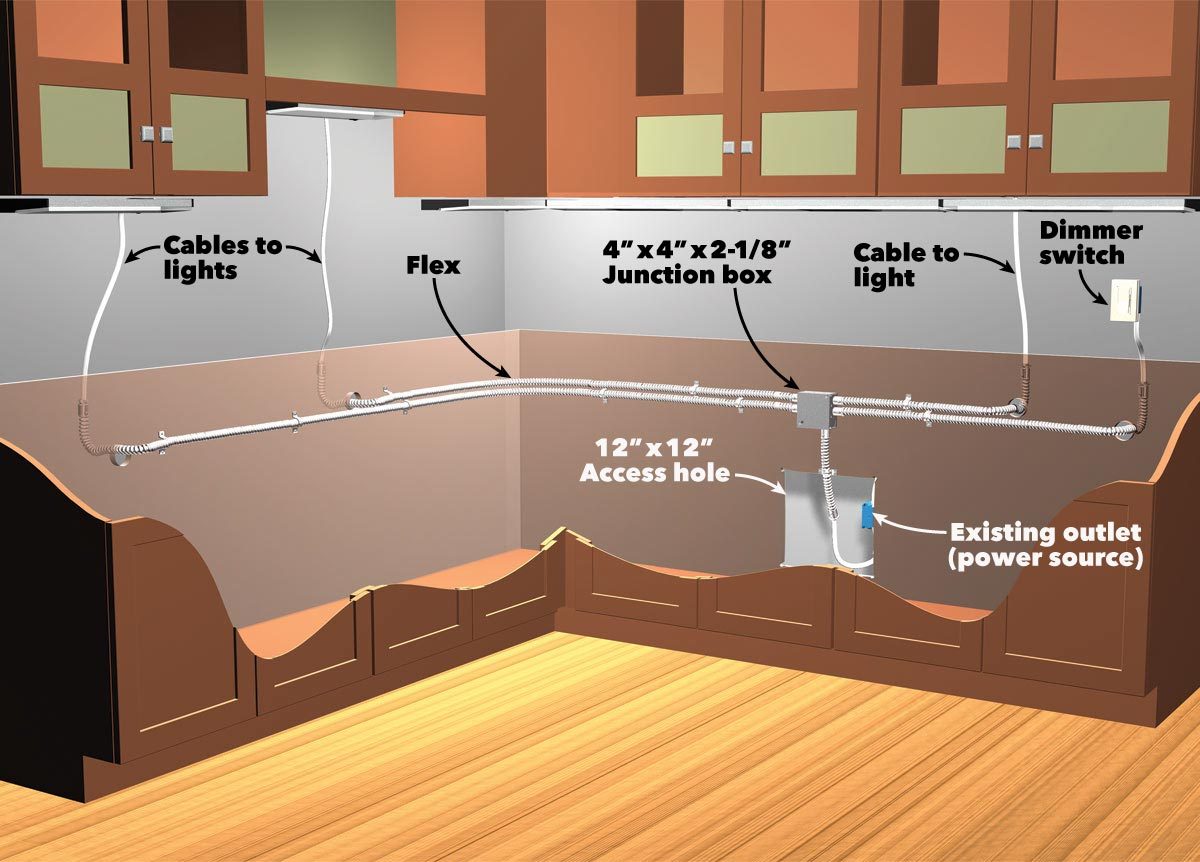
Before you begin, make sure you have all the necessary tools and materials. You'll need a power drill, a hole saw drill bit, a screwdriver, wire cutters, a voltage tester, and the recessed lighting kit. Once you have everything, follow these steps: 1. Plan Your Layout Decide where you want to place your recessed lights in your kitchen cabinets. Measure and mark the locations on the inside of the cabinets. Make sure the spacing is even and the lights will be centered on the doors or shelves. 2. Cut the Holes Using the hole saw drill bit, carefully cut holes in the marked locations. Make sure the holes are the same size as the recessed lights in your kit. 3. Install the Lights Remove the trim from the recessed lights and feed the wires through the holes. Secure the lights in place by tightening the screws on the sides of the lights. Then, attach the trim back onto the lights. 4. Wire the Lights Now it's time to wire the lights. Turn off the power to the kitchen and use a voltage tester to double-check that there is no electricity running through the wires. Then, follow the instructions in your kit to connect the wires to the light fixture and the power source. 5. Test the Lights Once the wiring is complete, turn the power back on and test the lights to make sure they are working properly. If they are not, double-check the wiring and connections. 6. Mount the Switch If you want to add a switch to control the lights, you'll need to mount it in a convenient location. Make sure to turn off the power before doing any electrical work. Follow the instructions in your kit to properly wire and mount the switch. 7. Finishing Touches Once everything is installed and working, it's time to add some finishing touches. You can paint the trim to match your cabinets or add a trim ring to cover any gaps around the light fixture.Installing Recessed Lighting in Kitchen Cabinets: A Step-by-Step Guide
Installing recessed lighting in your kitchen cabinets is a great DIY project that can transform the look and functionality of your kitchen. With a little bit of planning and the right tools and materials, you can easily add this modern touch to your cabinets.DIY: Installing Recessed Lighting in Kitchen Cabinets
Recessed lighting is a popular choice for many homeowners because it provides a clean and streamlined look. But installing it in kitchen cabinets can be a bit trickier than other areas of the home. That's why it's important to follow these steps carefully to ensure a successful installation.Recessed Lighting Installation: Kitchen Cabinet Edition
Installing recessed lighting in your kitchen cabinets may seem intimidating, but with this step-by-step guide, you'll be able to tackle the project with confidence. Remember to take your time and follow the instructions carefully for the best results.Step-by-Step Guide to Installing Recessed Lighting in Kitchen Cabinets
Here are a few tips and tricks to keep in mind when installing recessed lighting in your kitchen cabinets: 1. Use LED Lights LED lights are a popular choice for recessed lighting because they are energy efficient and have a longer lifespan. They also produce less heat, making them safer for use in cabinets. 2. Consider Dimmer Switches Dimmer switches can add an extra layer of functionality to your recessed lighting. You can adjust the brightness to set the mood or save energy when full lighting is not needed. 3. Check for Adequate Space Make sure there is enough space in your cabinets for the recessed lights and their wiring. If you have limited space, consider using surface-mounted lights instead. 4. Use a Hole Saw Drill Bit A hole saw drill bit is the best tool for cutting precise holes in your cabinets. Make sure it is the same size as your recessed lights to avoid any gaps or unevenness.Installing Recessed Lighting in Kitchen Cabinets: Tips and Tricks
One of the greatest benefits of recessed lighting in kitchen cabinets is the space-saving design. By installing lights inside your cabinets, you can free up valuable counter and shelf space while still providing ample lighting for your workspace.Maximizing Space: Installing Recessed Lighting in Kitchen Cabinets
When selecting recessed lighting for your kitchen cabinets, consider the style and functionality you want to achieve. There are various sizes, shapes, and finishes available, so choose ones that complement your cabinets and meet your lighting needs.How to Choose the Right Recessed Lighting for Your Kitchen Cabinets
If you're still feeling unsure about installing recessed lighting in your kitchen cabinets, here are some expert tips to help you along the way: 1. Measure Twice, Cut Once Double-check your measurements before cutting any holes in your cabinets. This will save you from making any costly mistakes. 2. Use Caulk to Seal Gaps If there are any small gaps around the light fixture, use caulk to seal them. This will give your installation a more polished look. 3. Don't Overload Your Circuits Make sure you are not overloading your circuits with too many lights. If needed, hire an electrician to install a separate circuit for your recessed lighting.Expert Tips for Installing Recessed Lighting in Kitchen Cabinets
Adding recessed lighting to your kitchen cabinets is an easy and effective way to transform the look and functionality of your kitchen. With these tips and a little bit of DIY know-how, you can achieve a modern and sleek look that will make your kitchen shine.Transform Your Kitchen with Recessed Lighting in Your Cabinets
Upgrading Your Kitchen with Recessed Lighting
Why Recessed Lighting is the Perfect Addition to Your Kitchen
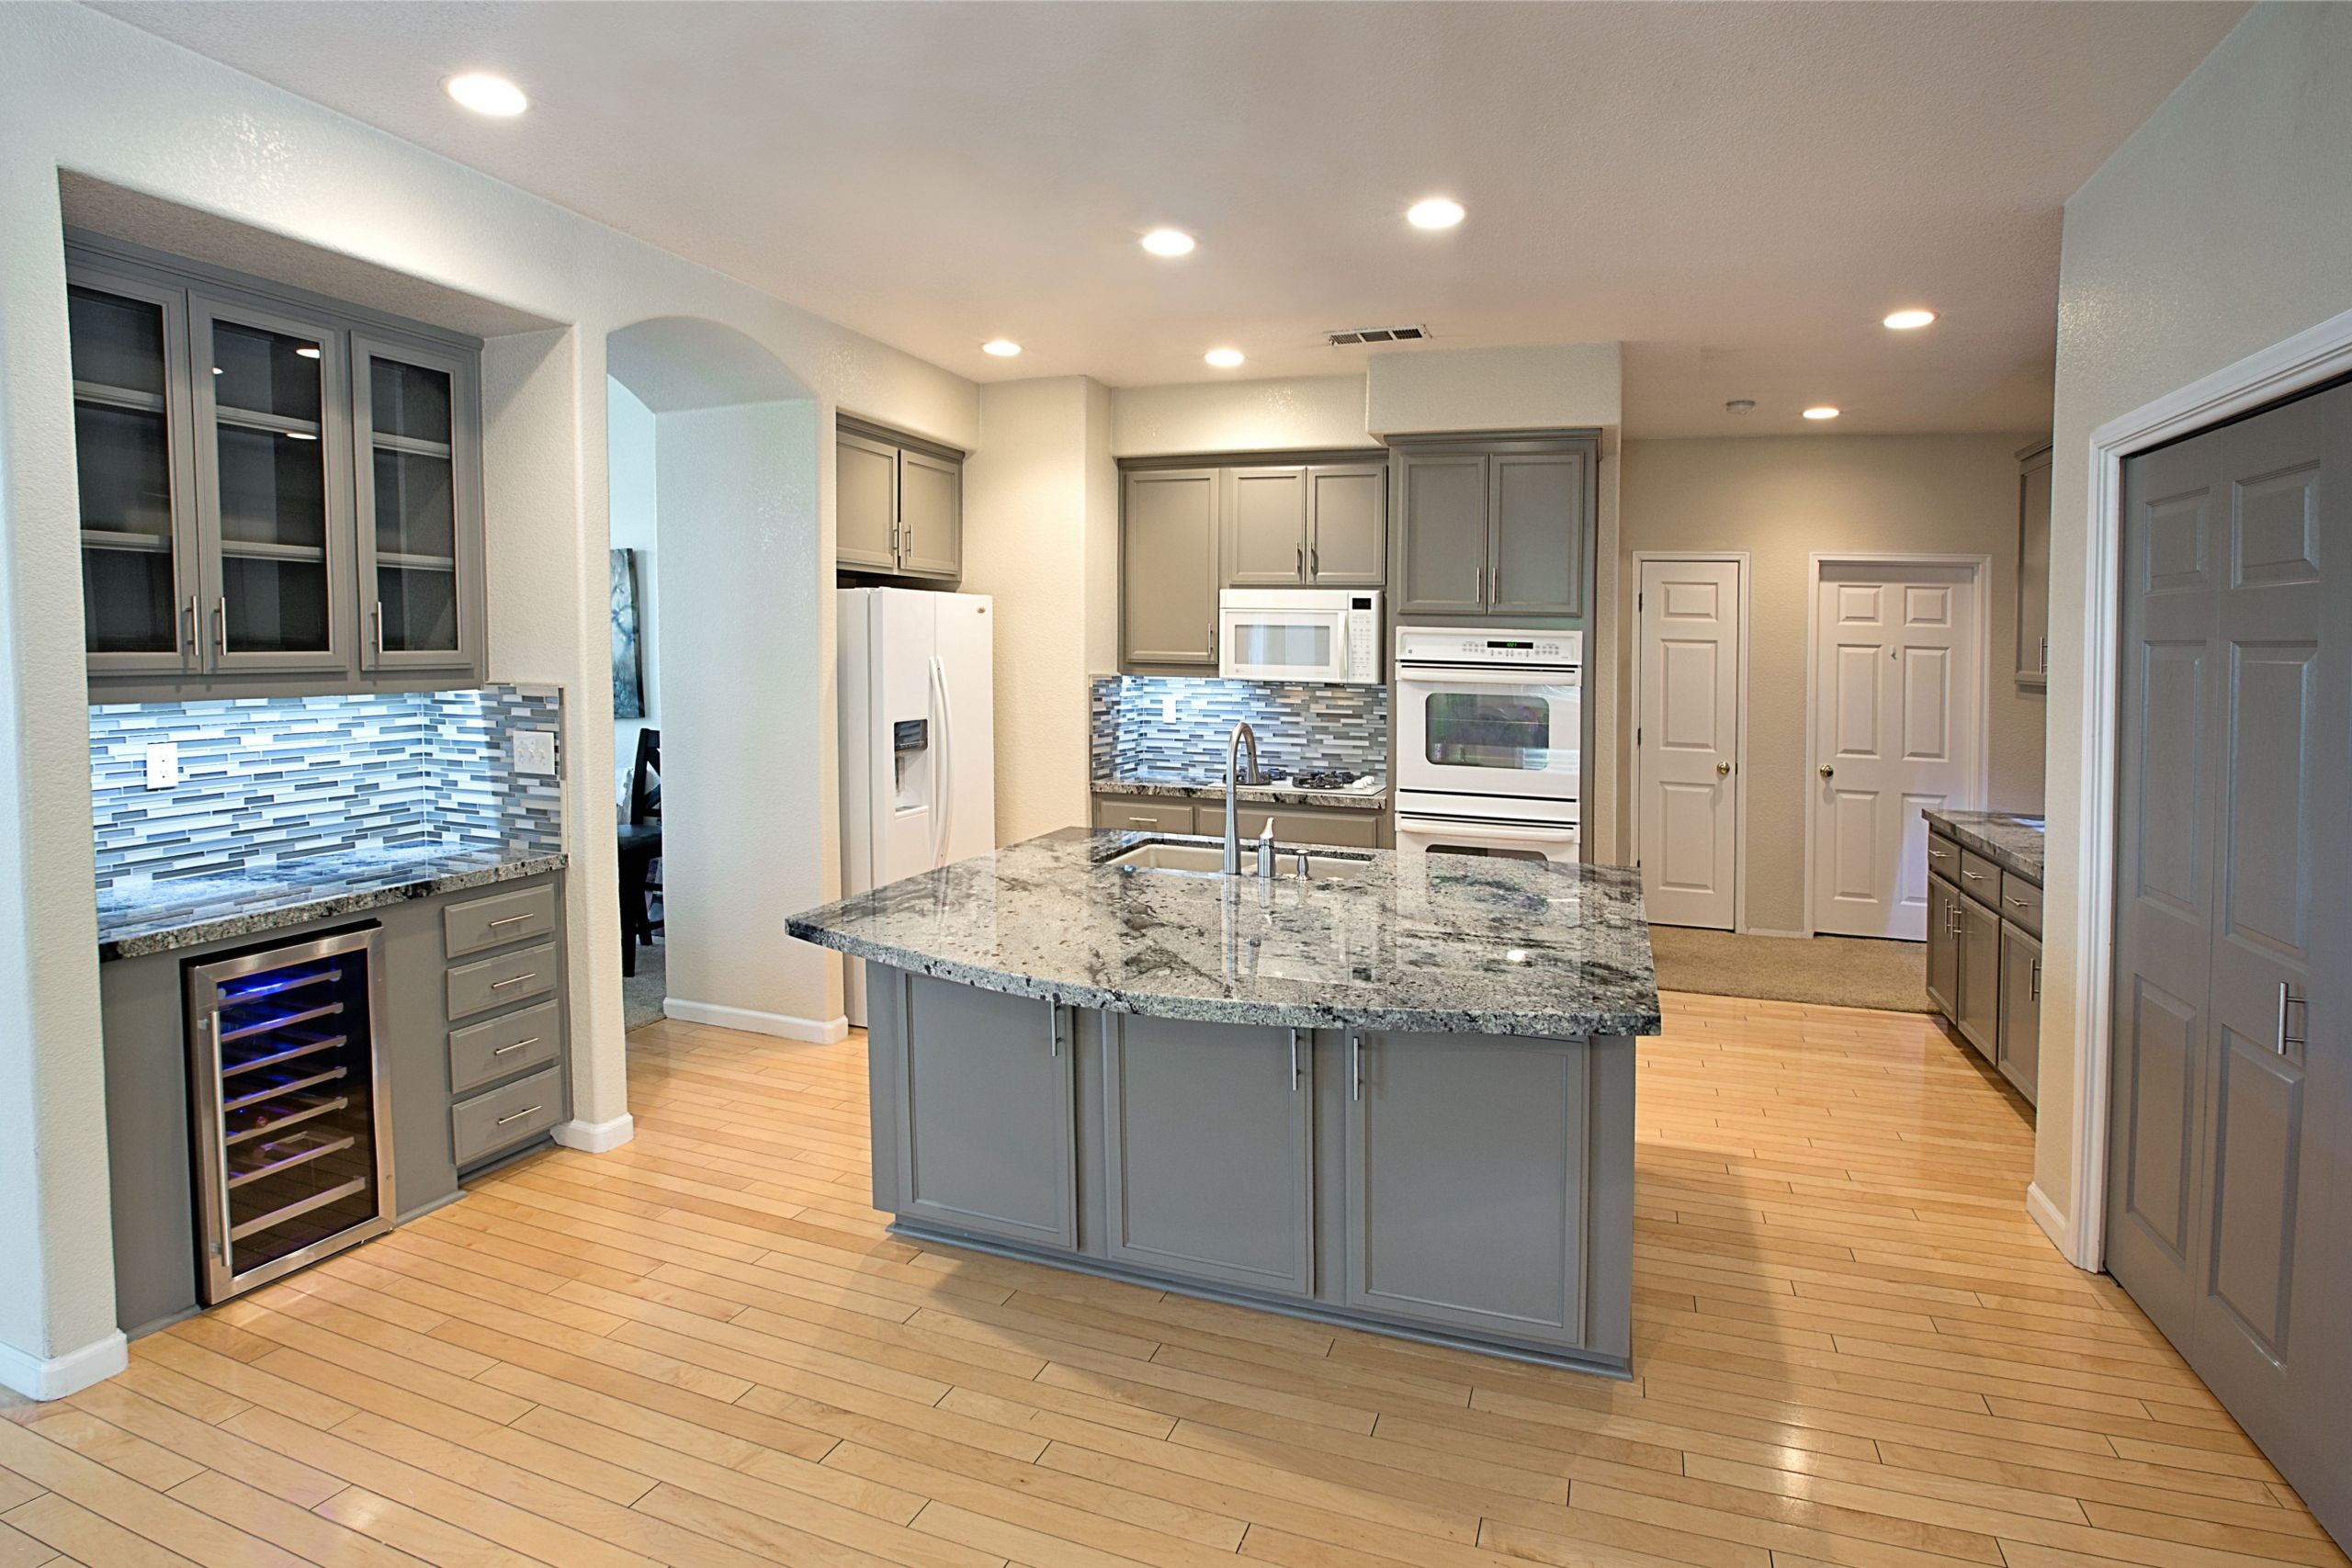
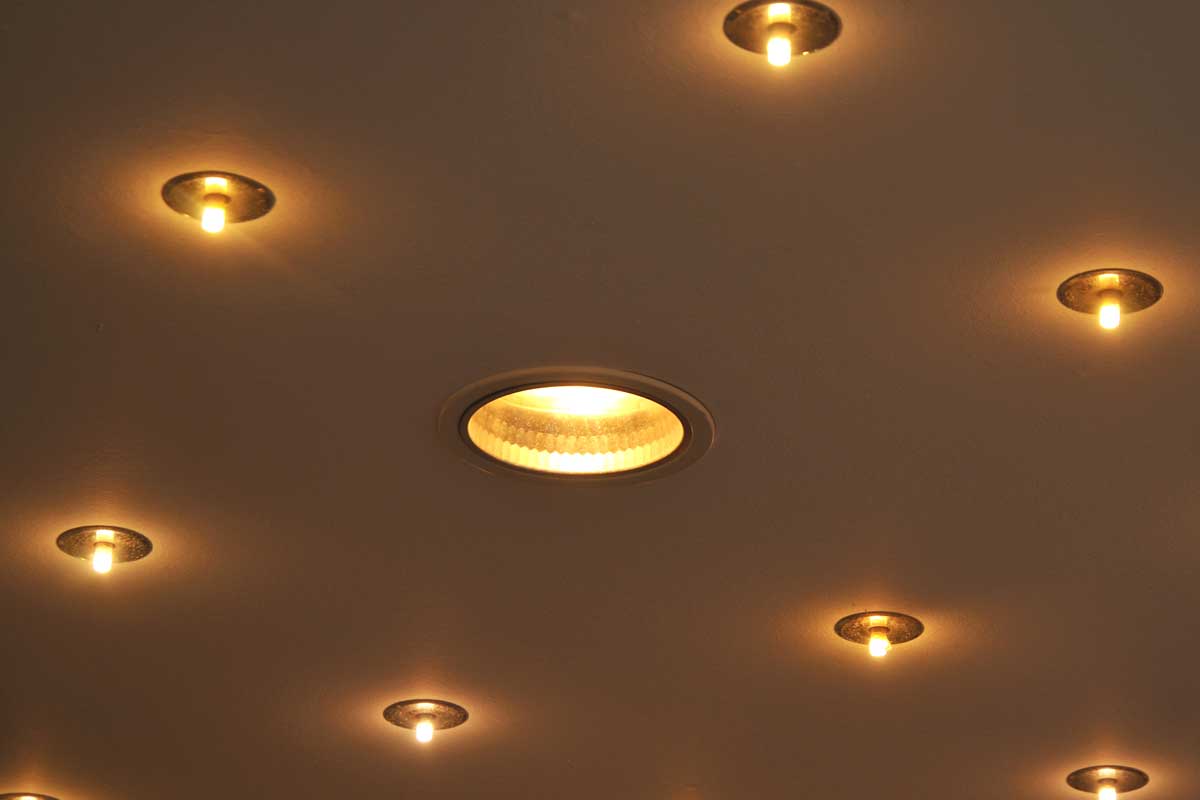
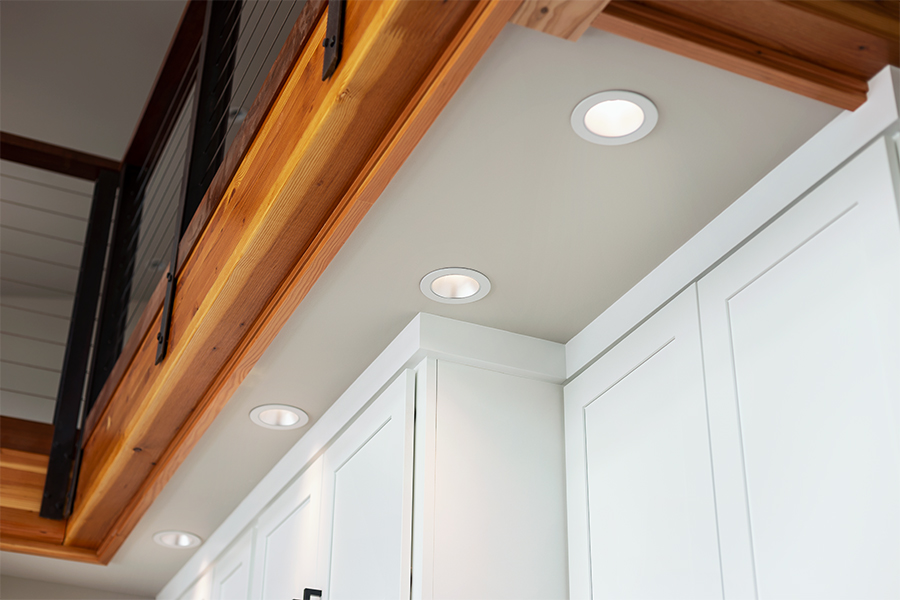
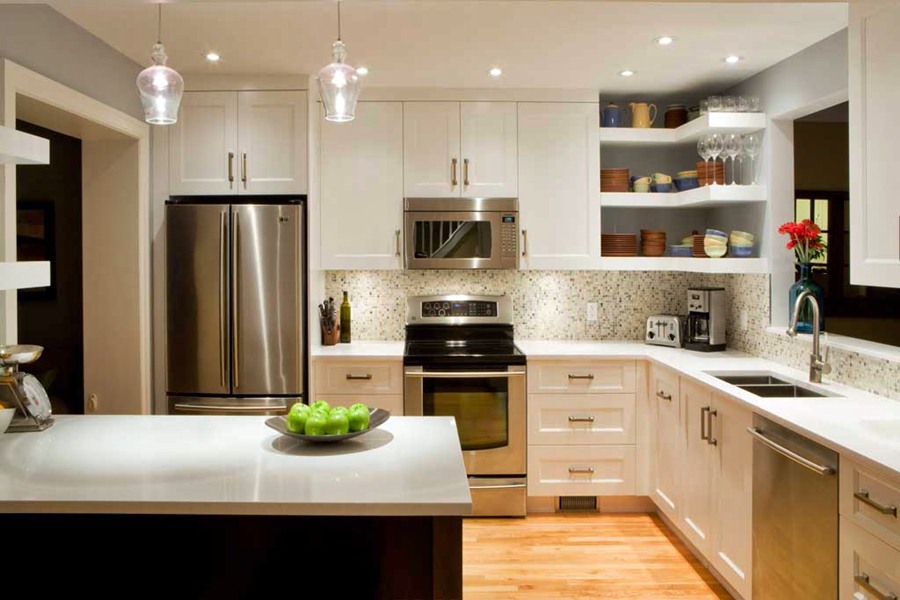
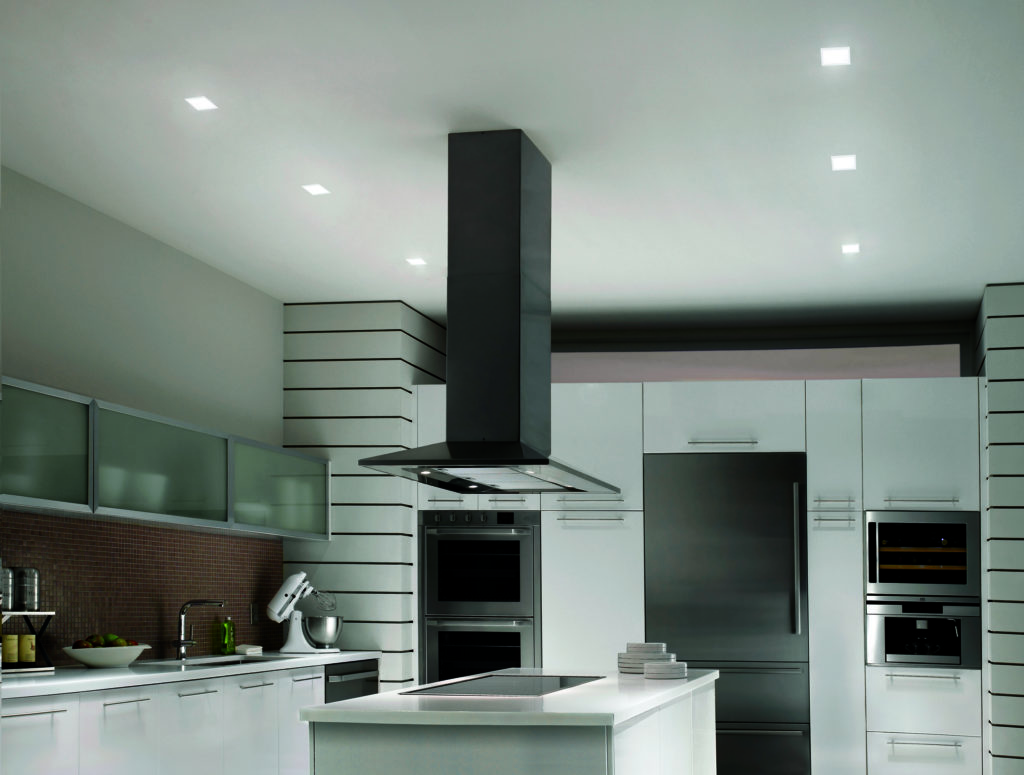
 Recessed lighting, also known as can lights, has become increasingly popular in modern homes due to its sleek and sophisticated design. It is a type of lighting fixture that is installed into the ceiling, creating a seamless and clean look in any room. When it comes to kitchen design, recessed lighting is the perfect addition to bring a touch of elegance and practicality to the most important room in your home.
Installing recessed lighting in kitchen cabinet
can not only enhance the overall aesthetic, but also provide functional benefits that will make cooking and entertaining a more enjoyable experience.
Maximizing Space and Functionality
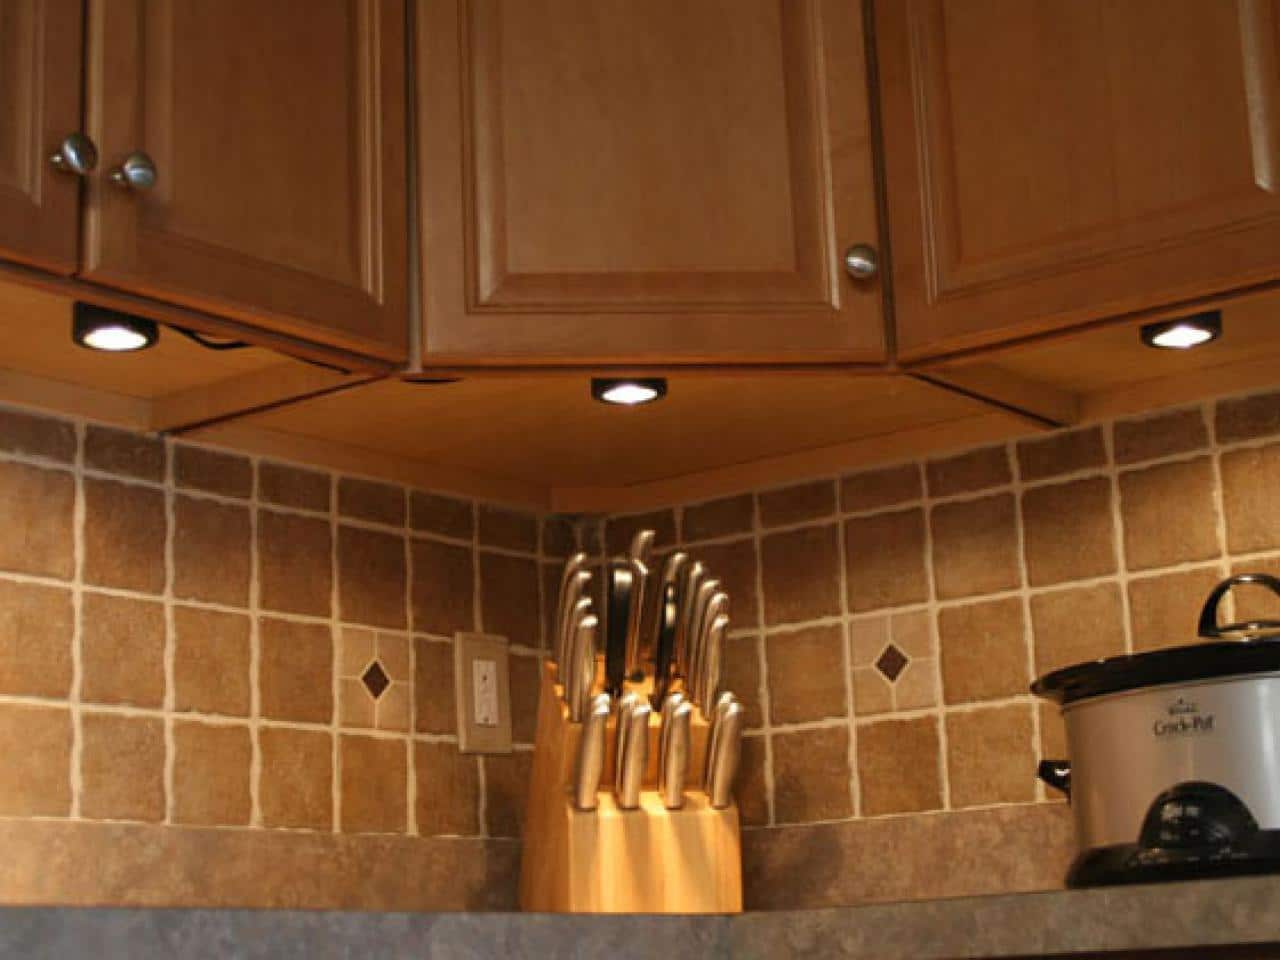 One of the main reasons why homeowners choose recessed lighting for their kitchen is to maximize space and functionality. Traditional lighting fixtures, such as chandeliers or pendant lights, can take up a lot of visual and physical space in a room. In a kitchen, this can be especially problematic as it can make the space feel cluttered and cramped.
Installing recessed lighting can free up valuable space
that can be used for storage or other decorative elements, making your kitchen feel more open and inviting.
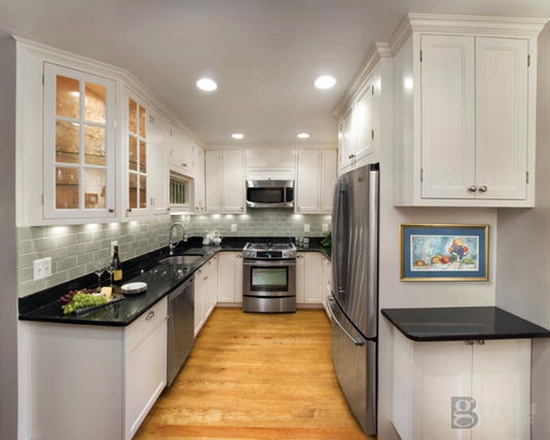
In addition, recessed lighting can be strategically placed to provide targeted lighting in specific areas, such as above the stove or kitchen island. This allows for better visibility when cooking and preparing meals, making it a practical choice for any kitchen.
The ability to control the direction and intensity of the light
also adds a layer of flexibility and adaptability to your kitchen, allowing you to create the perfect ambiance for any occasion.
Aesthetic Appeal
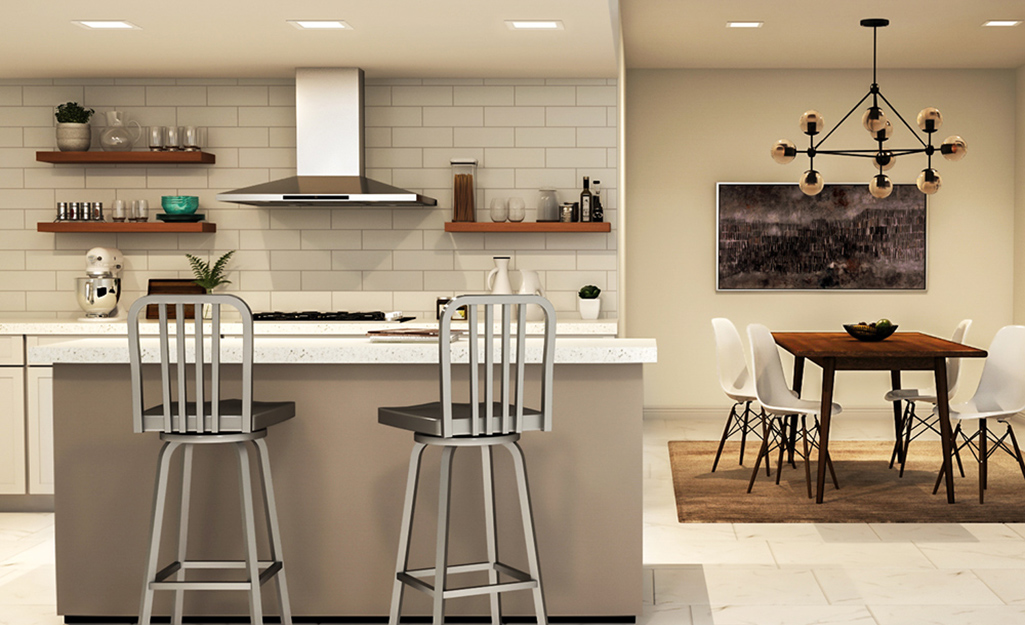
 Aside from its functional benefits, recessed lighting also adds a touch of elegance and sophistication to your kitchen. It creates a clean and streamlined look that complements any style of kitchen, from modern to traditional. The absence of visible light fixtures also creates a sense of continuity and flow in the room, making it appear more spacious and cohesive.
Installing recessed lighting in kitchen cabinets
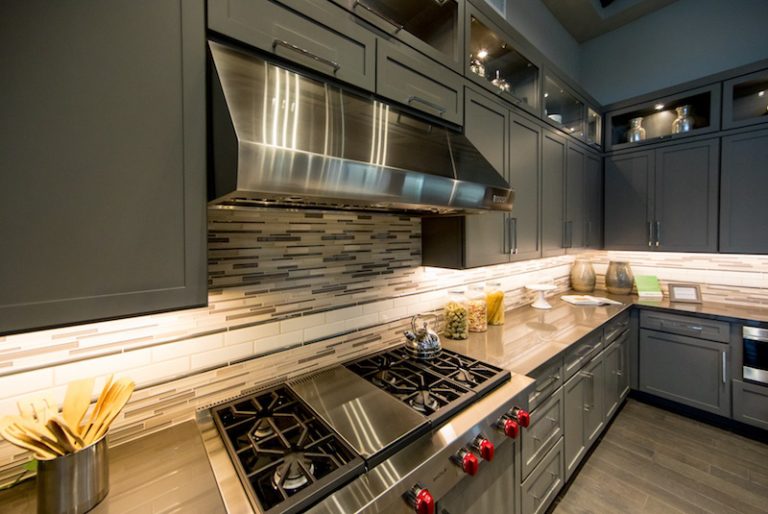
can also highlight specific design elements, such as a beautiful backsplash or a statement piece of furniture, adding depth and visual interest to your kitchen.
Installation Tips
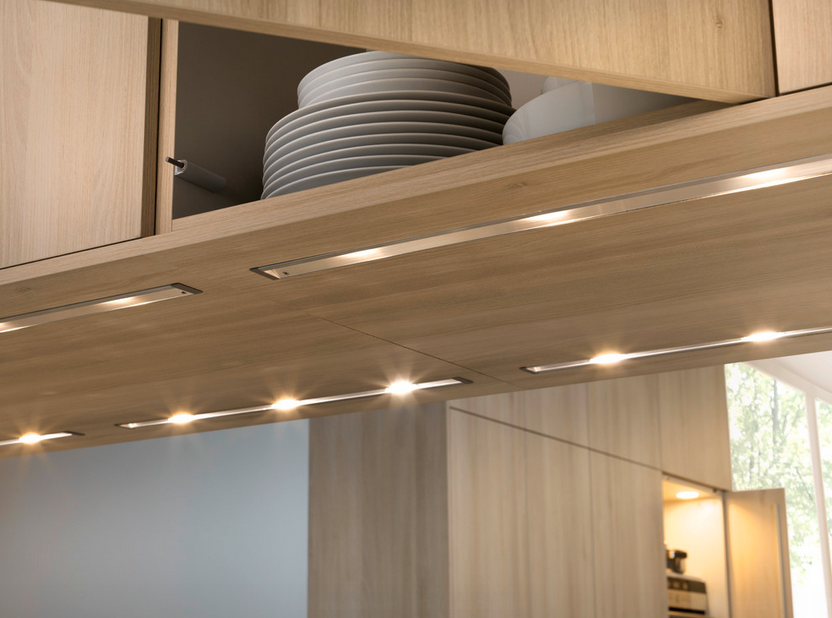 When it comes to
installing recessed lighting in kitchen cabinets
, it is important to hire a professional to ensure the job is done correctly and safely. They will be able to assess your kitchen layout and determine the best placement for the lights. It is also important to consider the type of bulb and trim you want to use, as they can greatly impact the overall look and functionality of your recessed lighting.
In conclusion,
installing recessed lighting in kitchen cabinets
is a simple and effective way to upgrade your kitchen design. It provides a multitude of benefits, from maximizing space and functionality to adding aesthetic appeal to your space. With the help of a professional, you can create a well-lit and stylish kitchen that will be the heart of your home.









:max_bytes(150000):strip_icc()/kitchenrecessedlighting-GettyImages-155383268-dec5caad600541ff81cbdd6d06846c66.jpg)


:max_bytes(150000):strip_icc()/whitekitchen-0bda5d6bcde04142a6d5c2daef083bf2.jpg)
