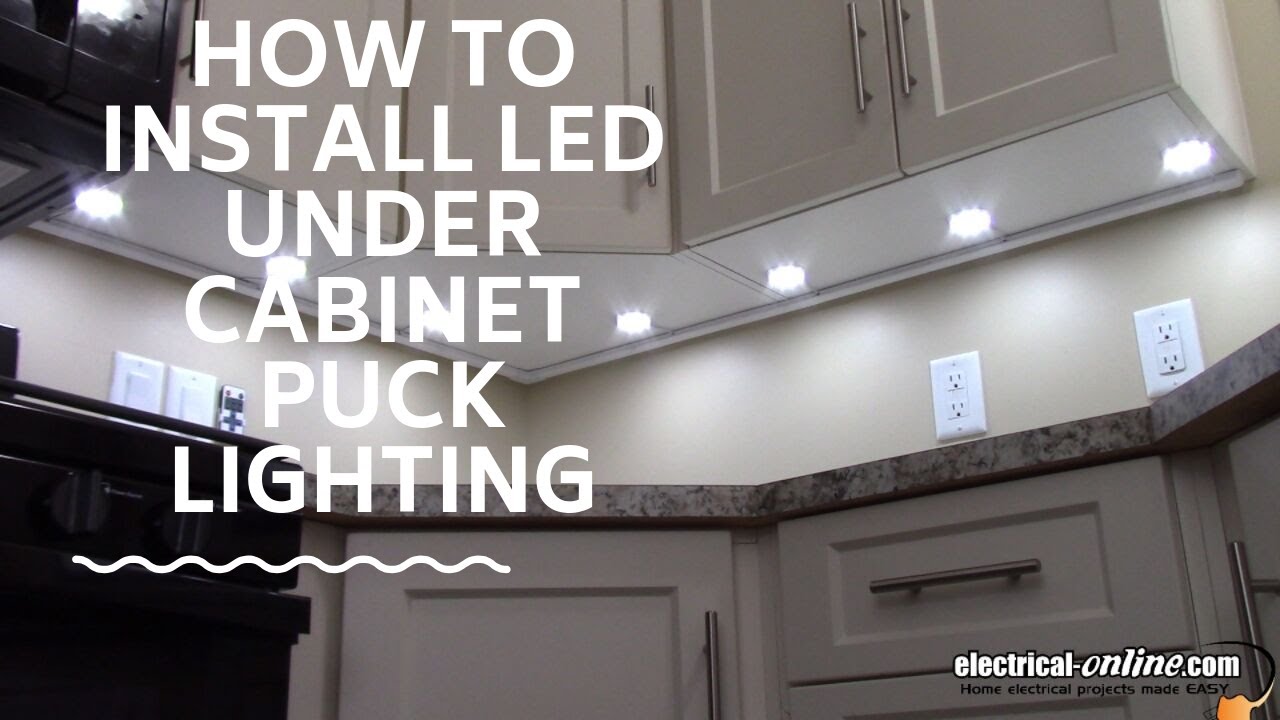
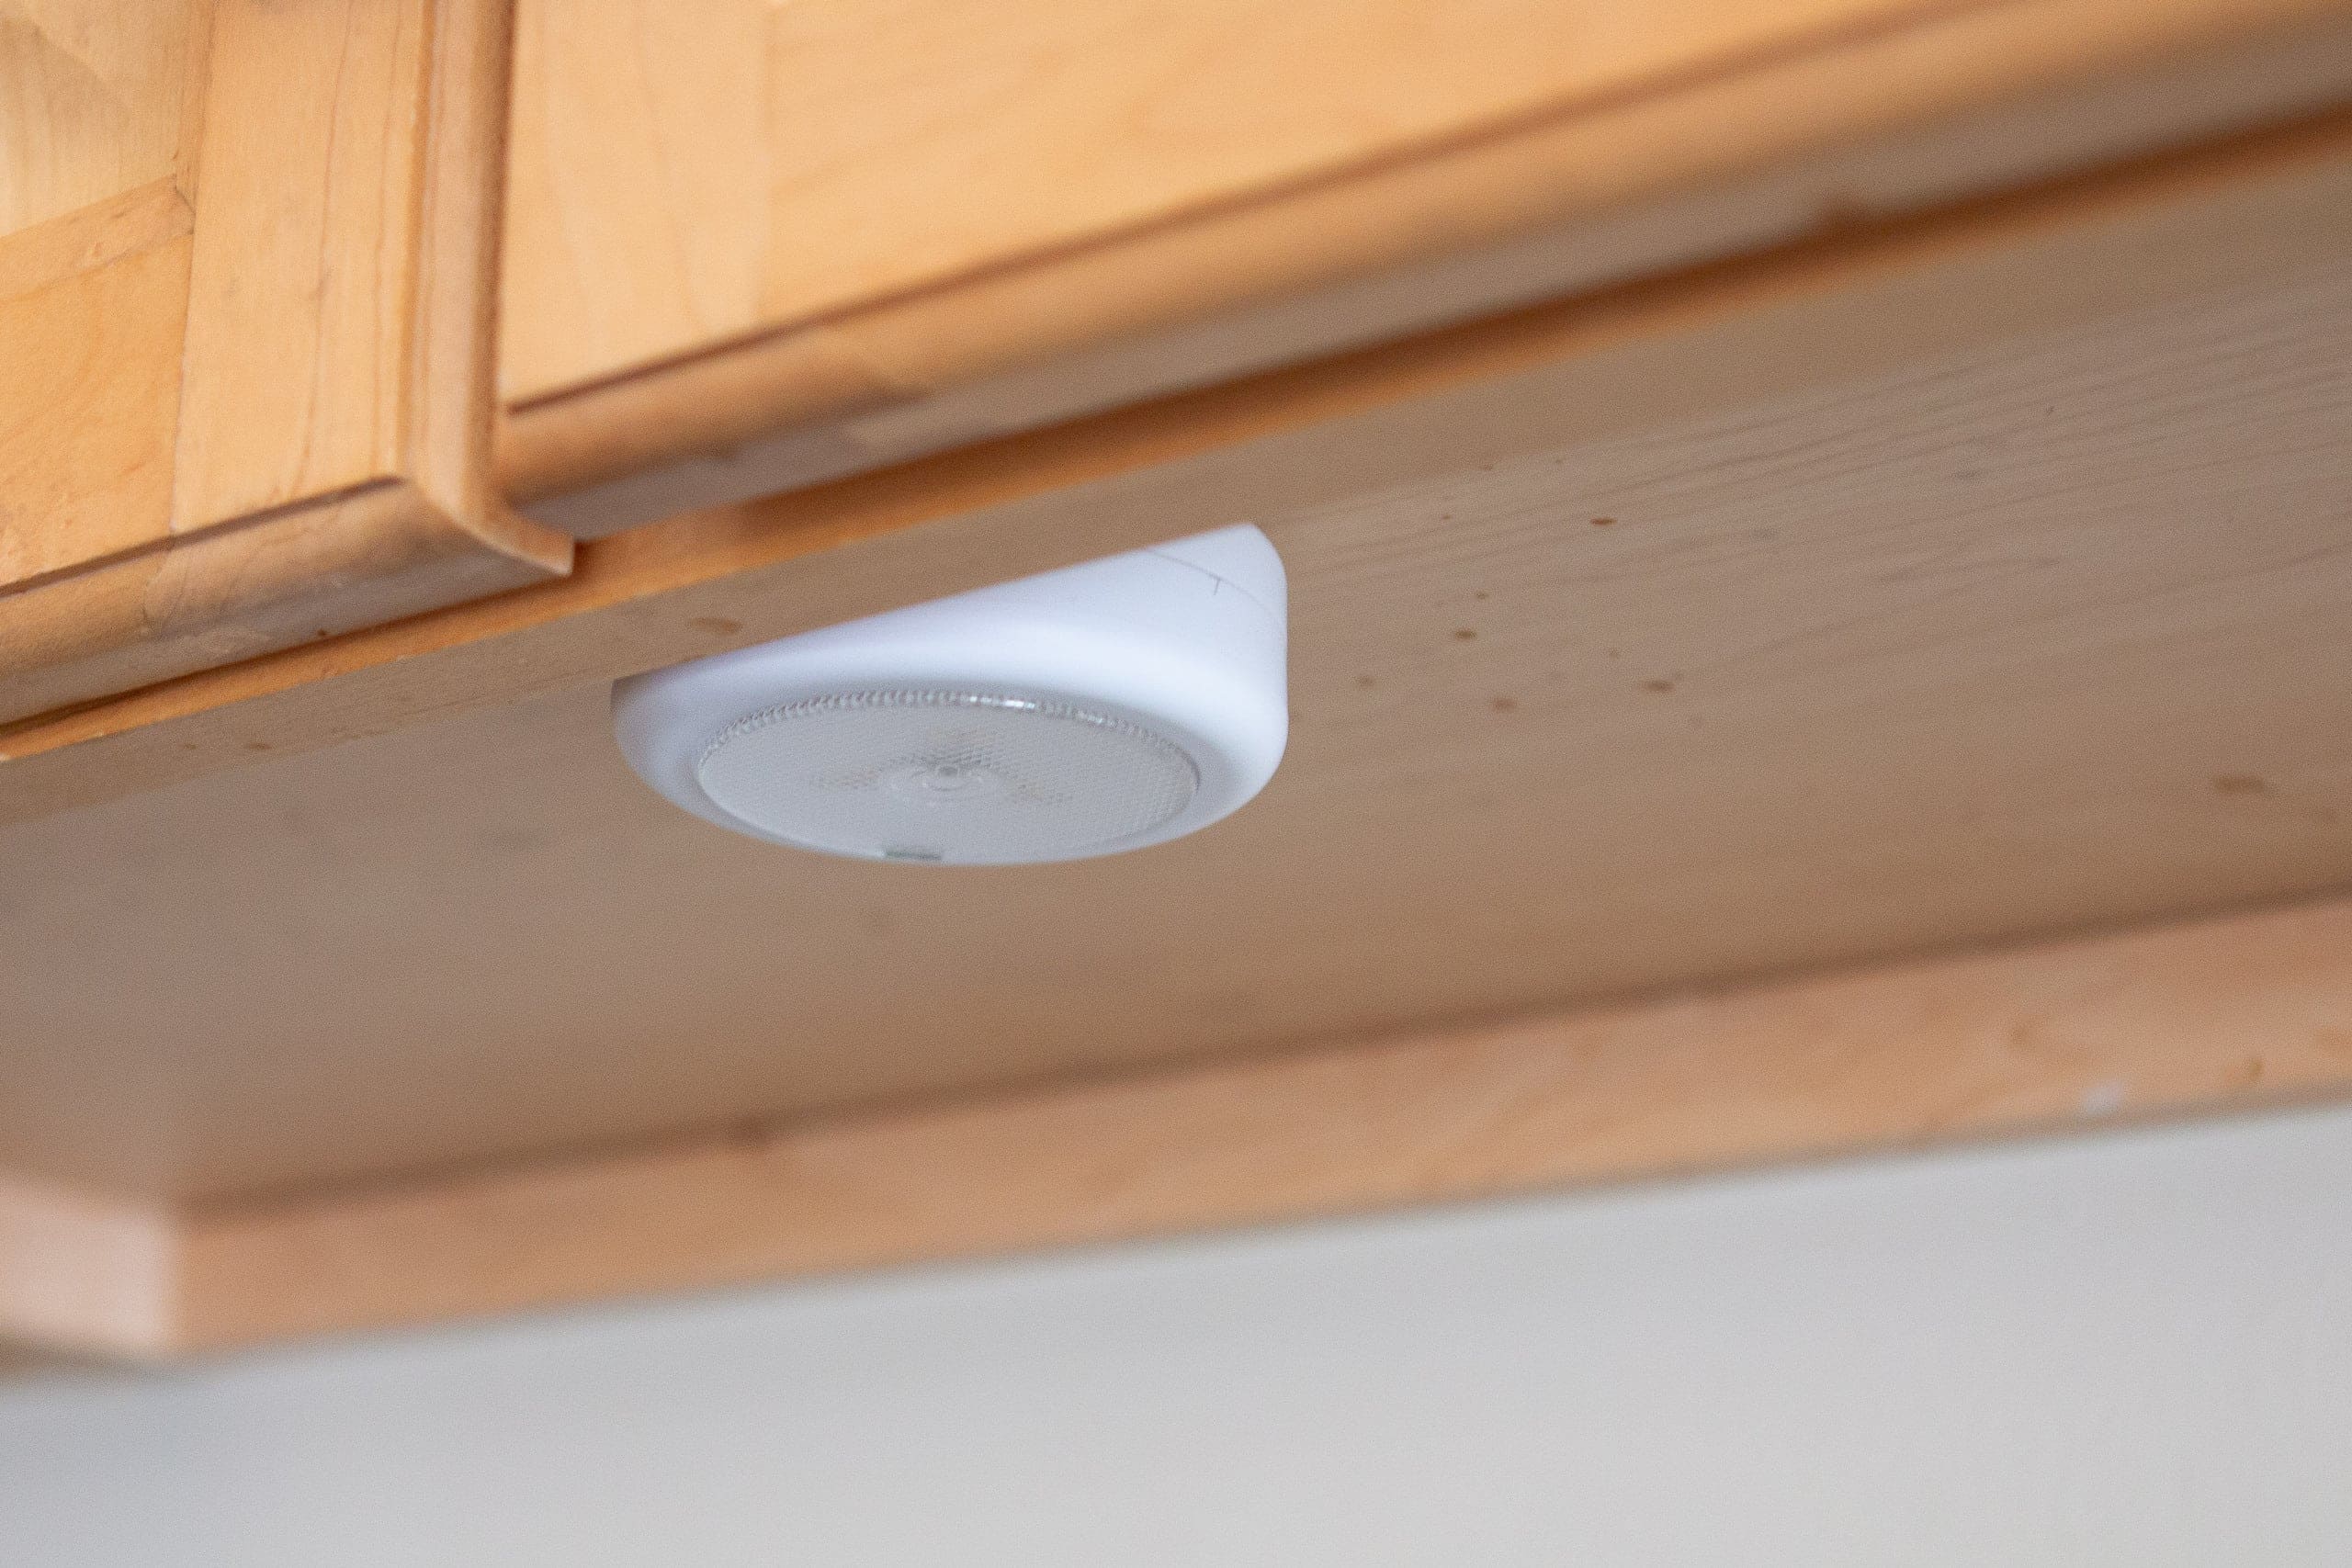
Installing puck lights under kitchen cabinets is a great way to add extra lighting to your kitchen while also creating a sleek and modern look. These small, circular lights can be easily installed and provide bright and focused illumination for your countertops and workspaces. If you’re looking to upgrade your kitchen’s lighting, here’s a step-by-step guide on how to install puck lights under your cabinets.How to Install Puck Lights Under Kitchen Cabinets

How to Install Puck Lights Under Kitchen Cabinets
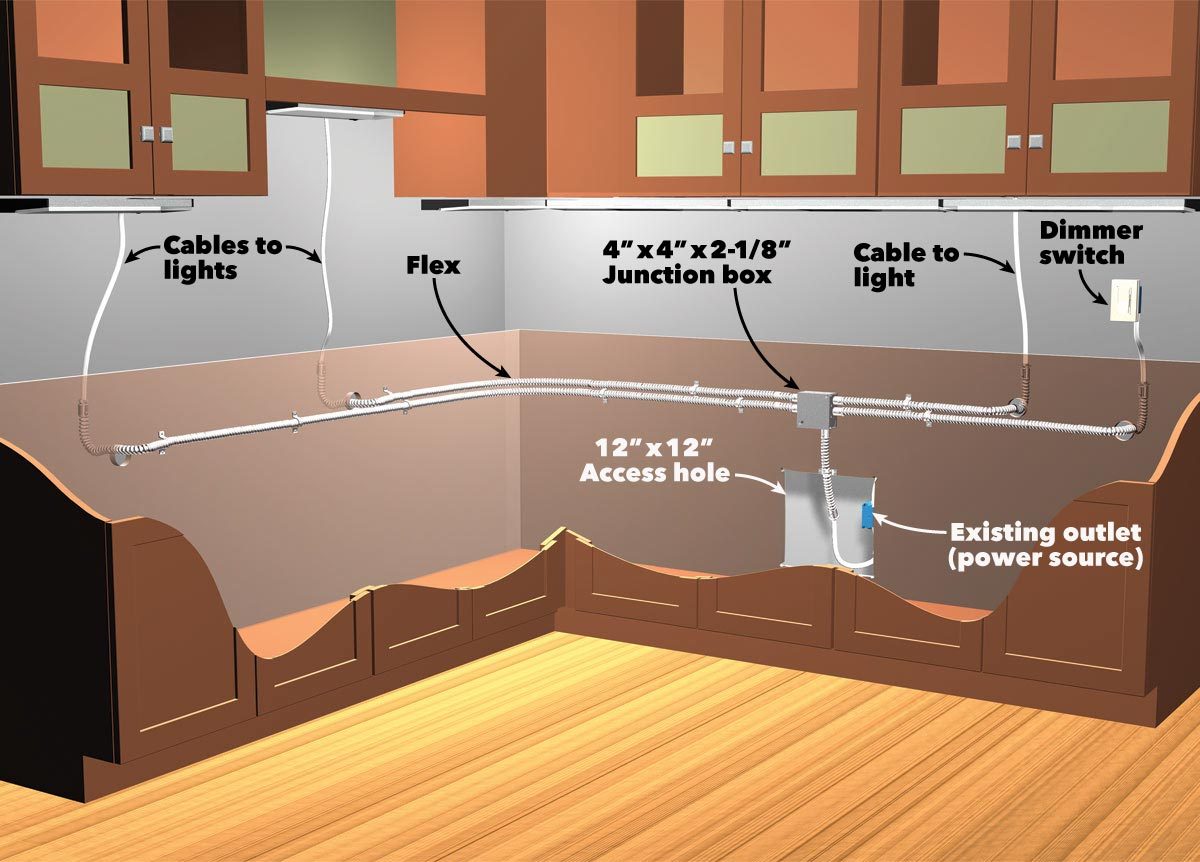


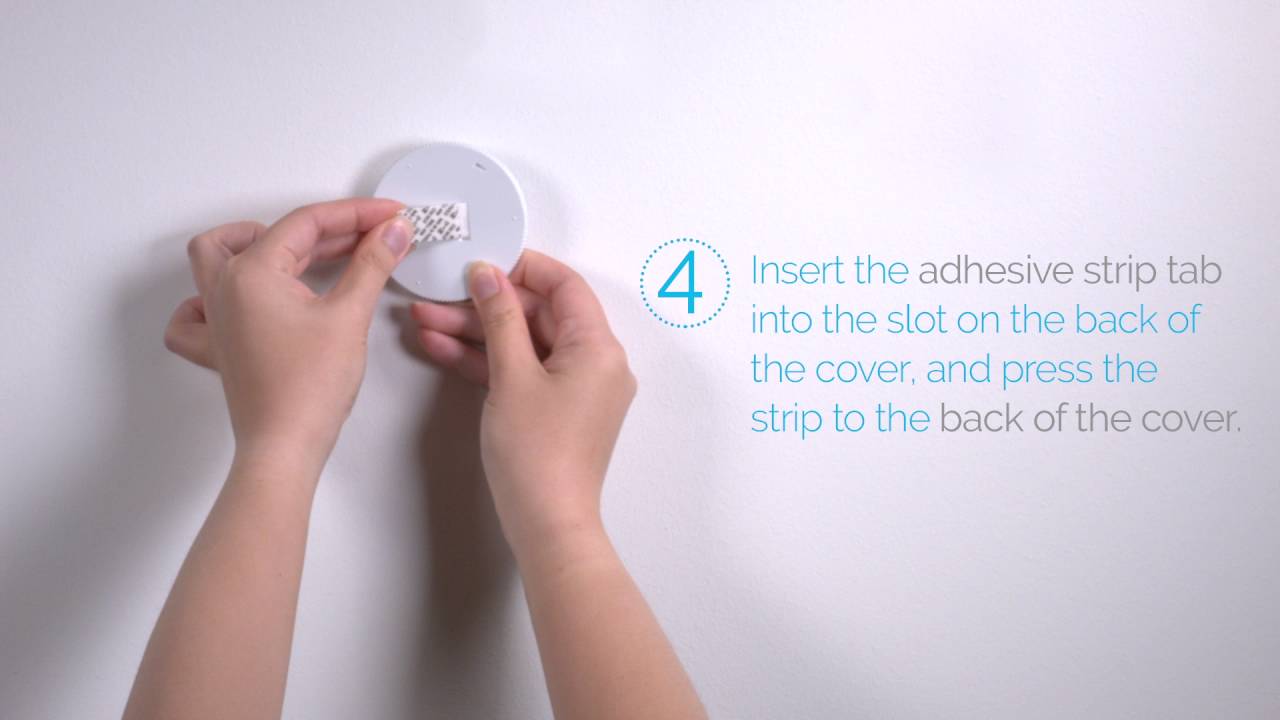
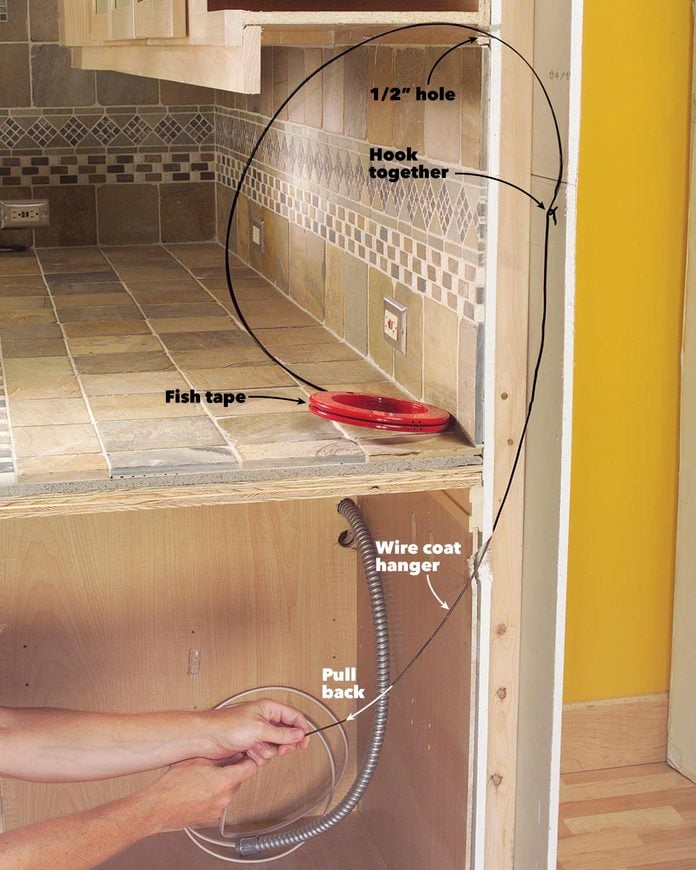
Step 1: Measure and Plan – The first step to installing puck lights is to measure the length of your cabinets and plan out where you want to place the lights. It’s important to measure and mark the placement of each light to ensure they are evenly spaced and provide adequate lighting. Step 2: Gather Materials – Before you start the installation process, make sure you have all the necessary materials on hand. This includes puck lights, a power drill, screws, a drill bit, and a screwdriver. It’s also a good idea to have a level and a pencil handy to help with the installation. Step 3: Drill Holes – Using a drill bit that is slightly smaller than the screws, drill holes into the bottom of your cabinets where you marked the placement of the lights. Make sure the holes are deep enough for the screws to fit securely. Step 4: Install the Lights – Once the holes are drilled, it’s time to install the lights. Place the lights into the holes and use screws to secure them in place. Make sure the lights are level before tightening the screws. Step 5: Connect the Wires – Most puck lights come with a wire that connects them to a power source. Follow the manufacturer’s instructions to connect the wires to the lights and then connect them to a power source. This could be an outlet or a hardwired connection. Step 6: Test the Lights – Once the lights are installed and connected to a power source, it’s important to test them to make sure they are working properly. If there are any issues, double check the connections and consult the manufacturer’s instructions.Installing Puck Lights: A Step-by-Step Guide


Installing Puck Lights: A Step-by-Step Guide


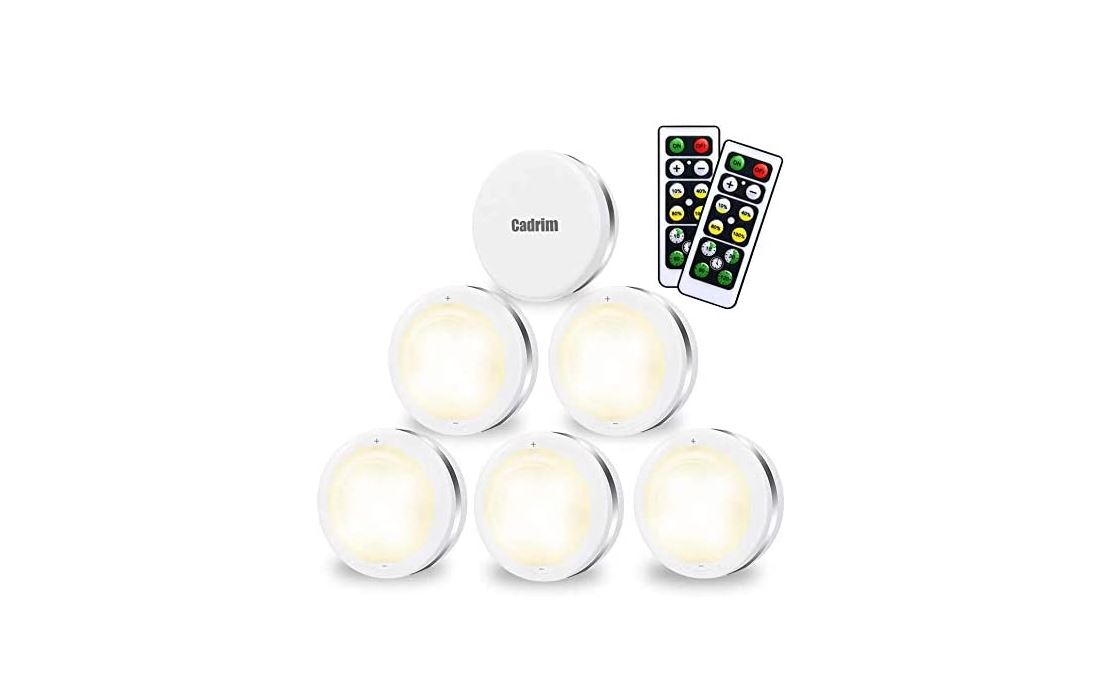
If you’re a DIY enthusiast, installing puck lights under your cabinets is a project you can easily tackle on your own. With the right tools and materials, you can create a professional-looking lighting setup in your kitchen without the need for professional installation. Tips and Tricks for Installing Puck Lights If you’re new to installing puck lights, here are a few tips and tricks to help make the process smoother: 1. Use a template: Many puck lights come with a template that you can use to mark the placement of the lights on your cabinets. This makes it easier to ensure they are evenly spaced. 2. Consider the type of light: Puck lights come in different types of light, such as LED or halogen. Consider which type of light will best suit your needs and budget before making a purchase. 3. Use a level: To ensure your lights are installed evenly and look professional, use a level to make sure they are straight before securing them in place. 4. Plan the wiring: If you’re hardwiring your puck lights, make sure to plan the wiring before you start the installation process. This will save you time and make the process smoother.DIY: Installing Puck Lights Under Cabinets


DIY: Installing Puck Lights Under Cabinets


Now that you have some tips and tricks under your belt, here’s a step-by-step guide to help you install puck lights under your cabinets: Step 1: Measure and plan where you want to place the lights. Step 2: Gather all necessary materials. Step 3: Drill holes into the bottom of your cabinets. Step 4: Install the lights and make sure they are level. Step 5: Connect the wires to the lights and then to a power source. Step 6: Test the lights to ensure they are working properly.Step-by-Step Guide to Installing Puck Lights Under Cabinets


Installing Puck Lights: Tips and Tricks


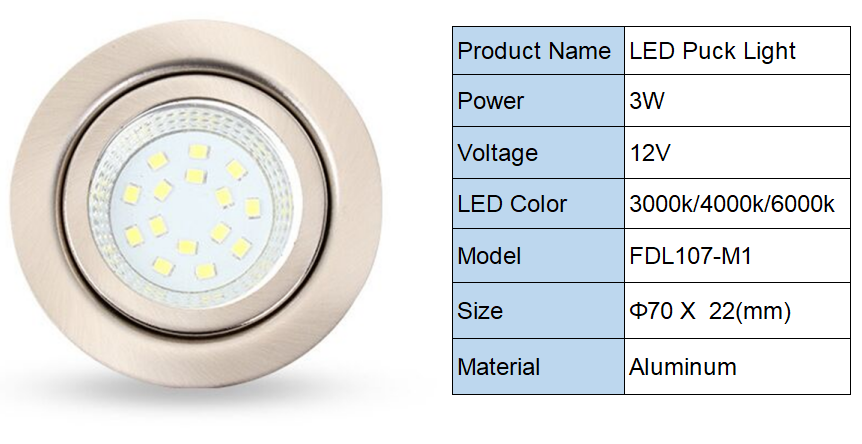
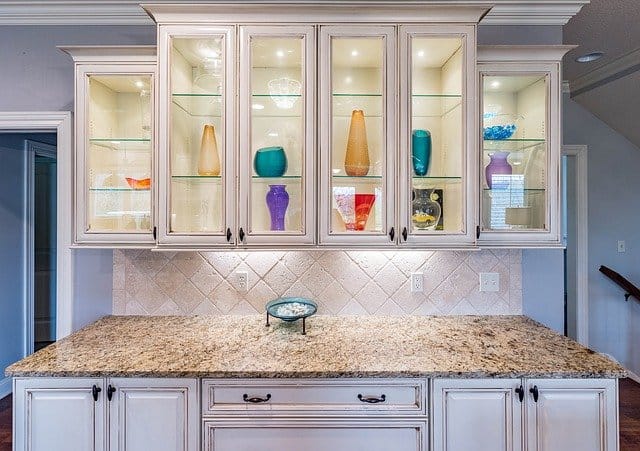
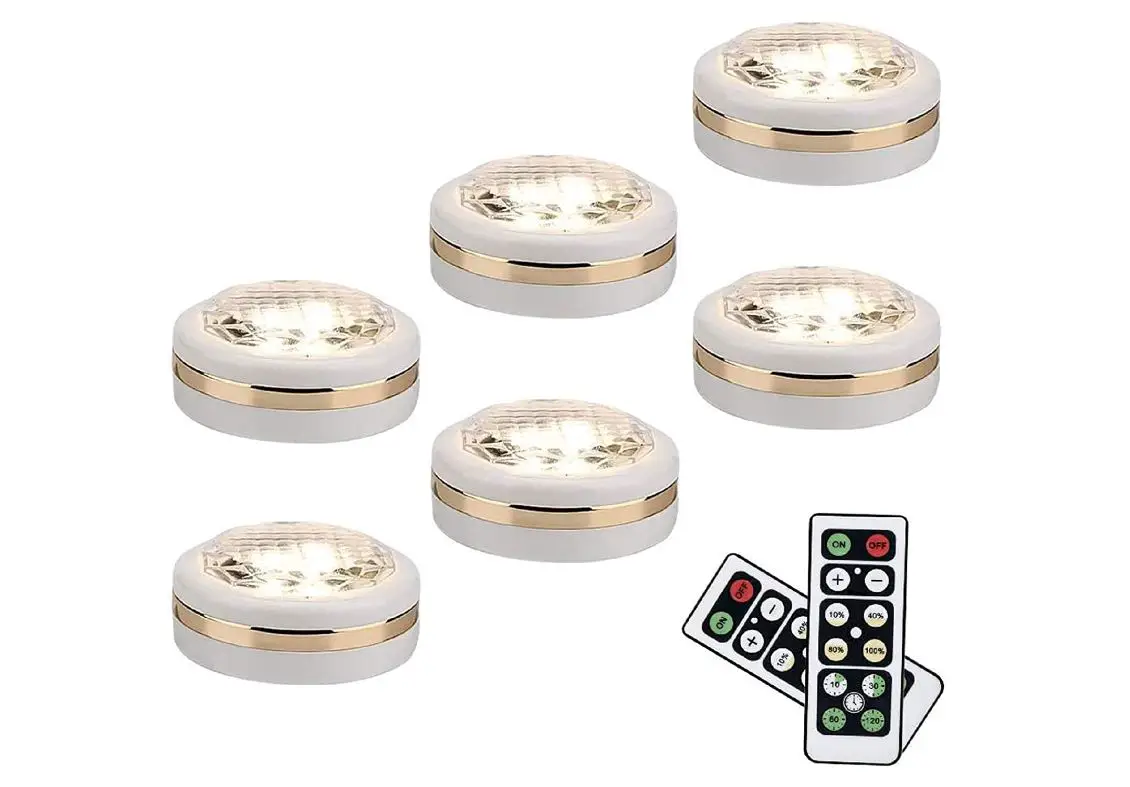
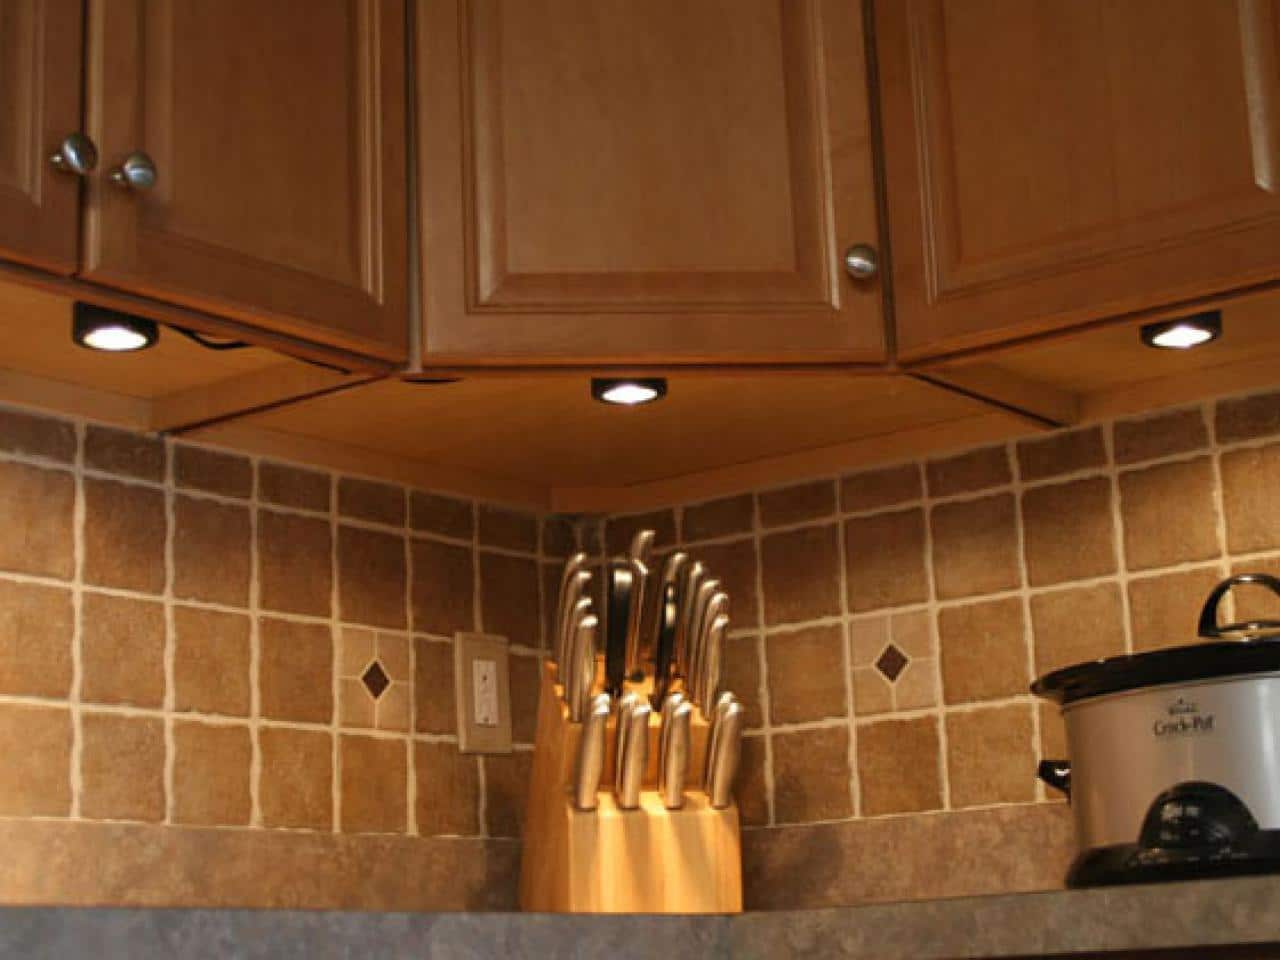
Now that you know how to install puck lights, there are a few things you should keep in mind before starting the installation process: 1. Consider the placement: Puck lights are most commonly installed under cabinets, but you can also install them inside cabinets or in other areas of your kitchen for additional lighting. 2. Choose the right size: Puck lights come in different sizes, so make sure to choose the right size for your cabinets. You don’t want the lights to be too big or too small for the space. 3. Use dimmers: Consider installing dimmer switches for your puck lights to create a more versatile lighting setup in your kitchen.Installing Puck Lights: What You Need to Know


Step-by-Step Guide to Installing Puck Lights Under Cabinets


Installing puck lights under your kitchen cabinets is a simple and easy DIY project that can make a big impact on the overall look and functionality of your kitchen. With the right tools and materials, you can create a bright and modern kitchen space in no time.Easy DIY: Installing Puck Lights Under Kitchen Cabinets


Installing Puck Lights: What You Need to Know


If you’re looking for a quick and easy way to install puck lights under your cabinets, here’s a simplified version of the steps outlined above: Step 1: Measure and plan where you want to place the lights. Step 2: Gather all necessary materials. Step 3: Drill holes into the bottom of your cabinets. Step 4: Install the lights and connect them to a power source. Step 5: Test the lights to ensure they are working properly.How to Install Puck Lights Under Cabinets in 5 Simple Steps


Easy DIY: Installing Puck Lights Under Kitchen Cabinets

If you’re new to DIY projects, installing puck lights under your kitchen cabinets is a great place to start. It’s a simple and affordable project that can make a big difference in the look and functionality of your kitchen.Installing Puck Lights: A Beginner's Guide

How to Install Puck Lights Under Cabinets in 5 Simple Steps

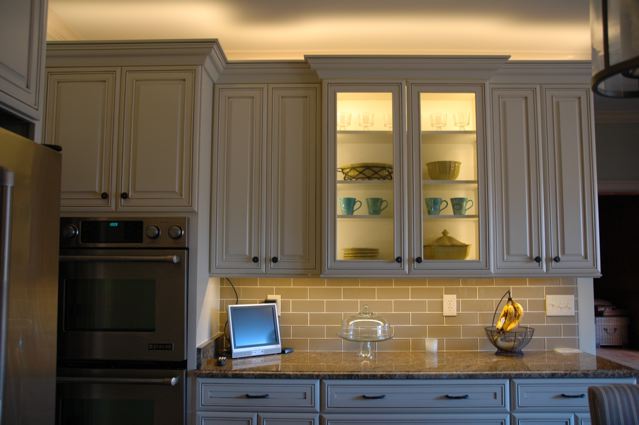
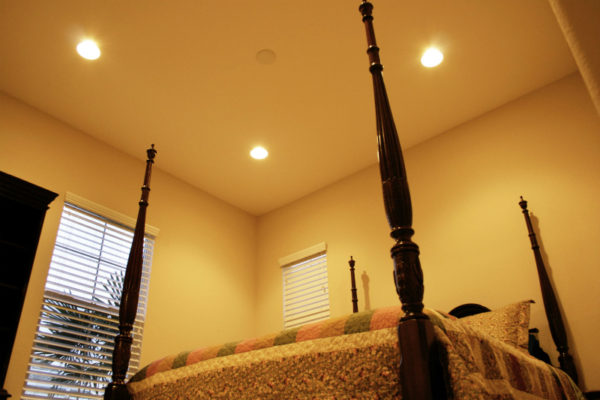
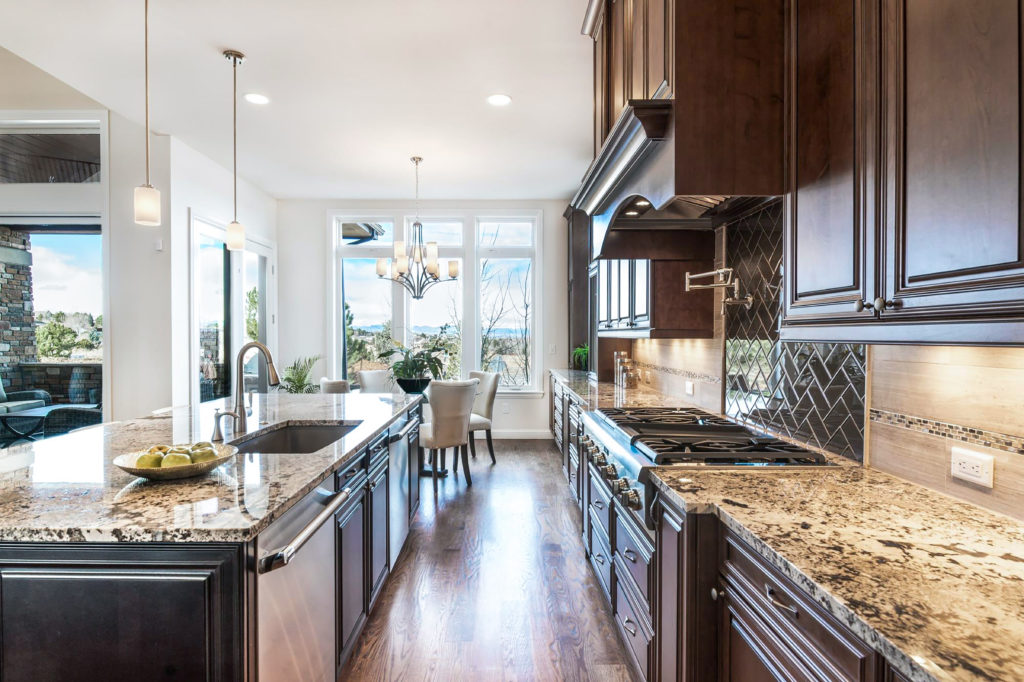
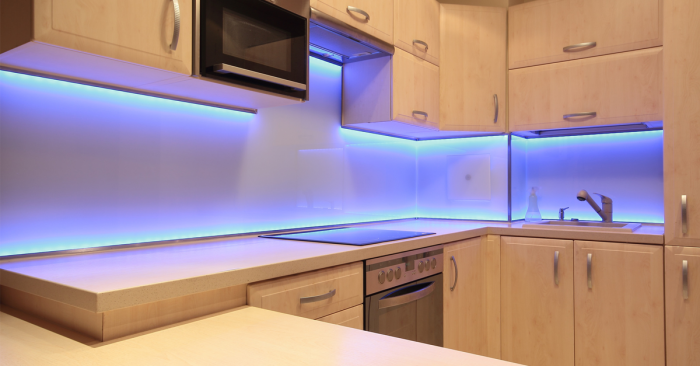
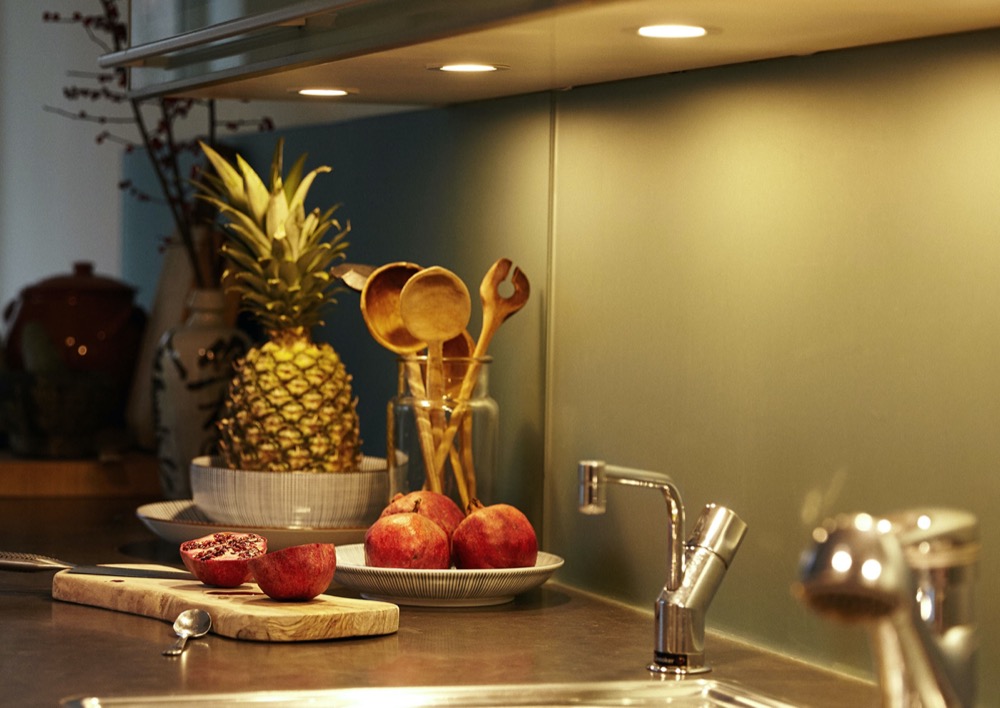
In addition to overhead lighting, installing puck lights under your cabinets can provide targeted and bright illumination for your countertops and workspaces. This can make cooking and food preparation easier and more enjoyable.Maximizing Kitchen Lighting: Installing Puck Lights Under Cabinets

Installing Puck Lights: A Beginner's Guide

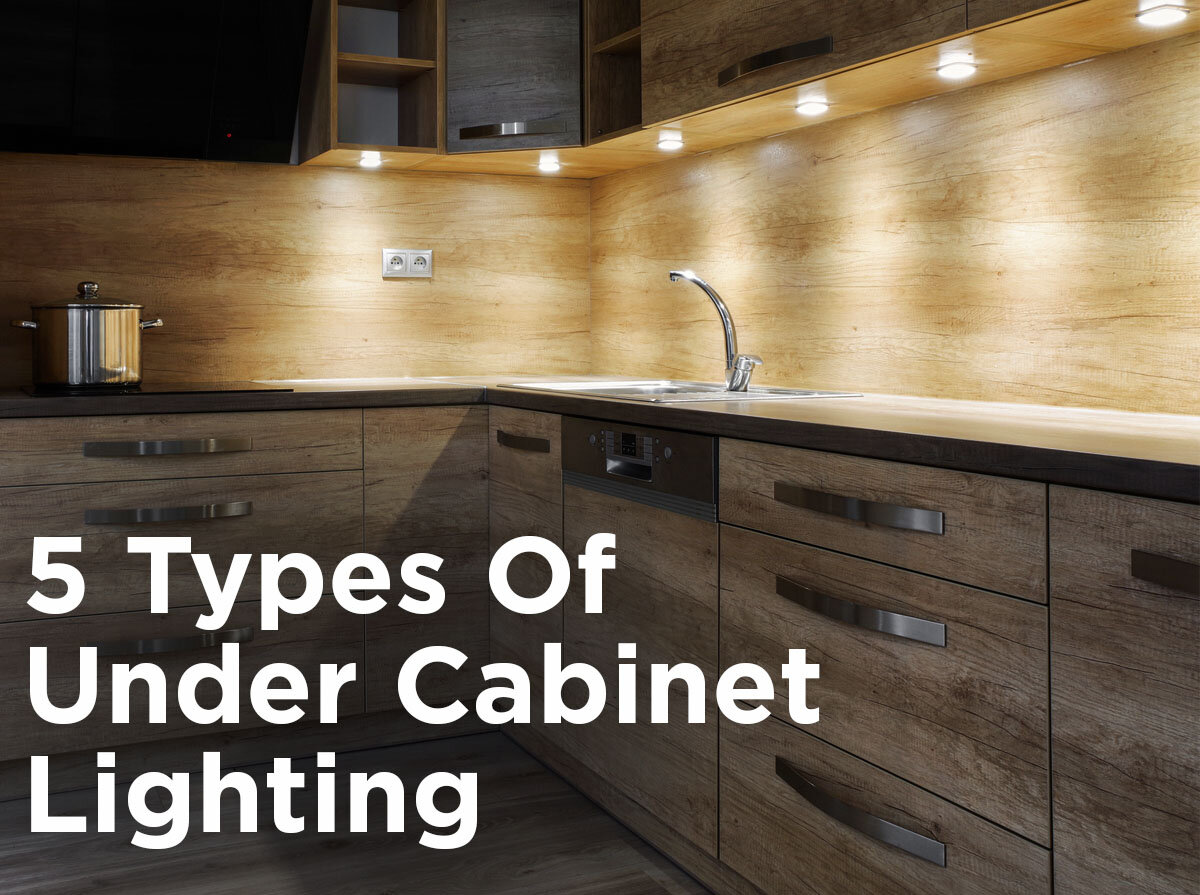
The Benefits of Installing Puck Lights Under Kitchen Cabinets
Enhance Your Kitchen Design
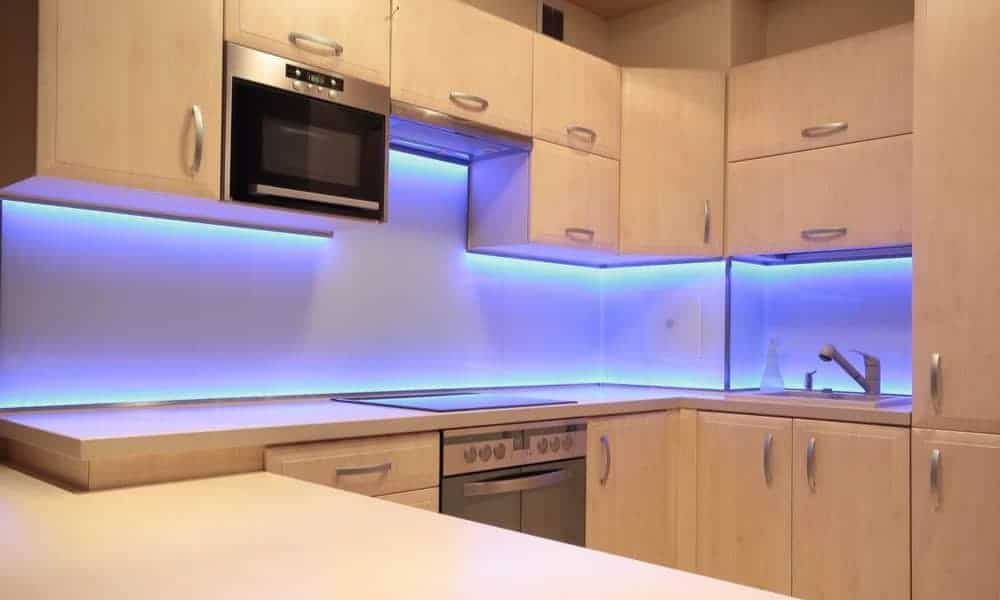
 Puck lights are a popular choice for homeowners looking to add both functionality and style to their kitchen. By installing these small, round lights under your kitchen cabinets, you can create a more modern and sleek look. The minimalistic design of puck lights adds a touch of elegance to any kitchen, making it the perfect addition for those looking to upgrade their home design.
With the right placement and spacing,
puck lights can also
highlight certain areas of your kitchen
, such as your countertops or backsplash, adding both depth and dimension to the space. This can make your kitchen feel larger and more open, perfect for those with smaller kitchen spaces.
Puck lights are a popular choice for homeowners looking to add both functionality and style to their kitchen. By installing these small, round lights under your kitchen cabinets, you can create a more modern and sleek look. The minimalistic design of puck lights adds a touch of elegance to any kitchen, making it the perfect addition for those looking to upgrade their home design.
With the right placement and spacing,
puck lights can also
highlight certain areas of your kitchen
, such as your countertops or backsplash, adding both depth and dimension to the space. This can make your kitchen feel larger and more open, perfect for those with smaller kitchen spaces.
Brighten Up Your Workspace
 One of the most practical benefits of installing puck lights under your kitchen cabinets is the improved
lighting on your countertops
. By having direct light shining down from above, you can eliminate shadows and dark spots that may make it difficult to see what you're doing while cooking or preparing food. This can be especially beneficial for those who love to cook or entertain in their kitchen.
Not only does
proper lighting make your kitchen tasks easier
, but it can also improve the overall ambiance of the space. Puck lights provide a softer, more diffused light compared to traditional overhead lighting, creating a warm and inviting atmosphere in your kitchen.
One of the most practical benefits of installing puck lights under your kitchen cabinets is the improved
lighting on your countertops
. By having direct light shining down from above, you can eliminate shadows and dark spots that may make it difficult to see what you're doing while cooking or preparing food. This can be especially beneficial for those who love to cook or entertain in their kitchen.
Not only does
proper lighting make your kitchen tasks easier
, but it can also improve the overall ambiance of the space. Puck lights provide a softer, more diffused light compared to traditional overhead lighting, creating a warm and inviting atmosphere in your kitchen.
Energy and Cost Savings
 Puck lights are also an
energy-efficient
option for lighting your kitchen. Compared to traditional incandescent bulbs, LED puck lights use significantly less energy, making them a more environmentally friendly choice. Additionally, since they are typically smaller in size, they
cost less to operate
and require fewer replacements, saving you money in the long run.
Installing puck lights under your kitchen cabinets can also
increase the value of your home
in the eyes of potential buyers. With their sleek design and practical benefits, they are a desirable feature that can make your kitchen stand out to potential buyers, should you decide to sell your home in the future.
In conclusion, puck lights are an excellent addition to any kitchen design. With their modern and minimalistic look, improved lighting, energy efficiency, and potential to increase home value, they are a practical and stylish choice for homeowners. So why wait?
Upgrade your kitchen design today
and install puck lights under your kitchen cabinets.
Puck lights are also an
energy-efficient
option for lighting your kitchen. Compared to traditional incandescent bulbs, LED puck lights use significantly less energy, making them a more environmentally friendly choice. Additionally, since they are typically smaller in size, they
cost less to operate
and require fewer replacements, saving you money in the long run.
Installing puck lights under your kitchen cabinets can also
increase the value of your home
in the eyes of potential buyers. With their sleek design and practical benefits, they are a desirable feature that can make your kitchen stand out to potential buyers, should you decide to sell your home in the future.
In conclusion, puck lights are an excellent addition to any kitchen design. With their modern and minimalistic look, improved lighting, energy efficiency, and potential to increase home value, they are a practical and stylish choice for homeowners. So why wait?
Upgrade your kitchen design today
and install puck lights under your kitchen cabinets.