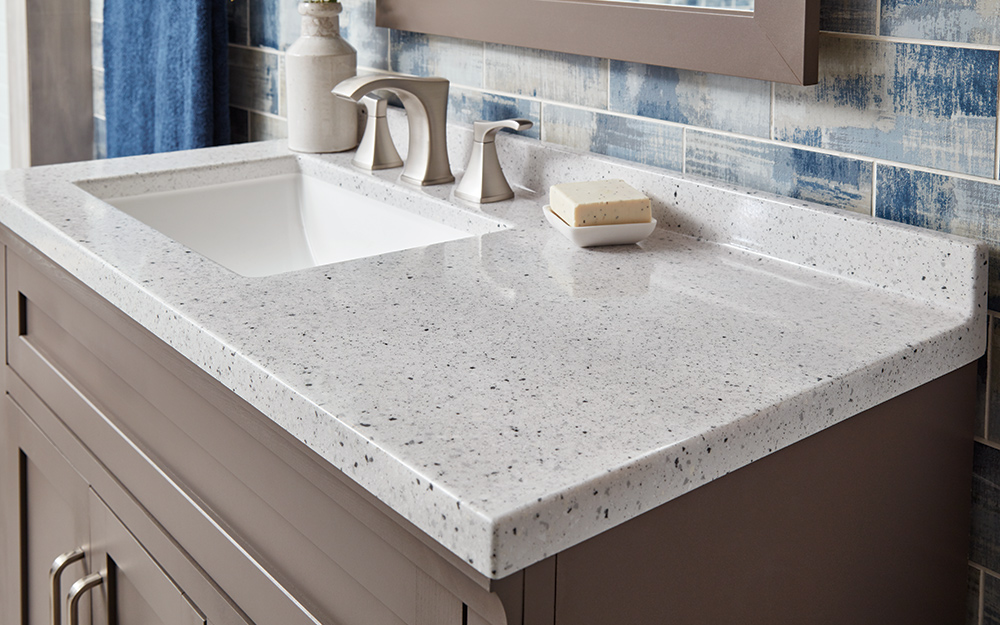
Sanding a bathroom vanity top is an essential part of maintaining its beauty and prolonging its lifespan. Over time, bathroom vanity tops can become dull, stained, and scratched due to daily use and exposure to moisture. Sanding allows you to remove the top layer of the vanity and reveal a fresh, smooth surface that can then be refinished or painted to give your bathroom a brand new look. In this article, we will discuss the top 10 ways to sand a bathroom vanity top and provide you with helpful tips and techniques for achieving a professional finish.Introduction


Sanding Bathroom Vanity Top

Before diving into the details of sanding a bathroom vanity top, it's essential to understand the process and the tools needed. Sanding involves using an abrasive material to remove the top layer of the vanity, which can be wood, laminate, or stone, to reveal a fresh surface. The following are the top 10 ways to sand a bathroom vanity top.Sanding Bathroom Vanity Top


How to Sand a Bathroom Vanity Top


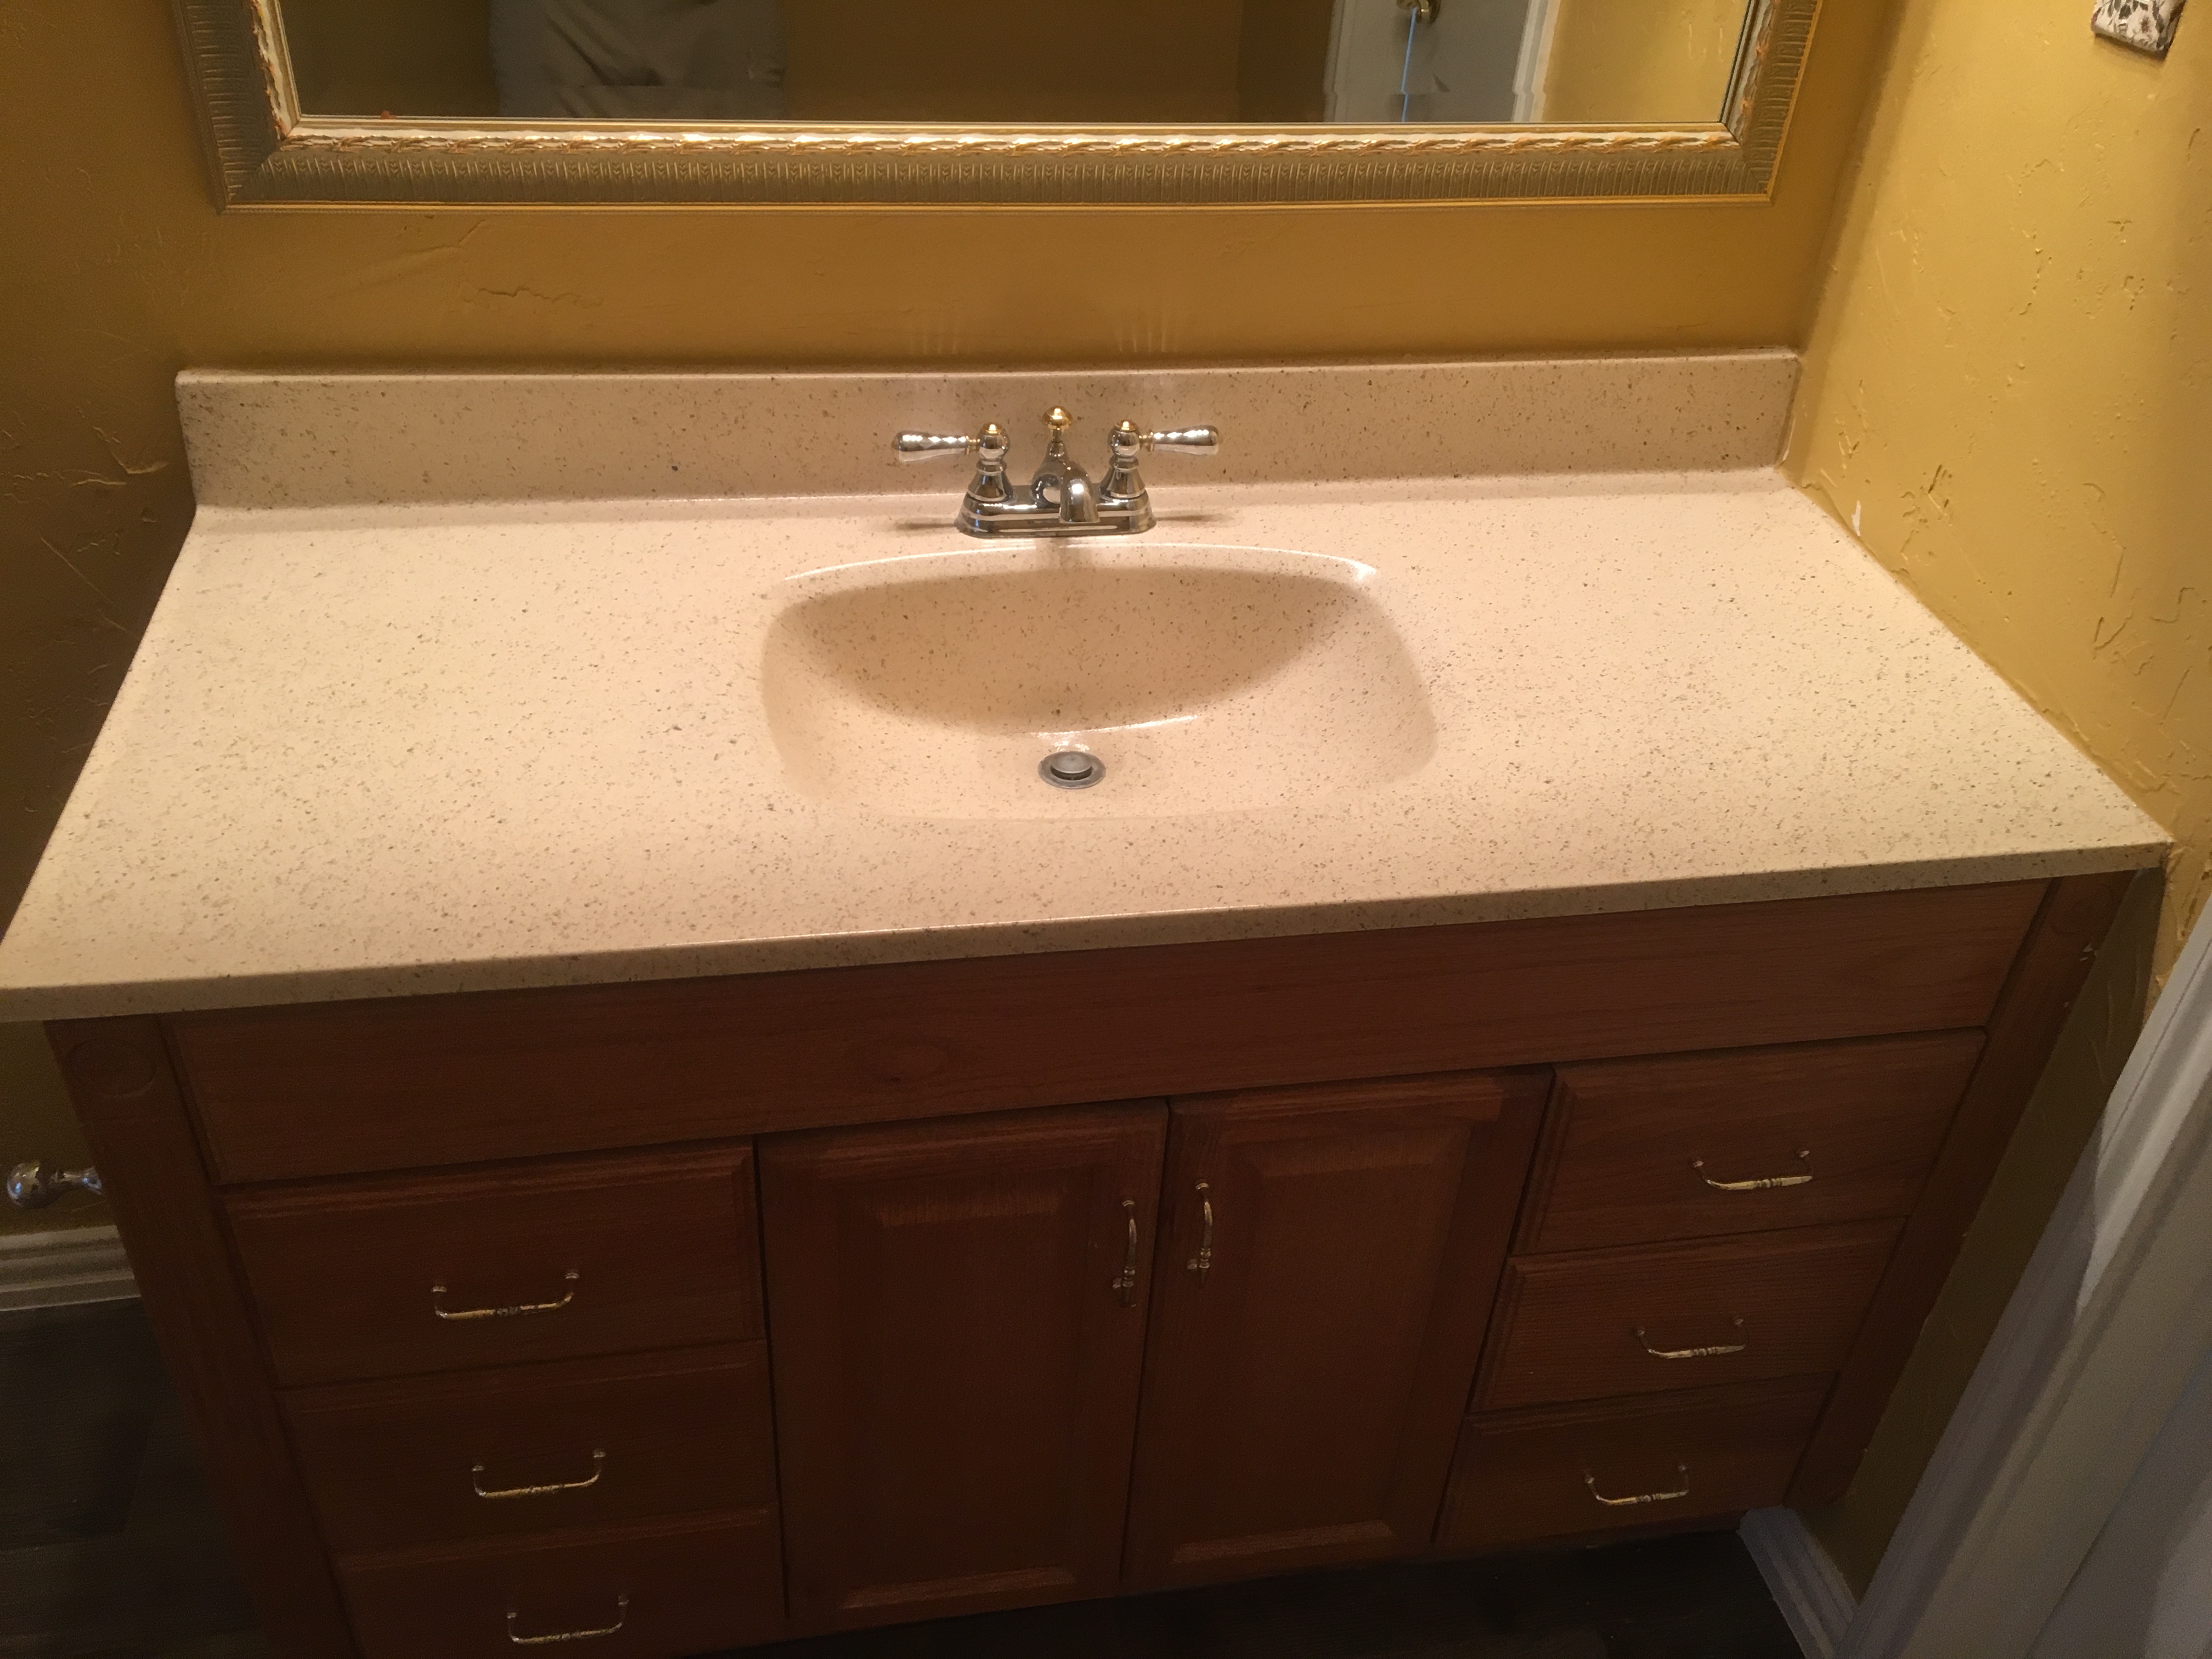


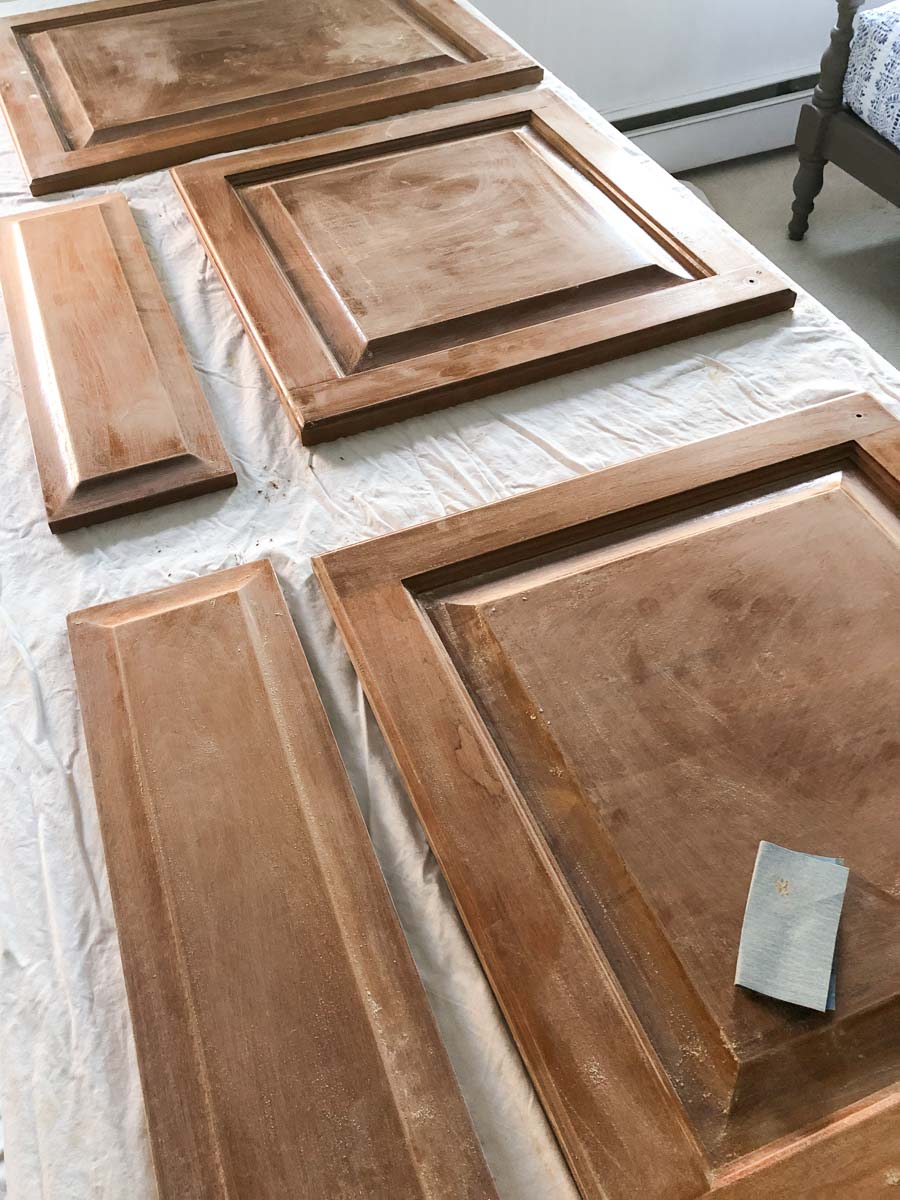
When sanding a bathroom vanity top, the first step is to remove the sink, faucet, and hardware. This will prevent them from getting damaged during the sanding process. Next, you will need to clean the surface thoroughly to remove any dirt, grime, or residue. Once the surface is clean and dry, you can start sanding. It's essential to start with a coarse grit sandpaper and gradually move to a finer grit for a smooth finish.How to Sand a Bathroom Vanity Top


DIY Bathroom Vanity Top Sanding
:max_bytes(150000):strip_icc()/build-something-diy-vanity-594402125f9b58d58ae21158.jpg)
:max_bytes(150000):strip_icc()/cherry-diy-bathroom-vanity-594414da5f9b58d58a099a36.jpg)

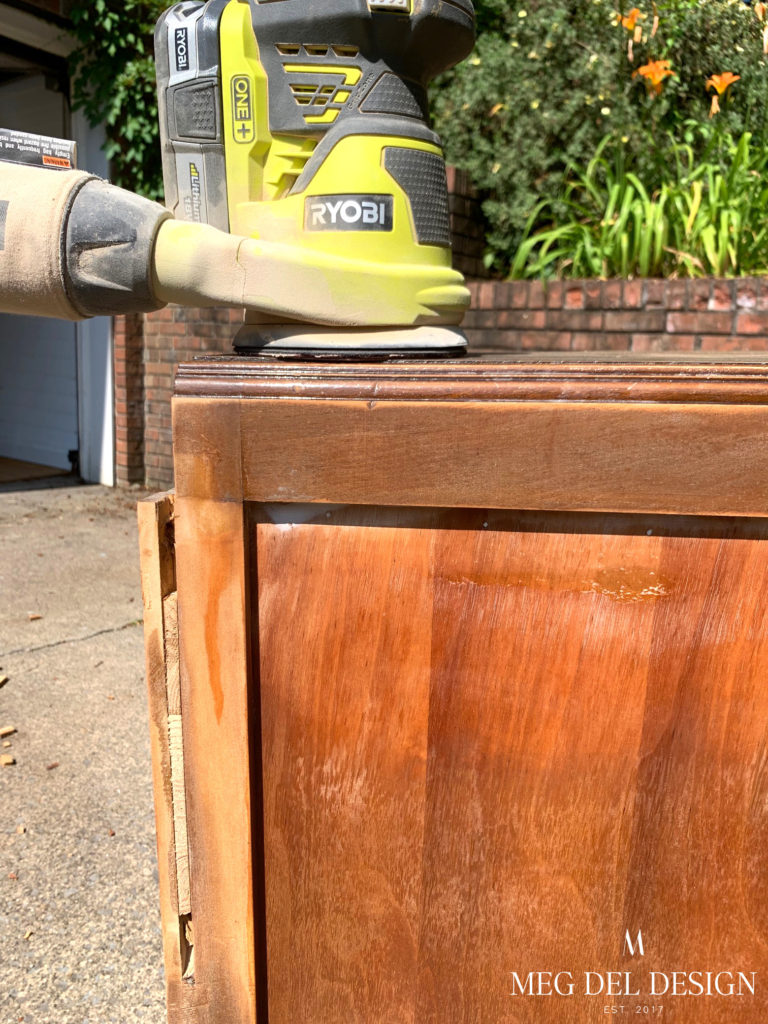
If you are looking to save money and take on a DIY project, sanding your bathroom vanity top is a great option. With the right tools and techniques, you can achieve a professional-looking finish without breaking the bank. The key to successful DIY sanding is to take your time and follow the steps carefully for the best results. You can also look for tutorials and videos online for guidance and tips.DIY Bathroom Vanity Top Sanding


Sanding and Refinishing Bathroom Vanity Top

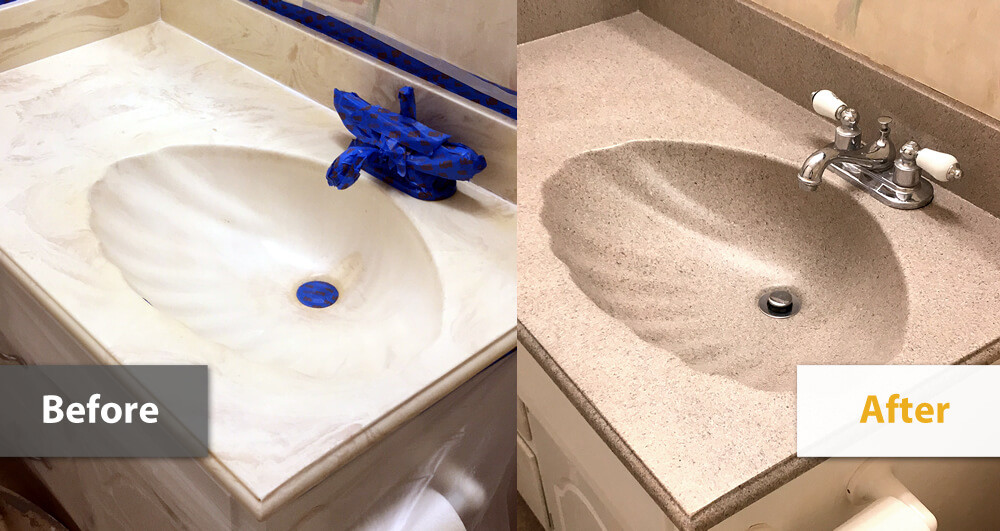
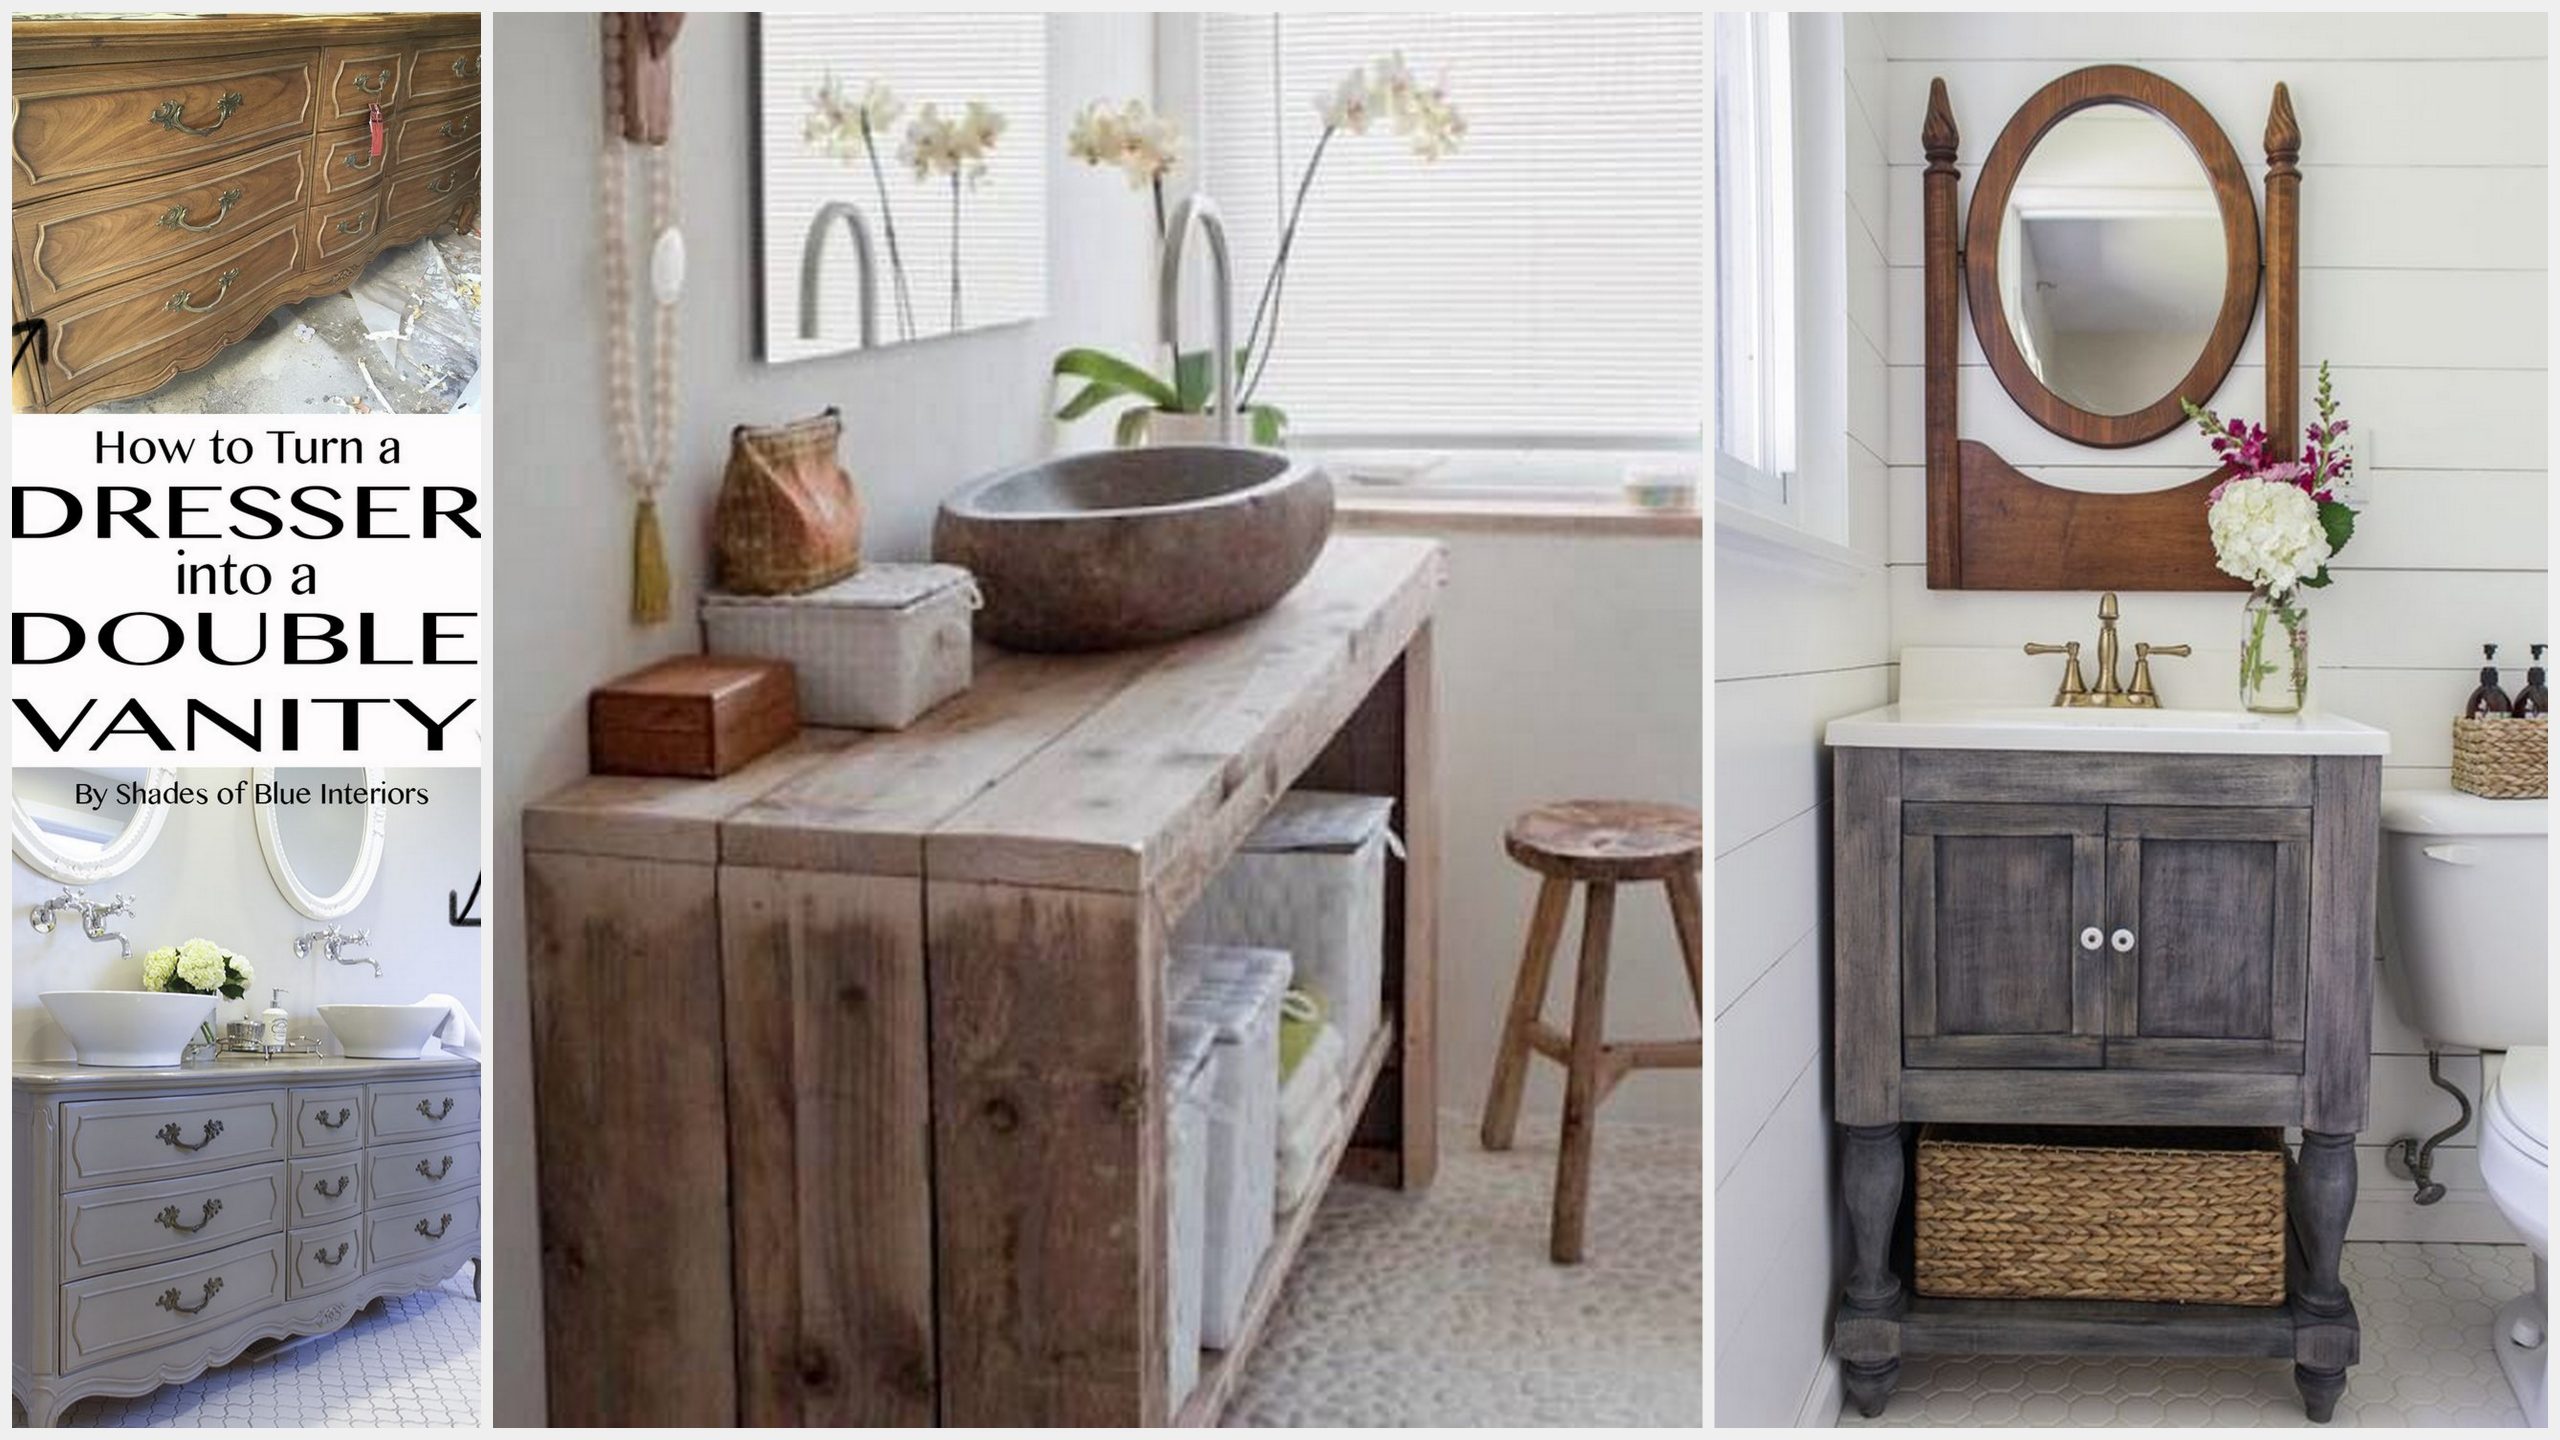
If your bathroom vanity top has deep scratches, stains, or discoloration, sanding and refinishing it can give it a new lease on life. Refinishing involves applying a new layer of finish, such as stain, paint, or varnish, to the sanded surface. This will not only improve the appearance of your vanity top but also protect it from future damage. Make sure to choose a suitable finish for your specific type of vanity top.Sanding and Refinishing Bathroom Vanity Top


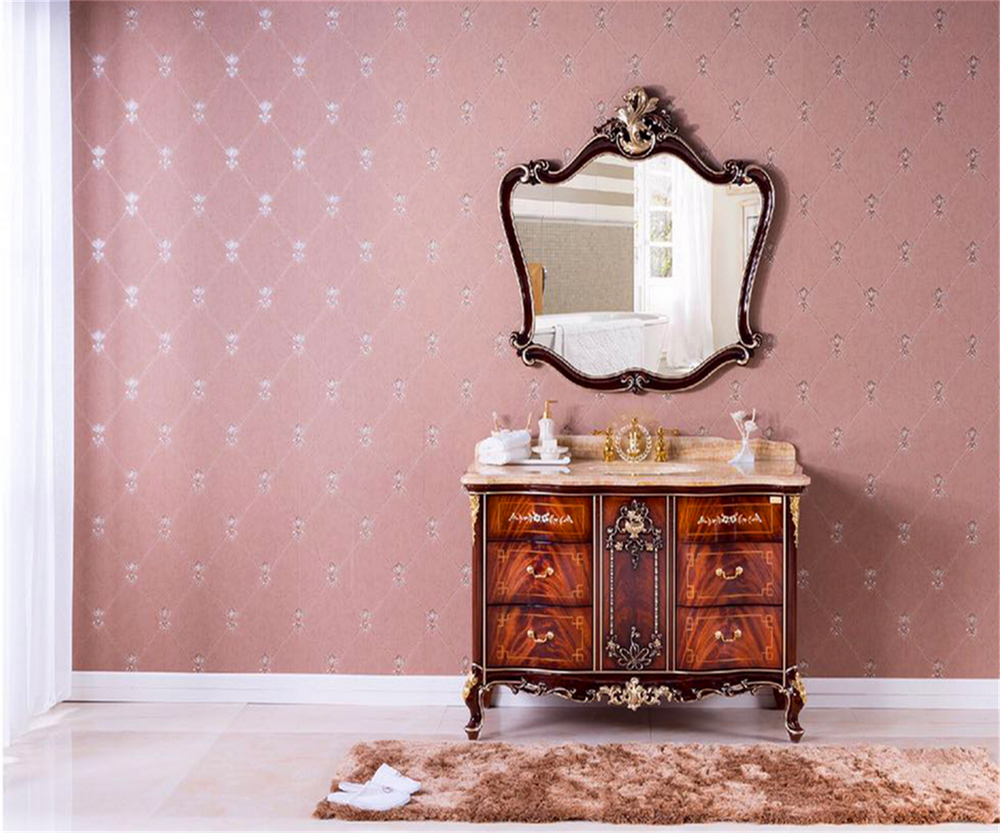
Sanding and Staining Bathroom Vanity Top


Staining a bathroom vanity top is an excellent option for those who want to enhance the natural beauty of the wood. Sanding the top before staining allows the stain to penetrate better and gives a more uniform finish. It's essential to choose a high-quality stain and follow the instructions carefully for the best results. You can also add multiple coats of stain for a richer, deeper color.Sanding and Staining Bathroom Vanity Top

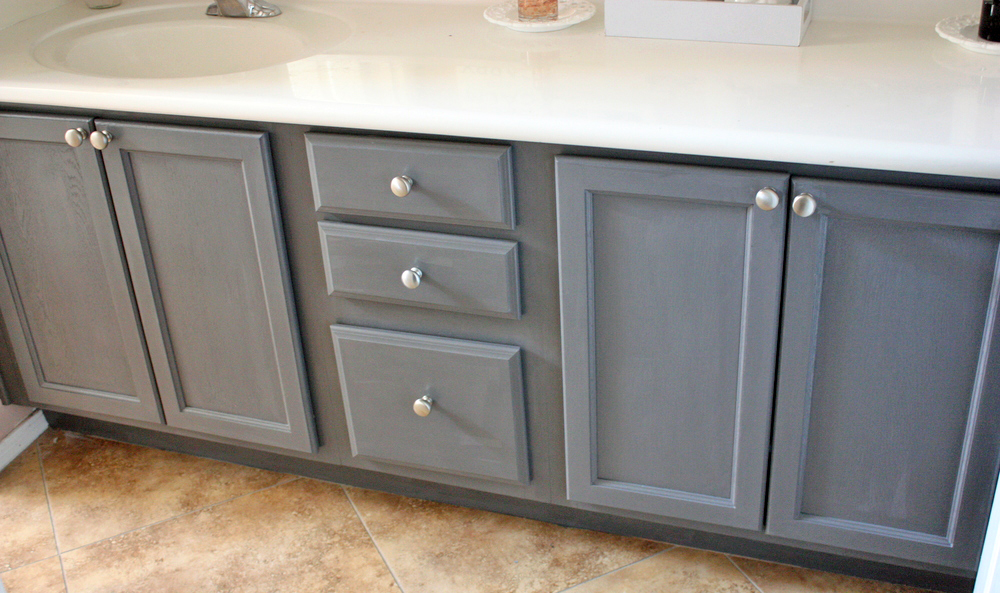
Sanding and Painting Bathroom Vanity Top


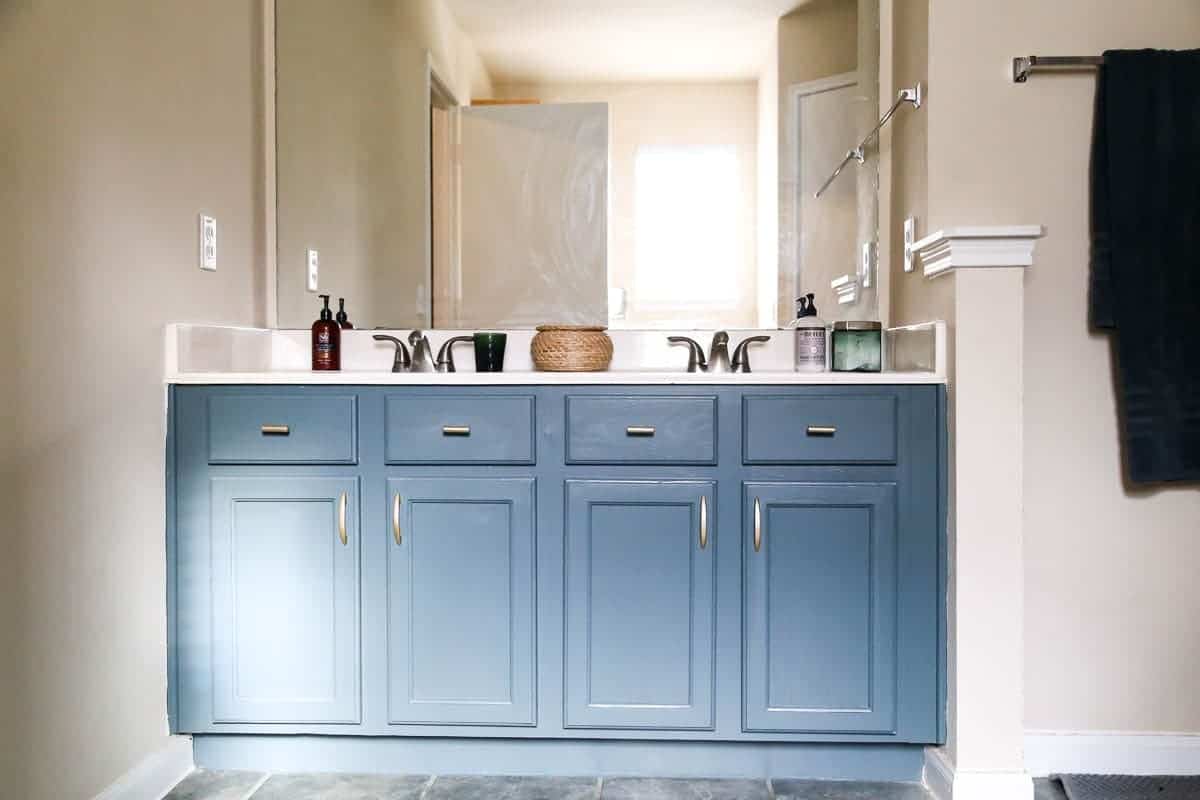
If you want to give your bathroom a pop of color or change the look of your vanity top, painting is a great option. Sanding the surface before painting ensures that the paint adheres well and gives a smooth finish. You can choose from a variety of paints, such as acrylic, enamel, or chalk paint, depending on your preference. Make sure to use a primer before painting for better adhesion and durability.Sanding and Painting Bathroom Vanity Top

Best Sandpaper for Bathroom Vanity Top


Choosing the right sandpaper is crucial for achieving a professional finish when sanding a bathroom vanity top. For initial sanding, it's best to use a coarse grit sandpaper, such as 60 or 80 grit, to remove the surface layer quickly. As you progress to finer sanding, you can use 120 or 150 grit sandpaper for a smooth finish. It's also essential to change the sandpaper frequently to prevent clogging and achieve the best results.Best Sandpaper for Bathroom Vanity Top
Sanding Techniques for Bathroom Vanity Top


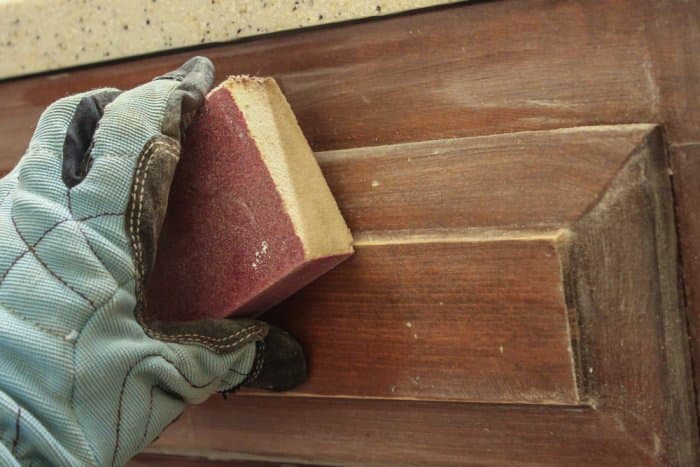
When sanding a bathroom vanity top, it's essential to use the right techniques for best results. Sand in the direction of the grain for wood vanity tops, and in a circular motion for laminate or stone tops. Use a sanding block or a power sander for more even results, and apply even pressure to prevent creating uneven spots. It's also essential to sand the edges and corners carefully to avoid over-sanding.Sanding Techniques for Bathroom Vanity Top


Sanding Tools for Bathroom Vanity Top


The tools you use for sanding a bathroom vanity top can make a significant difference in the end result. It's best to use a sanding block or a power sander for even and consistent sanding. You can also use sanding sponges for hard-to-reach areas and corners. It's also essential to have a vacuum or a dust mask to protect yourself from inhaling the dust particles that are created during sanding.Sanding Tools for Bathroom Vanity Top


How to Prep and Sand Bathroom Vanity Top


Sanding Bathroom Vanity Top: A Simple Solution to Give Your Bathroom a Fresh Look

Revamp Your Bathroom Design
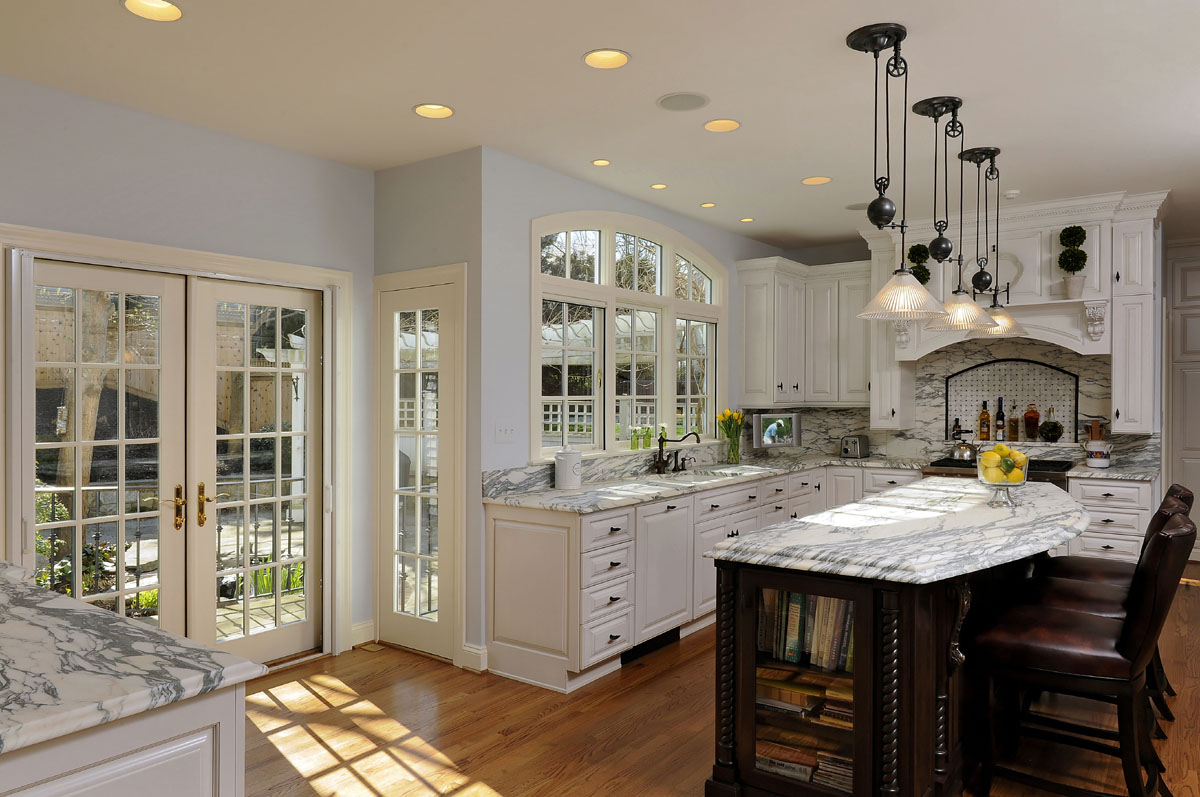
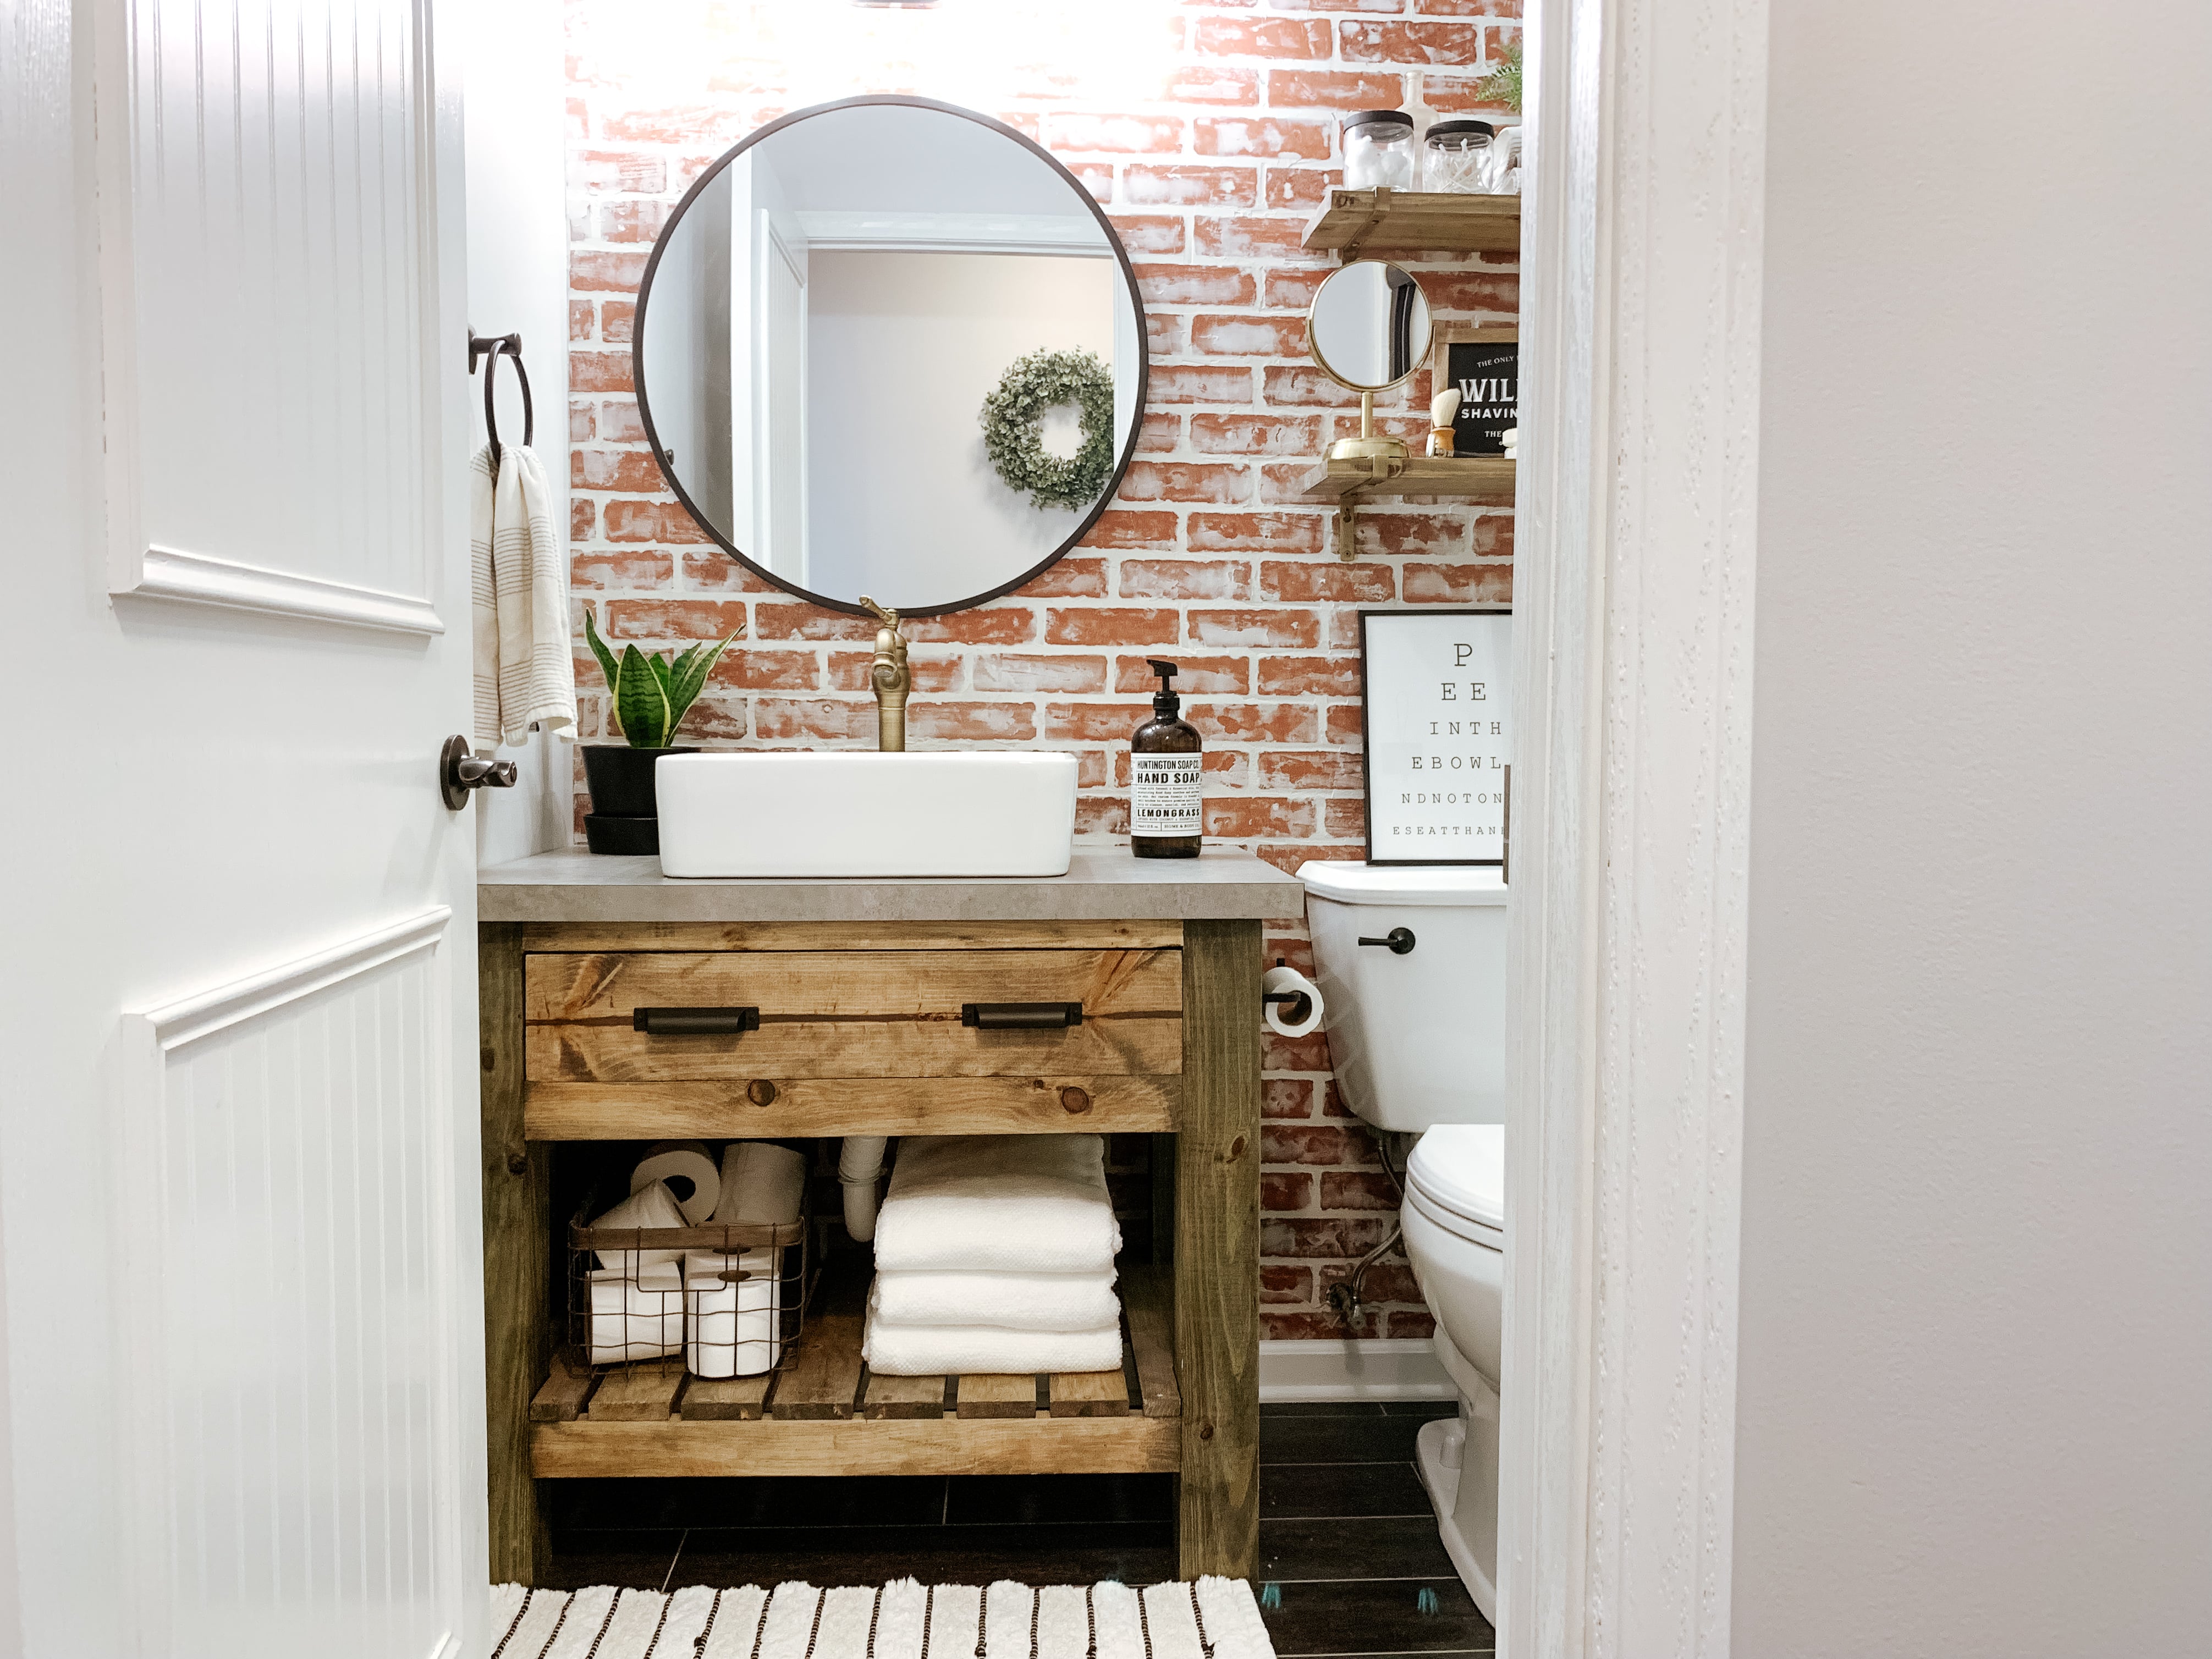
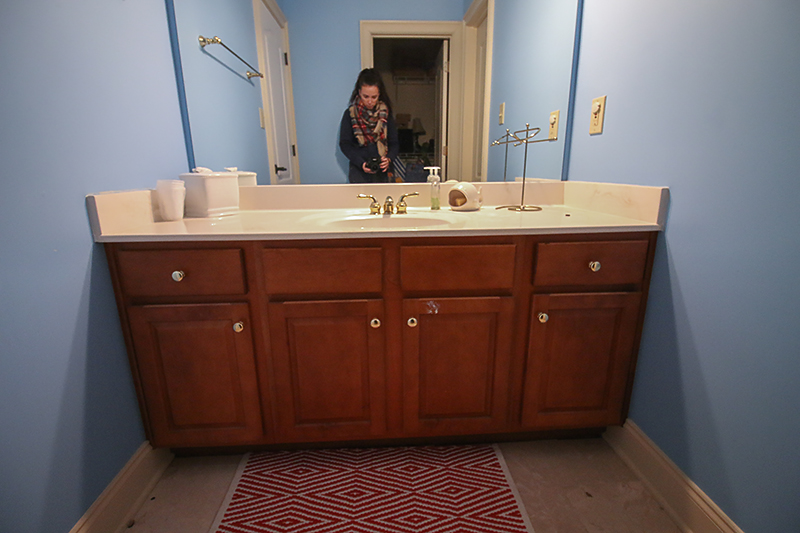
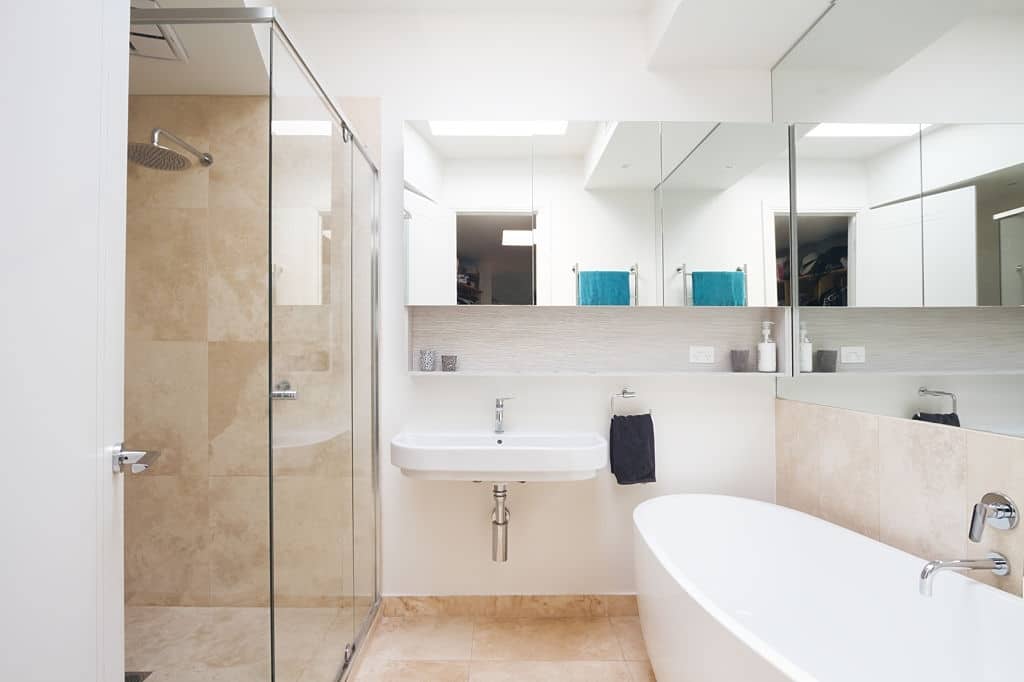
 Are you tired of the same old look of your bathroom? Do you want to give it a fresh and modern touch without breaking the bank? Look no further, because sanding your bathroom vanity top is the perfect solution. This simple and cost-effective method can transform the look of your bathroom and give it a whole new feel. In this article, we will guide you through the process of sanding your bathroom vanity top, and how it can upgrade your bathroom design.
Why Sanding is Essential for Your Bathroom Vanity Top
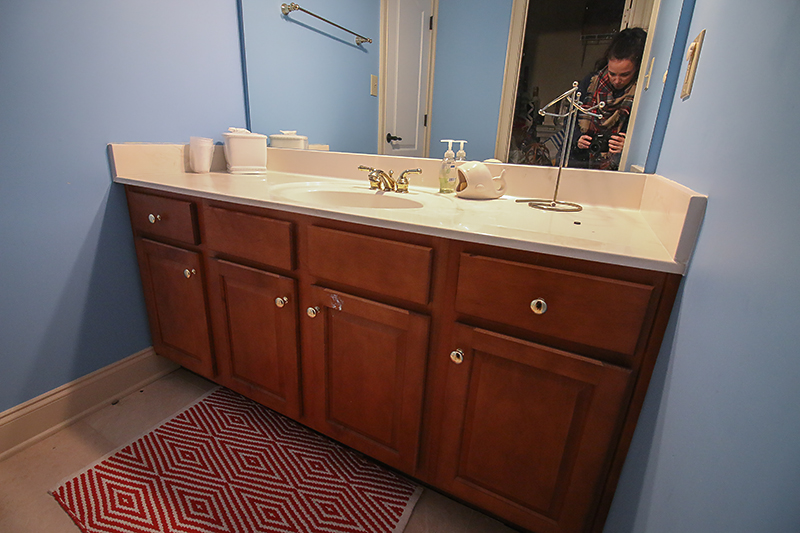
 Over time, bathroom vanity tops can become dull, scratched, and stained from constant use. This can make your bathroom look outdated and unappealing. Sanding is a great way to remove these imperfections and bring back the shine and smoothness of your vanity top. It also creates a perfect surface for any new finishes or paint you may want to apply.
The Sanding Process
 First, start by clearing out your bathroom vanity top and removing all items from the surface. Then, use a fine-grit sandpaper to sand the entire surface of your vanity top in a circular motion. Be sure to sand evenly and apply even pressure to avoid creating uneven surfaces. Next, wipe down the surface with a damp cloth to remove any dust or debris. For deeper scratches or stains, you may need to use a coarser grit sandpaper and repeat the process until the surface is smooth.
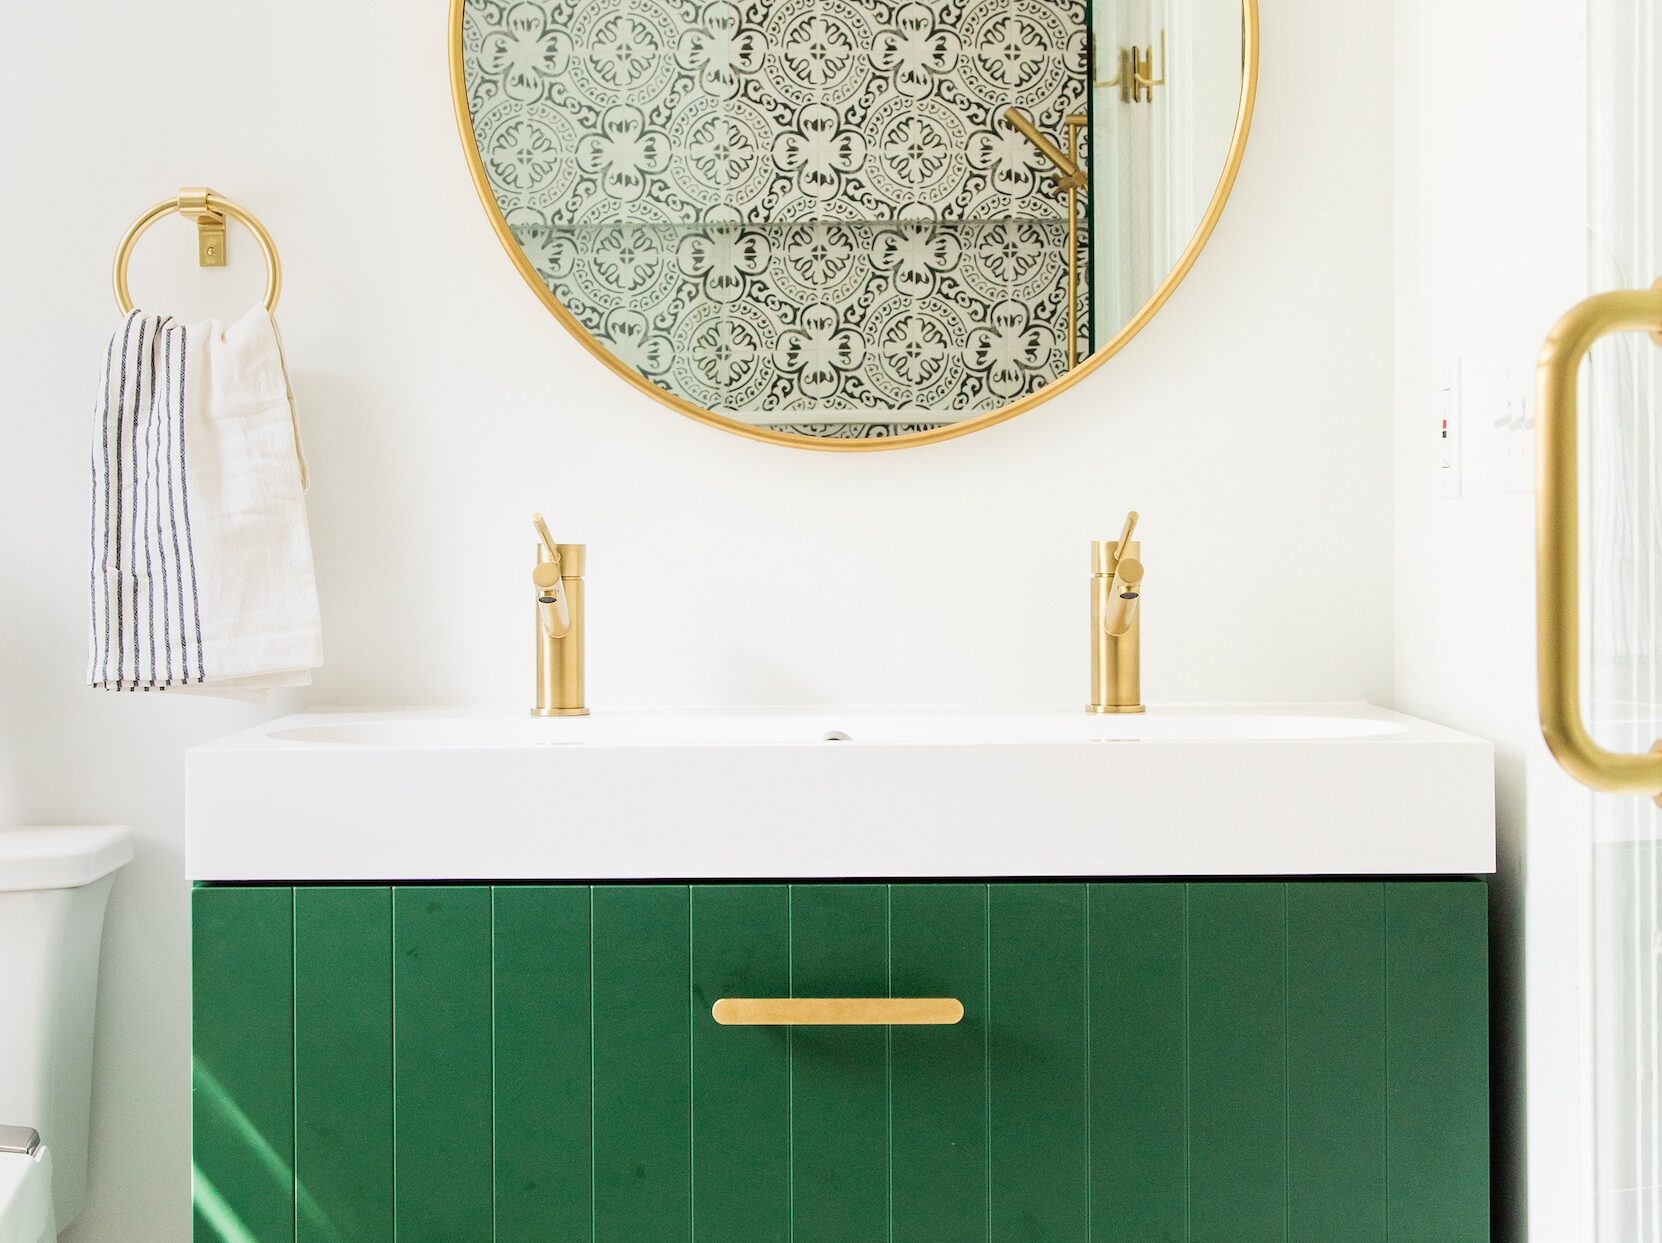
Benefits of Sanding Your Bathroom Vanity Top
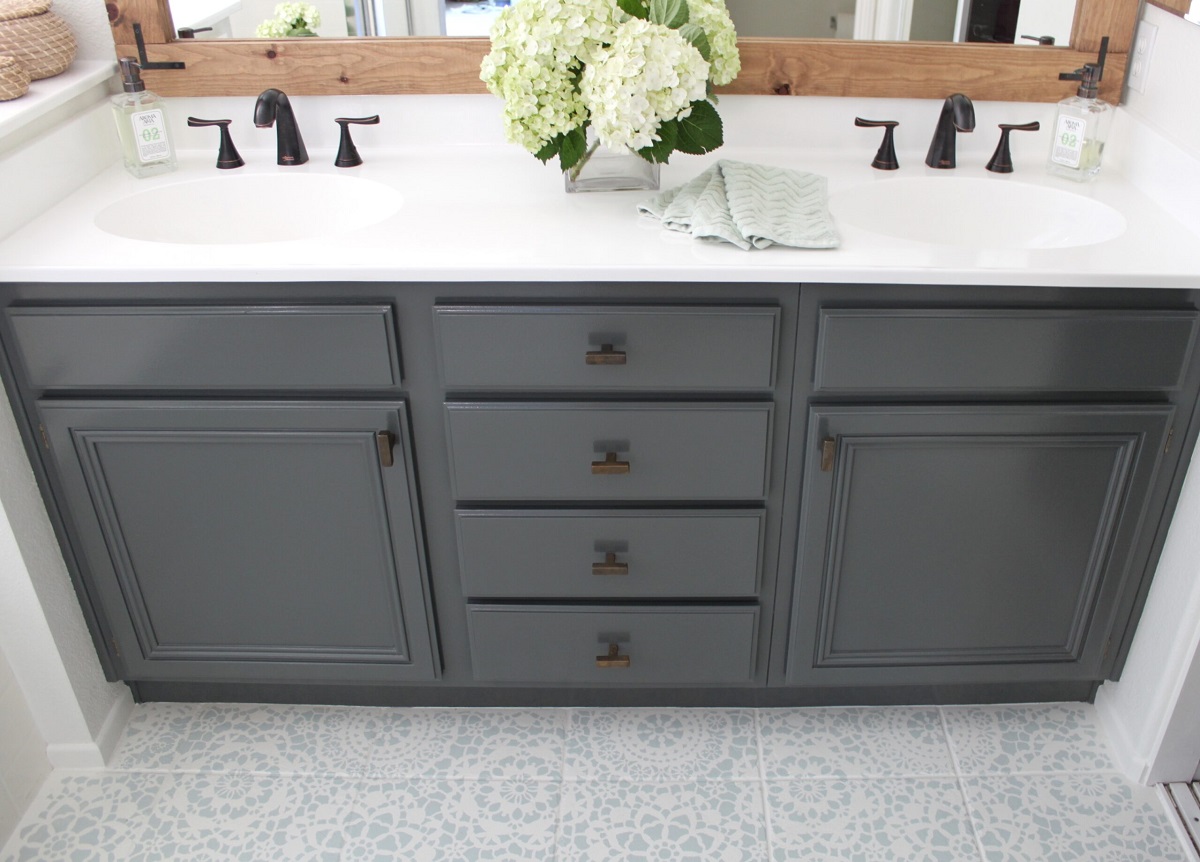
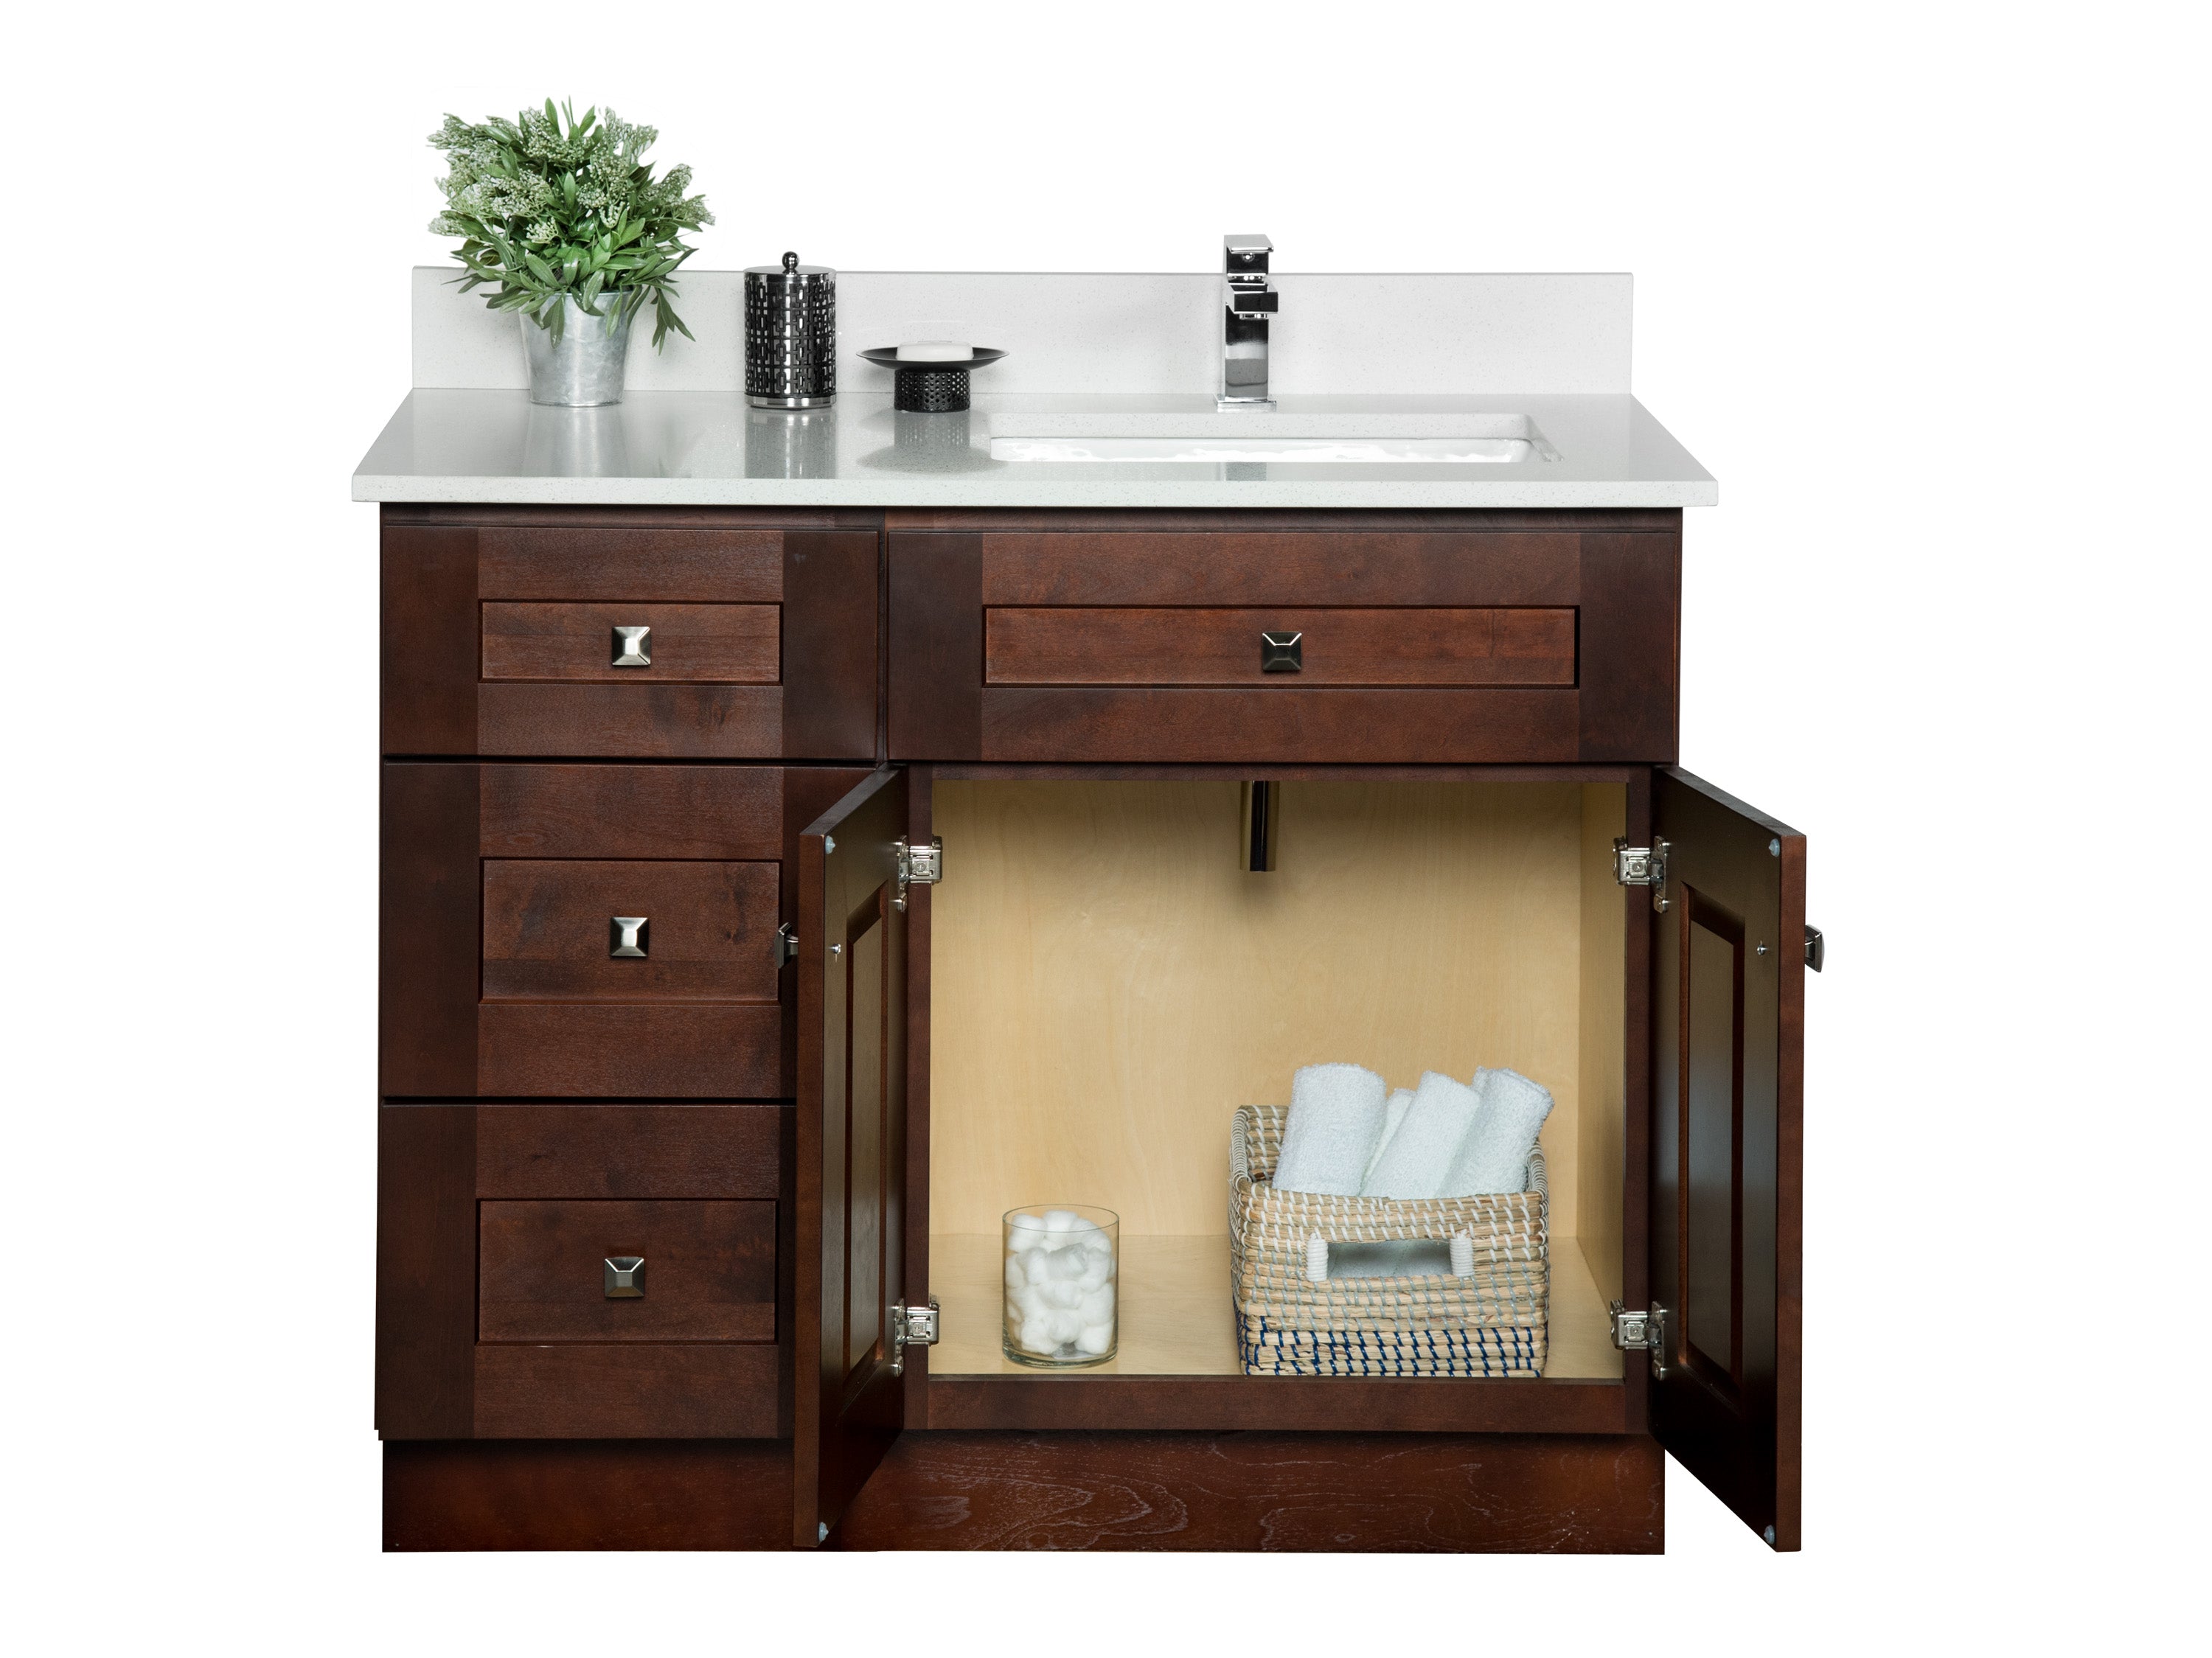 Apart from giving your bathroom a fresh and modern look, sanding your bathroom vanity top has many other benefits. It can increase the durability and lifespan of your vanity top, saving you money in the long run. It also allows you to customize the finish of your vanity top, giving you the freedom to choose a color or design that complements your bathroom design.
Maintaining Your Newly Sanded Vanity Top
 After sanding your bathroom vanity top, it is important to maintain it to keep it looking its best. Avoid using harsh chemicals or abrasive cleaners that can damage the surface. Instead, use mild soap and water to clean the surface regularly. You can also apply a protective coat of sealant to keep your vanity top looking shiny and new.
Conclusion
 Sanding your bathroom vanity top is a simple and budget-friendly way to upgrade your bathroom design. The process is easy and can be done in a few simple steps. By following this guide, you can transform your dull and outdated bathroom into a modern and stylish space. So, what are you waiting for? Grab your sandpaper and give your bathroom a fresh new look today!