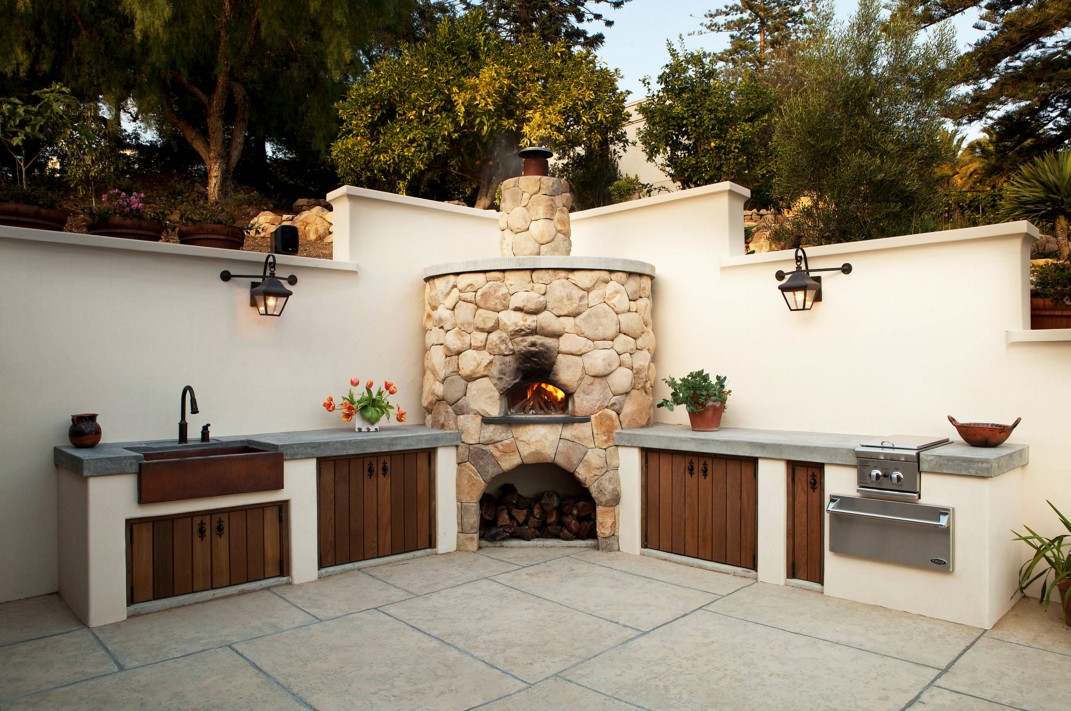
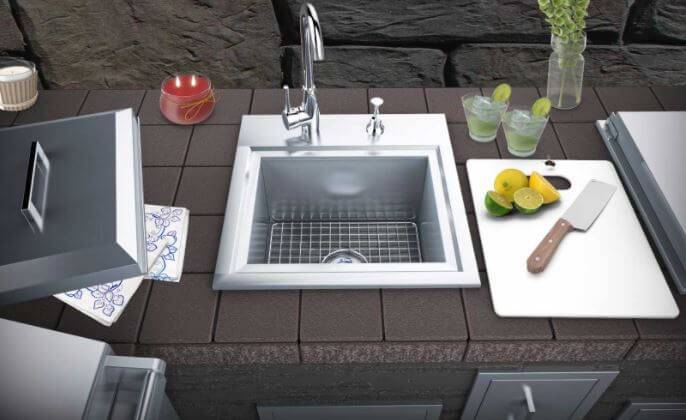
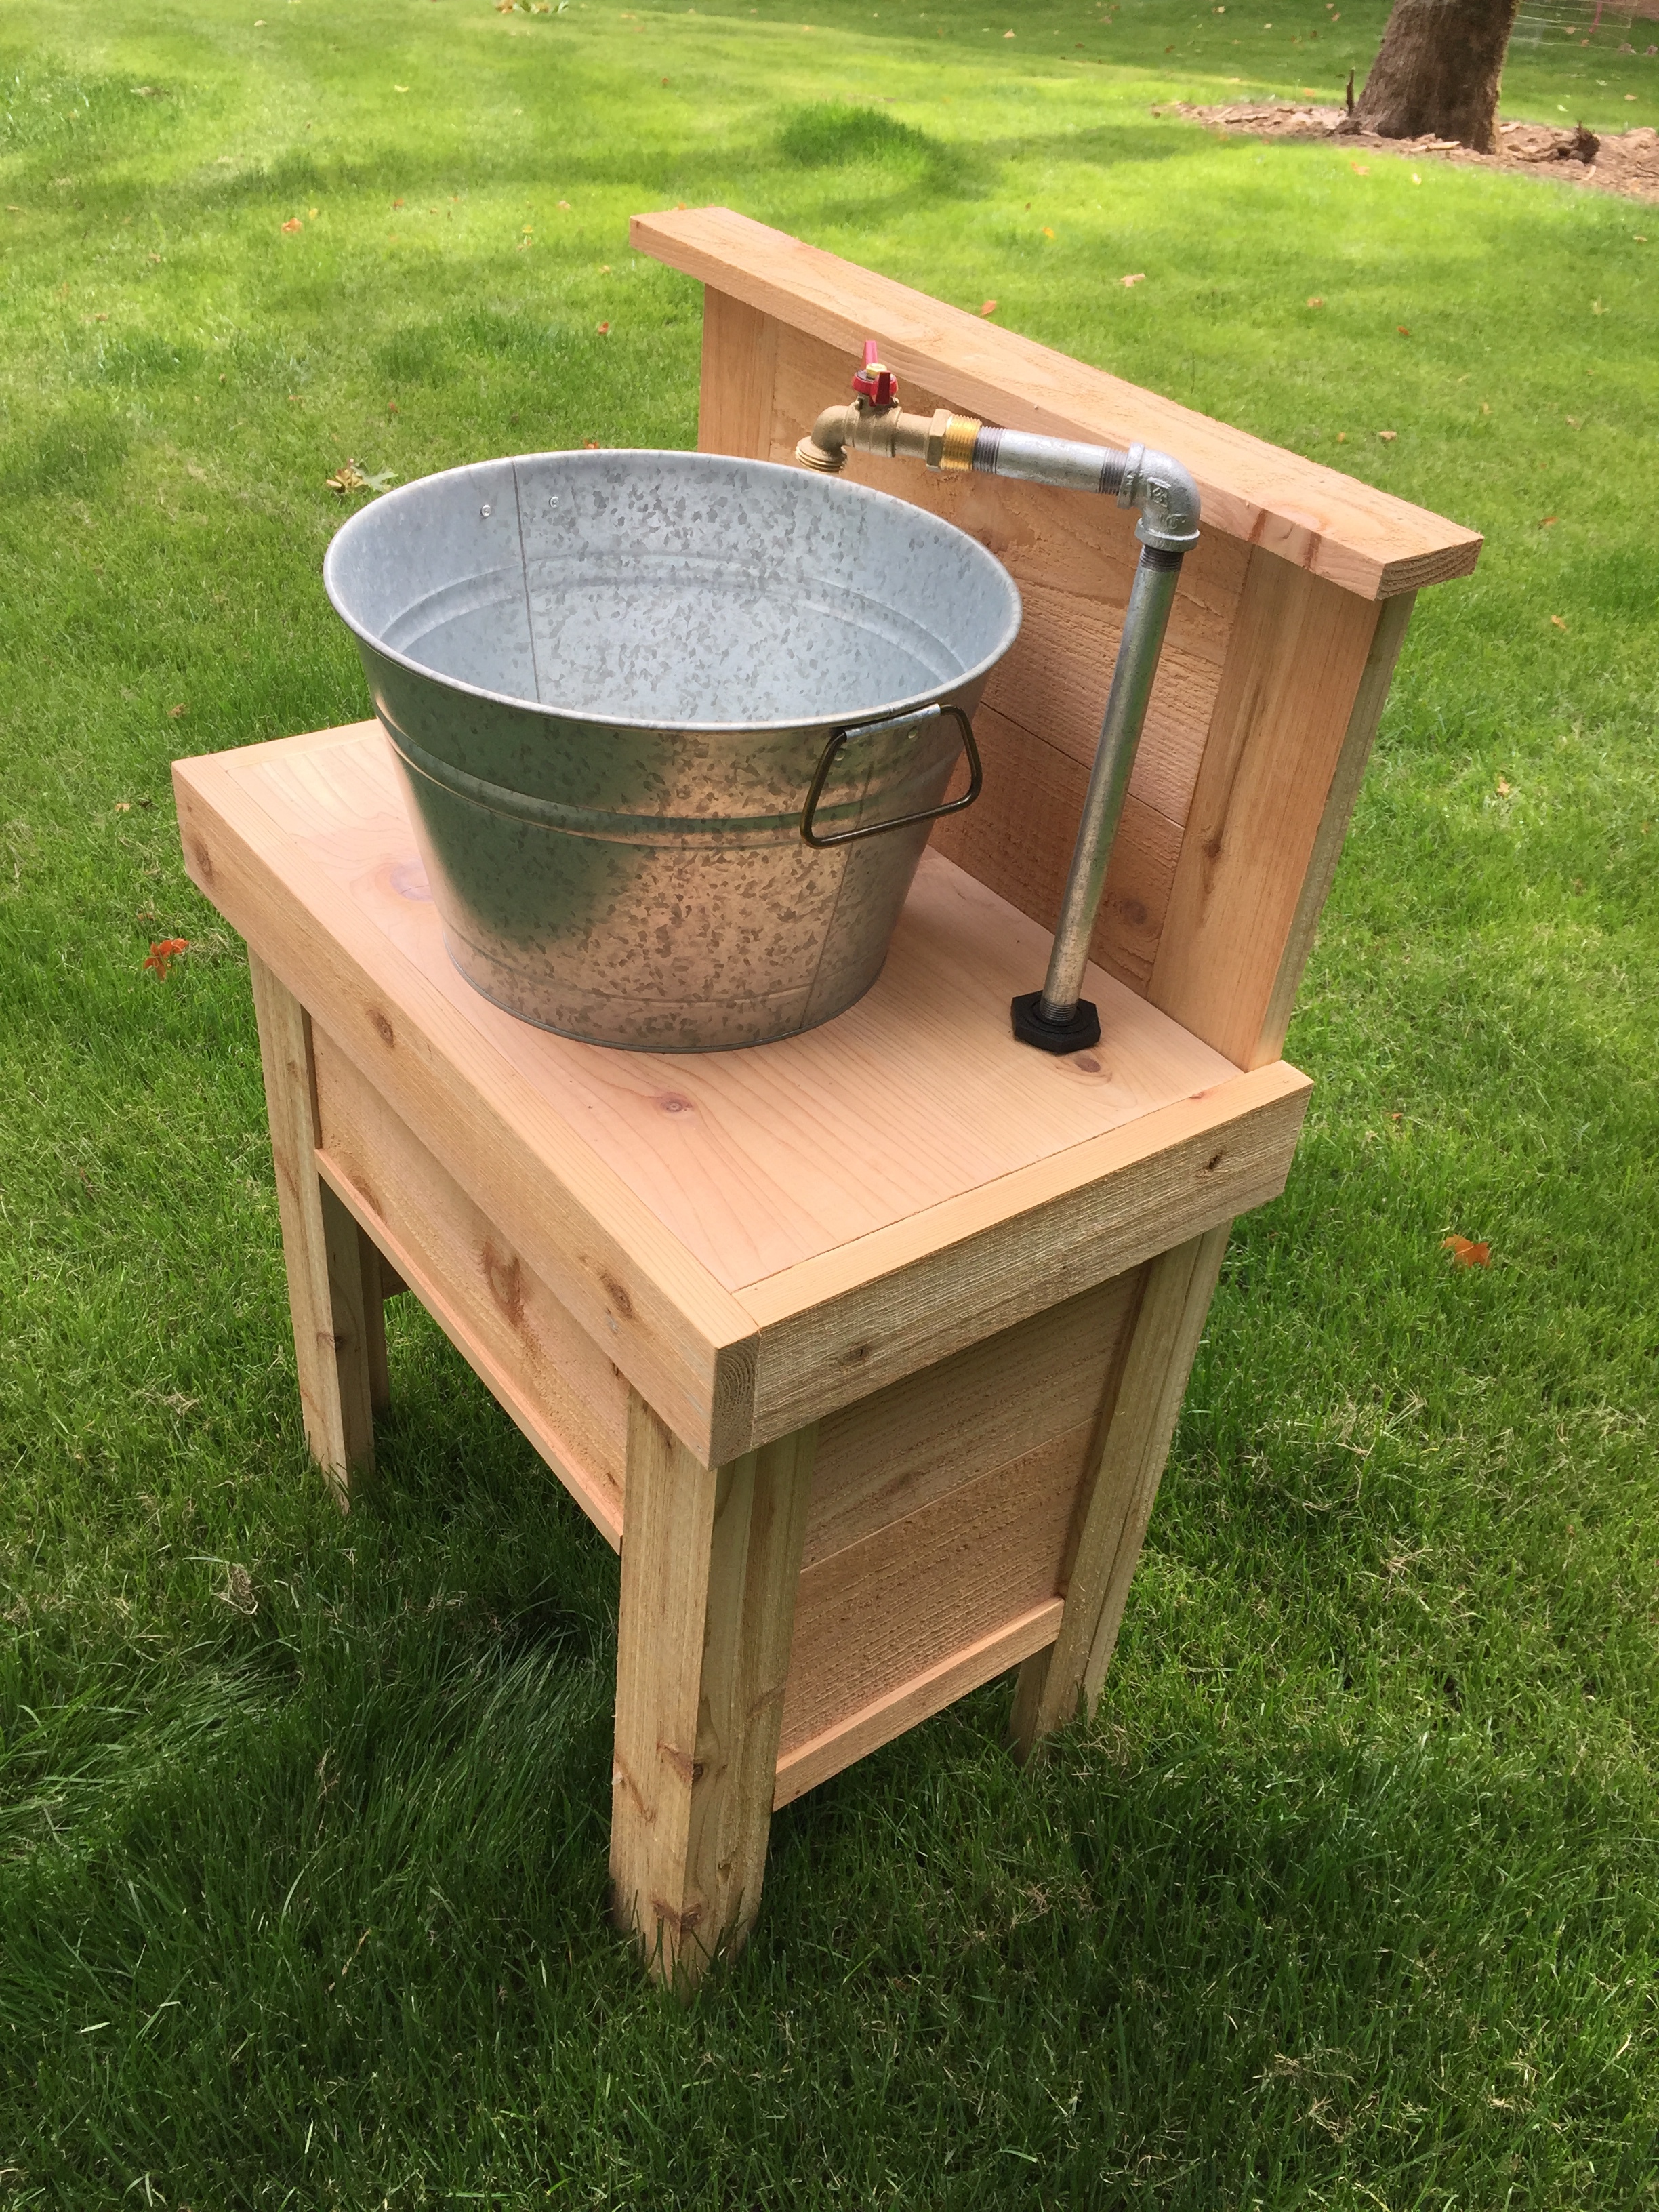
Installing an outdoor kitchen sink can greatly enhance your outdoor living space and make cooking and cleaning more convenient. But before you jump into the installation process, there are a few important steps to follow. Here is a step-by-step guide to help you successfully install your outdoor sink: Step 1: Choose the Location The first step in installing an outdoor kitchen sink is to choose the location where you want it to be placed. Consider the layout and design of your outdoor space, as well as the proximity to your existing water and plumbing lines. It’s also important to ensure that the sink will have proper drainage. Step 2: Gather Materials Next, gather all the necessary materials for your outdoor sink installation. This may include a sink, faucet, drain, pipes, and other plumbing supplies. Make sure to choose durable materials that are designed for outdoor use. Step 3: Prepare the Area Before you begin installation, make sure the area is properly prepared. This may involve clearing any debris or vegetation, leveling the ground, and making sure the area is stable and secure. Step 4: Install Plumbing If you are connecting the sink to an existing water line, you will need to install the necessary pipes and connectors. If you are installing a new plumbing line, make sure to follow proper safety precautions and consult a professional if needed. Step 5: Install the Sink Once the plumbing is in place, it’s time to install the sink itself. Carefully follow the manufacturer’s instructions to ensure proper installation. Make sure the sink is securely attached and properly sealed to prevent leaks. Step 6: Connect the Faucet Next, install the faucet onto the sink. Make sure to properly connect and seal the faucet to prevent any leaks. You may also want to install a sprayer or soap dispenser for added convenience. Step 7: Test and Adjust After the sink is installed and all connections are secure, it’s important to test the sink for any leaks. If everything looks good, you can adjust the sink to your desired height and make any final adjustments. Step 8: Enjoy Your New Outdoor Sink Congratulations! Your outdoor kitchen sink is now installed and ready to use. Enjoy the convenience and functionality of having a sink in your outdoor living space.1. Outdoor Kitchen Sink Installation: Step-by-Step Guide
If you love spending time in your backyard, an outdoor kitchen sink can be a great addition to your outdoor living space. Not only does it make cooking and cleaning easier, but it also adds a touch of convenience and functionality to your backyard oasis. Here is a guide on how to install an outdoor sink in your backyard: Step 1: Plan and Design Before you begin the installation process, it’s important to plan and design your outdoor sink. Consider the size and layout of your backyard, as well as the proximity to your water and plumbing lines. You may also want to incorporate the sink into your overall outdoor kitchen design for a seamless look. Step 2: Gather Materials Next, gather all the necessary materials for your outdoor sink installation. This may include a sink, faucet, pipes, connectors, and other plumbing supplies. Make sure to choose high-quality materials that are designed for outdoor use. Step 3: Prepare the Area Prepare the area where you want to install the sink. This may involve clearing any debris or vegetation, leveling the ground, and ensuring the area is stable and secure. Step 4: Install Plumbing If you are connecting the sink to an existing water line, you will need to install the necessary pipes and connectors. If you are installing a new plumbing line, make sure to follow proper safety precautions and consult a professional if needed. Step 5: Install the Sink Once the plumbing is in place, it’s time to install the sink. Make sure to carefully follow the manufacturer’s instructions for proper installation. Securely attach and seal the sink to prevent any leaks. Step 6: Connect the Faucet Next, install the faucet onto the sink. Make sure to properly connect and seal the faucet to prevent any leaks. You may also want to add a sprayer or soap dispenser for added convenience. Step 7: Test and Adjust After the sink is installed and all connections are secure, it’s important to test the sink for any leaks. If everything looks good, you can adjust the sink to your desired height and make any final adjustments. Step 8: Enjoy Your New Outdoor Sink Your outdoor sink is now installed and ready to use. Enjoy the convenience and functionality of having a sink in your backyard while entertaining or cooking outdoors.2. How to Install an Outdoor Sink in Your Backyard
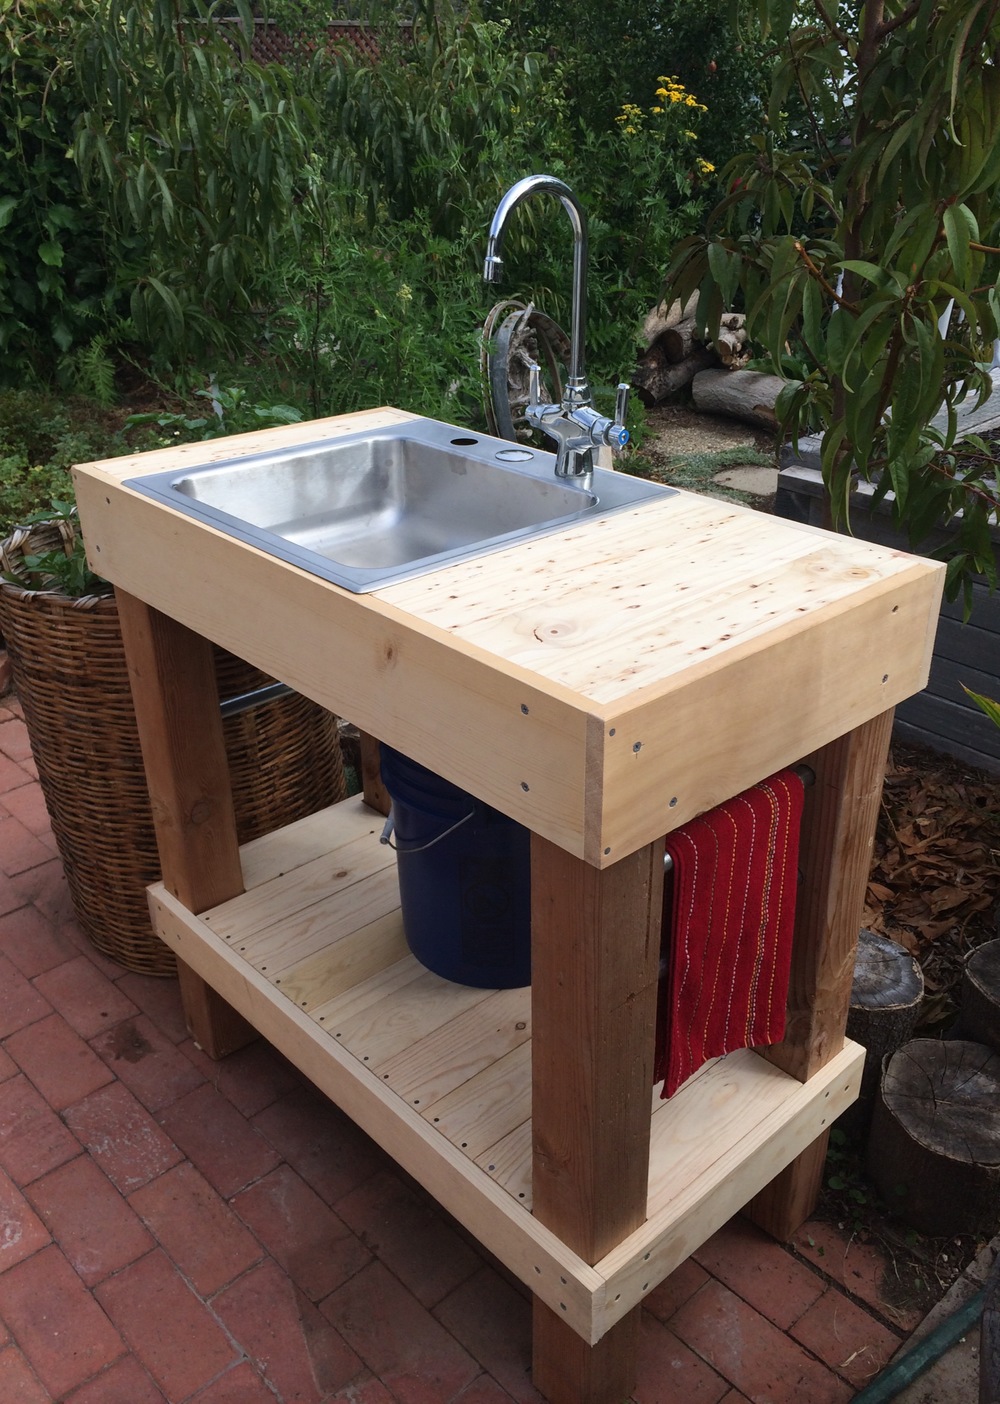
Installing an outdoor kitchen sink doesn’t have to be a daunting task. With the right tools and some basic plumbing knowledge, you can easily install your own outdoor sink. Here’s a step-by-step guide for a DIY outdoor kitchen sink installation: Step 1: Choose the Location The first step is to choose the location for your outdoor sink. Consider the layout and design of your outdoor space, as well as the proximity to your water and plumbing lines. Make sure the sink will have proper drainage as well. Step 2: Gather Materials Gather all the necessary materials for your outdoor sink installation, including a sink, faucet, pipes, connectors, and other plumbing supplies. Make sure to choose durable materials that are designed for outdoor use. Step 3: Prepare the Area Prepare the area where you want to install the sink. This may involve clearing any debris or vegetation, leveling the ground, and ensuring the area is stable and secure. Step 4: Install Plumbing If you are connecting the sink to an existing water line, you will need to install the necessary pipes and connectors. If you are installing a new plumbing line, make sure to follow proper safety precautions and consult a professional if needed. Step 5: Install the Sink Once the plumbing is in place, it’s time to install the sink. Follow the manufacturer’s instructions for proper installation. Make sure the sink is securely attached and properly sealed to prevent leaks. Step 6: Connect the Faucet Install the faucet onto the sink, making sure to properly connect and seal it to prevent leaks. You may also want to add a sprayer or soap dispenser for added convenience. Step 7: Test and Adjust Test the sink for any leaks and make any necessary adjustments. Once everything looks good, adjust the sink to your desired height and make any final adjustments. Step 8: Enjoy Your New Outdoor Sink Congratulations! Your DIY outdoor kitchen sink installation is now complete. Enjoy the convenience and functionality of having a sink in your outdoor living space.3. DIY Outdoor Kitchen Sink Installation
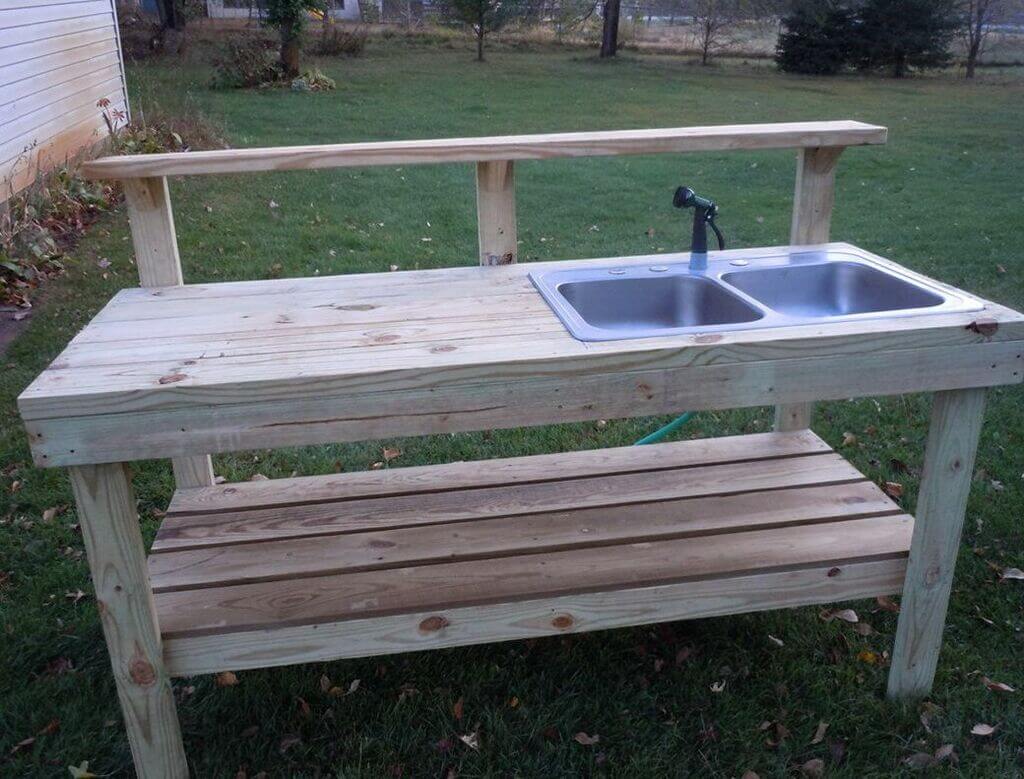
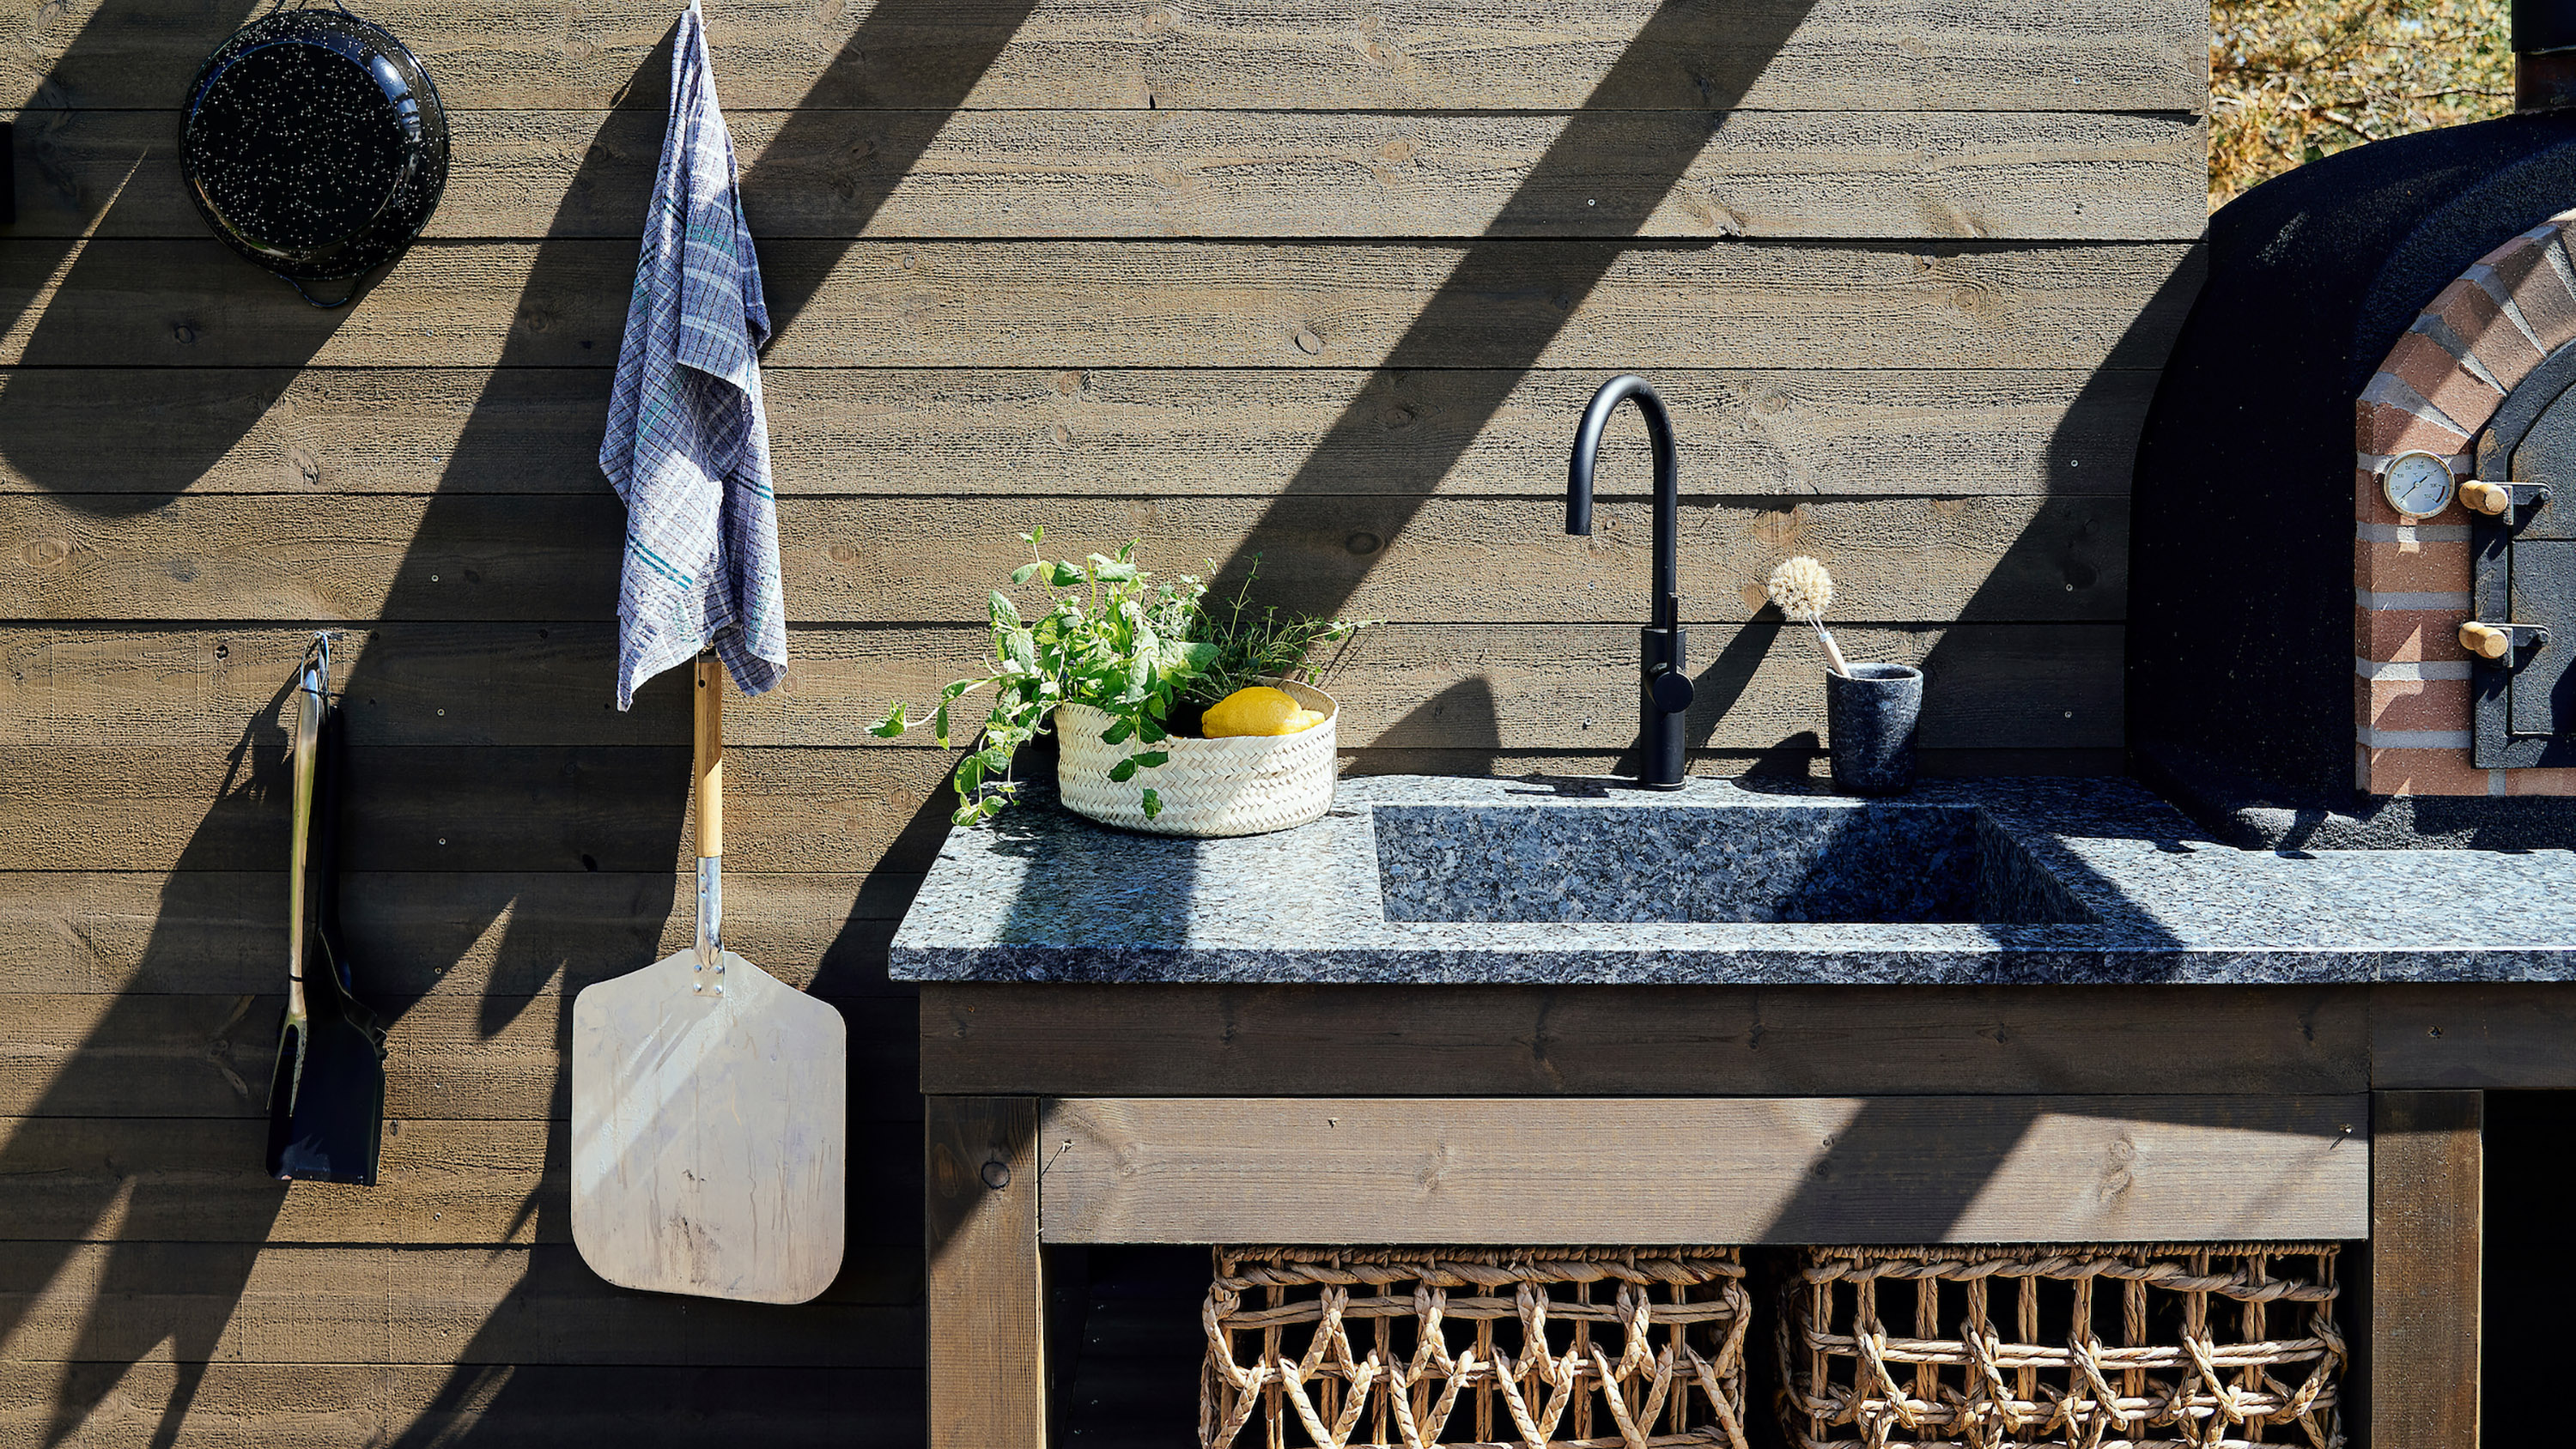
Installing an outdoor sink can be a great addition to your outdoor living space. It not only adds convenience and functionality, but it can also enhance the overall design of your backyard. Here are some tips and tricks to keep in mind when installing an outdoor sink: Choose the Right Location When choosing a location for your outdoor sink, make sure to consider the layout and design of your outdoor space. You also want to ensure the sink is close to your existing water and plumbing lines. Use Durable Materials Since your outdoor sink will be exposed to the elements, it’s important to use durable materials that can withstand outdoor conditions. Stainless steel, stone, and concrete are popular choices for outdoor sinks. Proper Drainage Make sure your outdoor sink has proper drainage to prevent any standing water. This will also help to prevent any potential damage to your sink and surrounding area. Consider a Portable Sink If you don’t want to commit to a permanent outdoor sink, consider a portable sink option. These can easily be moved and stored when not in use. Consult a Professional If you are not comfortable with plumbing or the installation process, it’s always best to consult a professional. They can ensure the sink is properly installed and connected to your existing water and plumbing lines.4. Installing an Outdoor Sink: Tips and Tricks
There are many benefits to installing an outdoor kitchen sink in your backyard. Here are just a few of the advantages you can enjoy with an outdoor sink: Convenience An outdoor sink makes cooking and cleaning easier and more convenient. You no longer have to run back and forth between your indoor kitchen and outdoor cooking area. Functionality Having a sink in your outdoor living space adds functionality and versatility. You can easily clean up after outdoor meals, wash dishes, and even rinse off gardening tools. Enhanced Outdoor Living Space An outdoor sink can enhance the overall design and functionality of your outdoor living space. It can be incorporated into your outdoor kitchen or used as a standalone feature. Increases Property Value Adding an outdoor sink can increase the value of your property. It is a desirable feature for potential buyers and can make your outdoor living space more attractive. Entertainment Value When hosting outdoor gatherings or parties, having an outdoor sink can be a great asset. You can easily clean up and keep things tidy without having to leave your guests.5. The Benefits of Installing an Outdoor Kitchen Sink
Proper plumbing is crucial when installing an outdoor kitchen sink. Here are a few things you need to know about outdoor kitchen sink plumbing: Water and Plumbing Lines Before installing an outdoor sink, make sure you have access to a water source and plumbing lines. If you don’t have existing lines, you will need to install them or consult a professional. Drainage Proper drainage is important to prevent any standing water and potential damage. Make sure your outdoor sink has proper drainage and consider adding a drain pipe if needed. Weatherproof Materials Since your outdoor sink will be exposed to the elements, it’s important to use weatherproof materials for your plumbing. This will ensure longevity and prevent any potential damage. Consult a Professional If you are not familiar with plumbing or the installation process, it’s always best to consult a professional. They can ensure that your outdoor sink is properly connected and the plumbing is done correctly.6. Outdoor Kitchen Sink Plumbing: What You Need to Know
When it comes to choosing an outdoor kitchen sink, there are a few factors to consider. Here are some tips for choosing the right outdoor sink for your space: Size The size of your outdoor sink will depend on the size of your outdoor space and the amount of use it will get. Consider how much counter space you have available and the size of your existing water and plumbing lines. Material There are a variety of materials to choose from for your outdoor sink, such as stainless steel, stone, and concrete. Consider the overall look and design of your outdoor space when choosing the material. Style Outdoor sinks come in a variety of styles, from farmhouse to modern. Choose a style that complements your outdoor space and the overall design of your home. Functionality Consider how you will use your outdoor sink and choose a design that fits your needs. If you plan on cooking and entertaining outdoors frequently, you may want to opt for a larger sink with additional features. Budget Outdoor sinks can range in price, so it’s important to consider your budget when making a decision. Choose a sink that fits within your budget while also meeting your desired functionality and style.7. Choosing the Right Outdoor Kitchen Sink for Your Space
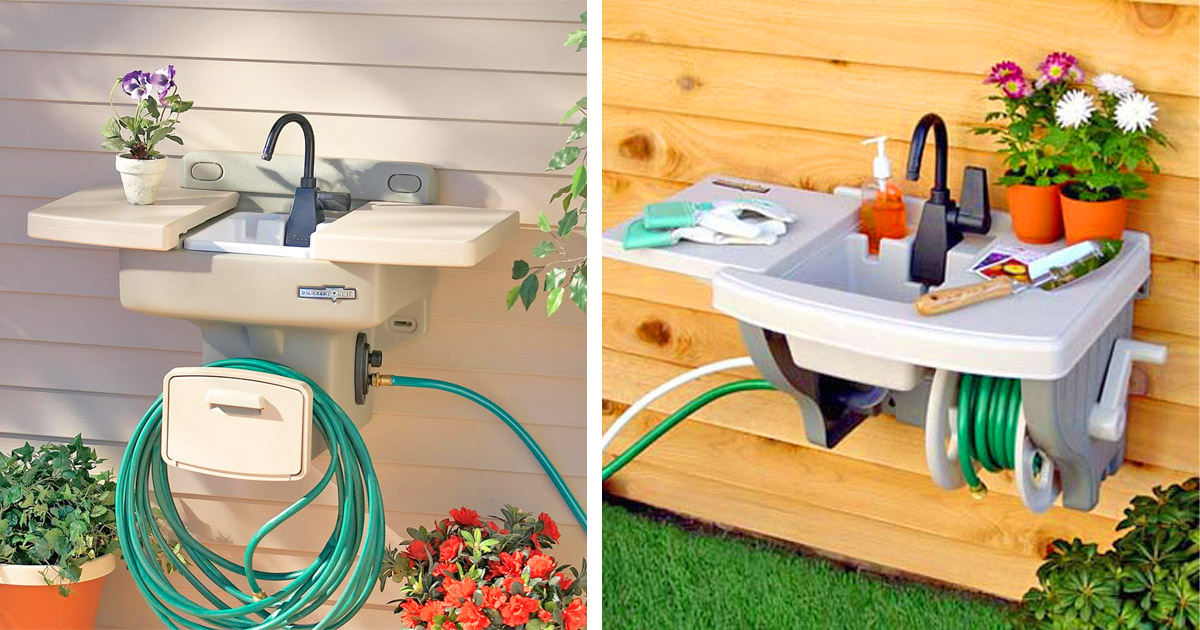
If you’re looking for a convenient and versatile outdoor sink option, consider installing a portable outdoor sink. Here are some benefits of choosing a portable outdoor sink: Easy to Move and Store One of the main benefits of a portable outdoor sink is its mobility. These sinks can easily be moved and stored when not in use, making them a great option for those with limited outdoor space. No Plumbing Required8. Installing a Portable Outdoor Sink for Convenience
Creating the Perfect Outdoor Kitchen Sink: A Guide to Installation

Why Add an Outdoor Kitchen Sink?
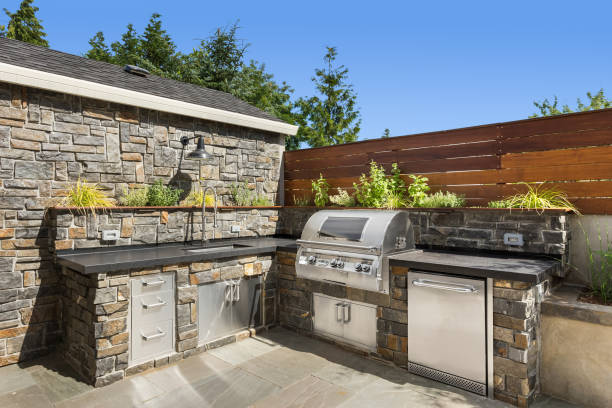
 Adding an outdoor kitchen sink to your backyard design is a game-changer. Not only does it provide convenience and functionality, but it also elevates your outdoor living space. You can wash and prep food, clean dishes, and even do some gardening without having to constantly go inside. Plus, it adds value to your home and makes hosting outdoor gatherings a breeze.
Choosing the Right Location
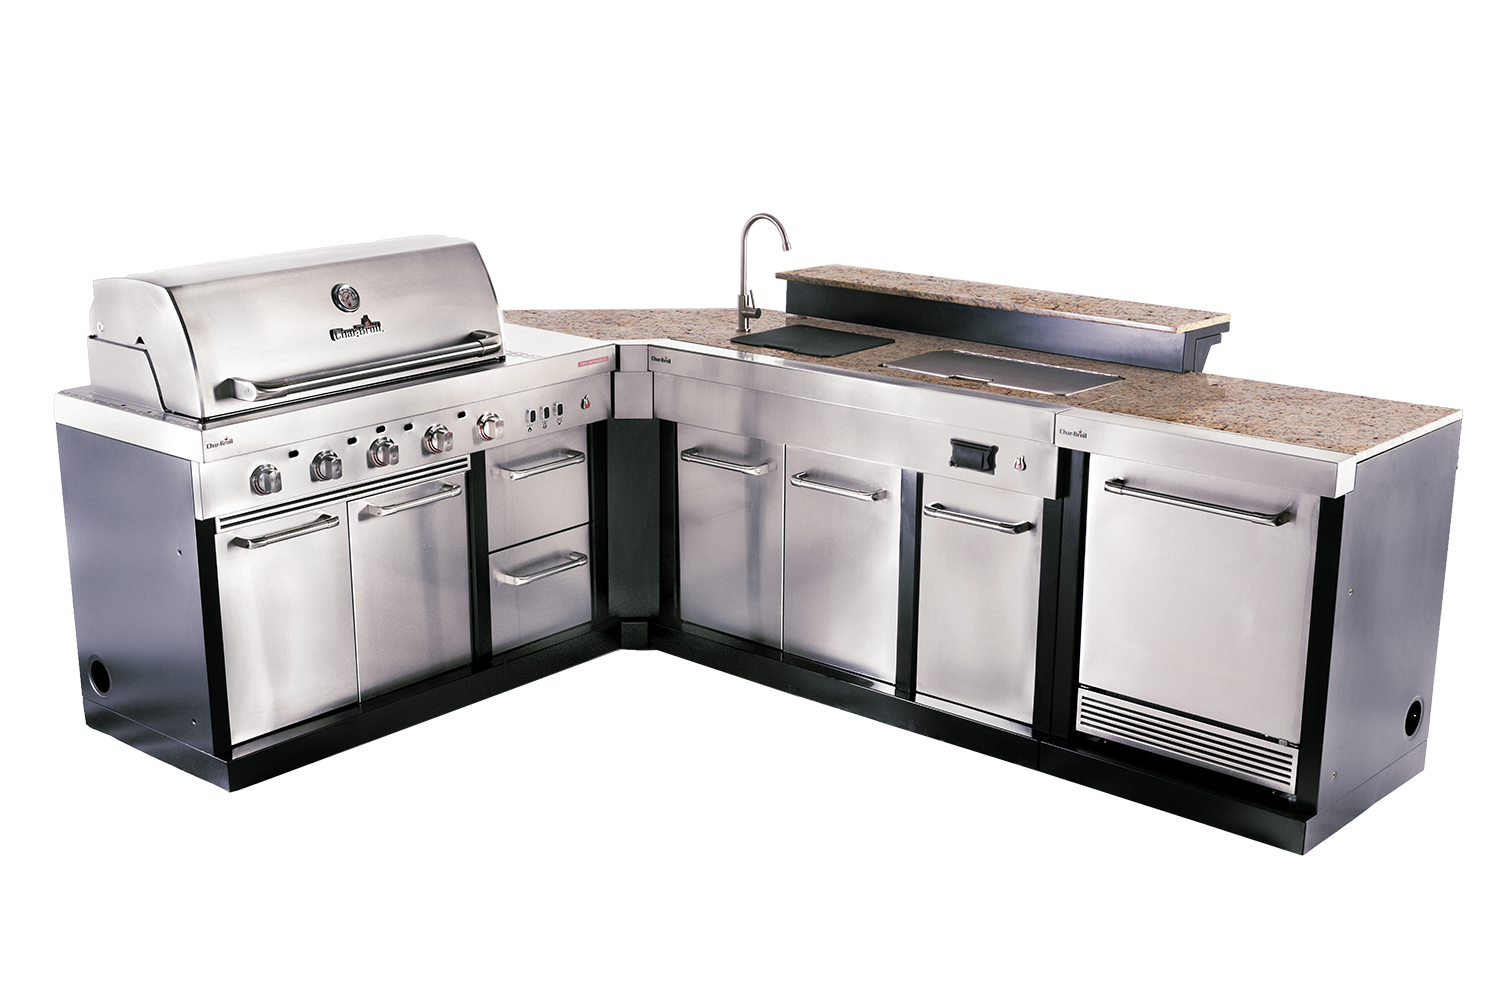
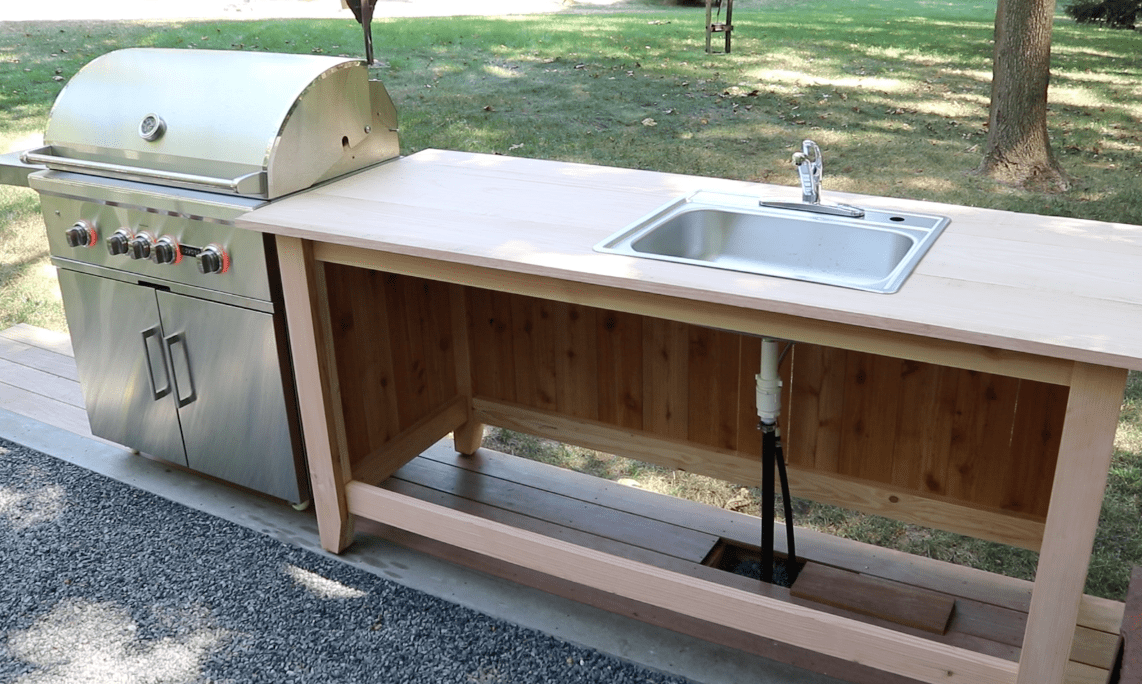
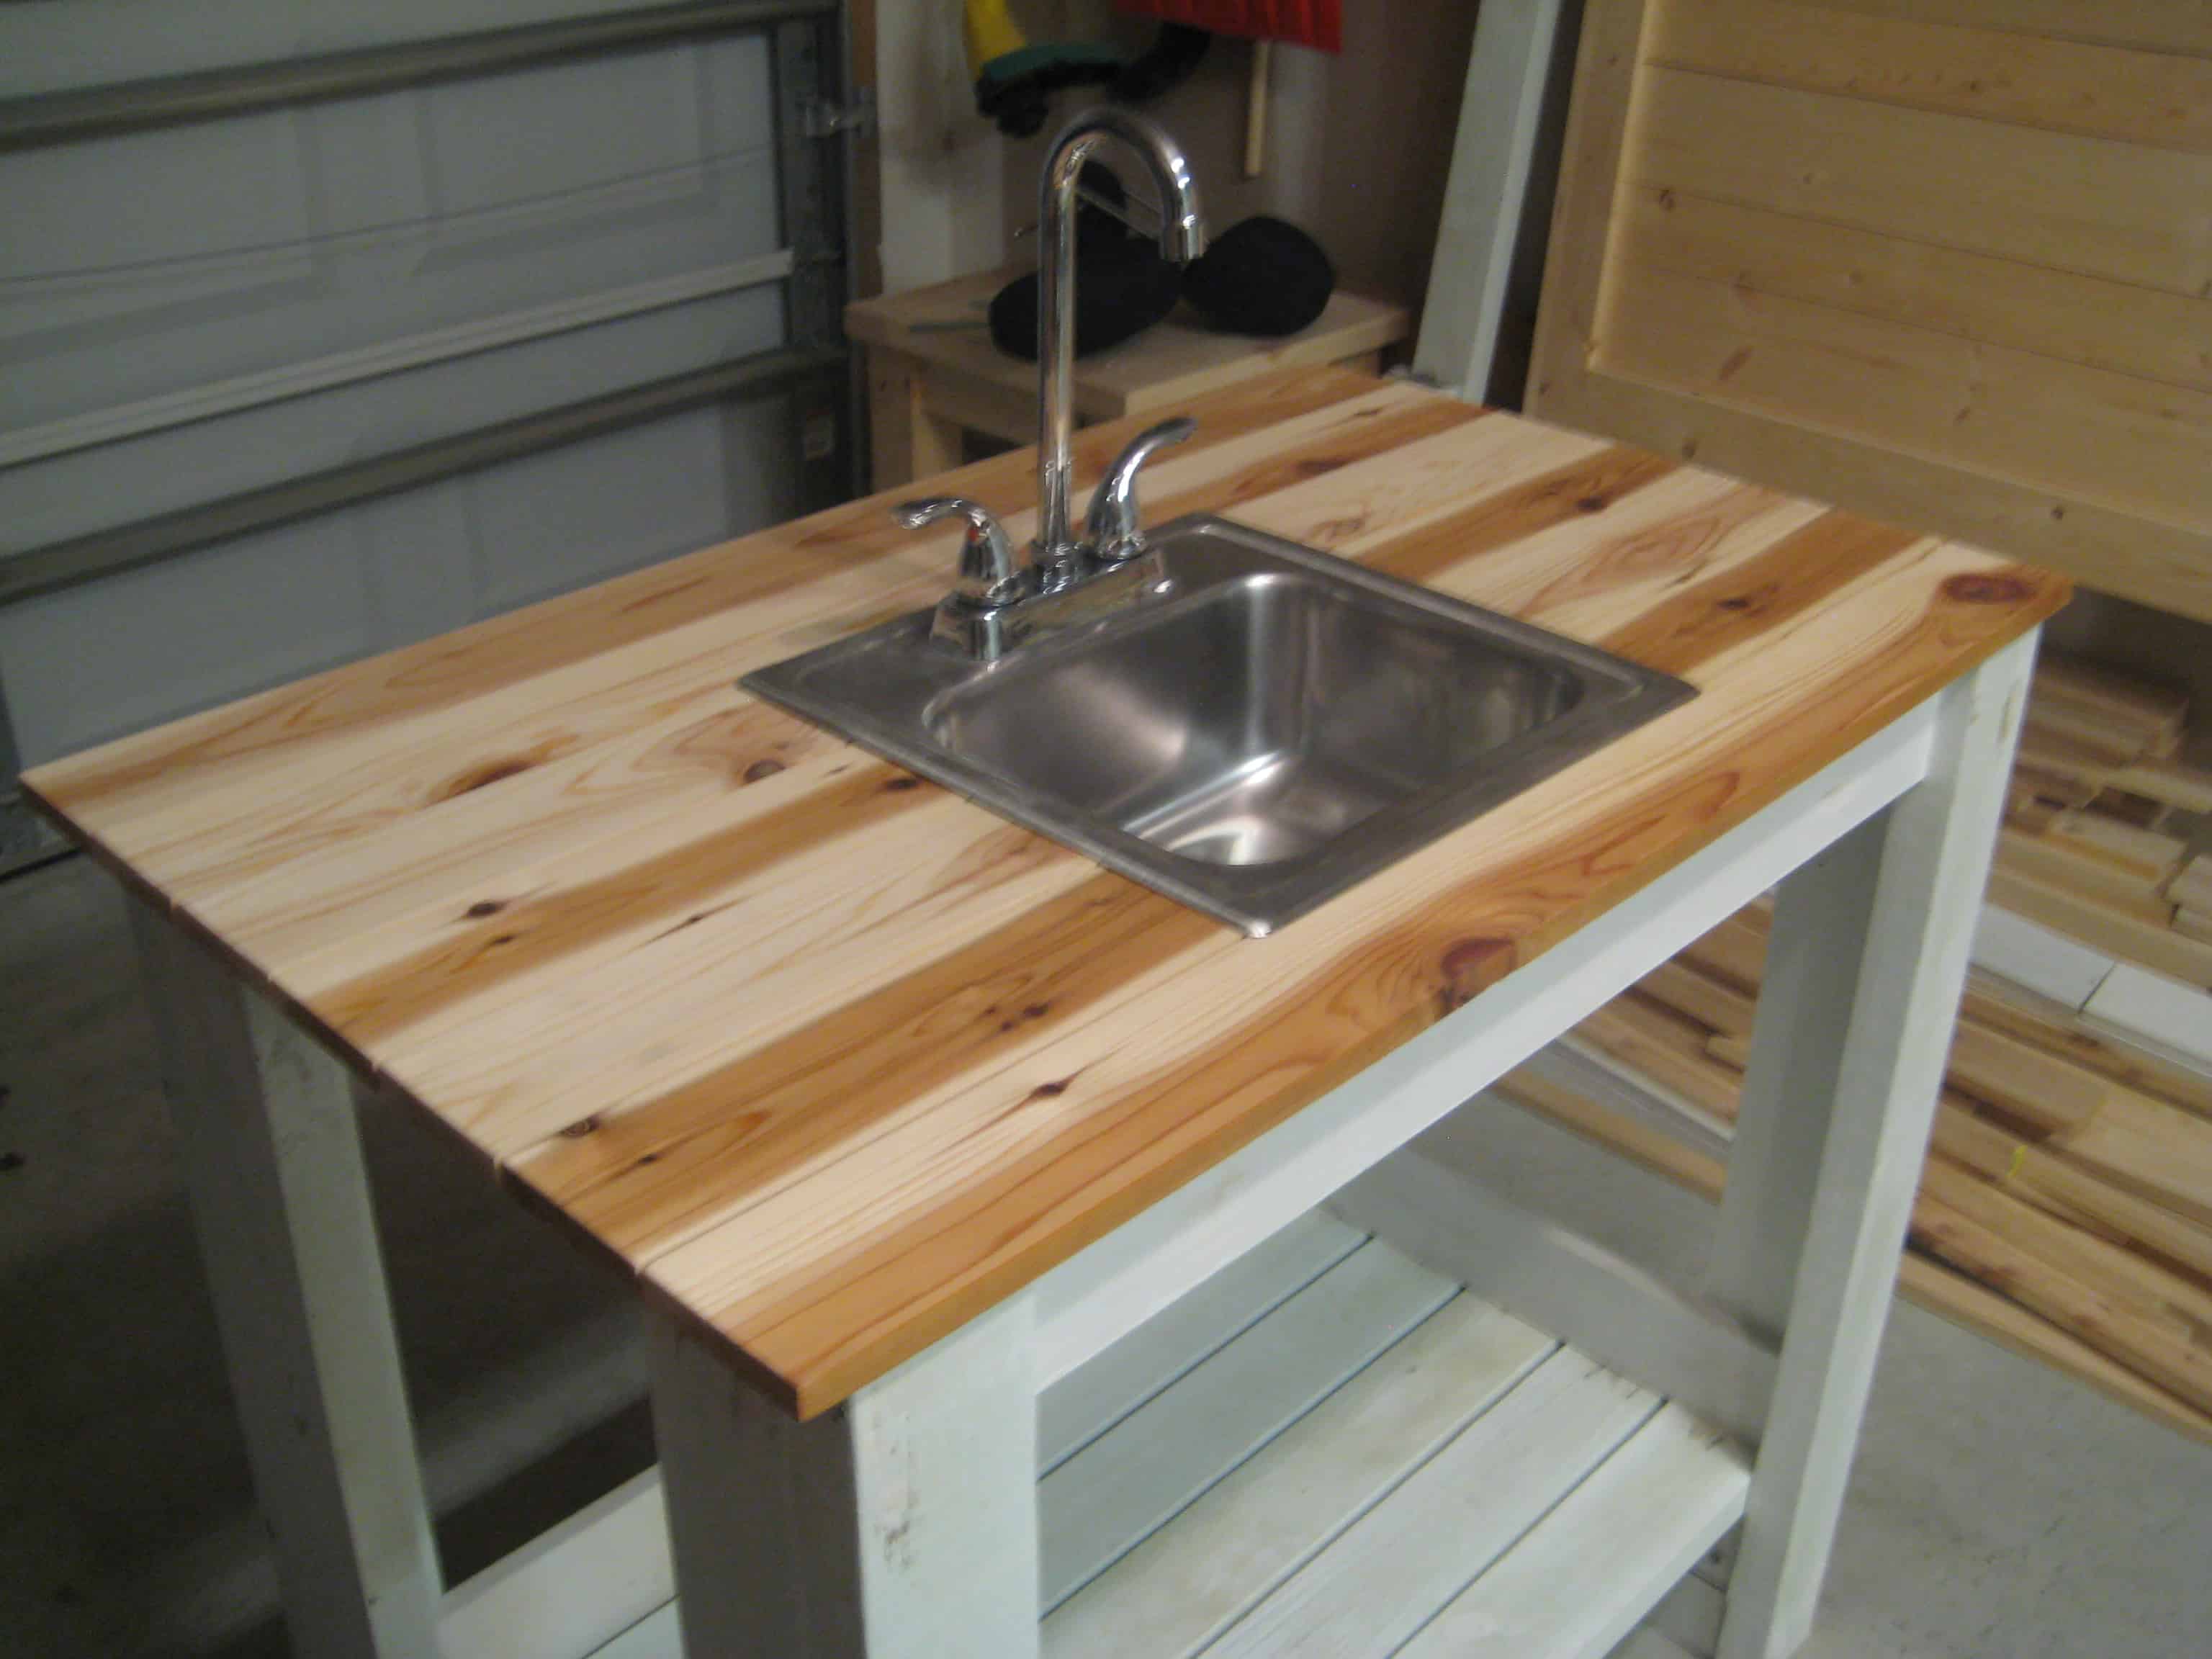 Before installing your outdoor kitchen sink, it's important to choose the right location. You want to make sure it's easily accessible and in close proximity to your grill or cooking area. It's also important to consider the plumbing and electrical connections. If you're installing a sink in an existing outdoor kitchen, you may need to hire a professional to run the necessary pipes and wires.
Prep and Planning
 Proper preparation and planning are key to a successful outdoor kitchen sink installation. Make sure to measure the space where you want to install the sink and purchase a sink that fits the dimensions. You'll also need to decide on the type of sink you want – stainless steel, ceramic, or stone – and choose a style that complements your outdoor décor.
Installation Process
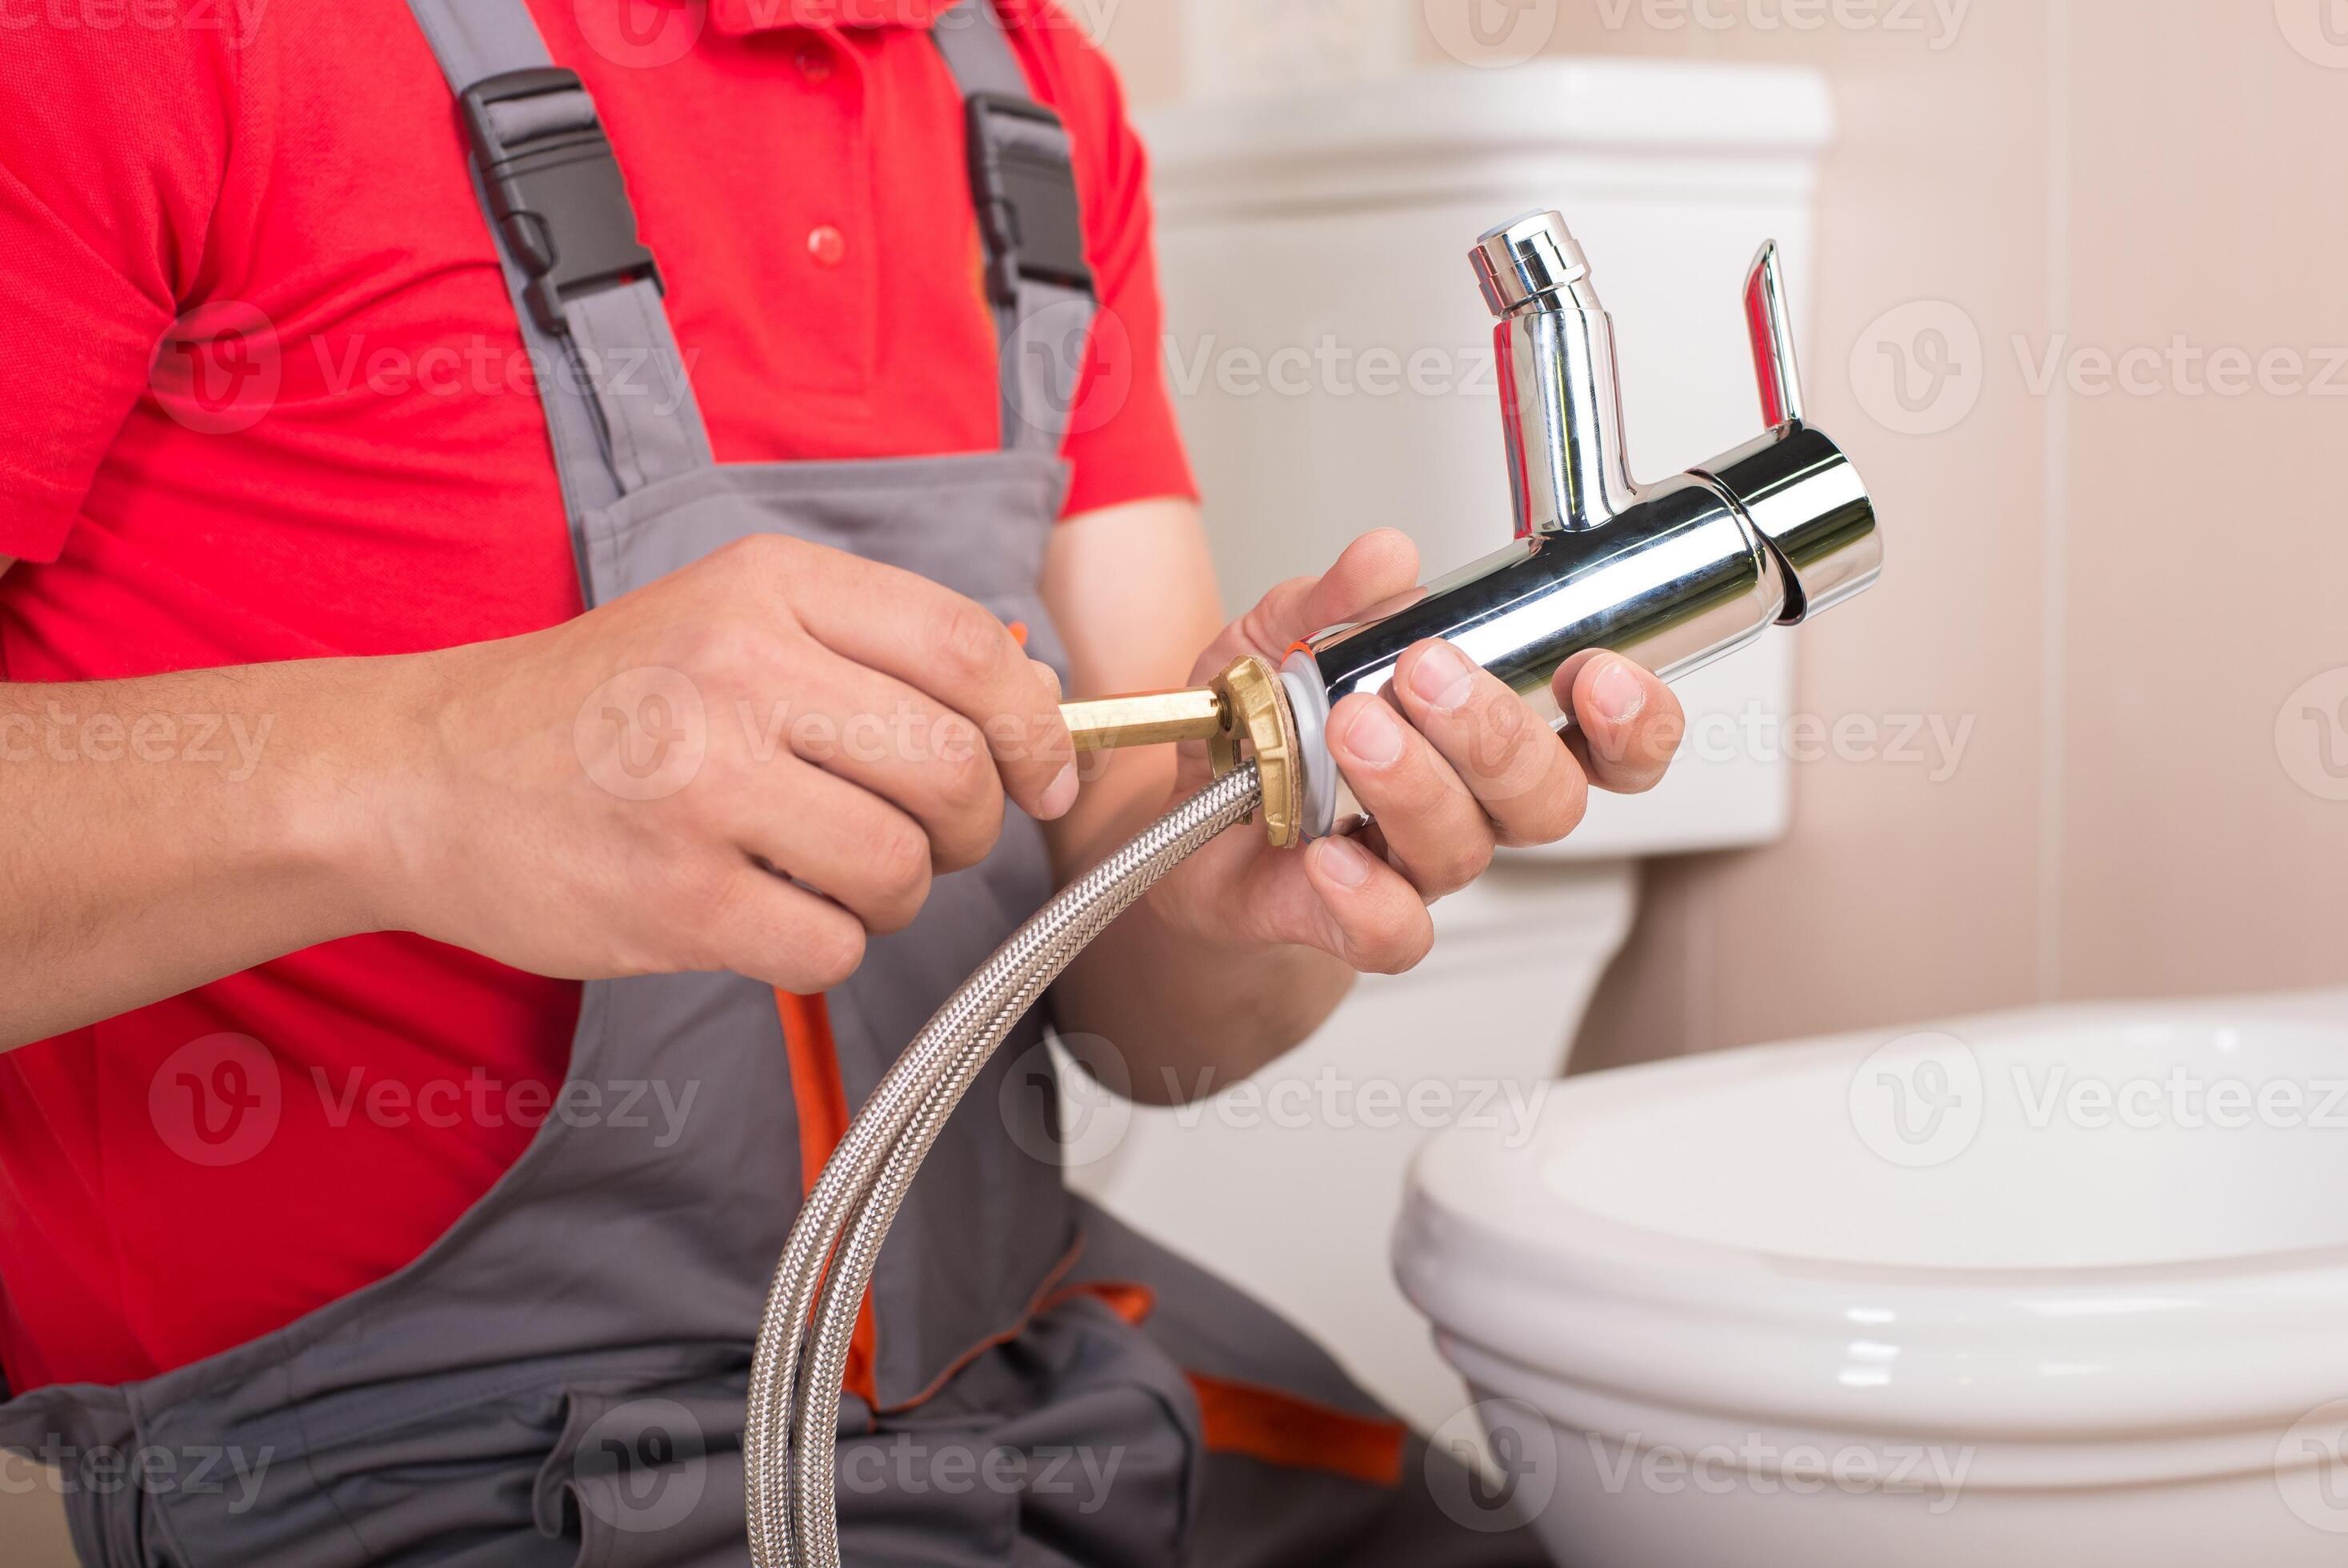
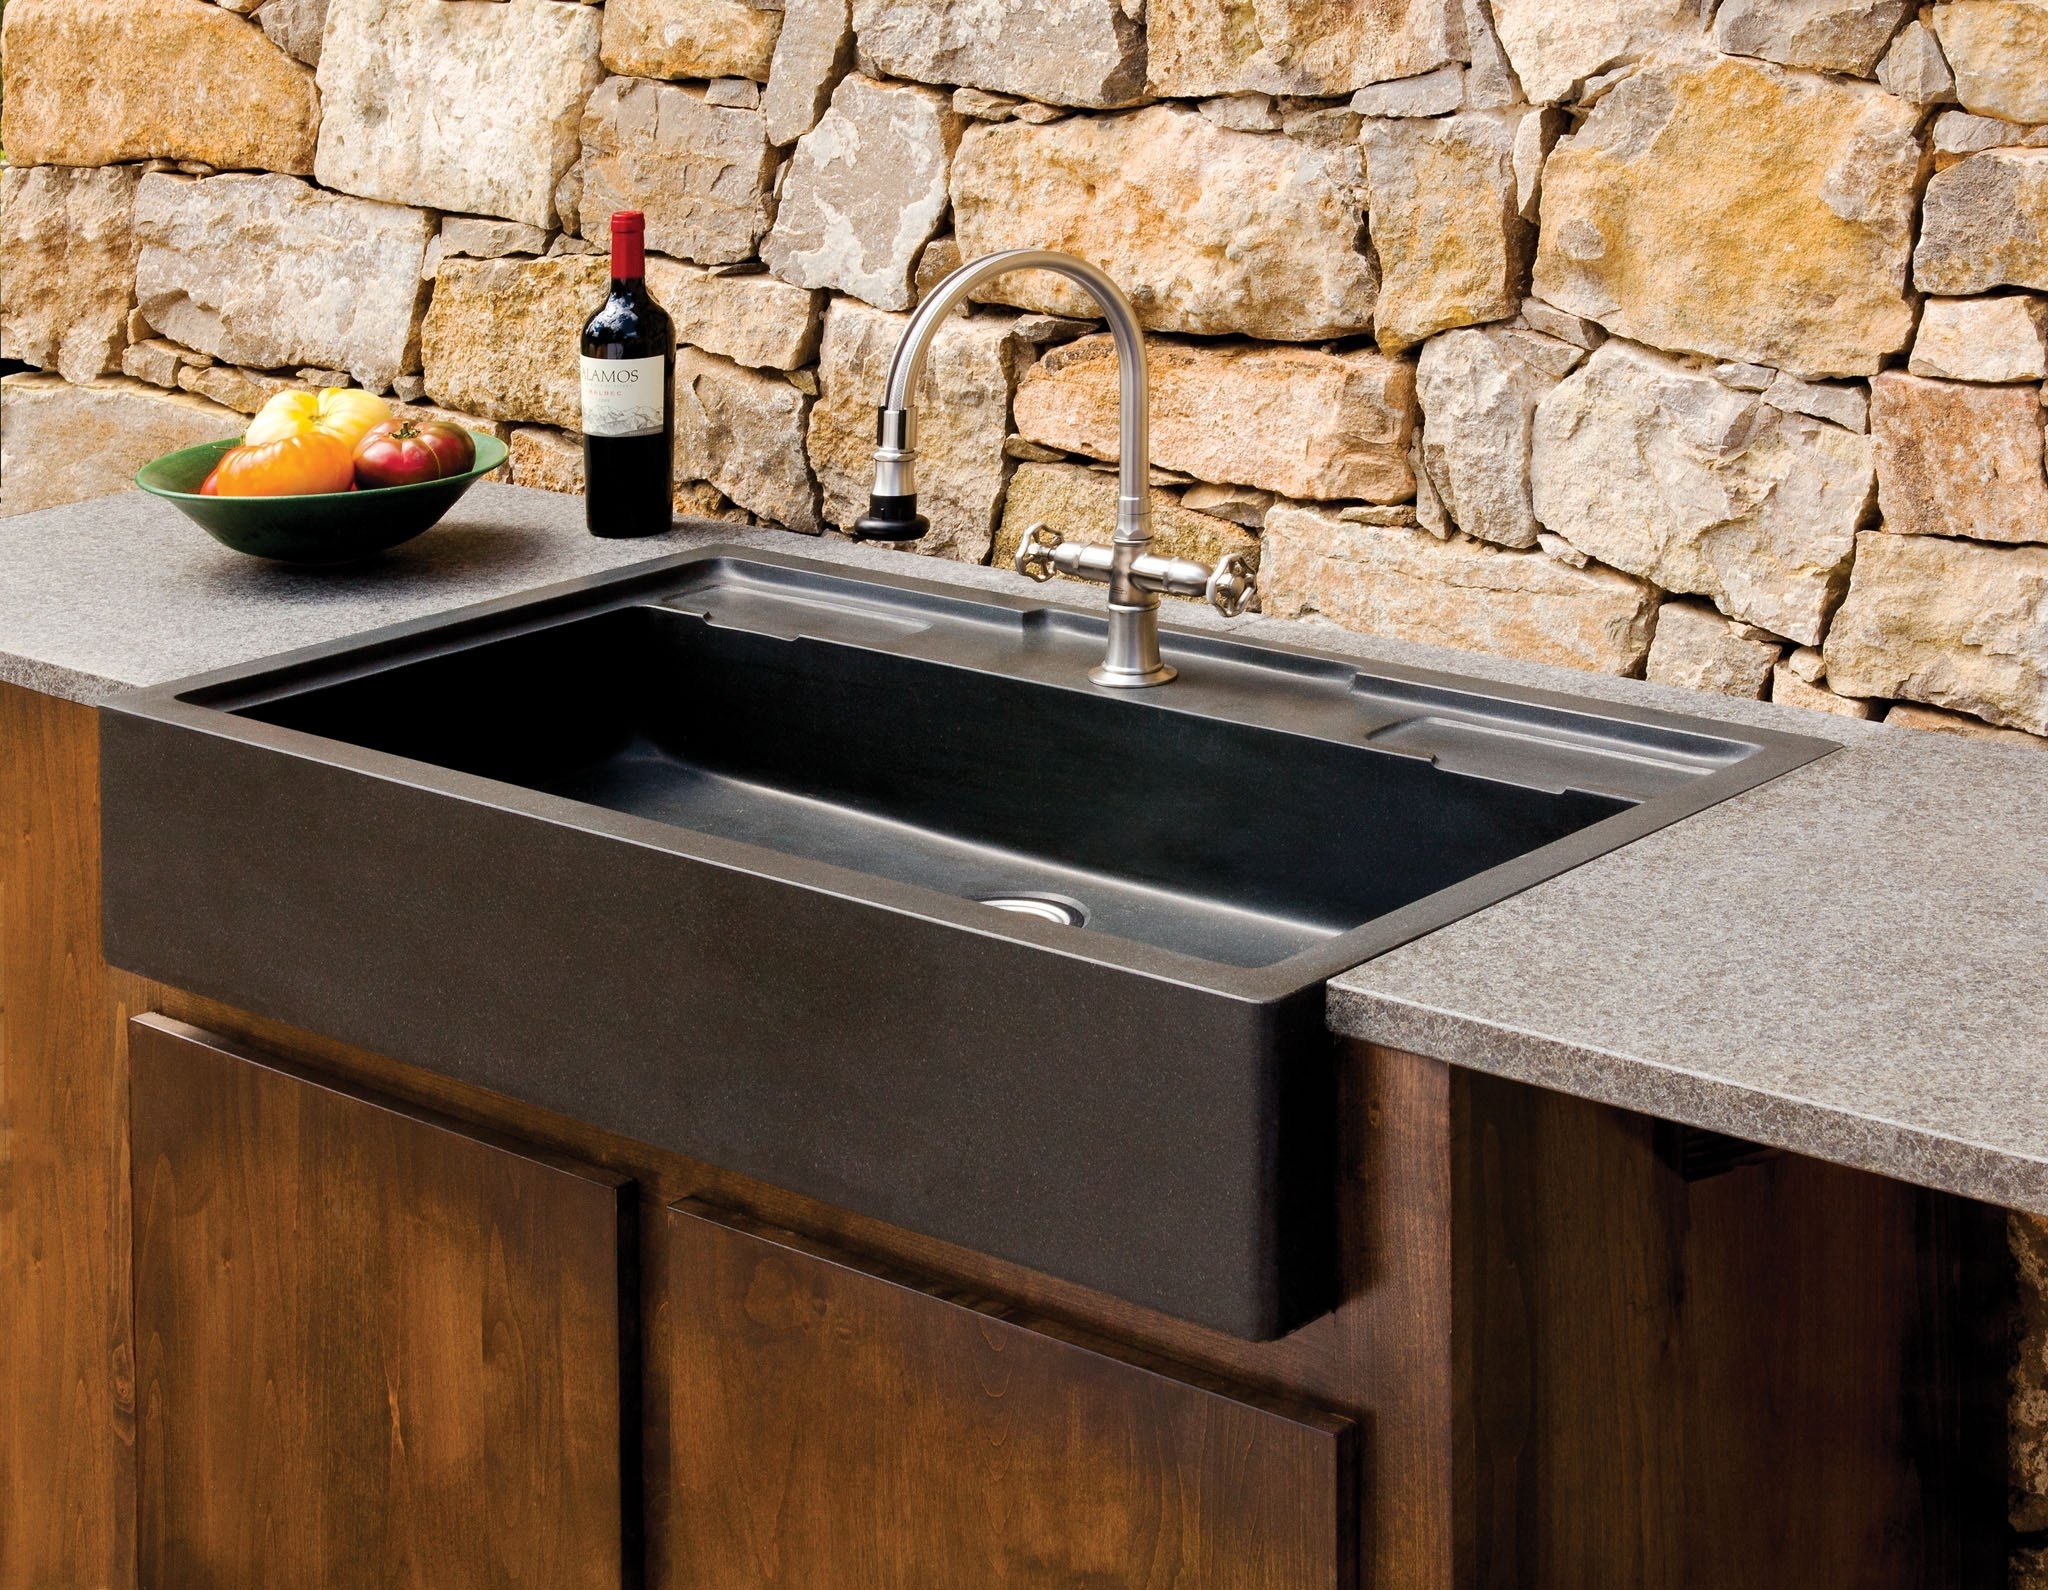 Once you have all the necessary materials and have chosen the perfect location, it's time to start the installation process. Start by marking the spot where the sink will go and cutting out a hole in your countertop. Then, install the faucet and drain assembly according to the manufacturer's instructions. Finally, secure the sink in place and connect the plumbing and electrical connections.
Maintenance and Care
 To keep your outdoor kitchen sink in top condition, proper maintenance and care are important. Make sure to clean it regularly with mild soap and water and avoid using harsh chemicals that can damage the materials. Also, remember to disconnect and drain the pipes and turn off the water supply during the winter months to prevent freezing and damage.
In conclusion
, adding an outdoor kitchen sink to your backyard design is not only practical, but it also adds style and functionality to your outdoor living space. By following these steps and hiring a professional if needed, you can create the perfect outdoor kitchen sink that will enhance your outdoor cooking and entertaining experience.





















/how-to-install-a-sink-drain-2718789-hero-24e898006ed94c9593a2a268b57989a3.jpg)




:max_bytes(150000):strip_icc()/CHTLDBurlingGame-5a6d1f5e3de4230038045562.jpg)

