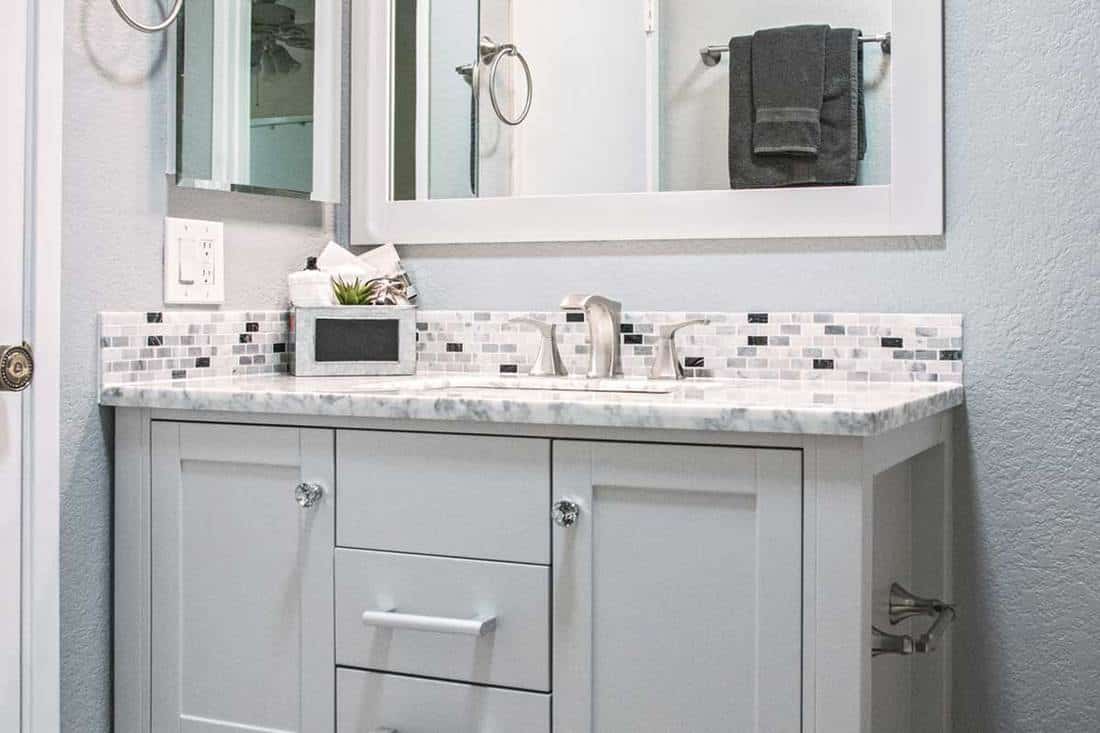
Marble Backsplash Installation for Bathroom Vanity
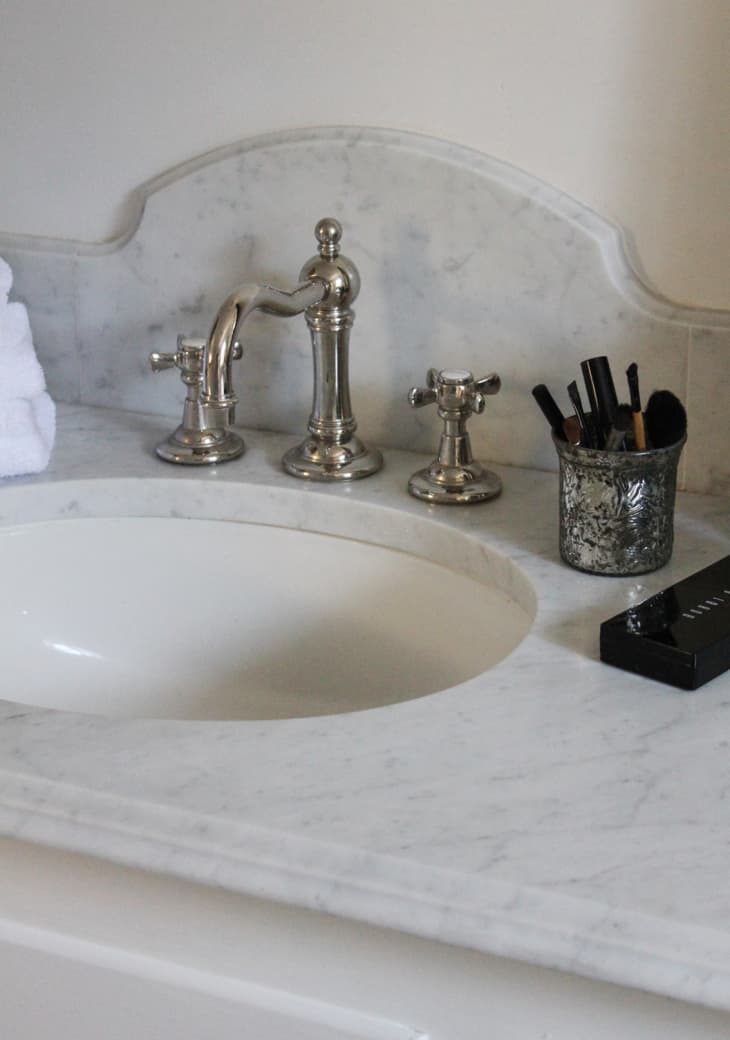
Adding a marble backsplash to your bathroom vanity can instantly elevate the look and feel of the space. Not only does it add a touch of elegance, but it also protects your walls from water damage and adds value to your home. If you're considering installing a marble backsplash for your bathroom vanity, follow this step-by-step guide for a successful and professional-looking result.
How to Install a Marble Backsplash for Your Bathroom Vanity
Installing a marble backsplash may seem like a daunting task, but with the right tools and materials, it can easily be done as a DIY project. Before you begin, make sure you have all the necessary tools and materials, including marble tiles, tile adhesive, grout, tile cutter, and sealant. It's also important to measure your vanity and determine how many tiles you'll need to cover the area.
Step-by-Step Guide for Installing a Marble Backsplash in Your Bathroom Vanity
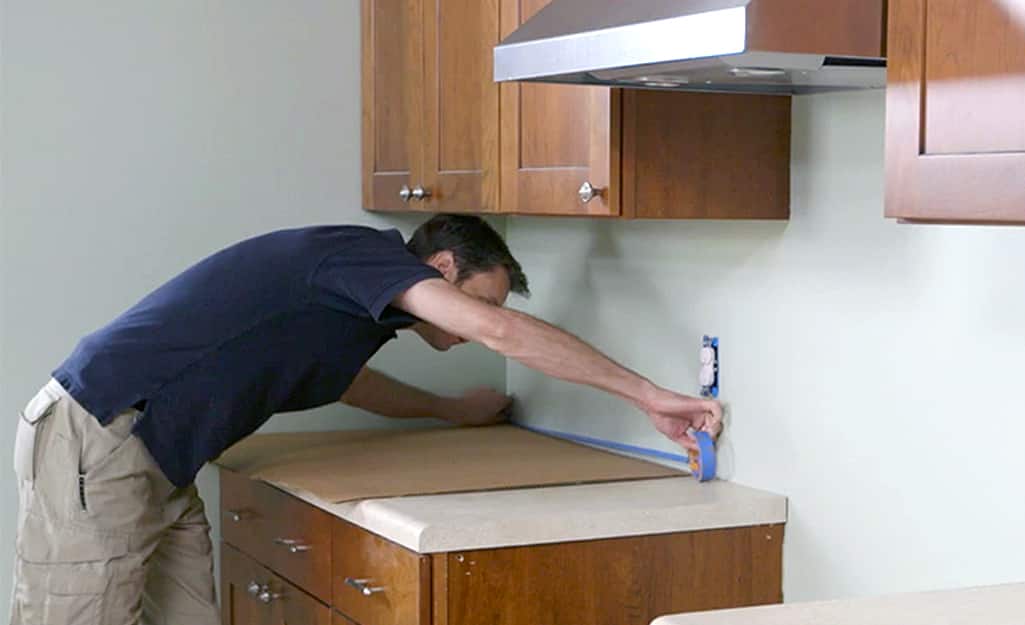
Step 1: Prepare the wall by cleaning it thoroughly and removing any debris or old caulk. This will ensure a smooth surface for the tile adhesive to stick to.
Step 2: Measure and mark the center of your vanity to determine where the first tile will be placed.
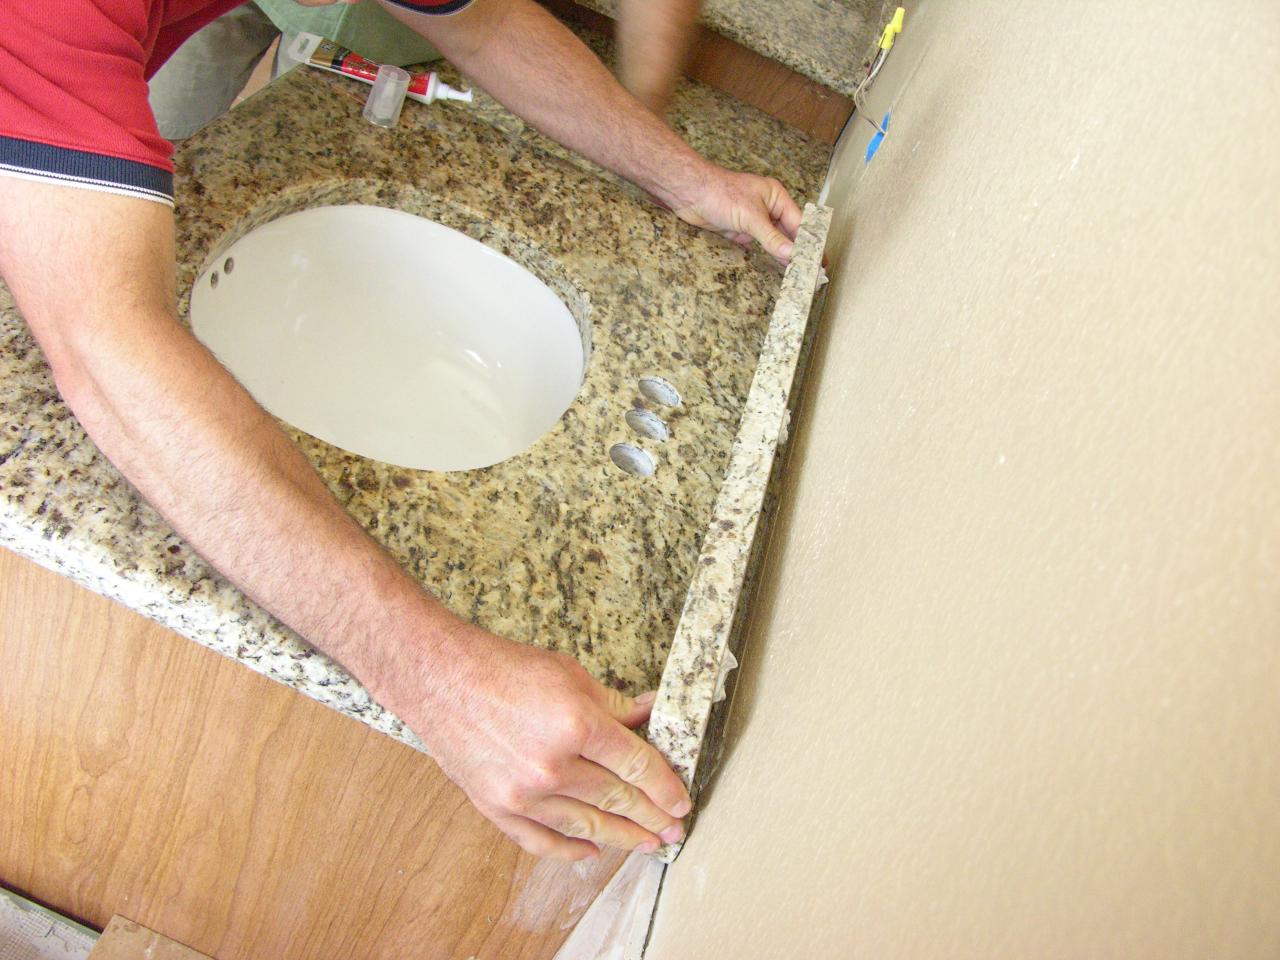
Step 3: Apply tile adhesive to the back of the first tile using a notched trowel. Spread the adhesive evenly and make sure it covers the entire back of the tile.
Step 4: Press the first tile onto the wall, starting from the center and working your way out. Use tile spacers to ensure even spacing between tiles.
Step 5: Continue applying adhesive and placing tiles, working your way across the vanity. Use a tile cutter to cut tiles to fit around corners and edges.
Step 6: Once all the tiles are in place, allow the adhesive to dry completely before moving on to grouting.
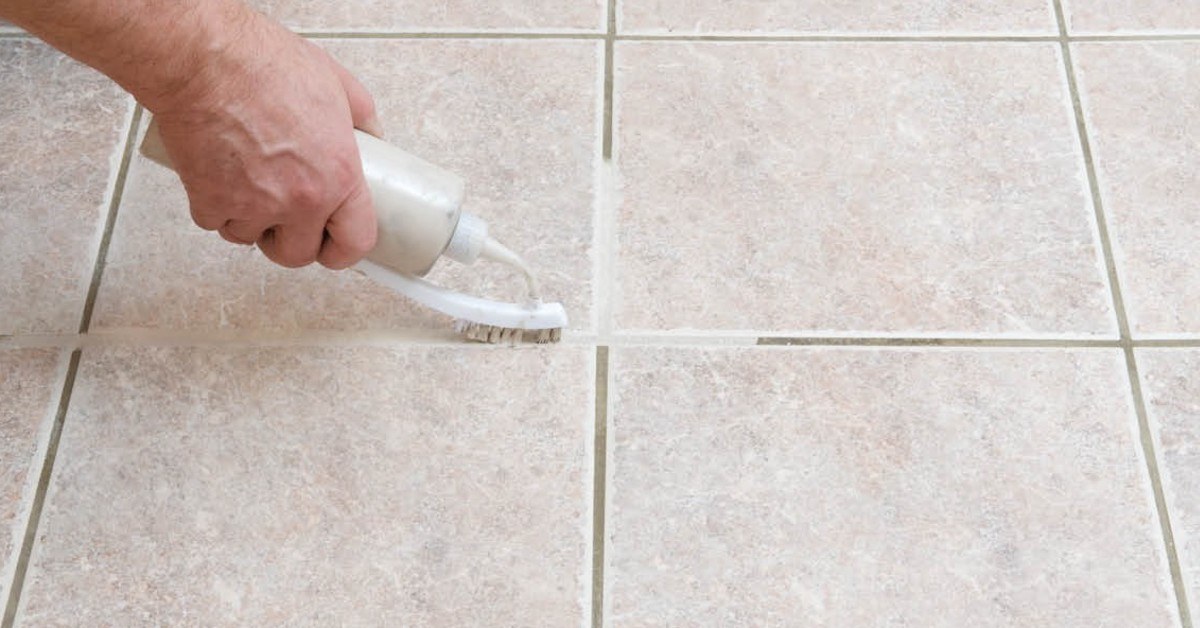
Step 7: Mix the grout according to the manufacturer's instructions and apply it to the spaces between the tiles using a grout float. Wipe off any excess grout with a damp sponge.
Step 8: Once the grout has dried, seal the marble tiles with a sealant to protect them from stains and moisture.
Step 9: Finally, remove the tile spacers and caulk the edges of the backsplash to create a clean and finished look.
DIY Marble Backsplash Installation for Your Bathroom Vanity
If you're on a budget or enjoy DIY projects, installing a marble backsplash for your bathroom vanity is a great way to save money and add a personal touch to your space. With the right tools and some patience, you can achieve a professional-looking result without hiring a professional.
Top Tips for Installing a Marble Backsplash in Your Bathroom Vanity
- Begin with a clean and smooth surface to ensure the adhesive and tiles stick properly.
- Use tile spacers to ensure even spacing between tiles for a polished and uniform look.
- When cutting tiles to fit around corners and edges, be sure to measure twice and cut once to avoid any mistakes.
- Allow the adhesive and grout to dry completely before sealing the tiles to ensure a strong and long-lasting hold.
- Use a high-quality sealant to protect your marble tiles from stains and moisture.
Essential Tools and Materials for Installing a Marble Backsplash in Your Bathroom Vanity
- Marble tiles of your choice
- Tile adhesive
- Grout
- Tile cutter
- Grout float
- Sponge
- Tile spacers
- Sealant
- Caulk
Common Mistakes to Avoid When Installing a Marble Backsplash for Your Bathroom Vanity
- Not measuring and planning properly before beginning the installation process.
- Using too much adhesive, which can cause the tiles to slip and create an uneven surface.
- Not allowing enough time for the adhesive and grout to dry before sealing the tiles.
- Using a low-quality sealant, which can cause the marble to stain and discolor over time.
- Not using tile spacers, which can result in uneven spacing between tiles and a less polished look.
How to Measure and Cut Marble Tiles for Your Bathroom Vanity Backsplash
Measuring and cutting marble tiles can be a tricky process, but with the right tools and technique, it can be done easily. Use a measuring tape to measure the space you need to cover and transfer those measurements onto the tile using a pencil. Use a tile cutter or wet saw to cut the tile along the marked line, making sure to wear safety goggles and gloves for protection.
Expert Advice on Grouting and Sealing Your Marble Backsplash for Your Bathroom Vanity
When it comes to grouting and sealing your marble backsplash, it's important to follow the manufacturer's instructions and use high-quality products. If you're unsure about the process, it's always best to consult with a professional to ensure a successful and long-lasting result. They can also provide tips and advice on maintaining and cleaning your marble backsplash to keep it looking like new.
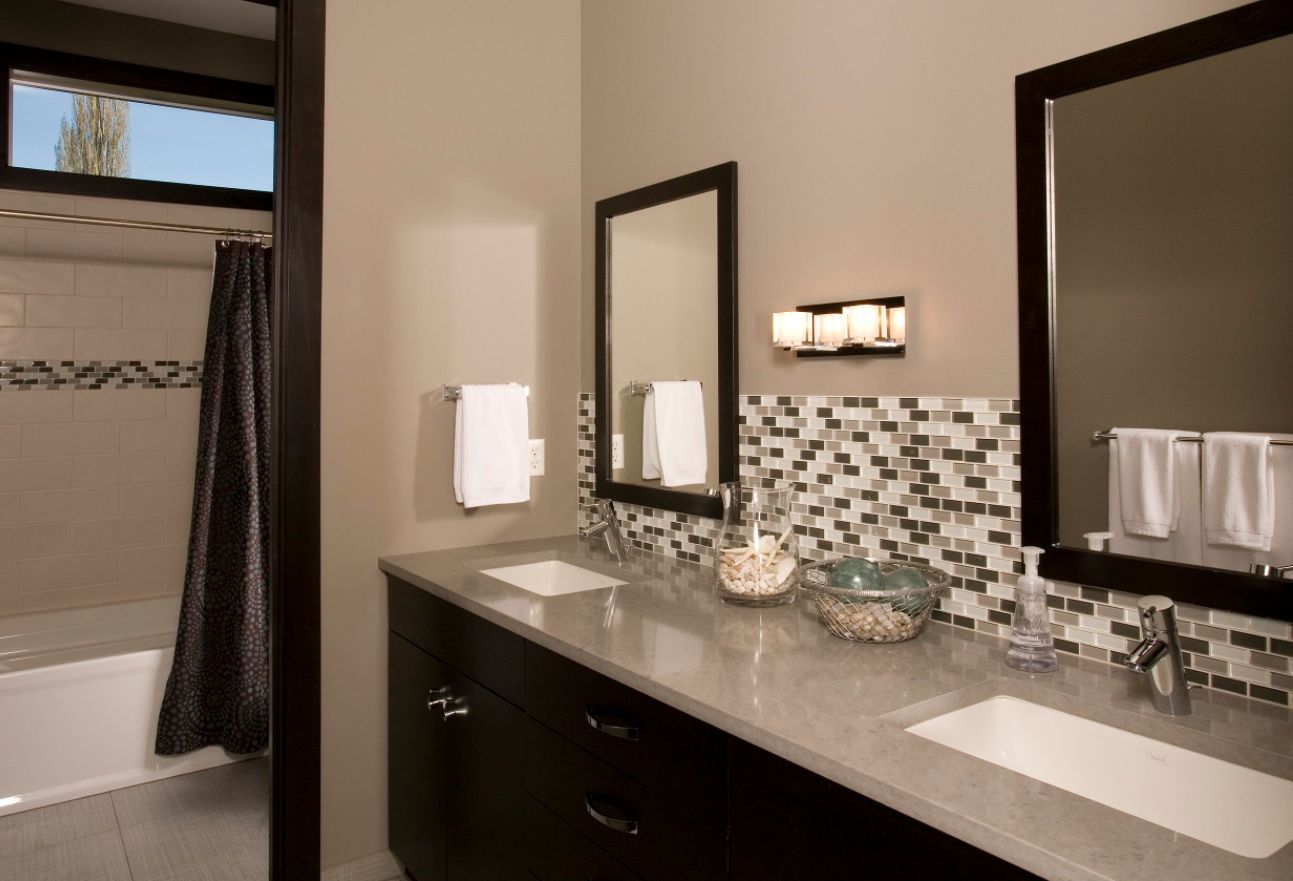
Inspiring Ideas for Designing Your Bathroom Vanity with a Marble Backsplash
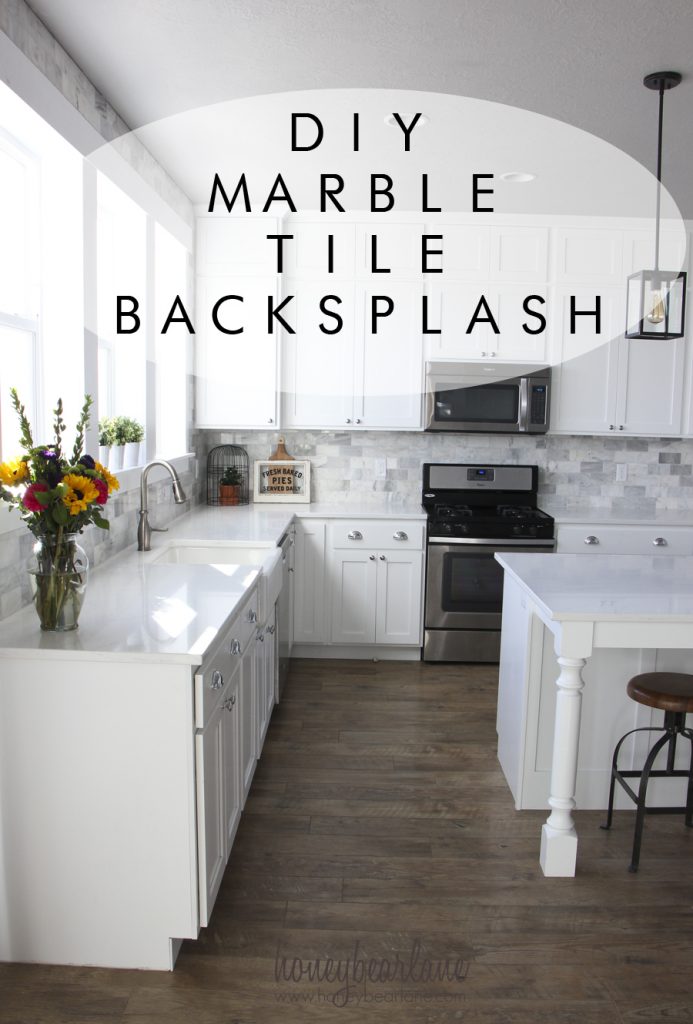
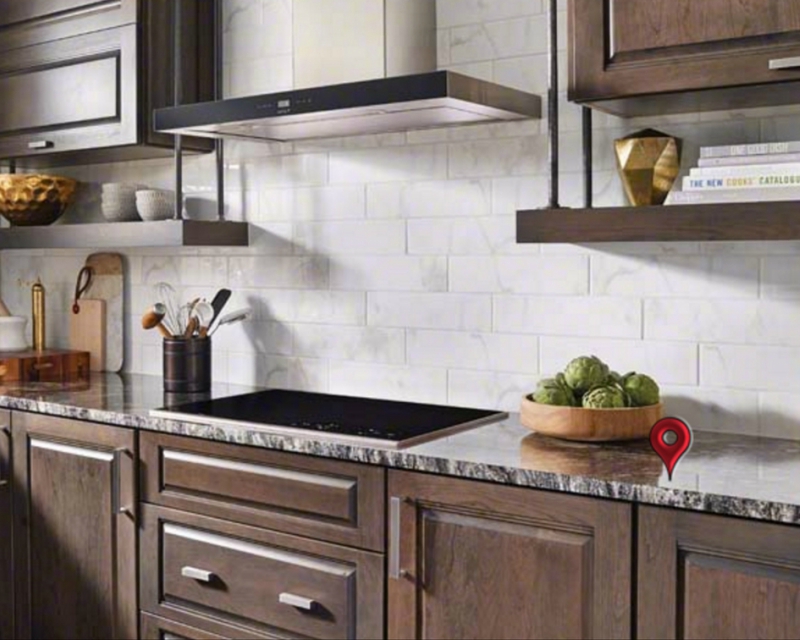
There are endless possibilities when it comes to designing your bathroom vanity with a marble backsplash. You can choose from various styles and colors of marble to create a unique and personalized look. You can also mix and match different sizes and shapes of tiles to create a one-of-a-kind design. Don't be afraid to get creative and make your bathroom vanity a statement piece in your home.
Why Install a Marble Backsplash for Your Bathroom Vanity?

Elevate Your Bathroom Design
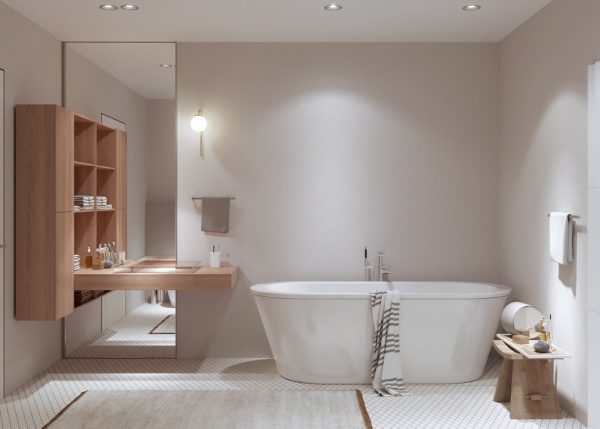
 Installing a marble backsplash for your bathroom vanity can instantly elevate the overall design and aesthetic of your bathroom.
Marble
is a timeless and luxurious material that adds a touch of elegance and sophistication to any space. Its natural veining and unique patterns make it a stunning addition to any bathroom. Incorporating marble into your bathroom design will not only impress your guests but also increase the value of your home.
Durable and Long-Lasting
 One of the main reasons to choose a marble backsplash for your bathroom vanity is its
durability
. Marble is a natural stone that can withstand wear and tear for many years. It is heat resistant and can handle the moisture and humidity of a bathroom without getting damaged. With proper maintenance and care, a marble backsplash can last a lifetime, making it a worthwhile investment for your home.
Easy Maintenance
 Contrary to popular belief,
marble
is relatively easy to maintain. Regular cleaning with a mild soap and water solution is all it takes to keep your marble backsplash looking pristine. It is also important to seal your marble to protect it from stains and scratches. With proper sealing and regular cleaning, your marble backsplash will continue to look beautiful and add value to your bathroom for years to come.
Variety of Options
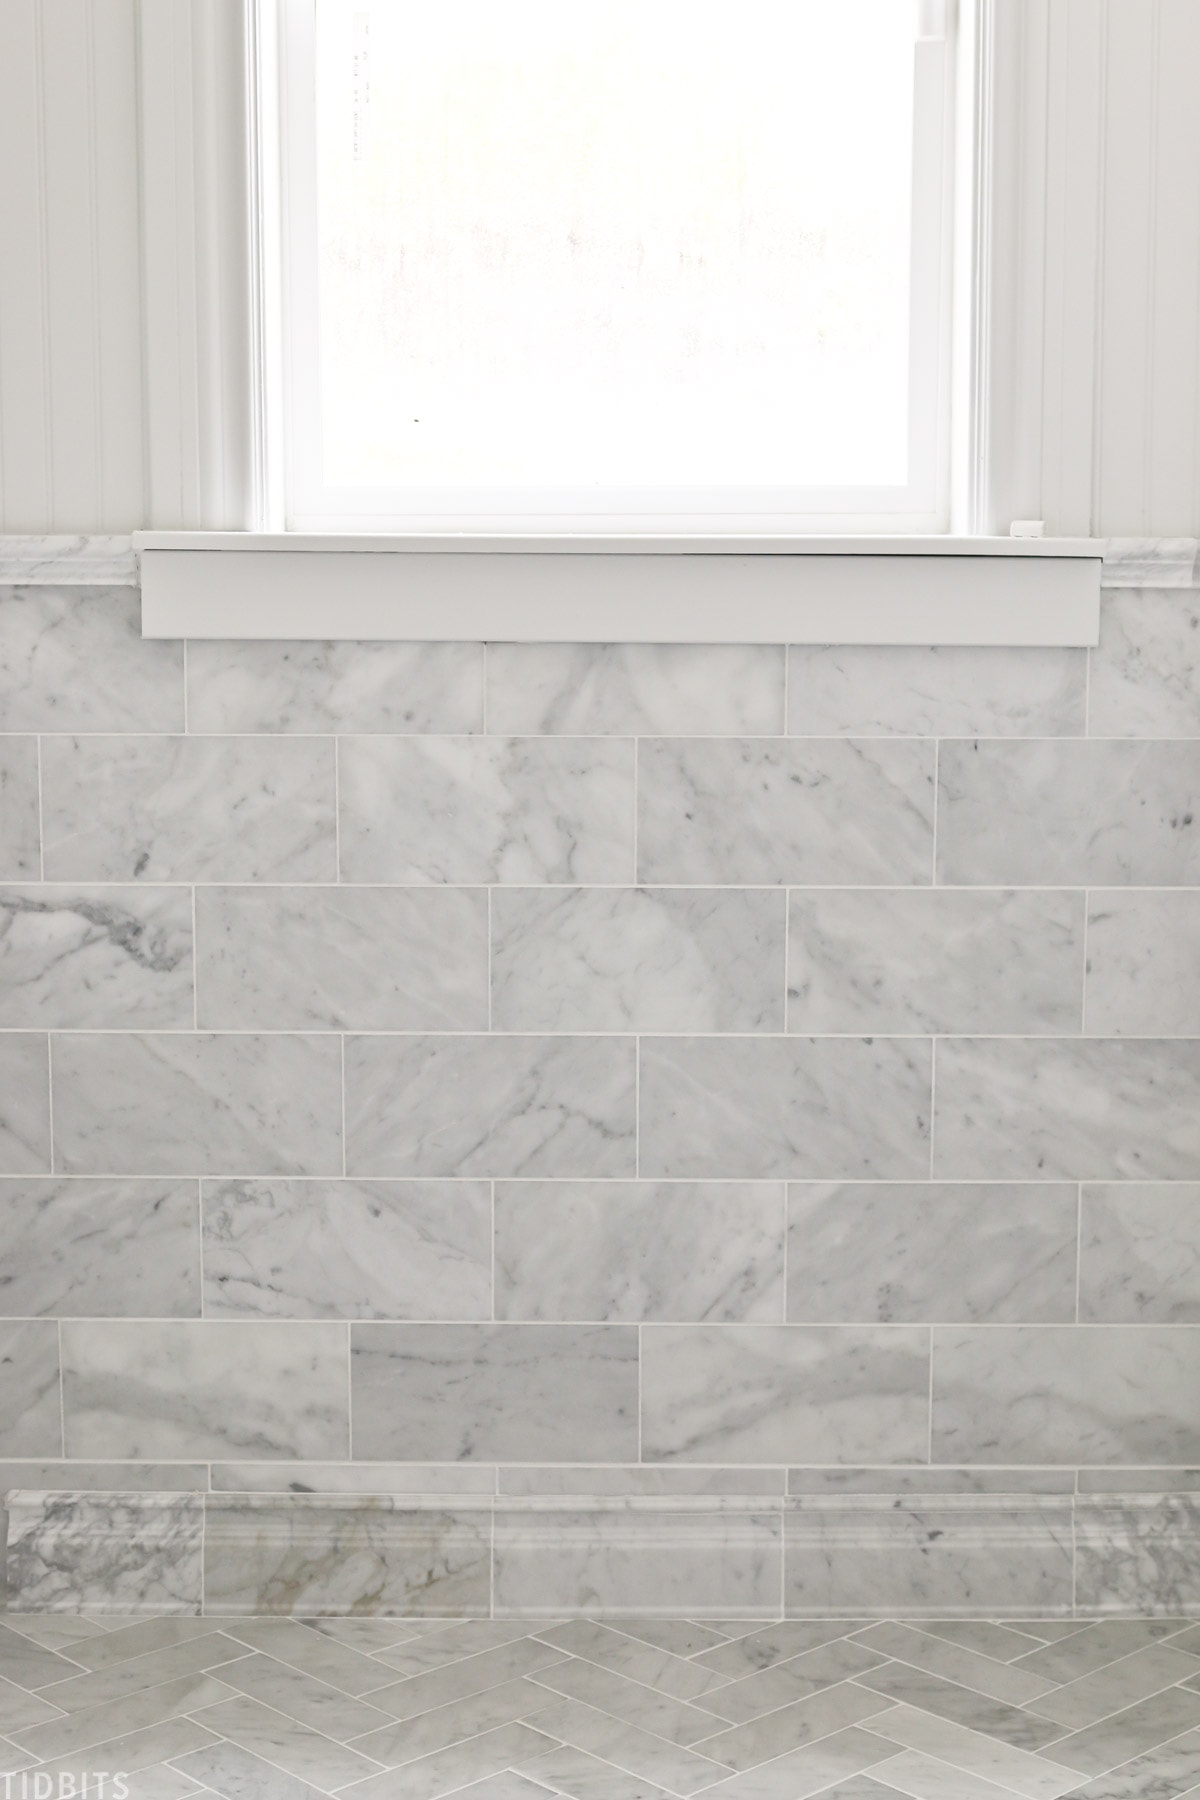
 When it comes to marble backsplashes, there is no shortage of options to choose from. From classic white Carrara marble to more exotic varieties such as Calacatta or Nero Marquina, there is a marble to suit every design preference. You can also choose from different finishes, such as polished or honed, to achieve the look you desire for your bathroom.
Conclusion
 In conclusion, a marble backsplash for your bathroom vanity is a smart choice for both its aesthetic appeal and practical benefits. Its durability, easy maintenance, and variety of options make it a top choice for many homeowners looking to upgrade their bathroom. By incorporating a marble backsplash into your bathroom design, you can create a luxurious and timeless space that you will enjoy for years to come.



















/beautiful-modern-bathroom-1036309750-19b81debcd5e49288b5e146214725274.jpg)

