Installing a kitchen sink water line may seem like a daunting task, but with the right tools and a bit of know-how, it can be a straightforward process. Whether you're replacing old water lines or installing them in a new kitchen, this step-by-step guide will walk you through the process and help you avoid common mistakes along the way.How to Install Kitchen Sink Water Lines


How to Install Kitchen Sink Water Lines


The first step in installing kitchen sink water lines is to gather all the necessary tools and materials. You will need a basin wrench, adjustable wrench, plumber's tape, Teflon tape, a pencil, a drill, and a 3/8-inch drill bit. It's also helpful to have a helper to assist with holding the sink and parts in place.Installing Kitchen Sink Water Lines: A Step-by-Step Guide


Installing Kitchen Sink Water Lines: A Step-by-Step Guide

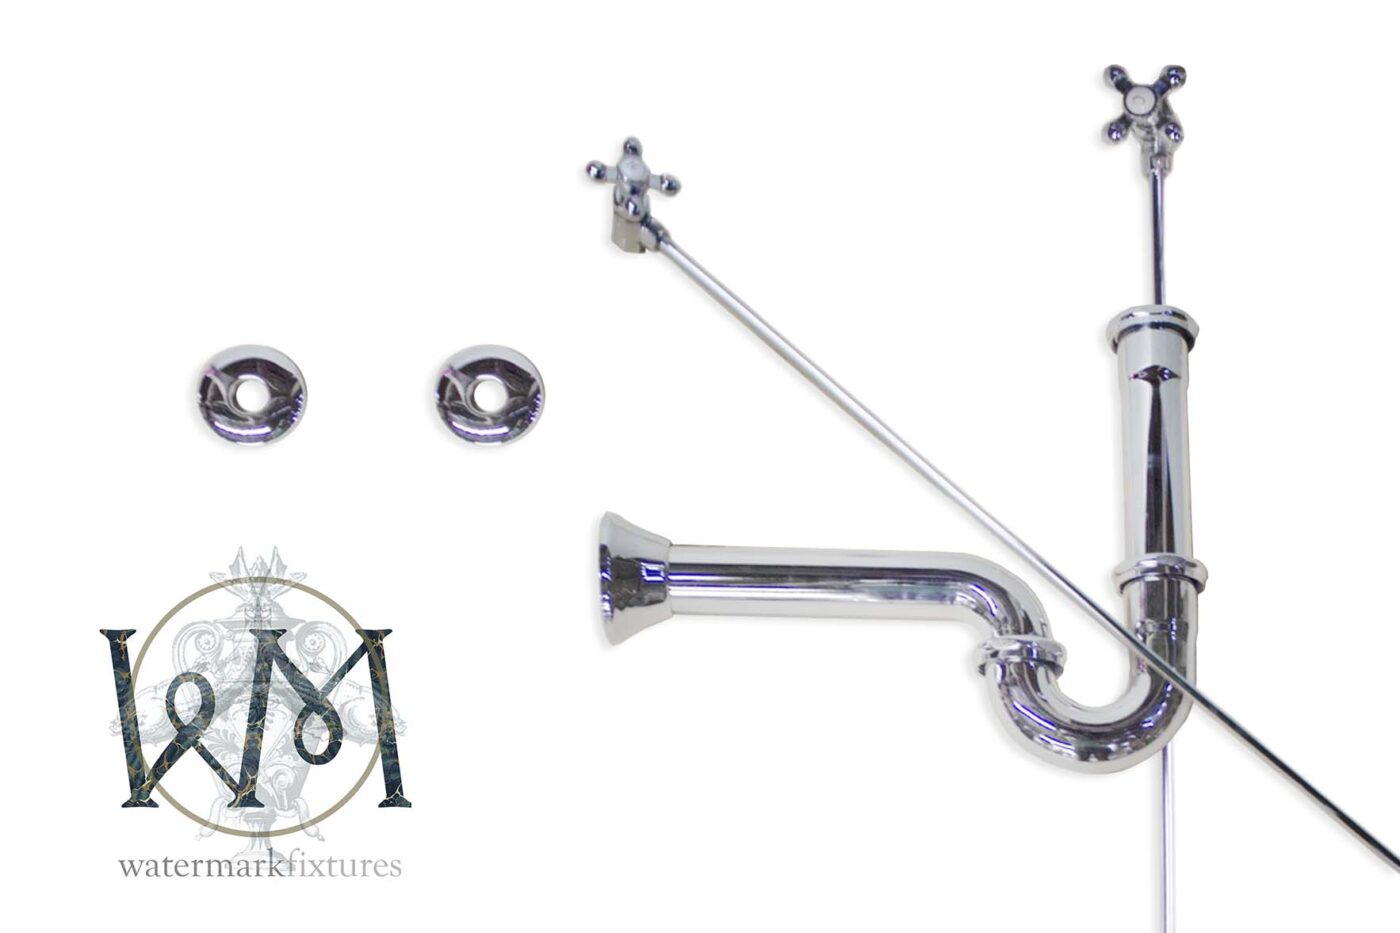
:no_upscale()/cdn.vox-cdn.com/uploads/chorus_asset/file/19495086/drain_0.jpg)


If you're a handy DIYer, installing kitchen sink water lines can be a satisfying and cost-effective project. With the right instructions and tools, you can save money by doing it yourself instead of hiring a professional plumber. Just be sure to follow all safety precautions and turn off the water supply before beginning the installation.DIY: Installing Kitchen Sink Water Lines


DIY: Installing Kitchen Sink Water Lines


Before starting the installation process, it's important to plan and measure carefully. Make sure the sink and faucet are securely in place before attaching the water lines. It's also helpful to have a bucket or towel on hand to catch any water that may spill during the installation process.Tips for Installing Kitchen Sink Water Lines


Tips for Installing Kitchen Sink Water Lines


Having the right tools for the job can make all the difference when installing kitchen sink water lines. In addition to the tools mentioned earlier, you may also need a tube cutter, adjustable pliers, and a hacksaw. It's always a good idea to have backup tools on hand in case of any unexpected difficulties.Tools You'll Need for Installing Kitchen Sink Water Lines


Tools You'll Need for Installing Kitchen Sink Water Lines


One of the biggest mistakes people make when installing kitchen sink water lines is forgetting to turn off the water supply. This can result in a big mess and potential damage to your home. It's also important to double check all connections and make sure they are tight to prevent leaks.Common Mistakes to Avoid When Installing Kitchen Sink Water Lines


Common Mistakes to Avoid When Installing Kitchen Sink Water Lines


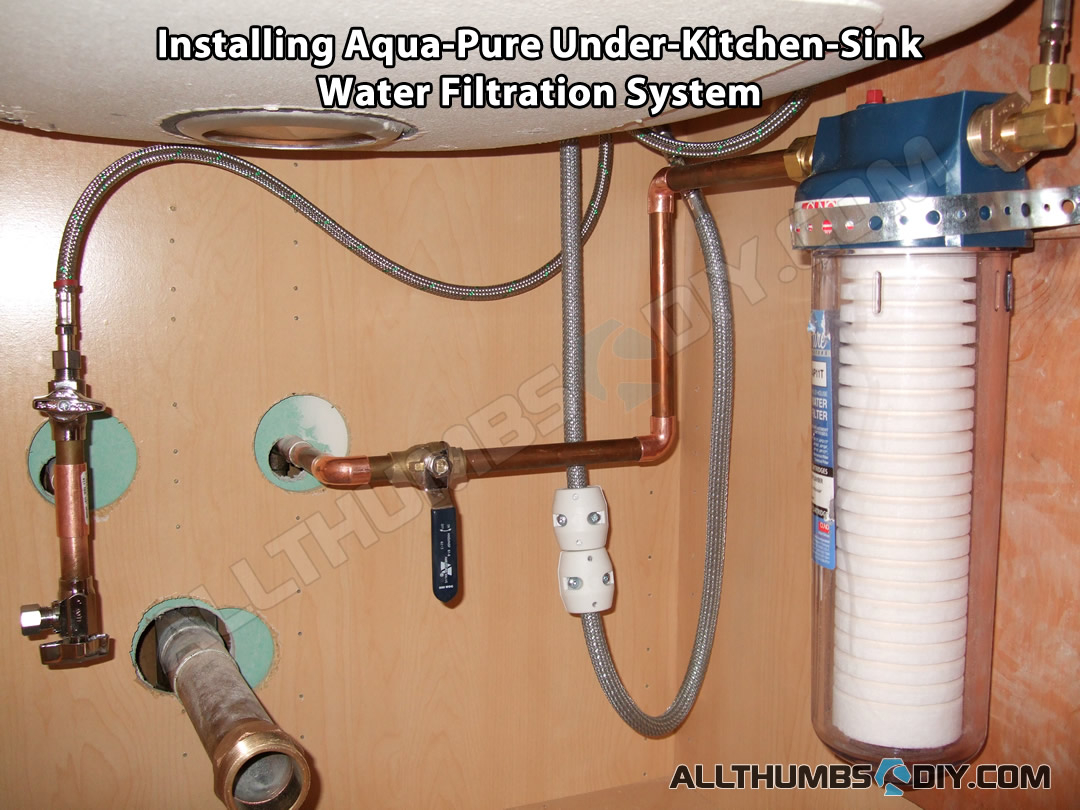
When installing kitchen sink water lines, it's important to know the different types of water lines available. The most common types are copper, PVC, and PEX. Each has its pros and cons, so be sure to research and choose the best option for your specific needs and budget.Installing Kitchen Sink Water Lines: What You Need to Know

Installing Kitchen Sink Water Lines: What You Need to Know


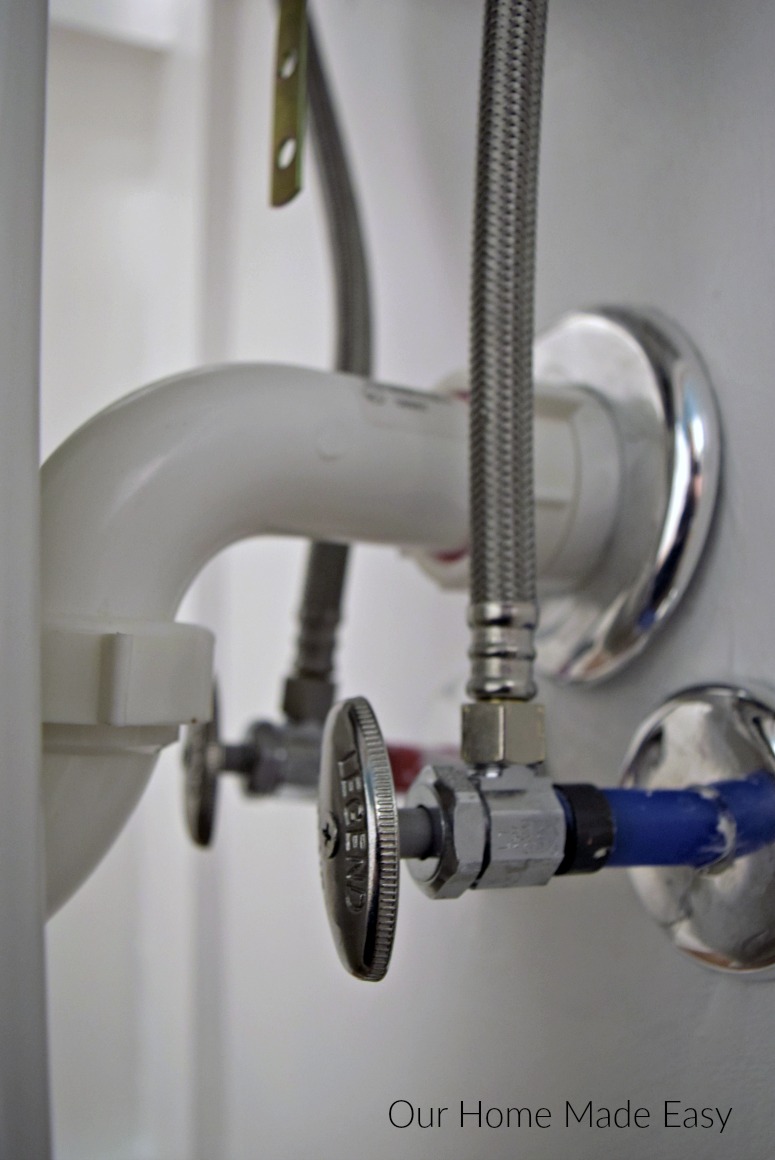
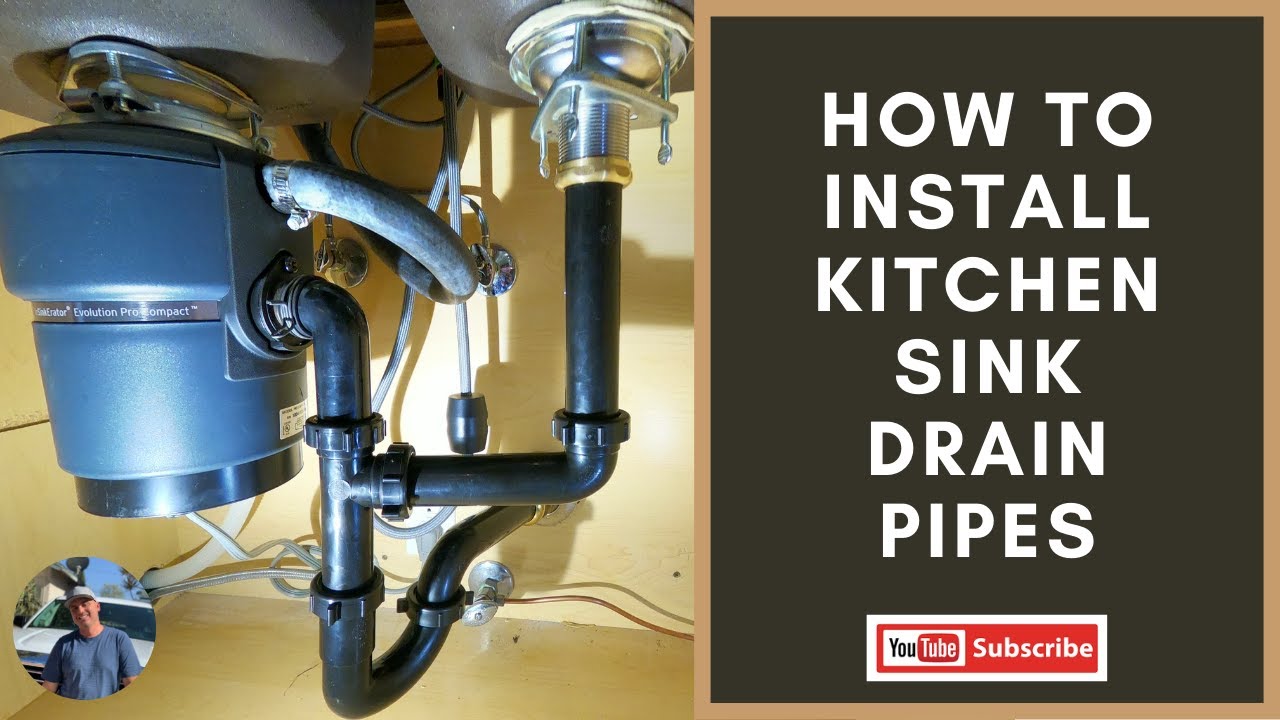
Step 1: Turn off the water supply and drain the existing lines. Step 2: Install the faucet and drain in the sink. Step 3: Measure and cut the pipes to the correct length. Step 4: Install shutoff valves on the main water supply lines. Step 5: Connect the water lines to the faucet and shutoff valves. Step 6: Turn the water supply back on and check for leaks. Step 7: Secure any loose pipes or connections. Step 8: Test the water flow and adjust as needed.Step-by-Step Tutorial for Installing Kitchen Sink Water Lines

Step-by-Step Tutorial for Installing Kitchen Sink Water Lines


Connecting kitchen sink water lines is a two-step process. First, you will need to connect the water supply lines to the shutoff valves. Then, you will need to connect the water lines to the faucet. Be sure to use plumber's tape or Teflon tape on all connections to ensure a tight seal.How to Properly Connect Kitchen Sink Water Lines


How to Properly Connect Kitchen Sink Water Lines


Here are a few tips from the experts to help make your kitchen sink water line installation go smoothly: - Always turn off the water supply before beginning the installation. - Use a basin wrench to tighten hard-to-reach connections. - Double check all connections for leaks before turning the water supply back on. - If you're unsure about any part of the installation process, don't hesitate to call a professional plumber for assistance.Expert Tips for Installing Kitchen Sink Water Lines


Expert Tips for Installing Kitchen Sink Water Lines

Ensuring Proper Water Supply: Installing Kitchen Sink Water Lines

Choosing the Right Water Lines
 When it comes to installing
kitchen sink water lines
, there are a variety of options available. The most common materials used are
copper
,
PEX
, and
CPVC
pipes. Each material has its own strengths and weaknesses, so it is important to do your research and choose the best option for your specific needs.
Copper pipes are the most traditional option and are known for their durability and resistance to corrosion. However, they can be more expensive and require specialized tools for installation. PEX pipes, on the other hand, are more flexible and easier to work with, making them a popular choice among DIYers. CPVC pipes are a more affordable alternative to copper and are also resistant to corrosion. Whichever material you choose, make sure it is certified for use in potable water systems.
When it comes to installing
kitchen sink water lines
, there are a variety of options available. The most common materials used are
copper
,
PEX
, and
CPVC
pipes. Each material has its own strengths and weaknesses, so it is important to do your research and choose the best option for your specific needs.
Copper pipes are the most traditional option and are known for their durability and resistance to corrosion. However, they can be more expensive and require specialized tools for installation. PEX pipes, on the other hand, are more flexible and easier to work with, making them a popular choice among DIYers. CPVC pipes are a more affordable alternative to copper and are also resistant to corrosion. Whichever material you choose, make sure it is certified for use in potable water systems.
Proper Measurement and Cutting
 Once you have chosen your water lines, it is important to properly measure and cut them before installation. This will ensure a tight and secure fit, preventing any leaks in the future. Use a measuring tape to determine the length of pipe needed and mark it with a pencil. Then, use a pipe cutter or hacksaw to make a clean and even cut.
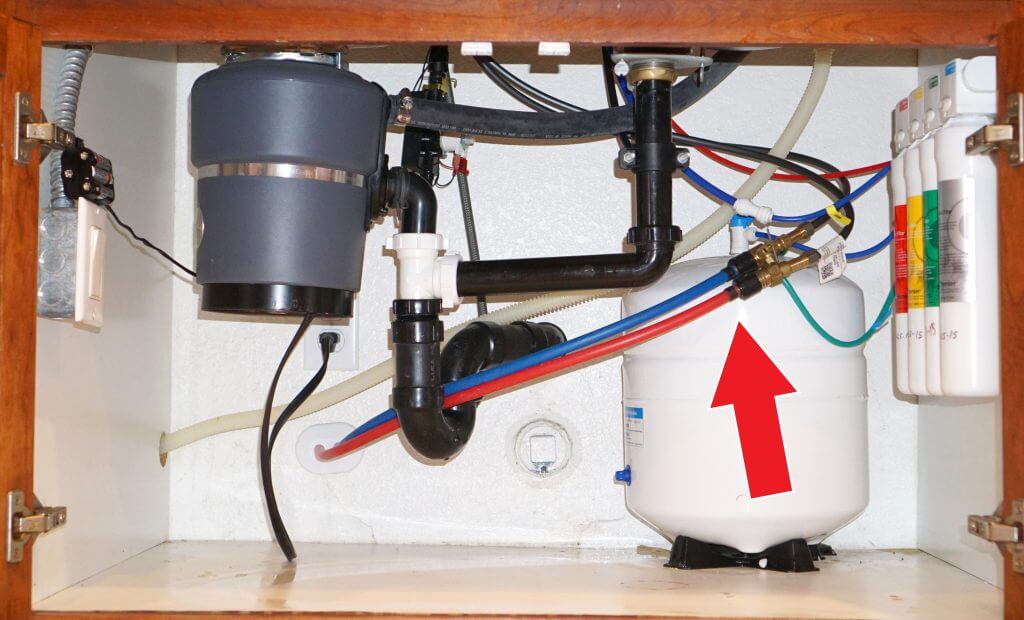
Connecting the Water Lines
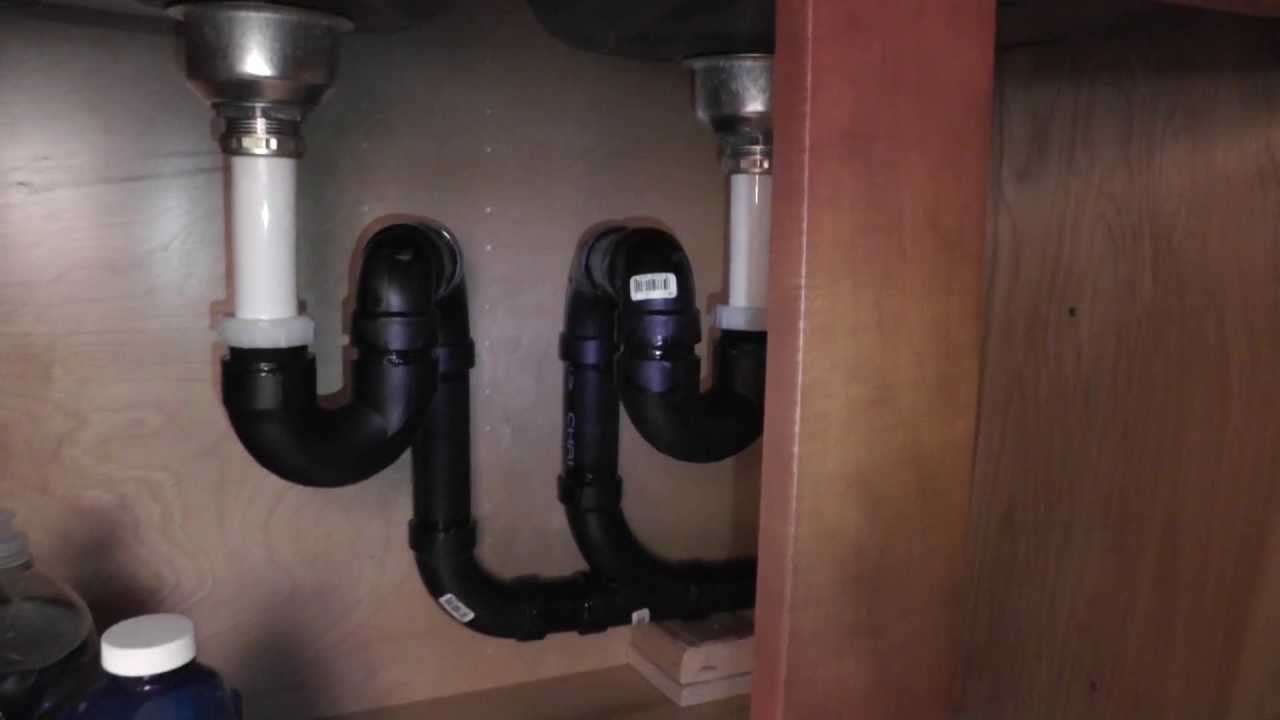
:max_bytes(150000):strip_icc()/how-to-install-a-sink-drain-2718789-hero-24e898006ed94c9593a2a268b57989a3.jpg) Before connecting the water lines to your kitchen sink, make sure to turn off the main water supply to your house. This will prevent any water from flowing and causing a potential mess. Use
compression fittings
or
saddle valves
to connect the water lines to the existing plumbing under your sink. These fittings should be tightened securely to prevent any leaks.
Before connecting the water lines to your kitchen sink, make sure to turn off the main water supply to your house. This will prevent any water from flowing and causing a potential mess. Use
compression fittings
or
saddle valves
to connect the water lines to the existing plumbing under your sink. These fittings should be tightened securely to prevent any leaks.
Testing and Troubleshooting
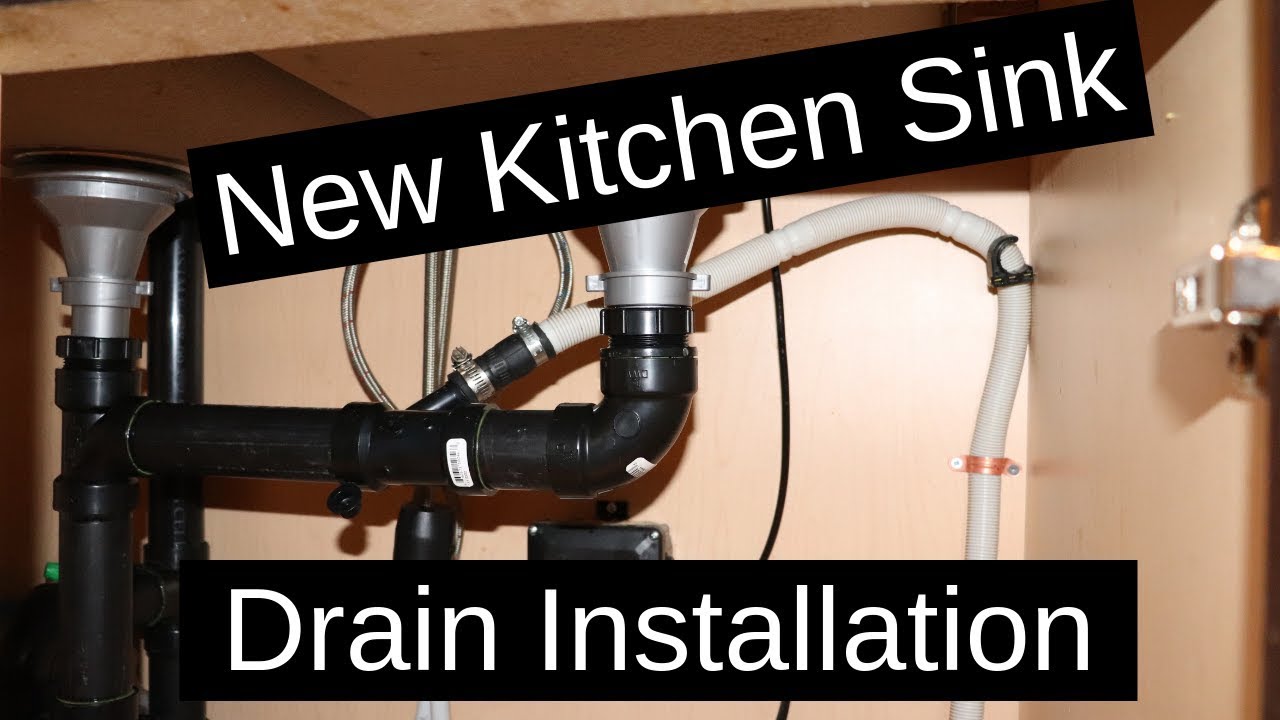
/how-to-install-a-sink-drain-2718789-hero-b5b99f72b5a24bb2ae8364e60539cece.jpg) After connecting the water lines, it is important to test them for any leaks. Turn the main water supply back on and let the water flow through the lines. Check for any drips or water puddles under the sink and make any necessary adjustments. If you encounter any problems, it is best to consult a professional plumber to ensure proper installation and avoid any potential water damage.
Installing
kitchen sink water lines
may seem like a daunting task, but with the right materials and proper techniques, it can be easily accomplished. By choosing the appropriate water lines, properly measuring and cutting them, and connecting them securely, you can ensure a reliable and efficient water supply for your kitchen sink. Remember to always test and troubleshoot for any leaks and seek professional help if needed.
After connecting the water lines, it is important to test them for any leaks. Turn the main water supply back on and let the water flow through the lines. Check for any drips or water puddles under the sink and make any necessary adjustments. If you encounter any problems, it is best to consult a professional plumber to ensure proper installation and avoid any potential water damage.
Installing
kitchen sink water lines
may seem like a daunting task, but with the right materials and proper techniques, it can be easily accomplished. By choosing the appropriate water lines, properly measuring and cutting them, and connecting them securely, you can ensure a reliable and efficient water supply for your kitchen sink. Remember to always test and troubleshoot for any leaks and seek professional help if needed.