How to Install a Kitchen Sink on a Laminate Counter
Installing a new kitchen sink can be a daunting task, especially when it comes to installing it on a laminate countertop. But with the right tools and a little bit of know-how, you can easily install a kitchen sink on a laminate counter and give your kitchen a fresh new look. Laminate countertops are a popular choice for many homeowners due to their affordability, durability, and easy maintenance. And luckily, installing a kitchen sink on a laminate counter is a relatively straightforward process that can be done in just a few hours. In this article, we will provide you with a step-by-step guide on how to install a kitchen sink on a laminate counter, along with some helpful tips and common mistakes to avoid.
Installing a Kitchen Sink on a Laminate Countertop: A Step-by-Step Guide
Step 1: Gather Your Tools and Materials Before you begin the installation process, make sure you have all the necessary tools and materials ready. You will need a drill, screwdriver, measuring tape, plumber's putty, silicone caulk, and a jigsaw. You will also need to purchase a kitchen sink that is specifically designed for a laminate countertop.
Step 2: Prepare the Sink and Countertop Start by cleaning the sink and the countertop where the sink will be installed. Then, using a measuring tape, mark the exact location where the sink will be placed on the countertop. Make sure to leave some space around the edges for the sink to be properly sealed.
Step 3: Cut a Hole for the Sink Place the sink upside down on the countertop and trace its outline with a pencil. Then, using a jigsaw, carefully cut along the traced outline. Remember to wear safety goggles and gloves while cutting to protect yourself from any flying debris.
Step 4: Install the Sink Once the hole is cut, carefully place the sink into the opening. Make sure the sink is level and centered before proceeding to the next step.
Step 5: Secure the Sink Using the clips provided with the sink, secure the sink to the underside of the countertop. This will prevent the sink from shifting or falling out of place.
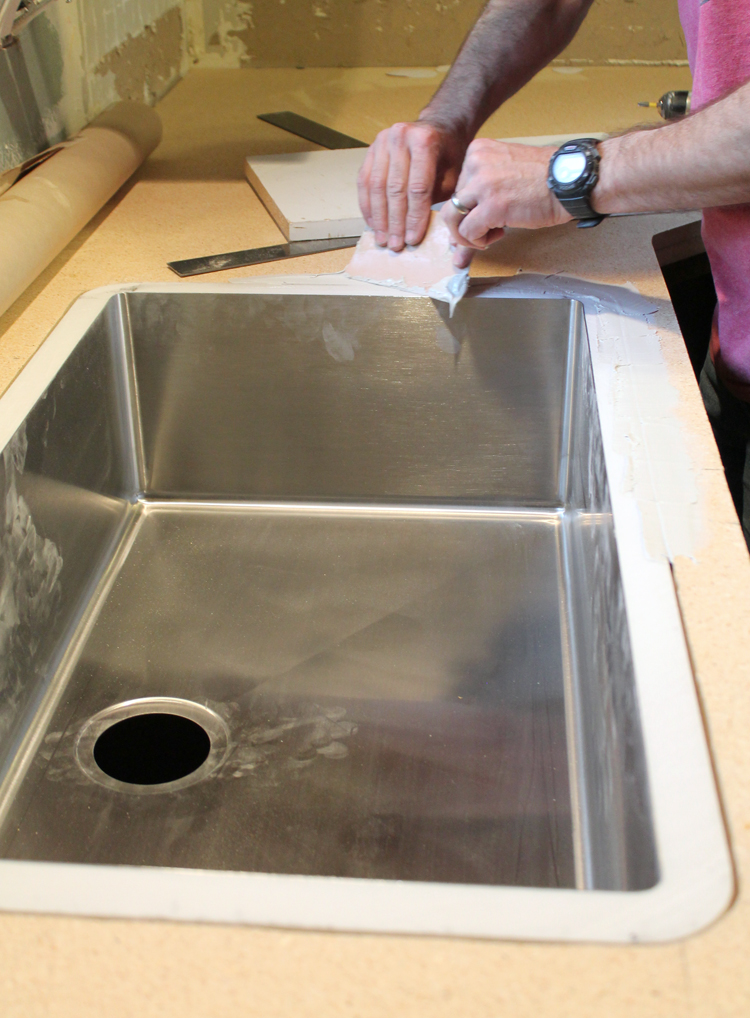
Step 6: Seal the Edges Using plumber's putty, create a seal around the edges of the sink. This will prevent any water from leaking through the gaps between the sink and the countertop.
Step 7: Apply Silicone Caulk Finally, use silicone caulk to seal the edges of the sink on the top side of the countertop. This will provide a waterproof seal and give your sink a finished look.
DIY: Installing a Kitchen Sink on a Laminate Countertop
Installing a kitchen sink on a laminate countertop is a project that you can easily do yourself, even if you have no prior experience with plumbing or carpentry. By following the steps outlined above, you can save yourself the cost of hiring a professional and take pride in completing the task on your own. Plus, with the money you save, you can invest in upgrading other aspects of your kitchen.
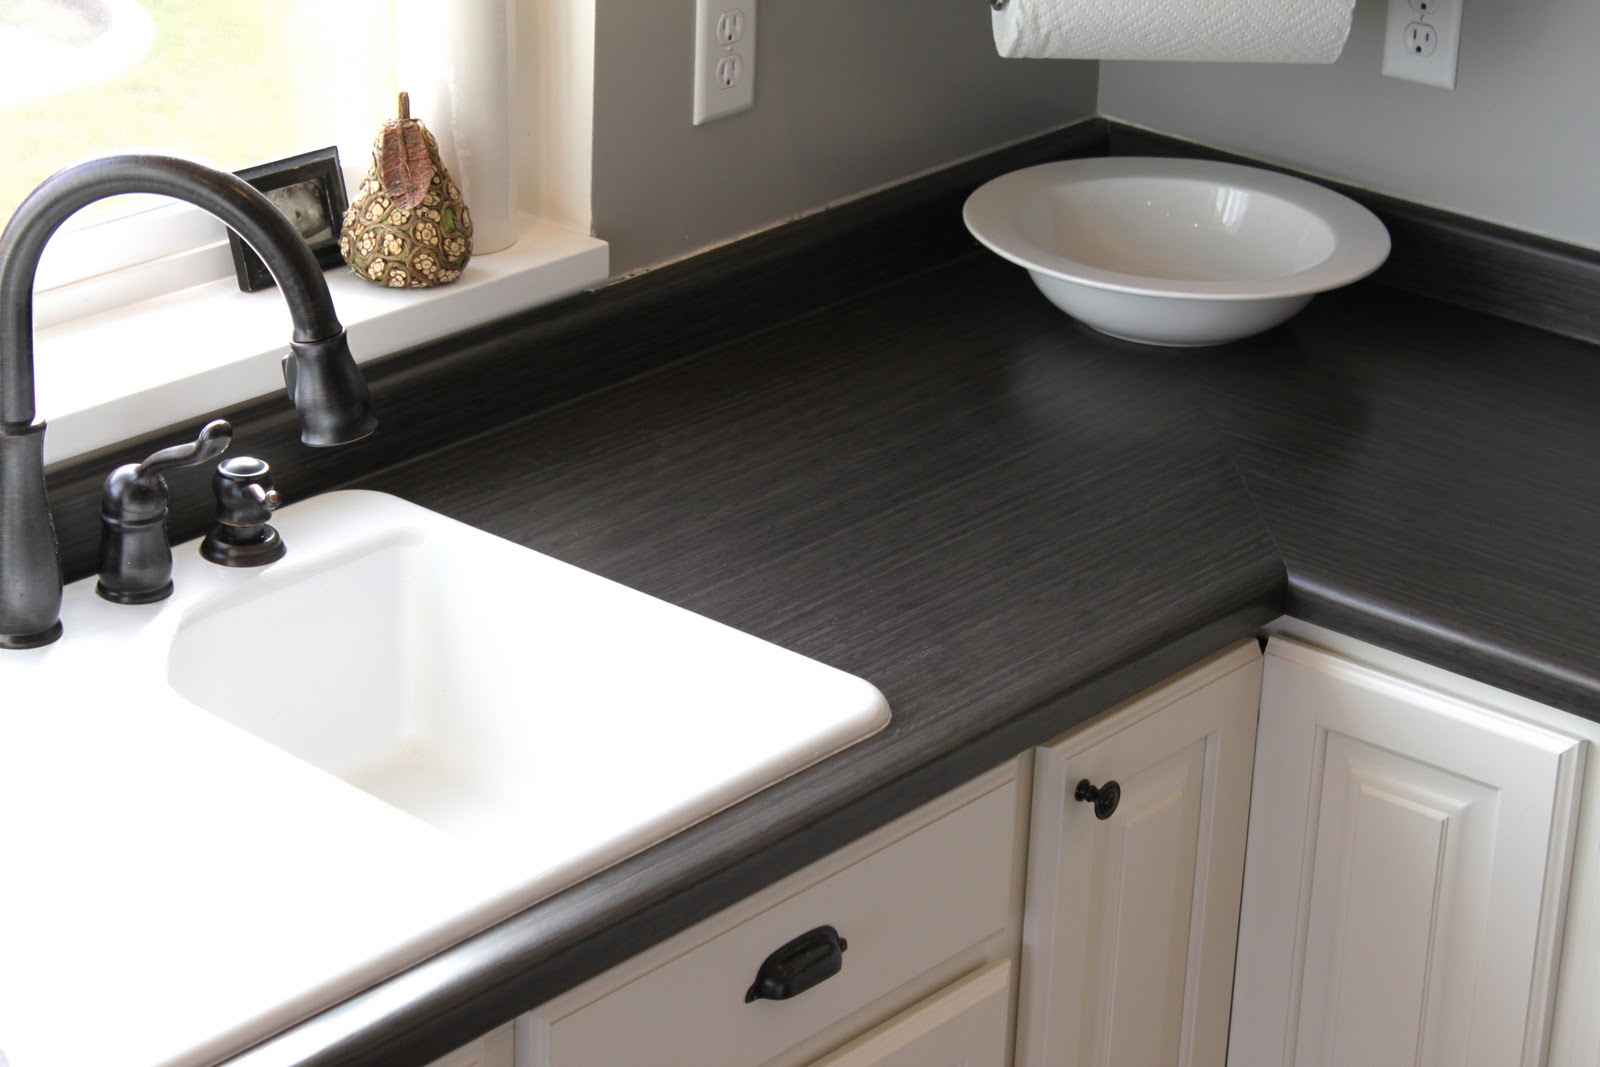
Installing a Drop-In Kitchen Sink on a Laminate Countertop
A drop-in kitchen sink, also known as a top-mount sink, is the most common type of sink used in kitchens. It is easy to install and does not require any special tools or skills. To install a drop-in sink on a laminate countertop, simply follow the same steps mentioned above. The only difference is that for a drop-in sink, you will need to create a lip around the edges of the sink using caulk or adhesive to secure it in place.
How to Install an Undermount Kitchen Sink on a Laminate Countertop
An undermount kitchen sink is a popular choice for those looking for a minimalist and seamless look for their kitchen. This type of sink is installed underneath the countertop, making it easier to clean and maintain. However, installing an undermount sink on a laminate countertop requires a bit more effort and skill compared to a drop-in sink. In addition to the aforementioned steps, you will also need to use a special adhesive to secure the sink to the underside of the countertop. It is recommended to seek professional help for this type of installation to ensure it is done correctly.
Step-by-Step Guide: Installing a Kitchen Sink on a Laminate Countertop
To summarize, here is a step-by-step guide for installing a kitchen sink on a laminate countertop:
Step 1: Gather your tools and materials.
Step 2: Prepare the sink and countertop.
Step 3: Cut a hole for the sink.
Step 4: Install the sink.
Step 5: Secure the sink.
Step 6: Seal the edges.
Step 7: Apply silicone caulk.
Tips for Installing a Kitchen Sink on a Laminate Countertop
Here are a few tips to keep in mind when installing a kitchen sink on a laminate countertop:
- Always measure twice before making any cuts to ensure accuracy.
- Use a jigsaw with a fine-tooth blade to prevent chipping or splintering of the laminate.
- Follow the manufacturer's instructions for securing the sink to the countertop.
- Use a level to ensure the sink is properly installed and not tilted.
Installing a Kitchen Sink on a Laminate Countertop: Common Mistakes to Avoid
While installing a kitchen sink on a laminate countertop may seem like a straightforward task, there are some common mistakes that can easily be made if you are not careful. Here are some mistakes to avoid:
- Not properly measuring the sink placement, resulting in an uneven or off-centered sink.
- Using the wrong type of sink for a laminate countertop, causing it to not fit or not be properly secured.
- Skipping the step of sealing the edges of the sink, leading to water leakage and damage to the countertop.
Tools and Materials Needed for Installing a Kitchen Sink on a Laminate Countertop
Here is a list of tools and materials that you will need to install a kitchen sink on a laminate countertop:
- Drill
- Screwdriver
- Measuring tape
- Plumber's putty
- Silicone caulk
- Jigsaw
- Safety goggles and gloves
How to Properly Seal a Kitchen Sink on a Laminate Countertop
Sealing the edges of your kitchen sink on a laminate countertop is an essential step to prevent any water damage. Here's how to do it:
Step 1: Clean the edges of the sink and countertop.
Step 2: Apply a thin layer of plumber's putty around the edges of the sink.
Step 3: Use your fingers to press the putty into the gaps between the sink and the countertop.
Step 4: Clean off any excess putty with a damp cloth.
Step 5: Apply a bead of silicone caulk along the edges of the sink on the top side of the countertop.
Step 6: Use your finger or a caulk smoothing tool to smooth out the caulk and create a waterproof seal.
Installing a kitchen sink on a laminate countertop is a DIY project that can give your kitchen a fresh new look. By following this guide and being mindful of the tips and mistakes to avoid, you can successfully complete this project and have a beautiful and functional kitchen sink in no time. Remember to always use the appropriate tools and materials and seek professional help if needed. Now that you have all the information you need, it's time to get started on your kitchen sink installation project!
Installing a Kitchen Sink on a Laminate Counter: A Beginner's Guide

Choosing the Right Sink
 When it comes to designing your dream kitchen, every detail counts. One of the most important elements in a kitchen is the sink, as it is used for cooking, cleaning, and food prep. When installing a kitchen sink on a laminate counter, it is crucial to choose the right sink for your needs.
Laminate counters
are a popular choice for kitchens due to their affordability and durability. However, they do have certain limitations when it comes to installing a sink. Laminate counters are not as strong as other materials, such as granite or quartz, so it is important to choose a sink that is lightweight and compatible with laminate.
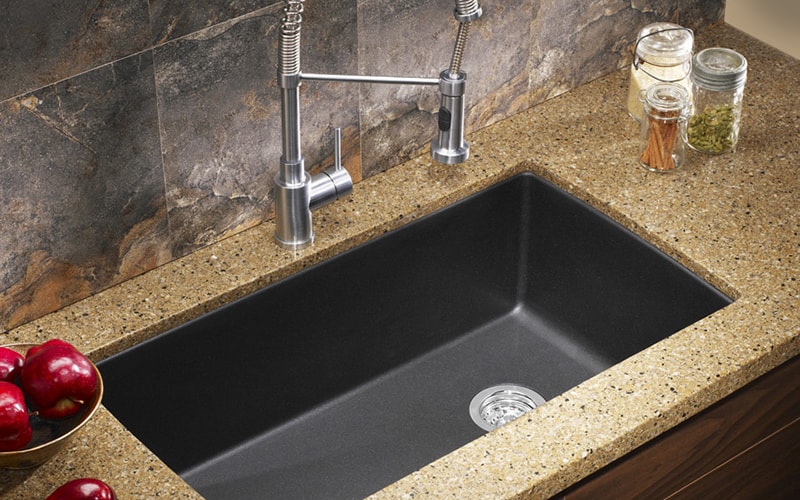
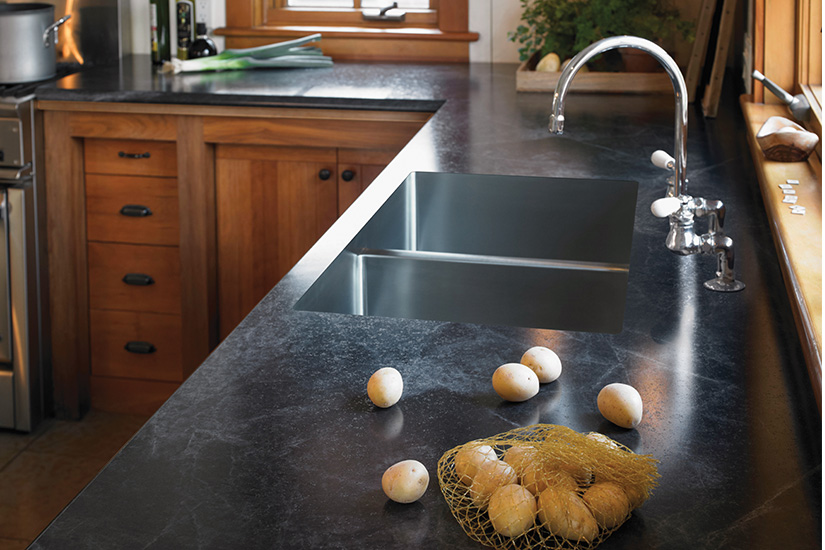
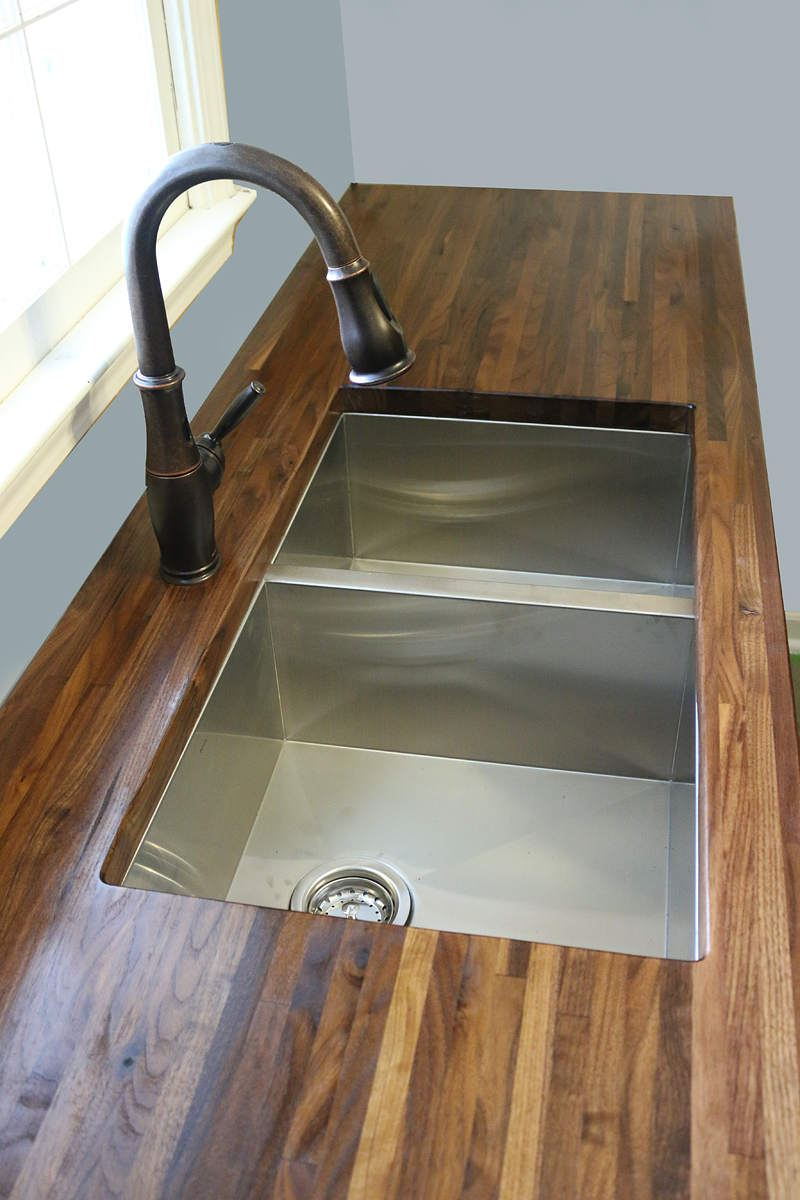
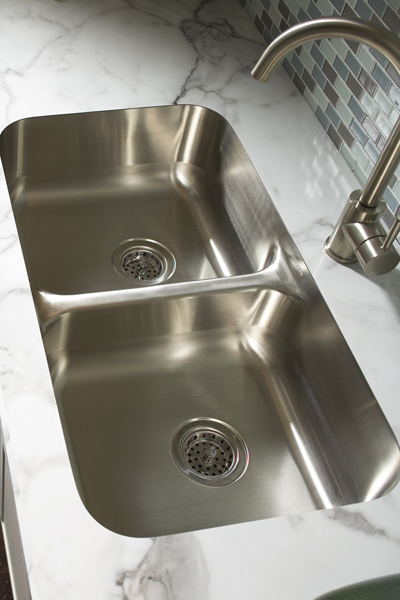
Undermount sinks
are a great option for laminate counters as they are attached to the underside of the counter, providing a sleek and seamless look. Top mount sinks are also compatible with laminate counters, but they tend to have a larger rim, which can be difficult to clean.
Preparing the Counter
 Before installing the sink, it is important to properly prepare the laminate counter to ensure a secure and stable installation. Start by measuring the sink and marking the cutout on the counter. Use a jigsaw to carefully cut along the marked lines.
Next, apply a bead of silicone caulk around the edge of the sink opening. This will help create a watertight seal between the sink and the counter. It is important to use a high-quality silicone caulk that is specifically designed for use in kitchens and bathrooms.
Attaching the Sink
 Once the counter is prepared, it is time to attach the sink. If using an undermount sink, flip the sink over and apply a thin layer of silicone caulk around the edge of the sink. Carefully place the sink into the opening and press down firmly to create a strong bond.
For top mount sinks, place the sink into the opening and use the mounting clips provided to secure it in place. Make sure the sink is level before tightening the clips.
Connecting the Plumbing
 After the sink is securely attached, it is time to connect the plumbing. Start by installing the drain and garbage disposal if needed. Then, connect the water supply lines to the faucet. It is important to use plumber's tape on all threaded connections to prevent leaks.
Once all the plumbing is connected, turn on the water and check for any leaks. If everything looks good, your new kitchen sink is ready to use!
Final Thoughts
 Installing a kitchen sink on a laminate counter may seem like a daunting task, but with the right sink and proper preparation, it can be a simple and rewarding DIY project. Remember to choose a sink that is compatible with laminate and take your time to ensure a secure and watertight installation. With a little effort, you can have a beautiful and functional sink that will elevate the design of your kitchen.









:no_upscale()/cdn.vox-cdn.com/uploads/chorus_asset/file/19495086/drain_0.jpg)











:max_bytes(150000):strip_icc()/Cottage-style-living-room-with-stone-fireplace-58e194d23df78c5162006eb4.png)
:max_bytes(150000):strip_icc()/puresaltinteriors.-cb503015f1954be8ab6f750cda87a326.jpg)


