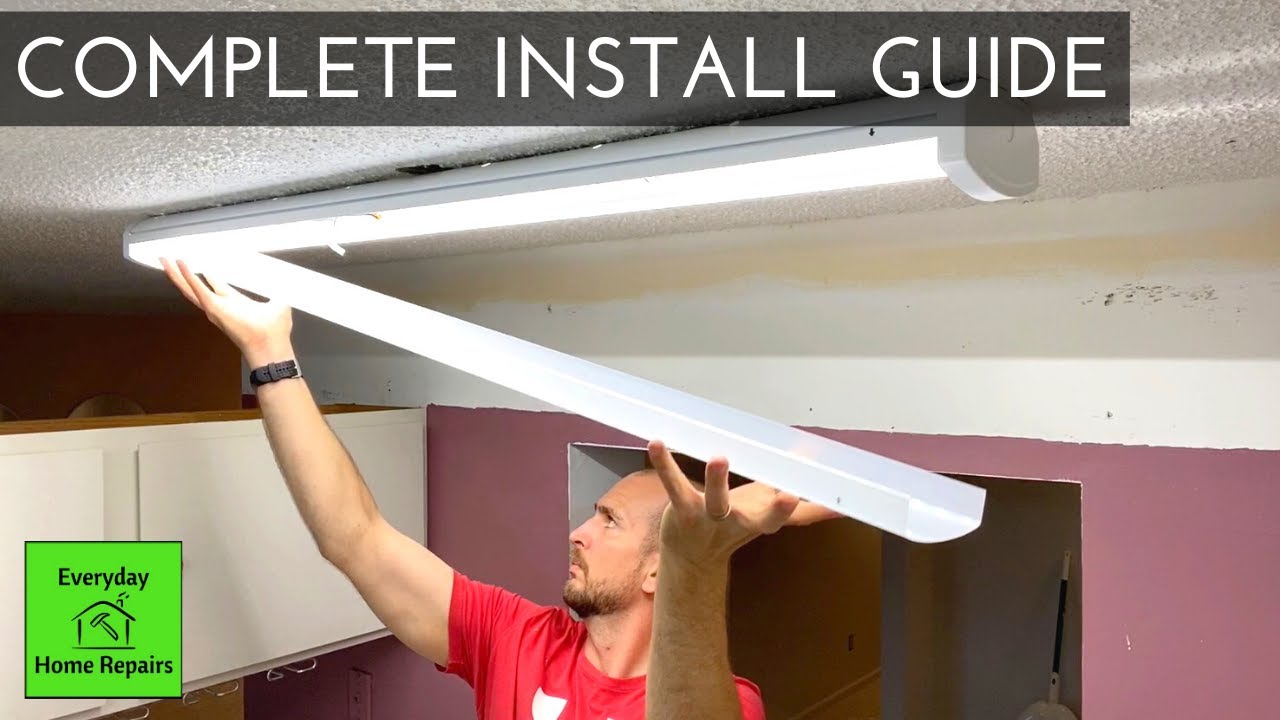
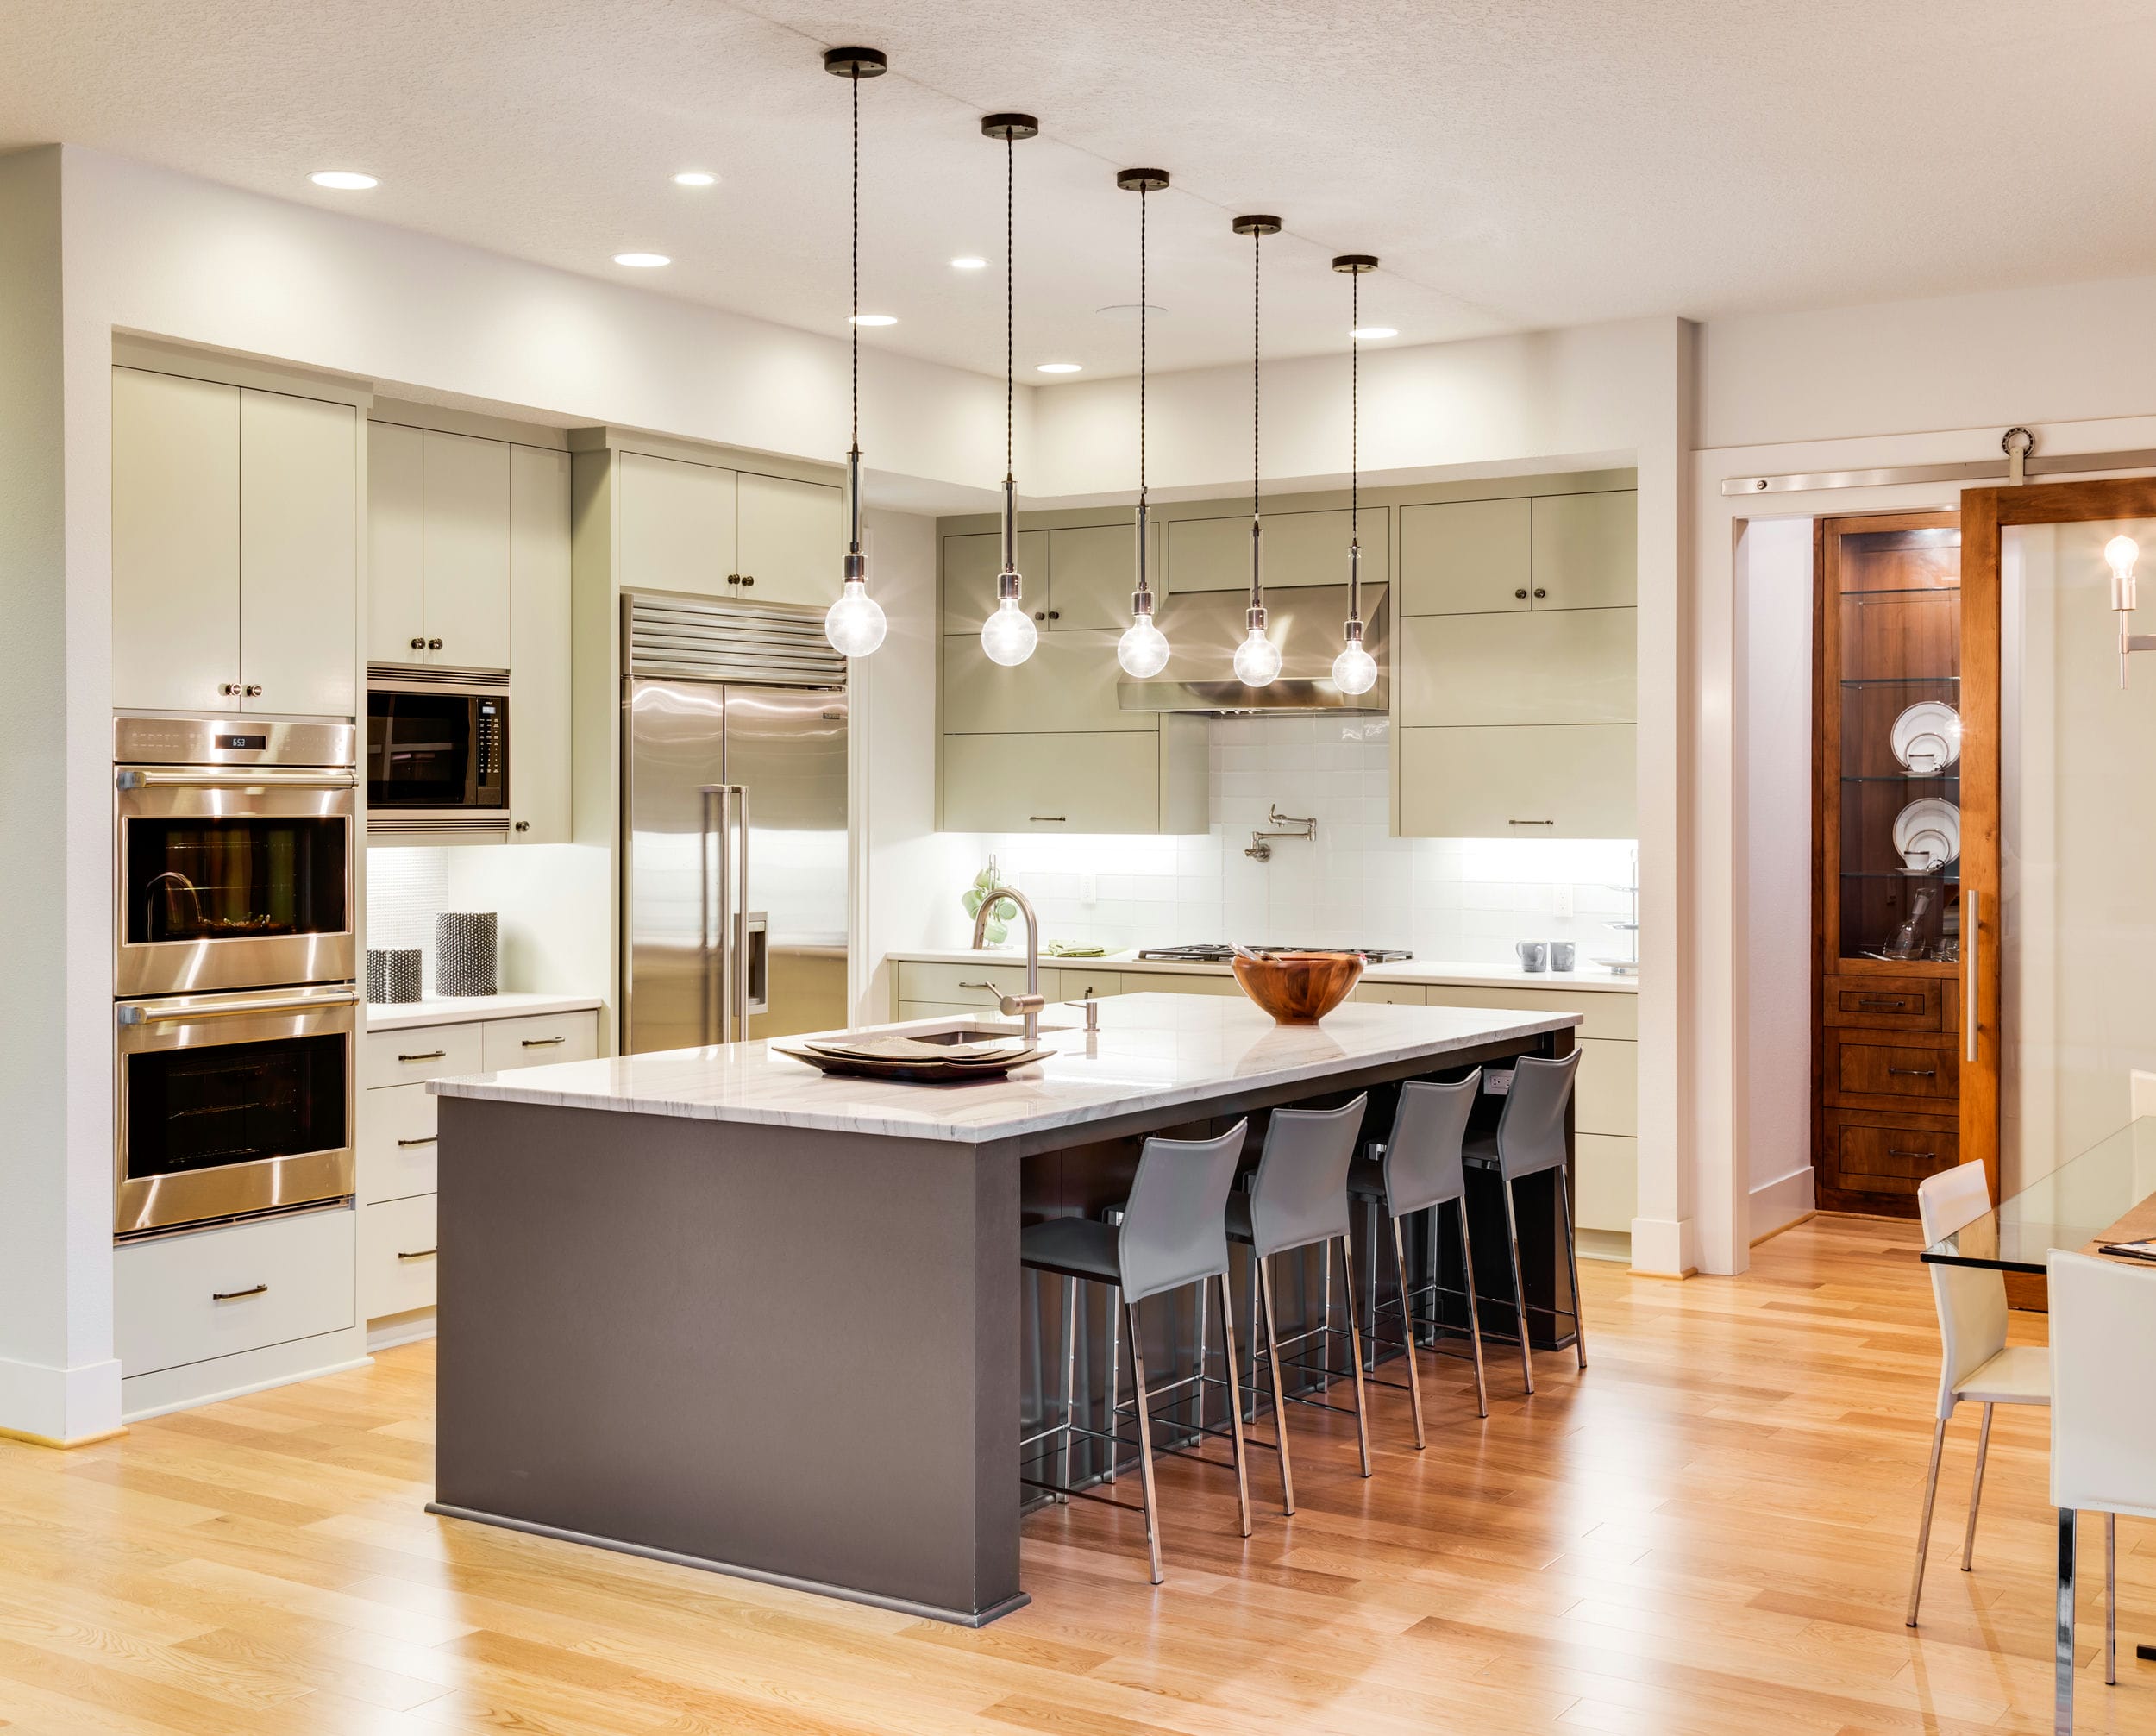
Installing a hanging light fixture in your kitchen can add both style and functionality to the space. Whether you're looking to brighten up a dark corner or add a statement piece to your kitchen, installing a hanging light is a great way to achieve your desired look. However, the installation process can seem daunting if you've never done it before. That's why we've put together a step-by-step guide to help you successfully install a hanging light in your kitchen.How to Install a Hanging Light Fixture in Your Kitchen


How to Install a Hanging Light Fixture in Your Kitchen
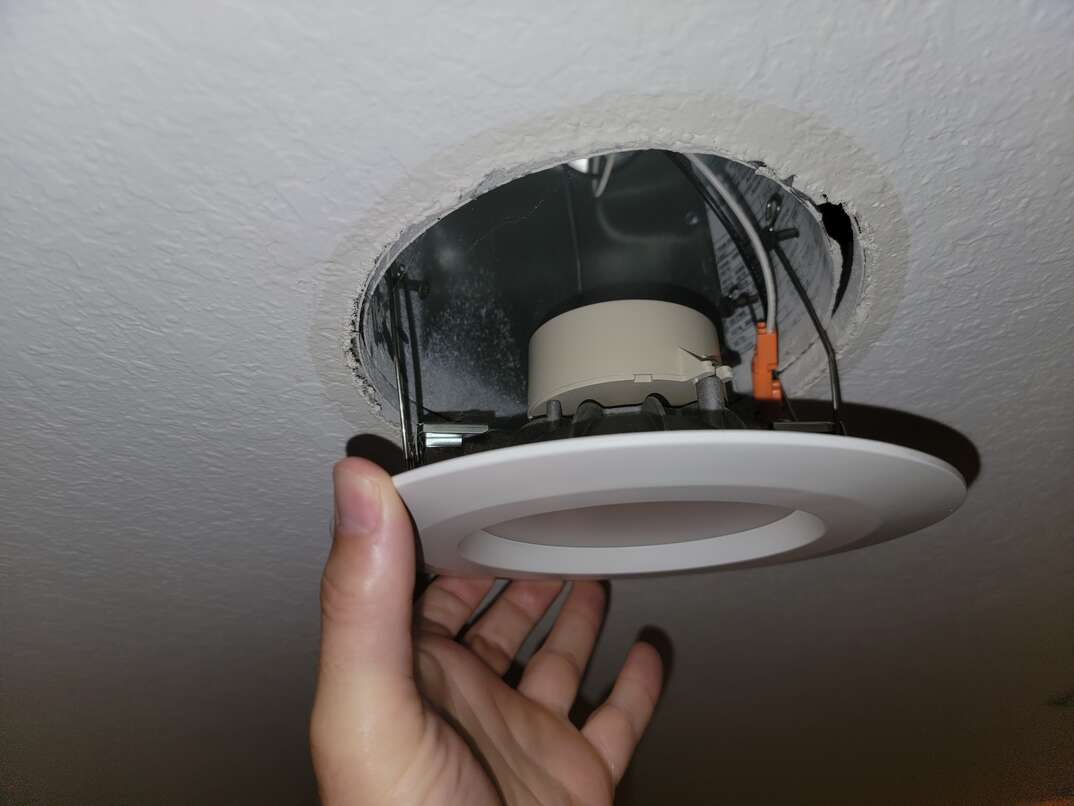
/installing-led-retrofit-bulb-into-ceiling-fixture-184968332-8bd1cdb942e0465db4b4dec251f7df9d.jpg)


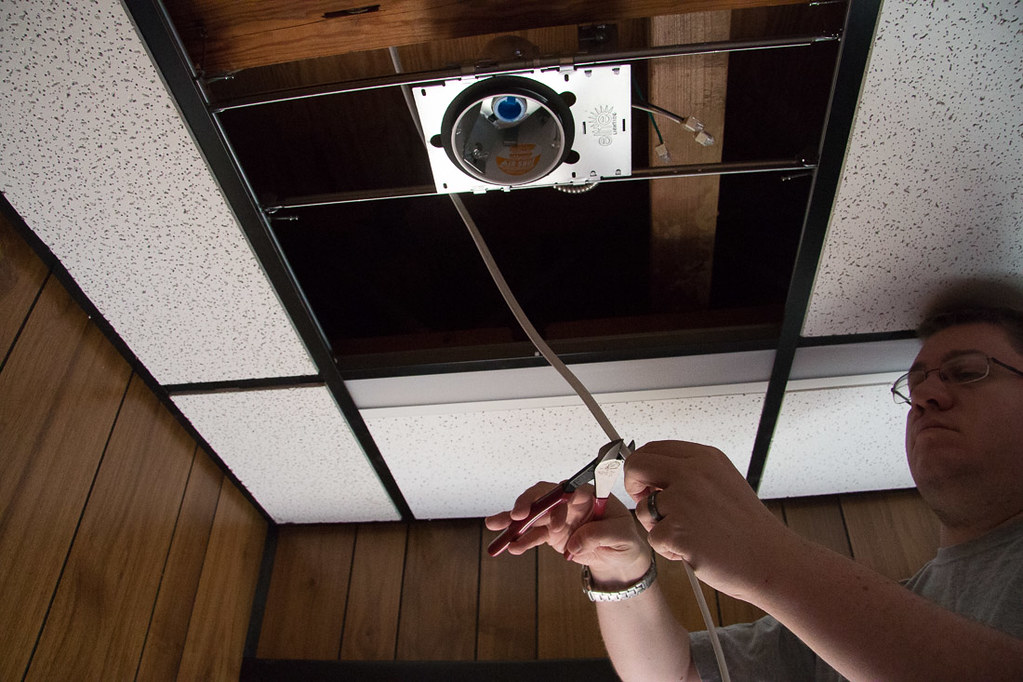
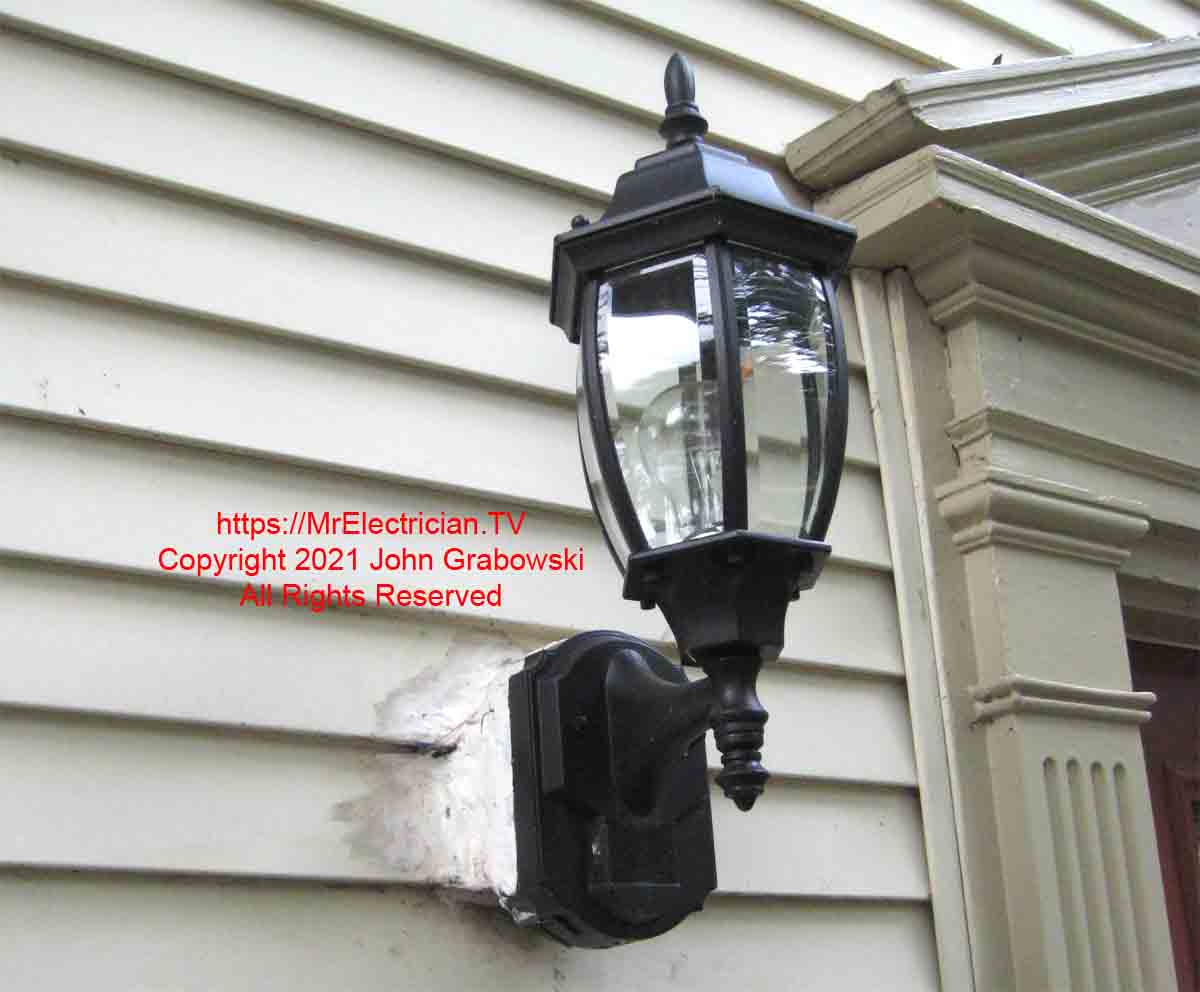


Before you begin the installation process, make sure you have all the necessary tools and materials. You will need a screwdriver, wire strippers, electrical tape, wire connectors, a ladder, and of course, your hanging light fixture. Once you have everything you need, follow these steps: Step 1: Turn off the power - Before you start working on any electrical project, always turn off the power at the circuit breaker to ensure your safety. Step 2: Remove the old fixture - If you have an existing light fixture, carefully remove it from the ceiling. Make sure to disconnect the wires and set the old fixture aside. Step 3: Install the mounting bracket - Use the included mounting bracket to attach the base of your new hanging light to the ceiling. Make sure it is securely attached before proceeding to the next step. Step 4: Connect the wires - Using wire connectors, connect the black wire to the black wire and the white wire to the white wire. If your hanging light fixture has a ground wire, connect it to the ground wire in your ceiling. Step 5: Secure the canopy - Carefully tuck the wires into the electrical box in the ceiling and secure the canopy of the fixture with the screws provided. Step 6: Install the light bulbs - Depending on the type of hanging light you have, you may need to install light bulbs before hanging the fixture. Make sure to follow the instructions provided by the manufacturer. Step 7: Turn on the power - Once you have completed the installation, turn the power back on at the circuit breaker and test your new hanging light.Step-by-Step Guide for Installing a Hanging Light in Your Kitchen


Step-by-Step Guide for Installing a Hanging Light in Your Kitchen


.jpg)


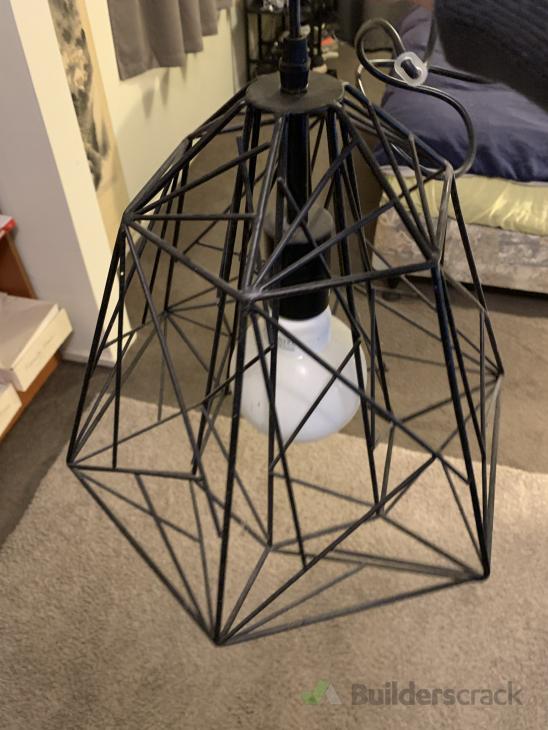
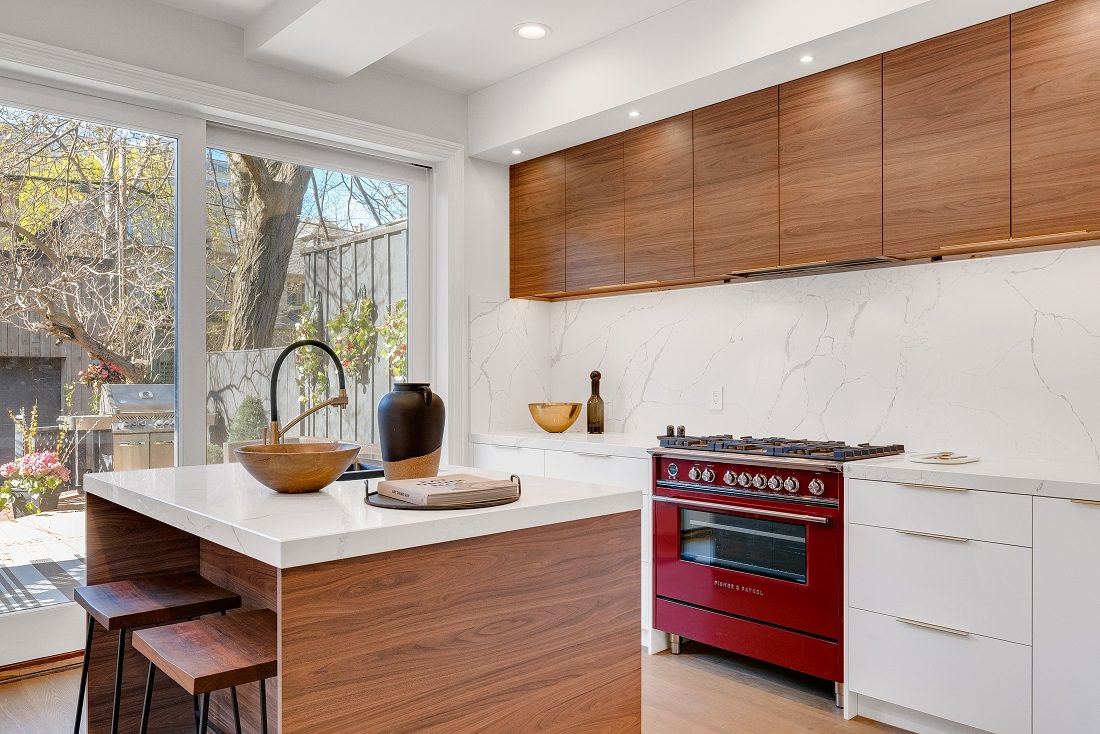
Installing a hanging light in your kitchen can be a fun and rewarding DIY project. Not only will it save you money, but it will also give you a sense of accomplishment. However, before you begin, it's important to familiarize yourself with the process and make sure you have all the necessary tools and materials. If you're not confident in your DIY skills, it's always best to hire a professional.DIY: Installing a Hanging Light in Your Kitchen


DIY: Installing a Hanging Light in Your Kitchen


When installing a hanging light in your kitchen, there are a few tips and tricks that can make the process easier and ensure a successful installation. Here are some things to keep in mind: - Make sure to check the weight limit of your electrical box before installing a heavy hanging light fixture. - If your ceiling is sloped, make sure to use a swivel mount to ensure your hanging light hangs straight. - If you're installing a hanging light over a kitchen island or dining table, make sure it is centered and at the appropriate height for the space. - Always follow the instructions provided by the manufacturer for the specific hanging light you are installing.Installing a Hanging Light in Your Kitchen: Tips and Tricks


Installing a Hanging Light in Your Kitchen: Tips and Tricks


As mentioned before, it's important to have all the necessary tools and materials before starting the installation process. Here's a list of essential tools and materials for installing a hanging light in your kitchen: - Screwdriver - Wire strippers - Electrical tape - Wire connectors - Ladder - Hanging light fixtureEssential Tools and Materials for Installing a Hanging Light in Your Kitchen


Essential Tools and Materials for Installing a Hanging Light in Your Kitchen


If you're feeling overwhelmed by the installation process, here are some expert tips that can help: - Always turn off the power before working on any electrical project. - Make sure to have a helper hold the hanging light fixture while you connect the wires. - If you're unsure about any step, consult the manufacturer's instructions or seek the guidance of a professional.Expert Tips for Installing a Hanging Light in Your Kitchen


Expert Tips for Installing a Hanging Light in Your Kitchen


Even with the best intentions, mistakes can happen during the installation process. Here are some common mistakes to avoid when installing a hanging light in your kitchen: - Forgetting to turn off the power before starting the installation process. - Not securely attaching the mounting bracket to the ceiling. - Not properly connecting the wires, which can result in a fire hazard. - Not following the manufacturer's instructions.Common Mistakes to Avoid When Installing a Hanging Light in Your Kitchen


Common Mistakes to Avoid When Installing a Hanging Light in Your Kitchen


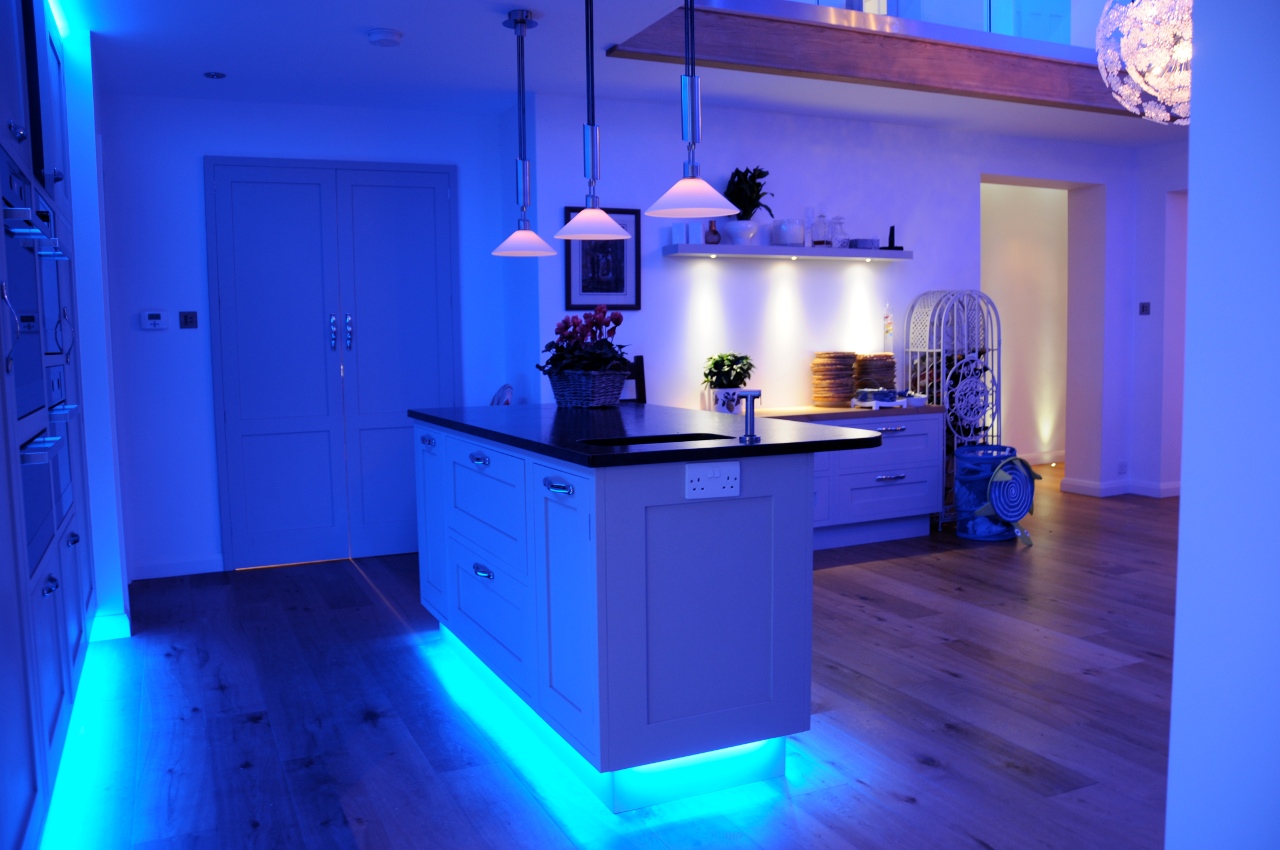
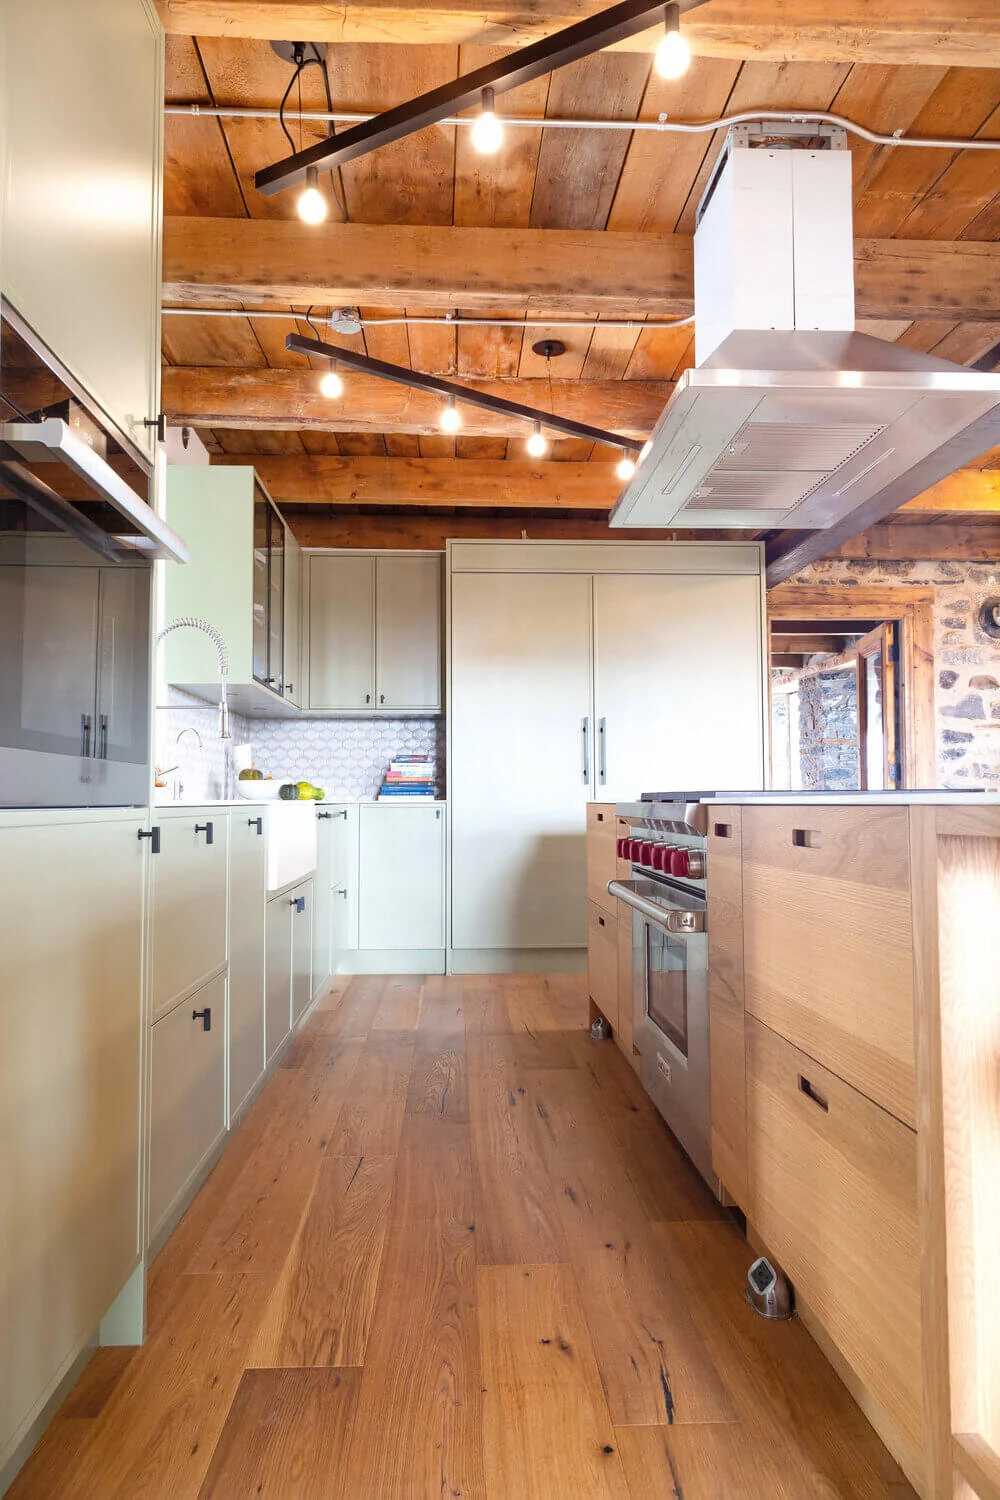
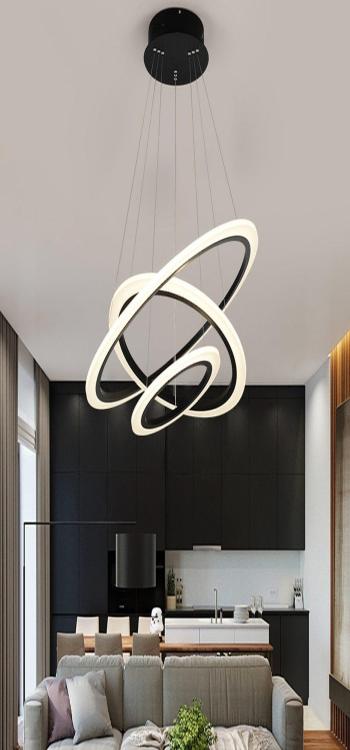
With so many hanging light fixtures to choose from, it can be overwhelming to pick the perfect one for your kitchen. Here are some factors to consider before making your decision: - The style of your kitchen - Make sure the hanging light complements the overall style of your kitchen. - The size of your kitchen - Consider the size of your kitchen and choose a hanging light that is proportionate to the space. - The amount of light needed - If your kitchen is dark, choose a hanging light with multiple bulbs or a higher wattage. - Your budget - Hanging lights can range in price, so make sure to set a budget and stick to it.How to Choose the Perfect Hanging Light for Your Kitchen


How to Choose the Perfect Hanging Light for Your Kitchen


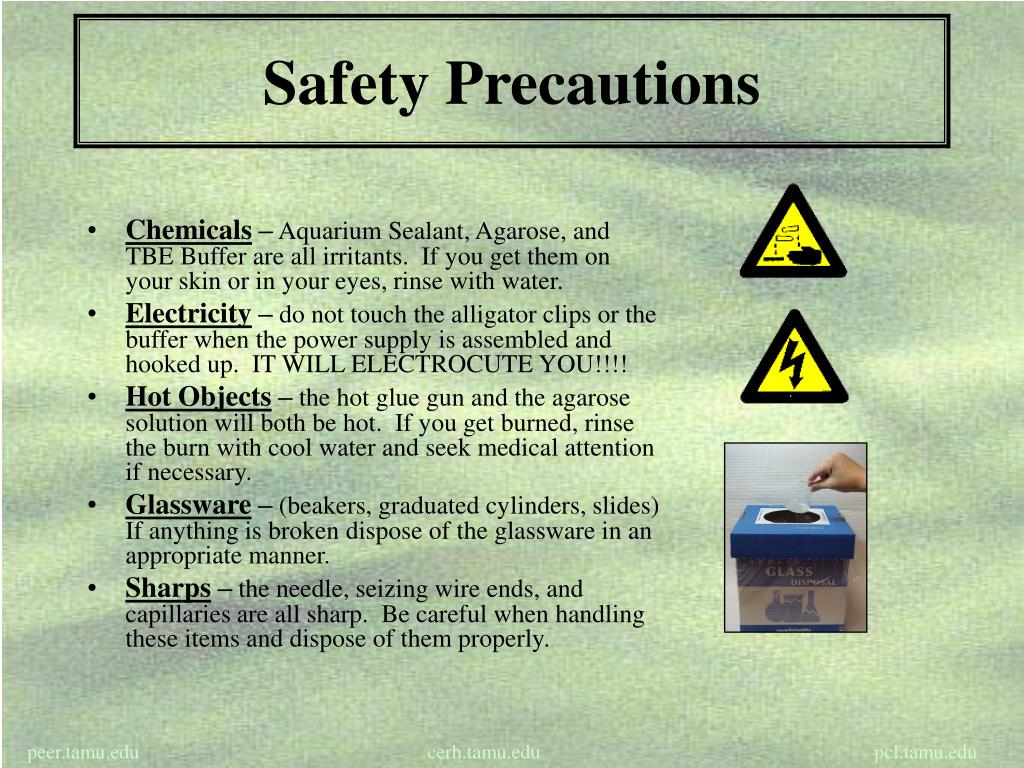
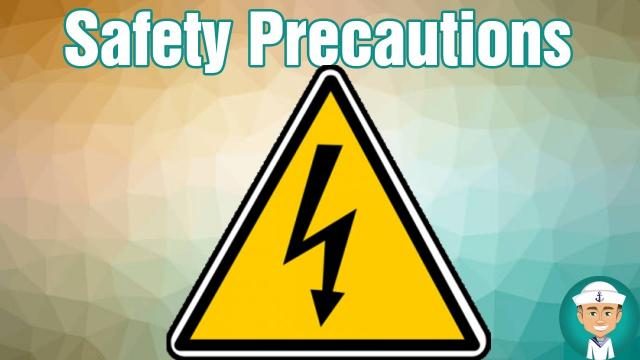
While installing a hanging light in your kitchen can be a fun and rewarding project, it's important to keep safety in mind. Here are some safety precautions to follow: - Always turn off the power at the circuit breaker before starting any electrical project. - Use caution when working with wires and make sure to properly connect them. - Make sure to use a sturdy ladder and have a helper hold the hanging light while you work. - If you're unsure about any step, consult the manufacturer's instructions or seek the guidance of a professional.Safety Precautions to Keep in Mind When Installing a Hanging Light in Your Kitchen


Safety Precautions to Keep in Mind When Installing a Hanging Light in Your Kitchen


Deciding whether to hire a professional or DIY the installation of a hanging light in your kitchen can be a tough decision. While hiring a professional will ensure a successful and safe installation, it can also be costly. On the other hand, DIY can save you money, but it also comes with the risk of mistakes. Consider your budget, skill level, and the complexity of the project before making your decision. Installing a hanging light in your kitchen can be a simple and rewarding project. By following our step-by-step guide and keeping these expert tips and safety precautions in mind, you'll have a beautiful and functional hanging light in no time. So go ahead, add some light and style to your kitchen with a new hanging light fixture! Hanging Light Installation: Professional vs. DIY


Hanging Light Installation: Professional vs. DIY


How to Install Hanging Lights in Your Kitchen

Step 1: Choose the Right Location
 The first step in installing hanging lights in your kitchen is to determine the best location for them. Consider the layout and design of your kitchen, as well as the functionality of the space. Are you looking for task lighting over a specific area, such as your kitchen island, or do you want to add ambient lighting to the entire room?
Make sure to choose a location that will provide the right amount of light for your needs.
The first step in installing hanging lights in your kitchen is to determine the best location for them. Consider the layout and design of your kitchen, as well as the functionality of the space. Are you looking for task lighting over a specific area, such as your kitchen island, or do you want to add ambient lighting to the entire room?
Make sure to choose a location that will provide the right amount of light for your needs.
Step 2: Gather Your Materials
 Before you begin the installation process, make sure you have all the necessary materials. This includes the hanging lights, electrical wires, wire strippers, wire connectors, a voltage tester, and a ladder. You may also need a drill and screws if you need to install a new electrical box.
Double check that you have everything you need to avoid any unnecessary trips to the hardware store.
Before you begin the installation process, make sure you have all the necessary materials. This includes the hanging lights, electrical wires, wire strippers, wire connectors, a voltage tester, and a ladder. You may also need a drill and screws if you need to install a new electrical box.
Double check that you have everything you need to avoid any unnecessary trips to the hardware store.
Step 3: Turn Off the Power
 Safety should always be a top priority when working with electricity.
Before you begin any installation, be sure to turn off the power to the area you will be working in. Use a voltage tester to ensure that there is no electrical current running through the wires.
Safety should always be a top priority when working with electricity.
Before you begin any installation, be sure to turn off the power to the area you will be working in. Use a voltage tester to ensure that there is no electrical current running through the wires.
Step 4: Install the Electrical Box
 If you do not already have an electrical box in the desired location for your hanging lights, you will need to install one. Use a drill and screws to attach the electrical box to the ceiling.
Make sure it is securely attached to hold the weight of the hanging lights.
If you do not already have an electrical box in the desired location for your hanging lights, you will need to install one. Use a drill and screws to attach the electrical box to the ceiling.
Make sure it is securely attached to hold the weight of the hanging lights.
Step 5: Connect the Wiring
 Always refer to the manufacturer's instructions for your specific hanging lights.
Use wire strippers to remove the insulation from the end of the electrical wires. Connect the wires from the hanging lights to the corresponding wires in the electrical box using wire connectors.
Be sure to secure the connections with electrical tape for added safety.
Always refer to the manufacturer's instructions for your specific hanging lights.
Use wire strippers to remove the insulation from the end of the electrical wires. Connect the wires from the hanging lights to the corresponding wires in the electrical box using wire connectors.
Be sure to secure the connections with electrical tape for added safety.
Step 6: Hang the Lights
Step 7: Test the Lights
 With the installation complete, it's important to test the lights before turning the power back on.
Use a voltage tester to ensure that the wires are properly connected and there are no electrical issues.
Once everything is in working order, you can turn the power back on and enjoy your new hanging lights in your kitchen.
With the installation complete, it's important to test the lights before turning the power back on.
Use a voltage tester to ensure that the wires are properly connected and there are no electrical issues.
Once everything is in working order, you can turn the power back on and enjoy your new hanging lights in your kitchen.