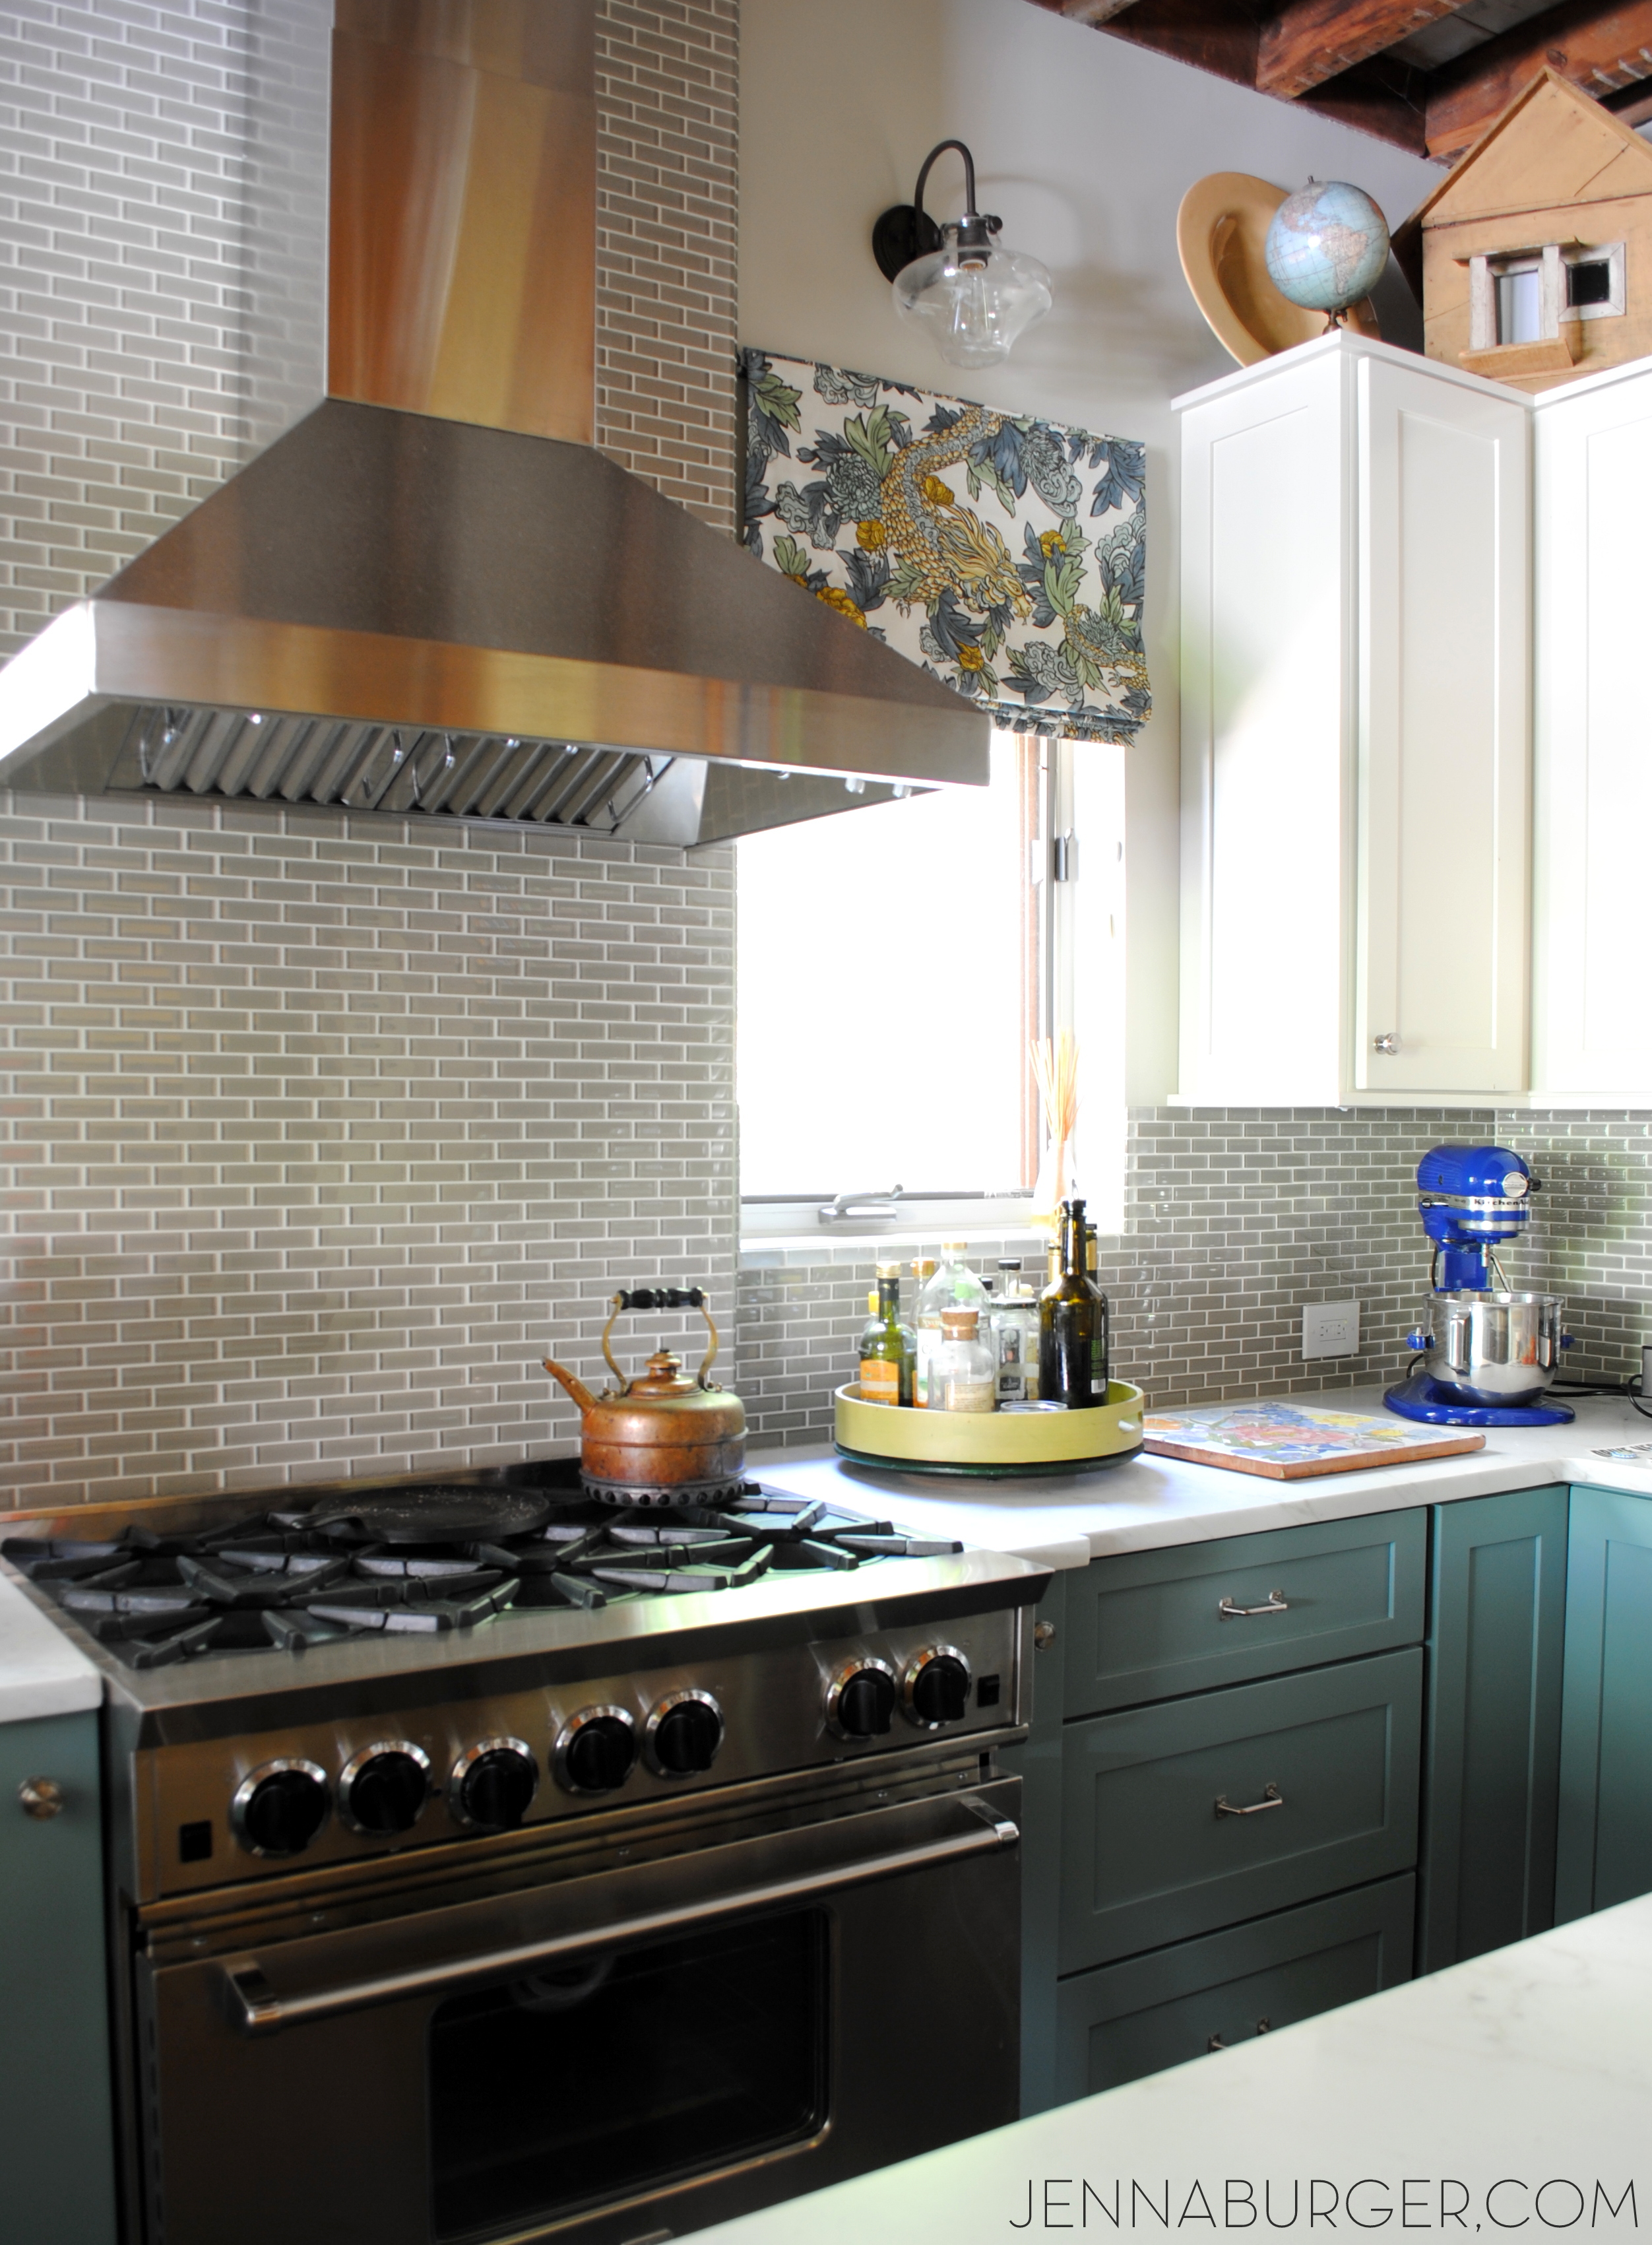
Transform your kitchen into a modern and stylish space by adding glass wall tile. Not only does it add a touch of elegance, but it also makes your kitchen easier to clean and maintain. If you're considering installing glass wall tile in your kitchen, here's a step-by-step guide to help you get started.How to Install Glass Wall Tile in Your Kitchen


How to Install Glass Wall Tile in Your Kitchen


Before you begin, make sure you have all the necessary materials. This includes glass wall tile, tile adhesive, grout, a trowel, tile spacers, a level, a tile cutter, and a grout float. It's important to use the right type of adhesive and grout for glass tile, as it is more delicate than other types of tile.Step 1: Gather Your Materials


Installing Glass Wall Tile in Your Kitchen: A Step-by-Step Guide


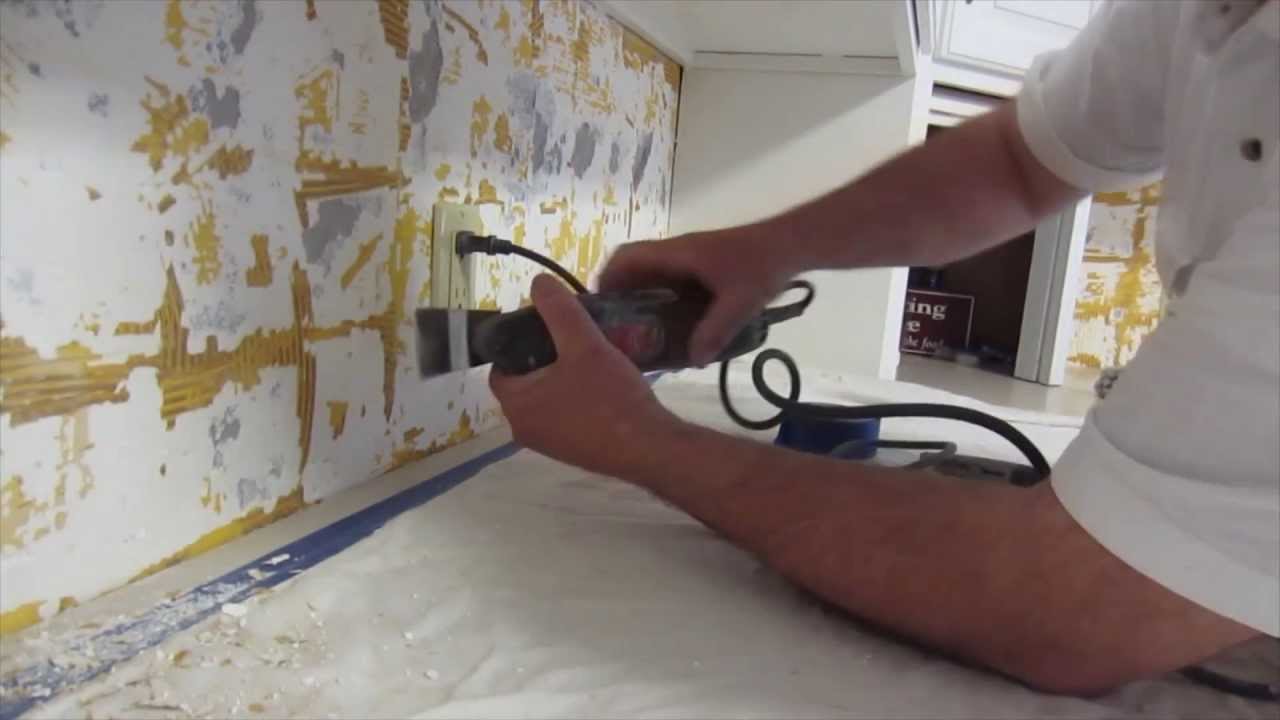
Make sure the wall surface is clean, dry, and smooth. Remove any old tiles or wallpaper and fill in any cracks or holes. Use a level to ensure the surface is even and use a primer if necessary.Step 2: Prepare the Surface

DIY: Installing Glass Wall Tile in Your Kitchen

Start by measuring the area you want to tile and plan out your layout. Use tile spacers to determine the spacing between each tile and make sure to account for any outlets or fixtures on the wall.Step 3: Plan Your Layout


Transform Your Kitchen with Glass Wall Tile: A Guide to Installation


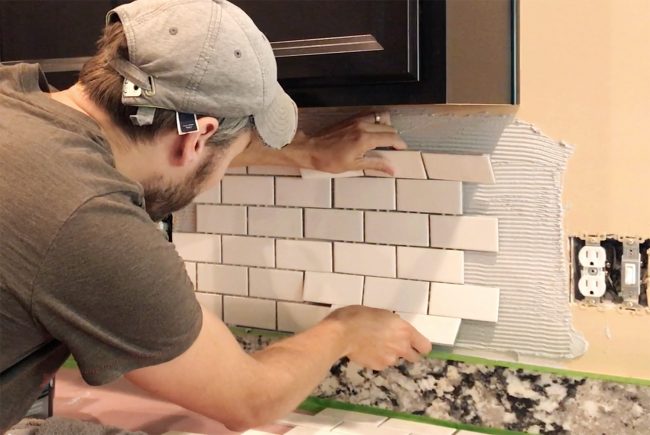
Using a trowel, apply a thin layer of adhesive to the wall. Be sure to only cover a small area at a time, as the adhesive dries quickly. Use the notched edge of the trowel to create ridges in the adhesive, which will help the tile adhere better.Step 4: Apply Adhesive

Installing Glass Wall Tile in Your Kitchen: Tips and Tricks
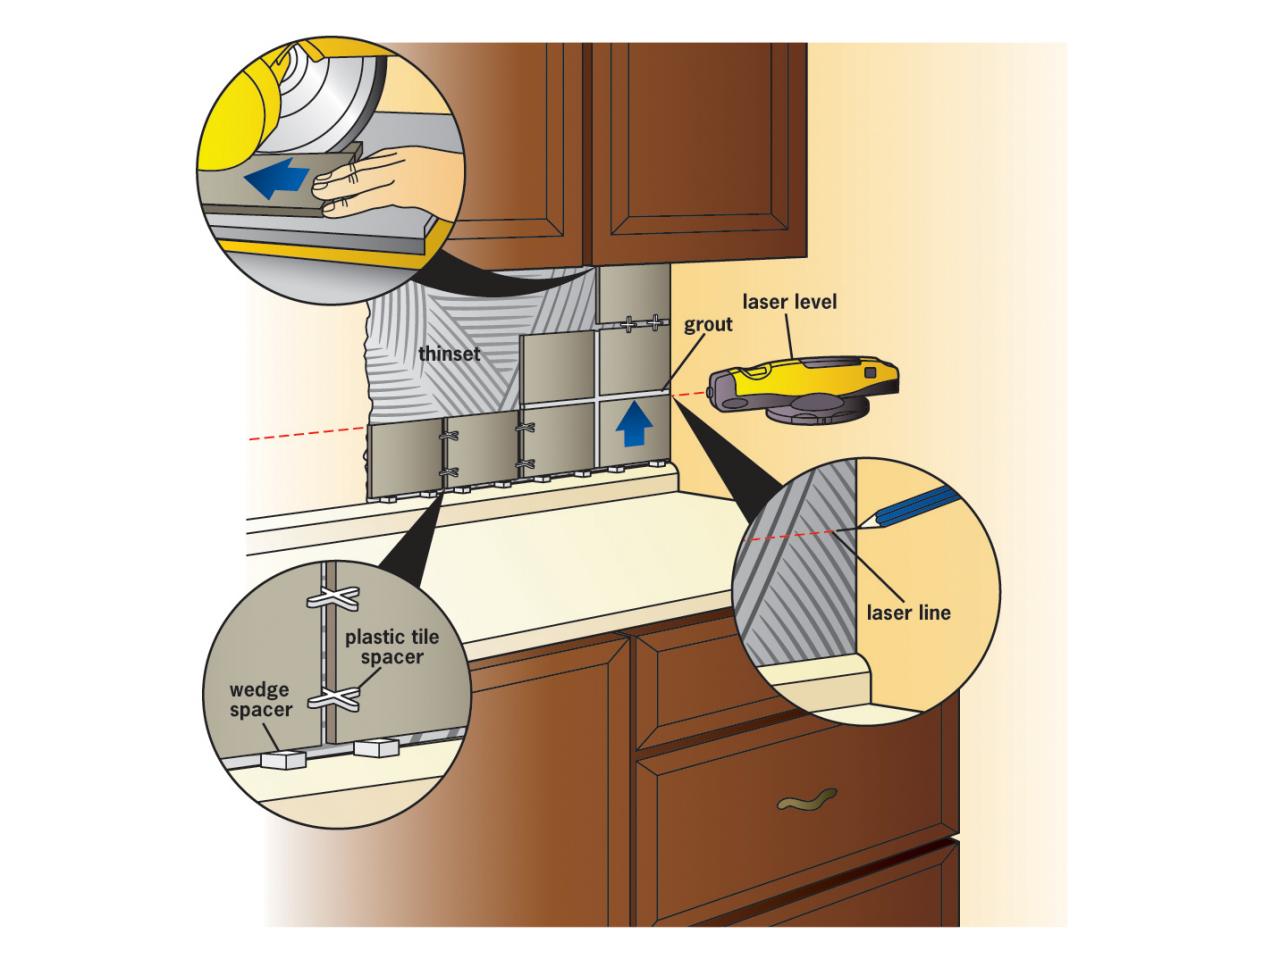

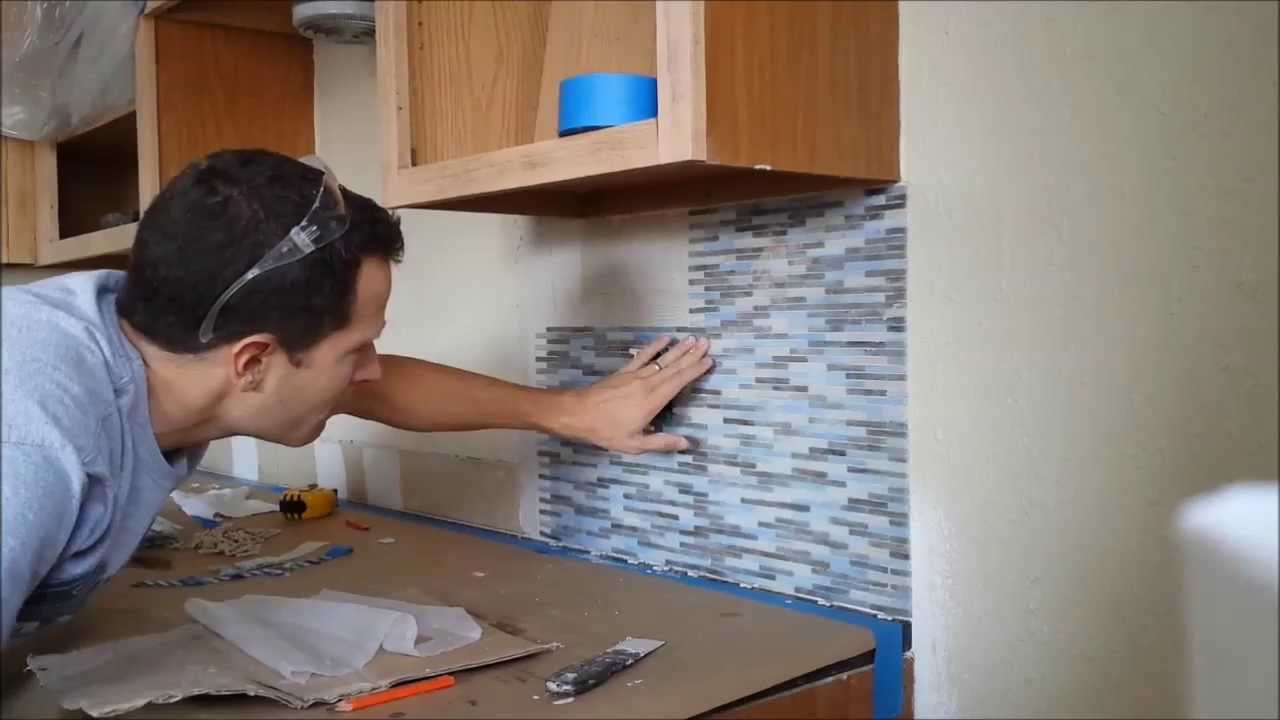
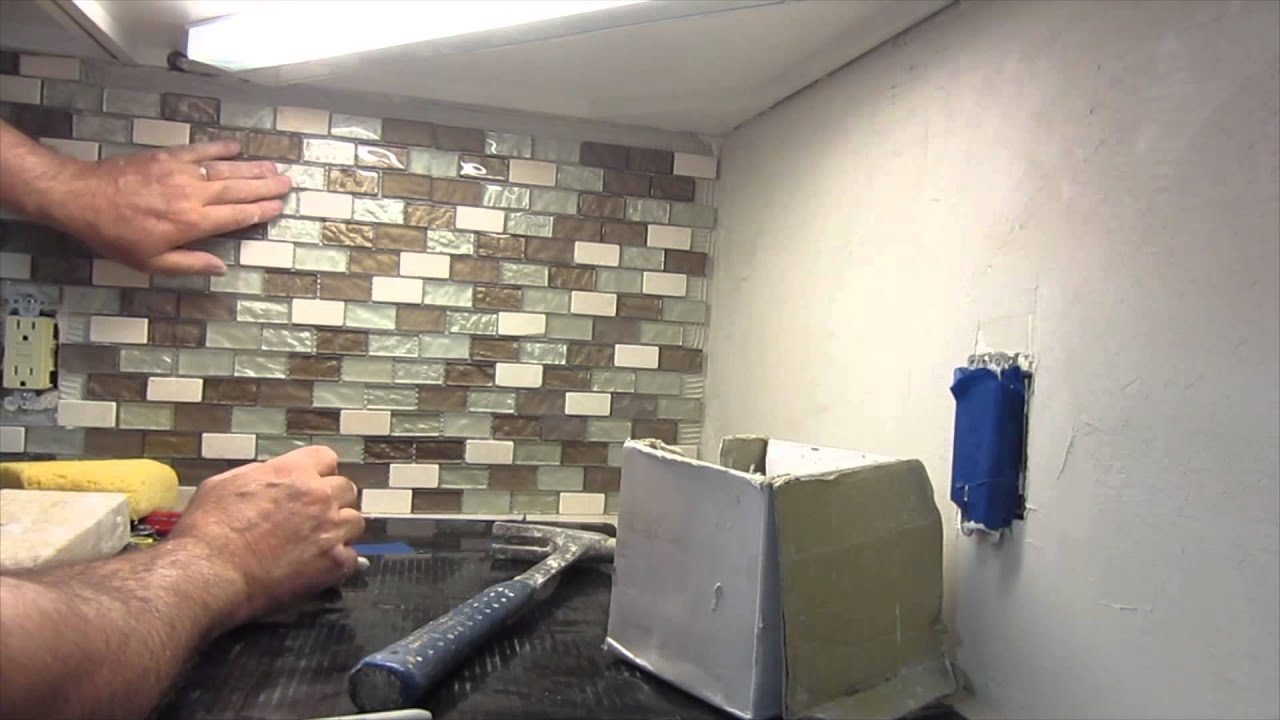
Carefully place the glass tile onto the adhesive, using the tile spacers to ensure even spacing. Press down lightly and use a level to make sure the tile is straight. Continue until all the tile is installed, cutting any necessary pieces with a tile cutter.Step 5: Install the Tile

Step-by-Step Guide to Installing Glass Wall Tile in Your Kitchen


Allow the adhesive to dry completely before grouting. This can take anywhere from 24-48 hours, depending on the type of adhesive used.Step 6: Let the Adhesive Dry


Upgrade Your Kitchen with Glass Wall Tile: A How-To Guide


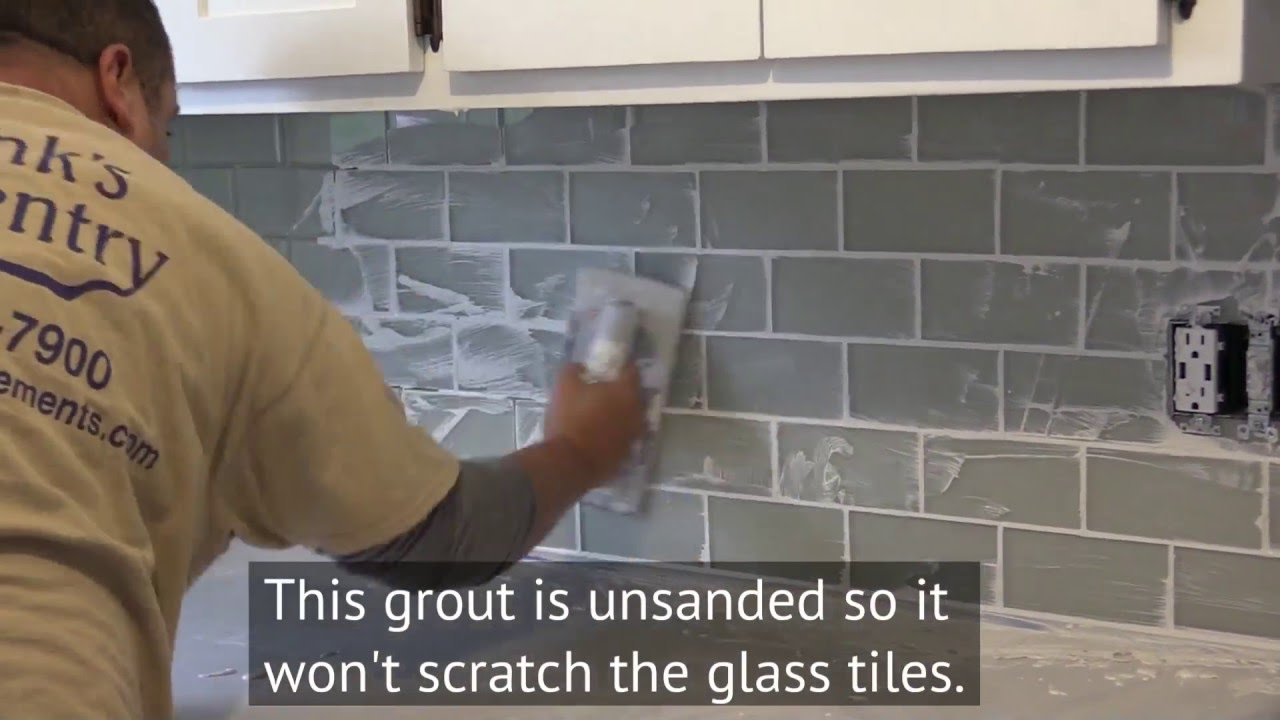
Using a grout float, apply the grout over the tiles, making sure to fill in all the gaps. Wipe off any excess grout with a damp sponge and let it dry for about 30 minutes.Step 7: Apply Grout

Installing Glass Wall Tile in Your Kitchen: What You Need to Know
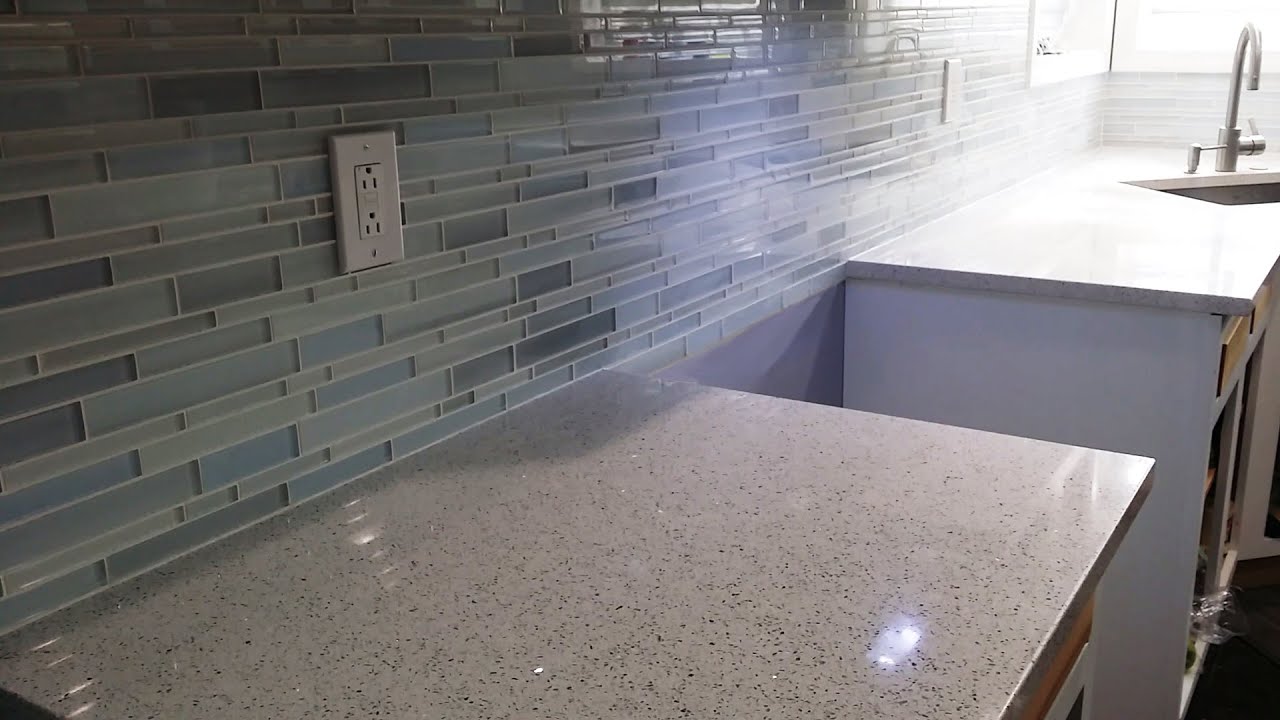
After the grout has dried, use a clean, damp sponge to wipe away any haze on the tiles. Repeat this step until all the grout is removed and the tiles are clean.Step 8: Clean the Tiles


DIY Kitchen Renovation: Installing Glass Wall Tile


Once the grout is completely dry, apply a grout sealer according to the manufacturer's instructions. This will help protect the grout from stains and make it easier to clean.Step 9: Seal the Grout
Maximize Your Kitchen's Style with Glass Wall Tile: A Step-by-Step Guide
:max_bytes(150000):strip_icc()/helfordln-35-58e07f2960b8494cbbe1d63b9e513f59.jpeg)

Tips for Installing Glass Wall Tile in Your Kitchen
Choosing the Right Glass Wall Tile
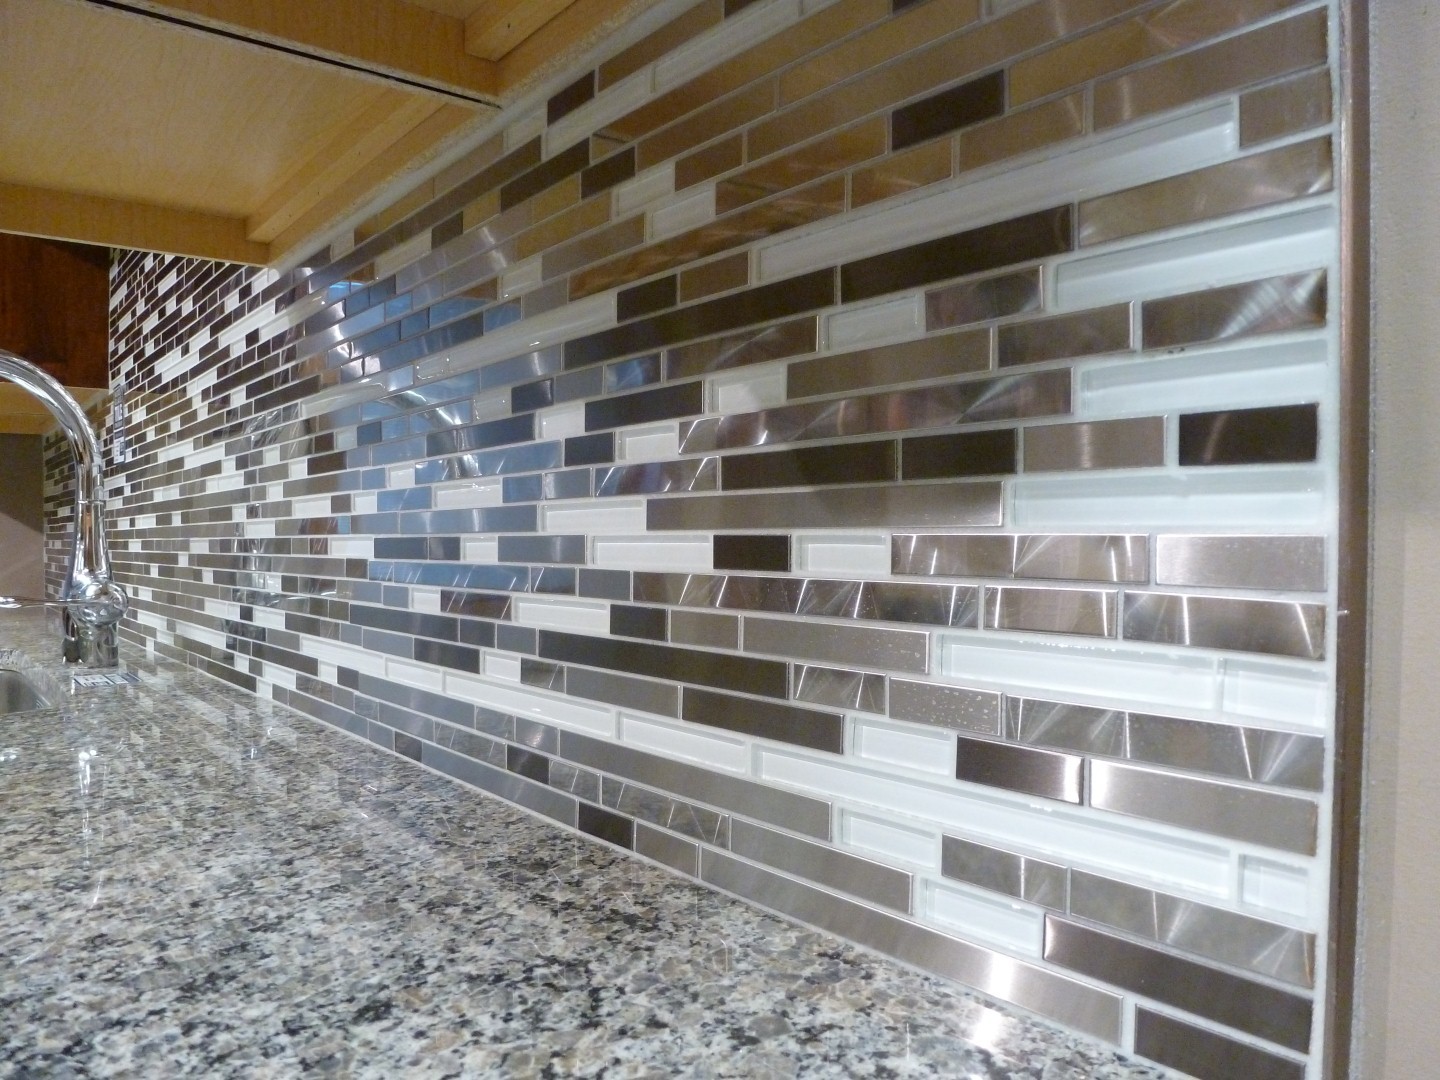
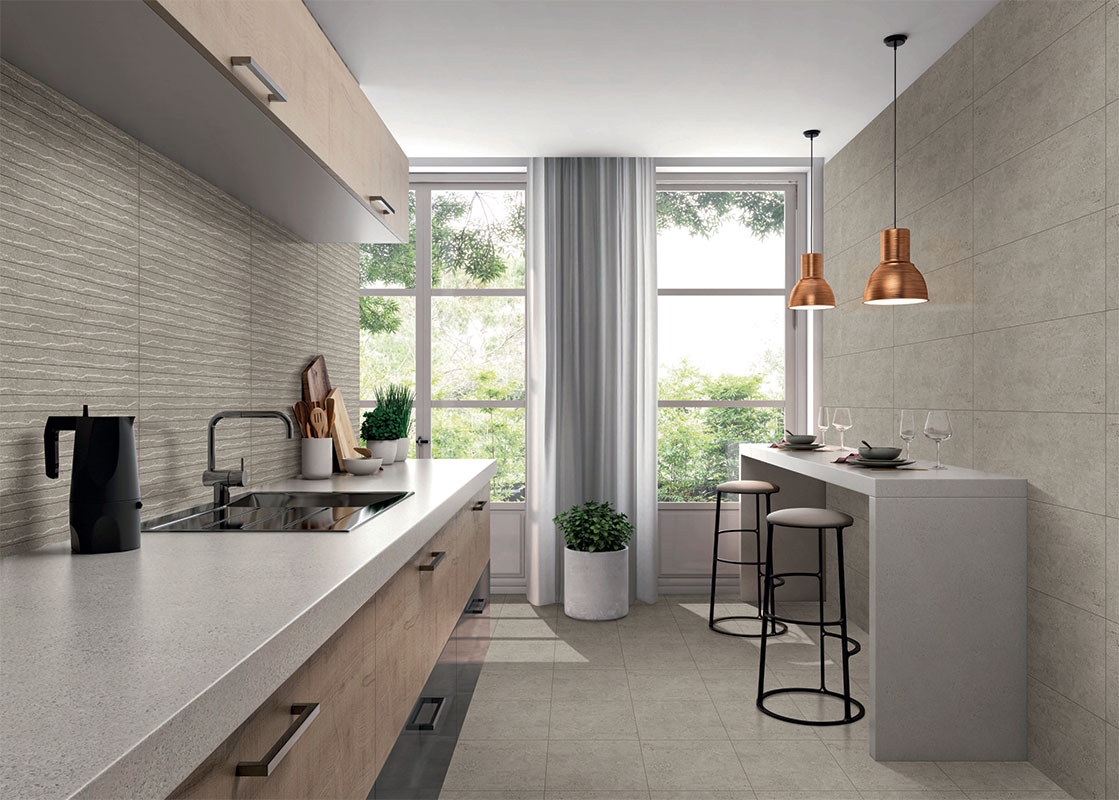
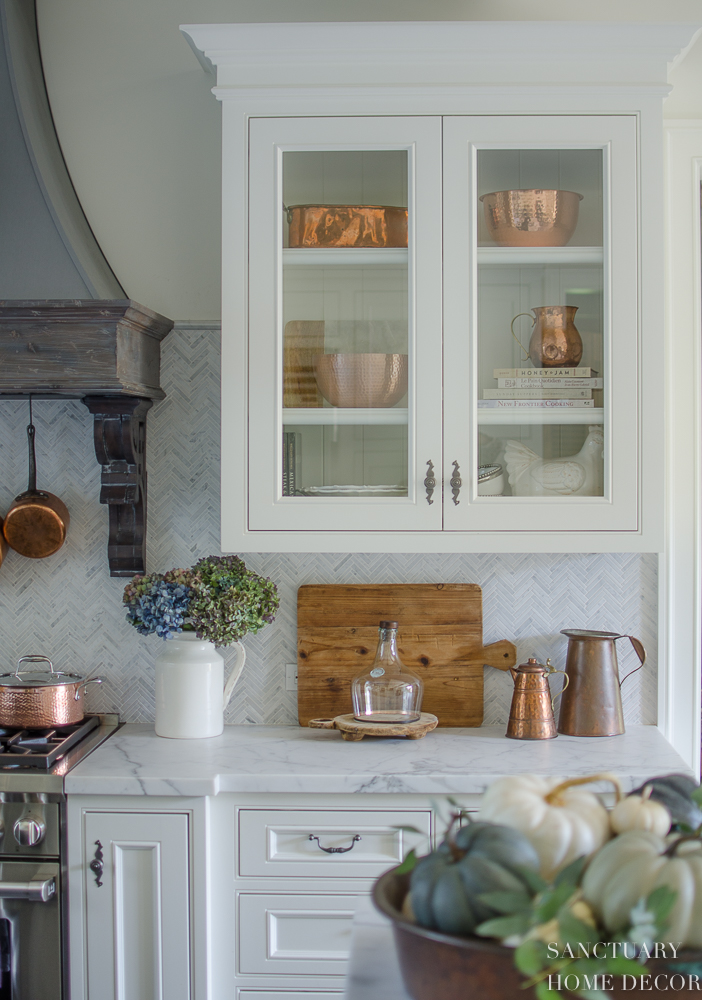
 When it comes to designing your kitchen, one of the most popular and stylish choices for backsplash and accent walls is glass wall tile. Its reflective surface adds a touch of elegance and luxury to any kitchen, making it a popular choice for homeowners. However, with so many options available, it can be overwhelming to choose the right glass wall tile for your kitchen.
Before making a purchase, consider the following factors:
When it comes to designing your kitchen, one of the most popular and stylish choices for backsplash and accent walls is glass wall tile. Its reflective surface adds a touch of elegance and luxury to any kitchen, making it a popular choice for homeowners. However, with so many options available, it can be overwhelming to choose the right glass wall tile for your kitchen.
Before making a purchase, consider the following factors:
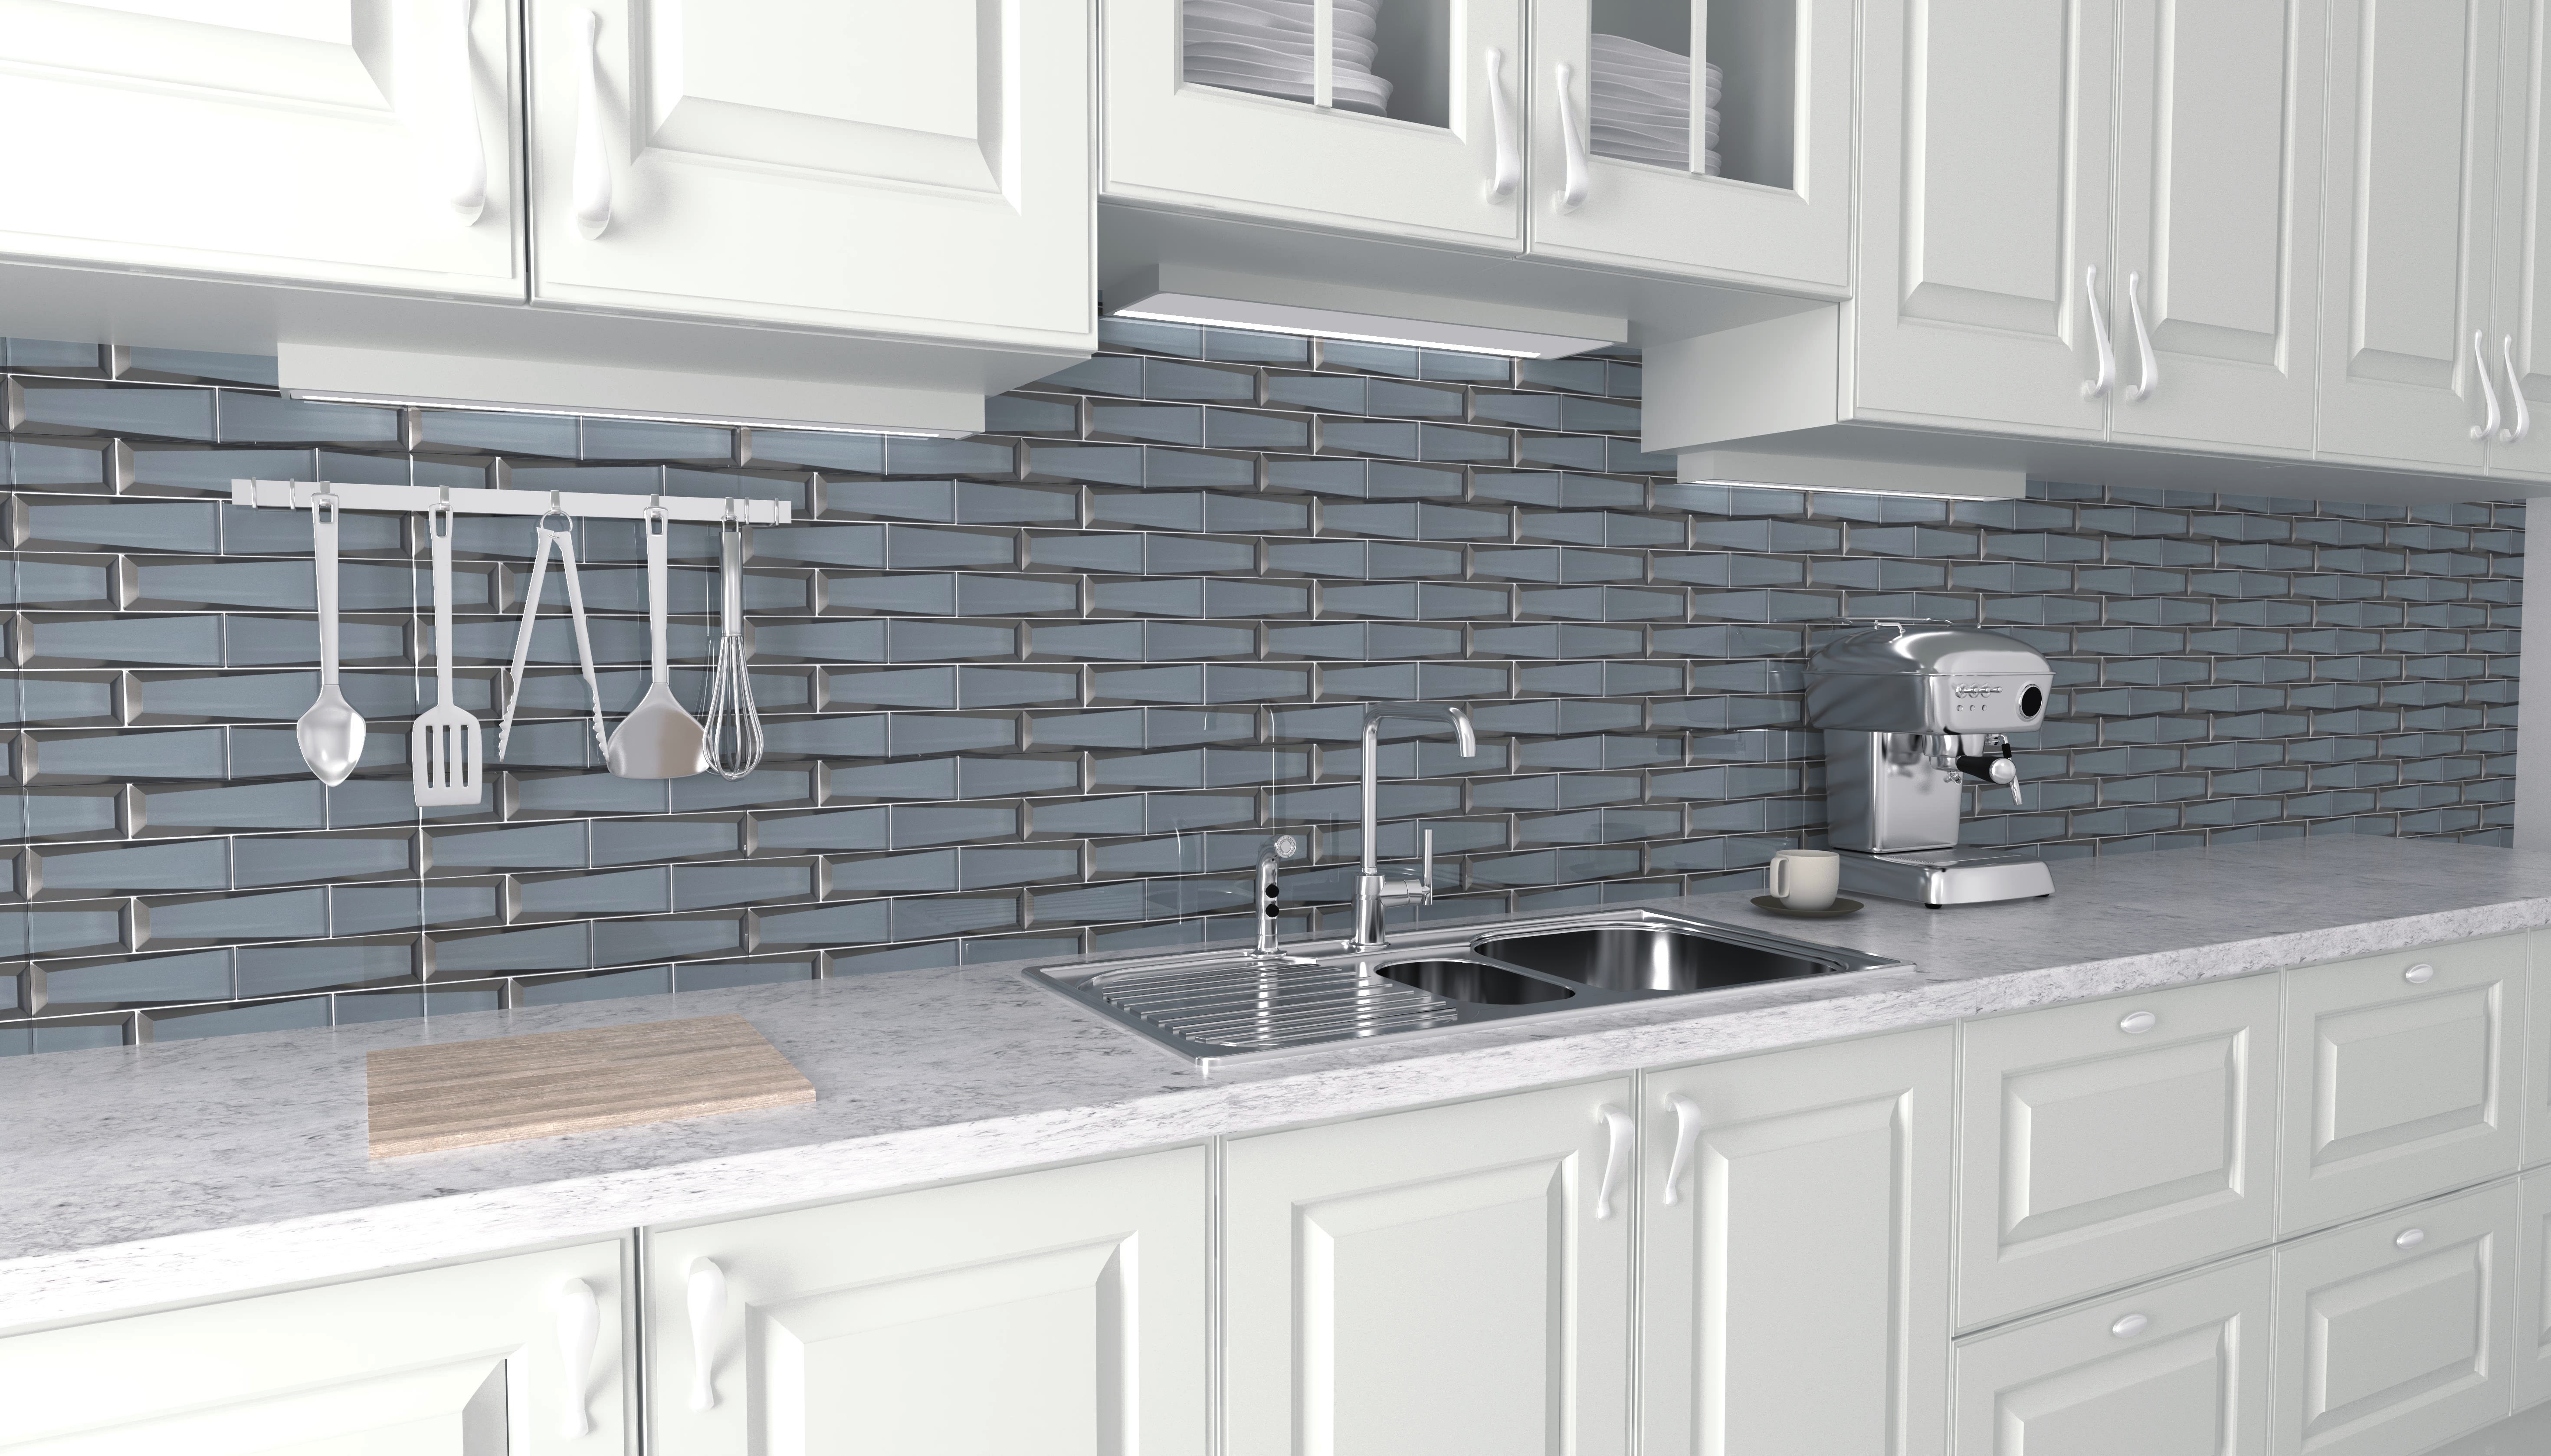
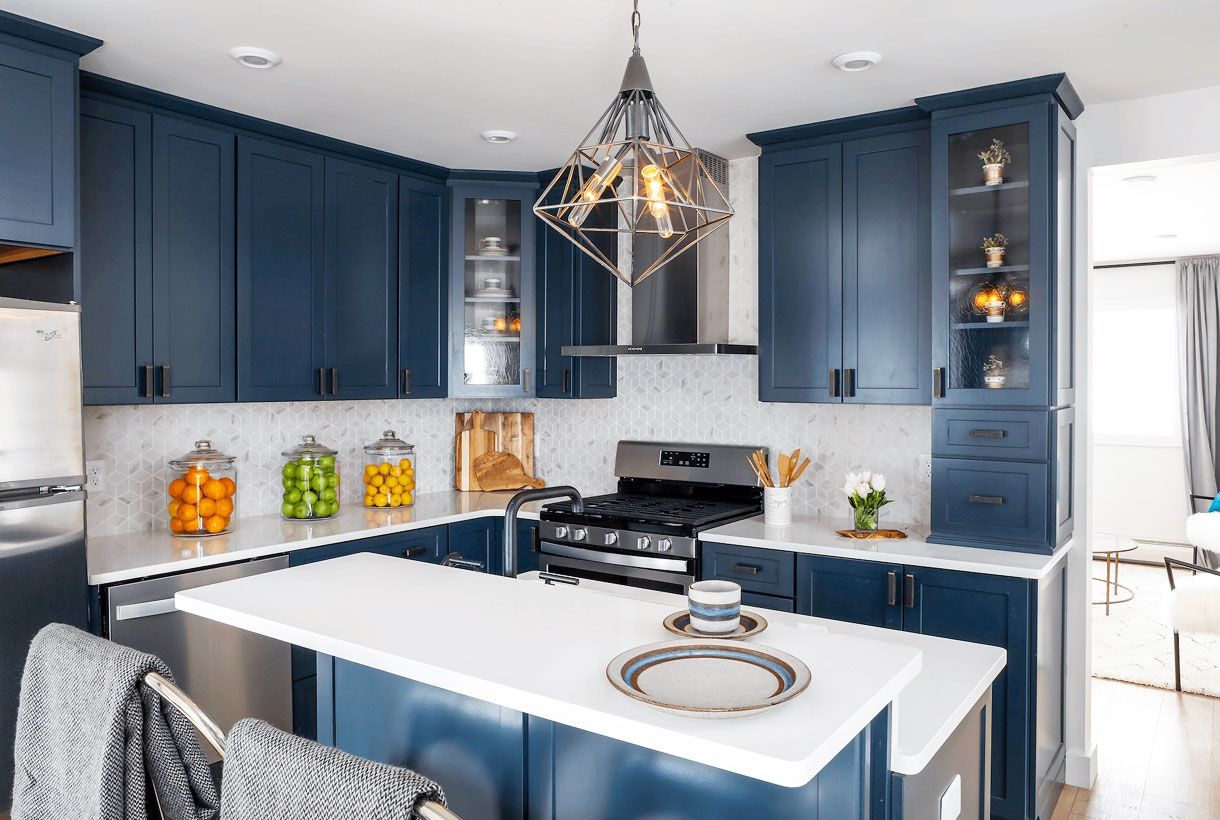
- Size and Shape: Glass wall tiles come in a variety of sizes and shapes, from small subway tiles to large square tiles. Consider the size and layout of your kitchen when choosing the tile size and shape. For smaller kitchens, smaller tiles can create the illusion of a larger space.
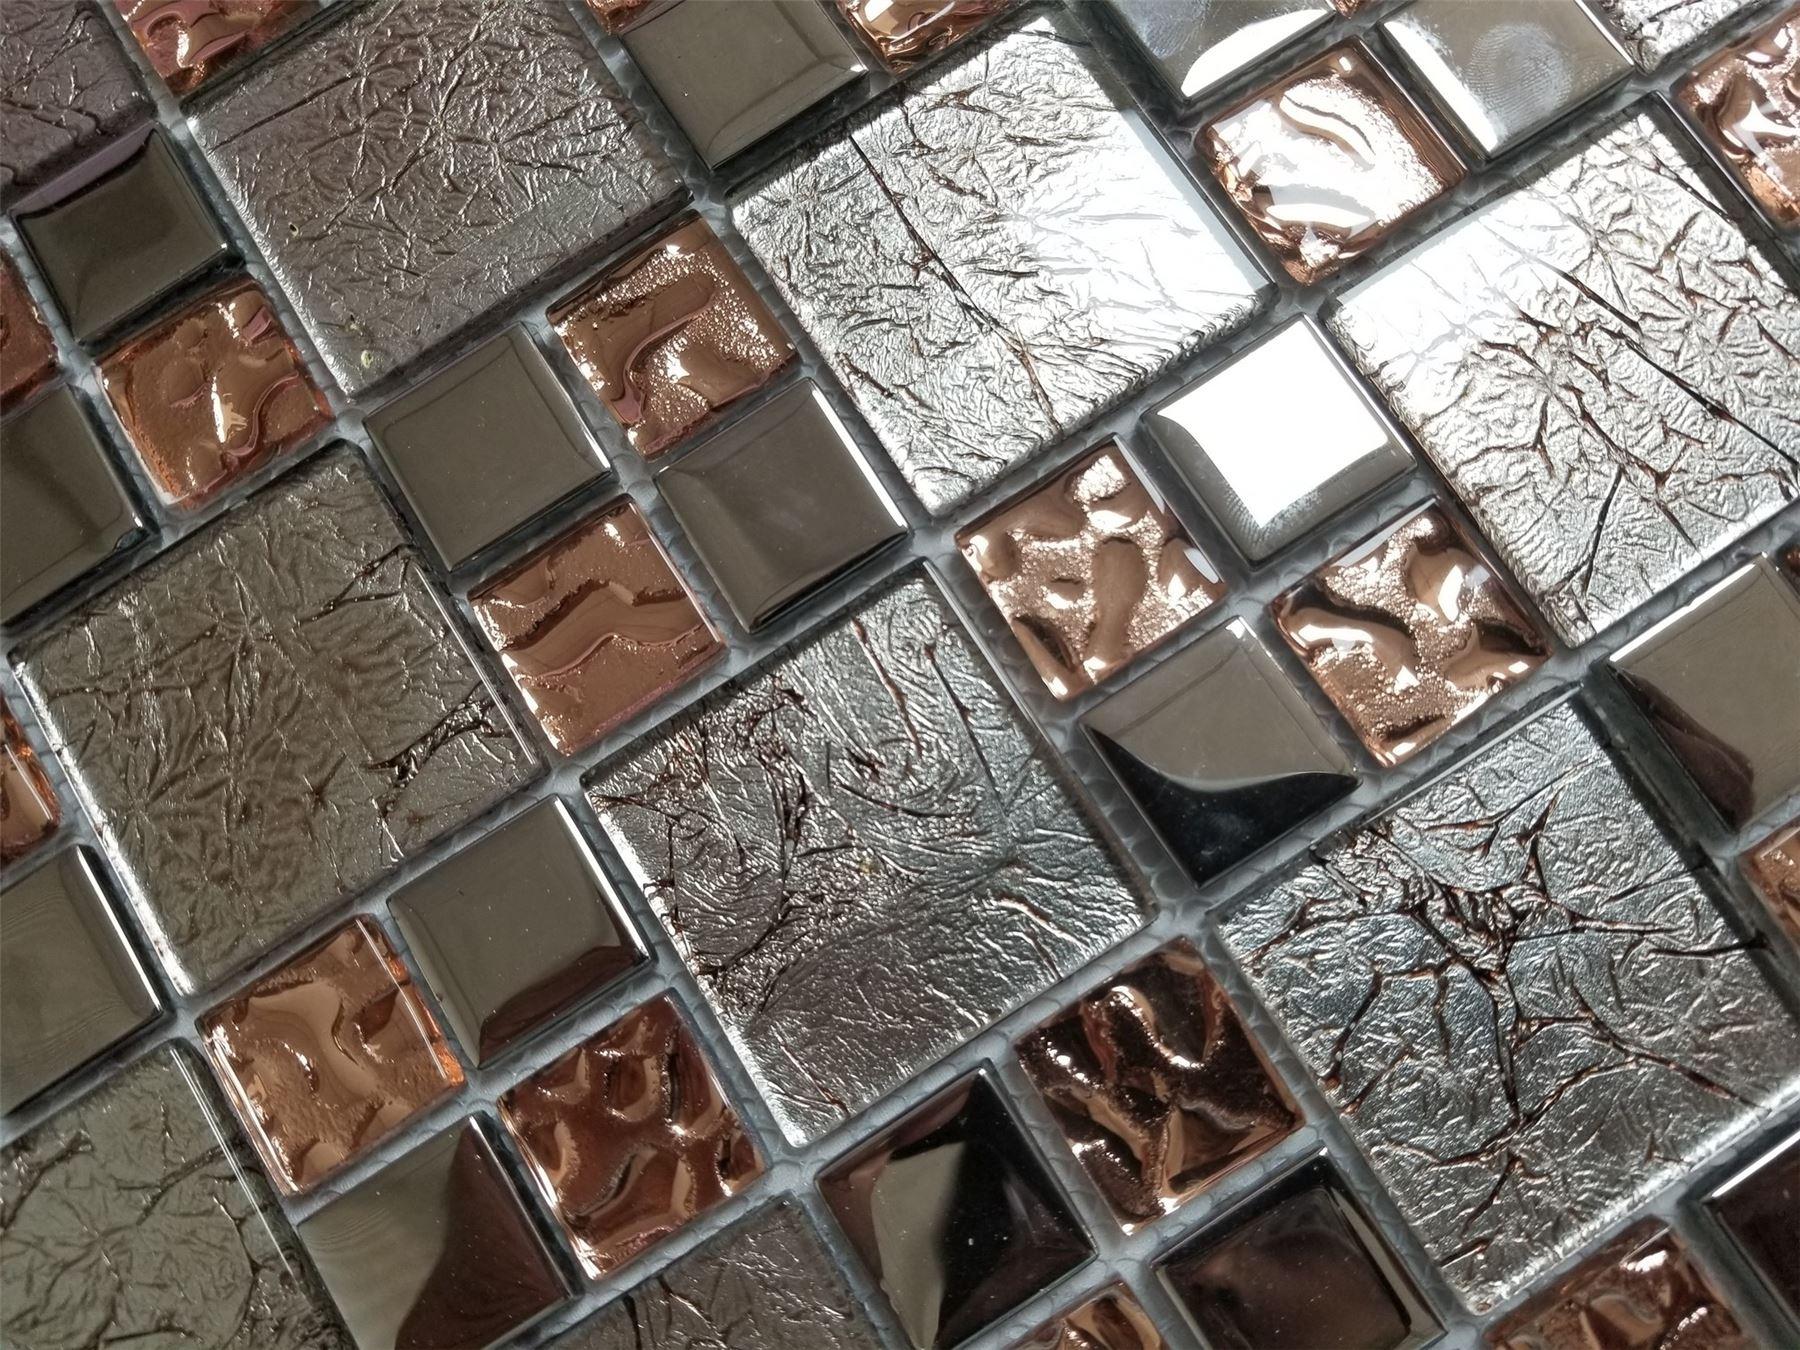
- Color and Finish: Glass tiles are available in a wide range of colors and finishes. Consider the color scheme and design of your kitchen and choose a tile that complements it. Glossy and iridescent finishes can add a modern touch, while matte finishes give a more subtle and classic look.
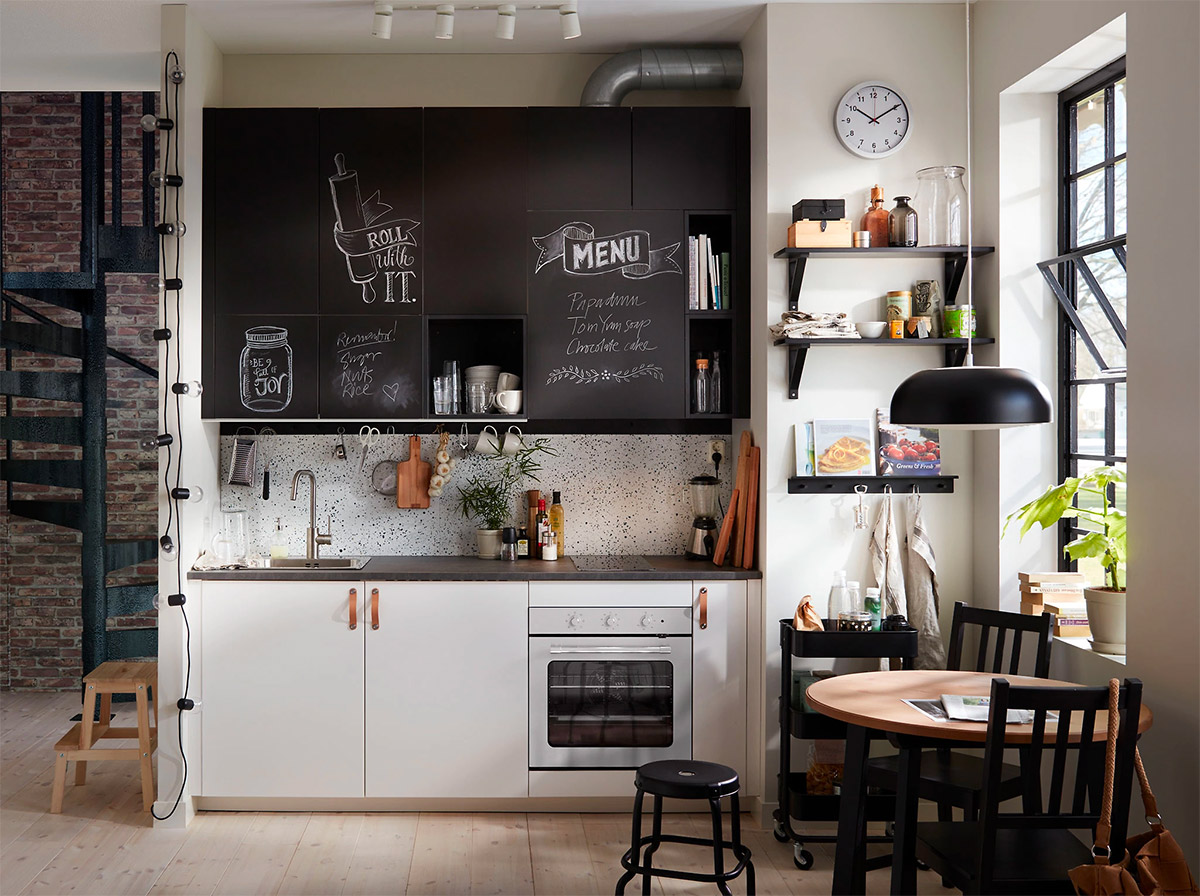
- Texture: Glass tiles can also have different textures, such as smooth, textured, or embossed. Think about the overall look and feel you want to achieve in your kitchen and choose a tile that fits your vision.
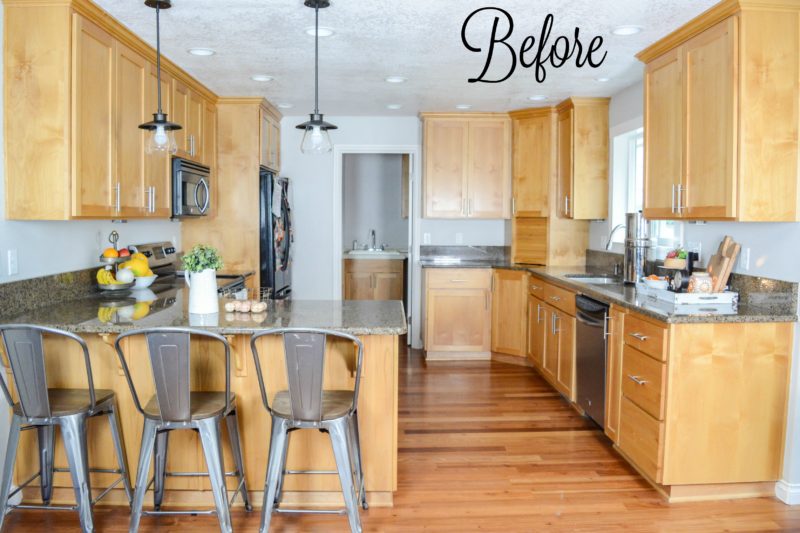
Preparing for Installation
 Before installing your glass wall tile, it's essential to prepare the surface properly to ensure a successful and long-lasting installation.
Here are some necessary steps to follow:
Before installing your glass wall tile, it's essential to prepare the surface properly to ensure a successful and long-lasting installation.
Here are some necessary steps to follow:
- Clean the wall: Make sure the wall is clean and free of any dirt, grease, or debris. Use a degreaser to remove any stubborn stains.
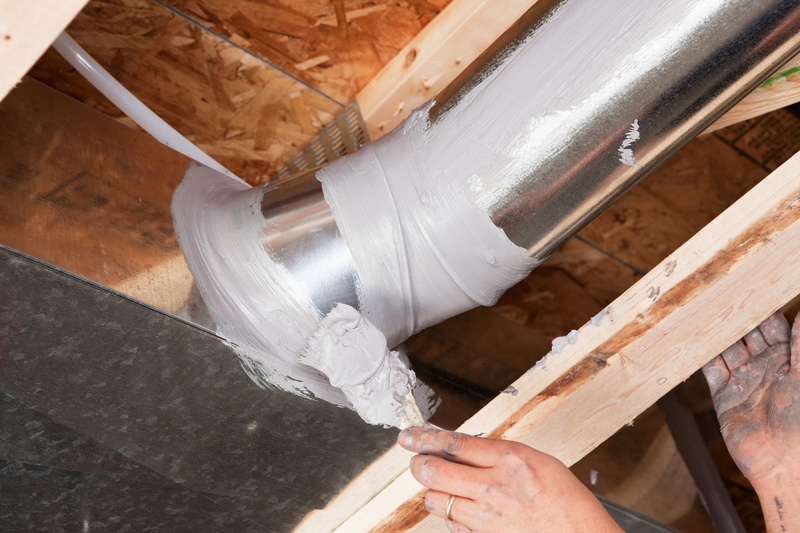
- Repair any damage: Fill in any cracks or holes in the wall with spackling compound and let it dry completely.
- Smooth out the surface: If the wall is uneven, use a sanding block to smooth out any bumps or ridges.
- Prime the wall: Apply a coat of primer to the wall to help the tiles adhere better.
Installing Your Glass Wall Tile
 Now that you have chosen the perfect glass wall tile and prepared the surface, it's time to start the installation process.
Follow these steps for a successful installation:
Now that you have chosen the perfect glass wall tile and prepared the surface, it's time to start the installation process.
Follow these steps for a successful installation:
- Measure and mark the wall: Use a tape measure to measure the area where you will be installing the tile. Use a level to ensure your marks are straight.
- Mix the mortar: Follow the instructions on the mortar package to mix it correctly.
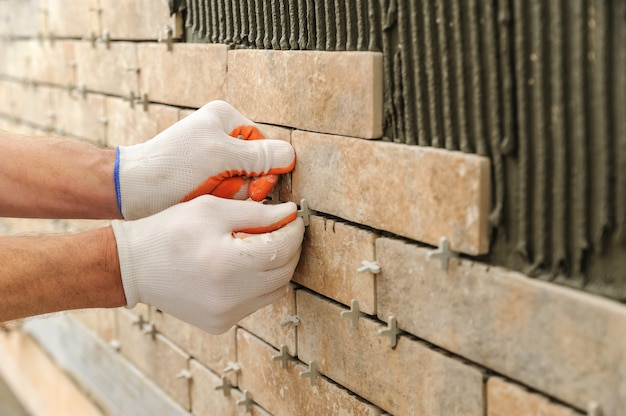
- Spread the mortar: Use a notched trowel to spread the mortar evenly on the wall.
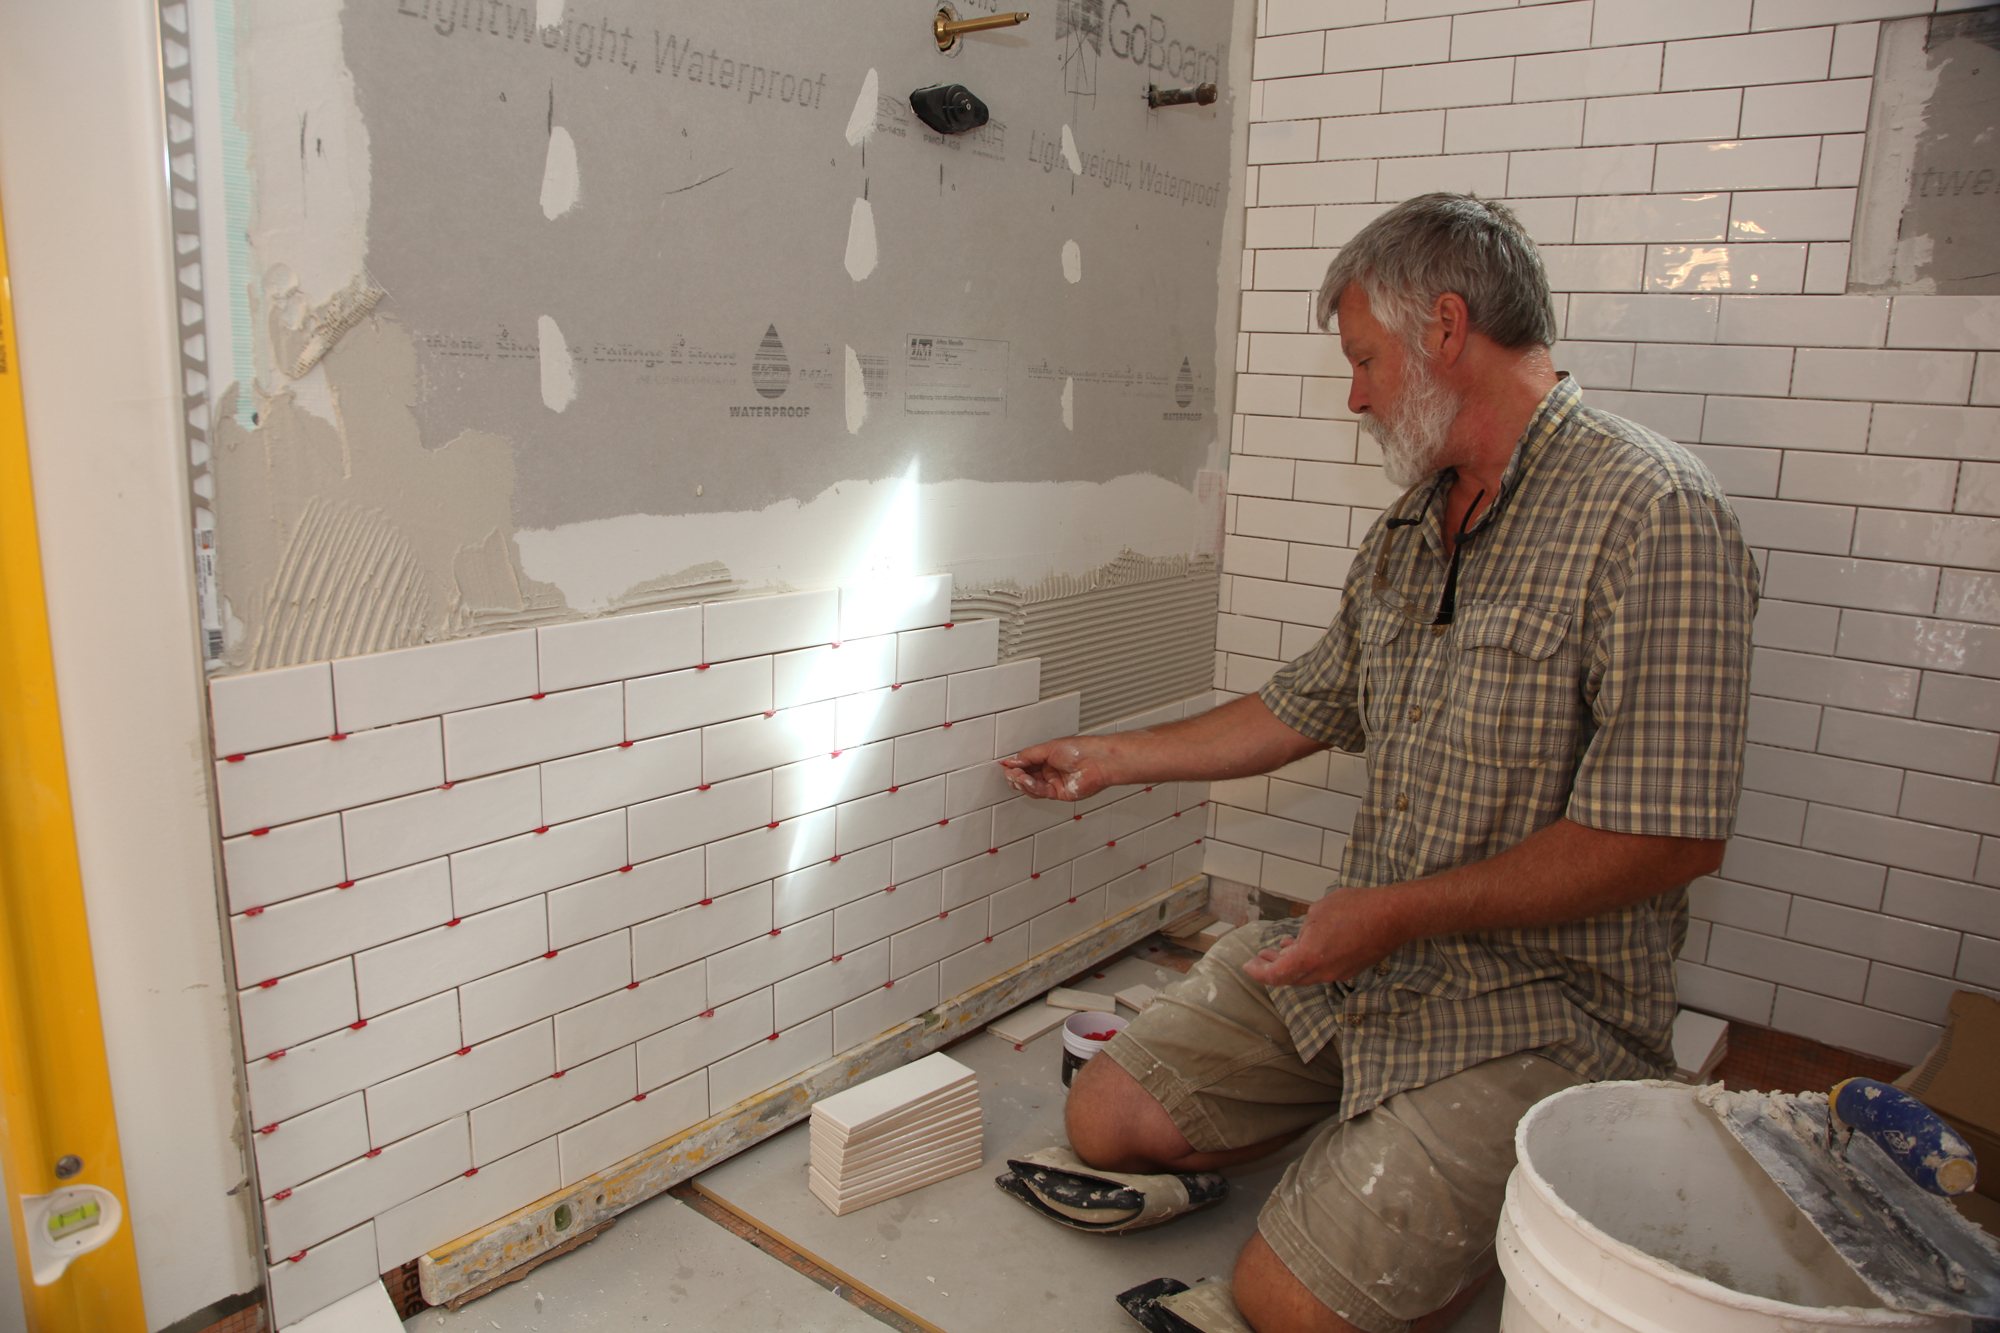
- Place the tiles: Carefully place the tiles on the wall, starting from the bottom and working your way up. Use tile spacers to ensure even spacing between tiles.
- Let it dry: Allow the tiles to dry for at least 24 hours before grouting.
- Grout the tiles: Use a rubber grout float to apply the grout between the tiles. Wipe off any excess grout with a damp sponge.
- Clean and seal: Once the grout has dried, clean the tiles with a damp cloth and seal them with a grout sealer to protect them from stains and moisture.
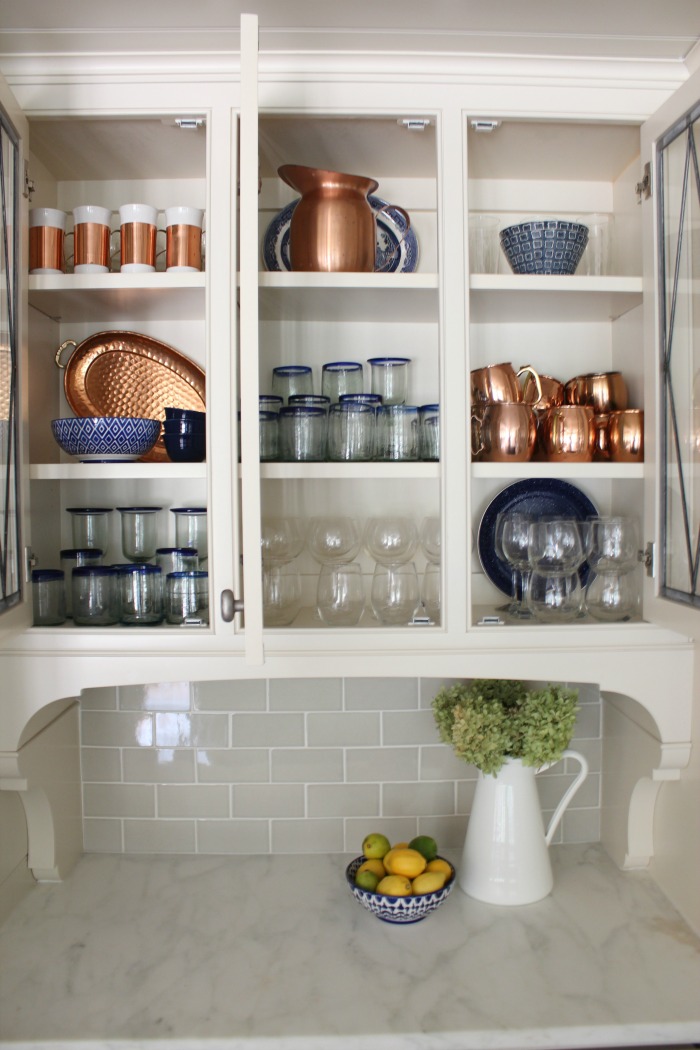
Final Thoughts
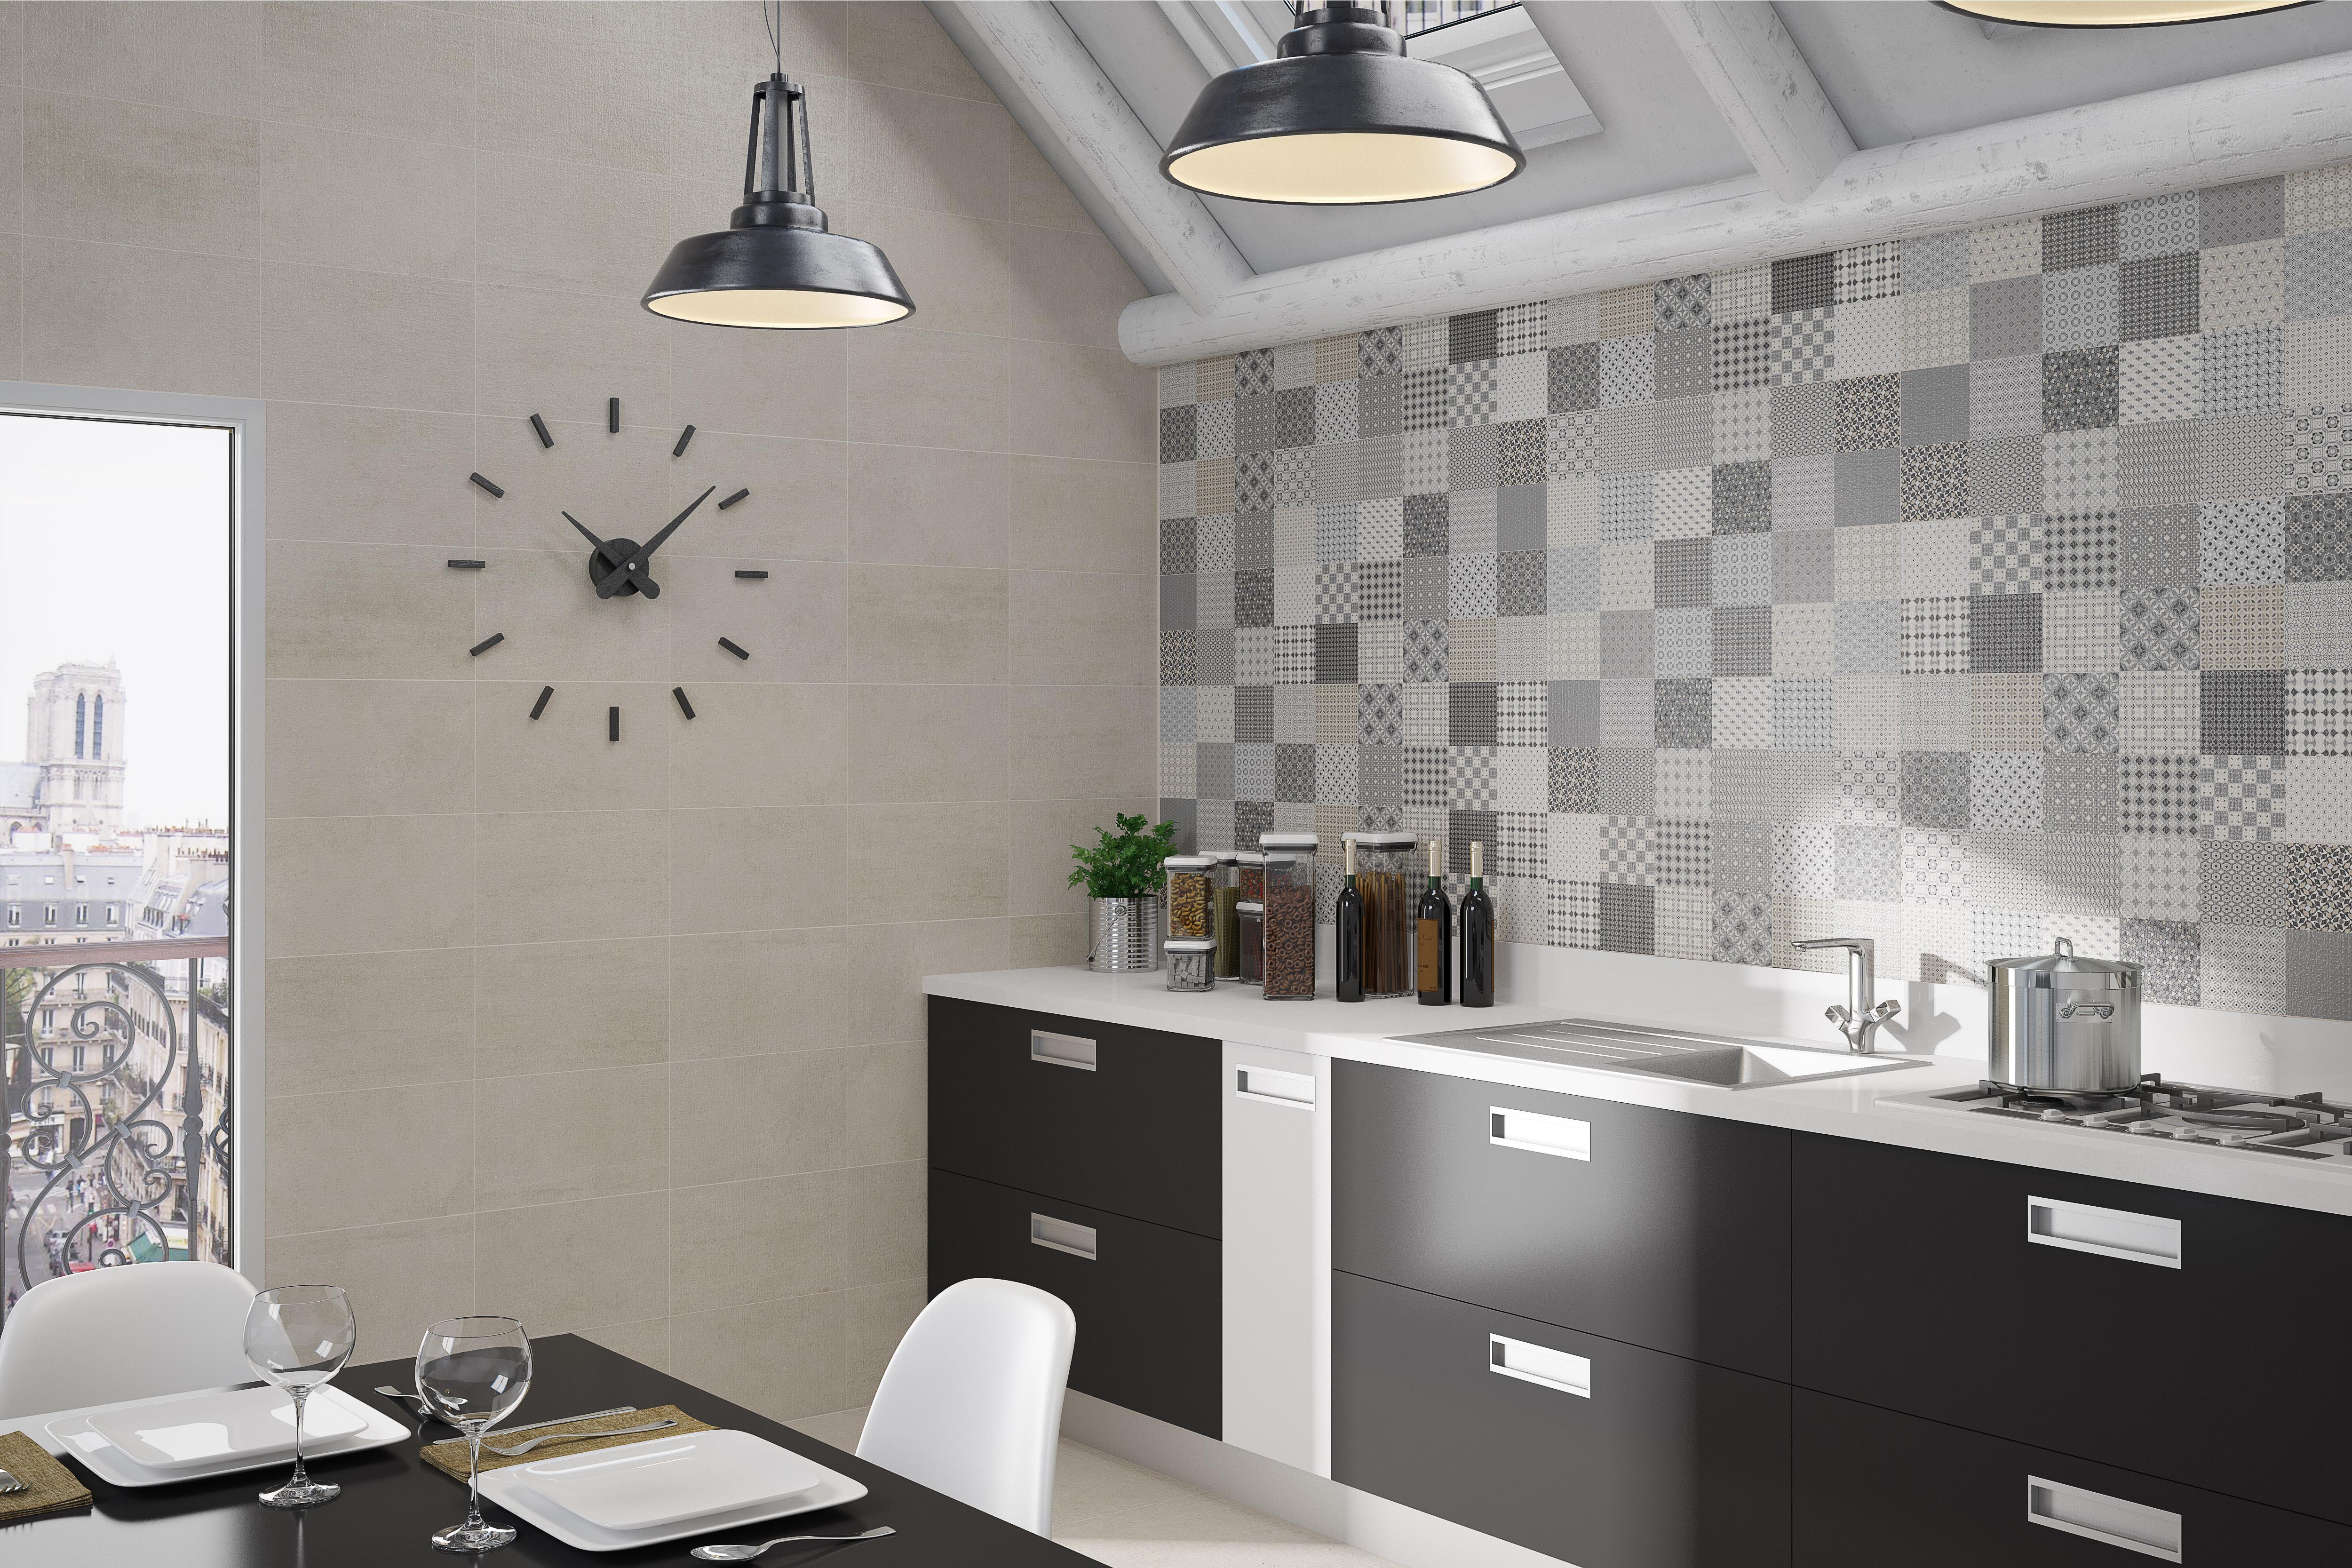
 Installing glass wall tile in your kitchen can be a fun and rewarding project that adds a touch of style and sophistication to your space.
Remember to take your time and follow these tips for a successful installation that will make your kitchen shine.
With the right glass wall tile, proper preparation, and careful installation, your kitchen will be transformed into a stunning and functional space that you can enjoy for years to come.
Installing glass wall tile in your kitchen can be a fun and rewarding project that adds a touch of style and sophistication to your space.
Remember to take your time and follow these tips for a successful installation that will make your kitchen shine.
With the right glass wall tile, proper preparation, and careful installation, your kitchen will be transformed into a stunning and functional space that you can enjoy for years to come.