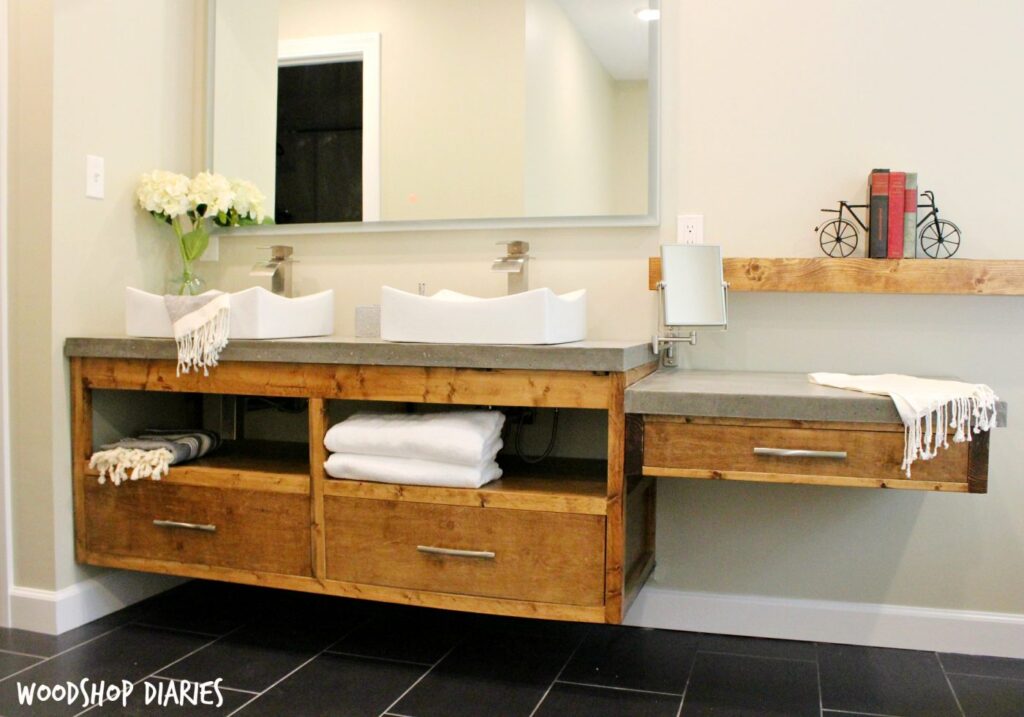
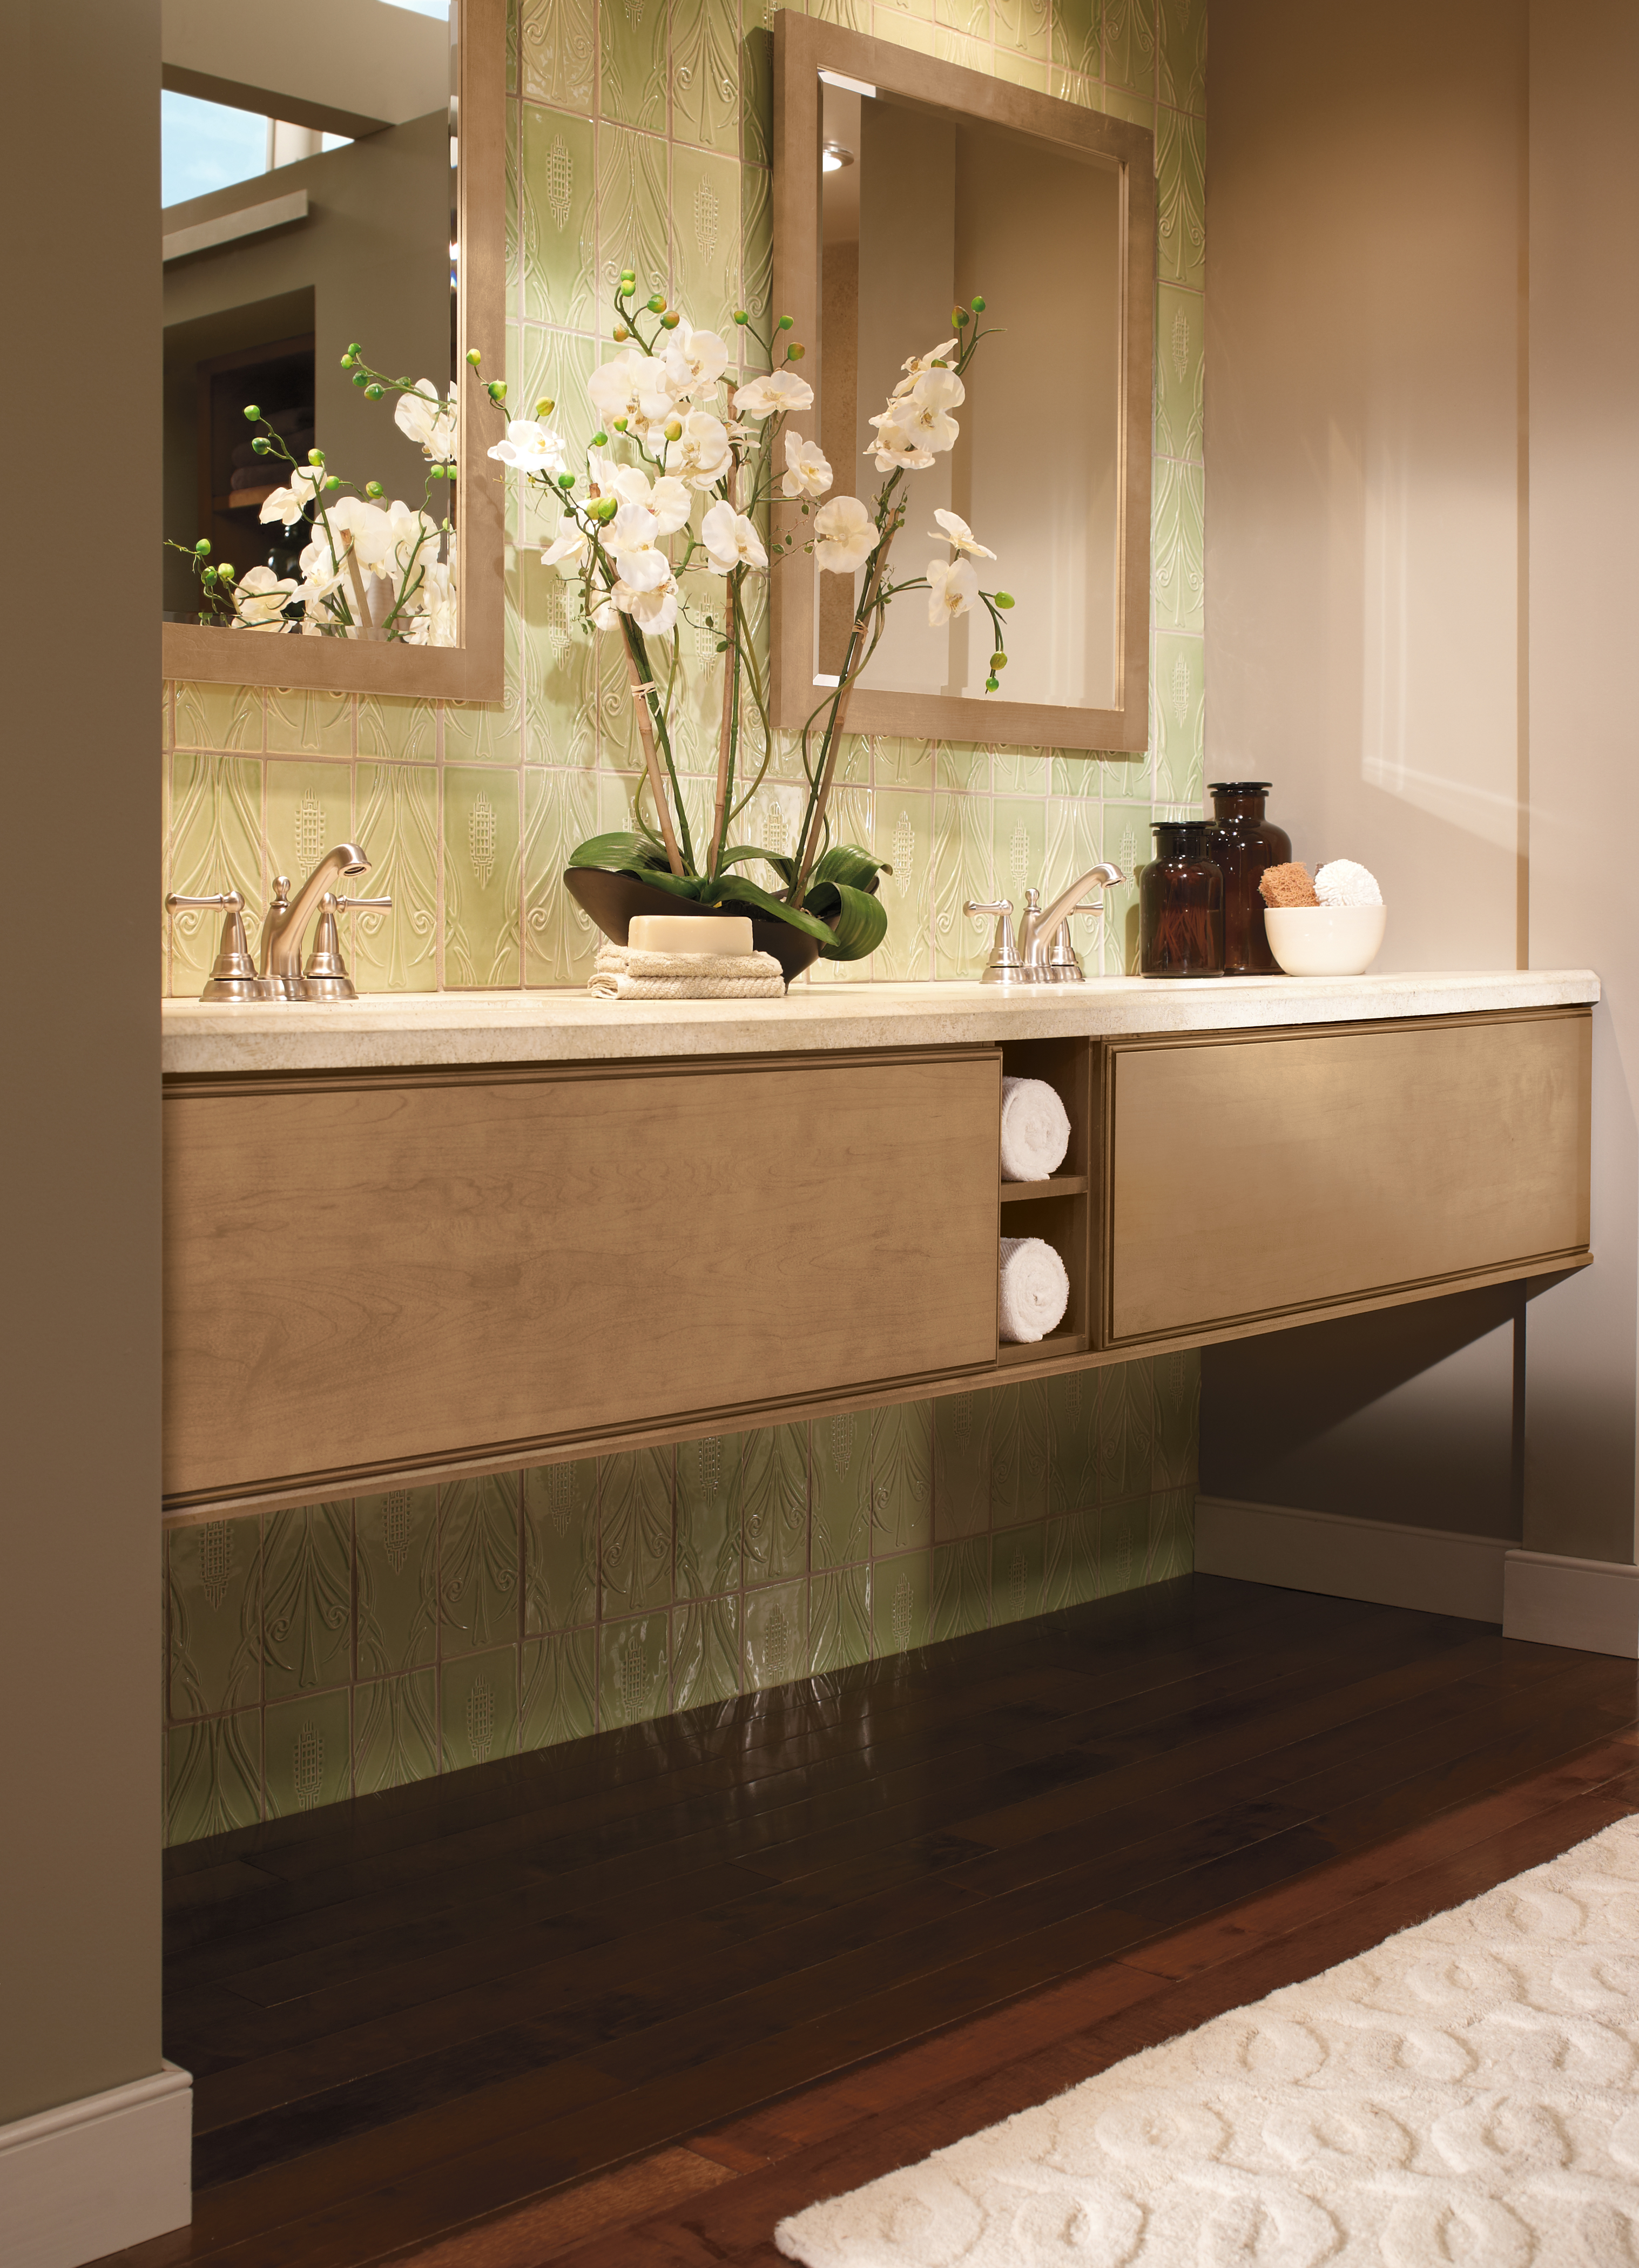
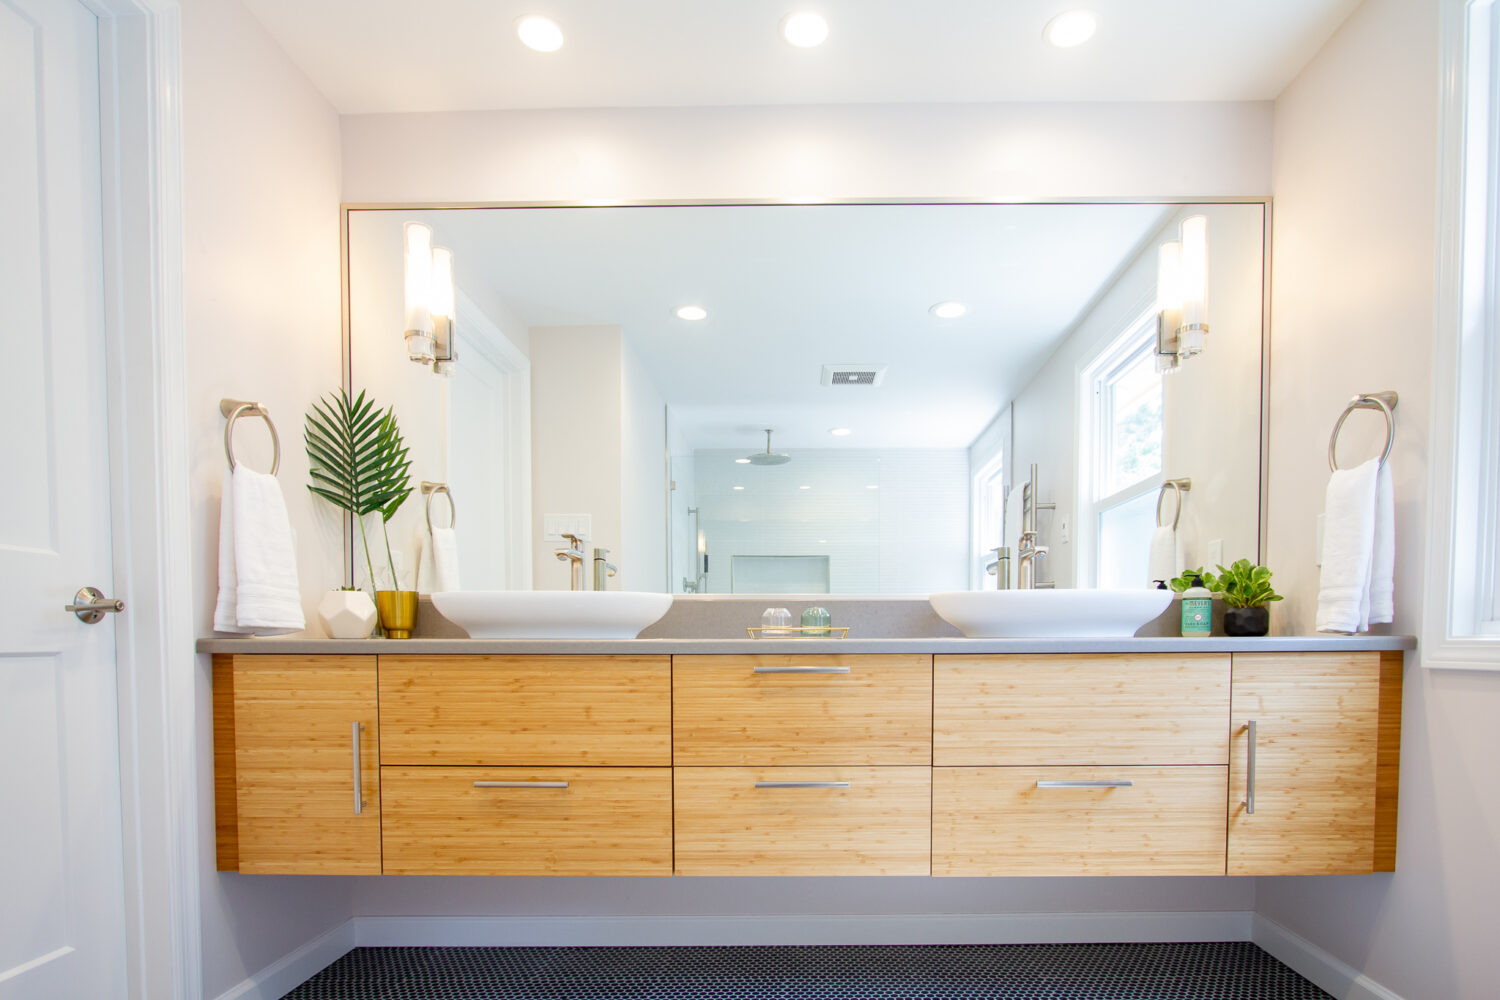
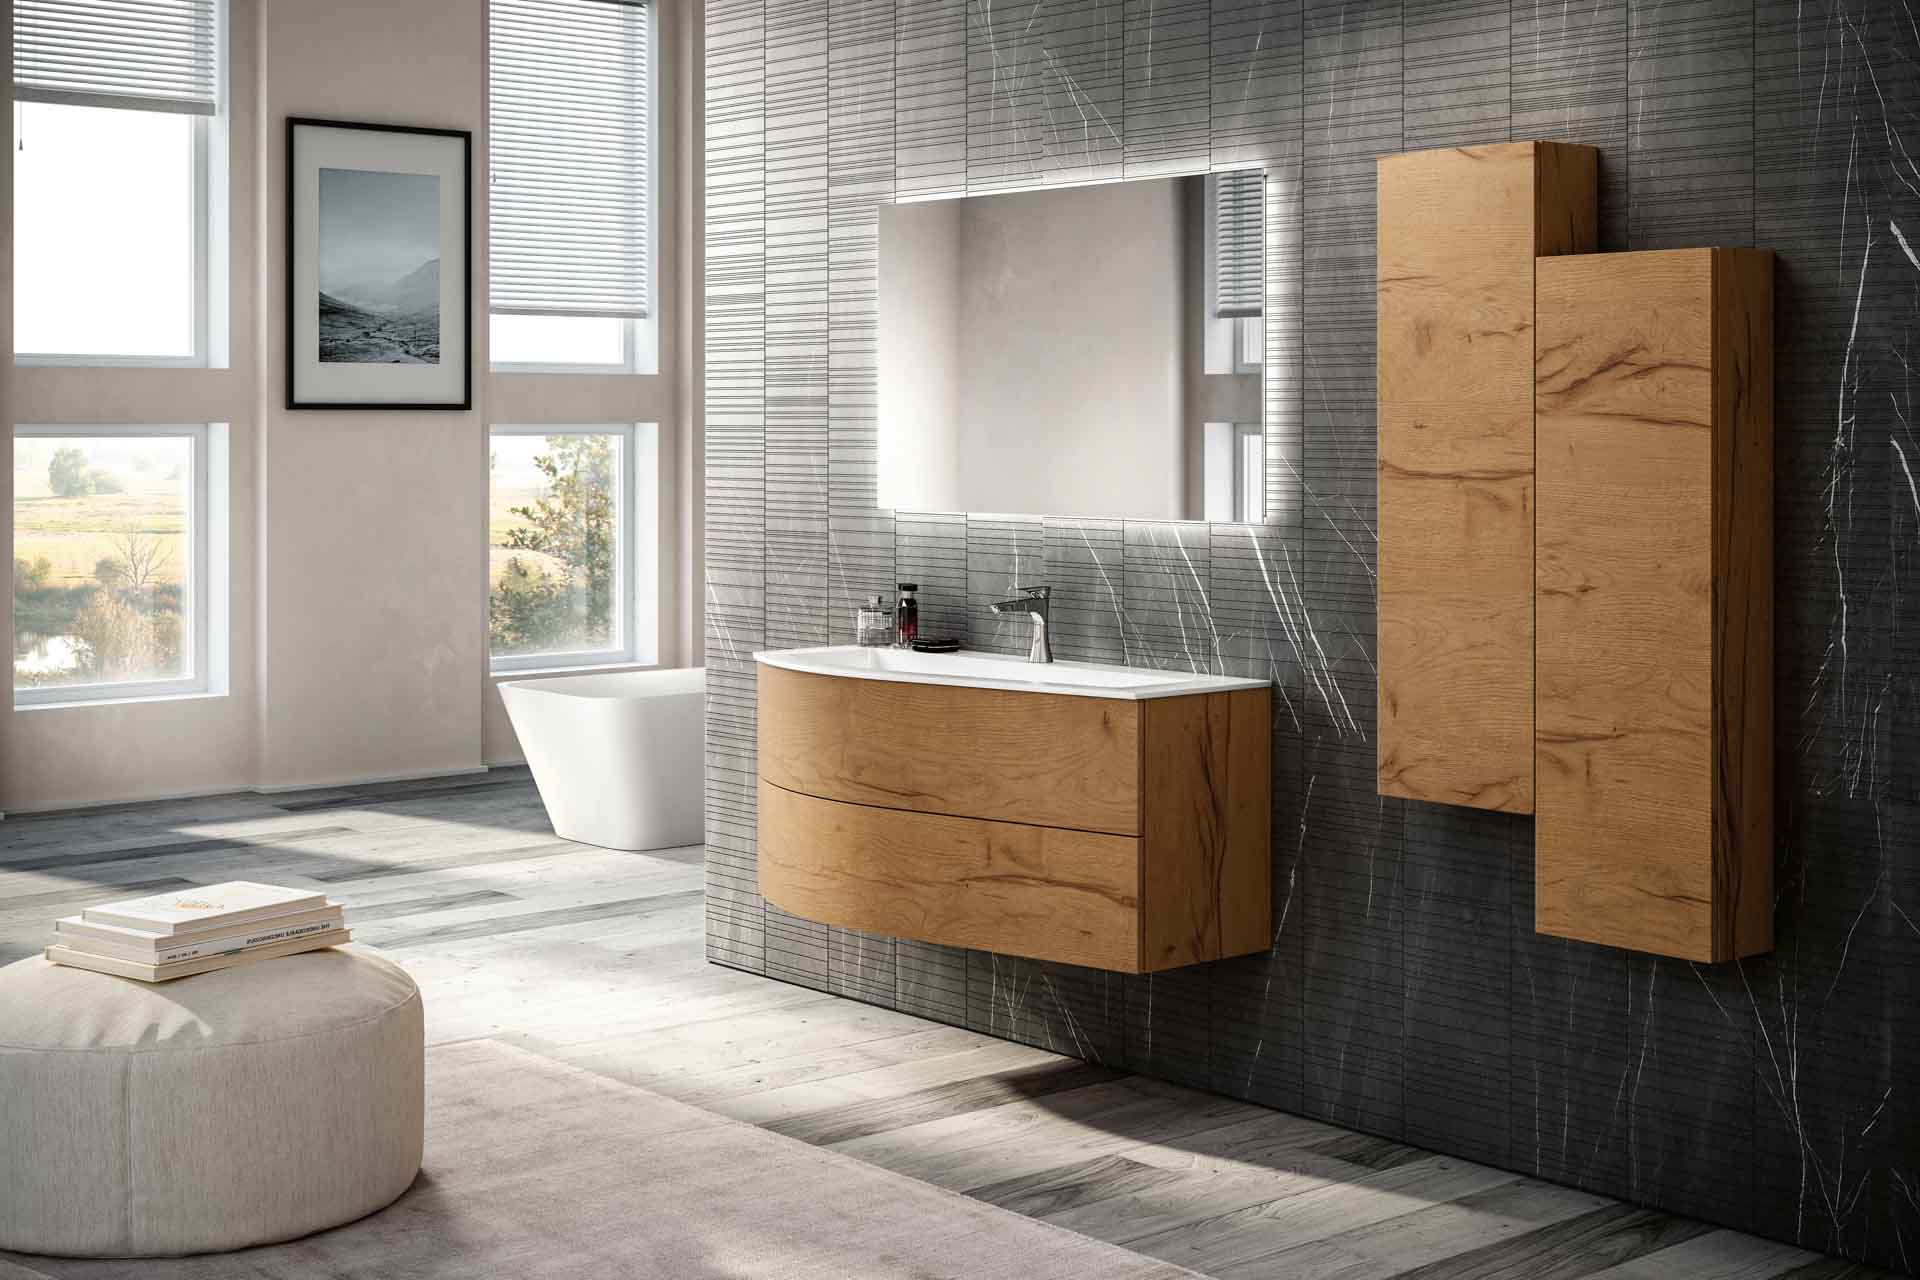
How to Install a Floating Bathroom Vanity
Are you looking to give your bathroom a modern and sleek look? A floating bathroom vanity might be just what you need. Not only is it stylish, but it also frees up floor space, making your bathroom look more spacious. Installing a floating bathroom vanity may seem like a daunting task, but with the right tools and knowledge, it can be a simple DIY project. In this guide, we will take you through the steps of installing a floating bathroom vanity.
Step-by-Step Guide for Installing a Floating Bathroom Vanity
Before you begin, make sure you have all the necessary tools and materials. These include a level, drill, screws, wall anchors, measuring tape, and a pencil. Once you have everything ready, follow these steps:
Step 1: Measure and mark the placement of the vanity on the wall. Use a level to ensure that the marks are straight.
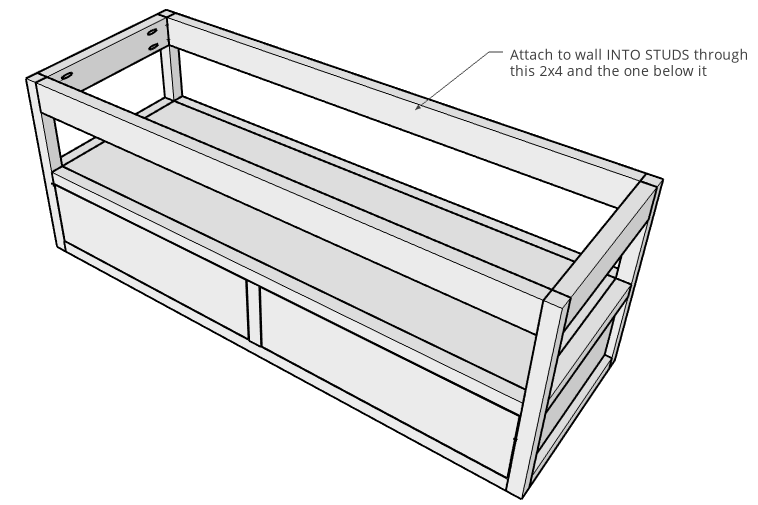
Step 2: Use a stud finder to locate the studs behind the wall. This is where you will drill the screws to secure the vanity.
Step 3: Install the wall anchors in the marked spots. These will provide additional support for the vanity.
Step 4: Place the vanity against the wall and use a drill to screw it into the wall anchors. Make sure it is level before securing it.
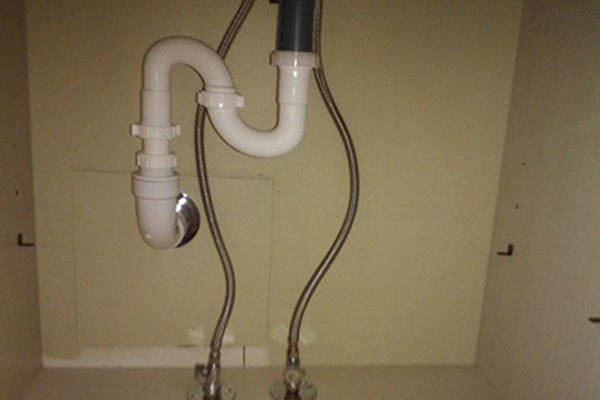
Step 5: Connect the plumbing. If you are not familiar with plumbing, it is best to hire a professional to do this step.
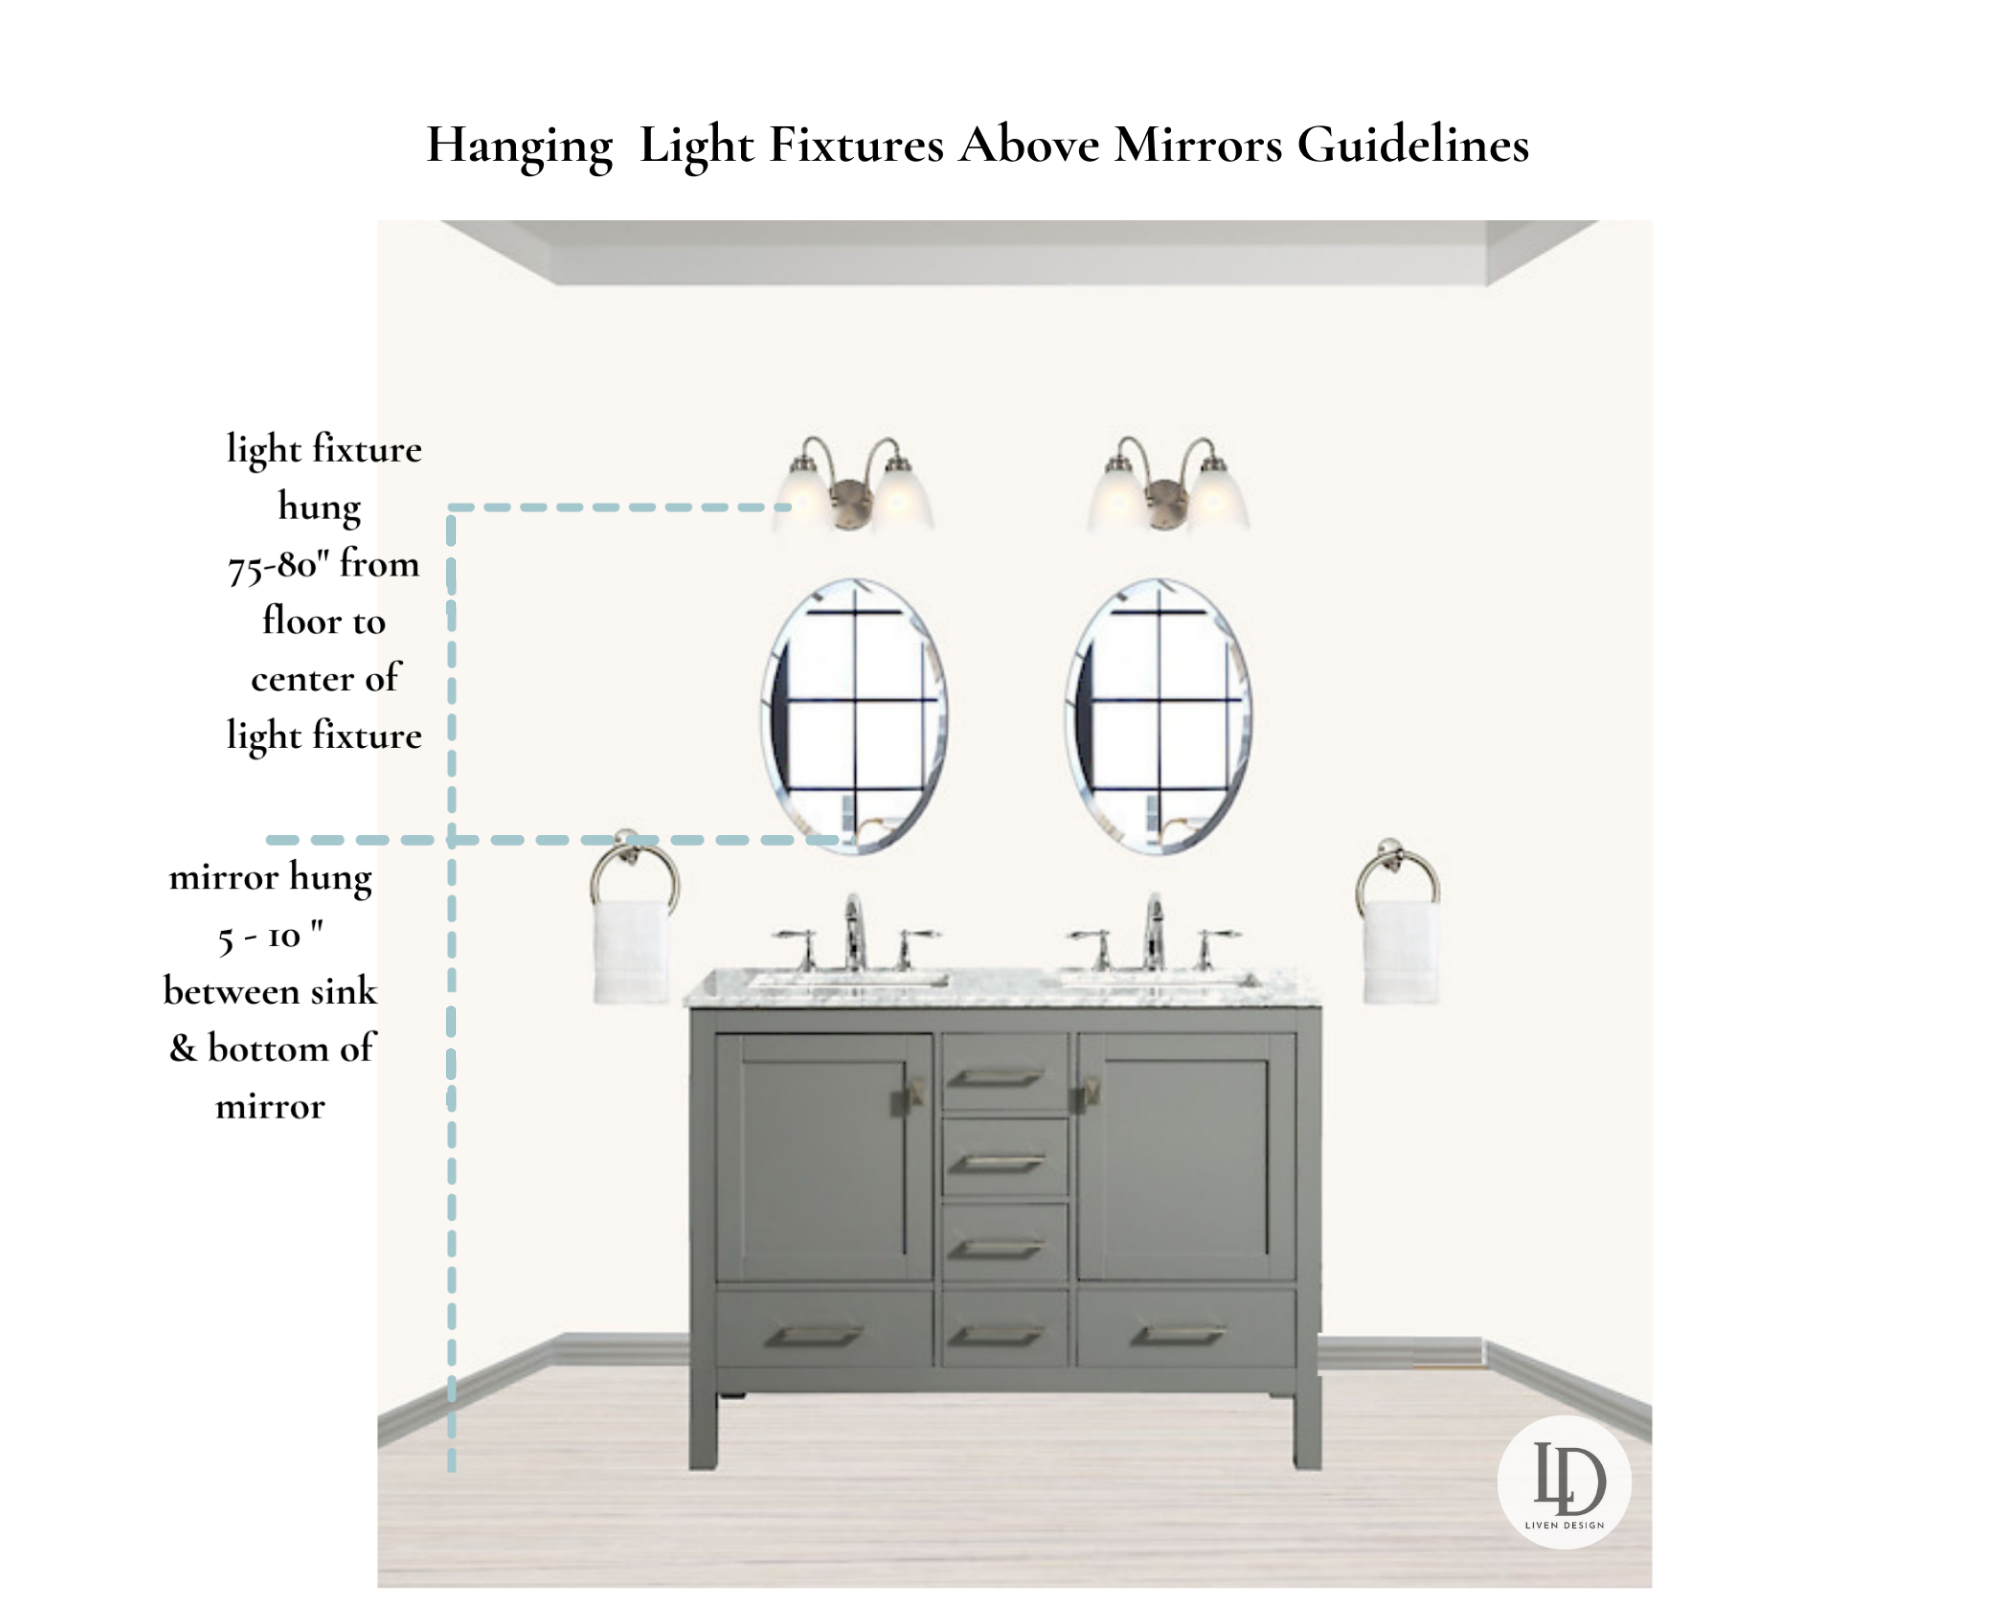
Step 6: Once the vanity is secured and the plumbing is connected, you can attach the sink and any additional fixtures such as a mirror or shelves.
DIY Floating Bathroom Vanity Installation
Installing a floating bathroom vanity can be a DIY project, but it is important to have some basic knowledge and skills. If you are not confident in your abilities, it is best to hire a professional to ensure proper installation. However, if you are up for the challenge, here are some tips to keep in mind:
Tip 1: Use a level to ensure that the vanity is straight and level before securing it to the wall. This will prevent any issues with the plumbing or sink in the future.
Tip 2: Always follow the manufacturer's instructions for installation. This will ensure that the vanity is installed correctly and securely.
Tip 3: If you are unsure about any step, do not hesitate to seek help or hire a professional. It is better to be safe than sorry.
Tips for Installing a Floating Bathroom Vanity
Here are some additional tips to keep in mind when installing a floating bathroom vanity:
Tip 1: Make sure you have enough clearance for the vanity doors and drawers to open and close without hitting any walls or fixtures.
Tip 2: If you are installing a vanity with a stone or marble countertop, make sure the vanity is securely attached to the wall to prevent any accidents or damage.
Tip 3: Consider the weight limit of the vanity before adding too many heavy items on top of it.
Floating Bathroom Vanity Installation: What You Need to Know
Before you start the installation process, here are a few things you need to know:
Tip 1: Floating bathroom vanities are available in a wide range of sizes, styles, and materials. Make sure you choose one that fits your bathroom space and matches your decor.
Tip 2: Floating bathroom vanities are attached to the wall, so it is important to ensure that the wall is strong and able to support the weight of the vanity and any additional items on top of it.
Tip 3: Consider the location of your plumbing. If your plumbing is not centered on the wall, you may need to adjust the placement of the vanity or hire a professional to relocate the plumbing.
Installing a Floating Bathroom Vanity: Common Mistakes to Avoid
While installing a floating bathroom vanity may seem like a simple task, there are some common mistakes that can be made. Here are a few to avoid:
Tip 1: Not properly securing the vanity to the wall. This can lead to the vanity becoming loose and potentially causing damage.
Tip 2: Not considering the weight limit of the vanity. Adding too many heavy items on top of the vanity can cause it to sag or even fall off the wall.
Tip 3: Not properly connecting the plumbing. This can lead to leaks and other plumbing issues in the future.
Tools and Materials Needed for Installing a Floating Bathroom Vanity
In addition to the tools mentioned earlier, here are some other materials you may need for installing a floating bathroom vanity:
Material 1: A silicone adhesive to secure the sink to the vanity.
Material 2: A jigsaw or hole saw to create holes in the vanity for plumbing.
Material 3: Caulk to seal any gaps between the vanity and the wall.
Pros and Cons of Installing a Floating Bathroom Vanity
Like any home improvement project, there are pros and cons to installing a floating bathroom vanity. Here are a few to consider:
Pros: Modern and sleek look, saves space, easier to clean, and can be a DIY project.
Cons: Limited storage space, may not be suitable for heavy or bulky items, and may require professional plumbing knowledge.
How to Measure and Prep for Installing a Floating Bathroom Vanity
Prior to installation, it is important to properly measure and prepare the space for your floating bathroom vanity. Here are some steps to follow:
Step 1: Measure the space where you want to install the vanity. Take into account the size of the vanity and any additional items such as a mirror or shelves.
Step 2: Mark the placement of the vanity on the wall using a level to ensure it is straight.
Step 3: Check for any studs or pipes behind the wall that may interfere with the installation.
Step 4: Clear out the space and make sure the area is clean and free of any obstructions.
Expert Tips for Installing a Floating Bathroom Vanity
For a successful and stress-free installation, here are some expert tips to keep in mind:
Tip 1: Always double-check your measurements before drilling or securing the vanity to the wall.
Tip 2: Use a level throughout the installation process to ensure the vanity is straight and level.
Tip 3: If you are unsure about any step, do not hesitate to seek help or hire a professional. It is better to get it done right the first time.
Now that you have a better understanding of how to install a floating bathroom vanity, you can confidently take on this home improvement project. Remember to follow the steps and tips outlined in this guide, and you will have a beautiful and functional floating bathroom vanity in no time. Happy installing!
Why Choose a Floating Bathroom Vanity for Your House Design?

Maximize Space and Create a Sleek Look
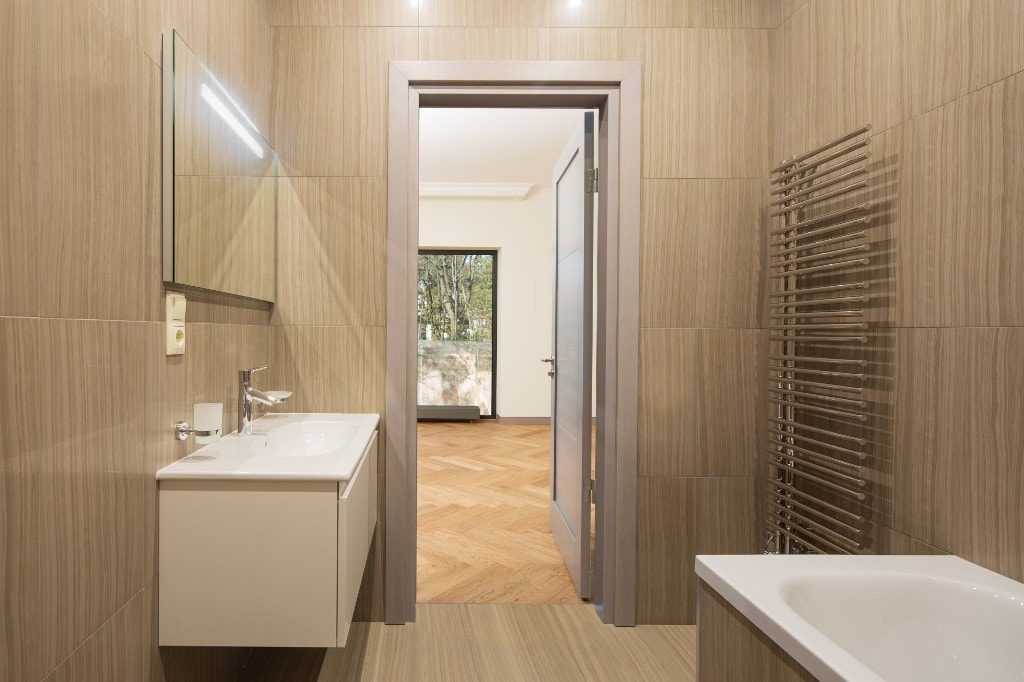
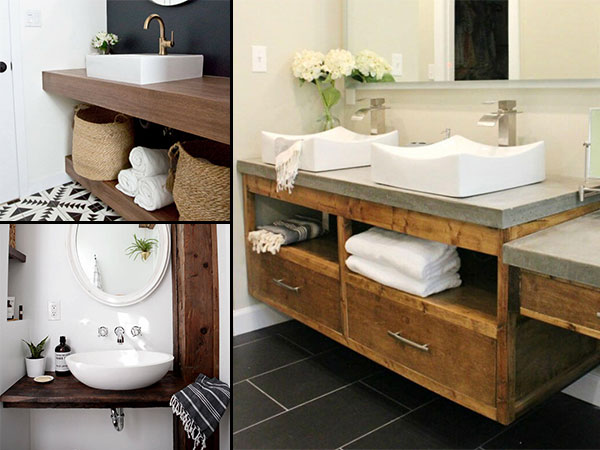
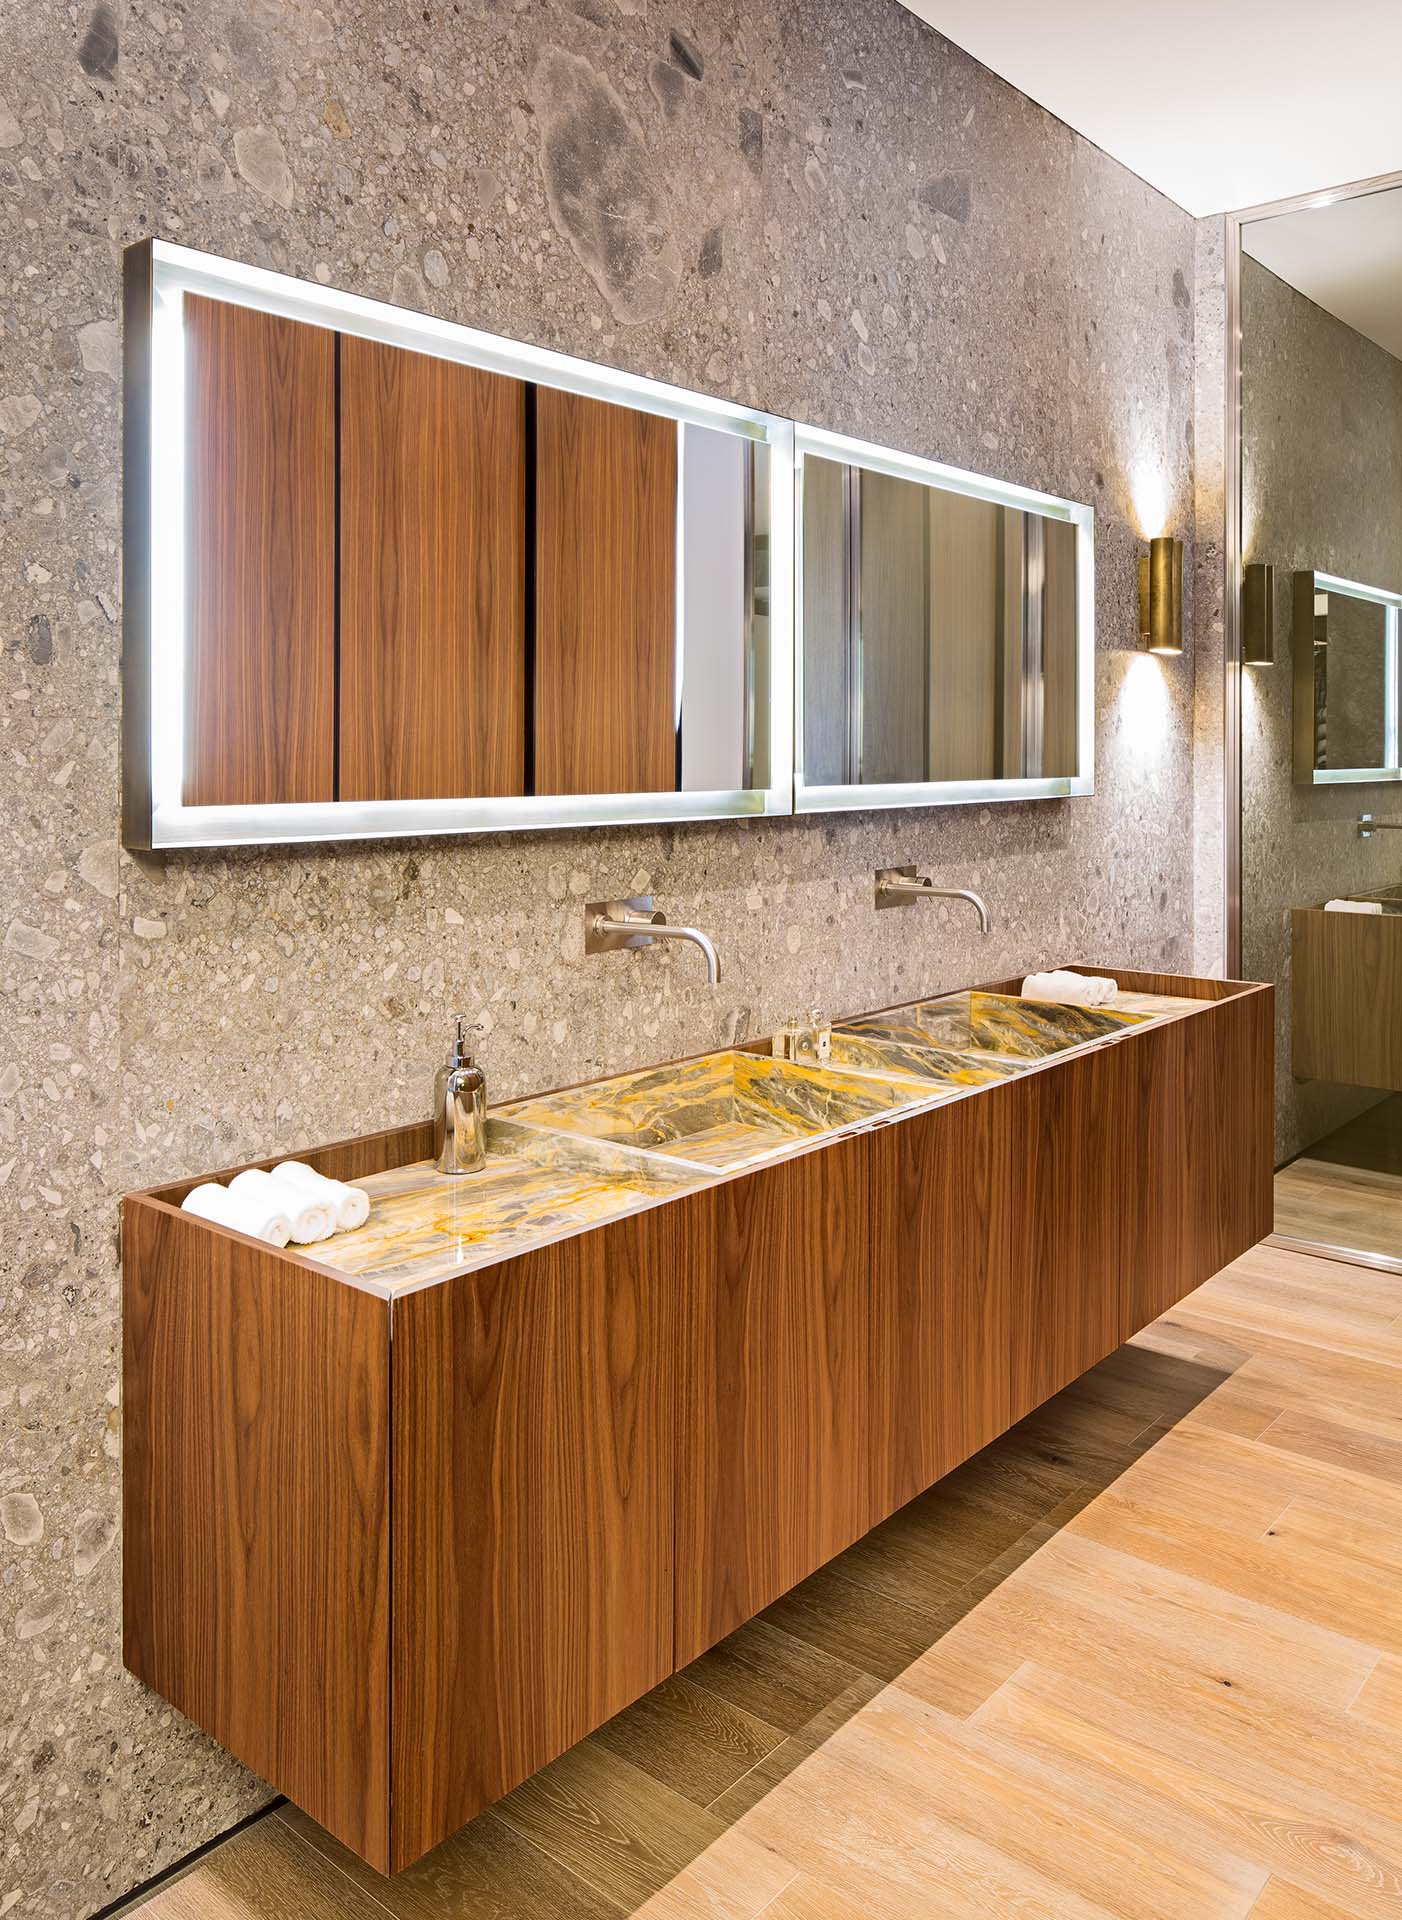
 When it comes to house design, maximizing space is essential. A floating bathroom vanity is a great option for smaller bathrooms as it creates the illusion of more space. By being mounted to the wall, it frees up floor space and allows for a more open and spacious feel. This is especially beneficial for those who have a small bathroom but still want to achieve a modern and sleek look.
floating bathroom vanity
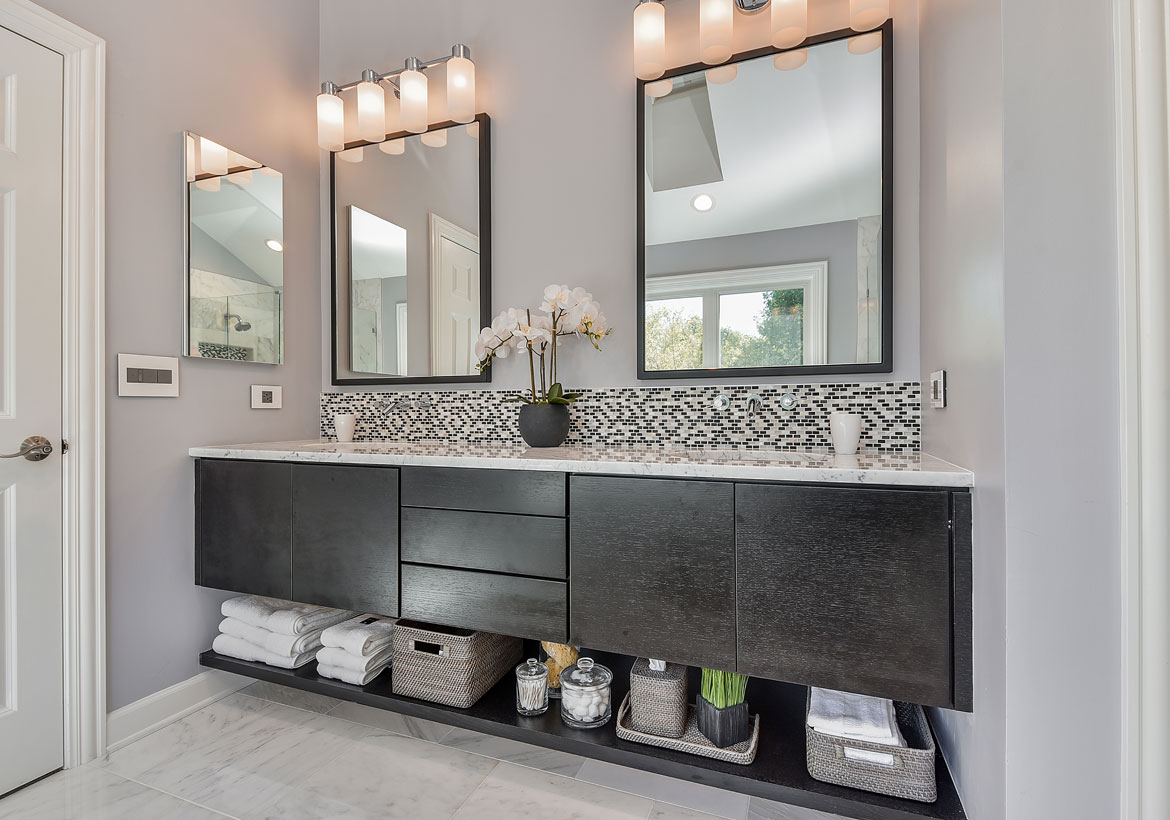
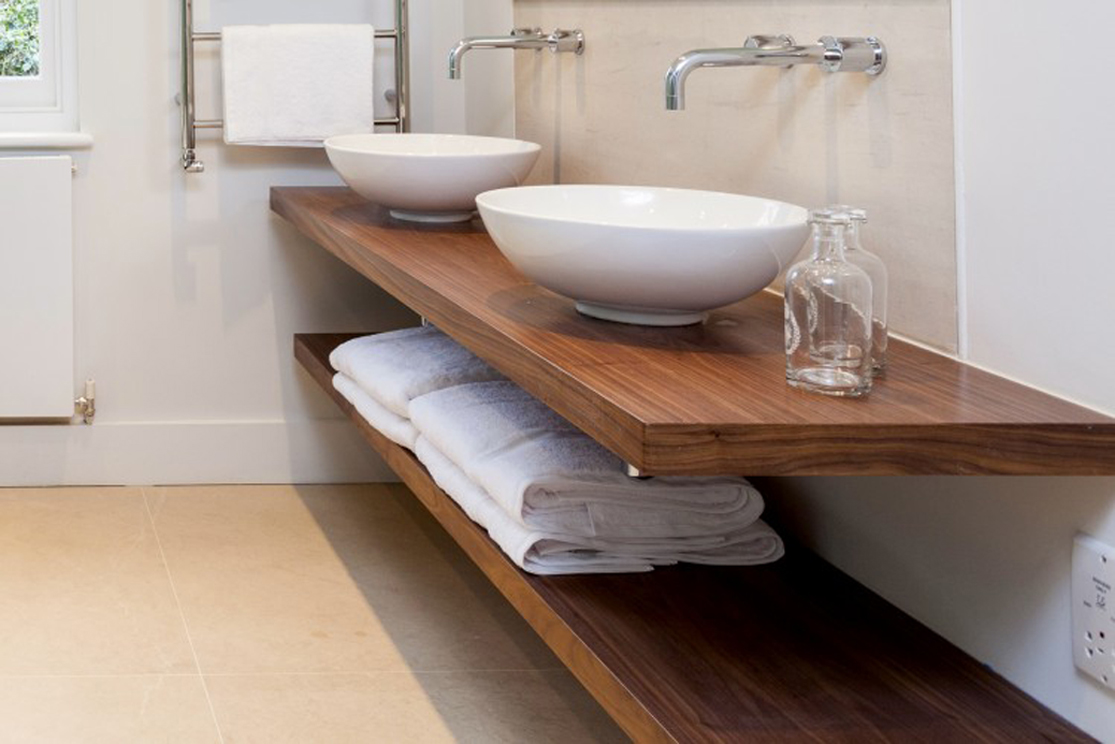
also offers a clean and minimalist look that can elevate the overall design of your bathroom. With no visible legs or bulky base, a floating vanity creates a sleek and streamlined appearance that can make your bathroom feel more spacious and organized. This type of vanity is also versatile and can fit in with various design styles, from contemporary to traditional.
Easy Maintenance and Cleaning
 Another advantage of a floating bathroom vanity is its easy maintenance and cleaning. With no legs or base to work around, cleaning becomes a breeze. You can easily sweep or mop under the vanity without any obstructions, making it easier to keep your bathroom clean and tidy. This is especially useful for those who have limited time for cleaning or for those who want to maintain a clutter-free bathroom.
floating bathroom vanity
is also a great option for those who want to avoid water damage. By being mounted to the wall, it is less likely to be affected by water spills or leaks from the floor. This can save you time and money on repairs and maintenance in the long run.
Customizable and Functional
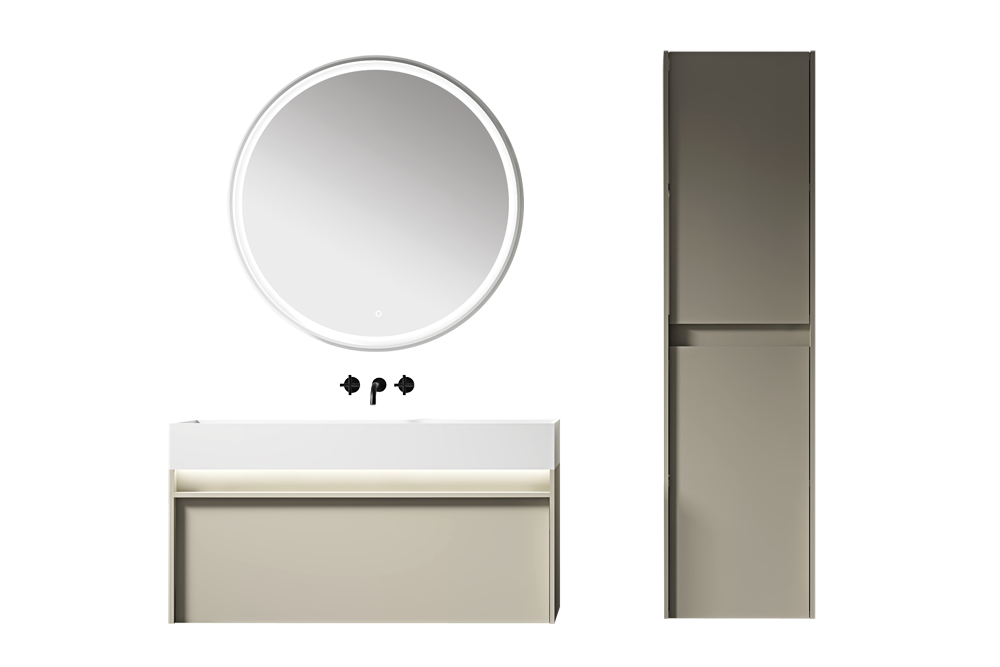
 One of the best things about a floating bathroom vanity is its customizable options. You can choose from a variety of sizes, materials, and finishes to fit your specific design preferences and needs. You can also add additional features such as drawers, shelves, or cabinets for extra storage space. This allows you to have a vanity that not only looks great but also meets your functional needs.
floating bathroom vanity
is also a great option for those who have a specific height preference. By choosing a custom height, you can ensure that your vanity is comfortable and functional for your needs. This is especially beneficial for those with mobility issues or for families with young children.
In conclusion, a floating bathroom vanity is a great addition to any house design. Its space-saving capabilities, easy maintenance, and customizable options make it a practical and stylish choice for modern bathrooms. Consider incorporating a floating vanity in your bathroom to elevate its design and functionality.


