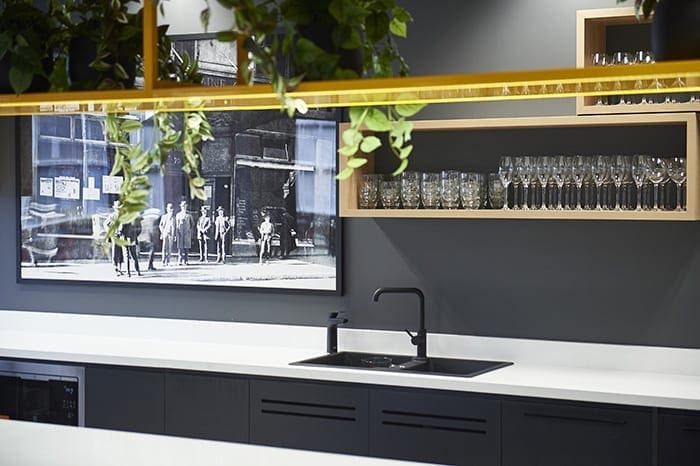
1. Preparing for the Project: Installing a Faucet in Your Bathroom Sink
Are you ready to give your bathroom a fresh new look? One of the easiest and most impactful ways to do so is by installing a new faucet in your bathroom sink. This simple DIY project can make a big difference in the overall plumbing and appearance of your bathroom, giving it a modern and updated feel. Follow these steps to successfully complete your bathroom renovation and have a stylish and functional faucet in no time.
2. Gather Your Tools and Materials
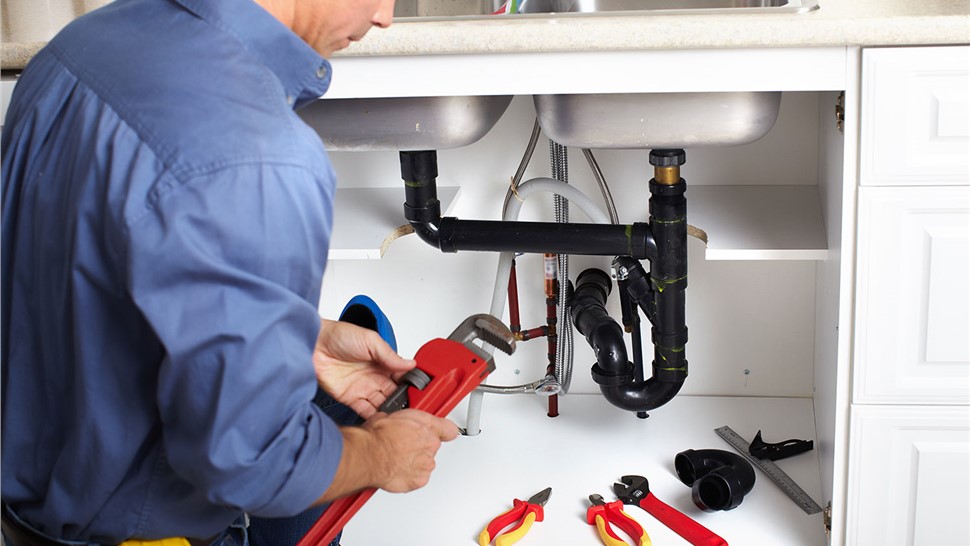
Before you get started, make sure you have all the necessary tools and materials for the job. You will need a basin wrench, adjustable wrench, screwdriver, plumber's tape, and a new faucet. Make sure to choose a faucet that fits your bathroom sink and matches your style. You may also need to purchase additional materials, such as a new drain assembly or water supply lines, depending on your current set-up.
3. Turn Off the Water Supply
Before beginning any work, you will need to turn off the water supply to your bathroom. Locate the shut-off valves under your sink and turn them clockwise to stop the flow of water. If you cannot find the valves, you may need to turn off the main water supply for your home.
4. Remove the Old Faucet
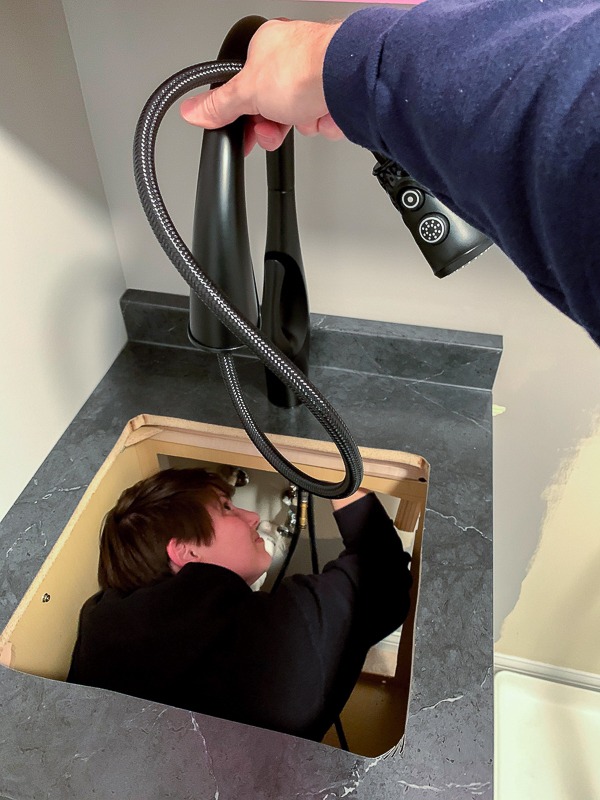
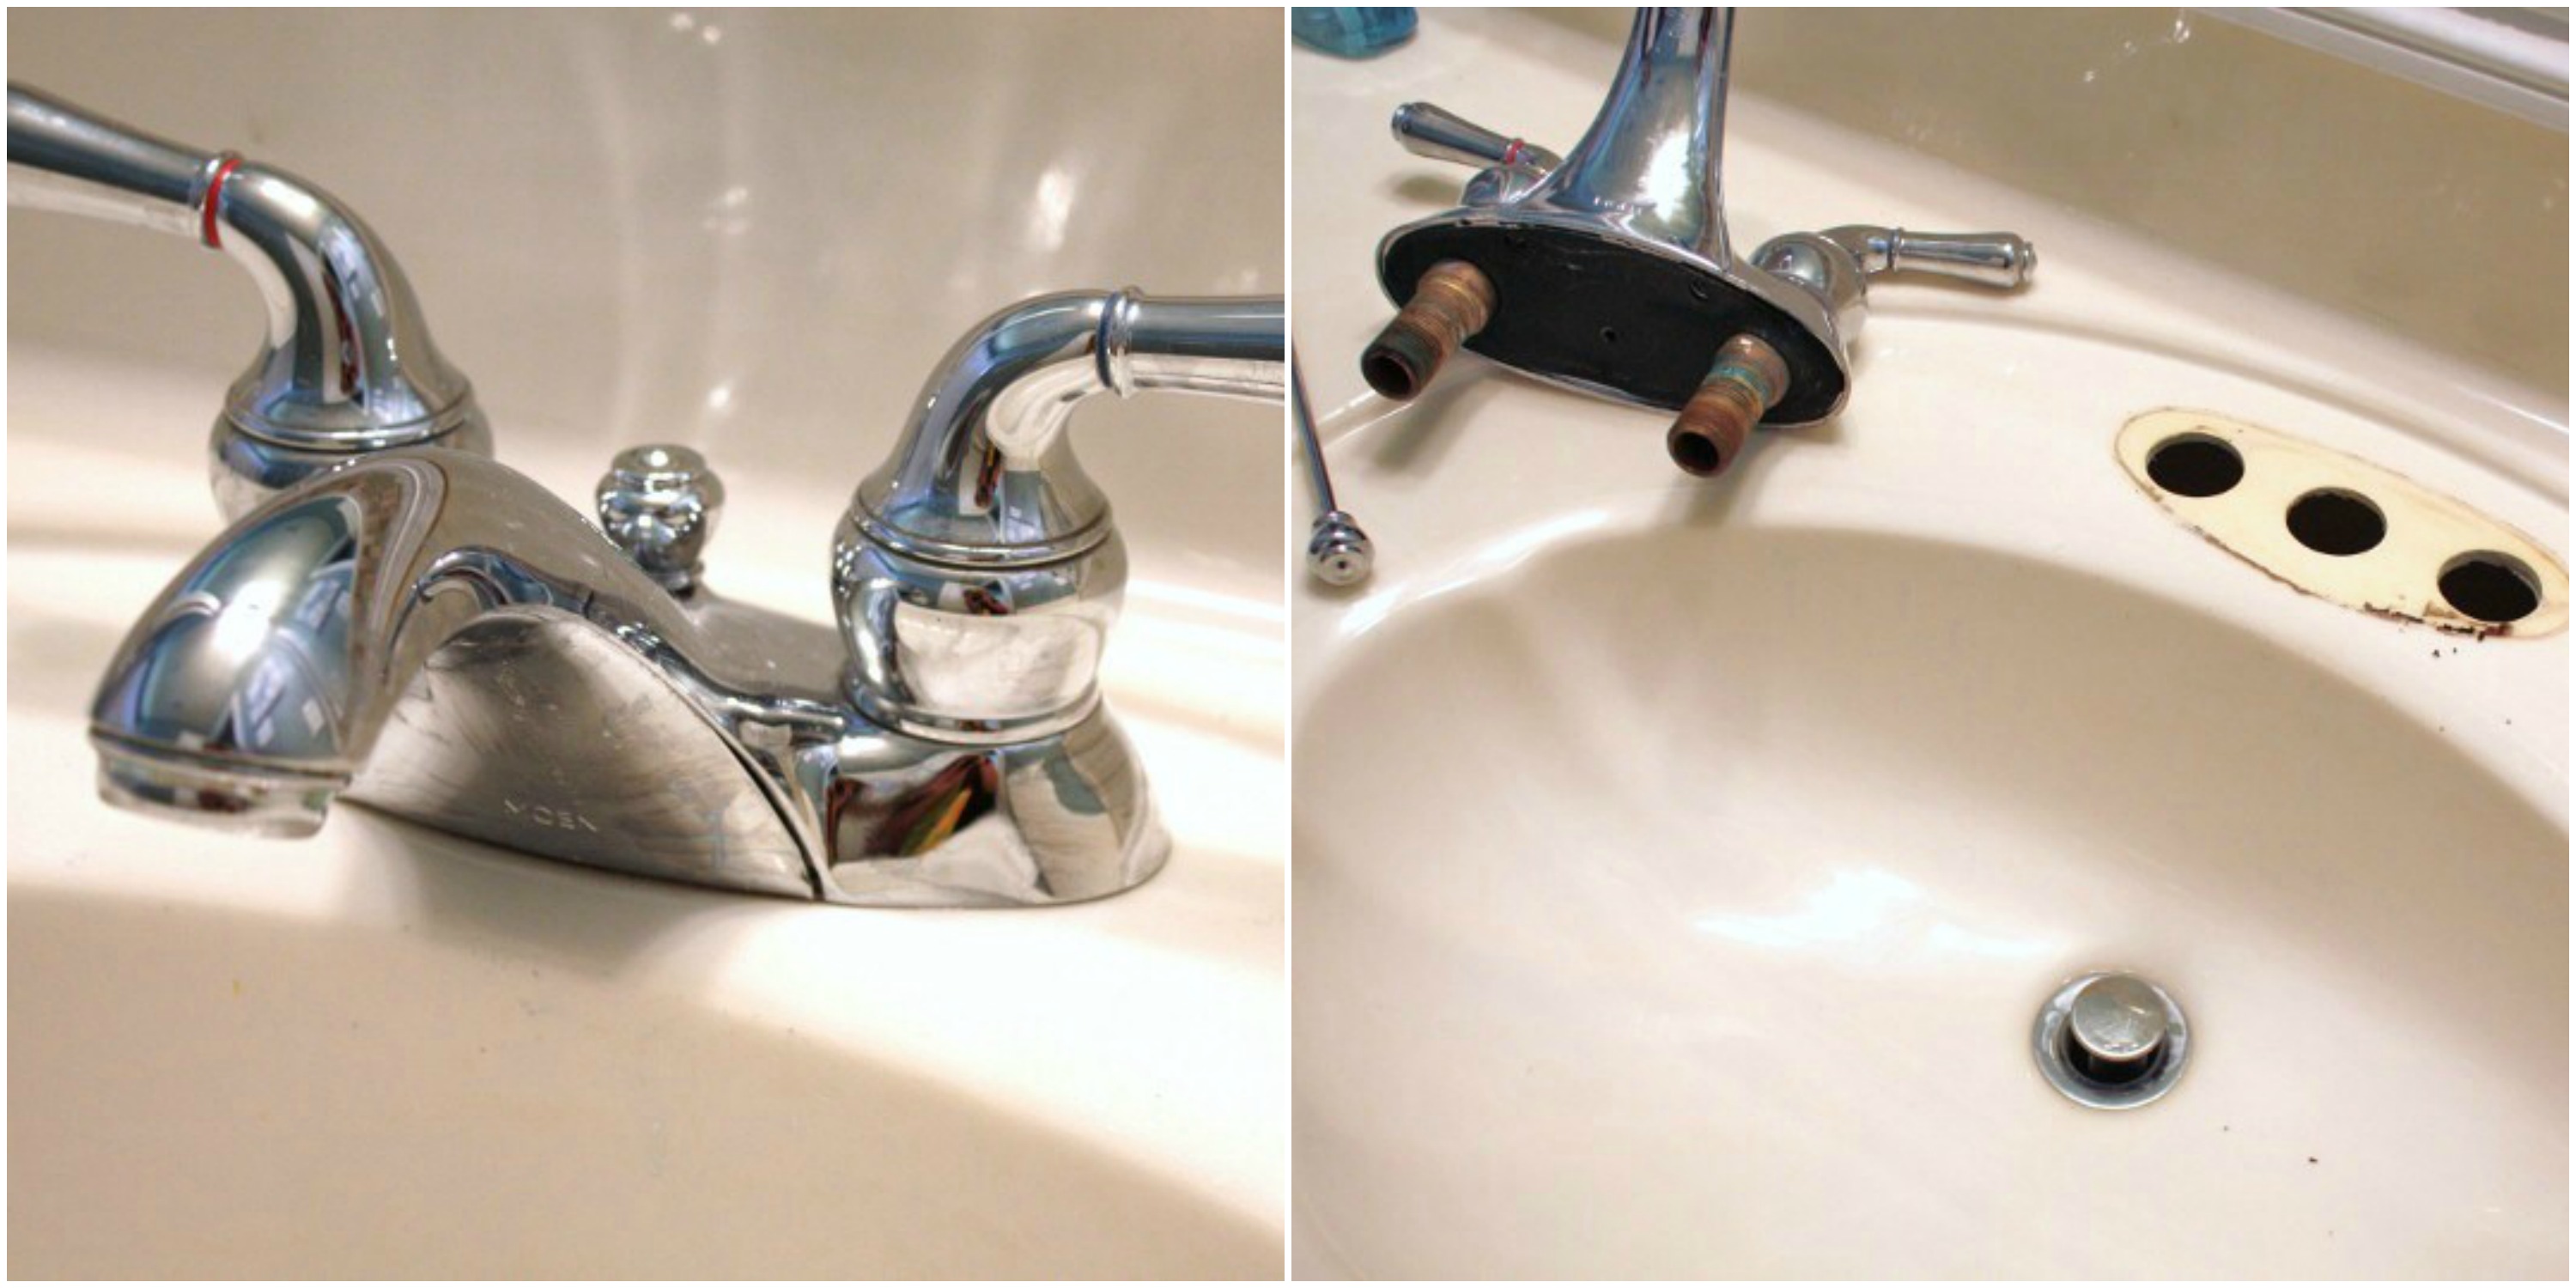
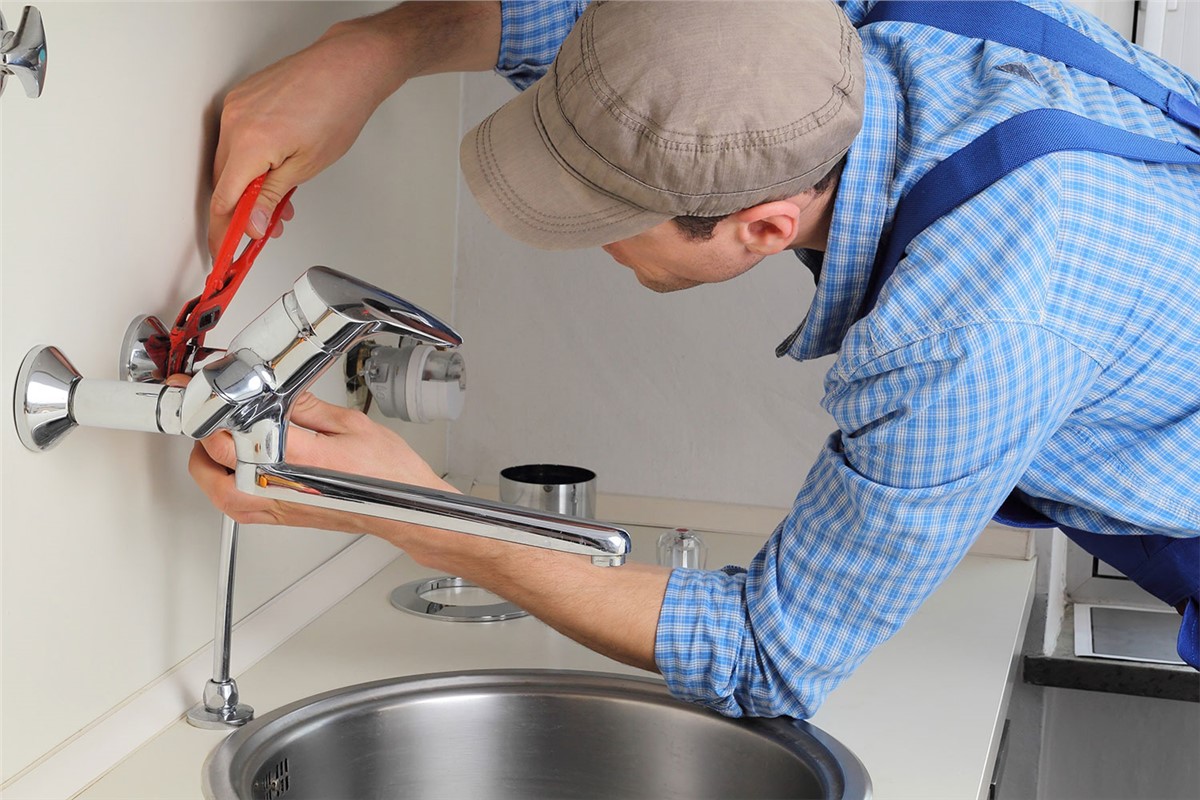
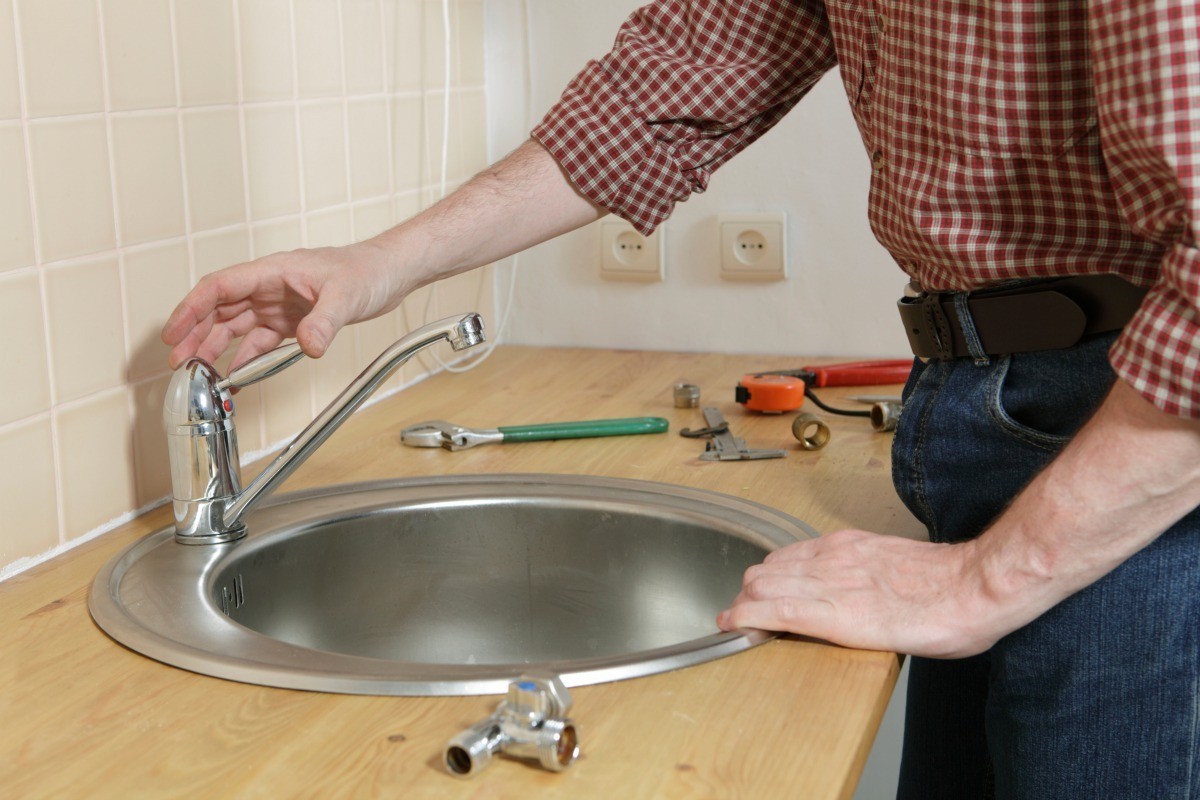
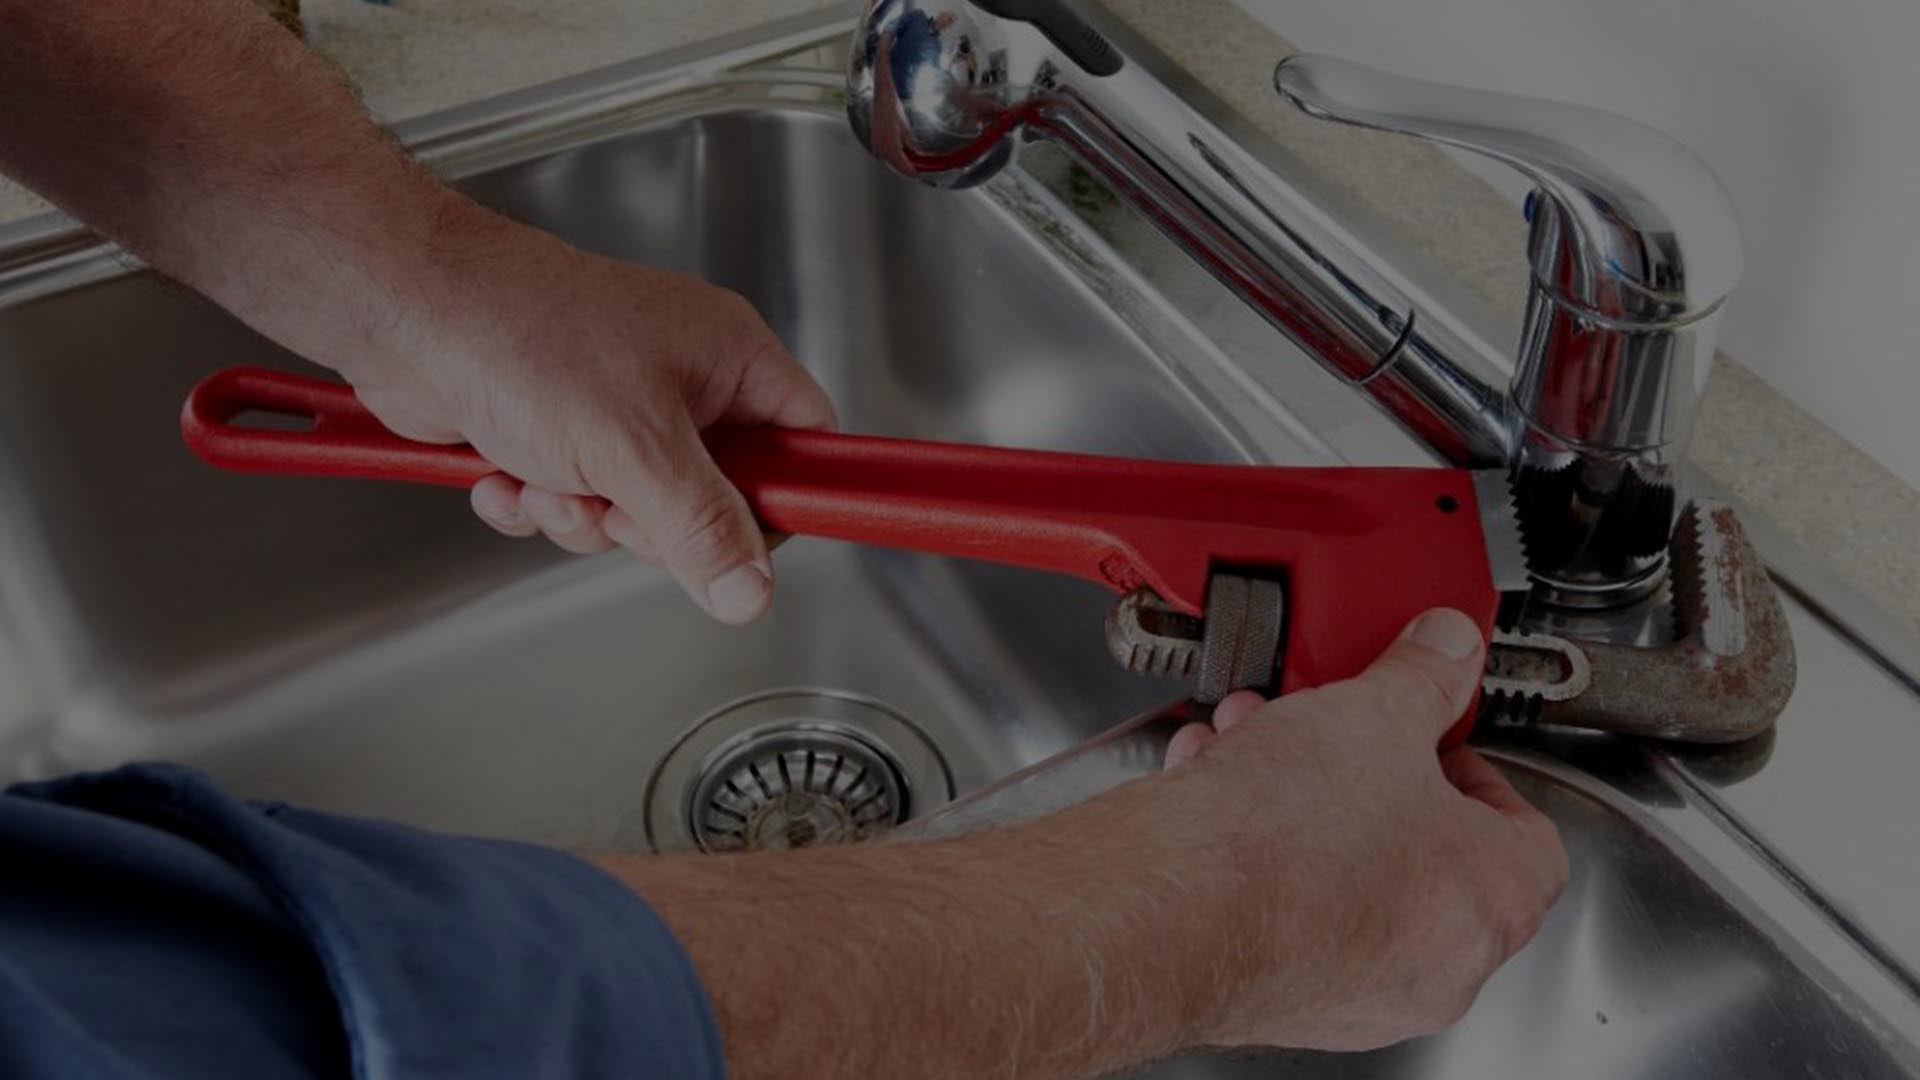
Using your basin wrench, loosen the nuts that hold the old faucet in place. Once they are loose, you can remove the old faucet and any remaining hardware. Be sure to clean the area thoroughly before proceeding.
5. Prepare the New Faucet
Before you install the new faucet, make sure to read the manufacturer's instructions carefully. This will ensure that you have all the necessary parts and that you understand the process. Use the plumber's tape to wrap the threads on the water supply lines and the drain assembly to prevent leaks.
6. Install the New Faucet
With the old faucet removed and the new one prepared, it's time to install the new faucet. Begin by placing the gasket or rubber seal on the underside of the faucet and then insert it into the mounting holes on your sink. Secure the faucet in place with the nuts provided.
7. Attach the Water Supply Lines
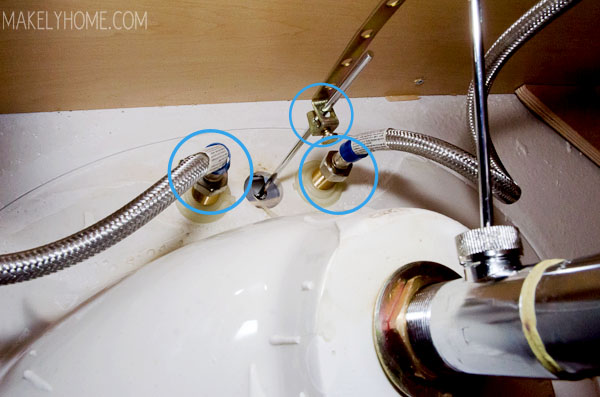
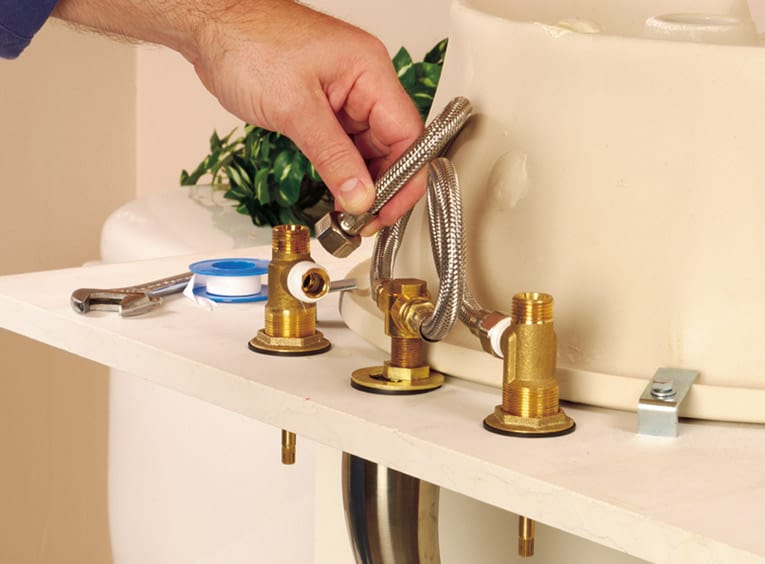
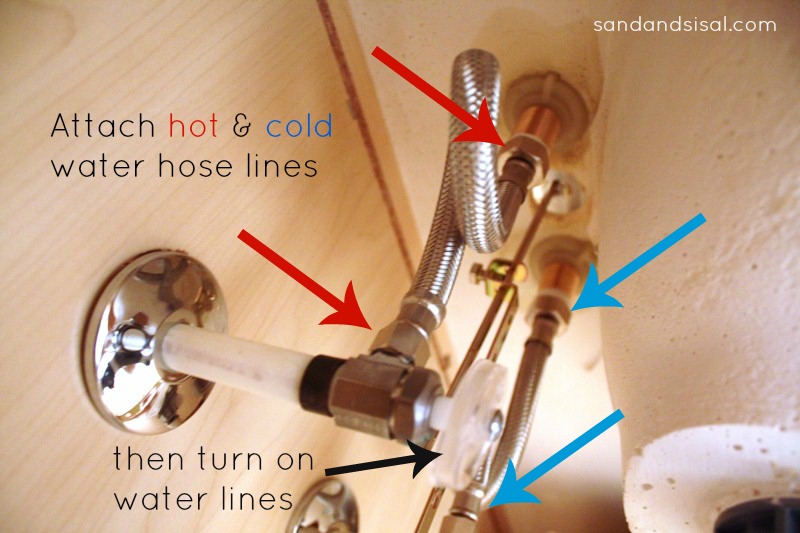
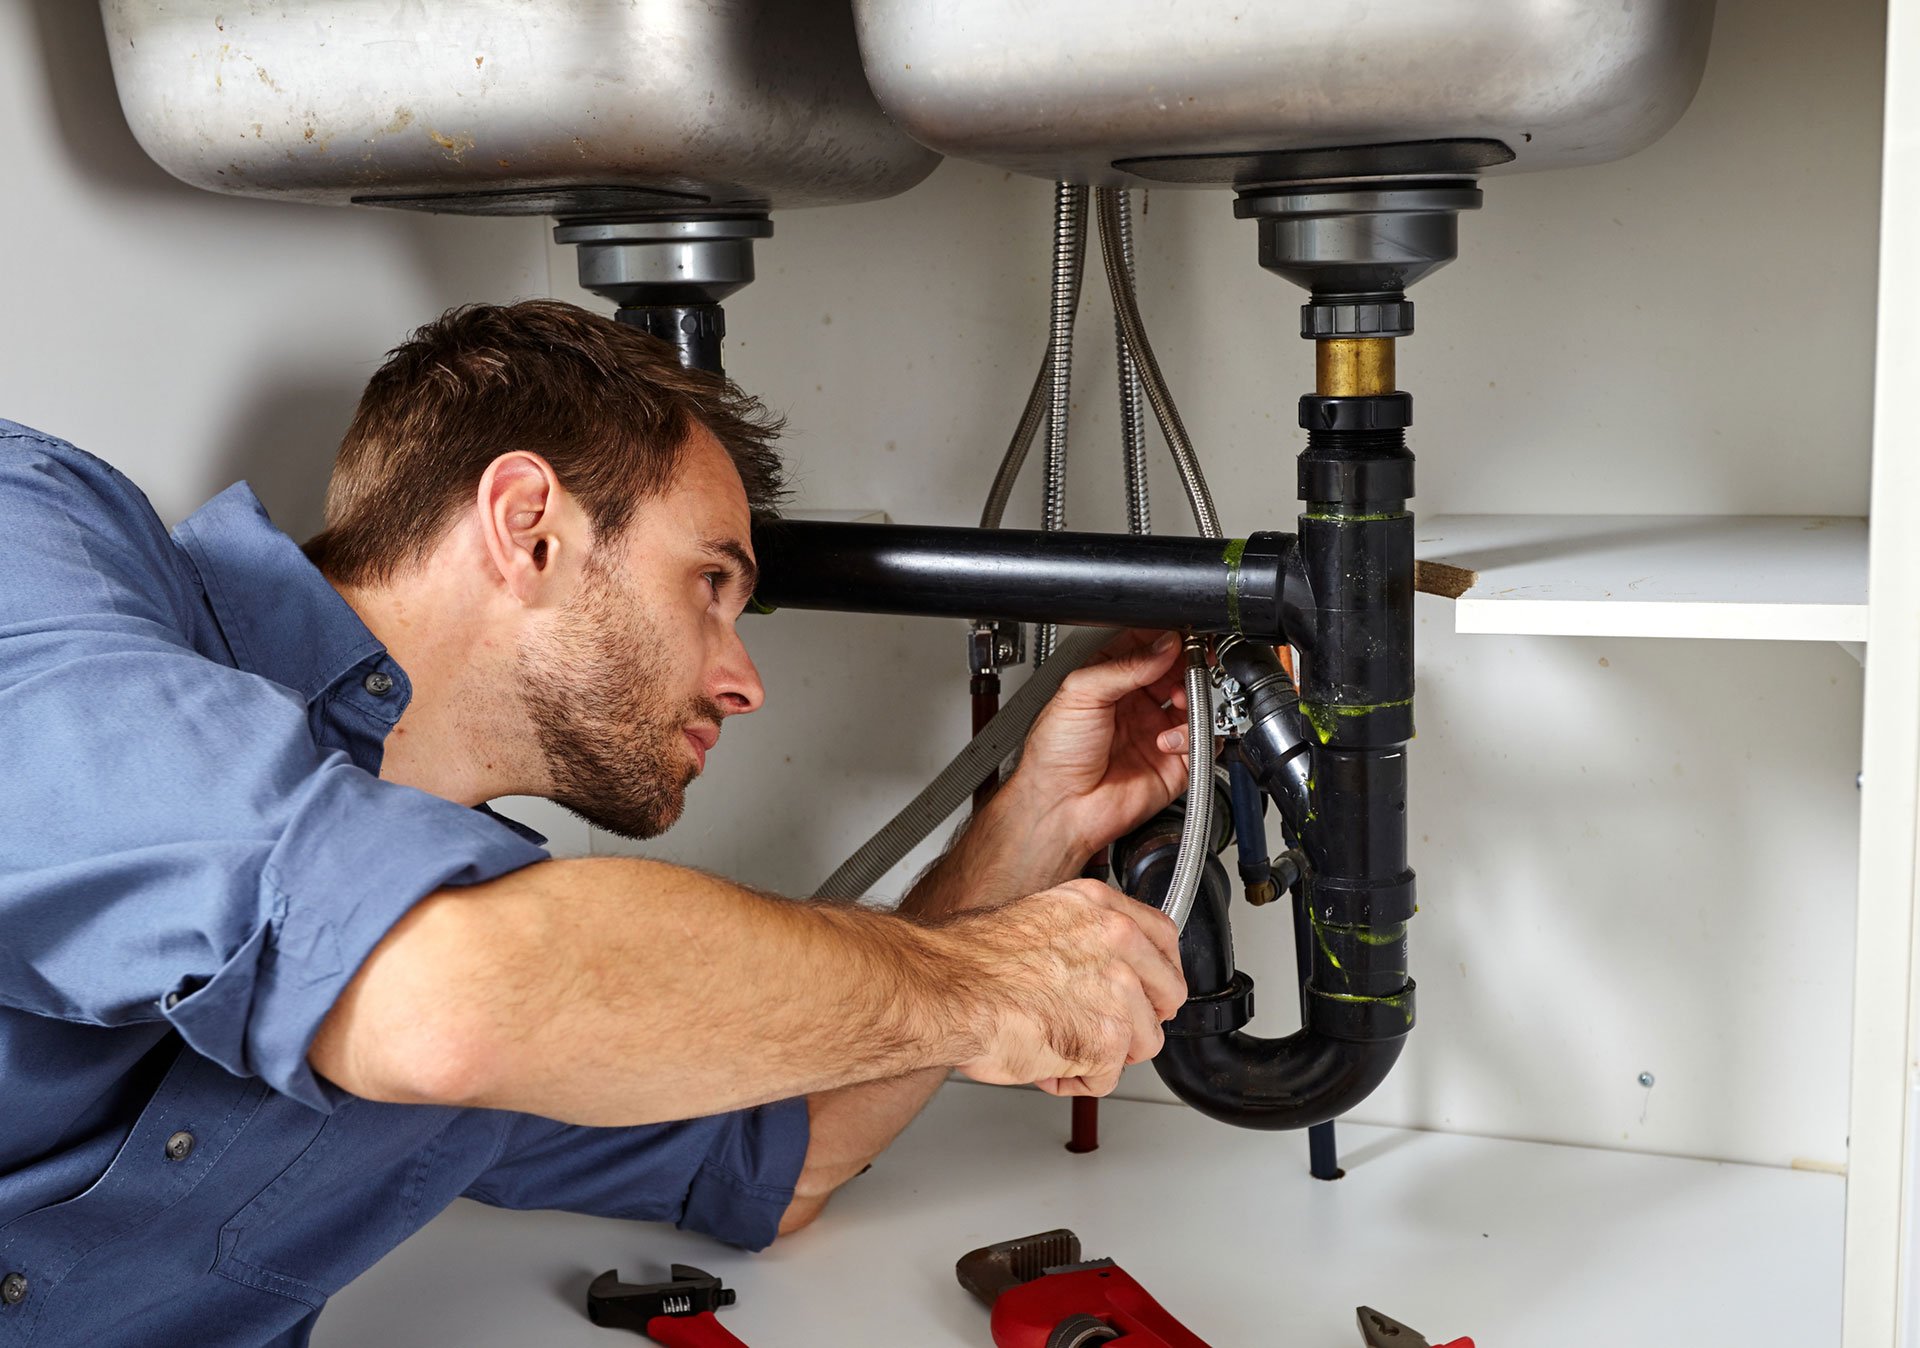
Next, you will need to attach the water supply lines to the appropriate valves. Use your adjustable wrench to tighten the connections and make sure they are secure. Turn the water supply back on and check for any leaks. If there are none, you can move on to the next step.
8. Install the Drain Assembly
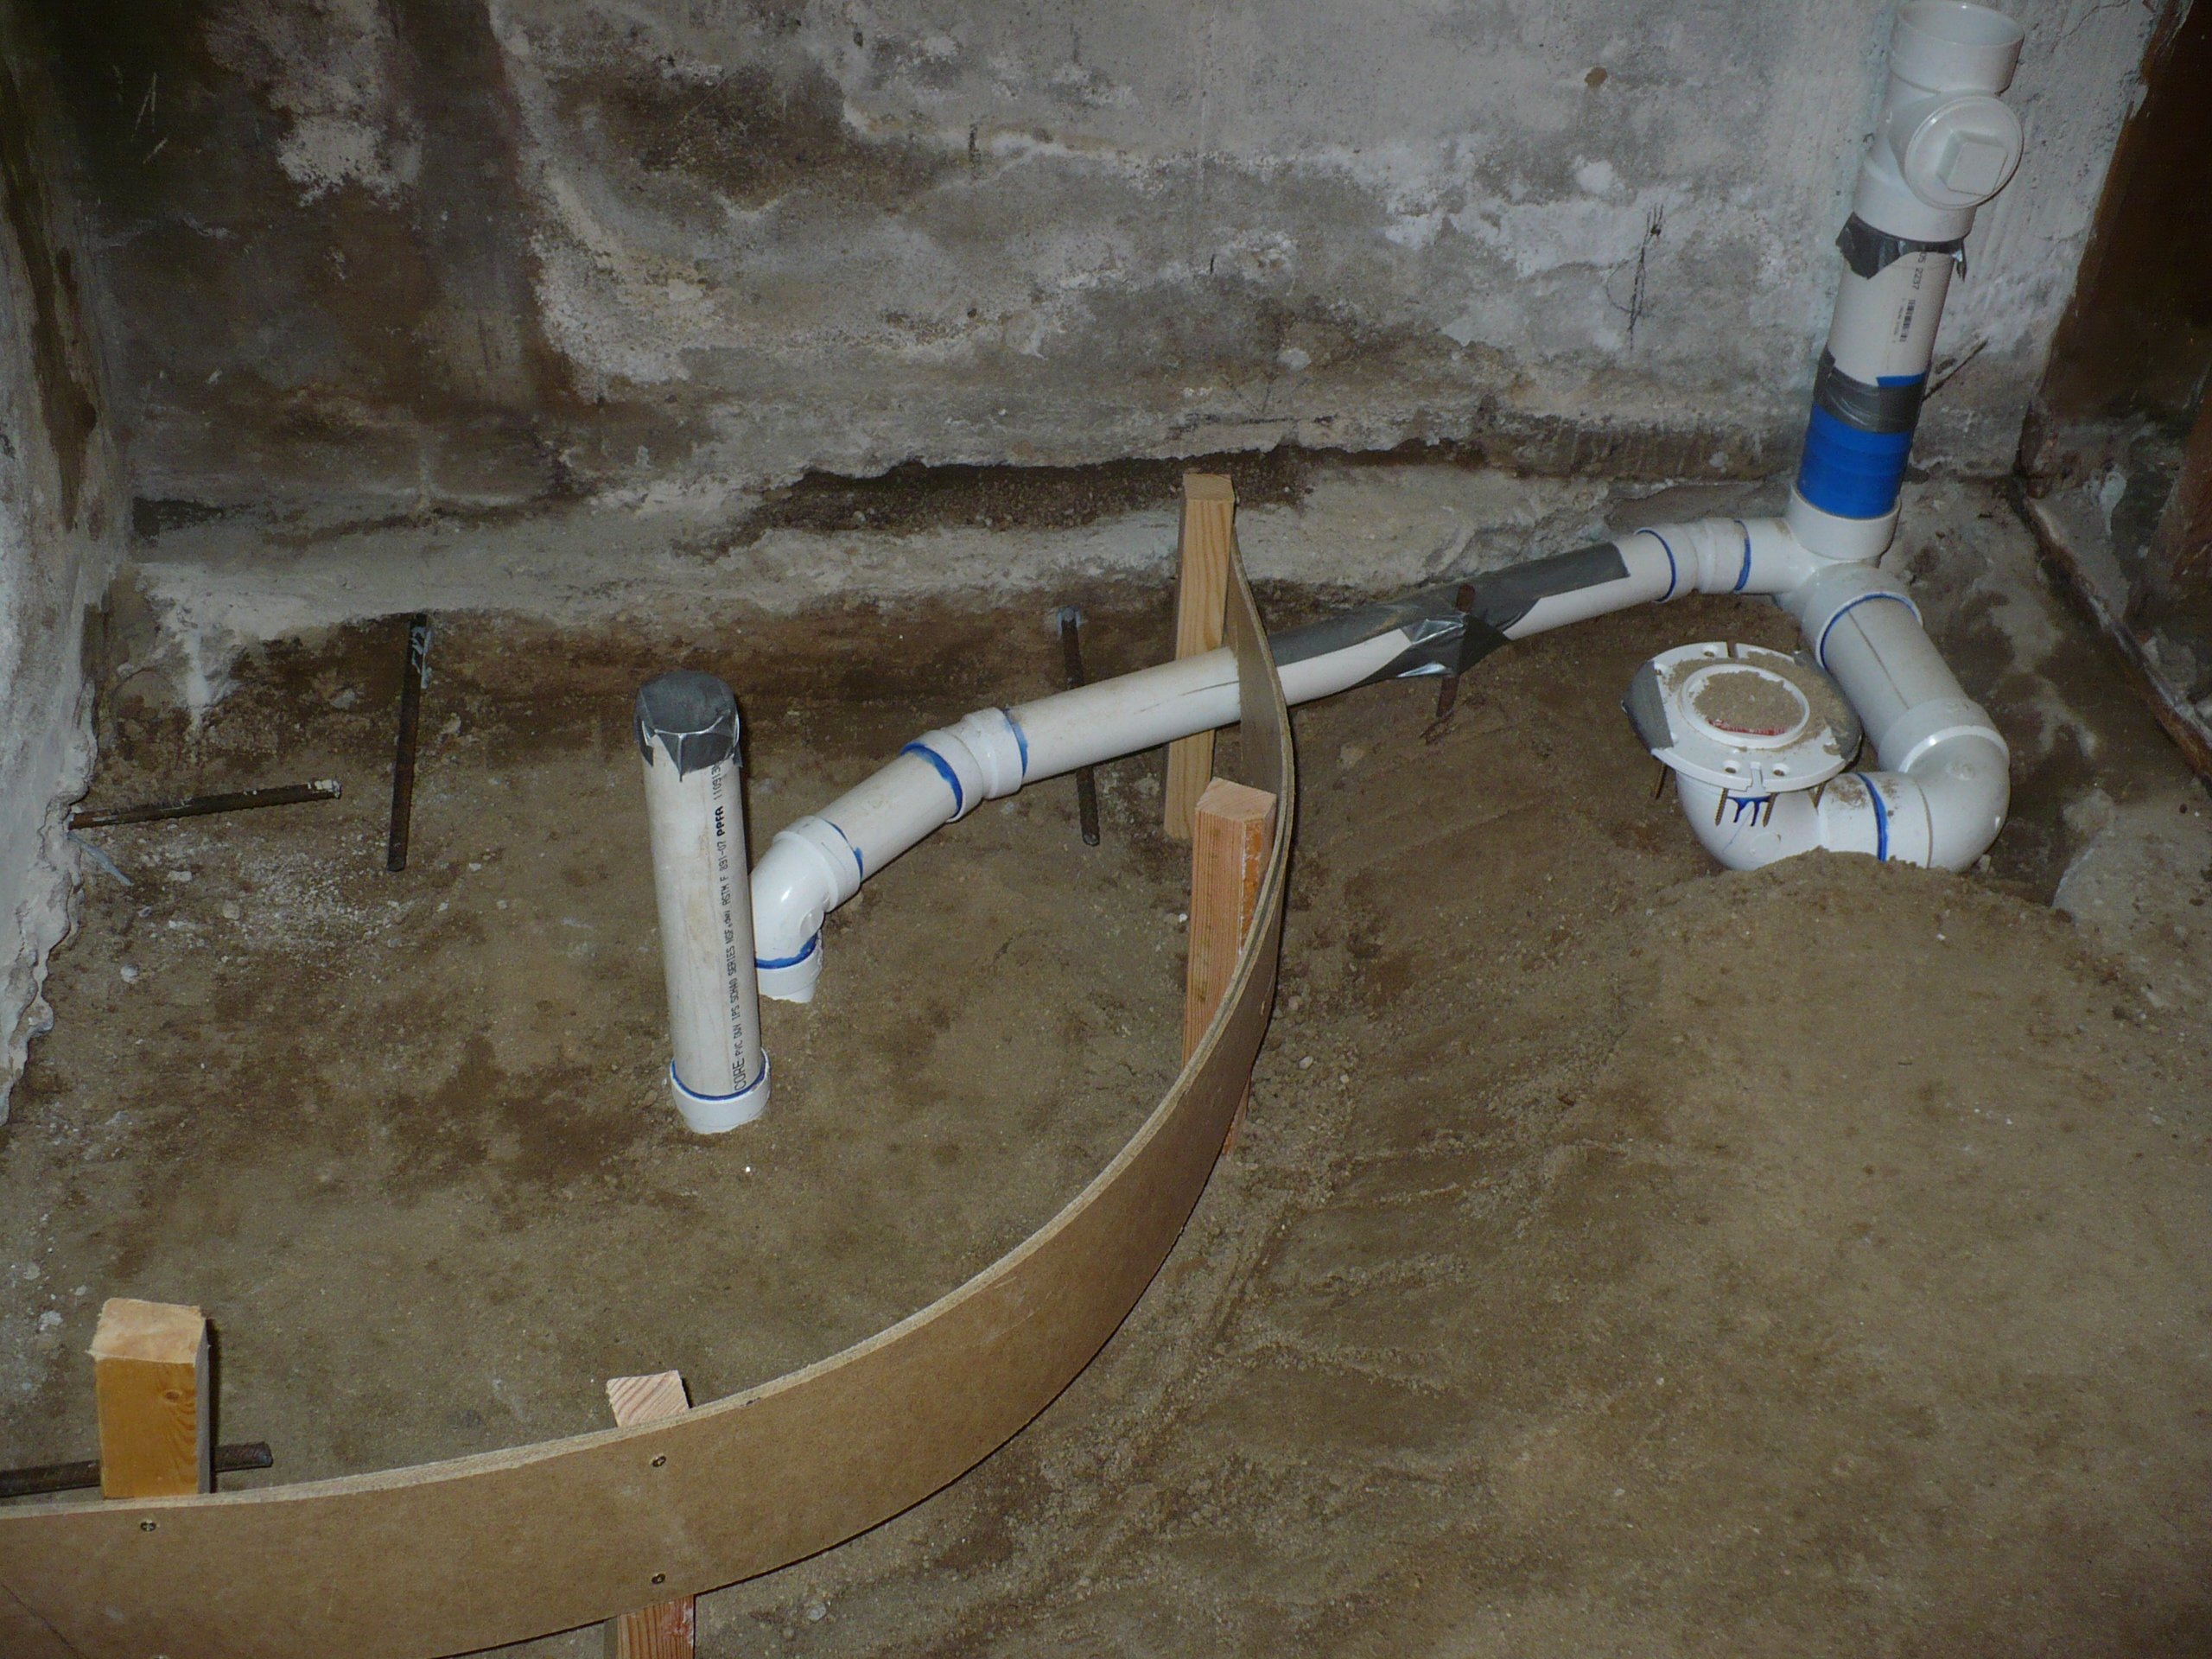
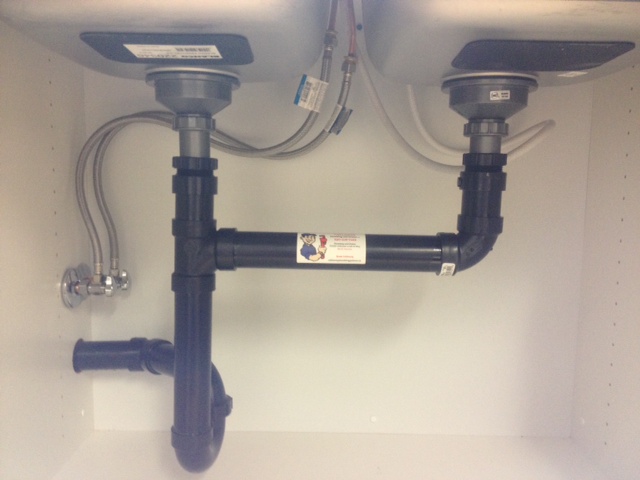
Follow the manufacturer's instructions to properly install the drain assembly. This may involve attaching the drain flange or stopper and connecting the drain pipe to the trap. Use your screwdriver to tighten any necessary connections.
9. Test and Adjust
Once everything is installed, turn the water supply back on and test your new faucet. Run the water and check for any leaks or drips. If everything looks good, you can make any final adjustments, such as tightening connections or adjusting the water flow.
10. Enjoy Your New Faucet and Bathroom Fixtures
Congratulations, you have successfully completed the installation of your new faucet in your bathroom sink! Take a step back and admire your work. Not only does your bathroom have a new, stylish look, but you also have a functioning water supply that will make your daily routine more enjoyable. Now you can sit back, relax, and enjoy your updated bathroom space.
Why You Should Install a New Faucet in Your Bathroom Sink
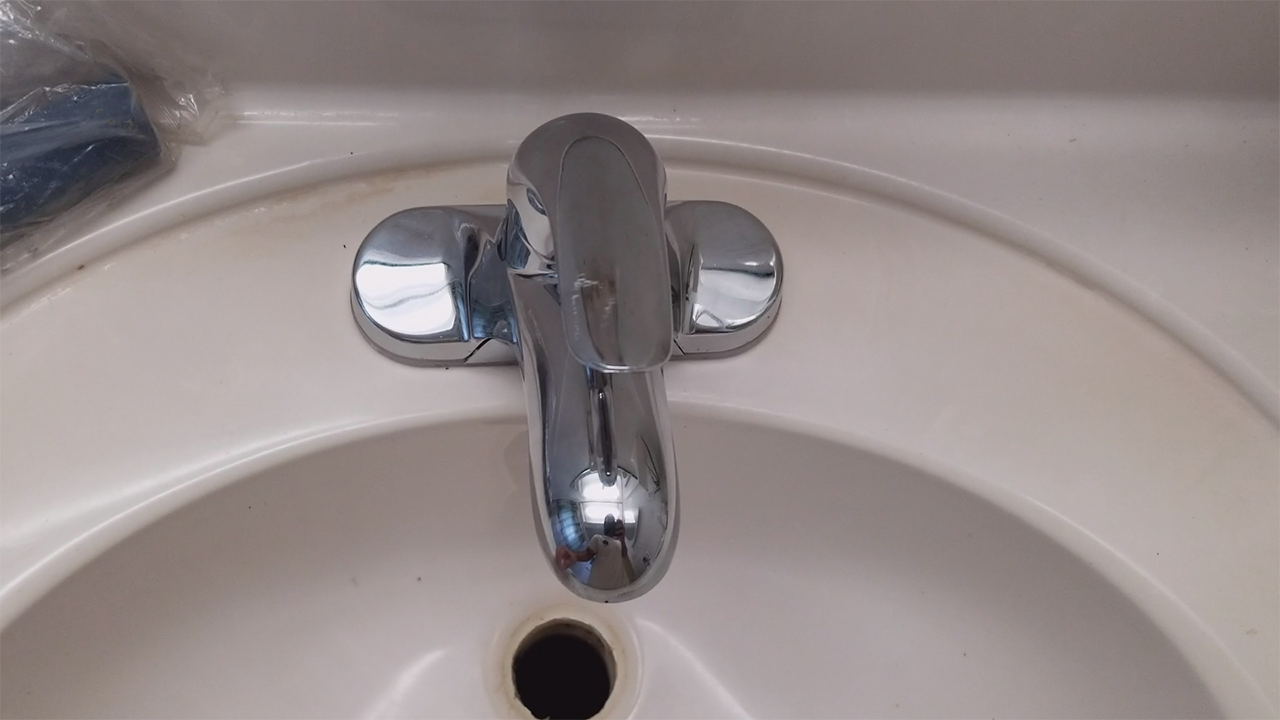
Improving the Aesthetic and Functionality of Your Bathroom
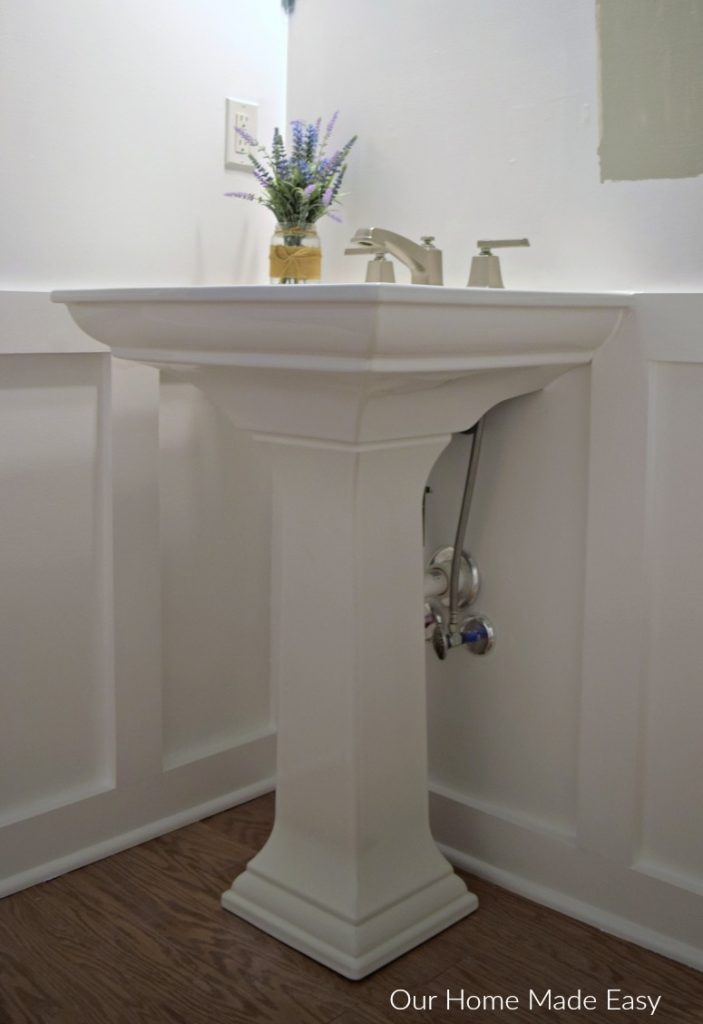
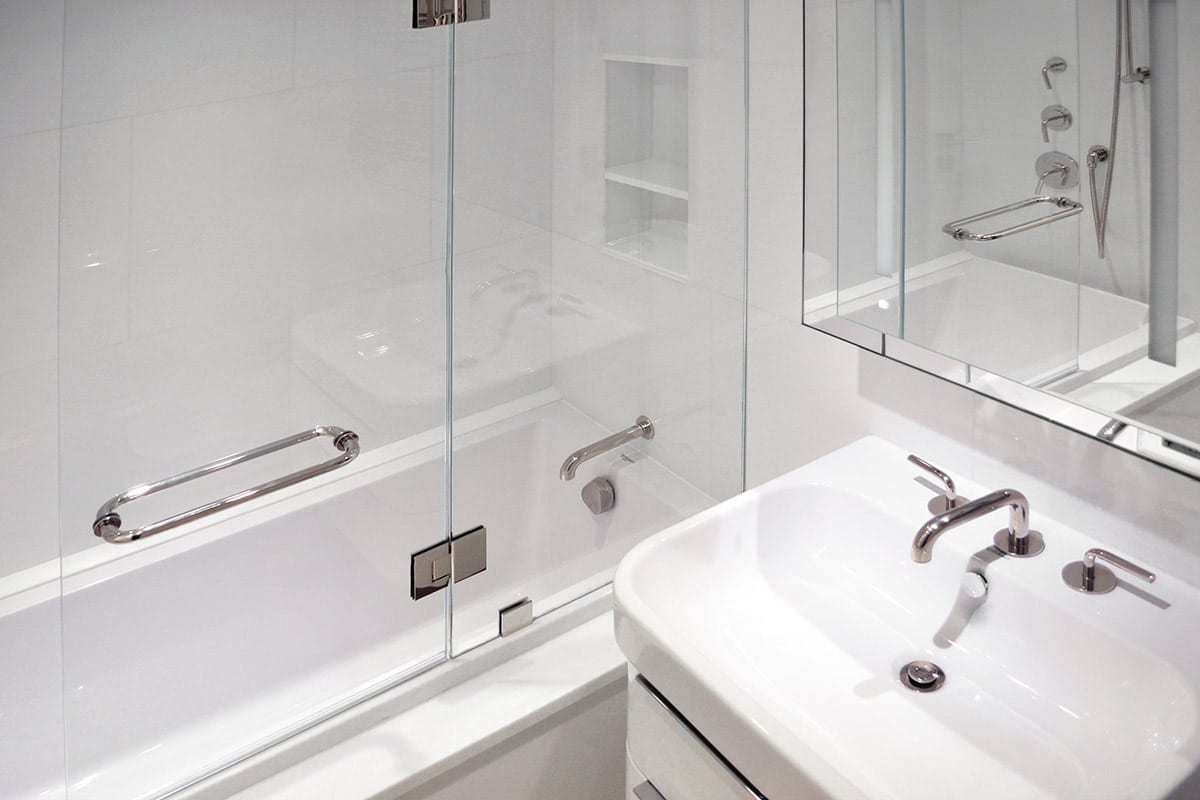
 If you're looking to upgrade the look and functionality of your bathroom, one of the easiest and most effective ways is by installing a new faucet in your bathroom sink. The faucet is not only a functional element in your bathroom, but it can also serve as a statement piece that ties the whole design together. With the right faucet, you can elevate the style and convenience of your bathroom, making it a more enjoyable and functional space. In this article, we'll discuss the benefits of installing a new faucet in your bathroom sink and provide some tips on how to choose the perfect one for your space.
Bold and Modern Designs
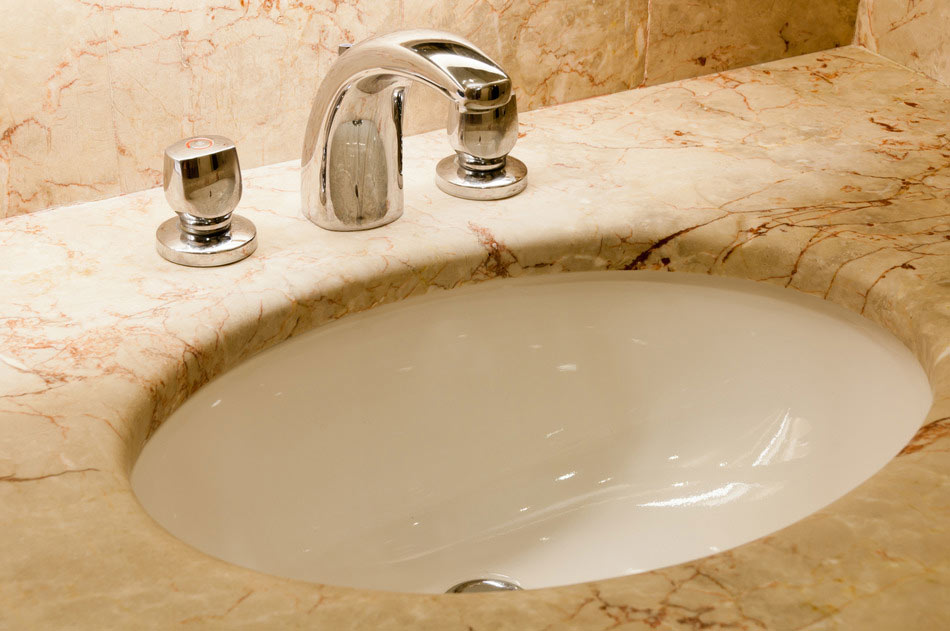
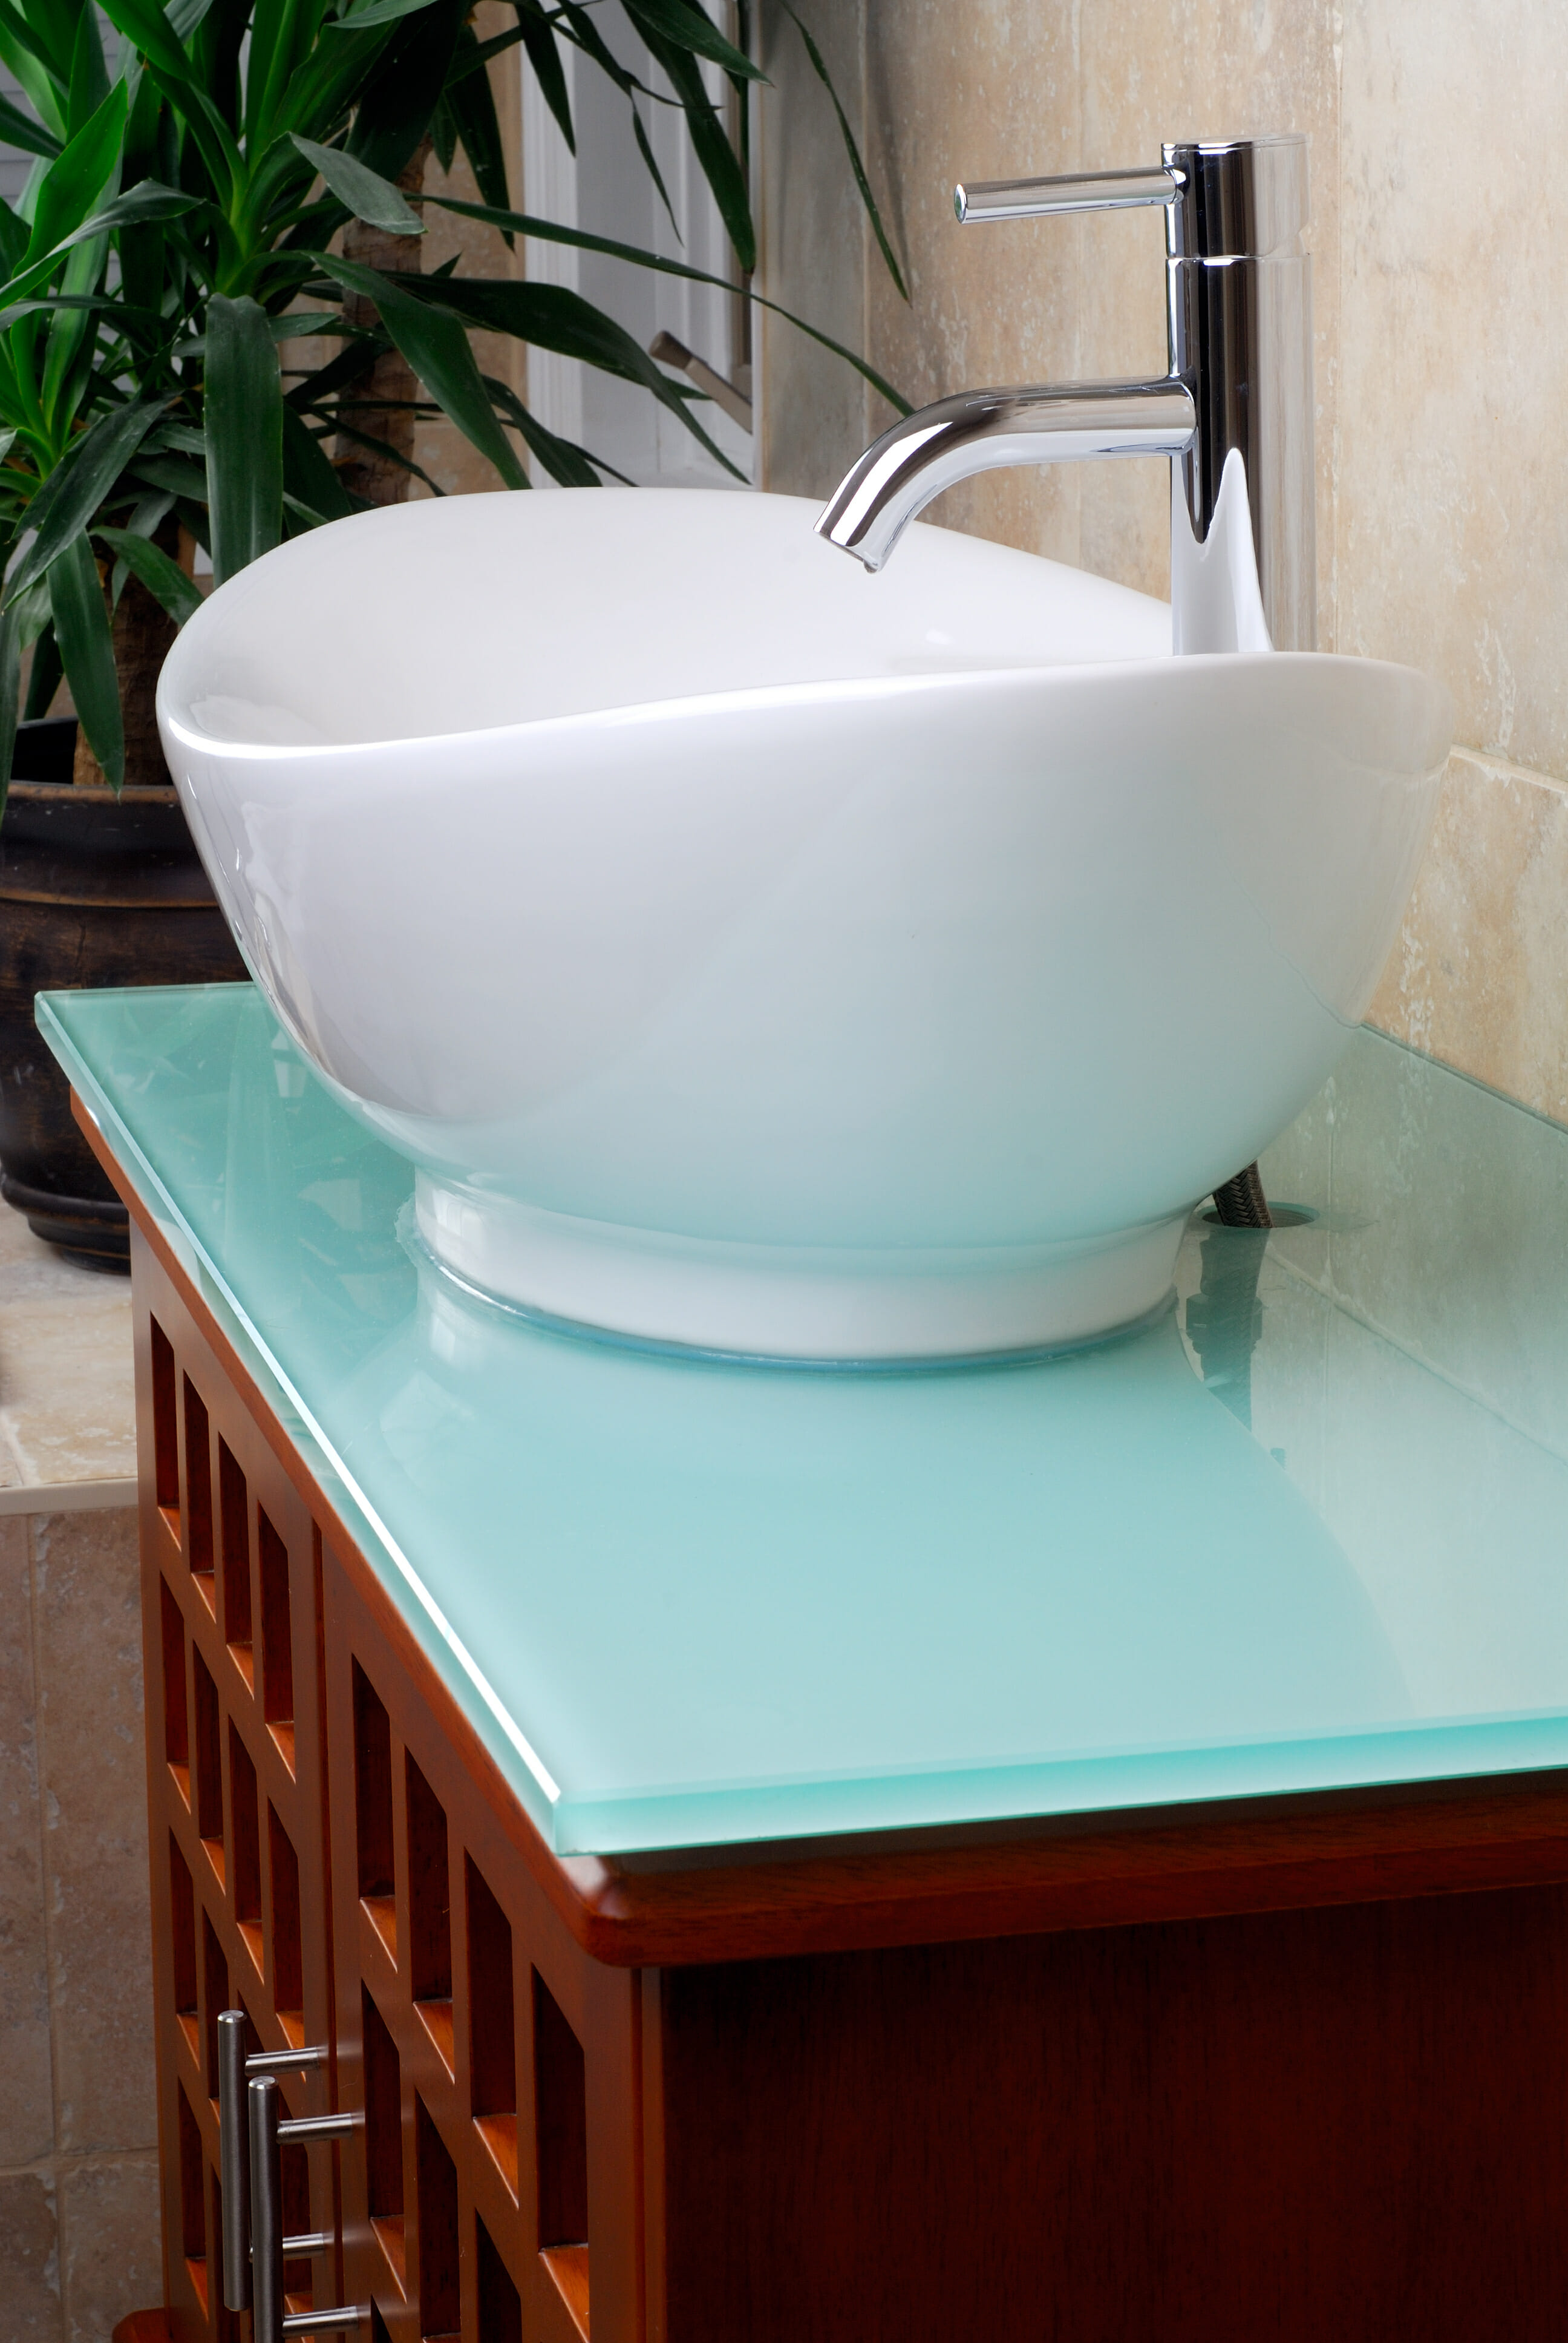
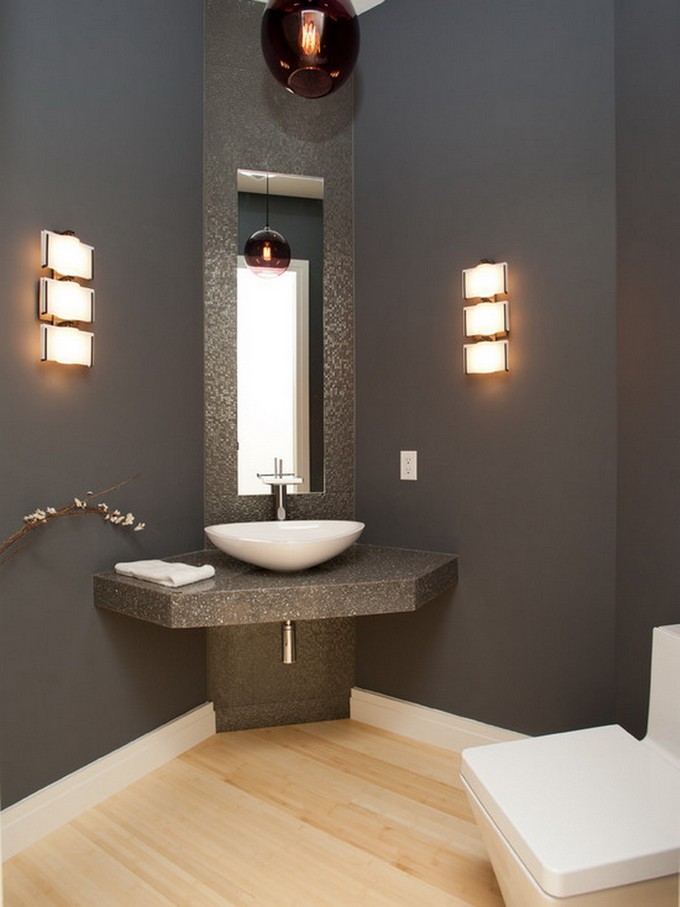
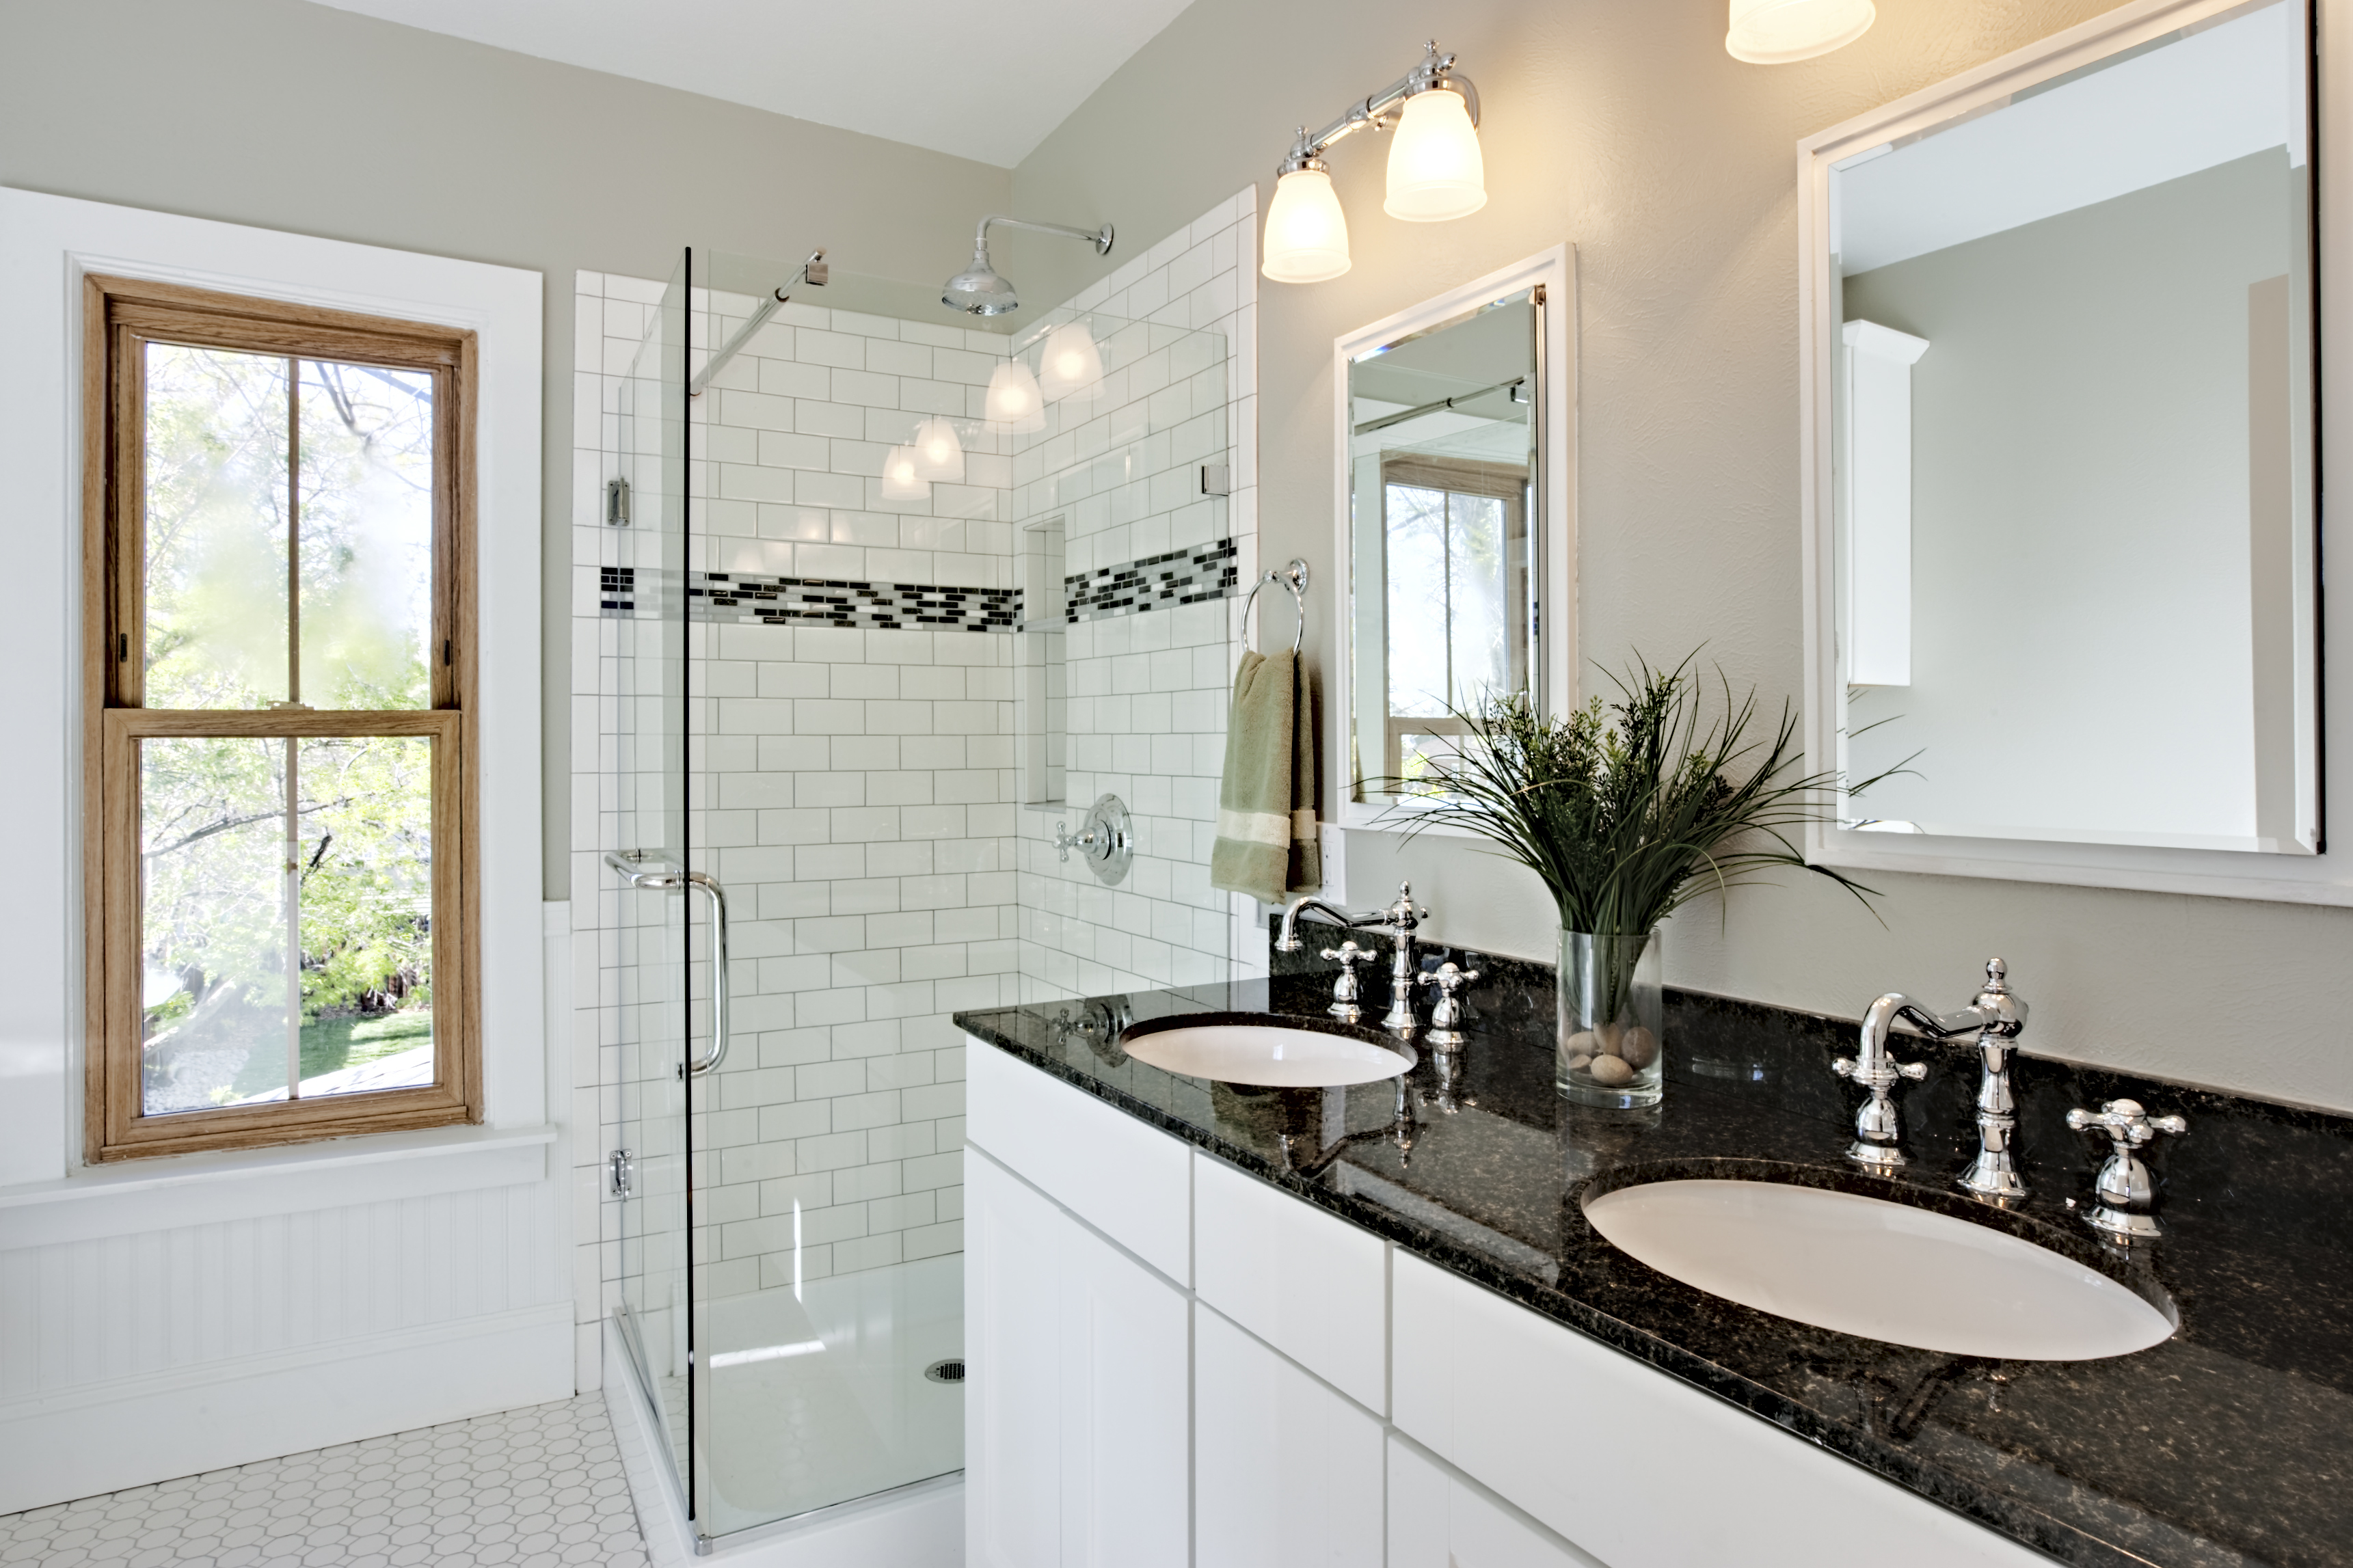
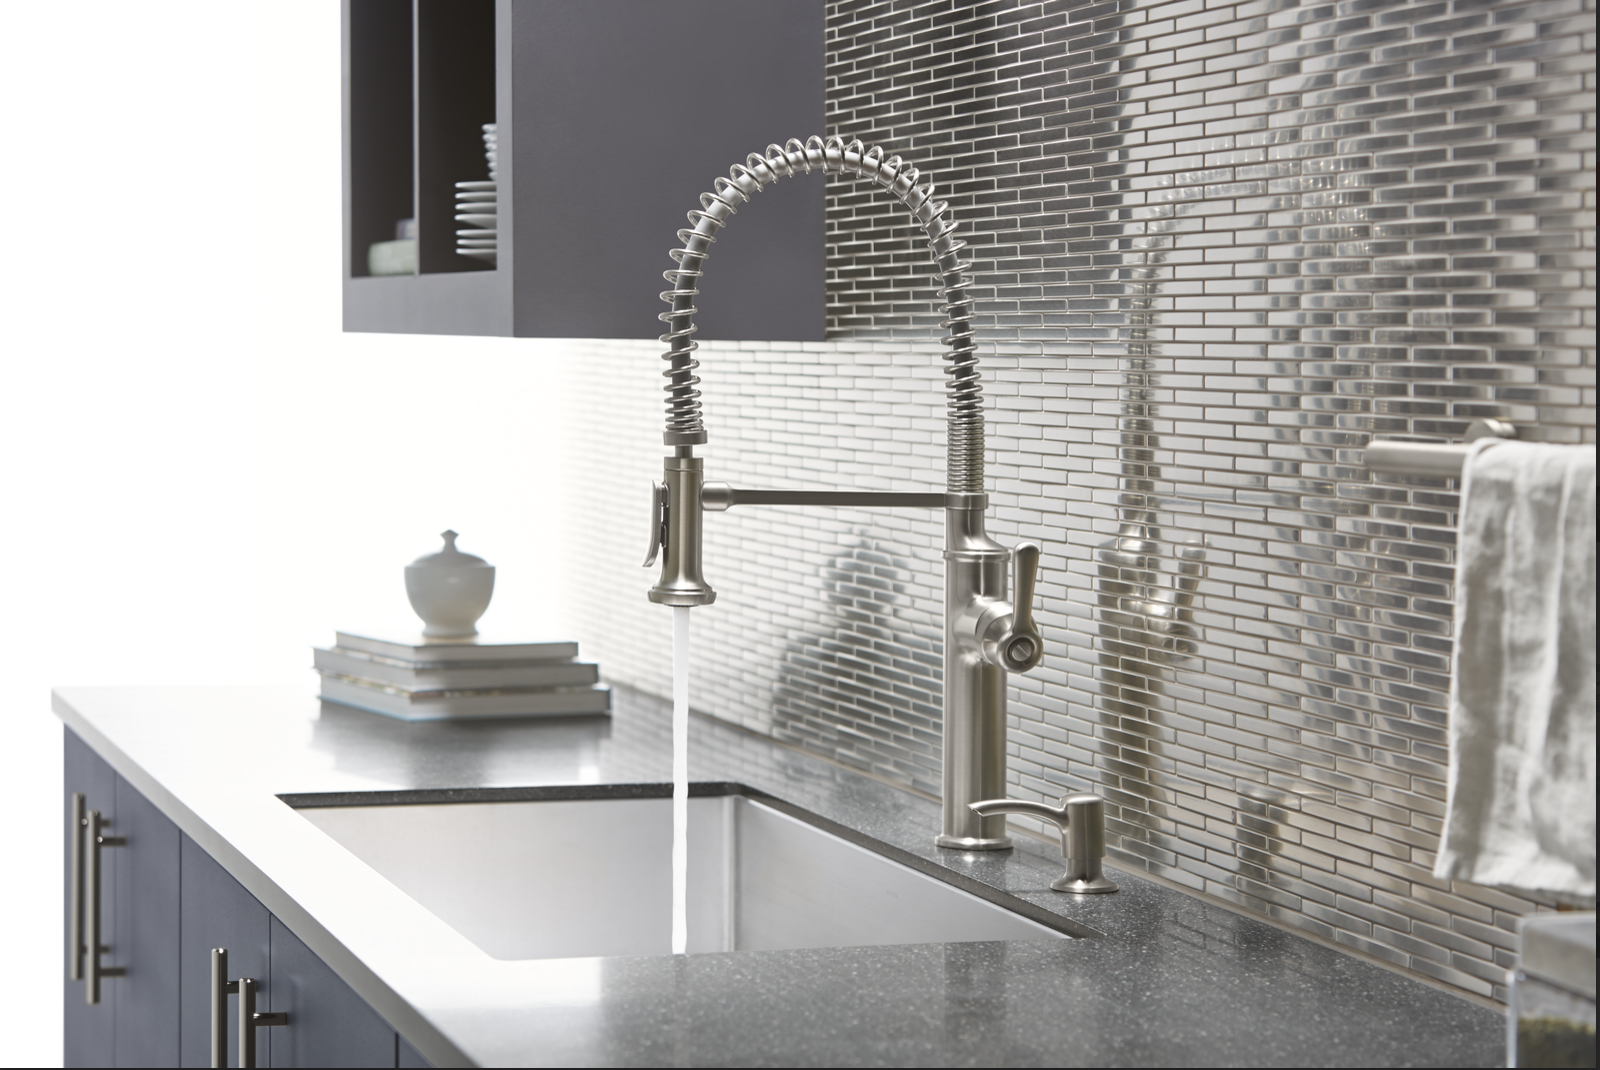
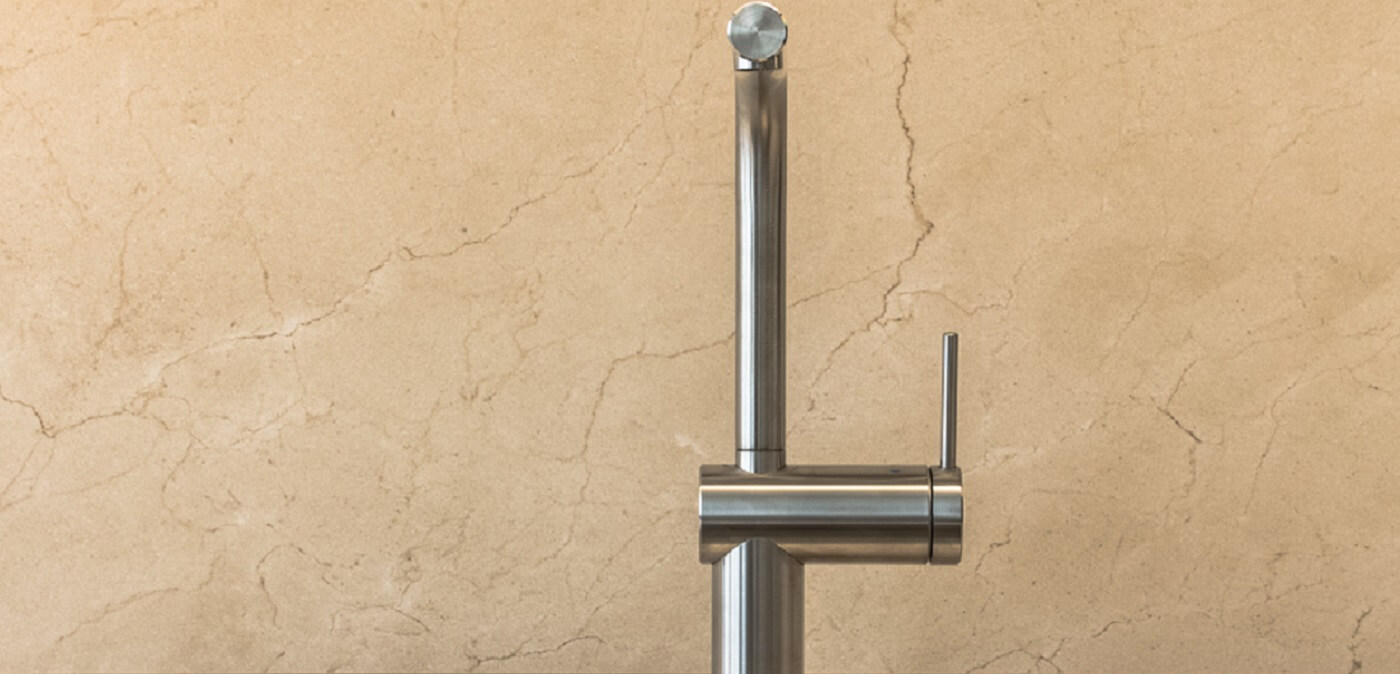
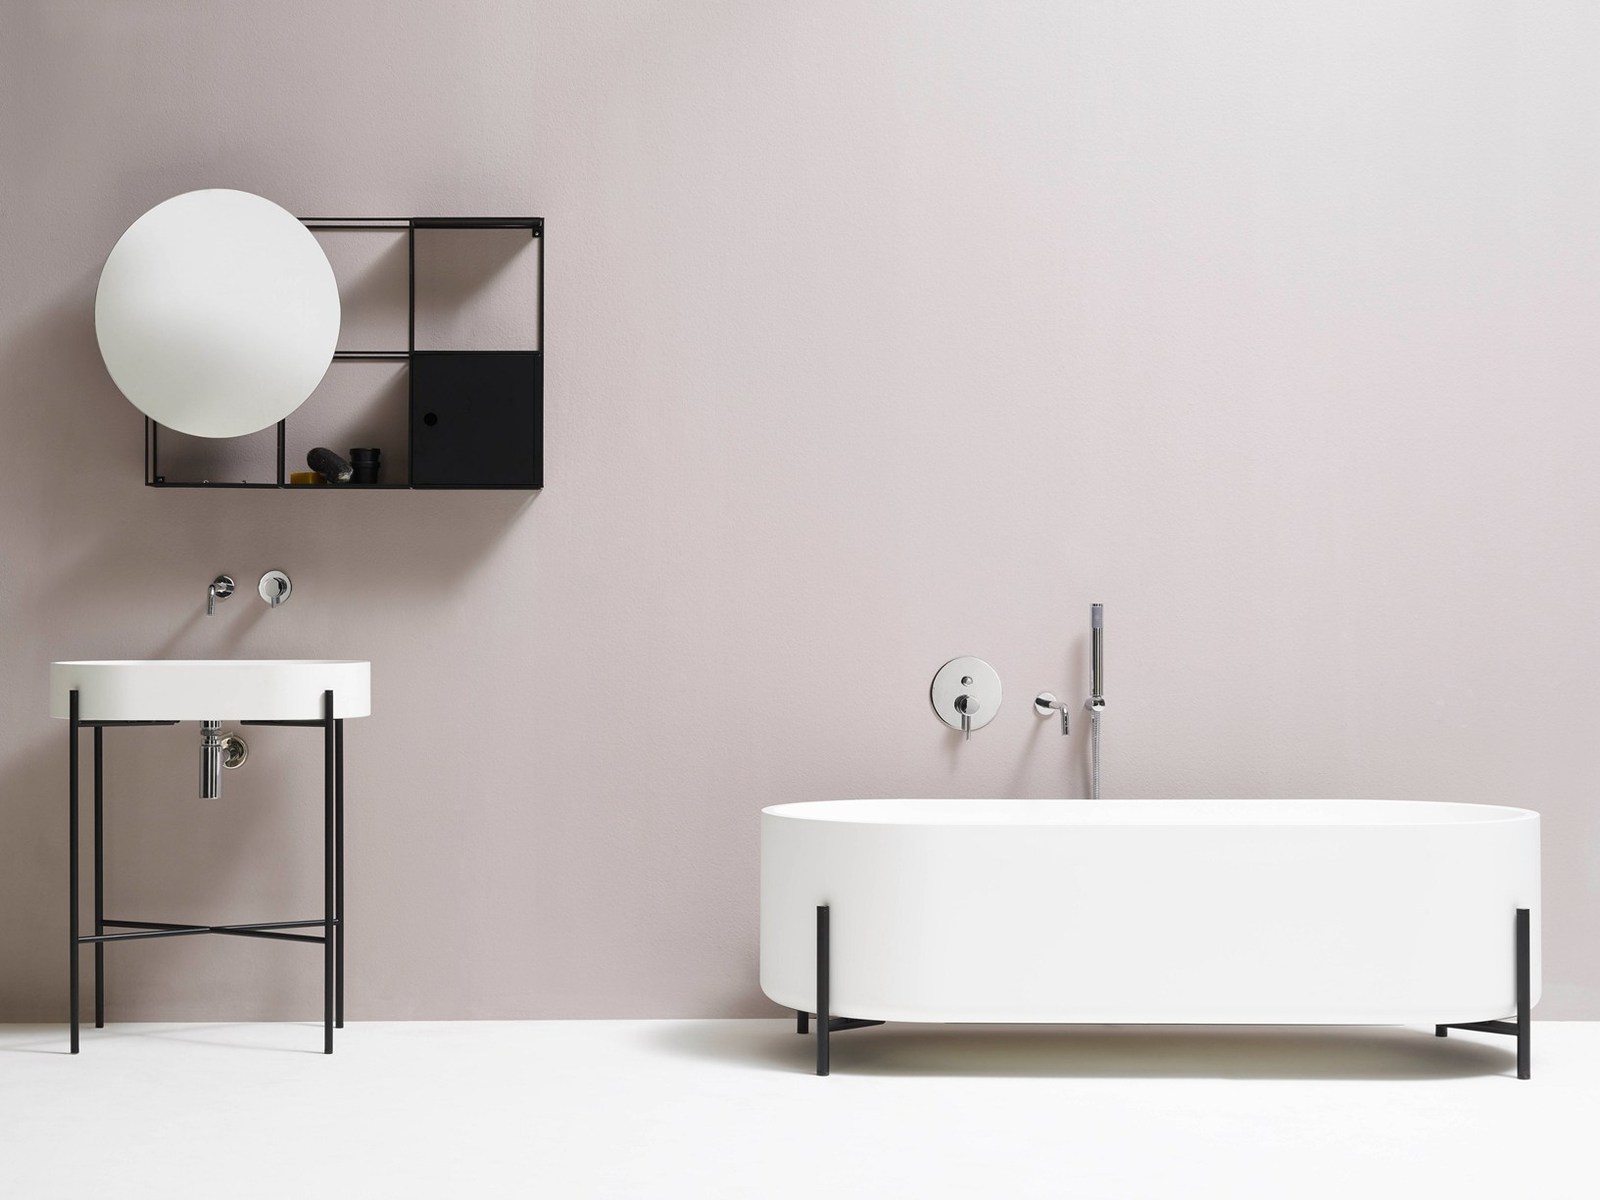
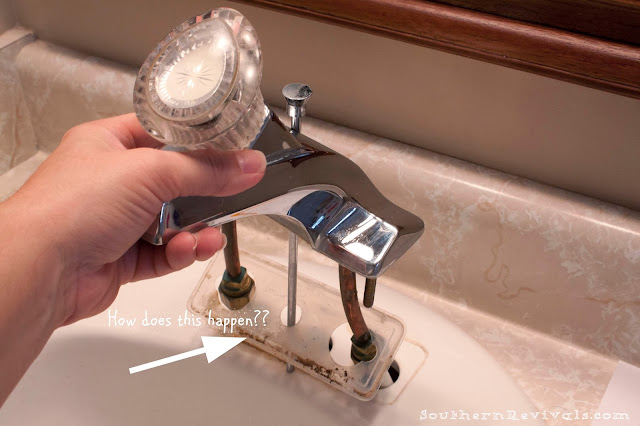 One of the main reasons to install a new faucet in your bathroom sink is to update the design and make it more modern and stylish. Faucets come in a variety of designs, from sleek and minimalistic to bold and ornate. By choosing a new faucet that matches your personal style and complements the overall design of your bathroom, you can instantly transform the look and feel of the space. Additionally, by choosing a bold and modern design, you can add a touch of personality and character to your bathroom, making it a unique and inviting space.
Improved Functionality
/173579315-56a4a2a83df78cf772835c77.jpg) Aside from aesthetics, a new faucet can also improve the functionality of your bathroom sink. Old and outdated faucets can have low water pressure, leak, or have difficulty switching between hot and cold water. By installing a new faucet, you can ensure that your sink has proper water flow and temperature control, making everyday tasks like washing your face or brushing your teeth much more convenient and enjoyable. Additionally, newer faucets often come with features like touchless technology or adjustable water flow, making your bathroom experience even more effortless and comfortable.
Aside from aesthetics, a new faucet can also improve the functionality of your bathroom sink. Old and outdated faucets can have low water pressure, leak, or have difficulty switching between hot and cold water. By installing a new faucet, you can ensure that your sink has proper water flow and temperature control, making everyday tasks like washing your face or brushing your teeth much more convenient and enjoyable. Additionally, newer faucets often come with features like touchless technology or adjustable water flow, making your bathroom experience even more effortless and comfortable.
Energy Efficiency
 Installing a new faucet can also help reduce your water and energy consumption. Many newer faucets have water-saving features, such as aerators, that reduce the amount of water used without compromising on water pressure. This not only helps save water but also reduces your energy bill. Additionally, some faucets have temperature control settings that allow you to set the maximum temperature, preventing scalding and saving energy.
Easy Installation
 Contrary to popular belief, installing a new faucet in your bathroom sink is a relatively simple and straightforward process. With the right tools and a little bit of DIY knowledge, you can easily install a new faucet yourself, saving you money on professional installation fees. Plus, with a wide range of faucet options available, you can find one that fits your sink and existing plumbing without much hassle.
In Conclusion
 Installing a new faucet in your bathroom sink is a simple and cost-effective way to upgrade the design and functionality of your bathroom. With a variety of designs, features, and price points available, you can easily find a faucet that meets your needs and complements your bathroom's style. So why not give your bathroom a much-needed upgrade by installing a new faucet today?



/fixing-a-tap-459986221-5afc675431283400371f7872.jpg)









/173239777-copy-56a49c725f9b58b7d0d7d17a.jpg)


/GettyImages-98064882-5a3684ef4e46ba003693c061.jpg)
/Plastic-Plumbing-Pipe-183508152-58a47c925f9b58819c9c8ac6.jpg)
































.jpg)


