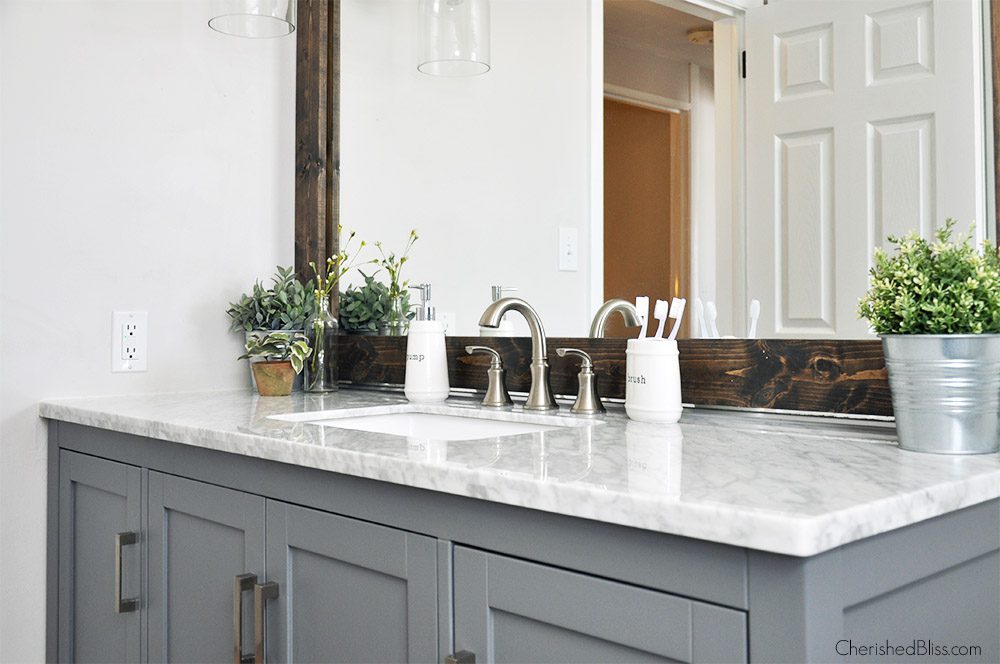
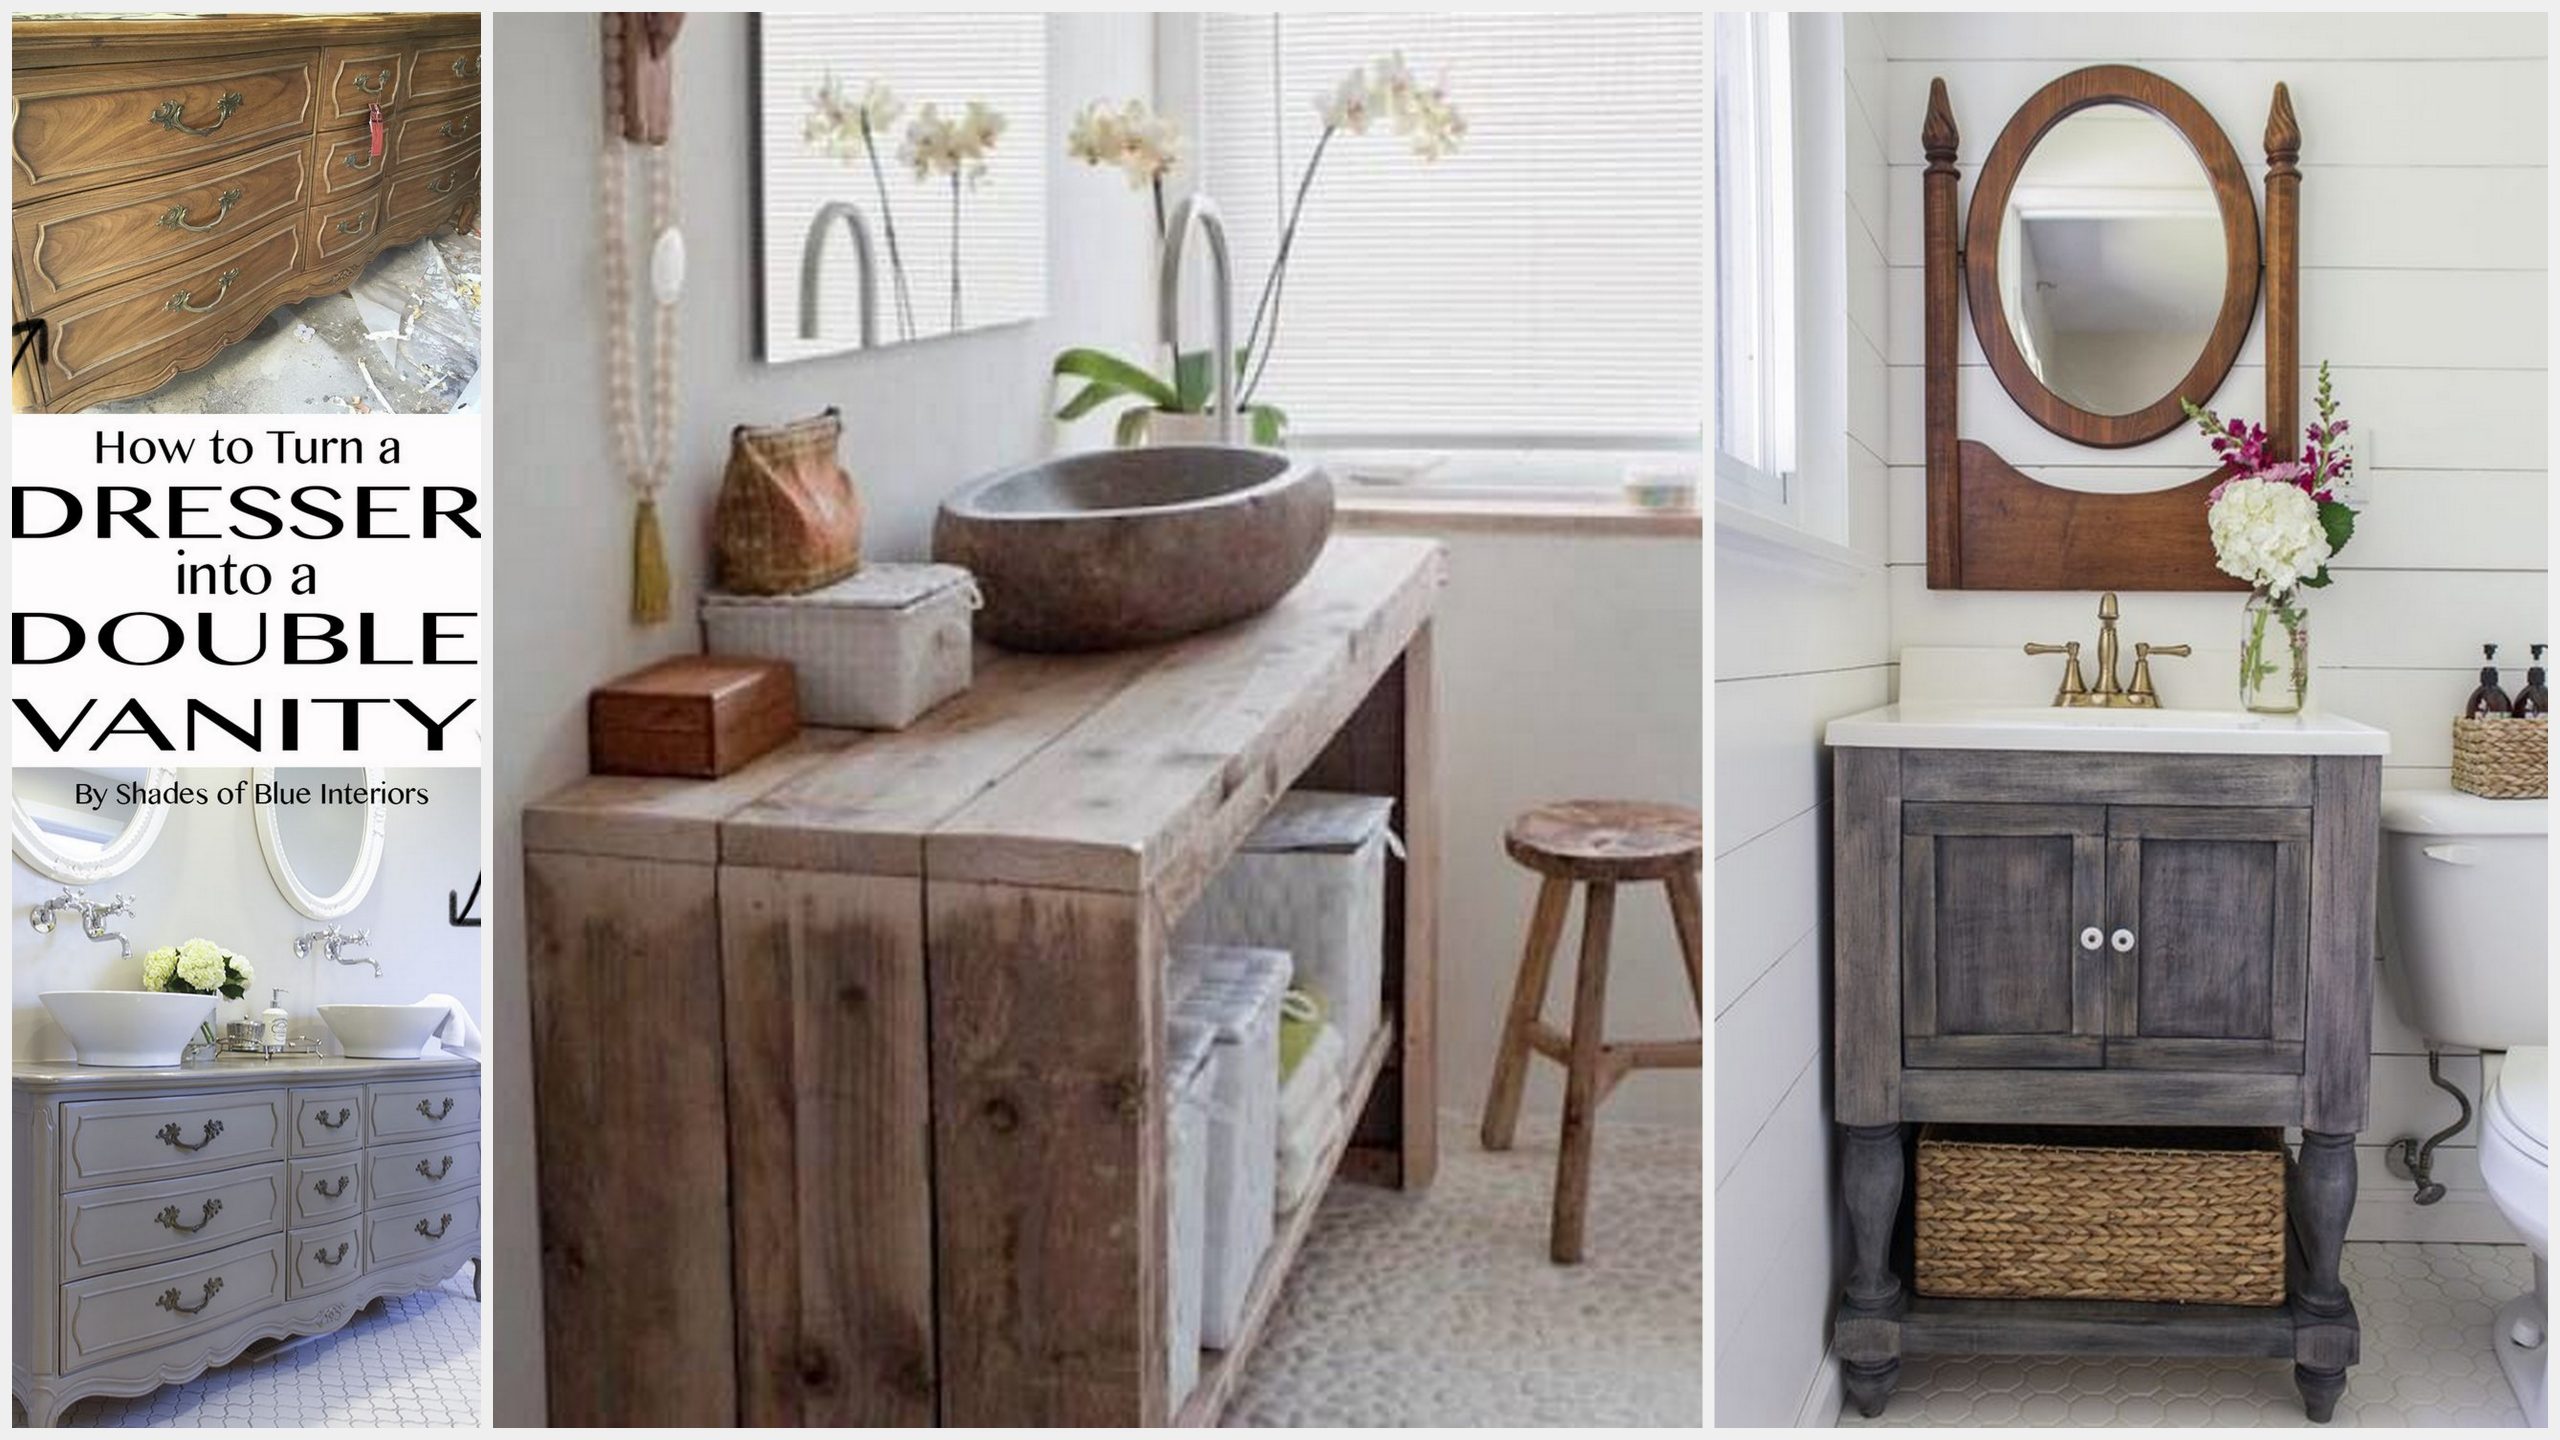
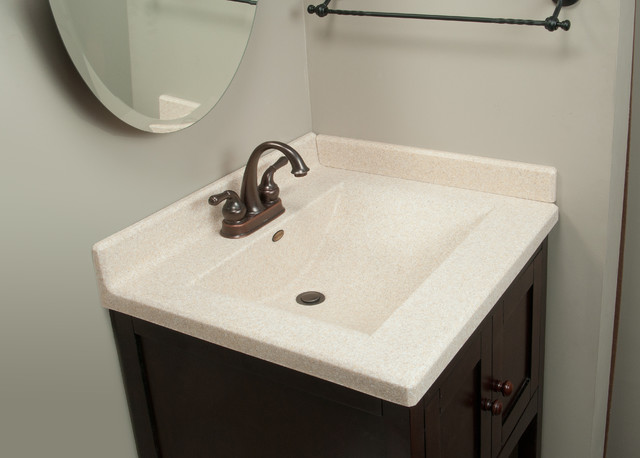
A bathroom vanity side splash is a practical and stylish addition to any bathroom. It not only protects your walls from water damage, but it also adds a finishing touch to your vanity area. If you're looking to upgrade your bathroom with a new vanity side splash, follow these steps for a seamless installation process. How to Install a Bathroom Vanity Side Splash

How to Install a Bathroom Vanity Side Splash

:max_bytes(150000):strip_icc()/8_IMG_3767-56a4a2753df78cf772835b72.JPG)

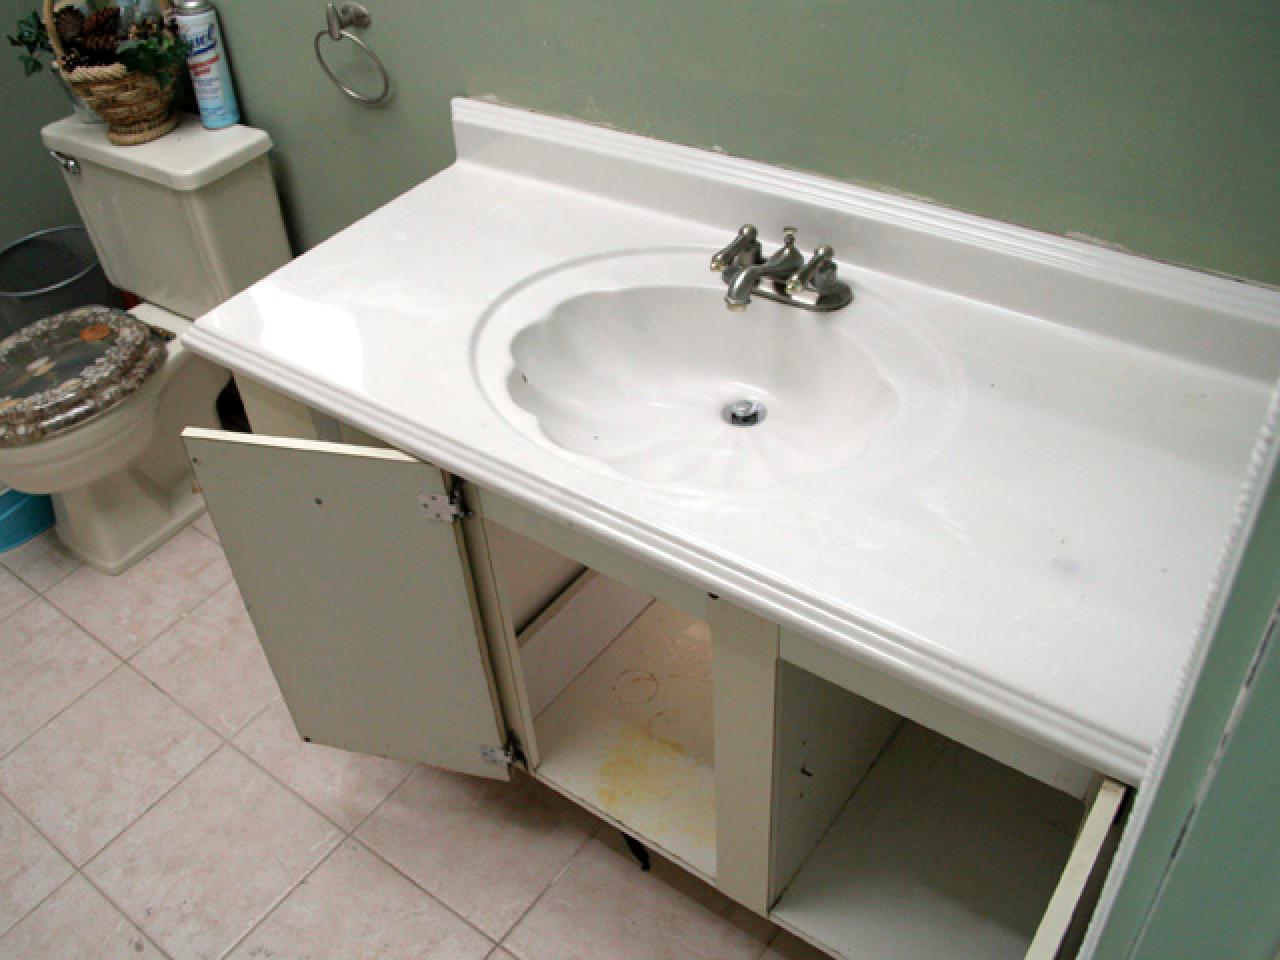
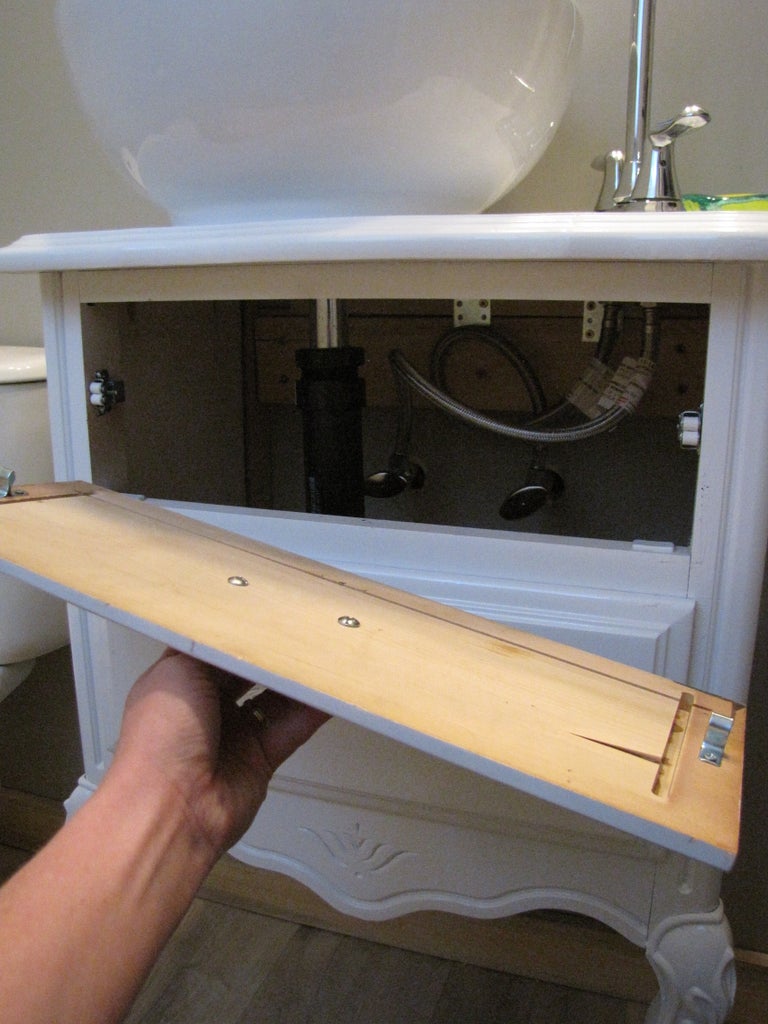
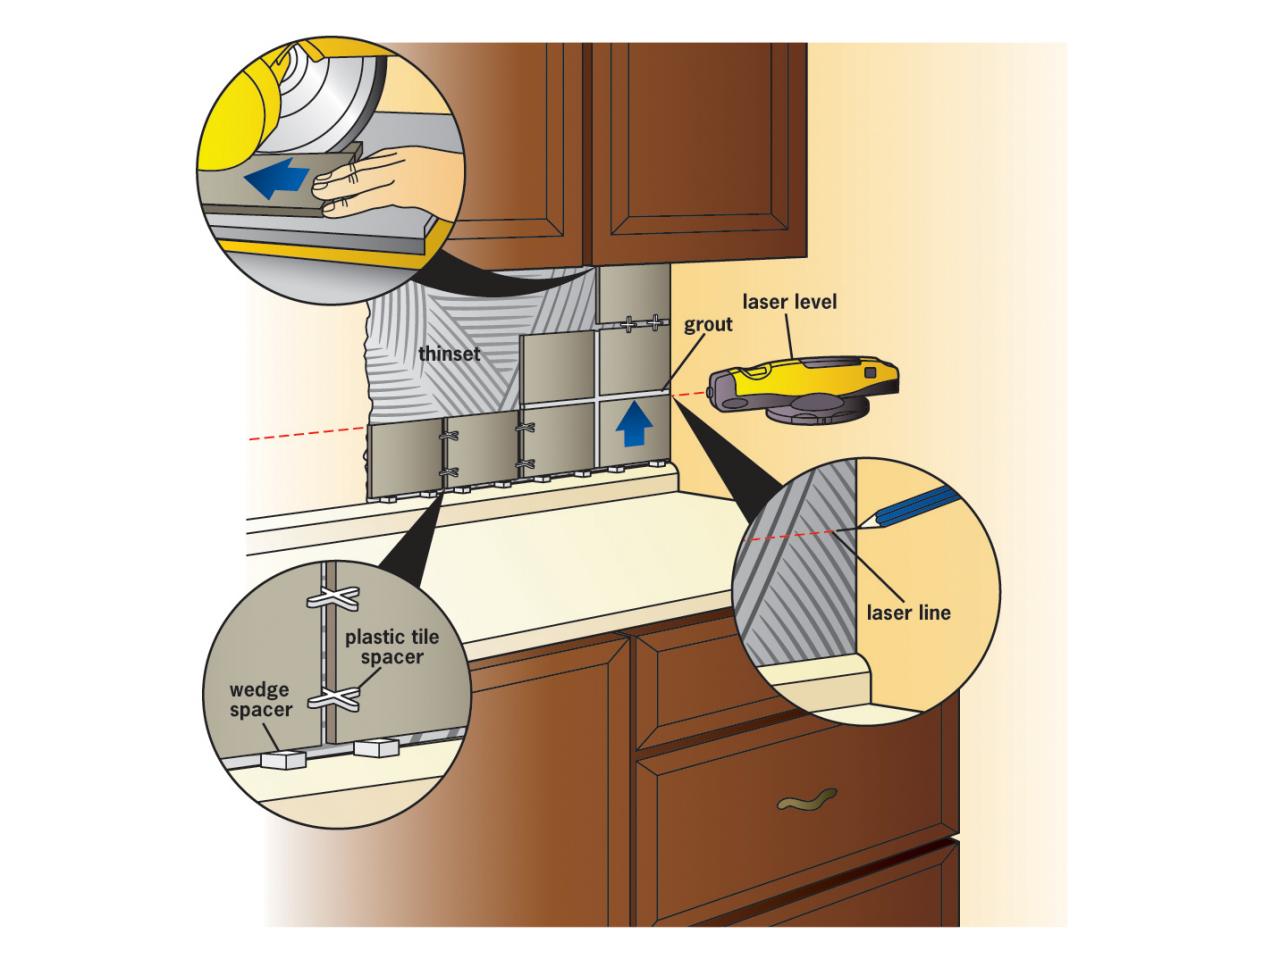
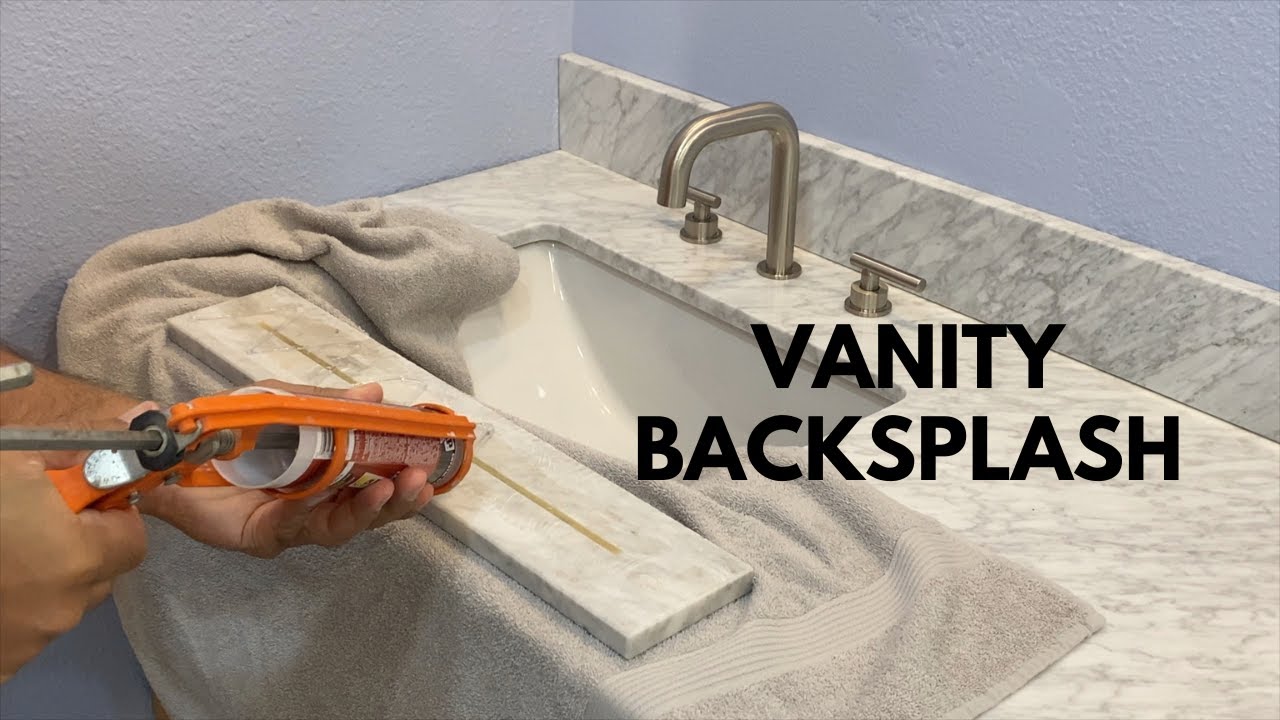
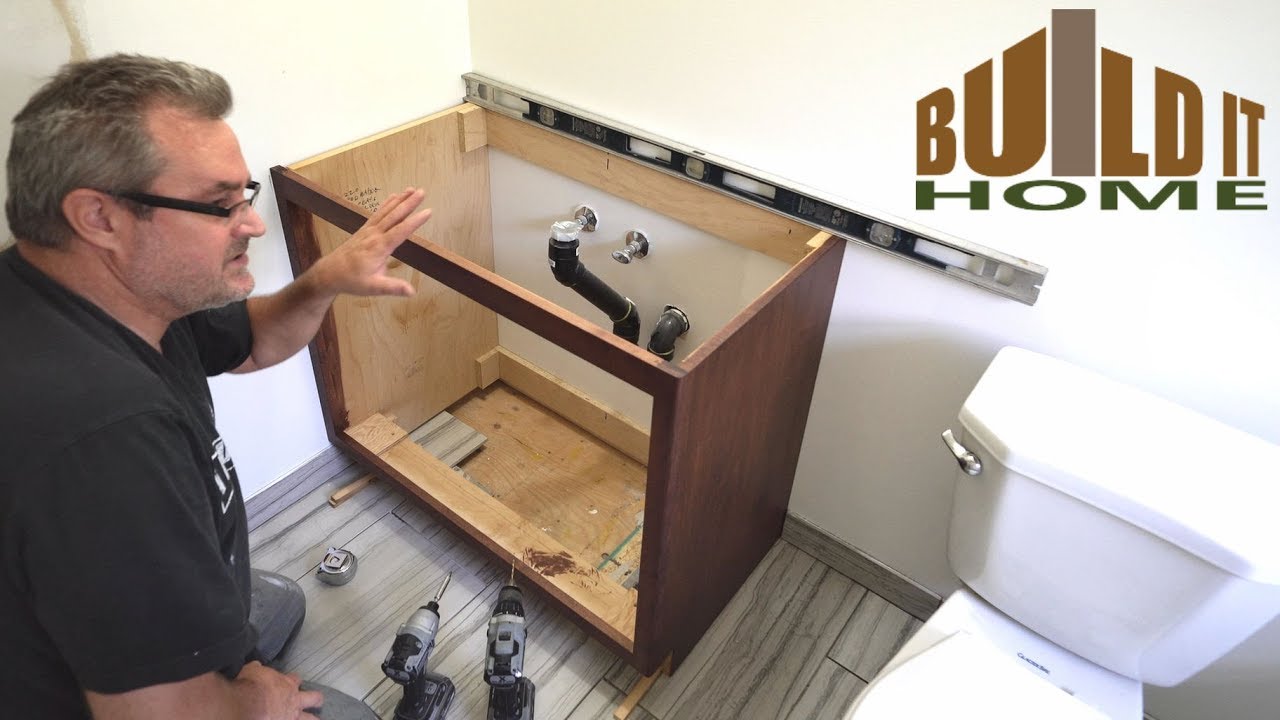
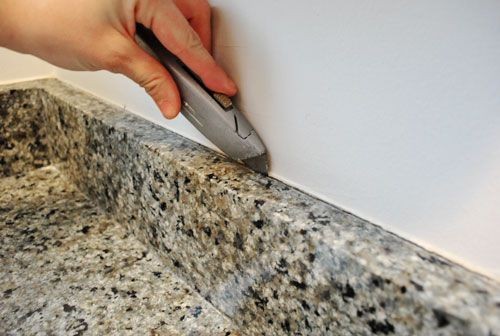
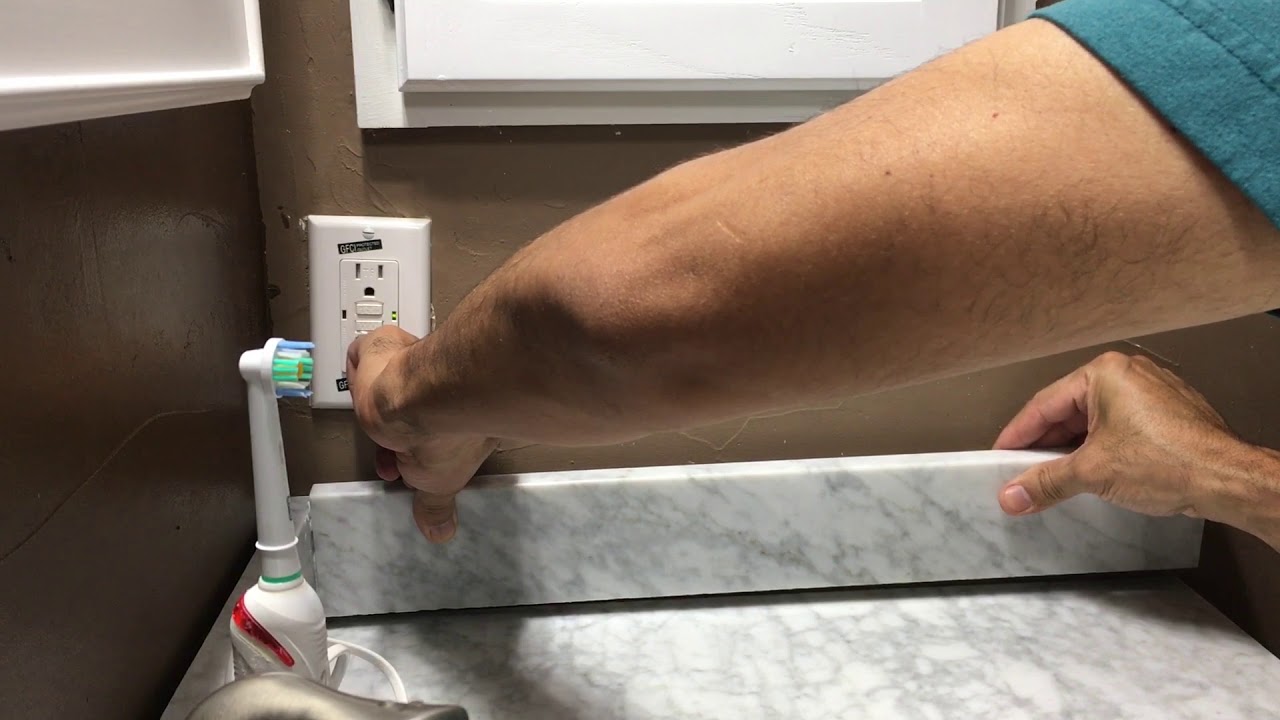
Step 1: Measure Your Vanity – The first step in installing a vanity side splash is to measure the length and depth of your vanity. This will help determine the size of the side splash you'll need. Step 2: Choose Your Material – Vanity side splashes come in various materials such as tile, stone, and laminate. Choose a material that best suits your style and budget. Step 3: Gather Your Tools – Before starting the installation, make sure you have all the necessary tools, including a tape measure, level, tile cutter (if using tile), adhesive, and grout (if using tile). Step 4: Prep Your Wall – Clean and dry the wall where the side splash will be installed. If the wall is not level, use a level and a pencil to mark a straight line where the top of the side splash will sit. Step 5: Cut the Side Splash – If using tile, use a tile cutter to cut the side splash to the appropriate size. If using a pre-made side splash, skip to the next step. Step 6: Apply Adhesive – Apply a thin layer of adhesive to the back of the side splash. If using tile, also apply adhesive to the wall. Step 7: Install the Side Splash – Carefully place the side splash onto the wall, making sure it is level. If using tile, use spacers to create even spacing between each tile. Step 8: Add Grout (if using tile) – Once the adhesive has dried, remove the spacers and use a grout float to apply grout between the tiles. Wipe off any excess grout with a damp sponge. Step 9: Finishing Touches – Once the adhesive and grout have fully dried, remove any excess adhesive and grout from the surface of the side splash. Caulk around the edges of the side splash to create a clean and waterproof seal. Step-by-Step Guide for Installing a Vanity Side Splash


Step-by-Step Guide for Installing a Vanity Side Splash


Installing a bathroom vanity side splash can be a DIY project, as long as you have the necessary tools and follow the steps mentioned above. It's a great way to add a personal touch to your bathroom and save money on hiring a professional. DIY Bathroom Vanity Side Splash Installation


DIY Bathroom Vanity Side Splash Installation


Tip 1: When measuring your vanity, add an extra 1/4 inch to account for any discrepancies in the wall or vanity size. This will ensure a perfect fit for the side splash. Tip 2: Use a level to ensure the side splash is straight and even. This will prevent any gaps between the side splash and the vanity or wall. Tip 3: If using tile, make sure to use a waterproof adhesive and grout to prevent any water damage. Tip 4: Use a damp sponge to clean off any excess grout or adhesive before it dries. This will make the cleaning process much easier. Tips for Installing a Vanity Side Splash


Tips for Installing a Vanity Side Splash

Tape measure, level, tile cutter (if using tile), adhesive, grout (if using tile), grout float, spacers, damp sponge, caulk – These are the essential tools needed for a smooth and successful vanity side splash installation. Necessary Tools for Installing a Bathroom Vanity Side Splash

Necessary Tools for Installing a Bathroom Vanity Side Splash

Mistake 1: Not measuring accurately – Measuring your vanity and wall correctly is crucial for a proper fit. Mistake 2: Skipping the level – Using a level is essential for a straight and even installation. Mistake 3: Not using waterproof materials – This can lead to water damage in the long run. Mistake 4: Not removing excess grout and adhesive – This can create a messy and unprofessional finish. Common Mistakes to Avoid When Installing a Vanity Side Splash


Common Mistakes to Avoid When Installing a Vanity Side Splash


Before starting the installation, it's important to know the dimensions of your vanity and the material you'll be using for the side splash. It's also essential to have the necessary tools and follow the proper steps for a successful installation. Installing a Vanity Side Splash: What You Need to Know


Installing a Vanity Side Splash: What You Need to Know

:max_bytes(150000):strip_icc()/8_IMG_3767-56a4a2753df78cf772835b72.JPG)

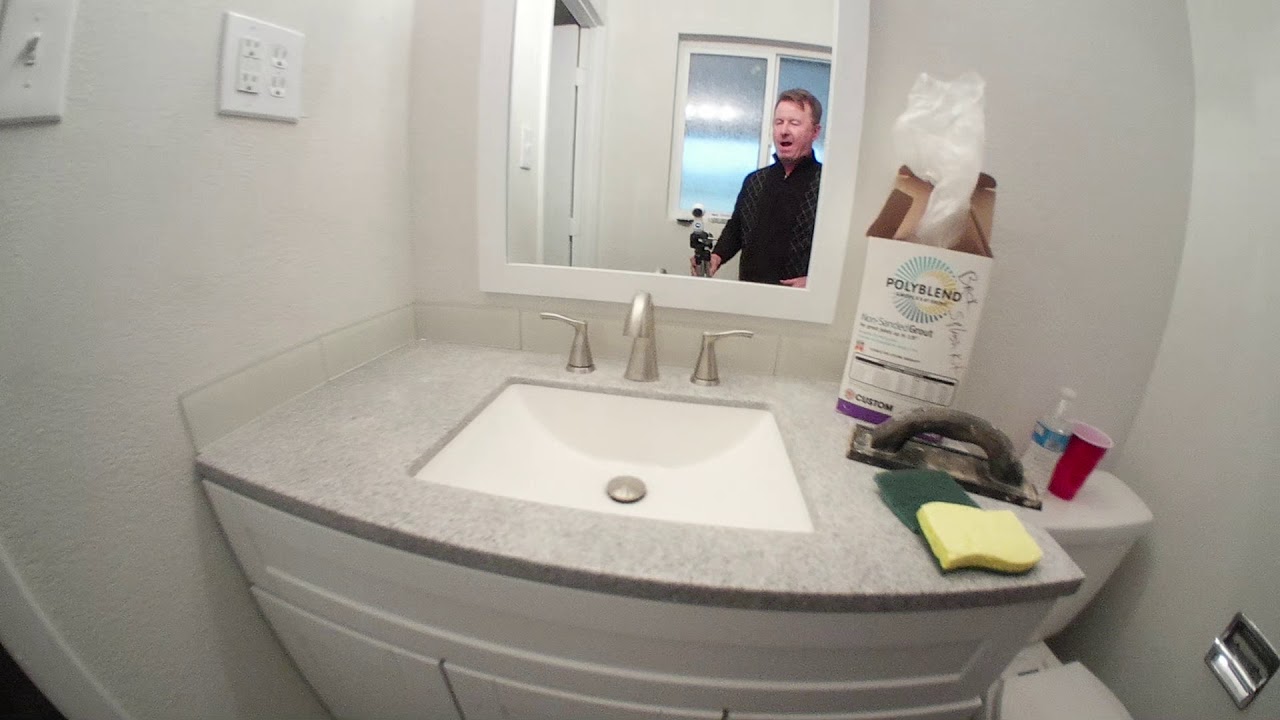
With the right tools and a bit of patience, installing a bathroom vanity side splash can be a quick and easy process. Follow our step-by-step guide for a hassle-free installation experience. Quick and Easy Bathroom Vanity Side Splash Installation


Quick and Easy Bathroom Vanity Side Splash Installation


Step 1: Measure the length and depth of your vanity. Step 2: Mark the measurements on the side splash material. Step 3: Use a tile cutter to cut the material to the appropriate size. How to Measure and Cut a Vanity Side Splash

How to Measure and Cut a Vanity Side Splash


Issue 1: The side splash is not level – Use a level to adjust the side splash until it is straight. Issue 2: There are gaps between the side splash and the vanity or wall – Use caulk to fill in any gaps and create a waterproof seal. Issue 3: The side splash is too big or small – Double check your measurements and recut the material if needed. With these tips and tricks, you can easily install a beautiful and functional bathroom vanity side splash. Enjoy your newly upgraded vanity space! Troubleshooting Common Issues During Vanity Side Splash Installation


Troubleshooting Common Issues During Vanity Side Splash Installation


Why You Should Install a Bathroom Vanity Side Splash
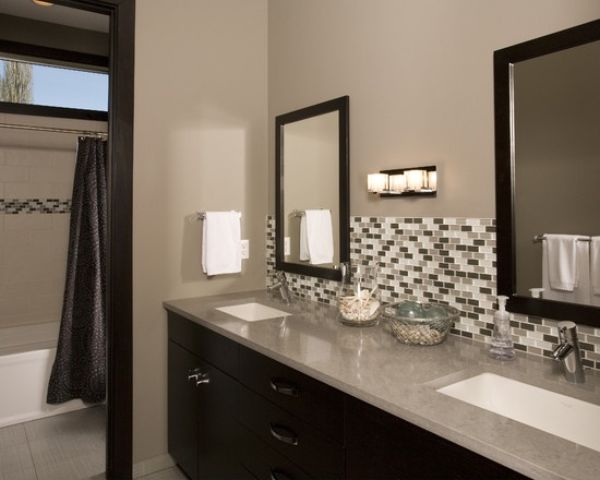
Enhance the Aesthetics of Your Bathroom
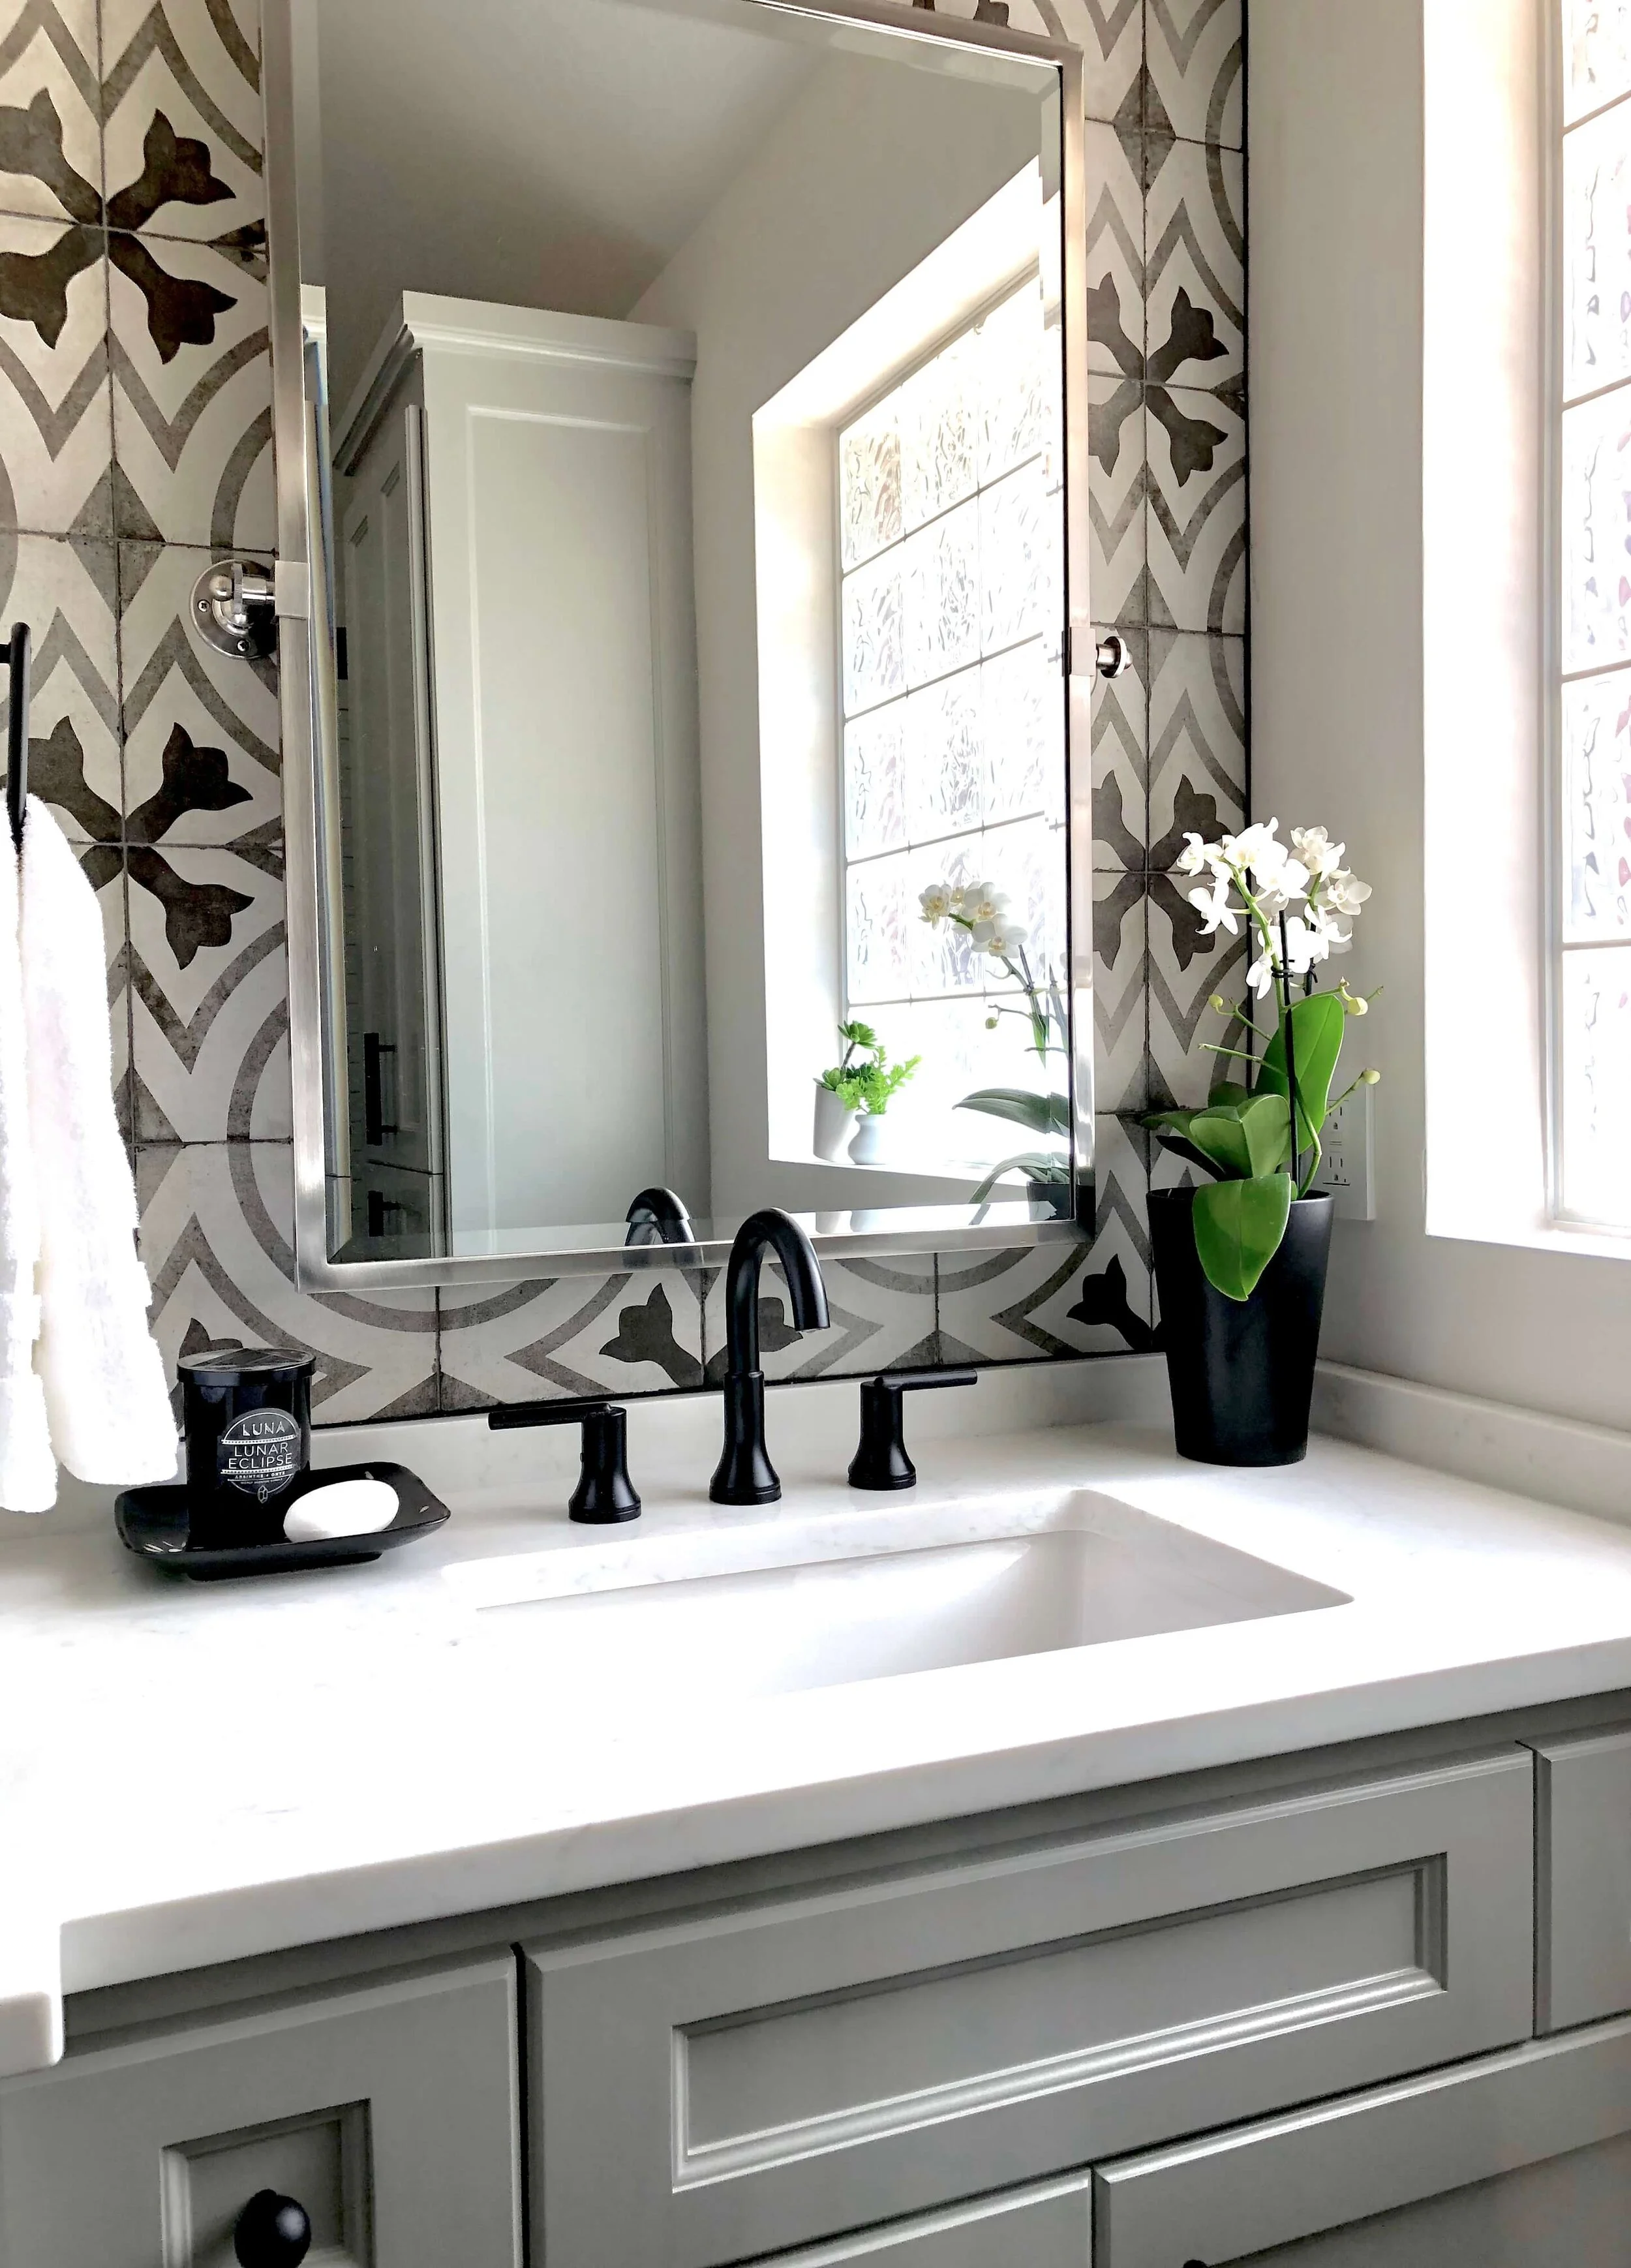
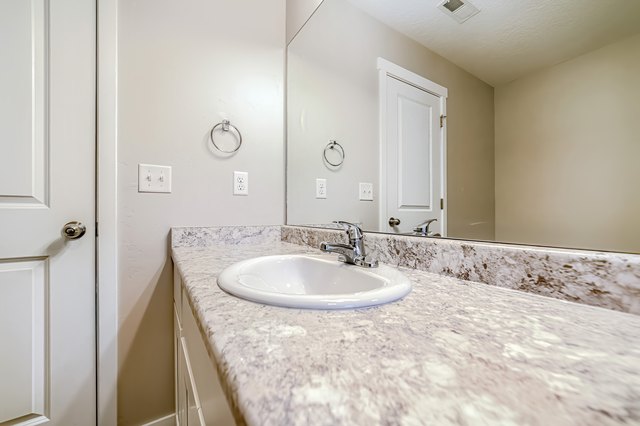
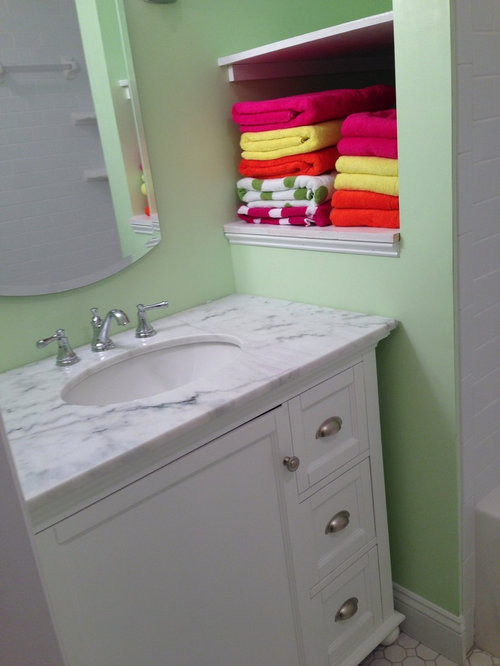
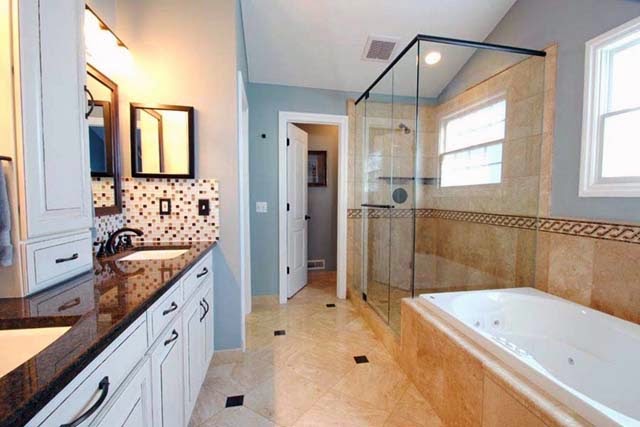
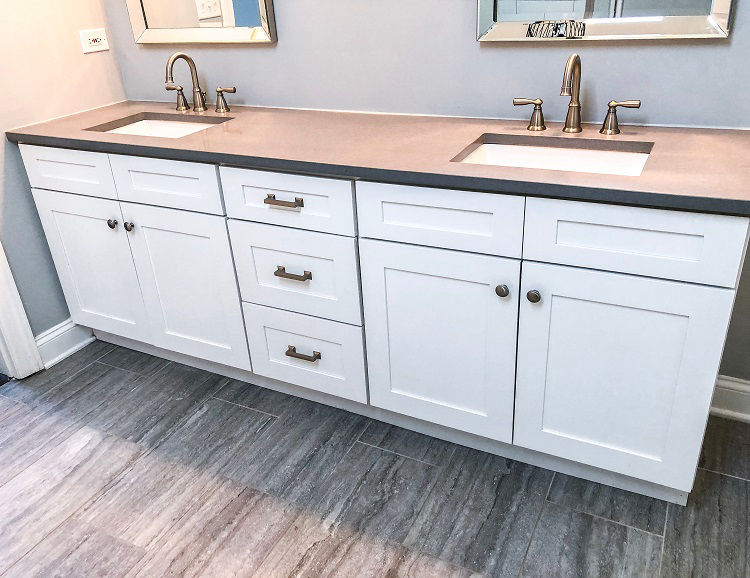
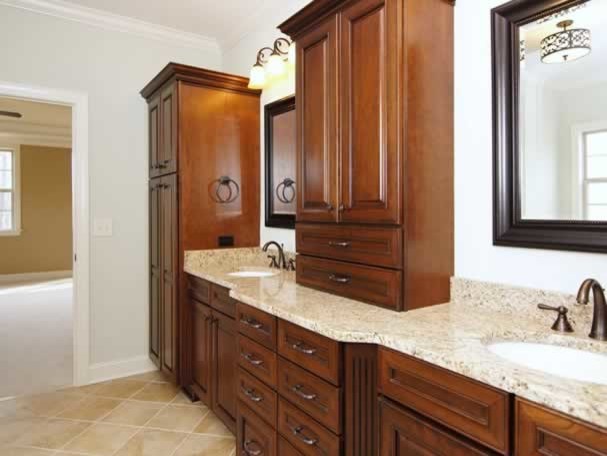
 When it comes to bathroom design, every detail matters. A bathroom vanity side splash may seem like a small addition, but it can make a big impact on the overall look and feel of your bathroom. Not only does it add a touch of style, but it also helps to tie together the design of your vanity and countertop. Plus, with so many different materials and styles to choose from, you can easily find one that complements your existing decor.
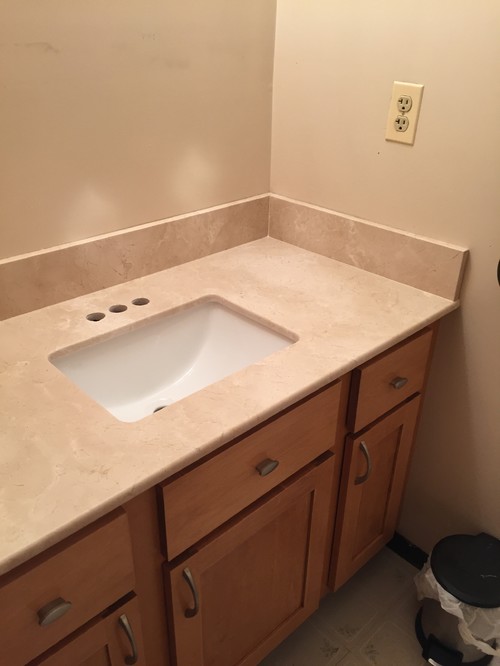
Protect Your Walls and Countertops
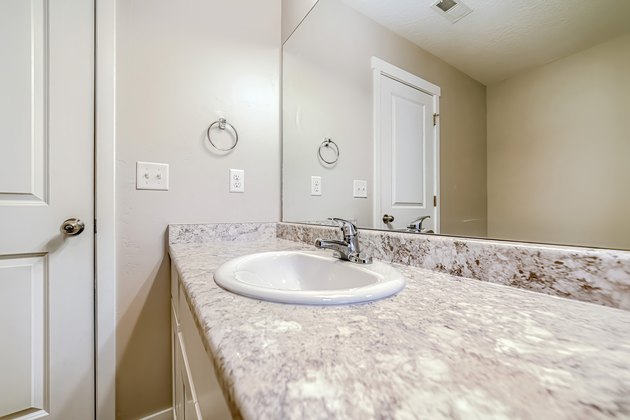
 Another important reason to install a bathroom vanity side splash is to protect your walls and countertops from water damage. Without a side splash, water can easily splash onto your walls and cause mold or mildew growth. It can also seep into the joints of your countertop and cause it to warp or crack over time. By adding a side splash, you create a barrier between your vanity and walls, ensuring that any water splashes are contained and easily wiped away.
Easy to Install and Maintain
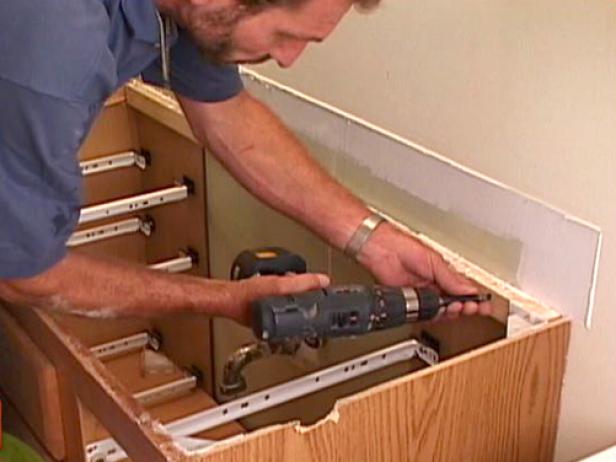
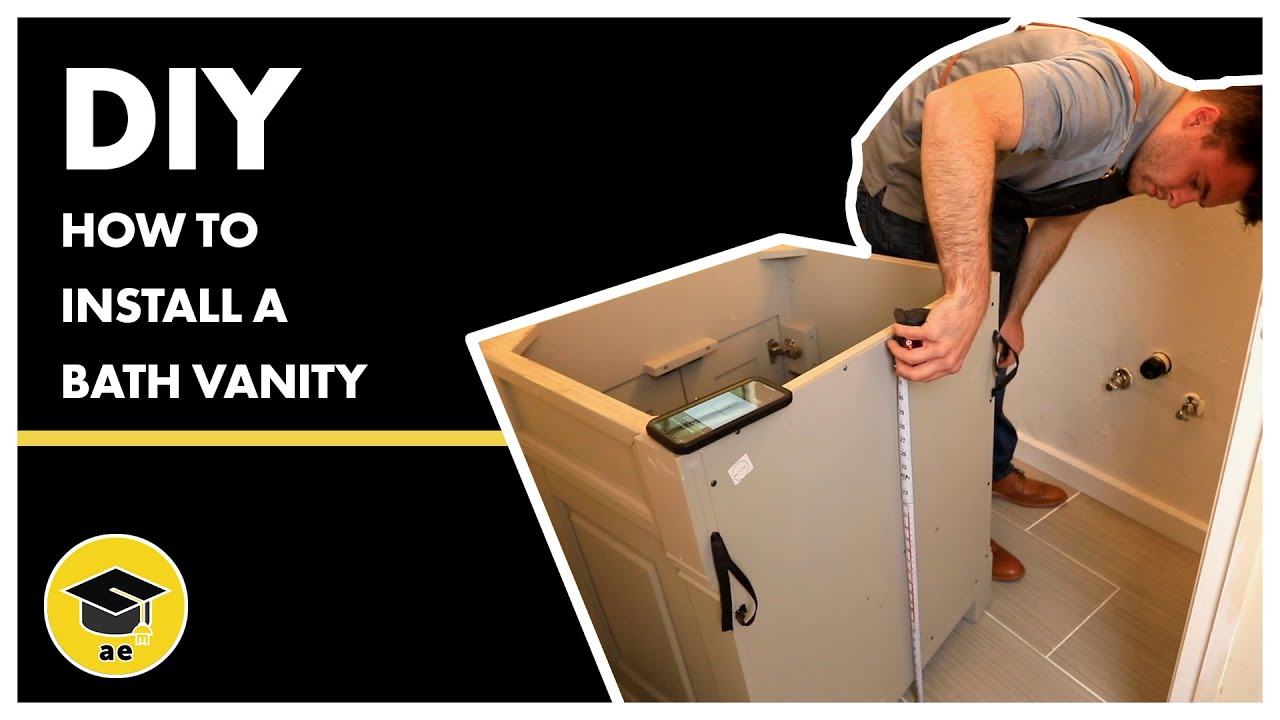
 Installing a bathroom vanity side splash is a quick and easy process that can be done by most homeowners. It typically involves using an adhesive to attach the side splash to the wall and countertop. Many side splashes also come with pre-drilled holes for easy installation. Additionally, these side splashes are easy to clean and maintain. Simply wipe them down with a mild cleaner and cloth to keep them looking like new.
Customizable Options
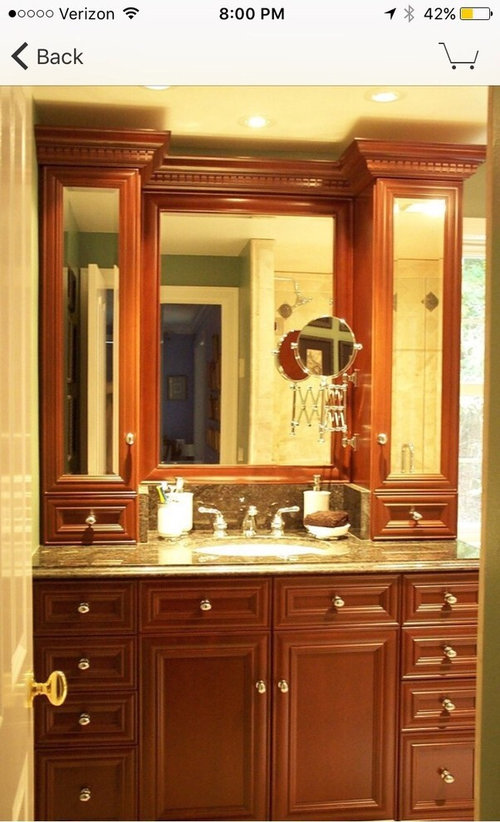
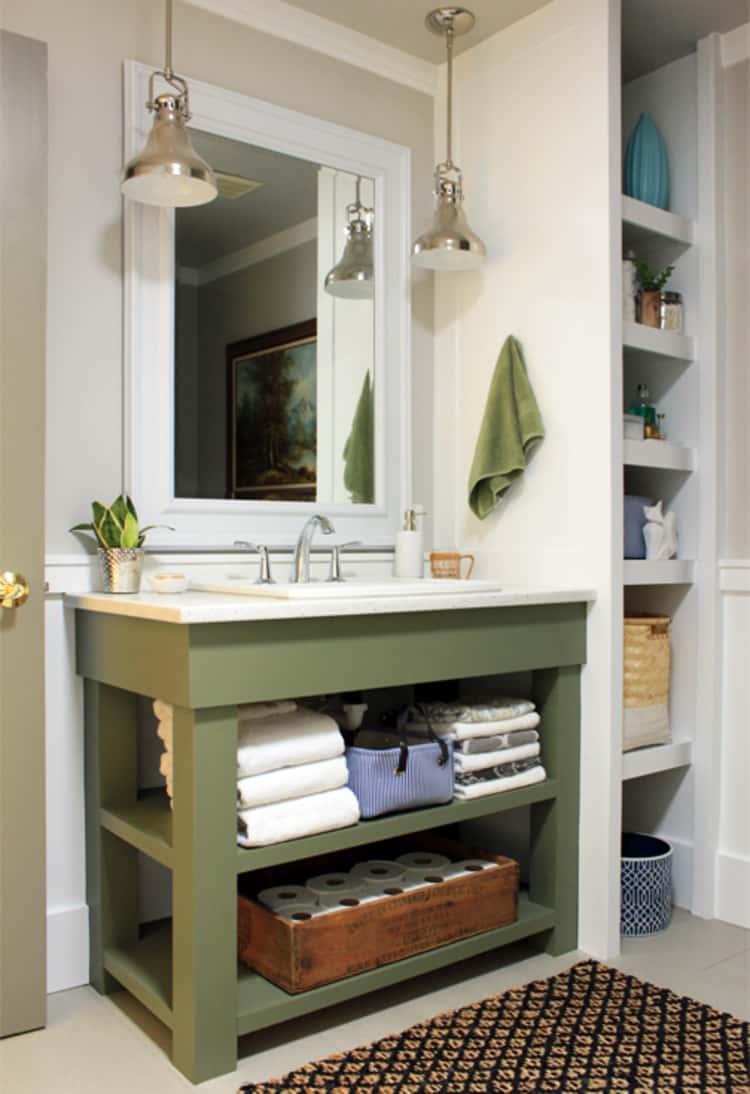
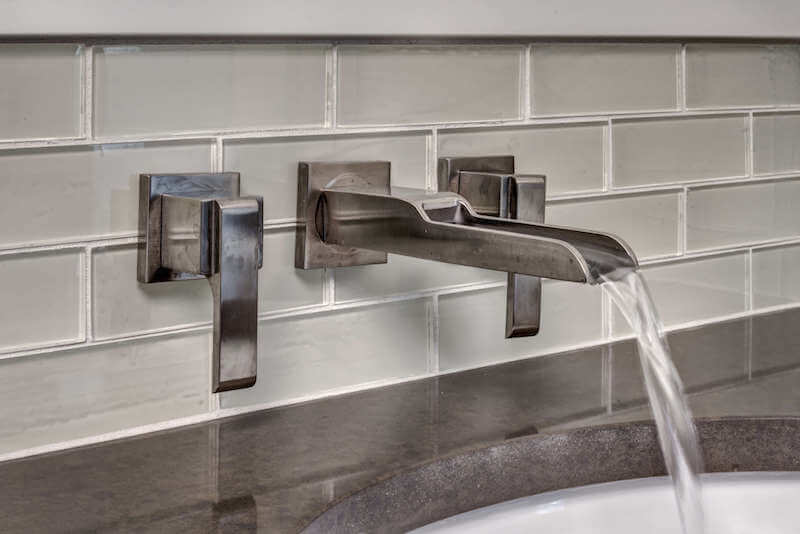
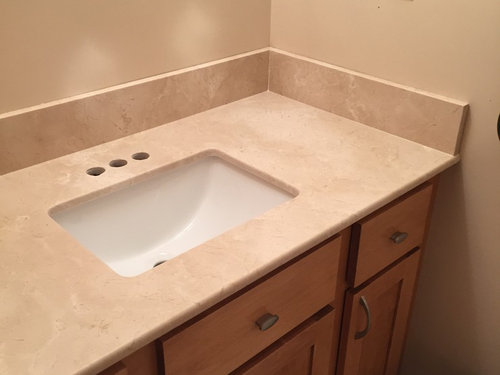
 One of the great things about bathroom vanity side splashes is that they come in a variety of sizes, materials, and styles. This allows you to choose one that fits your specific needs and preferences. For example, if you have a larger vanity, you may opt for a longer side splash to provide more coverage. Or, if you want to add a pop of color to your bathroom, you can choose a side splash made from a different material, such as glass or tile.
Final Thoughts
 In conclusion, installing a bathroom vanity side splash is a simple and effective way to enhance the look and functionality of your bathroom. It adds a touch of style, protects your walls and countertops, and is easy to install and maintain. With so many customizable options available, you can easily find a side splash that fits your personal style and needs. So why wait? Upgrade your bathroom design today with a beautiful and practical bathroom vanity side splash.


:max_bytes(150000):strip_icc()/how-to-choose-a-sofa-color-4151743-04-b2a07f452fd3476293a75aff7e5ea17c.jpg)


