1. The Importance of a Functional Sink Stopper
When it comes to your bathroom sink, a functional stopper is essential. Not only does it prevent water from draining out, but it also helps to keep small items from falling down the drain. However, over time, sink stoppers can become worn out or damaged, requiring replacement. If you're in need of a new bathroom sink stopper, follow these steps for a successful installation.


installing a new bathroom sink stopper


2. Gather Your Materials
Before you begin the installation process, make sure you have all the necessary materials. This includes a new sink stopper, a pair of pliers, a screwdriver, and plumber's putty. It's also helpful to have a bucket or towel handy to catch any excess water that may drain out during the process.


how to install a bathroom sink stopper


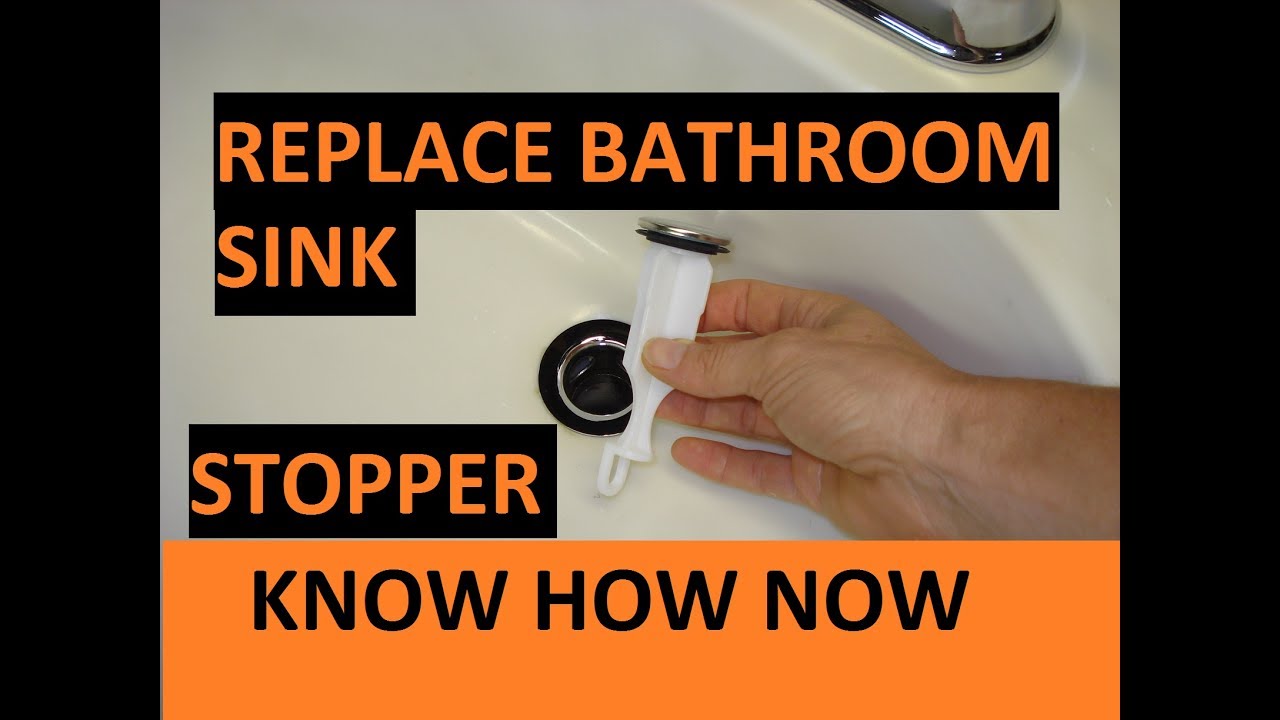
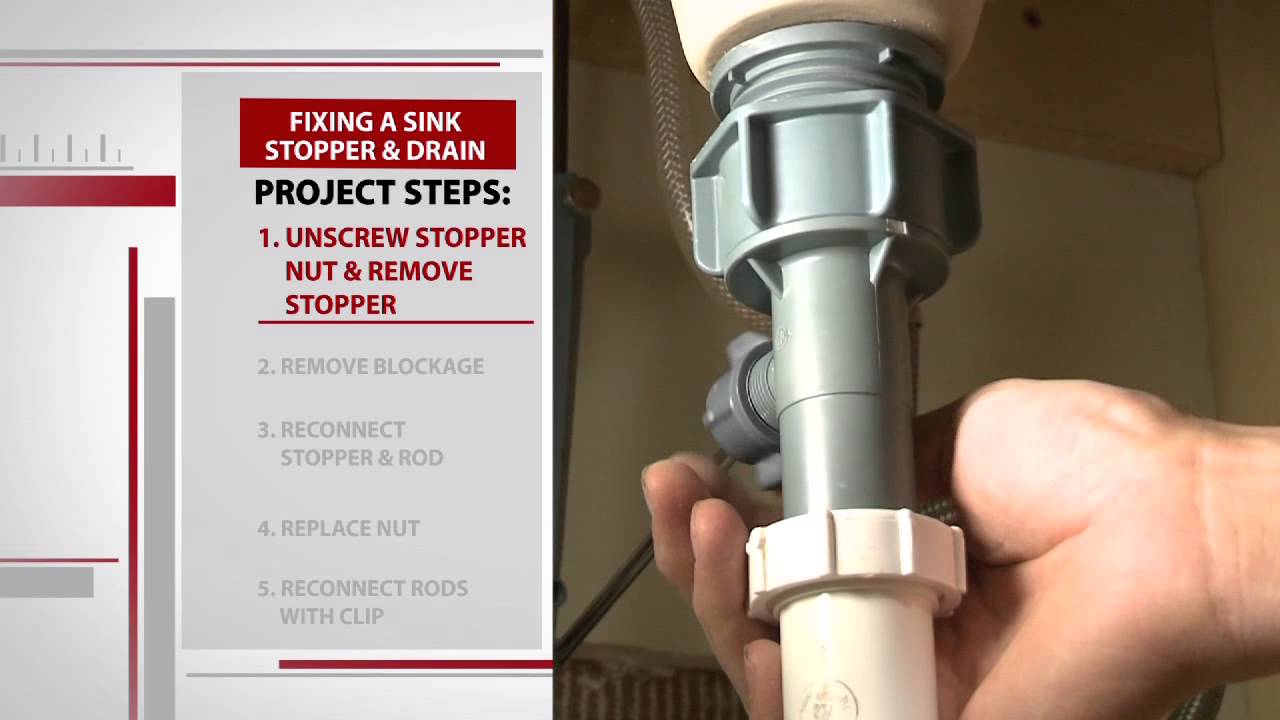
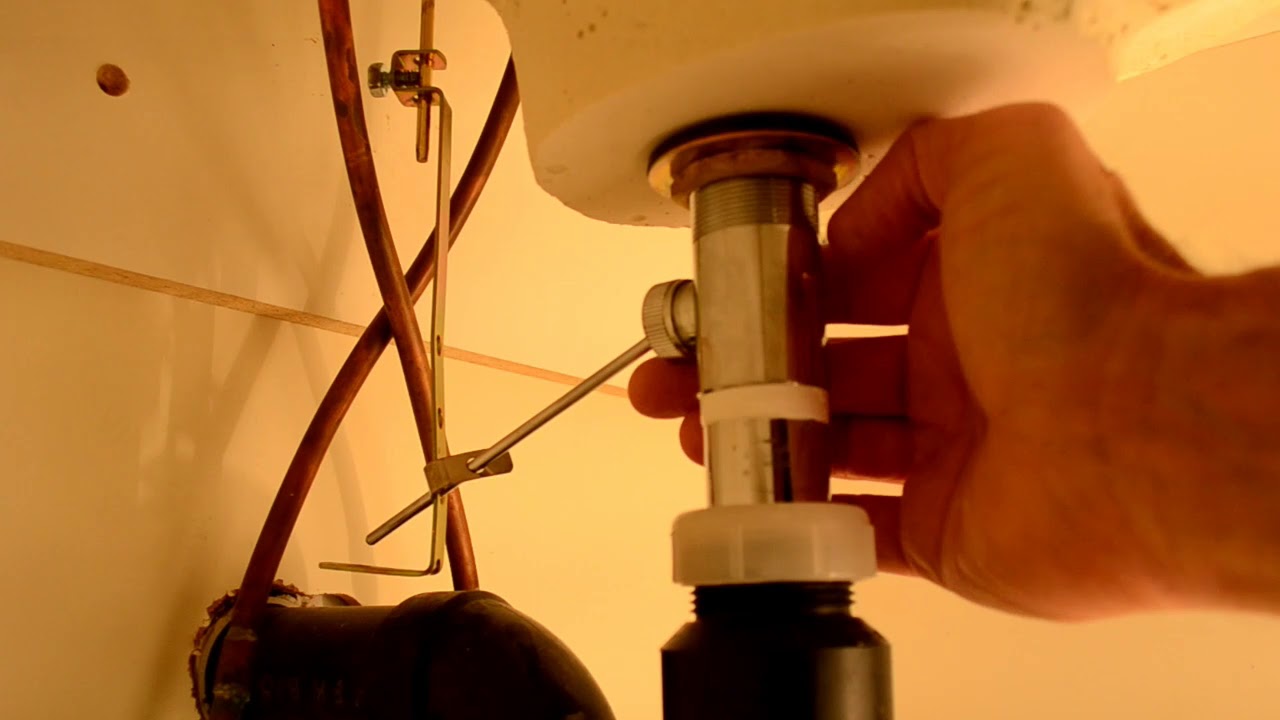
3. Remove the Old Stopper
The first step in installing a new bathroom sink stopper is to remove the old one. Depending on the type of stopper you have, this could involve unscrewing it from the drain or using pliers to remove the retaining nut. Once the old stopper is removed, clean any debris or buildup from the drain.


bathroom sink stopper installation


/bathroom-sink-drain-installation-2718843-01-4955fe1f576b447a91abe51c126d220b.jpg)
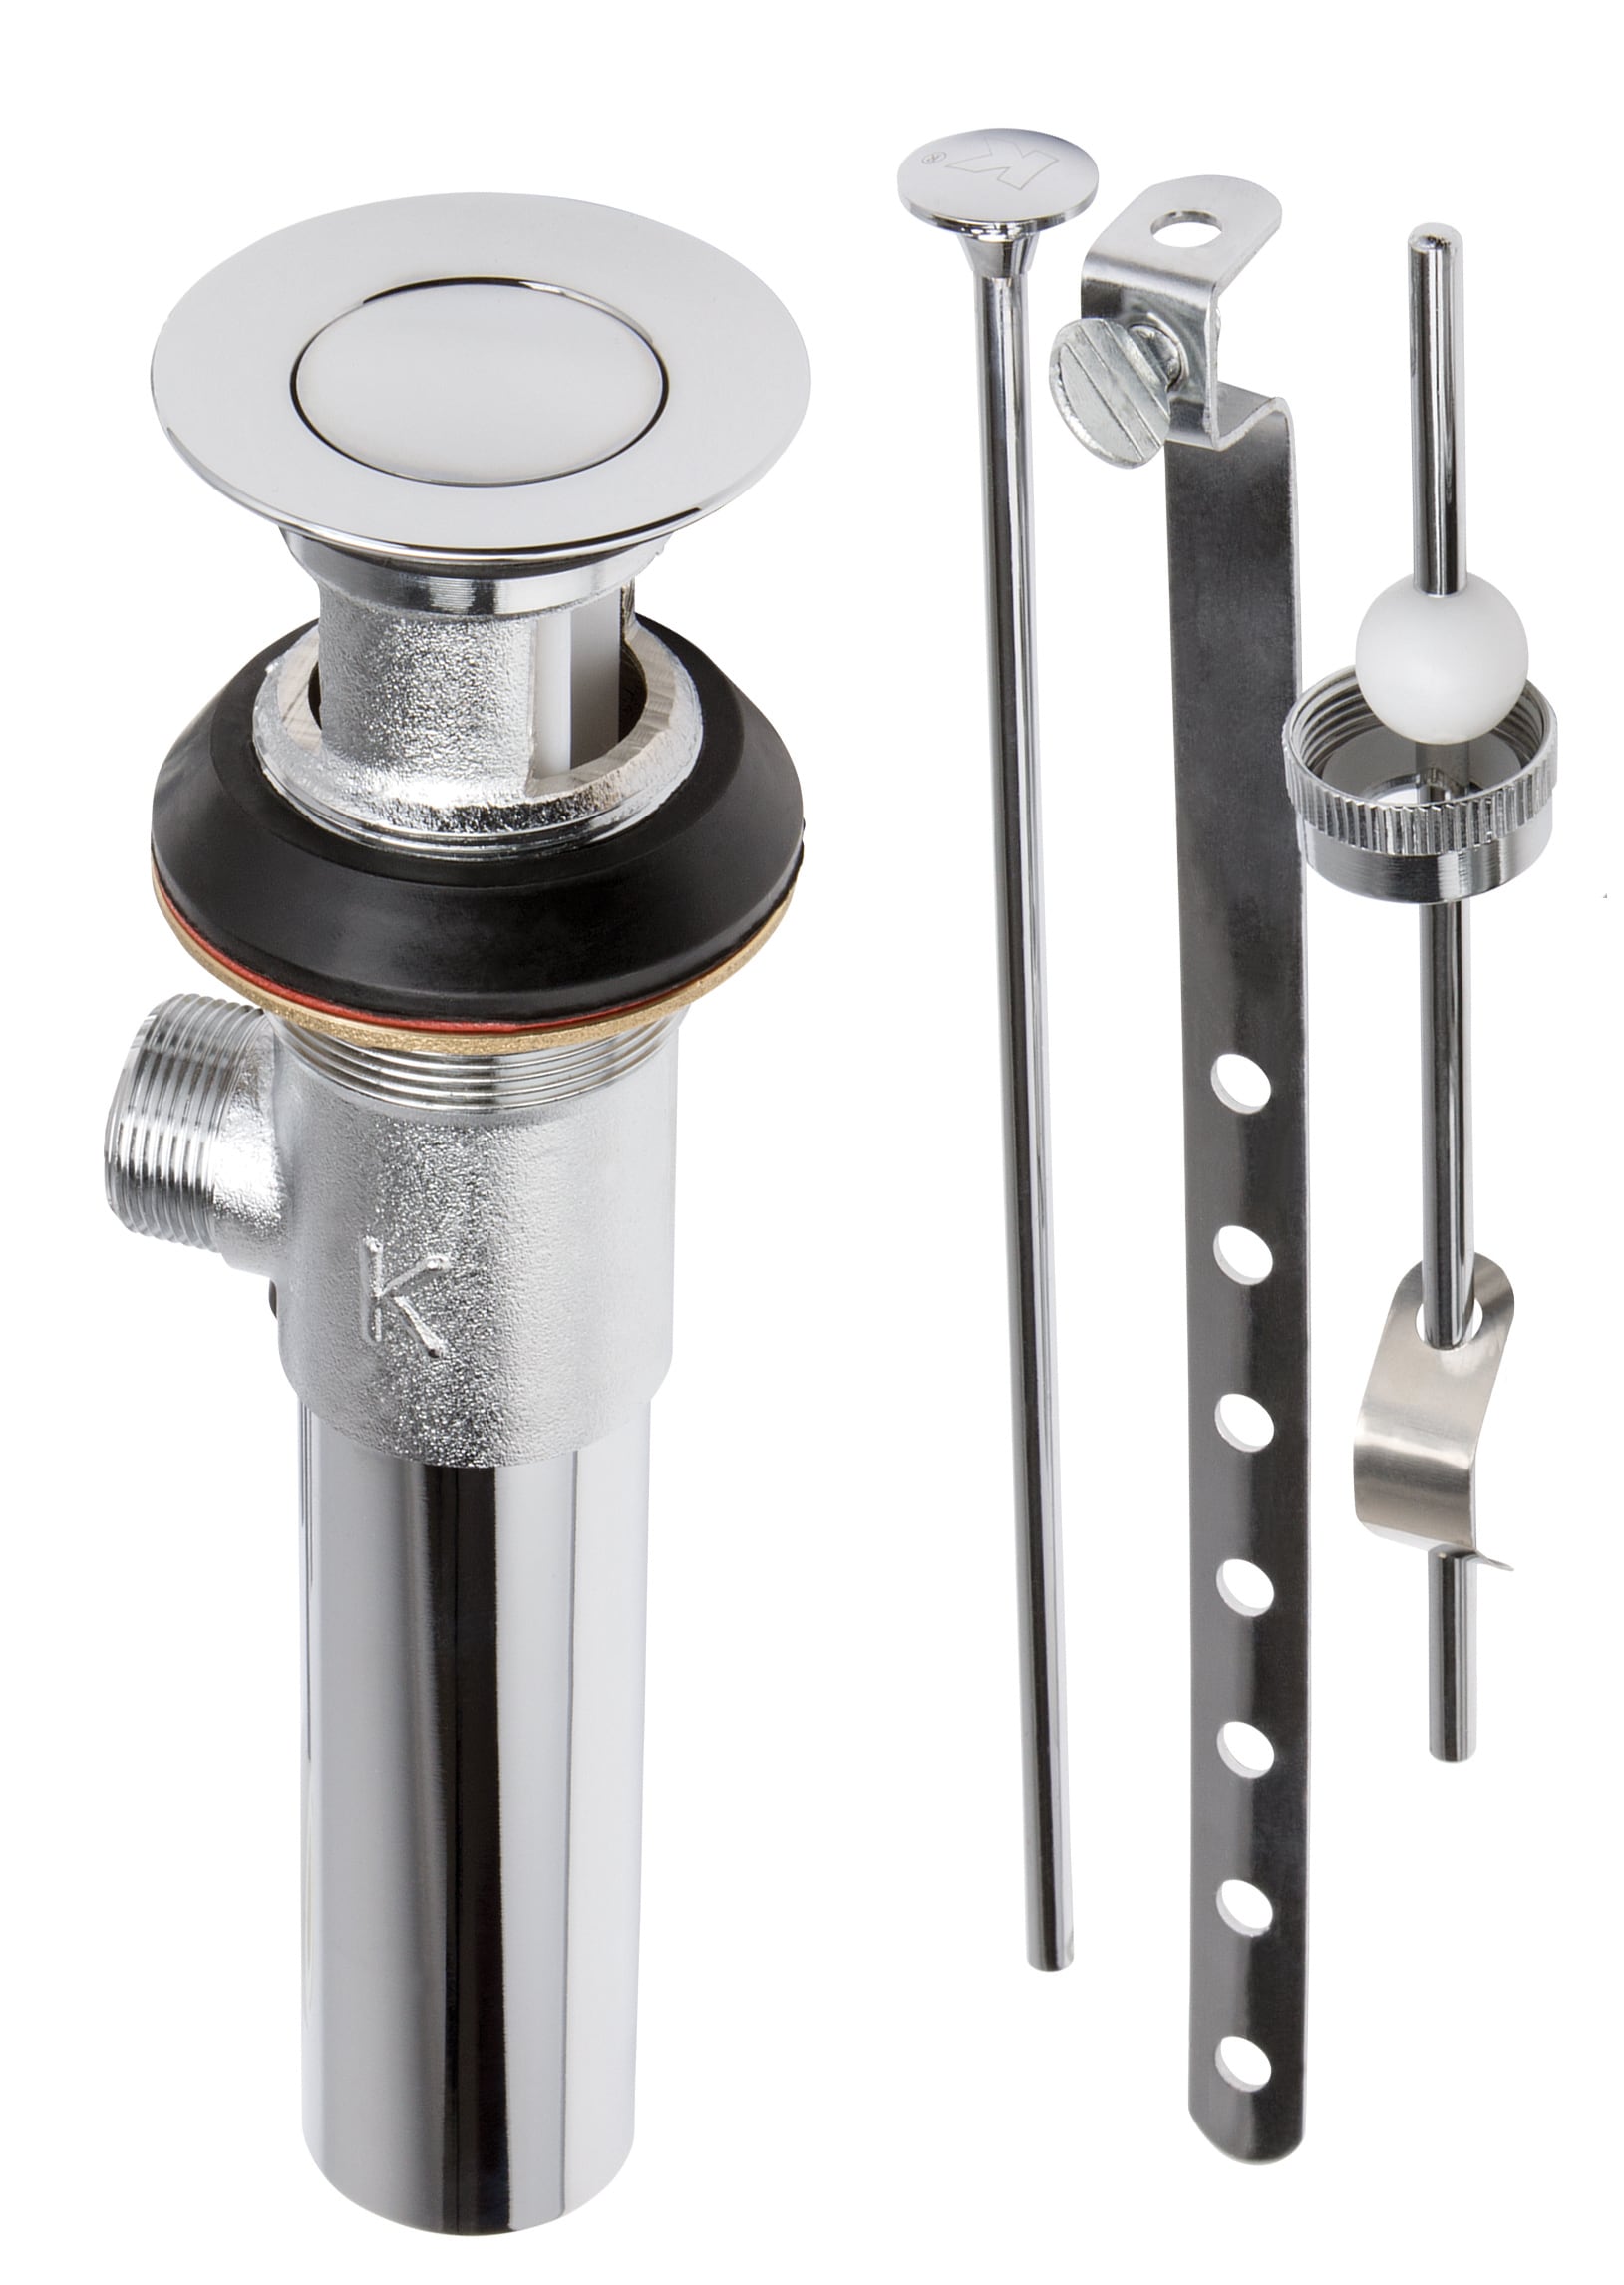
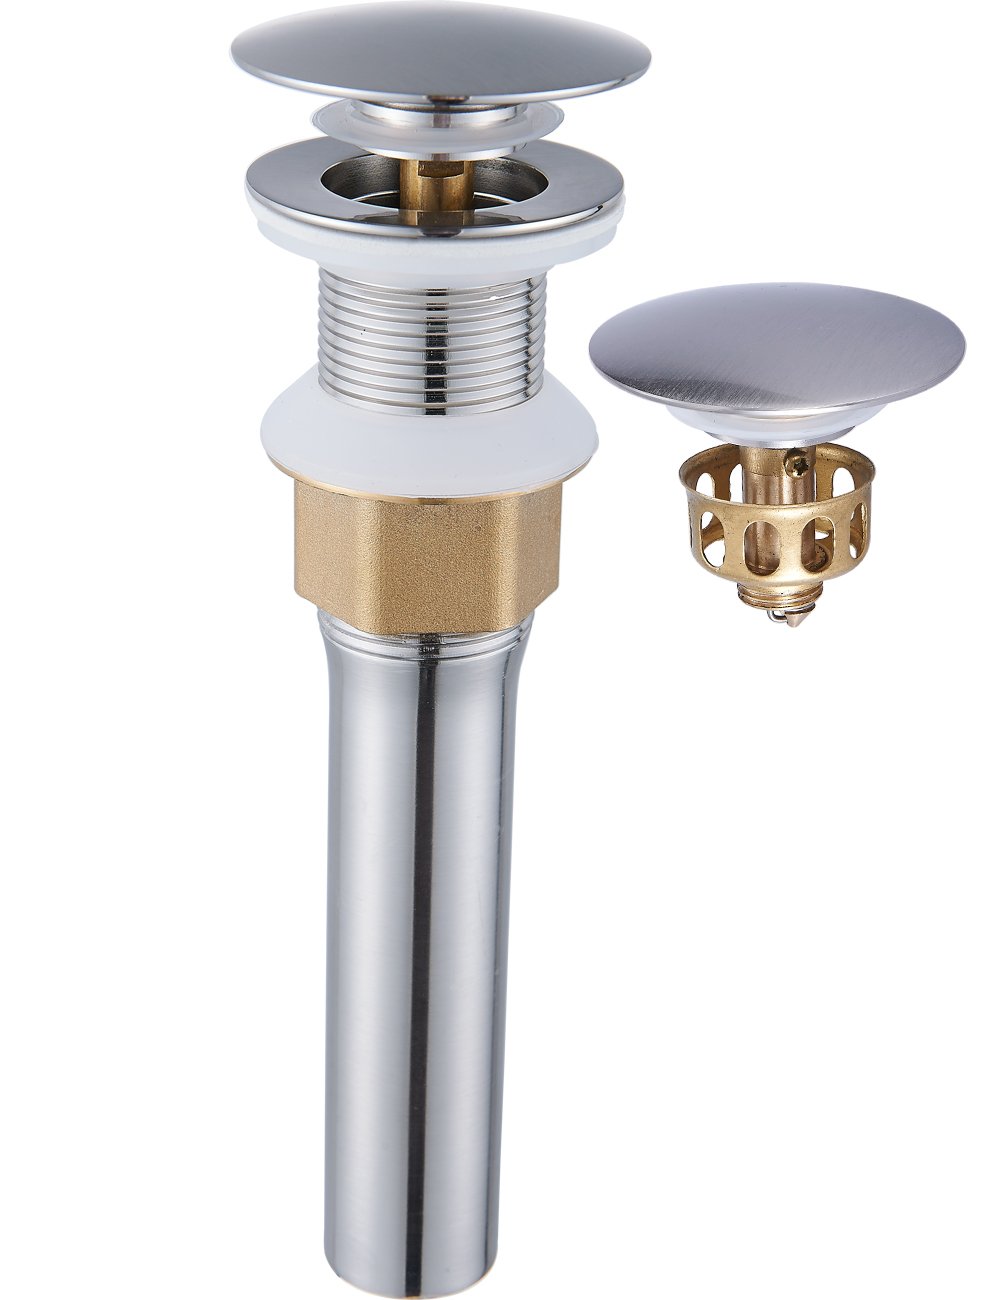
4. Prepare the New Stopper
If your new stopper has a ball and rod assembly, you'll need to attach the rod to the stopper before installing it. If it has a pop-up assembly, you'll need to attach the pop-up rod to the lift rod. Make sure to follow the manufacturer's instructions for proper attachment.

replacing bathroom sink stopper


5. Apply Plumber's Putty
Before installing the new stopper, you'll need to apply plumber's putty to create a watertight seal. Roll the putty into a thin rope and place it around the lip of the drain. Then, gently press the stopper into place, making sure the putty creates a seal between the stopper and the sink.


bathroom sink stopper replacement


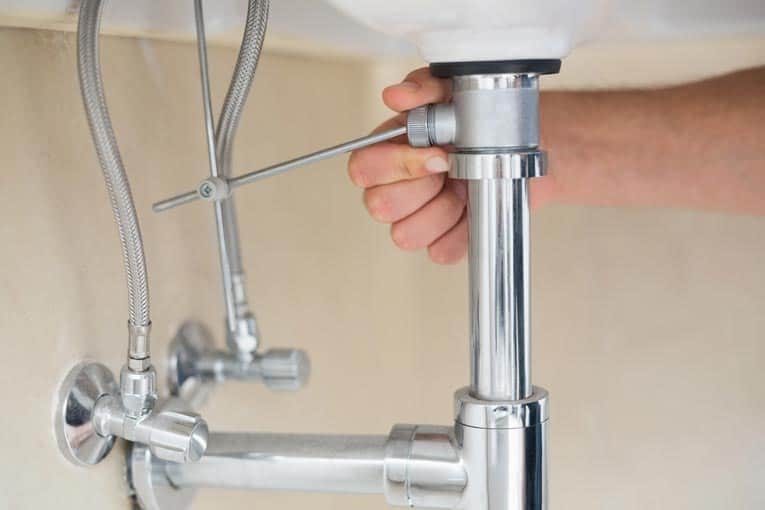
6. Install the Stopper
If your new stopper has a ball and rod assembly, place the stopper into the drain and secure it with the retaining nut. If it has a pop-up assembly, insert the stopper into the drain and attach the pop-up rod to the lift rod. Make sure the stopper moves up and down easily before moving on to the next step.


bathroom sink stopper assembly


7. Test the Stopper
Once the stopper is installed, it's important to test it to ensure it's working properly. Fill the sink with water and let it drain out. If the stopper is functioning correctly, it should seal the drain and prevent any water from draining out. If it's not working, you may need to make some adjustments or seek professional help.


bathroom sink stopper repair


8. Clean Up and Adjust as Needed
After testing the stopper, clean up any excess putty or debris and make any necessary adjustments. If the stopper is not sealing properly, try adding more putty or adjusting the retaining nut. If all else fails, consider seeking professional help to ensure your sink stopper is functioning correctly.


bathroom sink stopper installation instructions
9. Maintain Your Sink Stopper
To keep your new bathroom sink stopper functioning properly, it's important to maintain it regularly. This includes regularly cleaning it to prevent buildup and making any necessary repairs as soon as they arise. With proper maintenance, your new sink stopper can last for years to come.


bathroom sink stopper parts


10. Enjoy Your Newly Installed Sink Stopper
Congratulations, you have successfully installed a new bathroom sink stopper! Now you can enjoy a fully functional sink and the peace of mind that comes with knowing your sink is protected from potential clogs. With these steps, installing a new bathroom sink stopper can be a simple and rewarding DIY project.


bathroom sink stopper removal


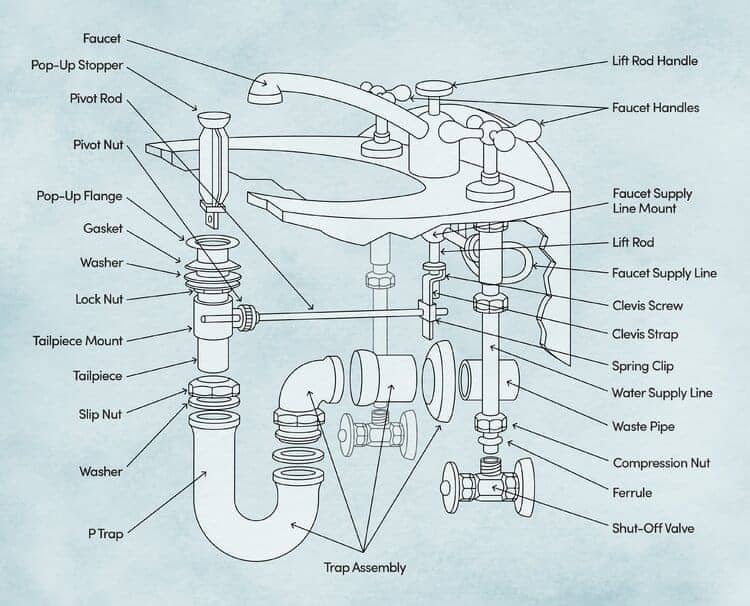
Choose the Right Sink Stopper for Your Bathroom

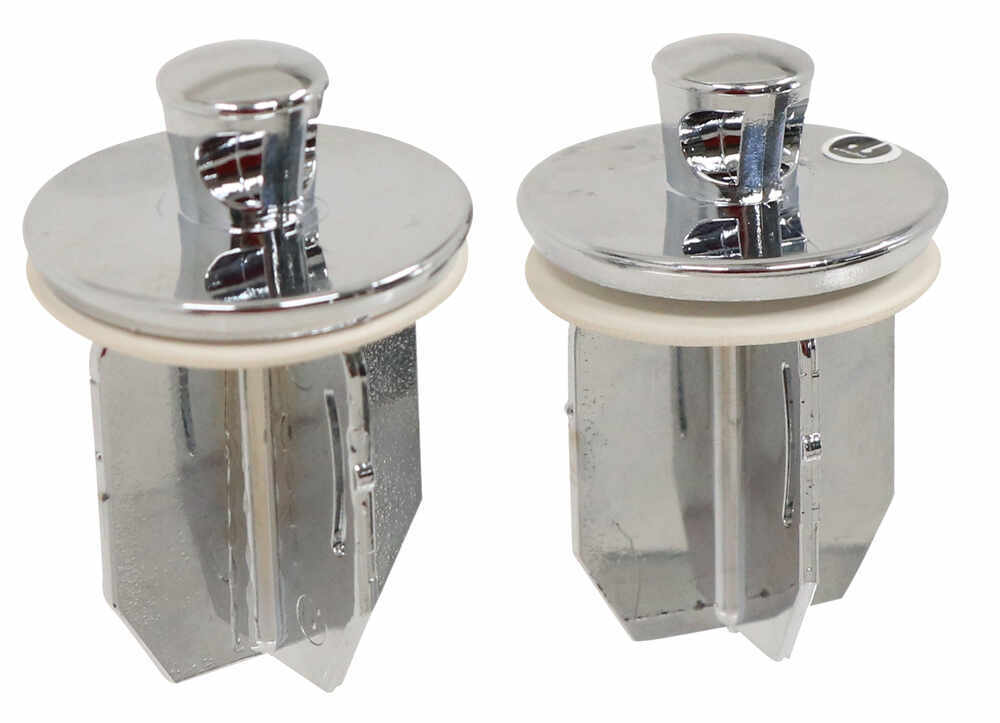
Types of Bathroom Sink Stoppers
:max_bytes(150000):strip_icc()/bathroom-sink-drain-installation-2718843-07-2b728cbd5c994dc39179346f51bb6421.jpg) When it comes to installing a new bathroom sink stopper, it's important to choose the right type for your specific sink. There are three main types of sink stoppers: pop-up, lift-and-turn, and push-and-pull. Each type has its own unique mechanism for controlling the flow of water and closing off the drain.
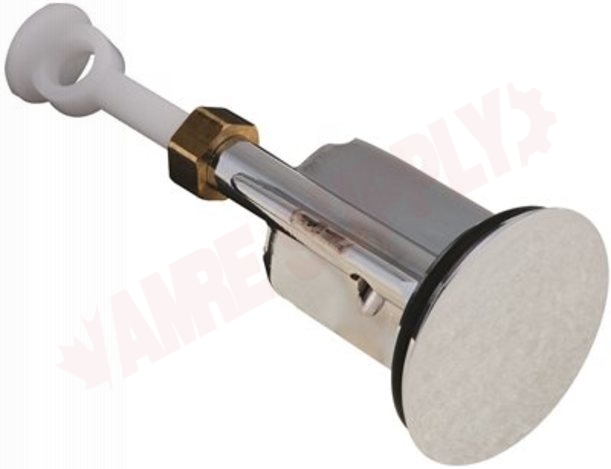
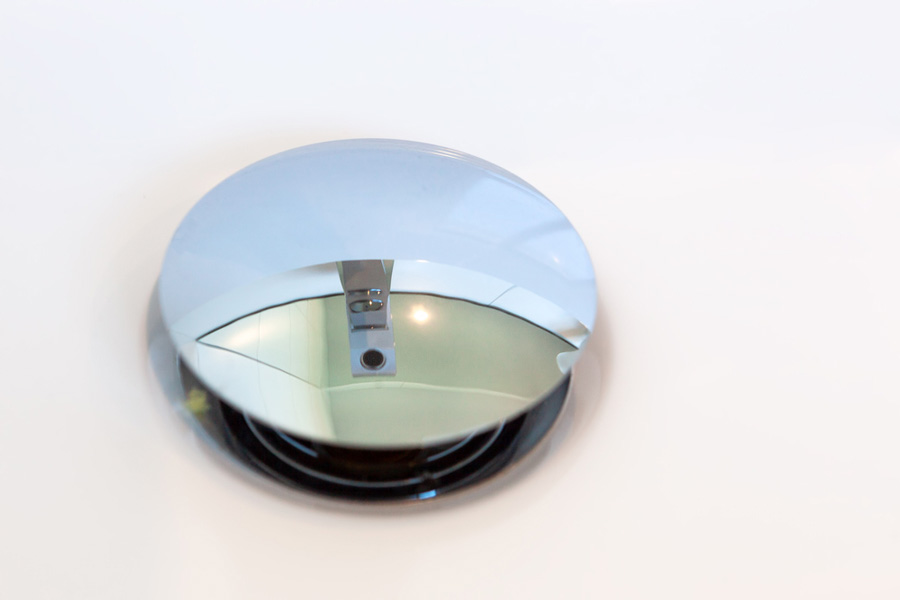
Pop-up stoppers
are the most common and are controlled by a lever on the sink.
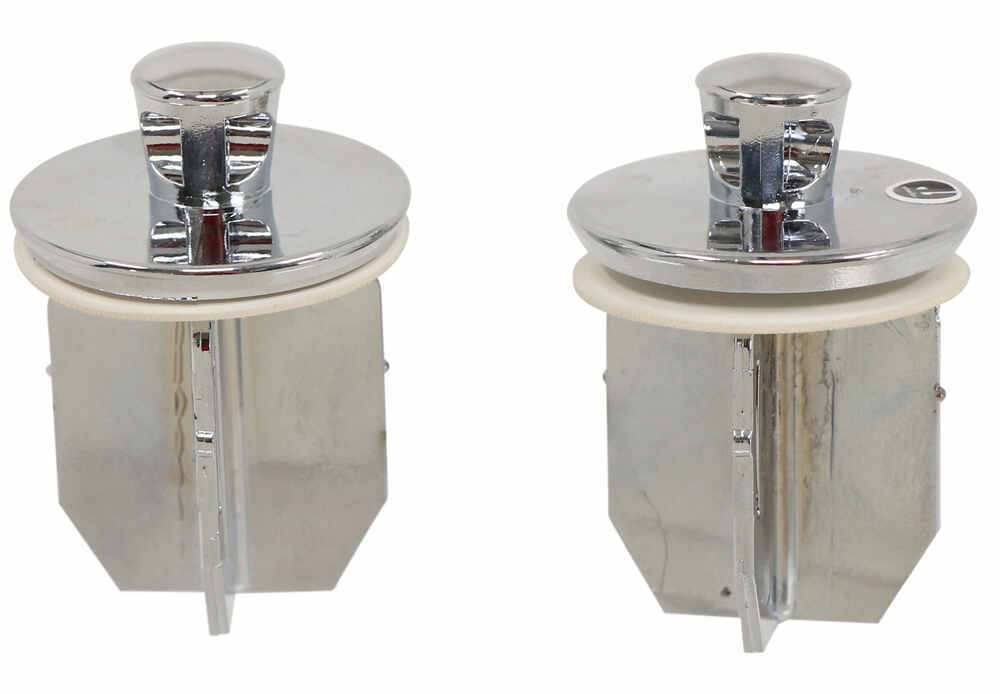
Lift-and-turn stoppers
require you to twist the stopper to open and close the drain, while
push-and-pull stoppers
are controlled by pushing or pulling on the stopper itself.
When it comes to installing a new bathroom sink stopper, it's important to choose the right type for your specific sink. There are three main types of sink stoppers: pop-up, lift-and-turn, and push-and-pull. Each type has its own unique mechanism for controlling the flow of water and closing off the drain.
Pop-up stoppers
are the most common and are controlled by a lever on the sink.
Lift-and-turn stoppers
require you to twist the stopper to open and close the drain, while
push-and-pull stoppers
are controlled by pushing or pulling on the stopper itself.
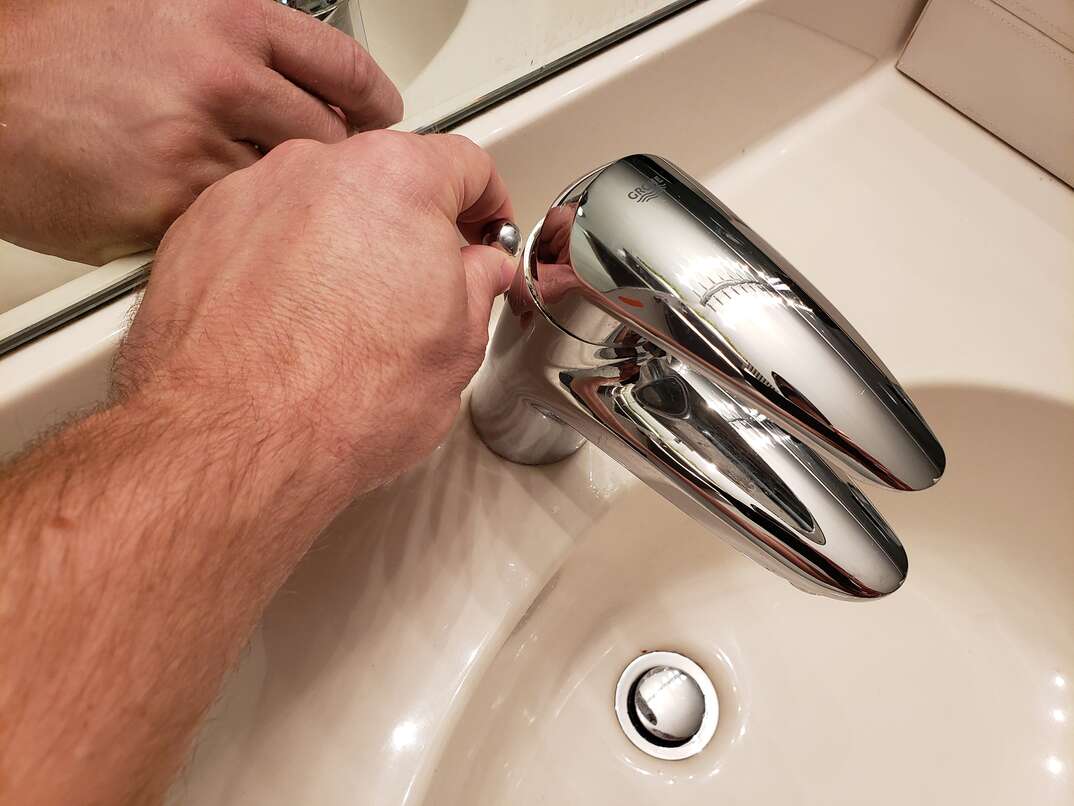
Consider the Functionality and Aesthetic of Your Bathroom Sink
 When choosing a sink stopper, it's important to consider both the functionality and aesthetic of your bathroom sink. If you have a modern or minimalist bathroom design, a
pop-up stopper
may be the best choice as it is sleek and unobtrusive. For a more traditional or vintage bathroom, a
lift-and-turn stopper
may be a better fit as it adds a touch of charm to the sink. Additionally, consider the type of sink you have – a
push-and-pull stopper
may not work well with a vessel sink, for example.
When choosing a sink stopper, it's important to consider both the functionality and aesthetic of your bathroom sink. If you have a modern or minimalist bathroom design, a
pop-up stopper
may be the best choice as it is sleek and unobtrusive. For a more traditional or vintage bathroom, a
lift-and-turn stopper
may be a better fit as it adds a touch of charm to the sink. Additionally, consider the type of sink you have – a
push-and-pull stopper
may not work well with a vessel sink, for example.
Installation Tips for Your New Bathroom Sink Stopper
 Installing a new sink stopper is a relatively simple process, but it's important to follow the steps carefully to ensure it functions properly. First, you'll need to remove the old stopper by unscrewing it from the drain. Next, clean the drain and apply plumber's putty around the edge.
Be sure to use a high-quality putty to prevent leaks.
Then, insert the new stopper into the drain and tighten it using the included screw. Finally, check the functionality of the stopper by filling the sink with water and testing the opening and closing mechanism.
Installing a new sink stopper is a relatively simple process, but it's important to follow the steps carefully to ensure it functions properly. First, you'll need to remove the old stopper by unscrewing it from the drain. Next, clean the drain and apply plumber's putty around the edge.
Be sure to use a high-quality putty to prevent leaks.
Then, insert the new stopper into the drain and tighten it using the included screw. Finally, check the functionality of the stopper by filling the sink with water and testing the opening and closing mechanism.
Additional Considerations for Sink Stoppers
 While it may seem like a small detail, choosing the right sink stopper can make a big difference in the functionality and appearance of your bathroom sink.
Be sure to regularly clean and maintain your sink stopper to prevent clogs and buildup.
If you have a sink with a separate hot and cold faucet, consider using a stopper with a separate lever for each faucet. This allows for more control over the water flow and temperature. Additionally, if you have children in the house, a stopper with a locking mechanism may be a good option to prevent any accidental flooding.
In conclusion, choosing the right sink stopper for your bathroom is an important decision that should not be overlooked. Consider the type of sink and overall design of your bathroom, as well as the functionality and maintenance of the stopper. With these tips in mind, you'll be able to find the perfect sink stopper to complement your bathroom and ensure a smooth and hassle-free experience.
While it may seem like a small detail, choosing the right sink stopper can make a big difference in the functionality and appearance of your bathroom sink.
Be sure to regularly clean and maintain your sink stopper to prevent clogs and buildup.
If you have a sink with a separate hot and cold faucet, consider using a stopper with a separate lever for each faucet. This allows for more control over the water flow and temperature. Additionally, if you have children in the house, a stopper with a locking mechanism may be a good option to prevent any accidental flooding.
In conclusion, choosing the right sink stopper for your bathroom is an important decision that should not be overlooked. Consider the type of sink and overall design of your bathroom, as well as the functionality and maintenance of the stopper. With these tips in mind, you'll be able to find the perfect sink stopper to complement your bathroom and ensure a smooth and hassle-free experience.