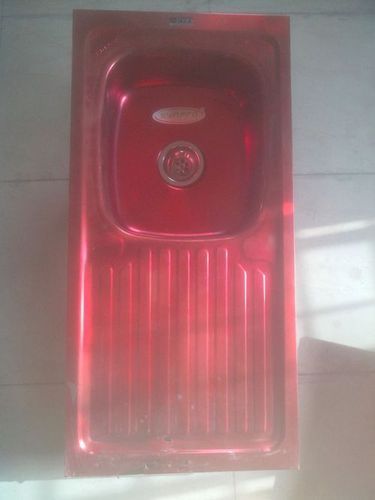
How to Install a Kitchen Sink Drain
Installing a new kitchen sink drain can be a daunting task for many homeowners. However, with the right tools and a little bit of know-how, you can easily replace your old drain with a new one from Moen. In this article, we will walk you through the step-by-step process of installing a Moen kitchen sink drain so that you can have a functional and stylish sink in no time.


How to Install a Kitchen Sink Drain
/how-to-install-a-sink-drain-2718789-hero-b5b99f72b5a24bb2ae8364e60539cece.jpg)


How to Install a Moen Kitchen Sink Drain
If you have decided to go with a Moen kitchen sink drain, you have made an excellent choice. Moen is a trusted brand known for its high-quality and durable products. The installation process for a Moen drain is similar to a standard drain, but there are a few differences that we will highlight in this guide.


How to Install a Moen Kitchen Sink Drain

Step-by-Step Guide for Installing a Kitchen Sink Drain
Before you begin the installation process, make sure you have all the necessary tools and materials. You will need a screwdriver, pliers, pipe wrench, plumber’s putty, and the Moen kitchen sink drain kit. Once you have everything ready, follow these steps to install your new drain:


Step-by-Step Guide for Installing a Kitchen Sink Drain


DIY Kitchen Sink Drain Installation
Installing a new kitchen sink drain can save you a significant amount of money compared to hiring a professional. With the right tools and a little bit of patience, you can easily complete this project on your own. By following the steps outlined above, you can successfully install a Moen kitchen sink drain without any professional help.


DIY Kitchen Sink Drain Installation


/how-to-install-a-sink-drain-2718789-hero-24e898006ed94c9593a2a268b57989a3.jpg)

Tools and Materials Needed for Installing a Moen Kitchen Sink Drain
Before you start the installation process, make sure you have all the necessary tools and materials. Here is a list of what you will need:


Tools and Materials Needed for Installing a Moen Kitchen Sink Drain


Tips for a Successful Moen Kitchen Sink Drain Installation
Here are some tips to keep in mind while installing your Moen kitchen sink drain:


Tips for a Successful Moen Kitchen Sink Drain Installation


Common Mistakes to Avoid When Installing a Kitchen Sink Drain
Here are some common mistakes to avoid when installing a kitchen sink drain:


Common Mistakes to Avoid When Installing a Kitchen Sink Drain


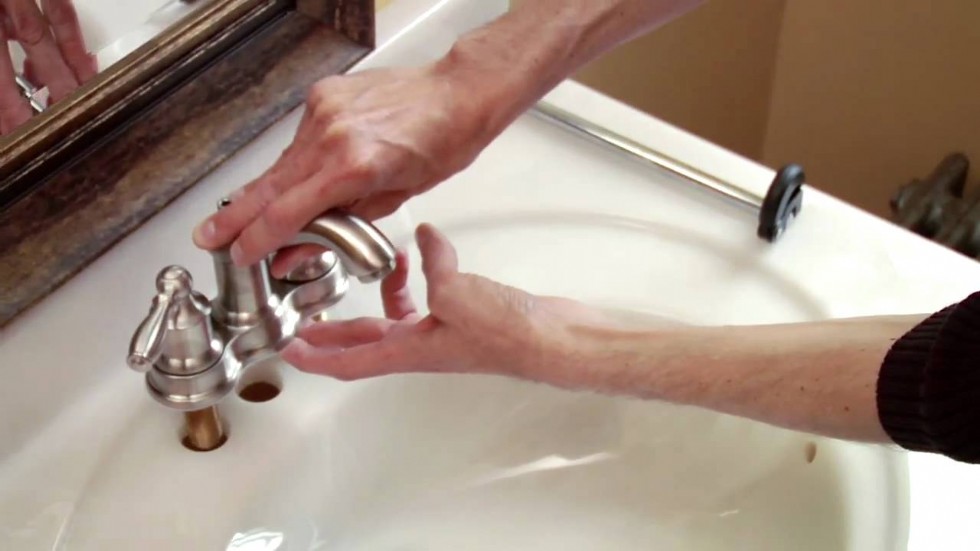
Video Tutorial: Installing a Moen Kitchen Sink Drain
If you prefer visual instructions, you can find many helpful videos online that demonstrate the installation process for a Moen kitchen sink drain. These videos can provide additional guidance and tips to make your installation process smoother and easier.


Video Tutorial: Installing a Moen Kitchen Sink Drain
Professional Installation vs. DIY for a Moen Kitchen Sink Drain
While it is possible to install a Moen kitchen sink drain on your own, some homeowners may prefer to leave it to the professionals. If you are not confident in your DIY skills or do not have the necessary tools, it may be best to hire a professional plumber to install your new drain. This will ensure that the installation is done correctly and will save you time and potential headaches in the long run.
Professional Installation vs. DIY for a Moen Kitchen Sink Drain

Troubleshooting Common Issues with Moen Kitchen Sink Drain Installation
If you encounter any issues while installing your Moen kitchen sink drain, here are some troubleshooting tips:

Troubleshooting Common Issues with Moen Kitchen Sink Drain Installation

Additional Tips for Installing a Moen Kitchen Sink Drain

Preparation is Key
 Before beginning the installation process, it is important to gather all necessary tools and materials to ensure a smooth and efficient process. This includes a Moen kitchen sink drain kit, a pipe wrench, plumber's putty, and a bucket to catch any excess water. It is also helpful to have a helper to hold the sink in place while installing the drain.
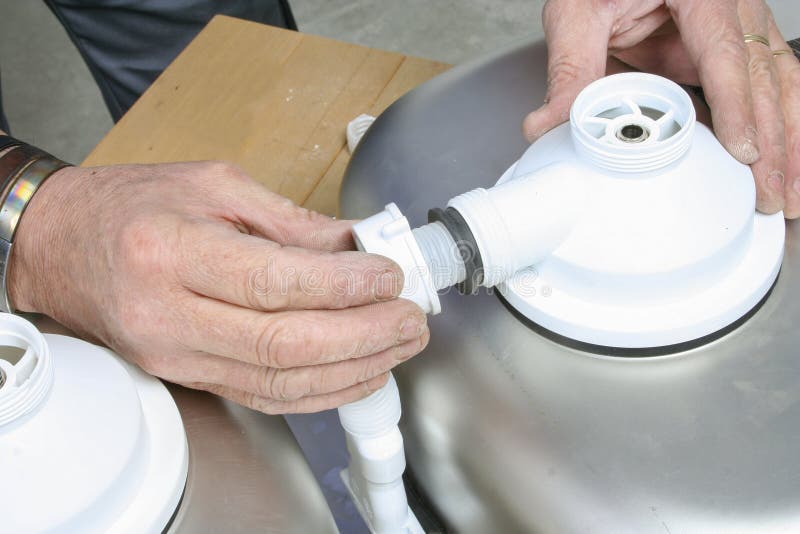
Properly Position the Drain
 To ensure proper installation, it is important to position the drain correctly. Start by placing a small amount of plumber's putty around the bottom of the drain flange. Then, insert the drain flange into the drain hole in the sink and press down firmly to create a seal. Next, attach the gasket and locknut to secure the drain in place.
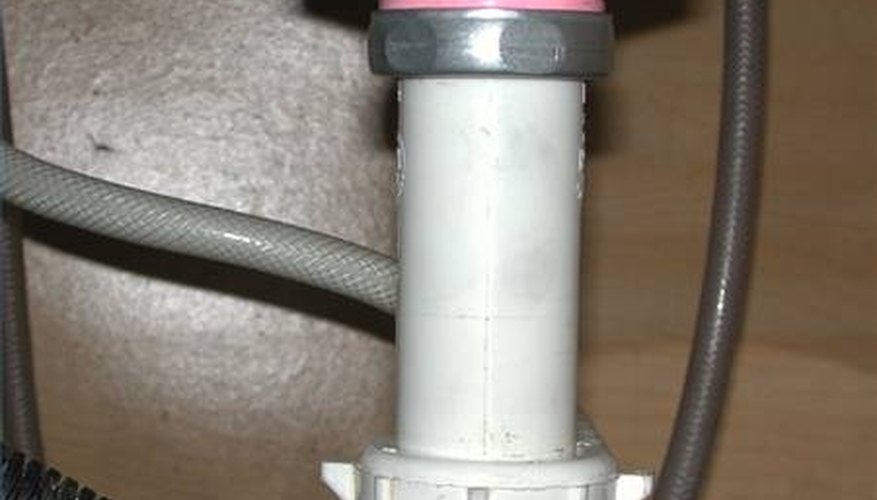
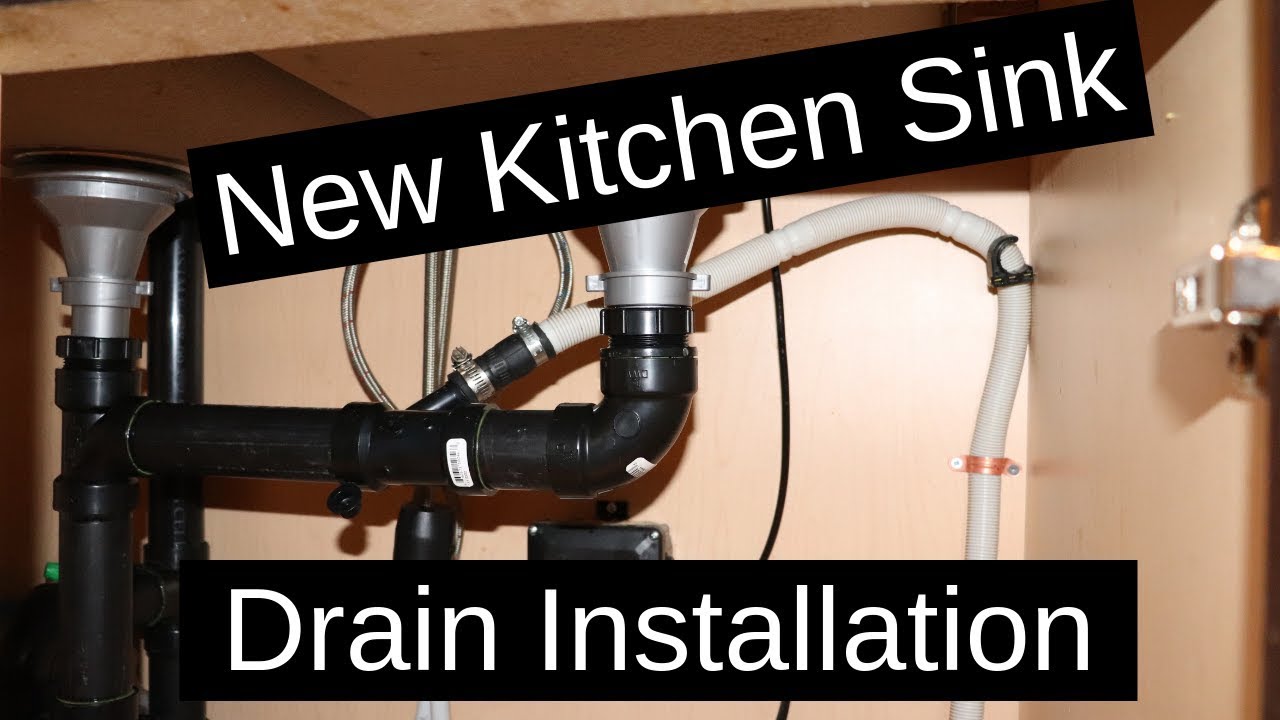
Connect the Drain to the P-Trap
 Once the drain is securely in place, it is time to connect it to the P-trap. This is the curved pipe underneath the sink that connects the drain to the main plumbing system. Using a pipe wrench, tighten the connections between the drain and the P-trap to ensure there are no leaks.
Test for Leaks
 After completing the installation, it is important to test for any leaks. Turn on the water and let it run for a few minutes to make sure there are no drips or leaks. If any leaks are found, tighten the connections or add more plumber's putty as needed.
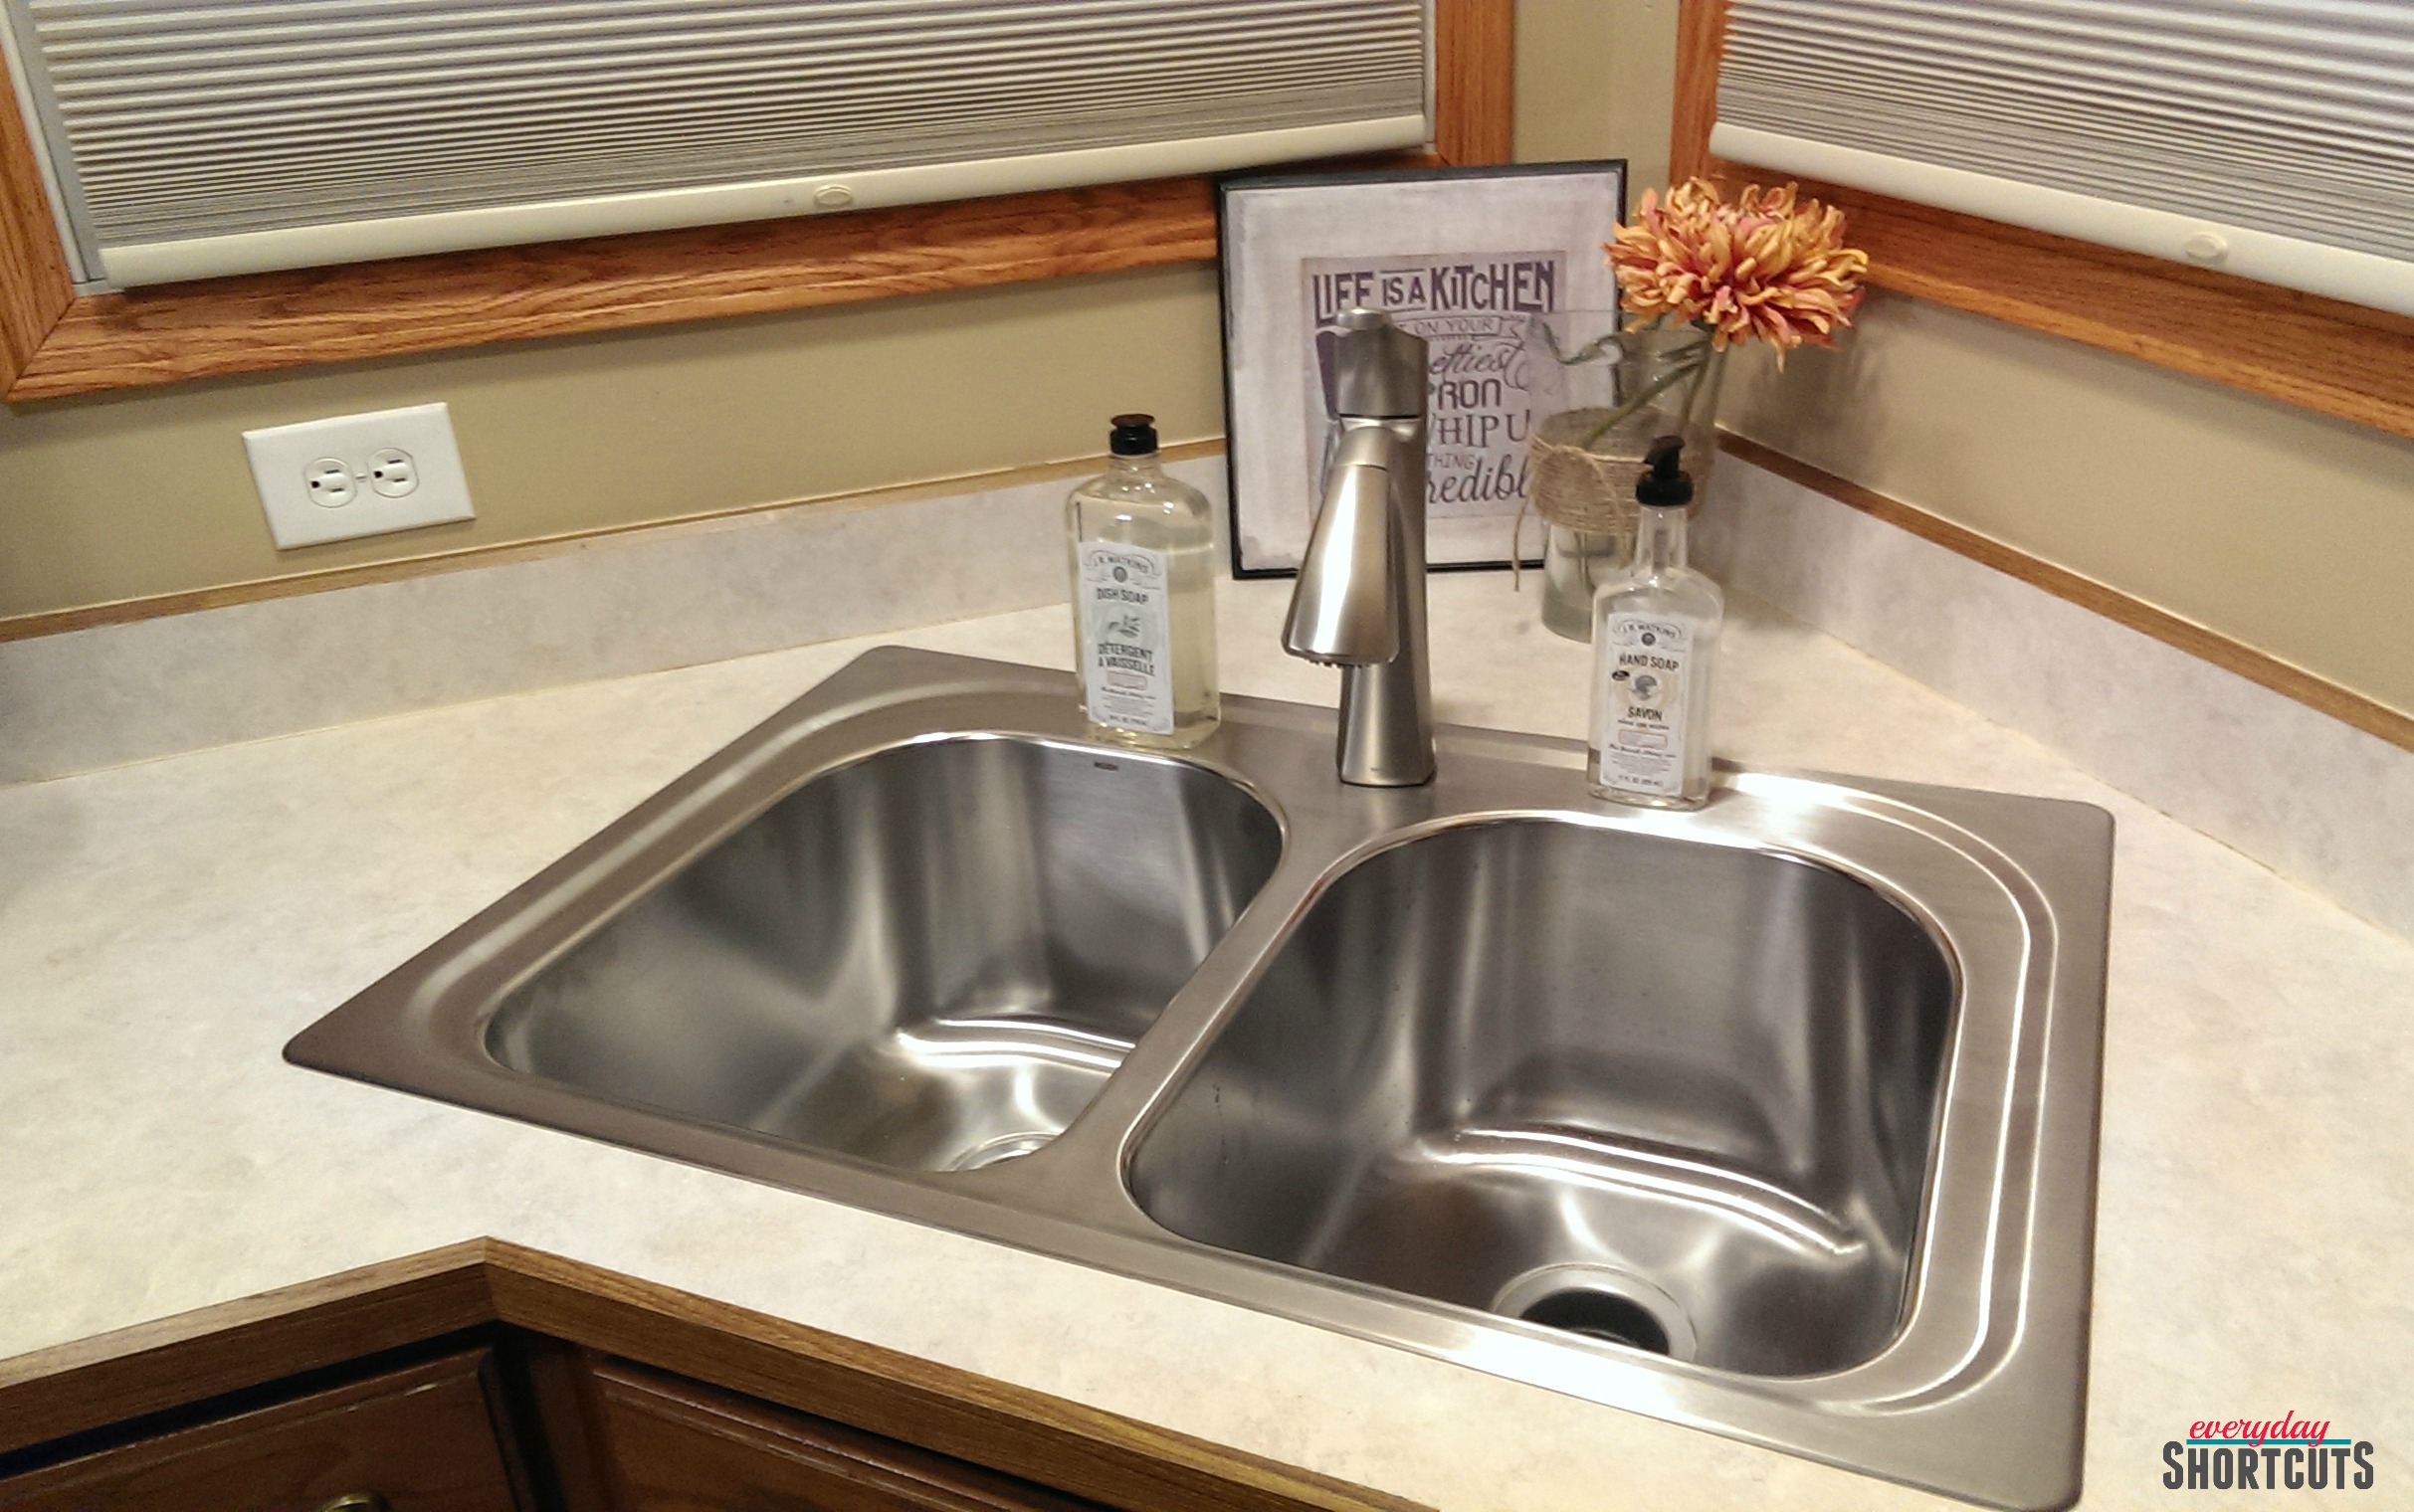
Enjoy Your New Moen Kitchen Sink Drain
:max_bytes(150000):strip_icc()/how-to-install-a-sink-drain-2718789-hero-24e898006ed94c9593a2a268b57989a3.jpg) Congratulations, you have successfully installed a Moen kitchen sink drain! Not only does it provide a functional and efficient drain system, but it also adds a sleek and modern touch to your kitchen. With proper maintenance and care, your Moen kitchen sink drain will continue to serve you for years to come.
Congratulations, you have successfully installed a Moen kitchen sink drain! Not only does it provide a functional and efficient drain system, but it also adds a sleek and modern touch to your kitchen. With proper maintenance and care, your Moen kitchen sink drain will continue to serve you for years to come.