Are you looking to upgrade your bathroom sink or replace old plumbing? Installing plumbing under a bathroom sink may seem like a daunting task, but with the right tools and steps, it can be done easily. In this guide, we will take you through the process of installing plumbing under a bathroom sink step by step. Let's get started!Install plumbing under bathroom sink step by step
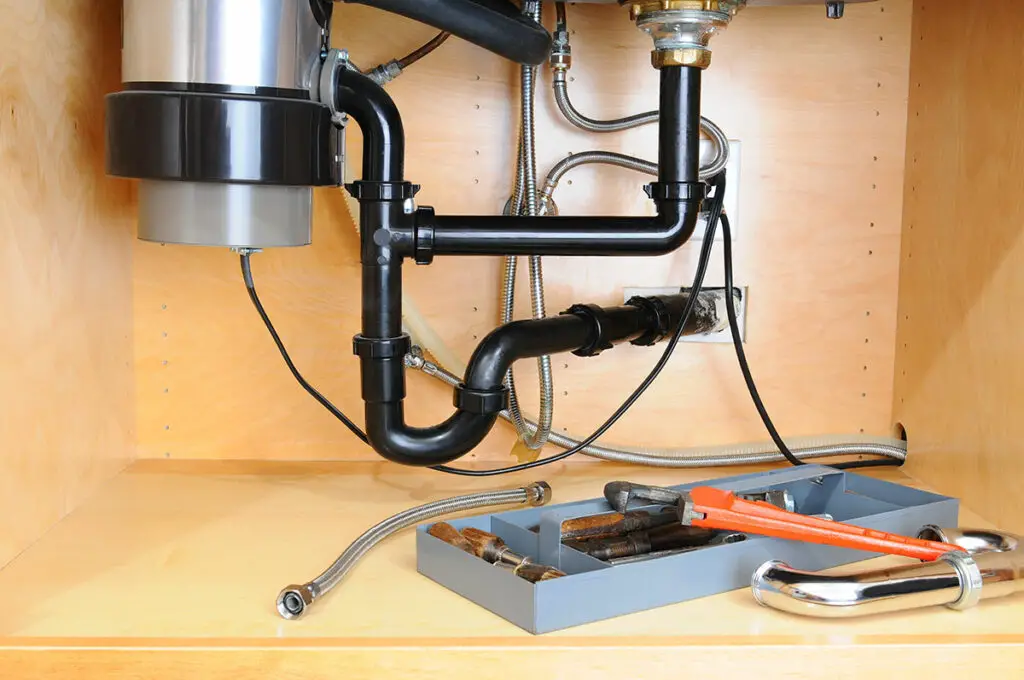
Before starting the installation process, make sure you have all the necessary tools and materials. This includes a pipe wrench, adjustable wrench, plumber's putty, PVC pipes, P-trap, and a sink drain assembly. Once you have everything, follow these steps for a successful plumbing installation under your bathroom sink.How to install plumbing under bathroom sink step by step
The first step is to turn off the water supply to your bathroom sink. You can usually find the shut-off valve under the sink or near the main water supply line. Turn the valve clockwise until it is fully closed. This will prevent any water from flowing while you work on the plumbing.Step 1: Shut off the water supply
If you are replacing old plumbing, you will need to remove it before installing the new one. Use a pipe wrench to loosen and remove the old pipes. Make sure to have a bucket or towel handy to catch any excess water that may drip out.Step 2: Remove old plumbing
Take the sink drain assembly and apply plumber's putty around the drain hole. Place the drain assembly in the hole and tighten it from underneath using an adjustable wrench. Make sure it is secure and level.Step 3: Attach the sink drain assembly
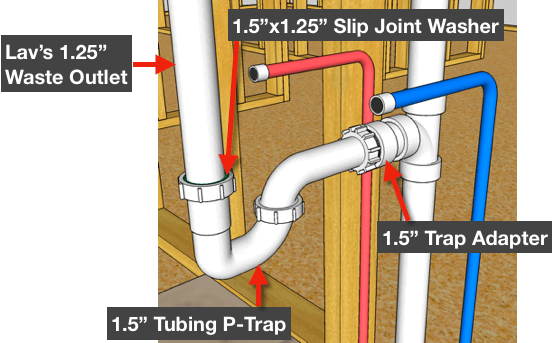
Next, you will need to install the P-trap, which is a curved pipe that helps prevent sewer gases from entering your bathroom. Connect one end of the P-trap to the sink drain assembly and the other end to the wall drain. Use a pipe wrench to tighten the connections.Step 4: Install the P-trap
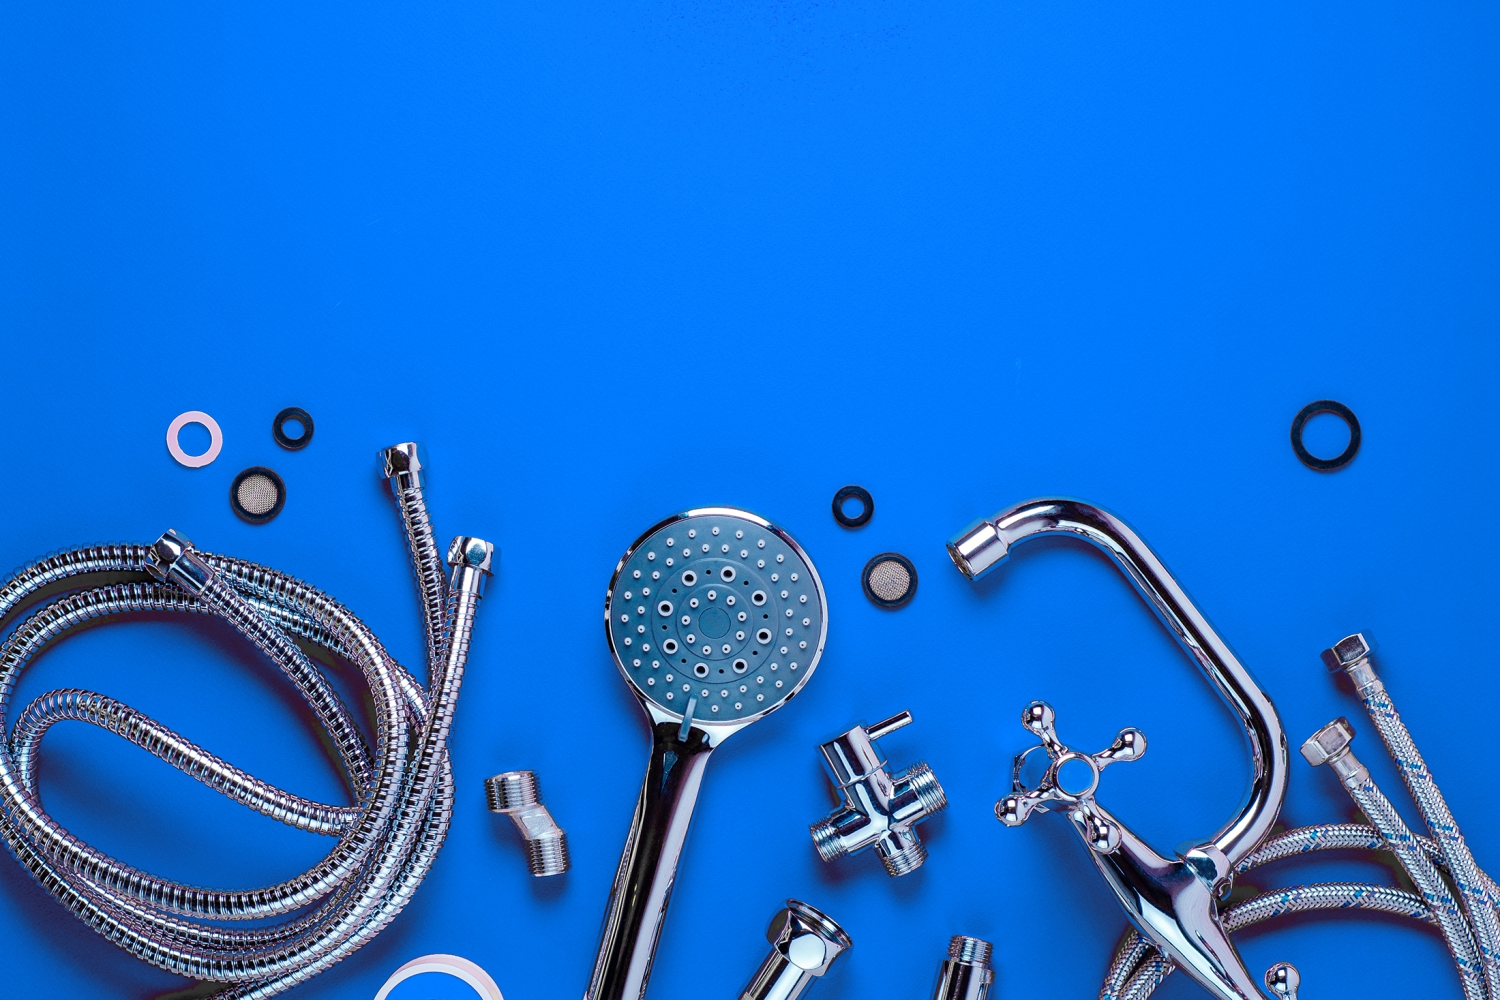
Now it's time to connect the supply lines. These are the pipes that will bring water to your sink. Use a pipe wrench to tighten the connections to the shut-off valves. Make sure the connections are secure and not leaking.Step 5: Connect the supply lines
Once everything is connected, turn the water supply back on and test for any leaks. If you notice any leaks, tighten the connections further or use plumber's tape to seal them.Step 6: Test for leaks
Installing plumbing under a bathroom sink can be done as a DIY project, but if you are not comfortable with plumbing work, it is always best to hire a professional. However, if you are up for the challenge, follow the steps above and make sure to read the instructions on any products you are using.DIY plumbing installation under bathroom sink
While the process of installing plumbing under a bathroom sink may seem complex, it can be broken down into easy steps. Remember to shut off the water supply, remove old plumbing, attach the sink drain assembly, install the P-trap, connect the supply lines, and test for leaks. Taking it one step at a time will make the process much more manageable.Easy steps for installing plumbing under bathroom sink
Why Proper Plumbing Installation is Crucial for Your Bathroom Sink

Importance of Professional Plumbing
 When it comes to designing your dream bathroom, it's easy to get caught up in choosing the perfect tile or paint color. However, one of the most crucial aspects of a functional and well-designed bathroom is proper plumbing installation. This is especially true for your bathroom sink, which is one of the most used fixtures in your home. While it may seem like a simple task, improperly installed plumbing can lead to major issues such as leaks, clogs, and even damage to your home's structure.
The Risks of DIY Plumbing
 While DIY projects can be a fun and cost-effective way to improve your home, plumbing is not one of them. Without the proper knowledge and experience, attempting to install plumbing under your bathroom sink can lead to disaster. Not only can it result in costly repairs, but it can also compromise the safety of your home. It's best to leave plumbing installation to the professionals who have the necessary skills and tools to ensure a successful and long-lasting result.
Steps for Proper Plumbing Installation
 To ensure a proper and efficient plumbing installation for your bathroom sink, it's important to follow the correct steps. First, you'll need to gather all the necessary tools and materials, including pipes, fittings, and plumber's putty. Next, you'll need to turn off the water supply and prepare the area for installation. This includes measuring and cutting pipes to the correct length, attaching fittings, and sealing any gaps with plumber's putty. Finally, you'll need to test the installation by turning the water supply back on and checking for any leaks or issues.
The Benefits of Professional Plumbing Installation
 While it may be tempting to save money by attempting to install plumbing yourself, the benefits of hiring a professional far outweigh the cost. Professional plumbers have the knowledge and expertise to ensure your plumbing is installed correctly and up to code. This not only prevents potential issues and costly repairs but also adds value to your home. Additionally, professional plumbing installation can save you time and stress, allowing you to focus on other aspects of your bathroom design.
Conclusion
 In conclusion, proper plumbing installation is crucial for your bathroom sink. It not only ensures a functional and well-designed space but also prevents potential issues and adds value to your home. While DIY projects can be tempting, it's best to leave plumbing installation to the professionals for a successful and stress-free result. So when it comes to installing plumbing under your bathroom sink, trust the experts and enjoy your dream bathroom without any worries.


