Are you tired of that old, leaky bathroom sink faucet? It may be time for a replacement. Installing a new faucet may seem like a daunting task, but with the right tools and materials, it can be a simple and rewarding DIY project. In this guide, we will walk you through the process of installing a new bathroom sink faucet with a silicone under gasket, ensuring a secure and watertight fit. Let's get started!Install a New Bathroom Sink Faucet with Silicone Under Gasket: A Step-by-Step Guide
Before we dive into the installation process, let's discuss why using a silicone under gasket is crucial for this task. A silicone under gasket is a thin layer of silicone that goes between the faucet and the sink. This gasket serves as a sealant, preventing any water from seeping through and causing damage to your sink and countertop. It also helps to keep the faucet securely in place, reducing the risk of leaks and damage over time. So, make sure to have a silicone under gasket on hand before starting your installation.The Importance of Using a Silicone Under Gasket for Bathroom Sink Faucet Installation
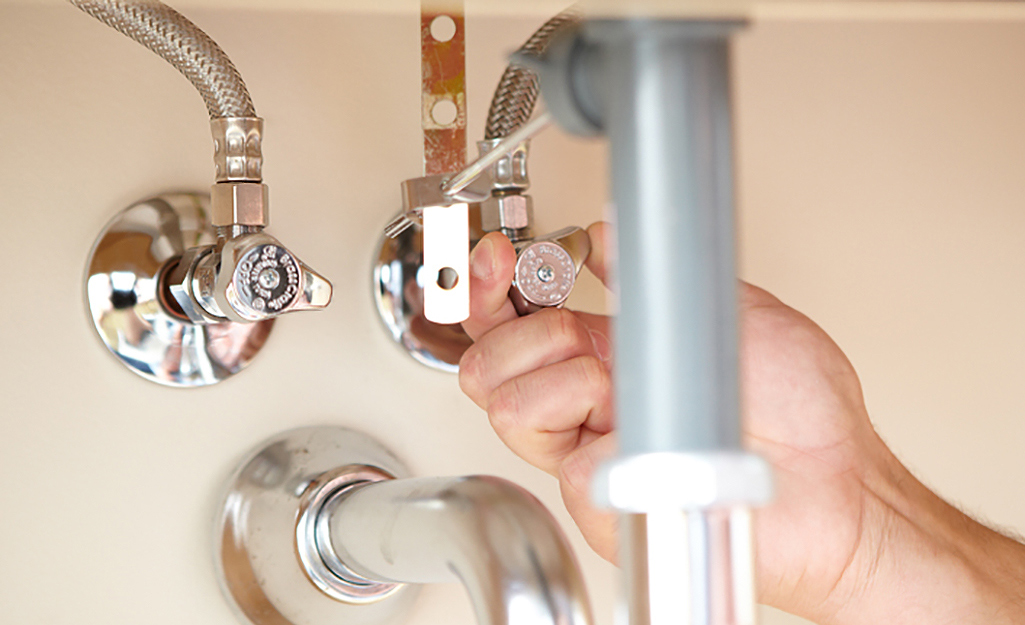
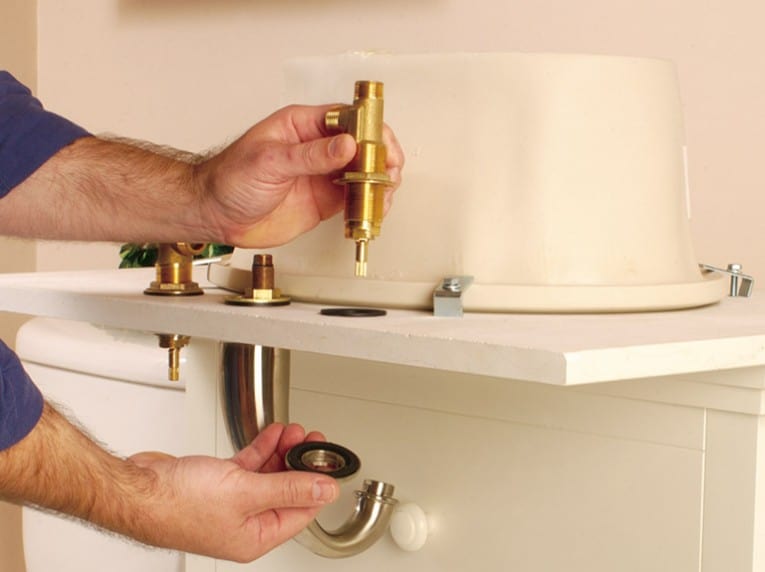
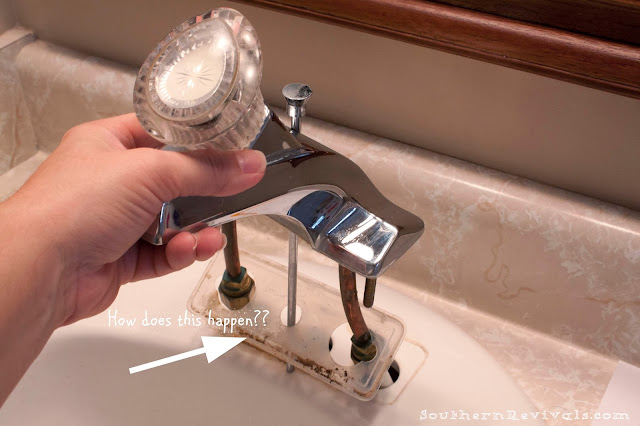
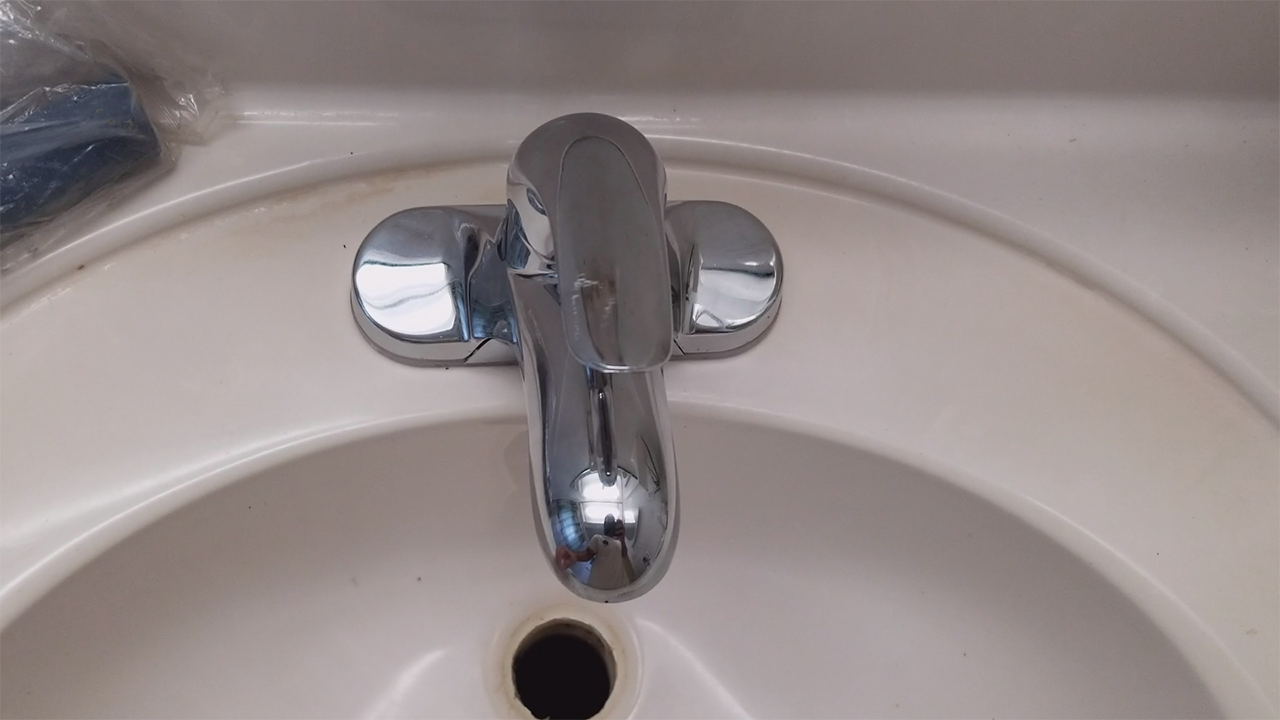
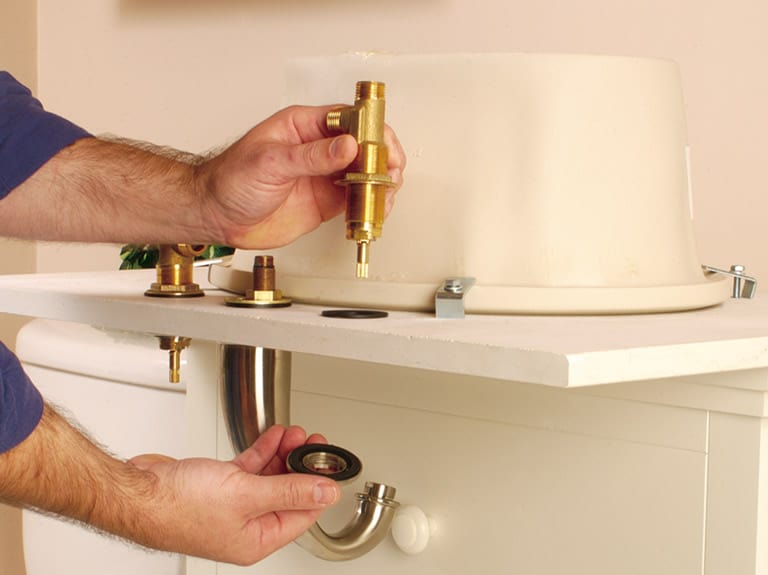
Step 1: Start by turning off the water supply to your sink. This is usually located under the sink or in the basement. Once the water is turned off, turn on the faucet to release any remaining water pressure. Step 2: Next, remove the old faucet by unscrewing the nuts that hold it in place. You may need a wrench or pliers for this step. Once the nuts are removed, gently lift the faucet out of the sink. Step 3: Before installing the new faucet, clean the sink surface and remove any leftover debris or caulking from the old faucet. This will ensure a smooth and even surface for the new faucet to sit on. Step 4: Now, apply a thin layer of silicone to the bottom of the faucet where it will make contact with the sink. This will act as the gasket and sealant. Make sure to spread the silicone evenly and avoid any gaps. Step 5: Place the faucet onto the sink, making sure it is centered and aligned with the drain. Press down firmly to ensure a tight seal with the silicone under gasket. Step 6: Once the faucet is in place, secure it by tightening the nuts underneath the sink. Use a wrench or pliers to tighten the nuts, but be careful not to overtighten them, as this can cause damage to the faucet or sink. Step 7: Once the faucet is securely in place, wipe off any excess silicone around the edges with a damp cloth. This will give the installation a clean and professional look. Step 8: Now, it's time to connect the water supply lines. These are the tubes that run from the faucet to the water supply valves. Use a wrench to tighten the connections and make sure they are leak-free. Step 9: Turn the water supply back on and test the faucet for any leaks. If there are no leaks, congratulations, you have successfully installed a new bathroom sink faucet with a silicone under gasket!Step-by-Step Guide for Installing a New Bathroom Sink Faucet with Silicone Under Gasket
Now that you know the basic steps for installing a new bathroom sink faucet with a silicone under gasket, here are some expert tips to keep in mind: Tip 1: Before installing the new faucet, check the measurements to ensure it will fit properly in your sink. You don't want to go through the installation process only to find out the faucet is too big or too small. Tip 2: If you are replacing an old faucet, take the opportunity to clean the sink and remove any buildup or stains that may have accumulated over time. Tip 3: Don't be afraid to ask for help if needed. Installing a new faucet can be a two-person job, especially when it comes to connecting the water supply lines.Expert Tips for Installing a New Bathroom Sink Faucet with Silicone Under Gasket
Using a silicone under gasket for your bathroom sink faucet installation offers several benefits, including: 1. Watertight seal: A silicone under gasket ensures a watertight seal between the faucet and sink, preventing any water from leaking through and causing damage over time. 2. Easy to install: Silicone under gaskets are easy to use and install, making the faucet installation process more manageable for DIYers. 3. Long-lasting: Silicone is a durable material that can withstand regular use and exposure to water, making it a long-lasting solution for your bathroom sink faucet.The Benefits of Using a Silicone Under Gasket for Bathroom Sink Faucet Installation
If you prefer a visual guide, check out this step-by-step video tutorial on how to install a bathroom sink faucet with a silicone under gasket:Step-by-Step Video Tutorial for Installing a Bathroom Sink Faucet with Silicone Under Gasket
Installing a new bathroom sink faucet with a silicone under gasket may seem like a daunting task, but with the right tools and instructions, it can be a simple and rewarding DIY project. Remember to always turn off the water supply before starting, use a silicone under gasket for a watertight seal, and follow expert tips for a successful installation. With a new faucet in place, your bathroom will have a fresh and updated look, and you can enjoy a leak-free sink for years to come.Conclusion
Why You Should Consider Installing a New Bathroom Sink Faucet with a Silicone Under Gasket

Upgrade Your Bathroom Design
 When it comes to house design, the bathroom is often an overlooked space. However, it is an essential room in any home and should not be neglected. One simple yet effective way to upgrade your bathroom design is by installing a new sink faucet with a silicone under gasket. This small addition can make a big difference in the overall look and feel of your bathroom.
Seal and Protect Your Sink
 The main purpose of a silicone under gasket is to provide a watertight seal between the sink and the faucet. This is crucial in preventing any leaks or water damage in and around your sink. The silicone material is durable and can withstand constant exposure to water and other bathroom products, ensuring long-lasting protection for your sink.
Prevent Mold and Mildew Growth
:max_bytes(150000):strip_icc()/173579315-56a4a2a83df78cf772835c77.jpg) One of the biggest challenges in maintaining a clean and hygienic bathroom is preventing the growth of mold and mildew. These pesky fungi thrive in damp and moist environments, making the bathroom an ideal breeding ground. By installing a silicone under gasket, you create a barrier that prevents water from seeping into the crevices where mold and mildew can grow. This not only helps keep your sink and faucet clean but also promotes a healthier bathroom environment.
One of the biggest challenges in maintaining a clean and hygienic bathroom is preventing the growth of mold and mildew. These pesky fungi thrive in damp and moist environments, making the bathroom an ideal breeding ground. By installing a silicone under gasket, you create a barrier that prevents water from seeping into the crevices where mold and mildew can grow. This not only helps keep your sink and faucet clean but also promotes a healthier bathroom environment.
Easy to Install and Maintain
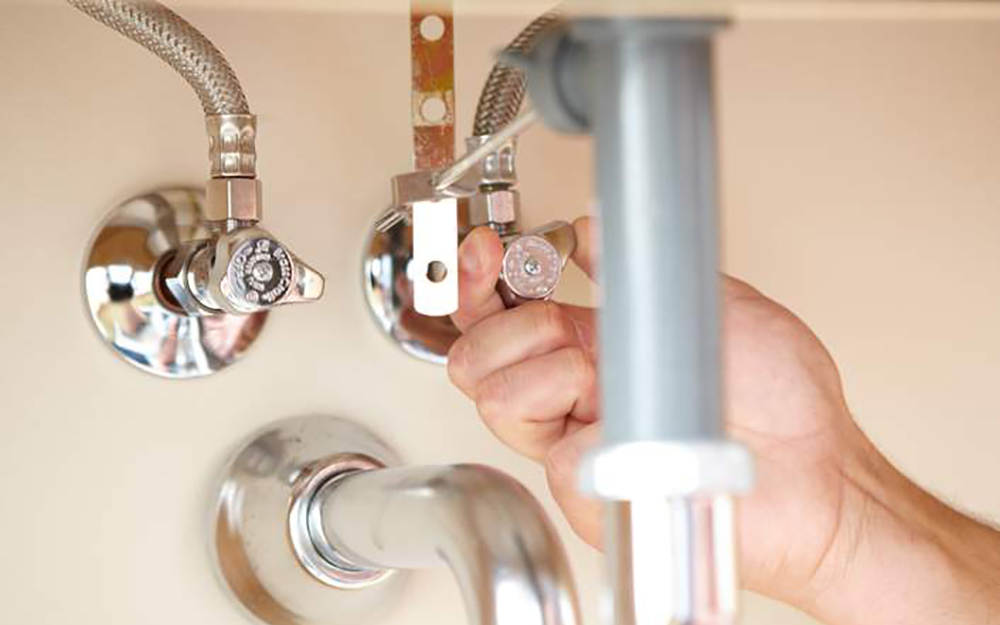 Installing a new bathroom sink faucet with a silicone under gasket may seem like a daunting task, but it is actually quite simple. With the right tools and some basic DIY skills, you can easily replace your old faucet and add the silicone under gasket for added protection. Plus, the silicone material is low maintenance, so you won't have to worry about constantly cleaning and replacing it.
Upgrade your bathroom design
with a new sink faucet and
protect your sink
from leaks and water damage by installing a
silicone under gasket
. Not only will it enhance the overall look of your bathroom, but it will also provide a
barrier against mold and mildew growth
. With its easy installation and low maintenance, a silicone under gasket is a must-have for any well-designed bathroom.
Conclusion
 In conclusion, upgrading your bathroom design with a new sink faucet and silicone under gasket is a simple and effective way to protect your sink and promote a healthier bathroom environment. It is a small investment that can make a big difference in the functionality and aesthetics of your bathroom. So why wait? Upgrade your bathroom today and enjoy the benefits of a silicone under gasket.


