Kitchen sink sprays are a convenient addition to any kitchen, making it easier to clean dishes and wash produce. If you're looking to upgrade your sink with a new spray, you may be wondering how to install it yourself. Luckily, installing a kitchen sink spray is a simple and straightforward process that can be done in just a few steps.How to Install a Kitchen Sink Spray
The first step in installing a kitchen sink spray is to remove the old nozzle, if you have one. To do this, simply unscrew the nozzle from the hose using a pair of pliers or a wrench. Once the old nozzle is removed, you can move on to installing the new one.Installing a Kitchen Sink Spray Nozzle
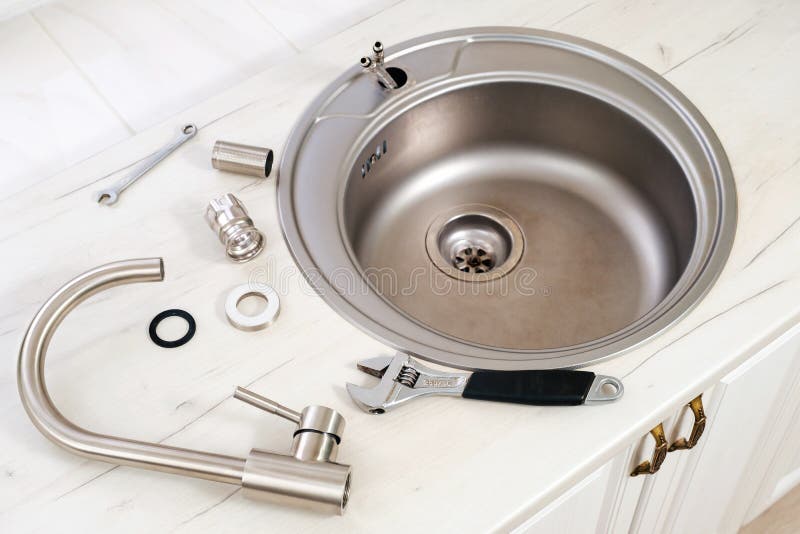
Step 1: Start by inserting the new spray nozzle into the end of the hose, making sure it is securely in place. Then, attach the other end of the hose to the spray head. Step 2: Next, locate the hole on the sink where the spray hose will be installed. This is typically located near the main faucet and may be covered by a small plug. Remove the plug if necessary. Step 3: Carefully feed the spray hose through the hole and into the sink cabinet below. Make sure there is enough slack in the hose for the spray head to move freely. Step 4: Once the hose is in place, secure it to the bottom of the sink using a mounting clip or a hose clamp. This will prevent the hose from moving around and potentially causing leaks. Step 5: On the underside of the sink, you'll find a diverter valve where the hose connects to the main water supply. Make sure this valve is closed before moving on to the next step. Step 6: Now, you can connect the spray hose to the diverter valve. Use a wrench to tighten the connection and make sure it is secure. Step 7: Finally, turn on the water supply and test out your new kitchen sink spray. If everything is working properly, you're all set!Step-by-Step Guide for Installing a Kitchen Sink Spray
Installing a kitchen sink spray can easily be done as a DIY project, saving you the cost of hiring a plumber. With just a few tools and some basic knowledge, you can have your new spray installed and ready to use in no time.DIY Kitchen Sink Spray Installation
The hose is a crucial part of your kitchen sink spray, as it delivers the water from the main supply to the spray head. When installing the hose, make sure it is not twisted or kinked, as this can cause problems with water flow.Installing a Kitchen Sink Spray Hose
To make your kitchen sink spray installation even easier, here are a few tips to keep in mind: - Before starting the installation, make sure you have all the necessary tools and materials on hand. - If you are replacing an old spray, take note of the type of connection it has (threaded or quick-connect) and purchase a new spray with the same type of connection. - When connecting the spray hose to the diverter valve, use plumber's tape to ensure a tight and leak-free connection.Easy Kitchen Sink Spray Installation Tips
The spray head is the part of the kitchen sink spray that you will actually use to direct the water flow. When installing the spray head, make sure it is securely attached to the hose and that it can move freely.Installing a Kitchen Sink Spray Head
Here are the tools you will need to install a kitchen sink spray: - Pliers or wrench - Screwdriver - Plumber's tape - Mounting clip or hose clampTools Needed for Installing a Kitchen Sink Spray
The diverter valve is responsible for directing the water flow from the main faucet to the spray head. This valve is typically located underneath the sink and may require a wrench to tighten the connection.Installing a Kitchen Sink Spray Diverter
While installing a kitchen sink spray is a fairly simple process, there are a few common mistakes that can cause issues: - Forgetting to turn off the water supply before installing the spray hose or diverter valve. - Not properly securing the spray hose to the bottom of the sink, which can cause leaks. - Using the wrong type of connection when replacing an old spray, resulting in a mismatch and potential leaks. By following these tips and steps, you can easily install a kitchen sink spray and enjoy the convenience and functionality it brings to your kitchen. Now that you know how to install a kitchen sink spray, go ahead and upgrade your sink with this handy addition.Common Mistakes to Avoid When Installing a Kitchen Sink Spray
Why You Should Consider Installing a Kitchen Sink Spray in Your Home

Improve Your Kitchen's Functionality and Convenience
 When it comes to designing or renovating a house, the kitchen is often one of the most important areas to focus on. A well-designed kitchen not only adds value to your home but also enhances your daily life. One key aspect of a functional kitchen is the sink, and a kitchen sink spray can greatly improve its convenience and functionality.
Kitchen sink spray
refers to a detachable spray head that can be pulled down or out from the faucet. This allows you to easily direct the water flow and spray at different angles, making tasks such as washing dishes, rinsing fruits and vegetables, and filling up large pots much easier and more efficient. With a
kitchen sink spray
, you no longer have to struggle with awkwardly maneuvering bulky items under the faucet or trying to reach all corners of the sink.
Save Time and Water
 Not only does a
kitchen sink spray
make everyday tasks in the kitchen more convenient, but it also helps you save time and water. The powerful spray function can effectively remove tough stains and food residue from dishes, cutting down on the time and effort needed for cleaning. Additionally, the targeted spray can help you use less water compared to traditional faucets, leading to lower water bills and reducing your environmental impact.
Add Style to Your Kitchen
 Aside from its practical benefits, a
kitchen sink spray
can also add a touch of style to your kitchen. With various designs and finishes available, you can choose one that complements your kitchen's overall design and aesthetic. Whether you prefer a modern, sleek look or a more traditional and rustic feel, there is a
kitchen sink spray
that will fit right in.
Easy to Install and Maintain
 Installing a
kitchen sink spray
is a relatively simple process and can be done by most homeowners with basic DIY skills. It typically involves attaching the spray head to the faucet and connecting the hose to the water supply. Once installed, a
kitchen sink spray
requires minimal maintenance and can last for years with proper care.
In conclusion, if you want to improve the functionality, convenience, and style of your kitchen, consider installing a
kitchen sink spray
. Not only will it make everyday tasks easier and more efficient, but it can also save you time, money, and water in the long run. So why not add this small but valuable feature to your kitchen design? Your future self will thank you.








:no_upscale()/cdn.vox-cdn.com/uploads/chorus_asset/file/19495086/drain_0.jpg)

/how-to-install-a-sink-drain-2718789-hero-24e898006ed94c9593a2a268b57989a3.jpg)





/25089301983_c5145fe85d_o-58418ef15f9b5851e5f392b5.jpg)


:no_upscale()/cdn.vox-cdn.com/uploads/chorus_asset/file/19495086/drain_0.jpg)


