Installing kitchen sink clips is an essential part of the sink installation process. These small but mighty clips help secure your sink to the countertop, ensuring it stays in place and doesn't shift or move over time. In this guide, we'll walk you through the steps for a successful kitchen sink clip installation. How to Install Kitchen Sink Clips
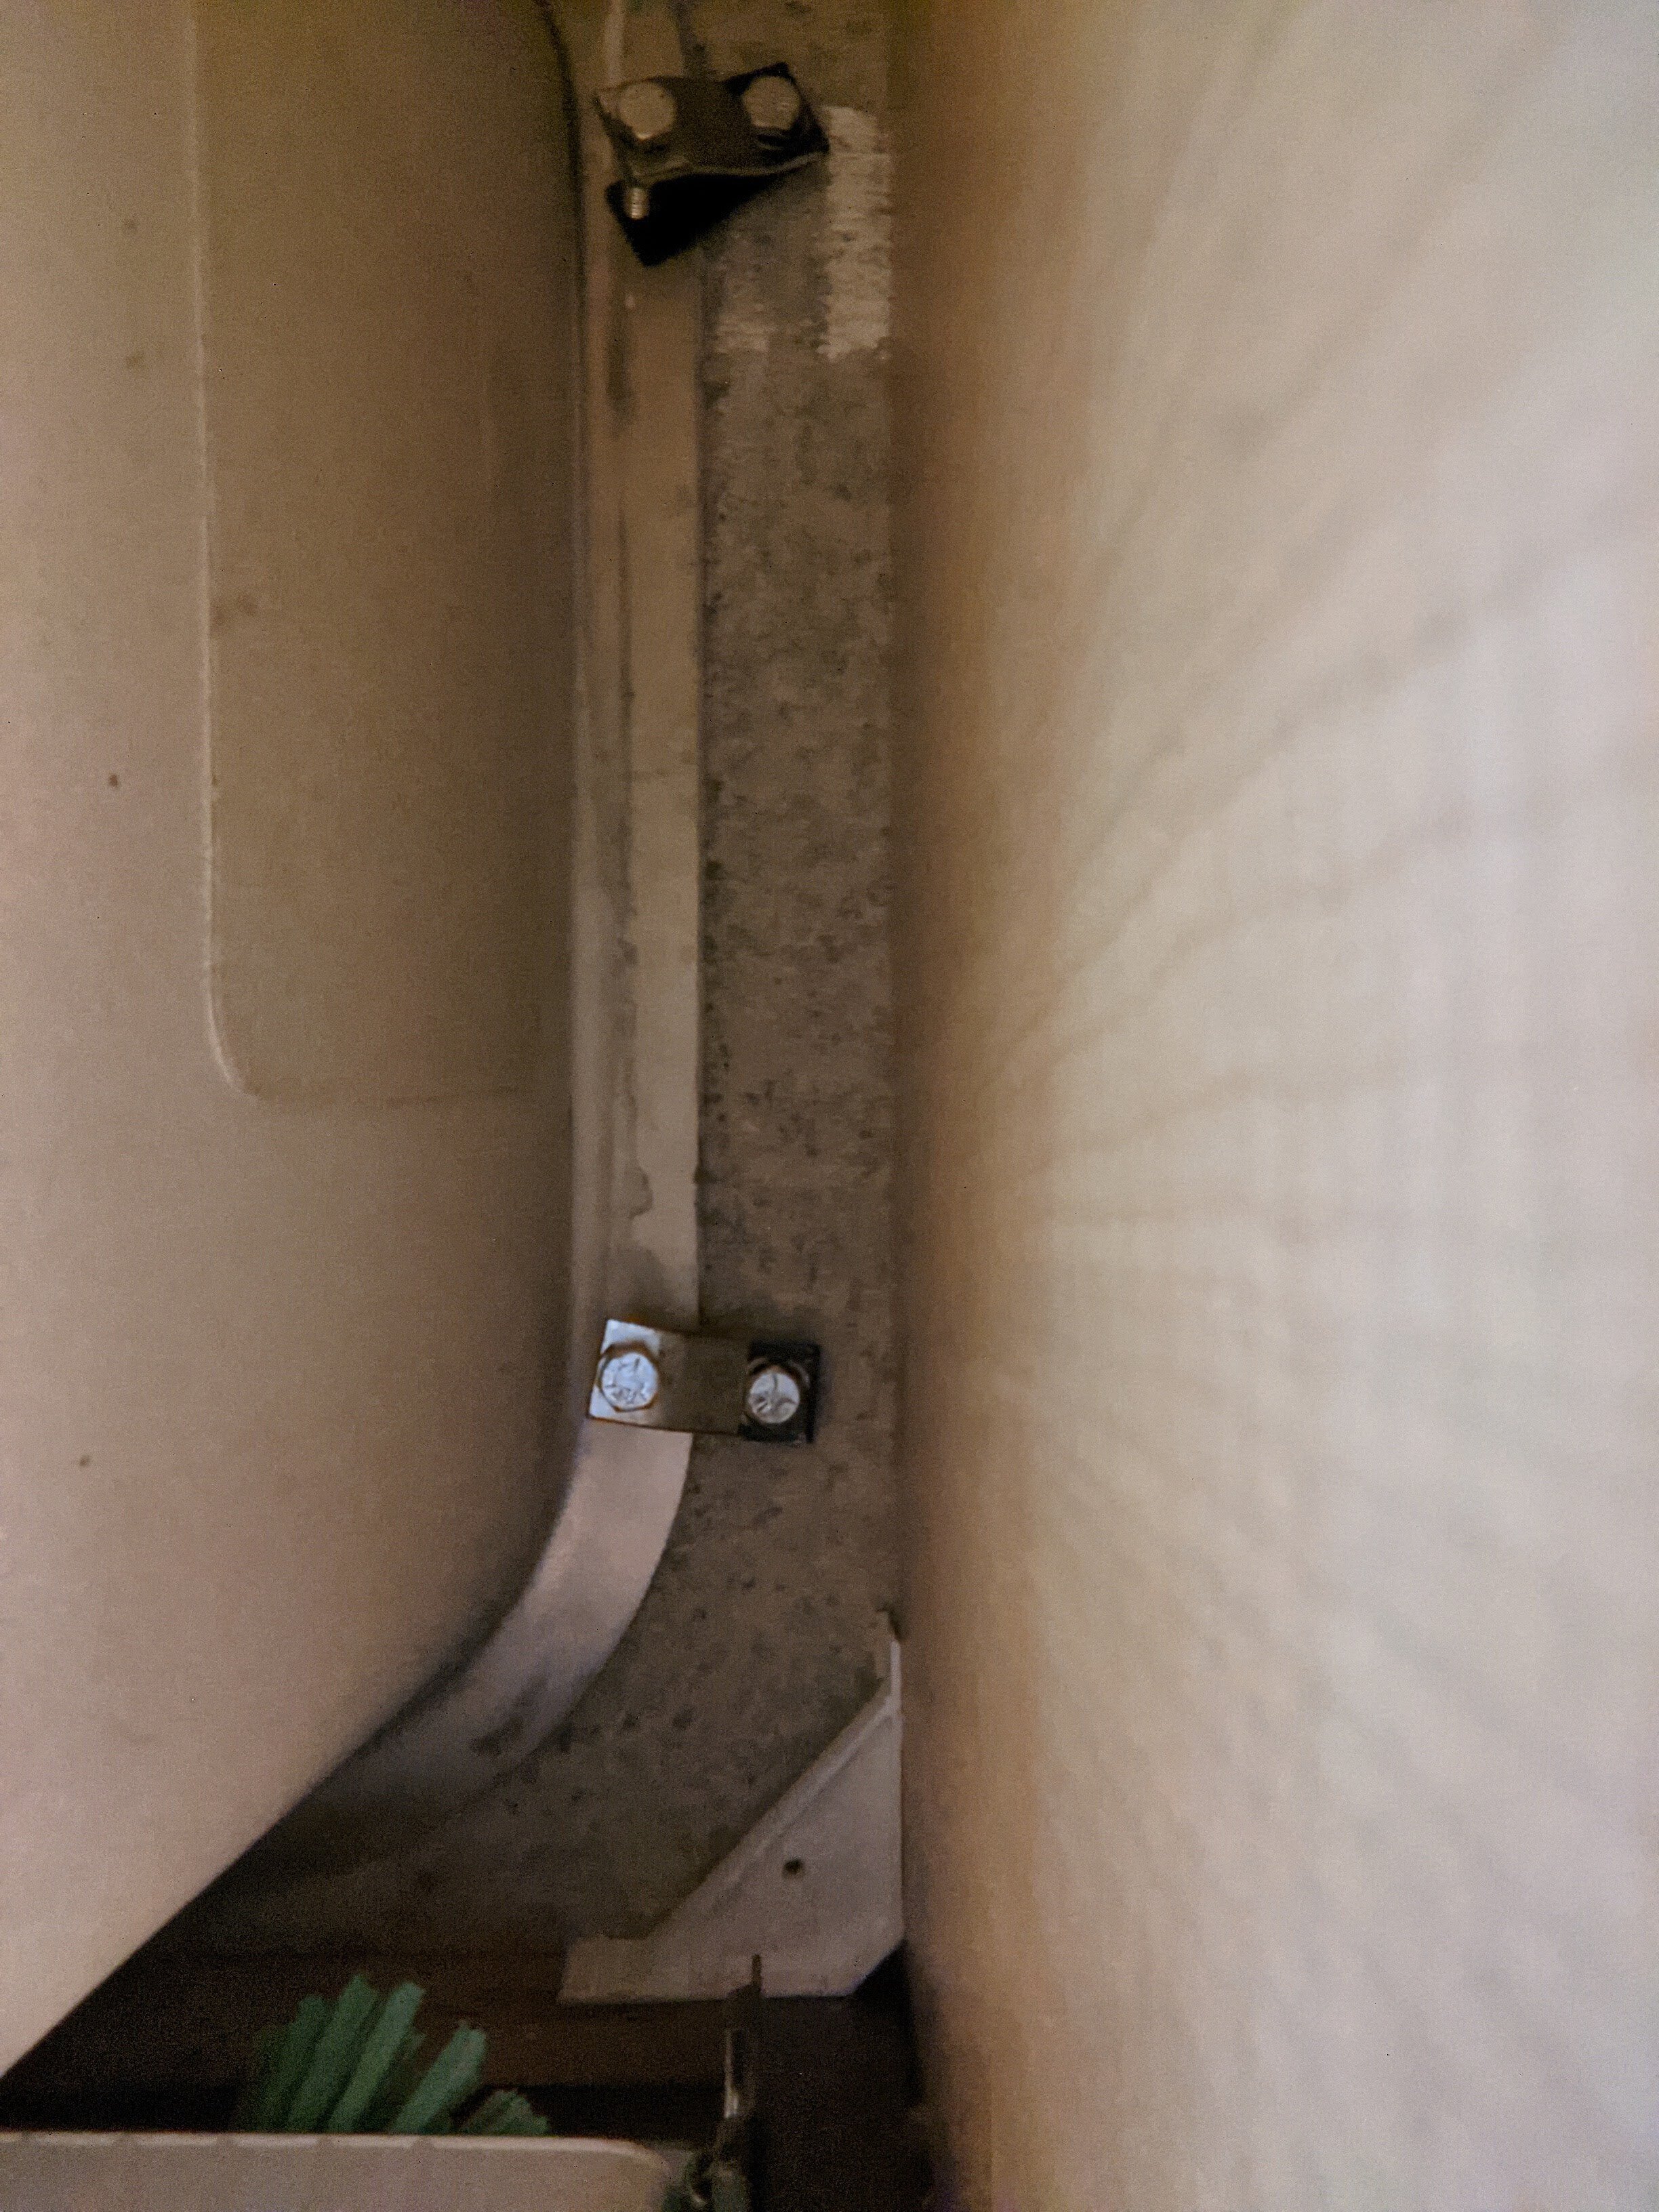
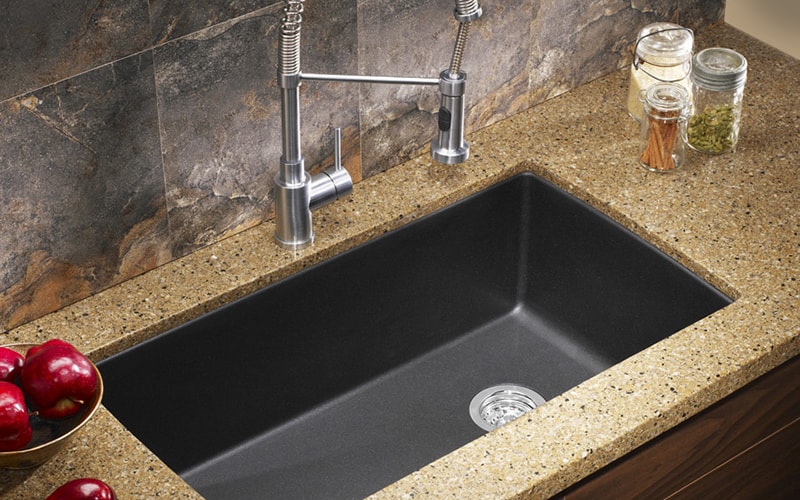
Undermount kitchen sinks are becoming increasingly popular for their sleek and modern look. However, they require a different type of clip installation compared to top mount sinks. To install undermount kitchen sink clips, you'll need to follow a slightly different process. In this section, we'll break down the steps needed for a secure undermount sink installation.How to Install Undermount Kitchen Sink Clips
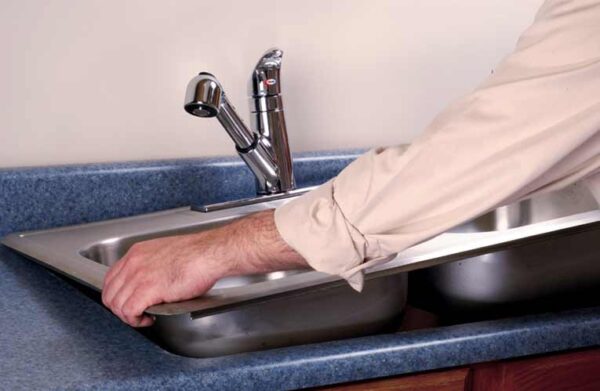
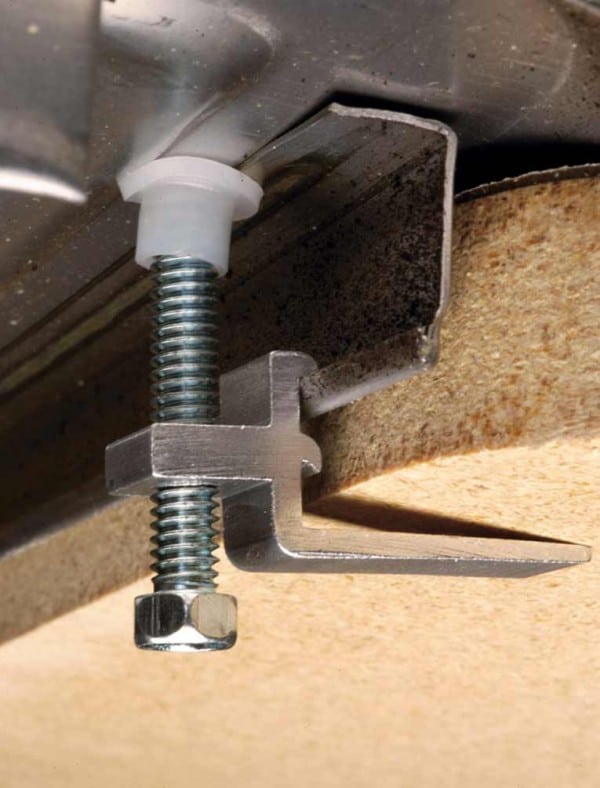
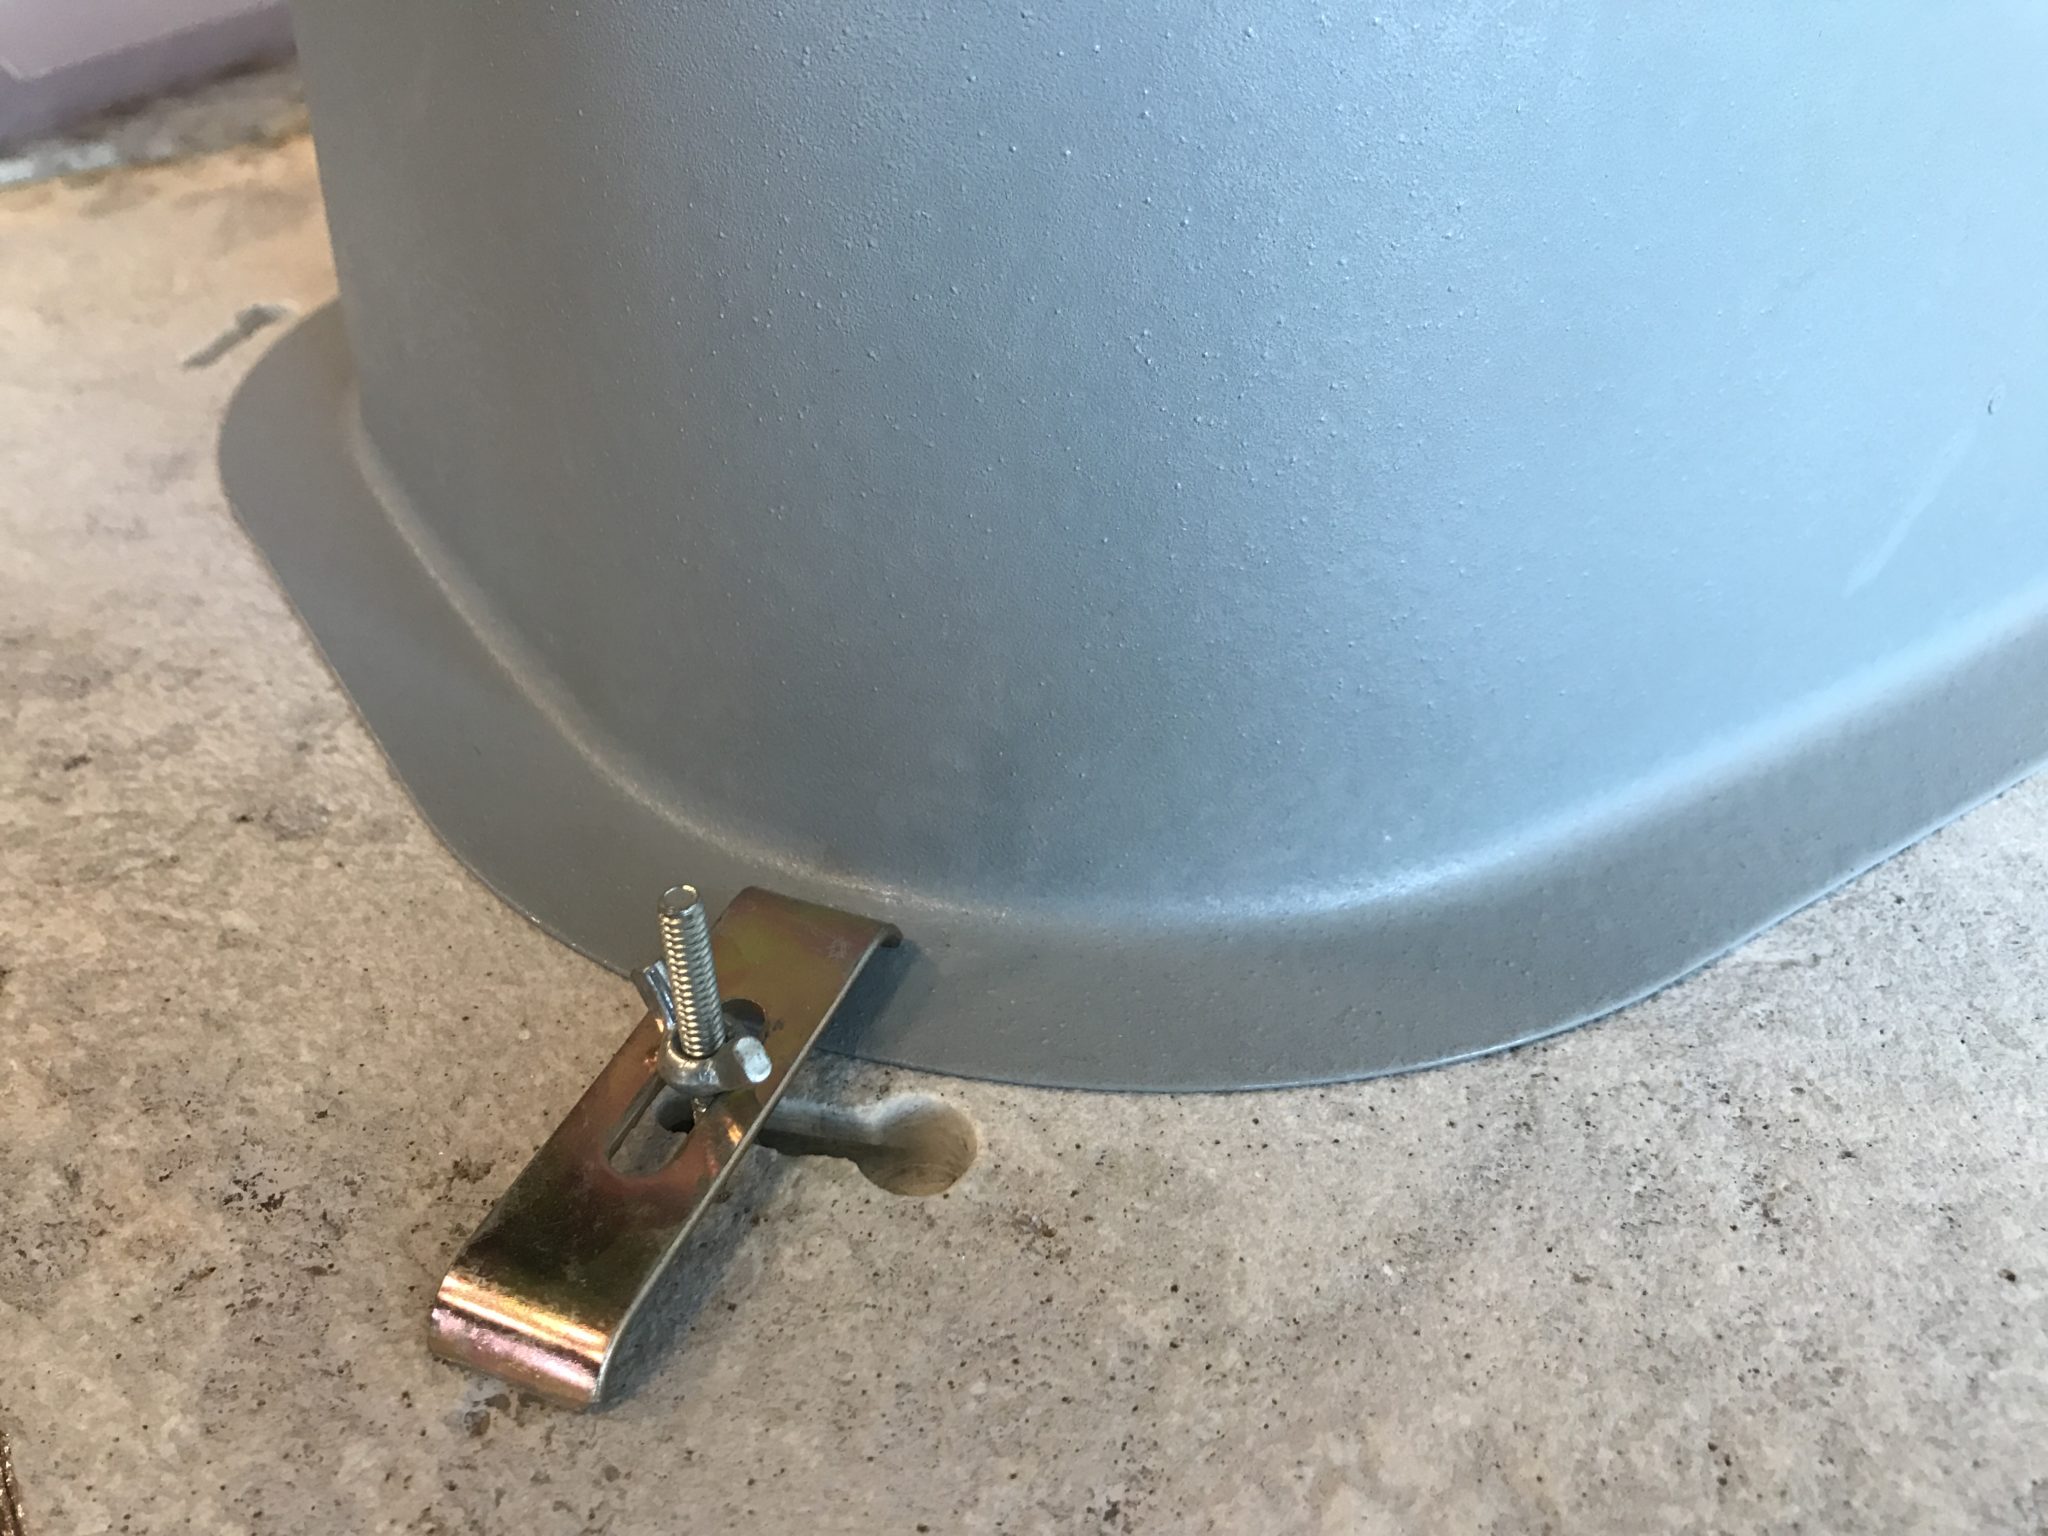
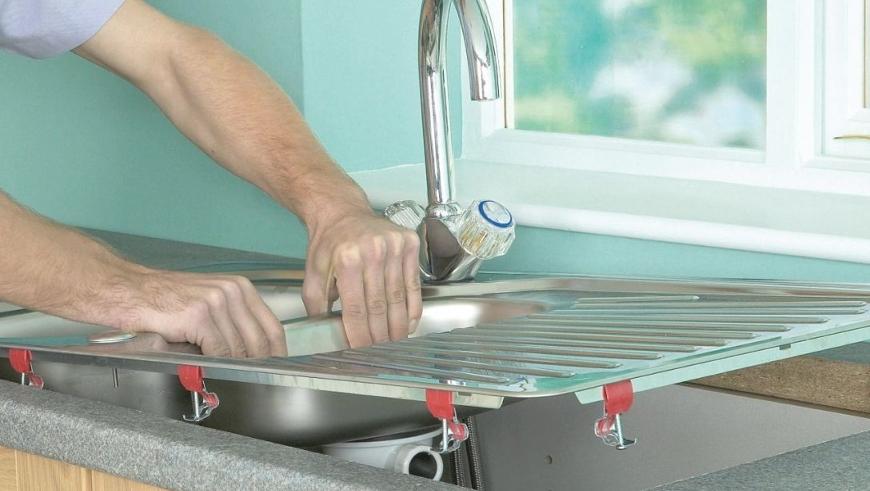
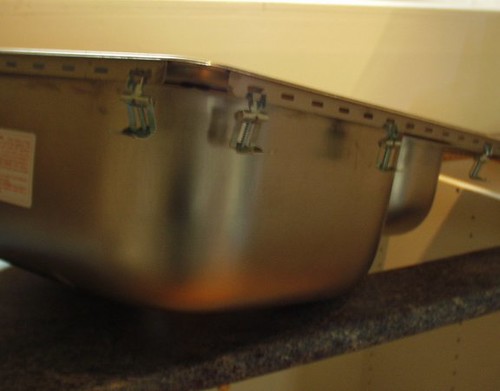
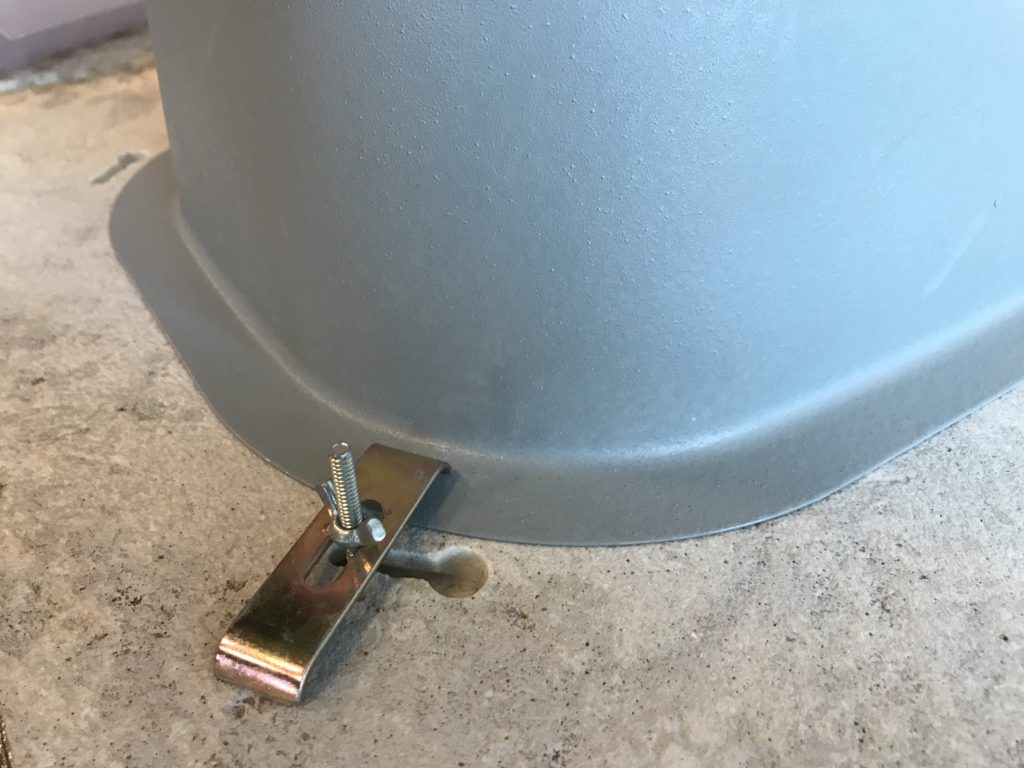
Now that you understand the importance of sink clips and their different types, let's dive into the step-by-step guide for installing them. Remember to always read the manufacturer's instructions for your specific sink and clips as they may have specific requirements. Step 1: Gather Your Tools Before you start the installation process, make sure you have all the necessary tools at hand. These may include a drill, drill bit, screwdriver, measuring tape, and silicone adhesive. Step 2: Prepare the Sink and Countertop Clean the sink and countertop thoroughly to remove any debris or residue. This will ensure a secure bond and prevent any gaps between the sink and countertop. Step 3: Mark the Placement of the Clips Use a measuring tape to mark the placement of the clips on the underside of the countertop. Make sure the placement is even and aligns with the sink's rim. Step 4: Drill Holes for the Clips Using a drill and appropriate sized drill bit, create holes at the marked locations for the clips to be inserted. Be careful not to drill too deep to avoid damaging the countertop. Step 5: Insert the Clips Insert the clips into the drilled holes, making sure they are secure and flush with the countertop. Step 6: Secure the Clips with Screws Using a screwdriver, secure the clips in place with screws. This will ensure they stay in place and provide a sturdy foundation for the sink. Step 7: Apply Silicone Adhesive Apply a thin layer of silicone adhesive around the rim of the sink. This will help create a watertight seal and prevent any water from seeping between the sink and countertop. Step 8: Place the Sink Place the sink into the countertop cutout, making sure it is properly aligned and centered. Press down on the sink to secure it in place. Step 9: Secure the Sink with Clips Using a screwdriver, secure the clips to the underside of the sink. This will help secure the sink to the countertop and prevent any movement. Step 10: Let it Dry Allow the silicone adhesive to dry completely before using the sink. This may take a few hours, so be patient and avoid using the sink until it is fully dried.Step-by-Step Guide for Installing Kitchen Sink Clips
Installing kitchen sink clips can be a DIY project, but it's important to follow the proper steps to ensure a successful installation. If you're not confident in your handyman skills, it's always best to hire a professional for this task.DIY Kitchen Sink Clip Installation
As mentioned earlier, you'll need a few key tools to install kitchen sink clips. These may include a drill, drill bit, screwdriver, measuring tape, and silicone adhesive. Make sure to have these tools on hand before starting the installation process.Tools Needed for Installing Kitchen Sink Clips
To ensure a successful installation, here are some best practices to keep in mind: • Follow the manufacturer's instructions for your specific sink and clips. • Clean the sink and countertop thoroughly before starting the installation. • Use the appropriate tools and materials for the job. • Take your time and be patient. Rushing through the installation may lead to mistakes.Best Practices for Installing Kitchen Sink Clips
While installing kitchen sink clips may seem like a simple task, there are some common mistakes that can lead to a faulty installation. These include: • Not following the manufacturer's instructions. • Drilling too deep and damaging the countertop. • Not using enough silicone adhesive, leading to leaks. • Forgetting to secure the clips to the sink, resulting in a loose sink.Common Mistakes to Avoid When Installing Kitchen Sink Clips
• Use a silicone adhesive specifically designed for sink installation. • Make sure the sink and countertop are completely dry before applying the adhesive. • Double-check the alignment and placement of the clips before securing them with screws. • Allow the silicone adhesive to fully dry before using the sink.Tips for a Secure Kitchen Sink Clip Installation
If your sink clips have become loose or damaged over time, it may be necessary to replace them. To replace kitchen sink clips, follow the same steps as the installation process, but start by removing the old clips and cleaning the area before inserting the new clips.How to Replace Kitchen Sink Clips
Kitchen sink clips can be purchased at most home improvement stores or online. Make sure to check the manufacturer's recommendations for the appropriate clips for your specific sink model. Now that you have a better understanding of how to install kitchen sink clips, you can confidently tackle this essential step in sink installation. Just remember to follow the proper steps and best practices to ensure a secure and long-lasting installation. Where to Buy Kitchen Sink Clips
Why Properly Installing Kitchen Sink Clips is Essential for a Functional and Beautiful Kitchen

Ensuring a Secure and Stable Sink
 When it comes to designing a kitchen, the sink is often the focal point. Not only is it a functional necessity for washing dishes and preparing food, but it also adds to the overall aesthetic of the space. However, an improperly installed sink can quickly become a headache, causing leaks, cracks, and even potential damage to your countertops and cabinets. This is where
kitchen sink clips
come in to save the day. These small but mighty devices are essential for ensuring a secure and stable sink that can withstand daily use and maintain its beauty for years to come.
Preventing Water Damage and Costly Repairs
:max_bytes(150000):strip_icc()/replacing-existing-surface-mounted-sink-1824896-06-d8eb6b67fe4f451b90c415551f75ad0f.jpg) One of the main reasons why proper installation of
kitchen sink clips
is crucial is to prevent water damage. If the sink is not securely attached to the countertop, it can shift and create gaps, allowing water to seep in. Over time, this can lead to mold and mildew growth, as well as damage to the surrounding area. This not only poses a health hazard but can also result in costly repairs. By using sink clips, you can ensure that your sink remains in place and prevents any potential water damage.
One of the main reasons why proper installation of
kitchen sink clips
is crucial is to prevent water damage. If the sink is not securely attached to the countertop, it can shift and create gaps, allowing water to seep in. Over time, this can lead to mold and mildew growth, as well as damage to the surrounding area. This not only poses a health hazard but can also result in costly repairs. By using sink clips, you can ensure that your sink remains in place and prevents any potential water damage.
Enhancing the Overall Look of Your Kitchen
 Aside from their functional benefits,
kitchen sink clips
also play a significant role in enhancing the overall look of your kitchen. These clips help to keep the sink flush against the countertop, creating a seamless and clean appearance. This is especially important for undermount sinks, where the clips are hidden from view, giving the illusion of a floating sink. With the right installation, sink clips can contribute to a polished and sophisticated look in your kitchen.
The Importance of Proper Installation
 Now that we understand the importance of installing
kitchen sink clips
, it's crucial to ensure that they are installed correctly. Improper installation can result in a loose or uneven sink, leading to potential damage and an unattractive appearance. It's recommended to hire a professional or follow the manufacturer's instructions carefully to ensure the clips are placed in the correct position and provide adequate support for your sink.
In conclusion,
kitchen sink clips
may seem like a small detail in the grand scheme of kitchen design, but they play a vital role in both functionality and aesthetics. By ensuring a secure and stable sink, preventing water damage, and enhancing the overall look of your kitchen, these tiny but mighty clips are a must-have for any homeowner looking to create a beautiful and functional space. So, don't overlook the importance of proper installation and invest in high-quality sink clips to keep your kitchen in top shape.






:no_upscale()/cdn.vox-cdn.com/uploads/chorus_asset/file/19495086/drain_0.jpg)


















/dueling-poops-59a4259f68e1a200134ae5a8.jpg)

