How to Install a Kitchen LED Ceiling Light
Installing a new kitchen LED ceiling light can instantly upgrade the look and functionality of your kitchen. Not only do LED lights provide bright and energy-efficient lighting, but they also come in a variety of styles to suit your personal taste. If you're ready to make the switch to LED, here's a step-by-step guide for installing a kitchen LED ceiling light.
Step-by-Step Guide for Installing a Kitchen LED Ceiling Light
Step 1: Gather your tools and materials. You will need a screwdriver, wire cutters, wire strippers, wire connectors, a voltage tester, and of course, your new LED ceiling light.
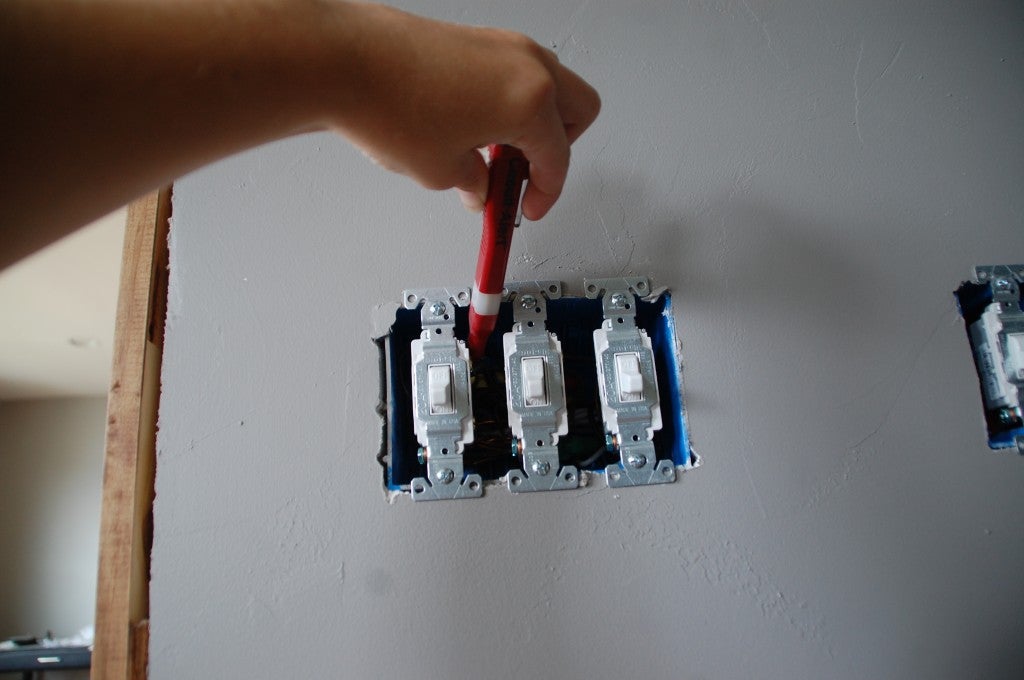
Step 2: Turn off the power. Before beginning any electrical work, make sure to turn off the power to the room where you will be installing the LED light. Use a voltage tester to confirm that there is no electricity running to the wires.
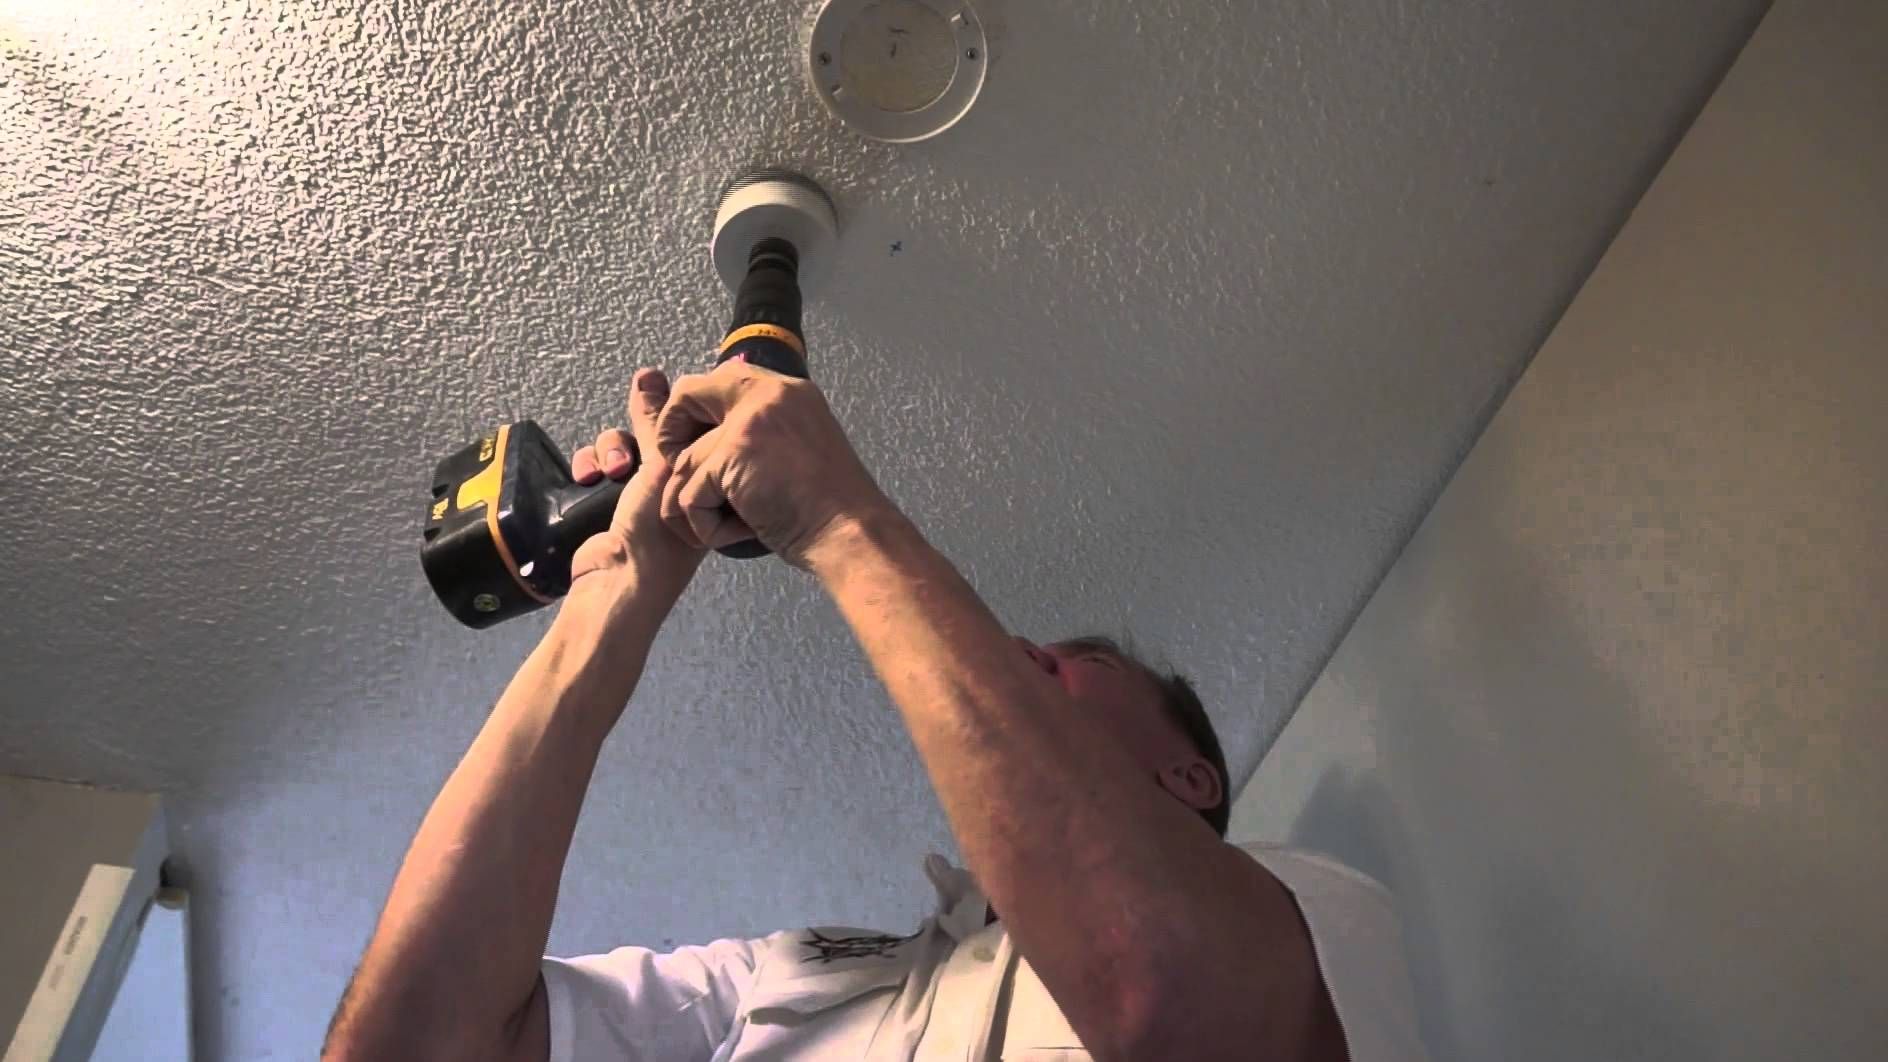
Step 3: Remove the old light fixture. Unscrew and remove the old light fixture from the ceiling. If there is a ceiling medallion, remove that as well.
Step 4: Install the mounting bracket. Most LED ceiling lights come with a mounting bracket that attaches to the ceiling. Follow the manufacturer's instructions to install the bracket securely.
Step 5: Connect the wires. Using the wire connectors, connect the black wires together and the white wires together. If there is a ground wire, connect it to the green or copper wire on the mounting bracket.
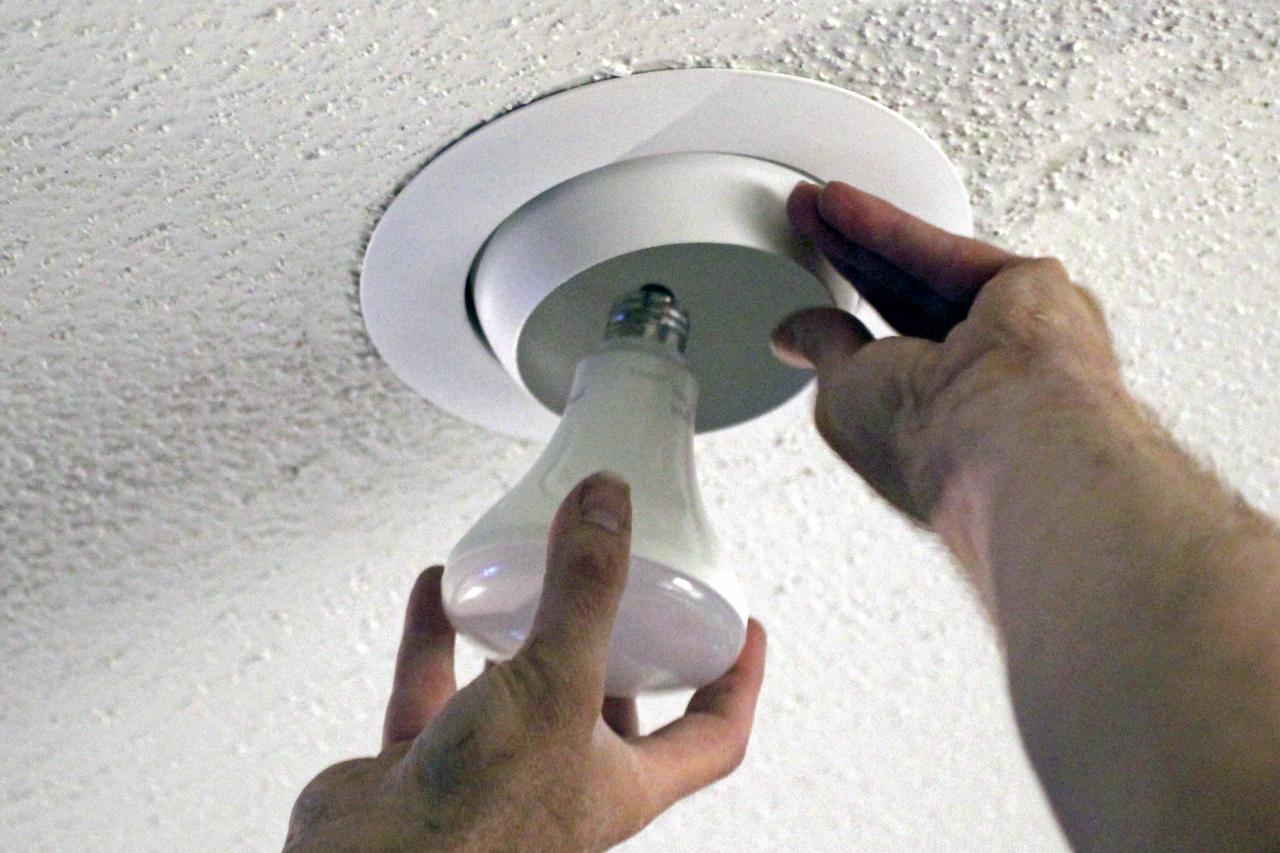
Step 6: Secure the light fixture. Place the LED light fixture onto the mounting bracket and secure it in place with the provided screws.
Step 7: Test the light. Turn the power back on and test the light to make sure it is working properly. If it isn't, turn the power back off and check your connections.
Step 8: Attach the cover. Once the light is working, attach the cover or shade to the light fixture according to the manufacturer's instructions.
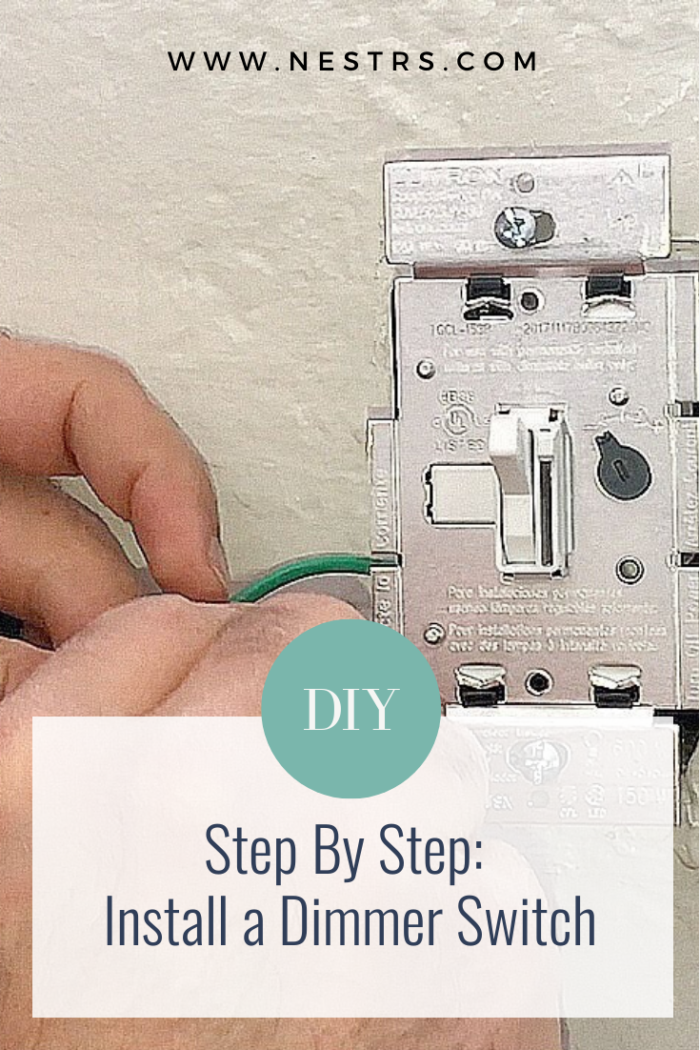
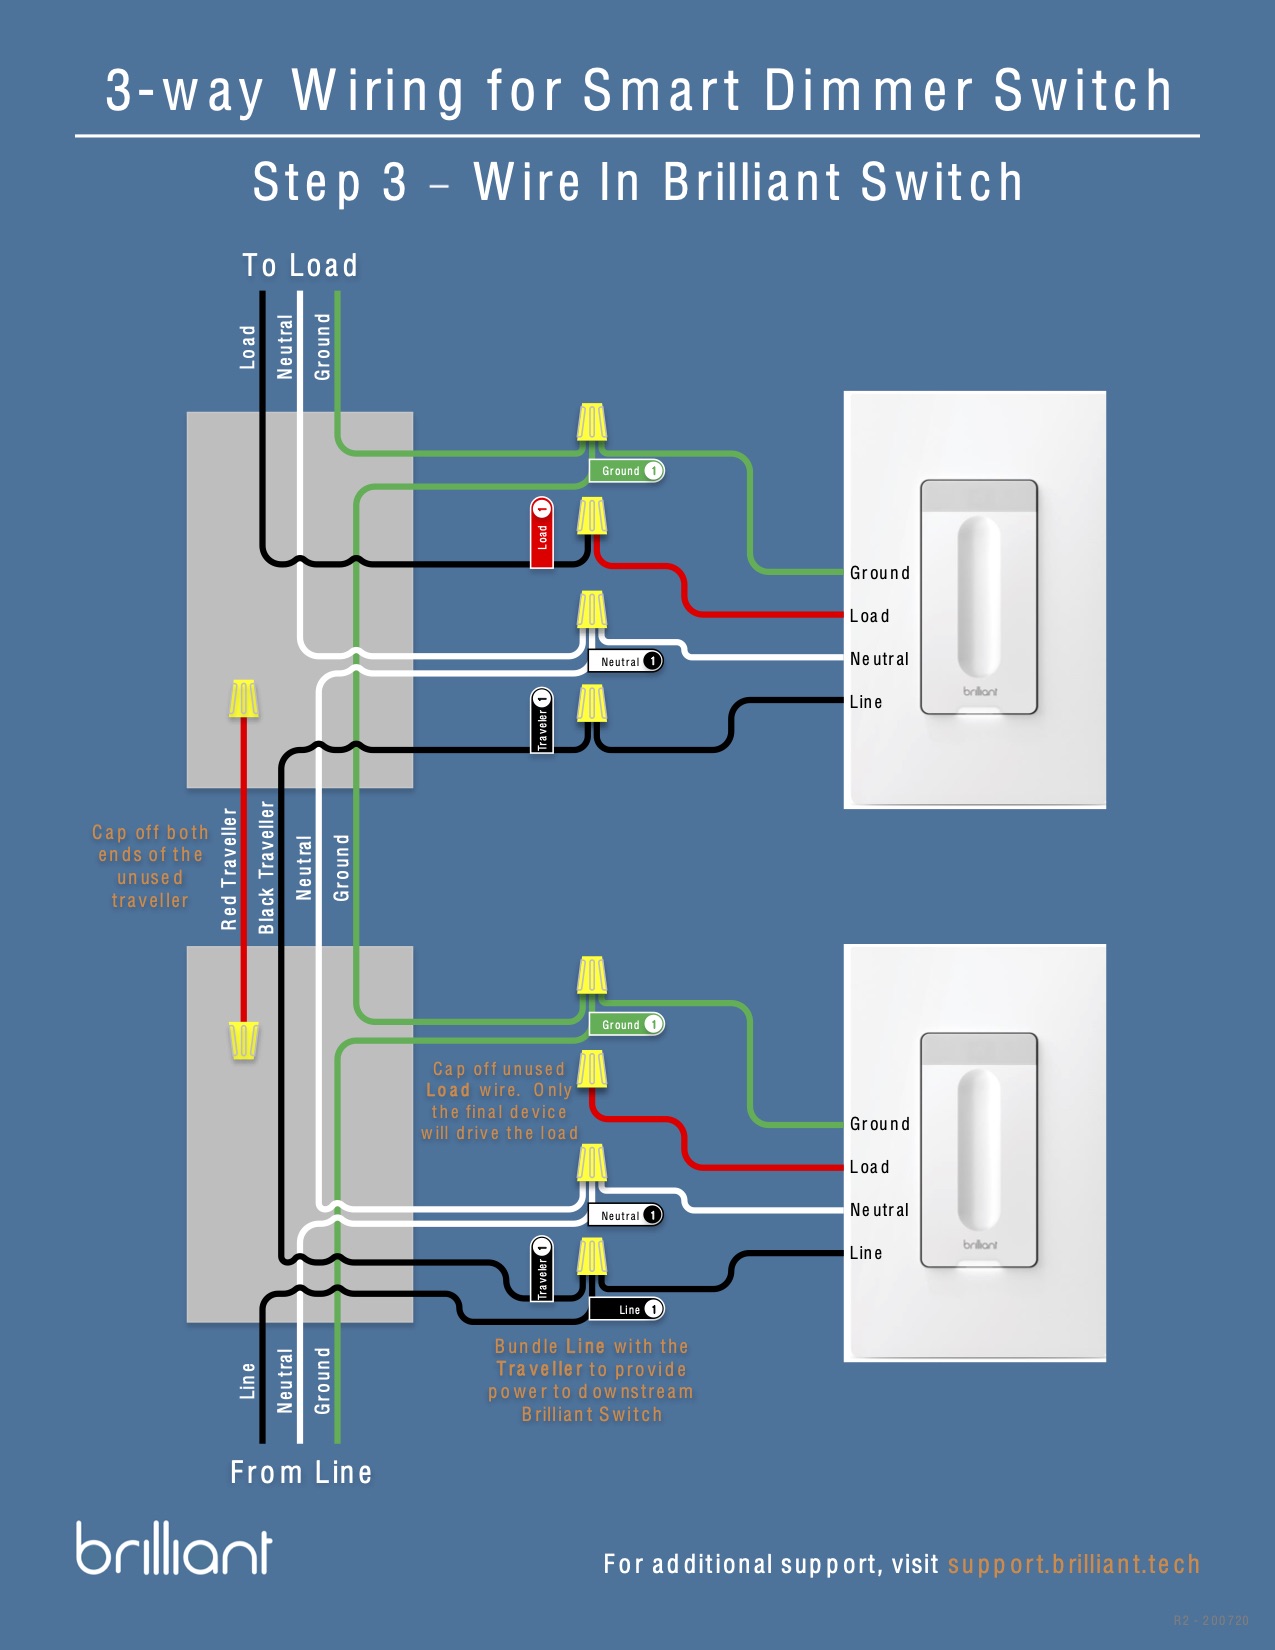
Step 9: Install the dimmer switch (optional). If you want to have the ability to dim your kitchen LED ceiling light, you can install a dimmer switch. Follow the manufacturer's instructions for proper installation.
Step 10: Enjoy your new kitchen LED ceiling light! Sit back and admire the new lighting in your kitchen. Not only does it look great, but it will also save you money on your energy bill.
DIY Kitchen LED Ceiling Light Installation Tutorial
If you're a fan of DIY projects, installing a kitchen LED ceiling light can be a fun and satisfying task. With the right tools and instructions, you can have a new light fixture installed in no time. Here are some additional tips for a successful DIY kitchen LED ceiling light installation.
Tip #1: Make sure to turn off the power before beginning any electrical work.
Tip #2: Use a voltage tester to confirm that there is no electricity running to the wires.
Tip #3: Gather all necessary tools and materials before starting the installation.
Tip #4: Read the manufacturer's instructions carefully before beginning the installation.
Tip #5: If you are unsure about any step of the installation, consult a professional electrician.
Best Practices for Installing Kitchen LED Ceiling Lights
To ensure a successful and safe installation, here are some best practices to keep in mind when installing a kitchen LED ceiling light.
Best Practice #1: Always turn off the power before beginning any electrical work.
Best Practice #2: Use the correct tools and materials for the job.
Best Practice #3: Follow the manufacturer's instructions carefully.
Best Practice #4: Test the light before fully installing it to make sure it is working properly.
Best Practice #5: If you are unsure about any step of the installation, consult a professional electrician.
Tools and Materials Needed for Installing a Kitchen LED Ceiling Light
Here's a list of tools and materials you will need for a successful kitchen LED ceiling light installation:
- Screwdriver
- Wire cutters
- Wire strippers
- Wire connectors
- Voltage tester
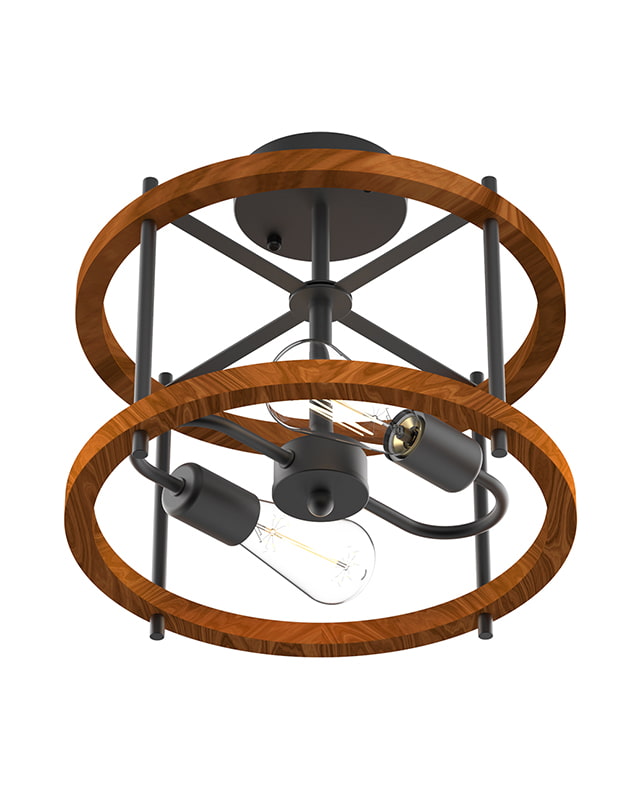
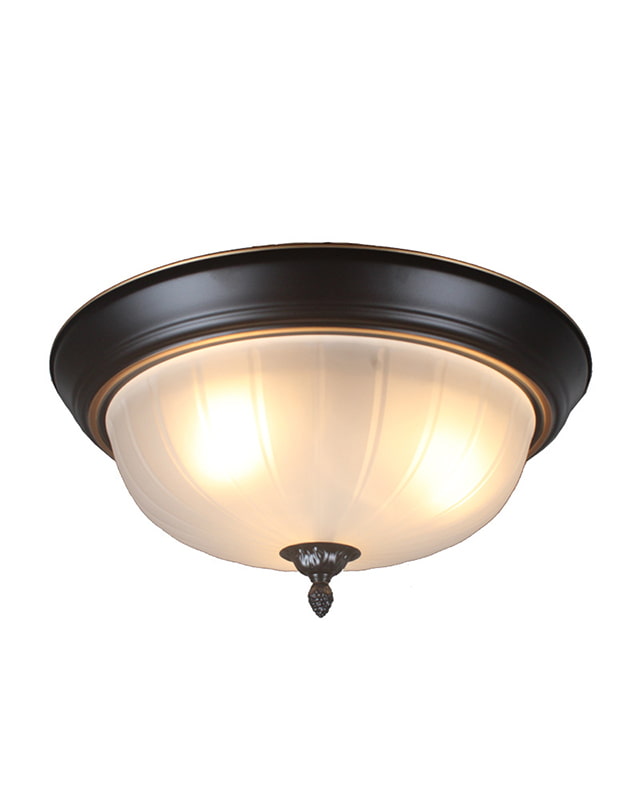
- Kitchen LED ceiling light
Tips for Choosing the Right Kitchen LED Ceiling Light
When choosing a kitchen LED ceiling light, there are a few things to consider. Here are some tips to help you make the best choice:
Tip #1: Consider the size and style of your kitchen. Choose a light fixture that fits in with the overall design and size of your kitchen.
Tip #2: Look for energy-efficient options. LED lights are known for their energy efficiency, but some are more efficient than others. Look for the Energy Star label when making your selection.
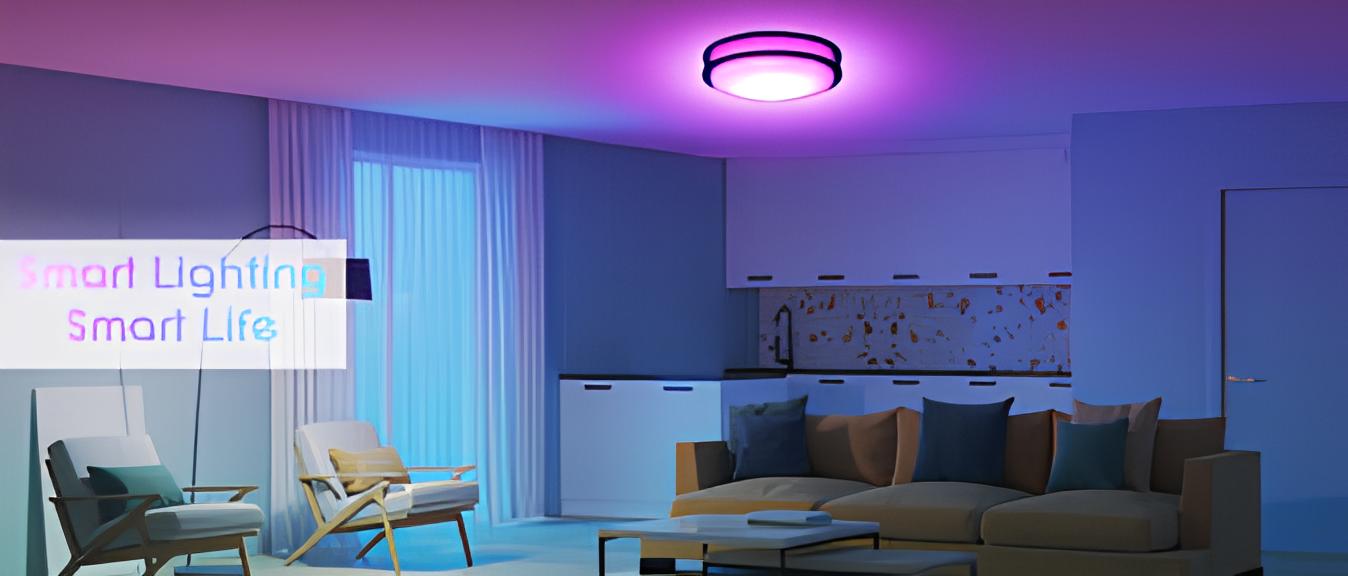
Tip #3: Decide on the type of light you want. LED lights come in a variety of colors and brightness levels. Consider your personal preferences and the function of the space when making your choice.
Tip #4: Read reviews and compare prices. Do your research to find the best quality and value for your budget.
Common Mistakes to Avoid When Installing a Kitchen LED Ceiling Light
While installing a kitchen LED ceiling light may seem like a simple task, there are a few common mistakes that can cause problems. Here are some mistakes to avoid when installing your new light fixture:
Mistake #1: Not turning off the power before beginning the installation.
Mistake #2: Forgetting to use a voltage tester to confirm there is no electricity running to the wires.
Mistake #3: Using incorrect tools or materials for the job.
Mistake #4: Not following the manufacturer's instructions carefully.
Mistake #5: Not testing the light before fully installing it to make sure it is working properly.
How to Wire a Kitchen LED Ceiling Light
Wiring a kitchen LED ceiling light may seem daunting, but with the right instructions, it can be a straightforward process. Here's how to wire your new light fixture:
Step 1: Turn off the power to the room where you will be installing the light.
Step 2: Remove the old light fixture.
Step 3: Connect the black wires together and the white wires together using wire connectors. If there is a ground wire, connect it to the green or copper wire on the mounting bracket.
Step 4: Screw the light fixture onto the mounting bracket.
Step 5: Test the light to make sure it is working properly.
Step 6: Attach the cover or shade to the light fixture.
Step 7: Turn the power back on and enjoy your new kitchen LED ceiling light!
Installing a Dimmer Switch for Your Kitchen LED Ceiling Light
If you want to have the ability to dim your kitchen LED ceiling light, you can install a dimmer switch. Here's how:
Step 1: Turn off the power to the room where you will be installing the dimmer switch.
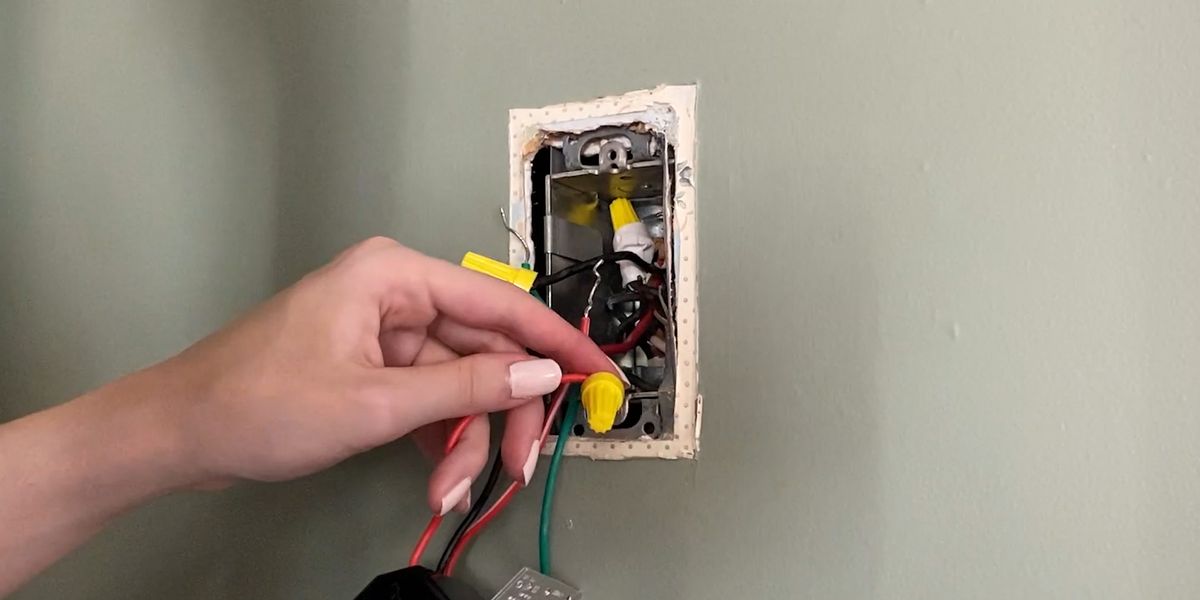
Step 2: Remove the old light switch and disconnect the wires.
Step 3: Connect the wires to the new dimmer switch according to the manufacturer's instructions.
Step 4: Attach the dimmer switch to the wall and install the cover plate.
Step 5: Turn the power back on and test the dimmer switch.
Professional vs. DIY Installation: Which is Best for Your Kitchen LED Ceiling Light?
Deciding whether to hire a professional electrician or do a DIY installation for your kitchen LED ceiling light depends on your skill level and comfort with electrical work. If you are not confident in your abilities or have any doubts about the installation process, it is best to hire a professional. This will ensure that the job is done safely and correctly.
However, if you are experienced with electrical work and have all the necessary tools and materials, a DIY installation can save you money. Just make sure to follow all safety precautions and instructions carefully.
With the right tools, materials, and know-how, installing a kitchen LED ceiling light can be a simple and rewarding project. Follow these tips and best practices for a successful installation and enjoy the benefits of bright and energy-efficient lighting in your kitchen. Happy DIY-ing!
Adding the Perfect Touch to Your House Design with Kitchen LED Ceiling Lights

Why Choose LED Ceiling Lights?
 When it comes to designing or renovating your kitchen, lighting plays a crucial role. Not only does it provide functional illumination for your cooking and meal preparation, but it also sets the mood and ambiance of the space.
Kitchen LED ceiling lights
are a popular choice among homeowners for their numerous benefits. LED lights are energy-efficient, long-lasting, and have a wide range of styles and designs to choose from. They also provide bright and even lighting, making it easier to see while working in the kitchen.
Installation Process
Benefits of Kitchen LED Ceiling Lights
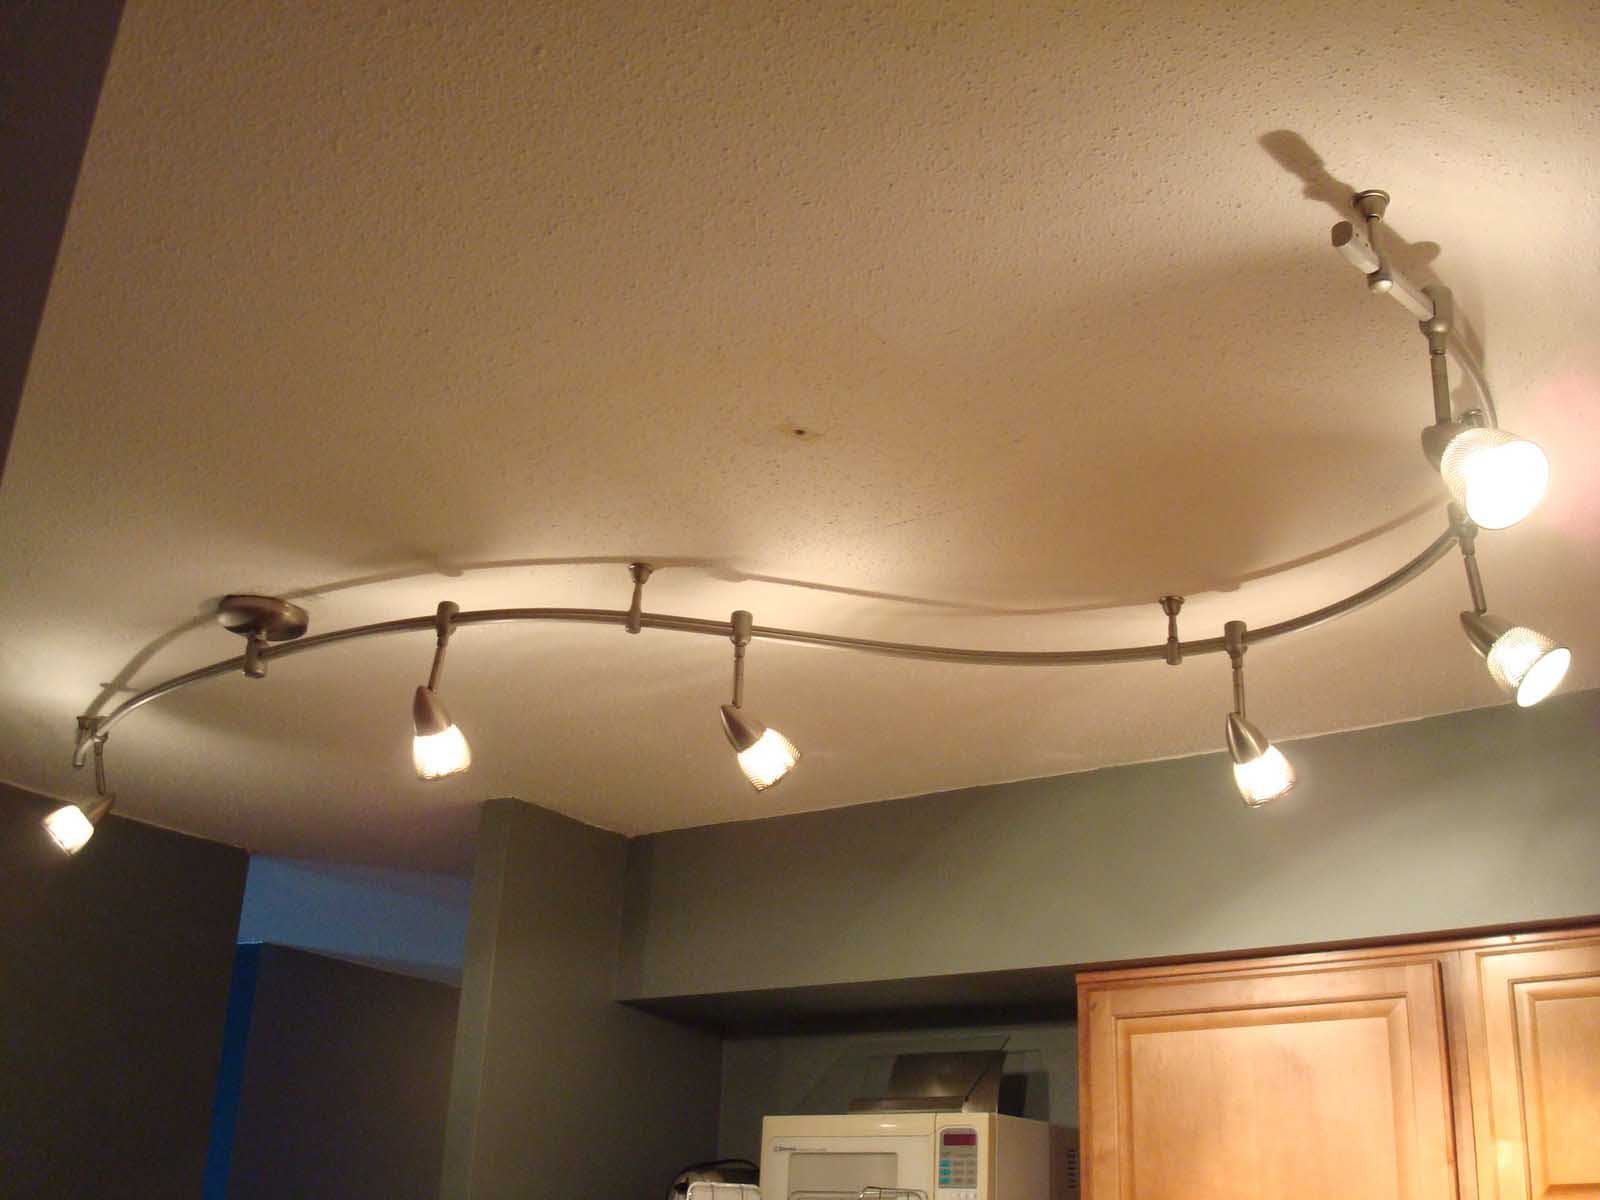 Aside from their energy efficiency and longevity, there are many other benefits to choosing
kitchen LED ceiling lights
. LED lights emit less heat compared to traditional incandescent bulbs, making them a safer option for a space like the kitchen where cooking and heat sources are present. They also come in a variety of color temperatures, allowing you to choose the perfect lighting for your kitchen. Additionally, LED lights are dimmable, giving you the flexibility to adjust the brightness to your liking.
Enhance Your Kitchen's Design
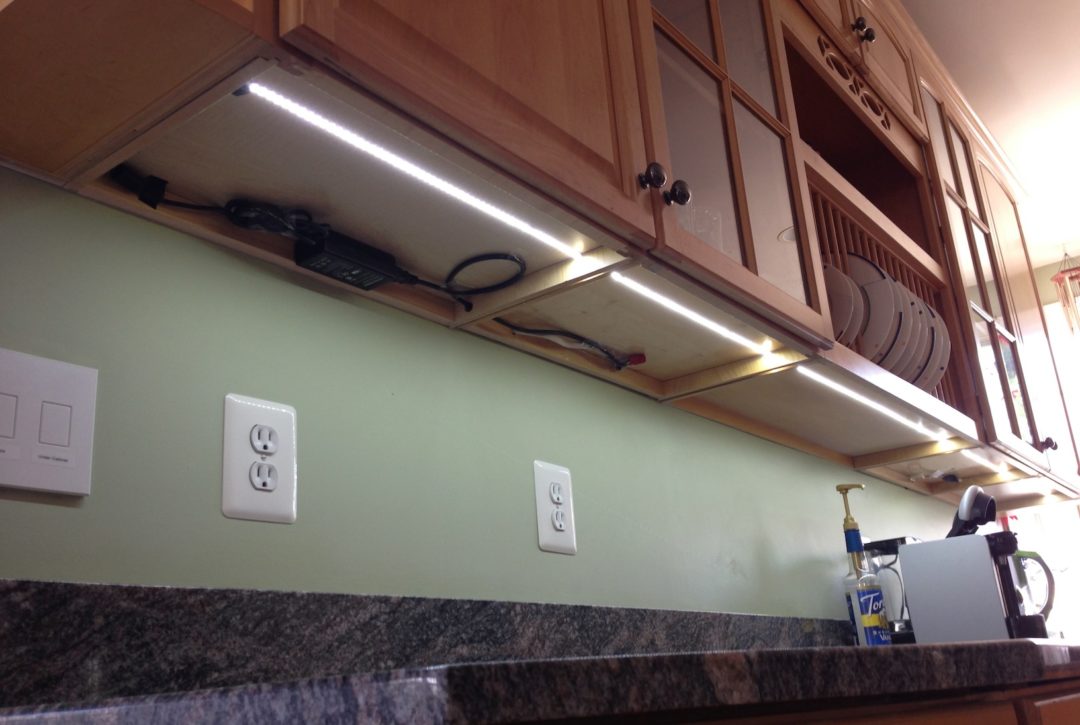 Installing
kitchen LED ceiling lights
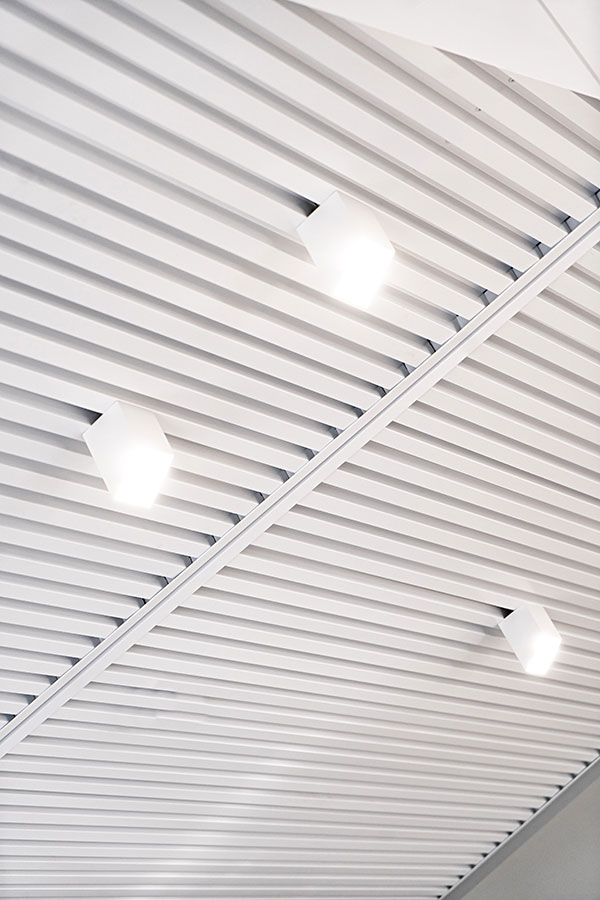
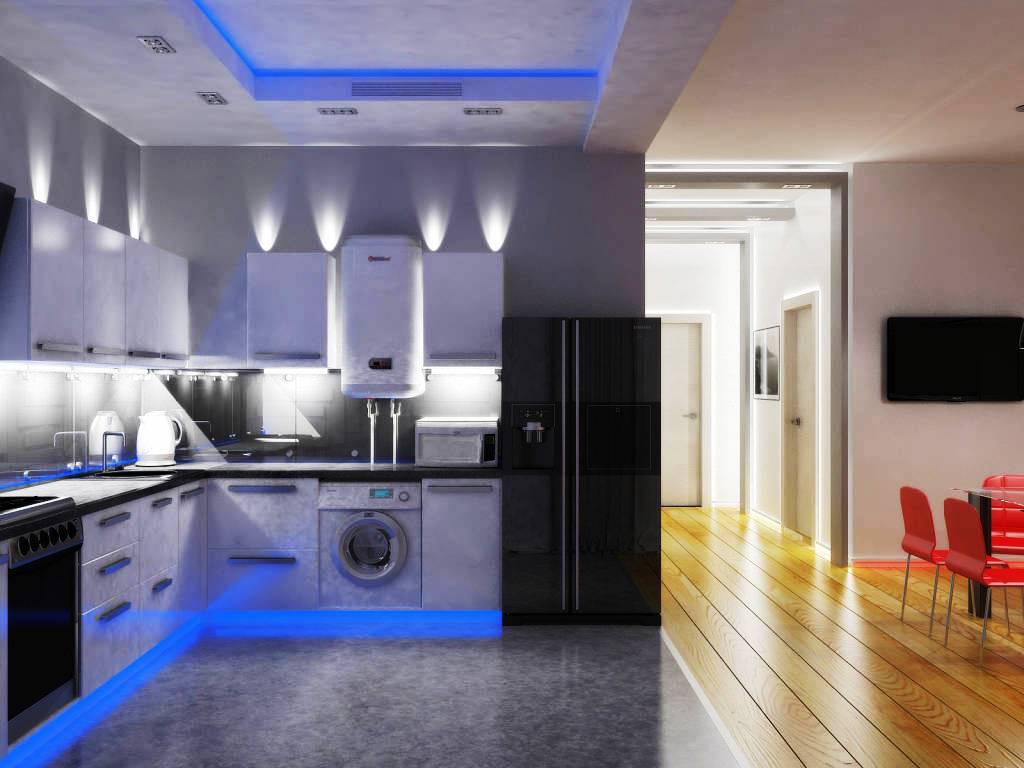
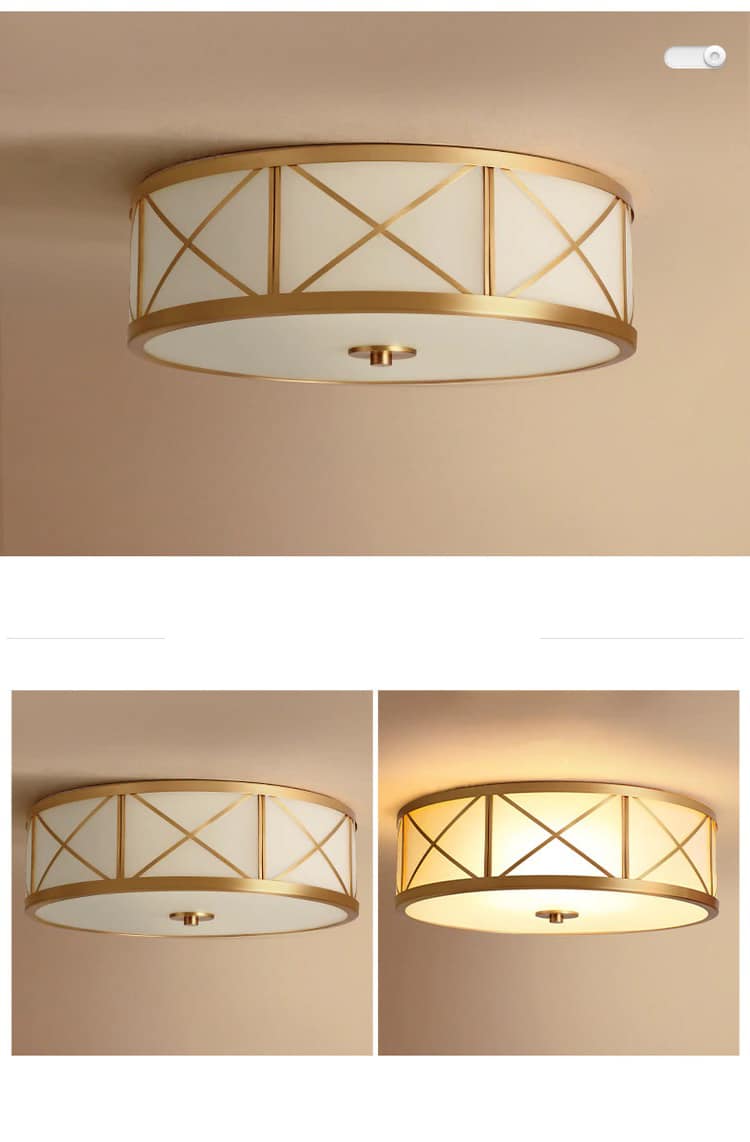
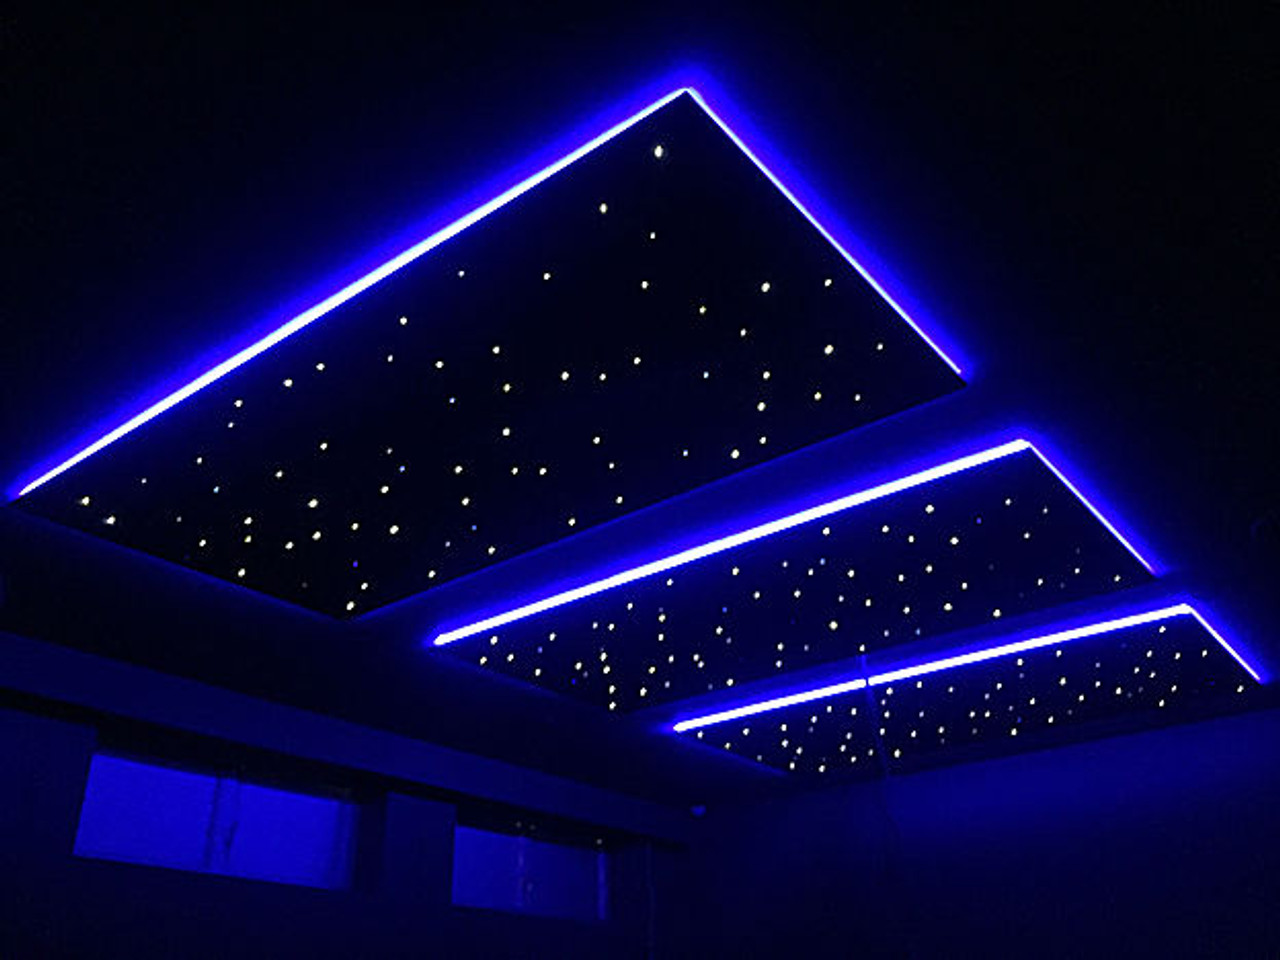
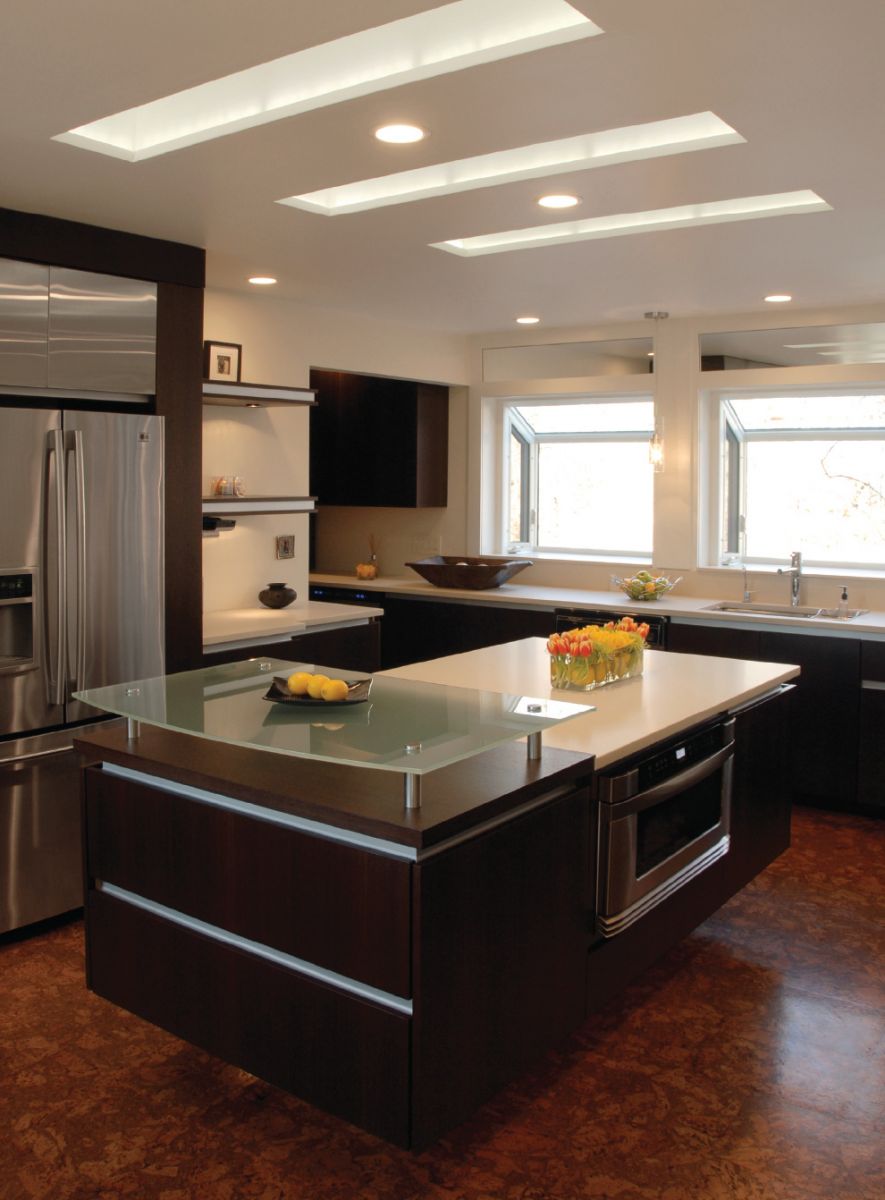
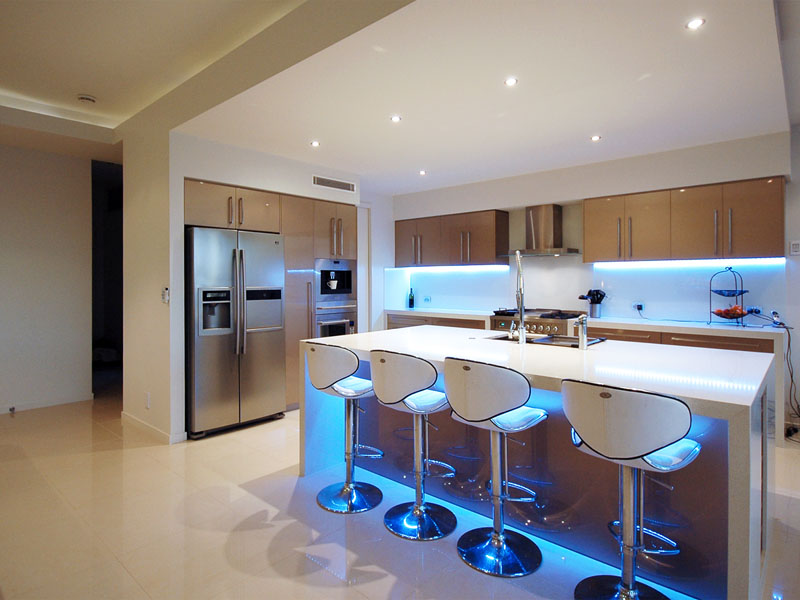
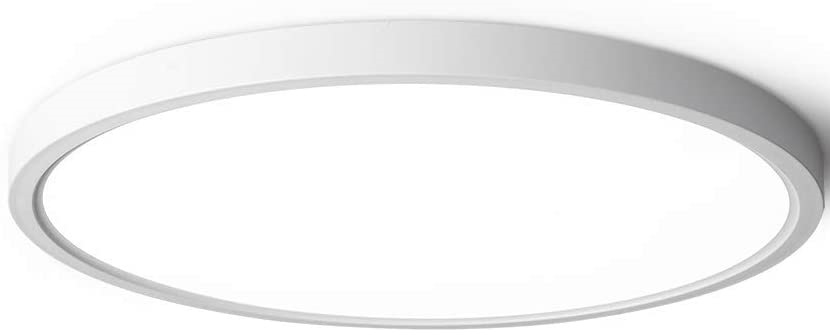
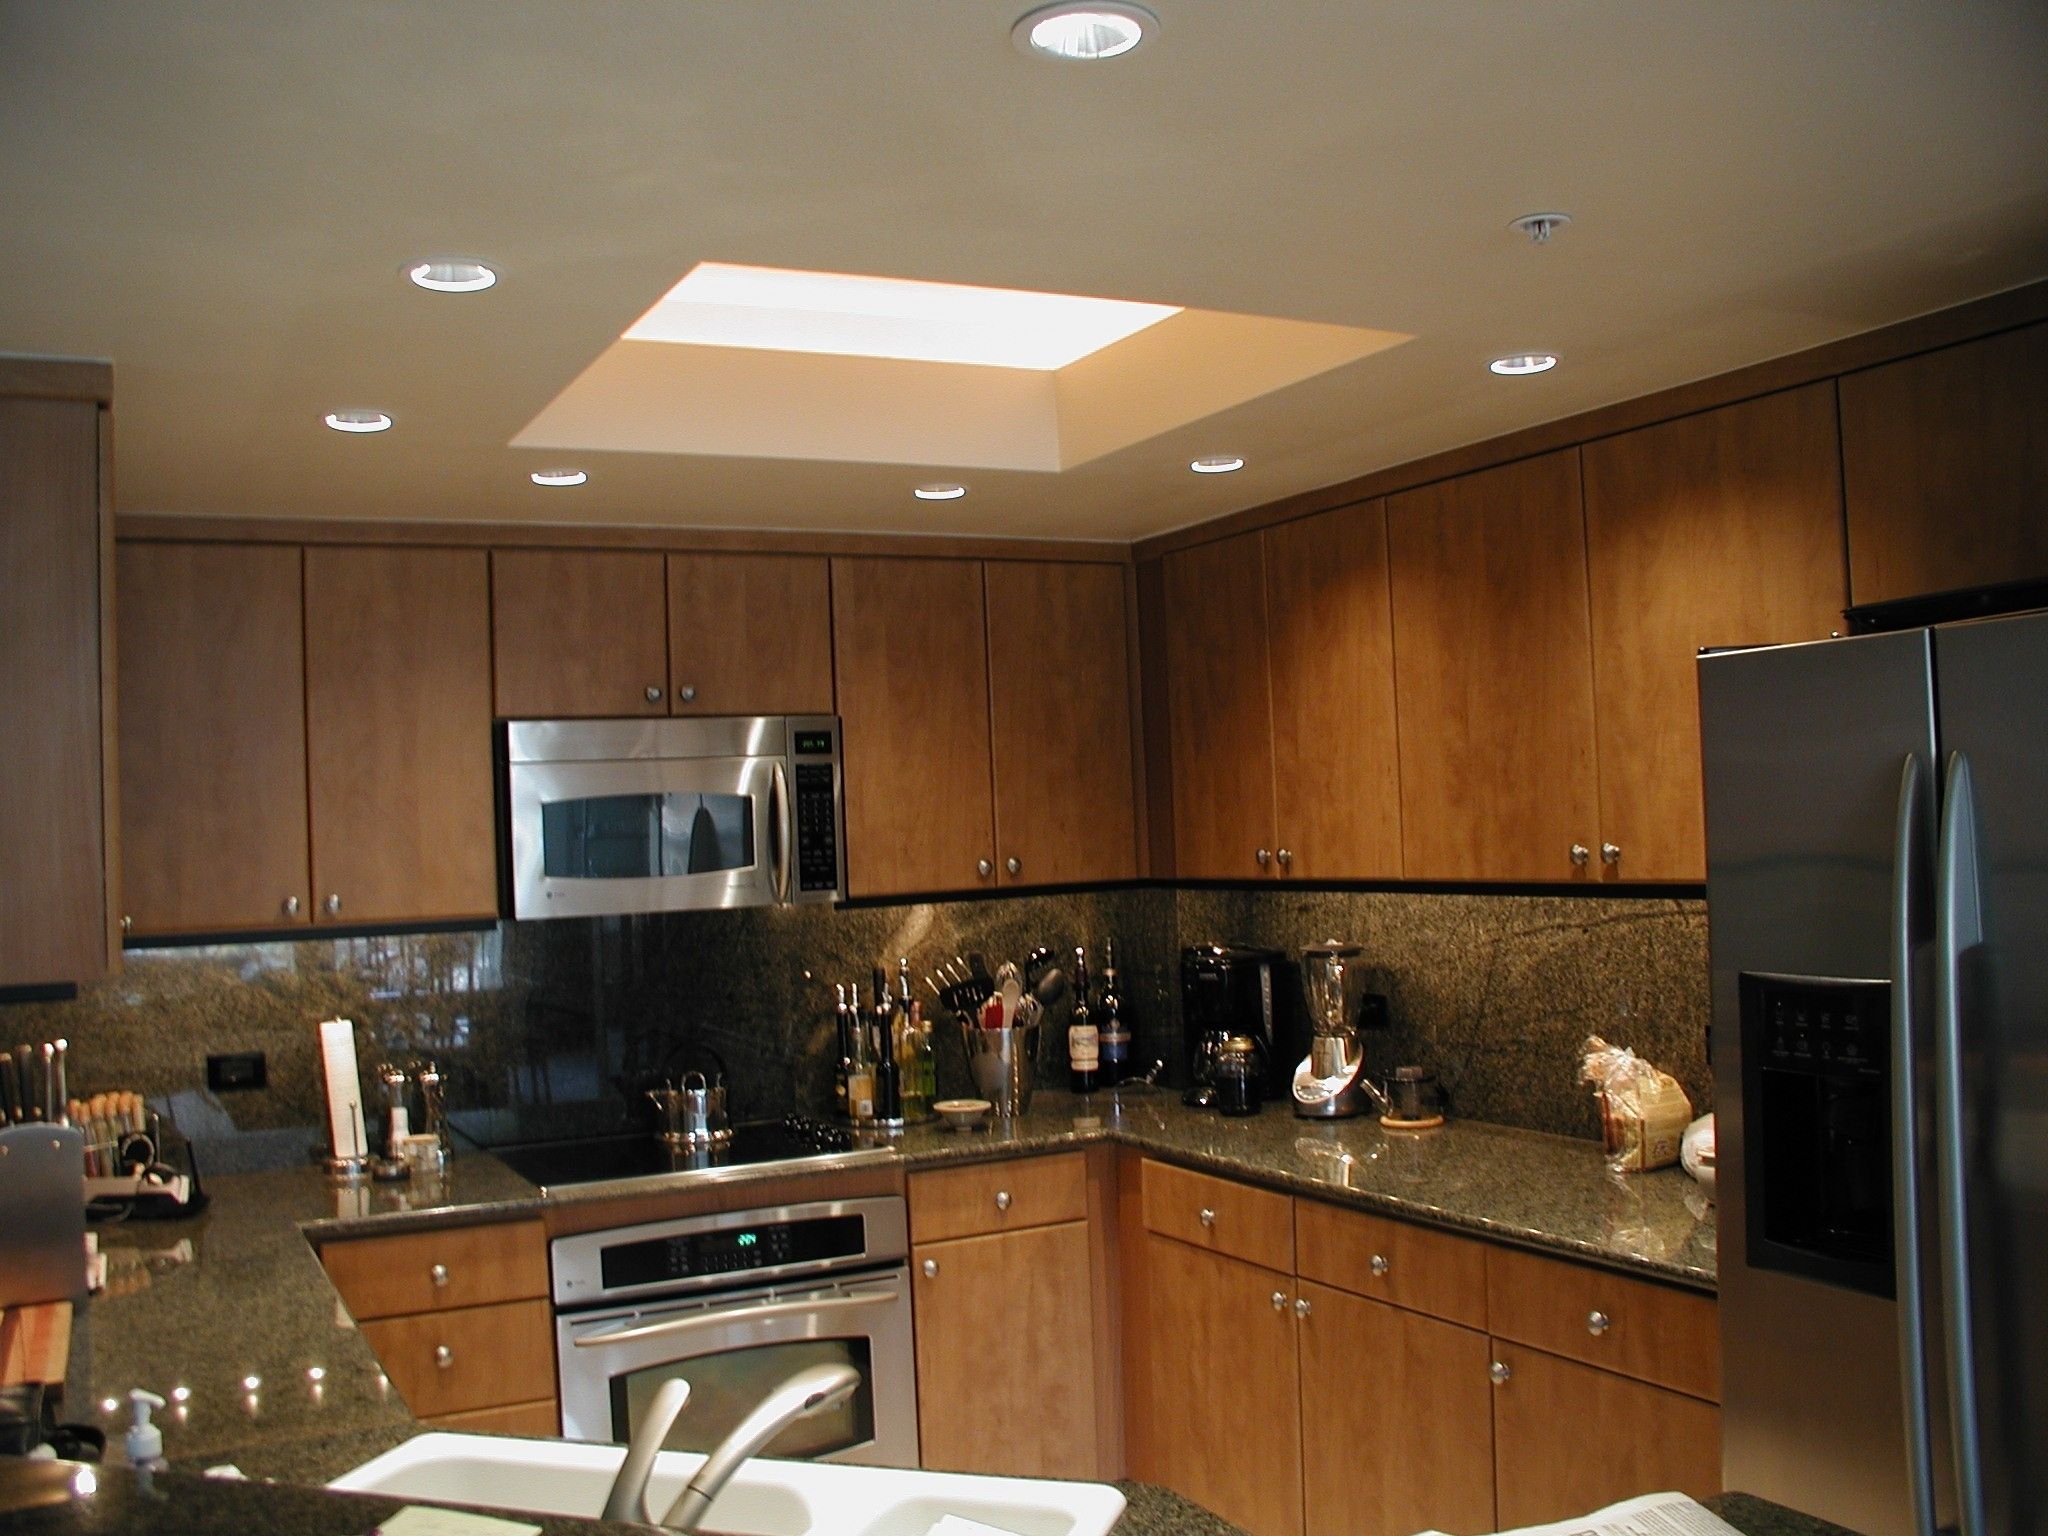
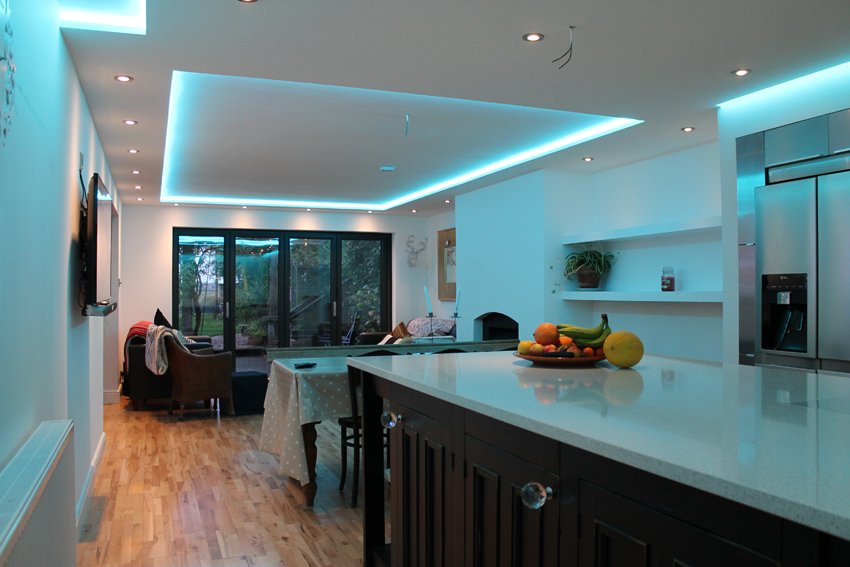
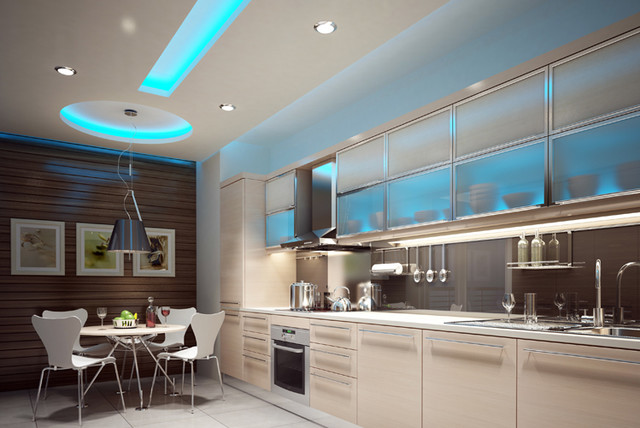
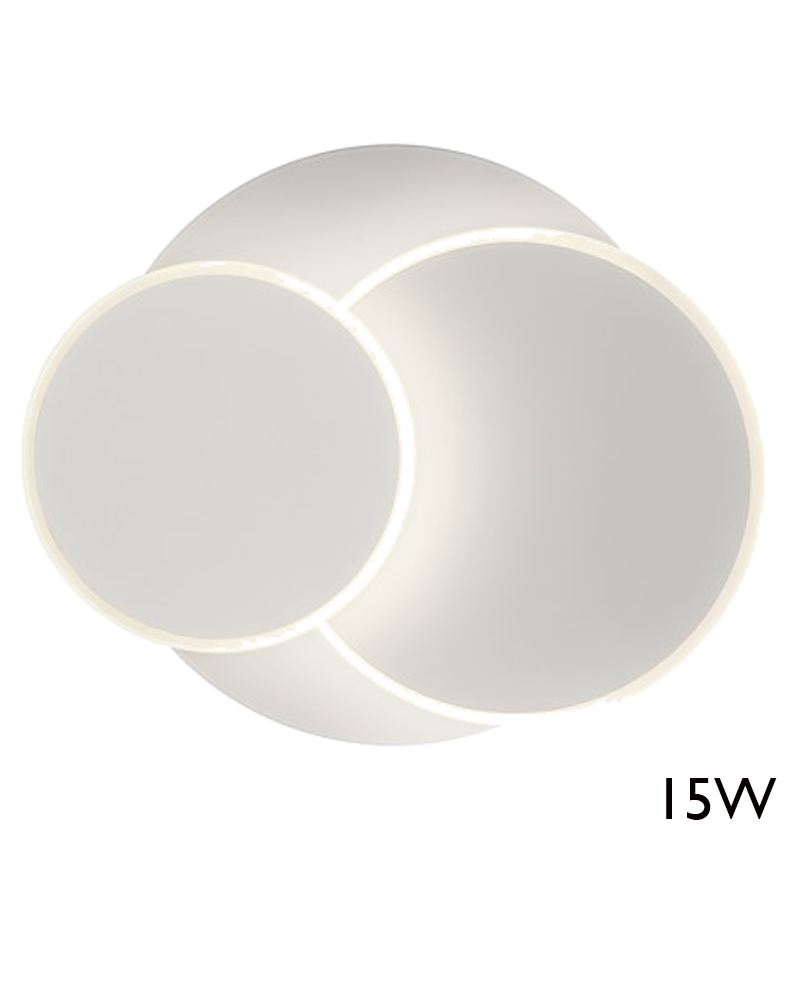
not only adds functionality but can also enhance the overall design of your kitchen. With various styles and designs to choose from, you can find the perfect light that complements your kitchen's aesthetic. LED lights can also be installed in different ways, such as recessed or track lighting, to create a unique and modern look. With their sleek and slim design, they can also make your kitchen appear more spacious and open.
In conclusion,
kitchen LED ceiling lights
are a great choice for adding the perfect touch to your house design. With their energy efficiency, longevity, and ability to enhance your kitchen's aesthetic, they are a practical and stylish addition to any home. So, why wait? Upgrade your kitchen lighting today and enjoy the many benefits of LED ceiling lights.






























:max_bytes(150000):strip_icc()/install-a-dimmer-switch-single-pole-1821559-06-38df3a8c7e69426baa6d24e0466afd33.jpg)


