Installing a drop-in bathroom sink may seem like a daunting task, but with the right tools and techniques, it can be a quick and easy project to tackle. Whether you're updating your bathroom or just replacing an old sink, a drop-in sink can add a modern touch and improve the functionality of your space. In this guide, we'll walk you through the steps of installing a drop-in bathroom sink, from start to finish.Drop-in Bathroom Sink Installation Guide
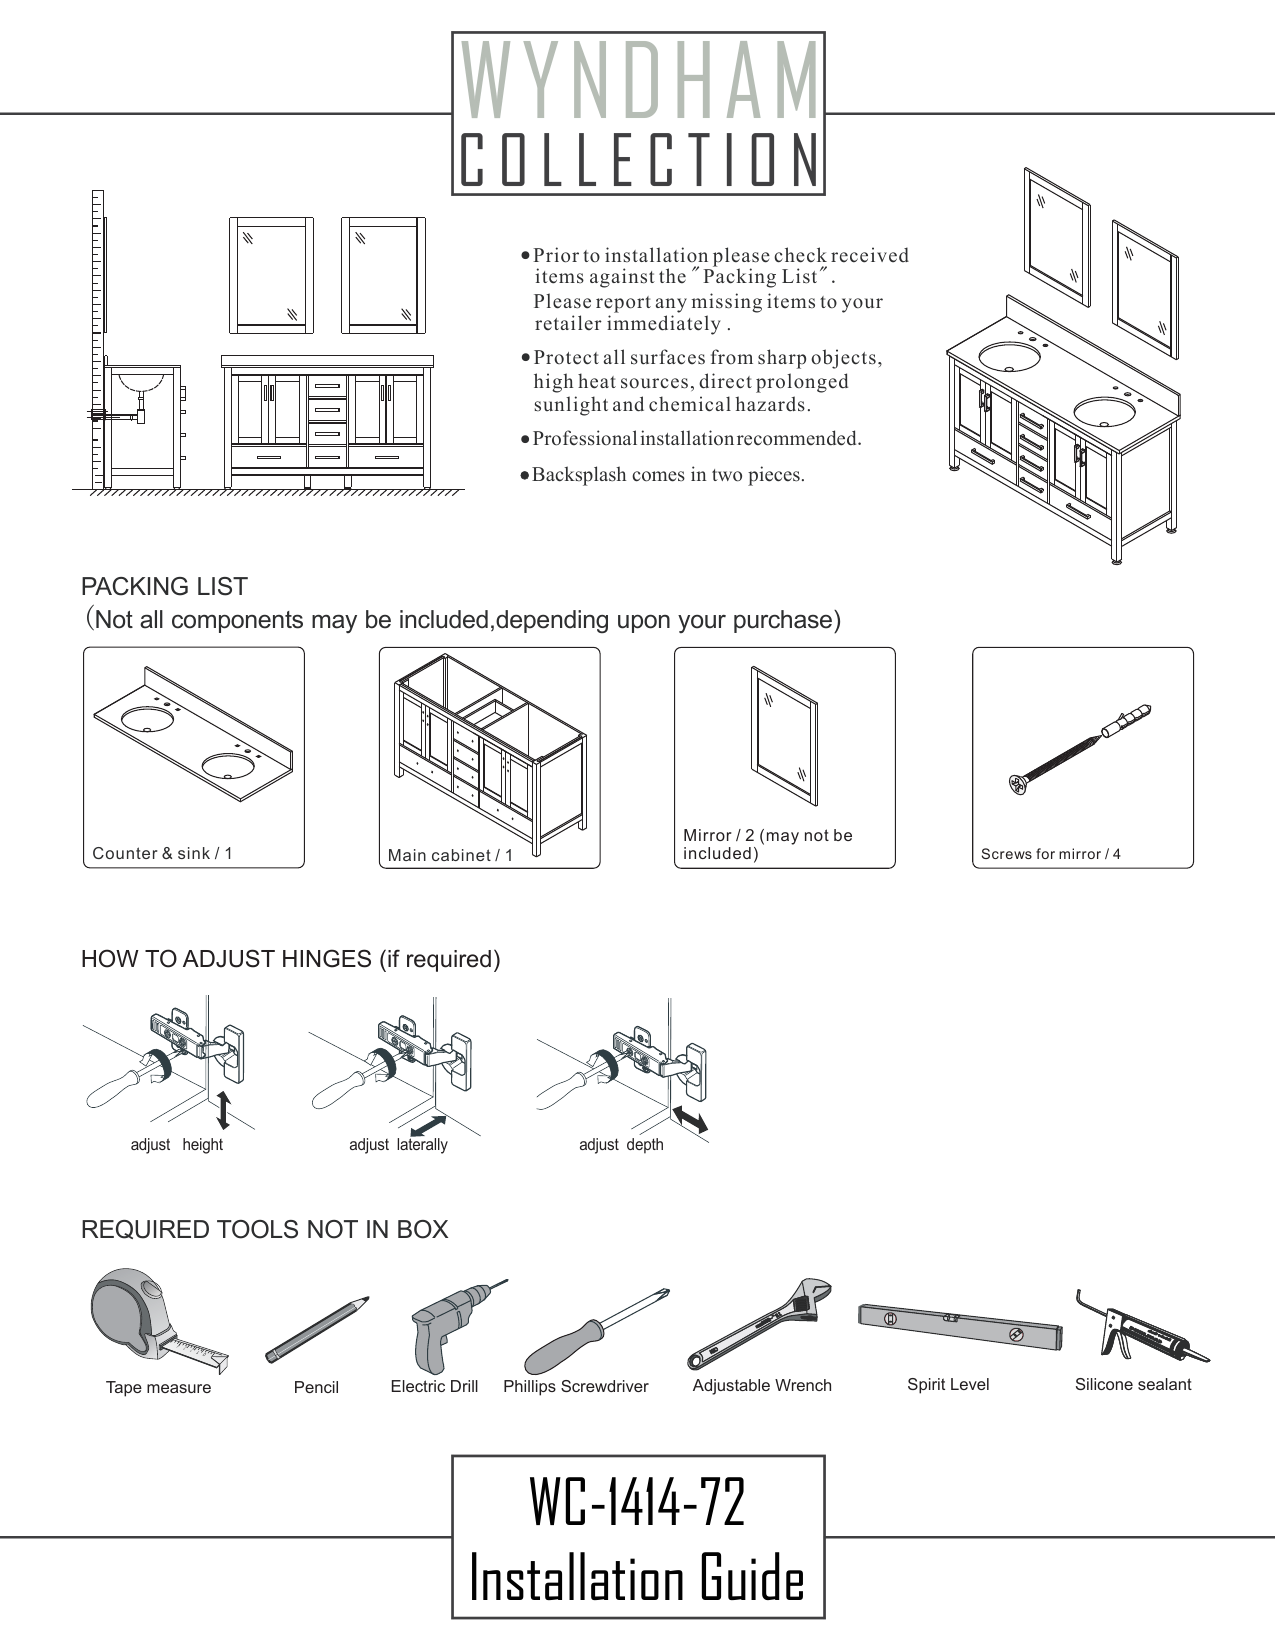
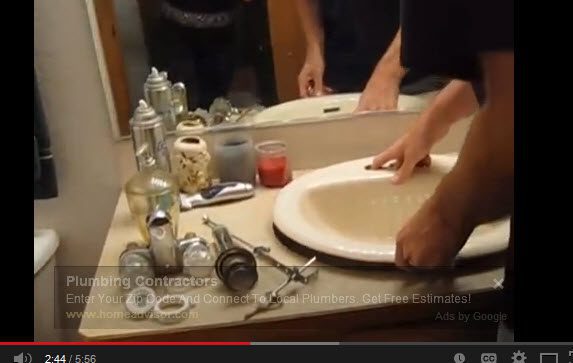
Before beginning the installation process, make sure you have all the necessary tools and materials. This includes a drop-in sink, a faucet, a drain assembly, silicone caulk, a wrench, and plumber's tape. Once you have everything you need, follow these steps:How to Install a Drop-In Bathroom Sink
Start by measuring the size of your sink and marking the outline on your countertop. Use a jigsaw to carefully cut out the marked area. Make sure the hole is slightly smaller than the sink to ensure a snug fit.Step 1: Measure and Cut the Countertop
Before placing the sink in the hole, you'll need to install the faucet. Follow the manufacturer's instructions for your specific faucet model. Once the faucet is installed, you can move on to the next step.Step 2: Install the Faucet
Gently lower the sink into the hole in the countertop. Make sure it is centered and level before moving on to the next step.Step 3: Place the Sink in the Hole
Using clips or brackets provided with the sink, secure it to the underside of the countertop. This will help keep the sink in place and prevent it from shifting.Step 4: Secure the Sink
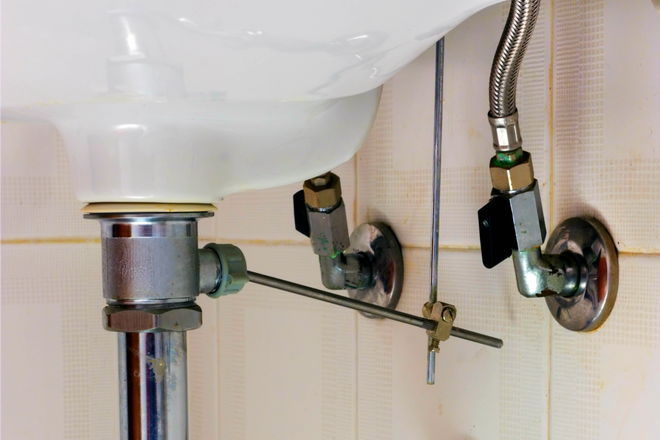
Follow the manufacturer's instructions to connect the drain assembly to the sink. This may involve attaching the drain pipe, tailpiece, and P-trap. Use plumber's tape to ensure a tight seal.Step 5: Connect the Drain Assembly
Using silicone caulk, create a seal around the edges of the sink where it meets the countertop. This will help prevent any water from leaking out and also provide a clean, finished look.Step 6: Apply Caulk
Turn on the water and check for any leaks. If everything looks good, you can make any necessary adjustments to the position of the sink or faucet.Step 7: Test and Adjust
Once the sink is fully installed and secure, clean up any excess caulk or debris. You can also add any finishing touches, such as caulk around the faucet or adding new hardware to the sink.Step 8: Clean Up
Why Choose a Drop-in Bathroom Sink for Your Home
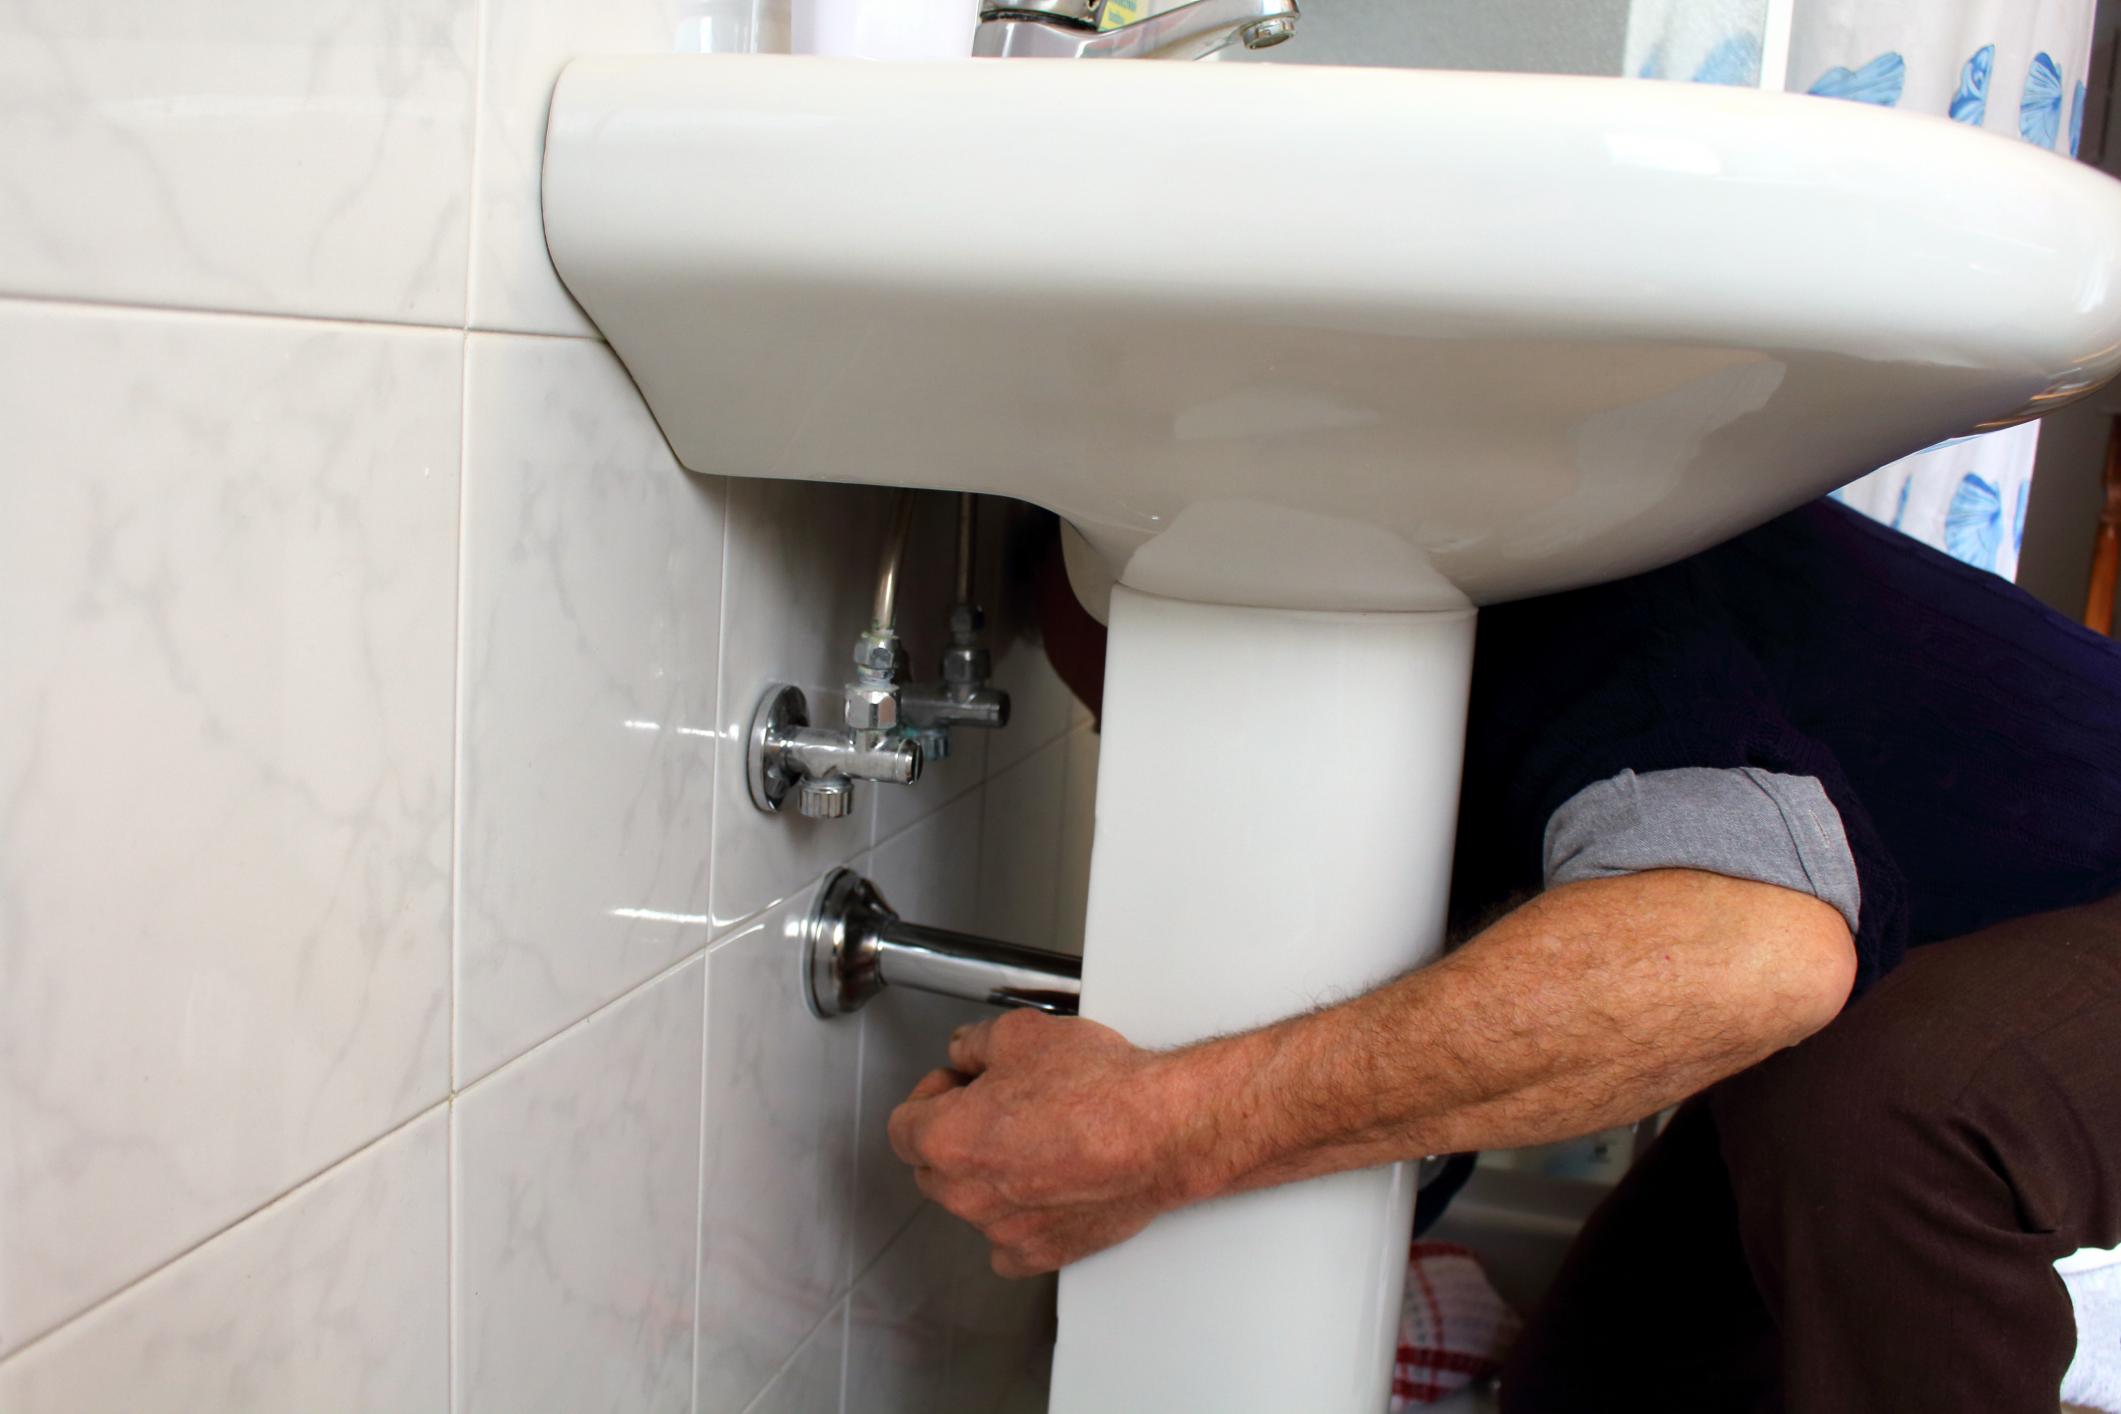
Enhance Your Bathroom Design
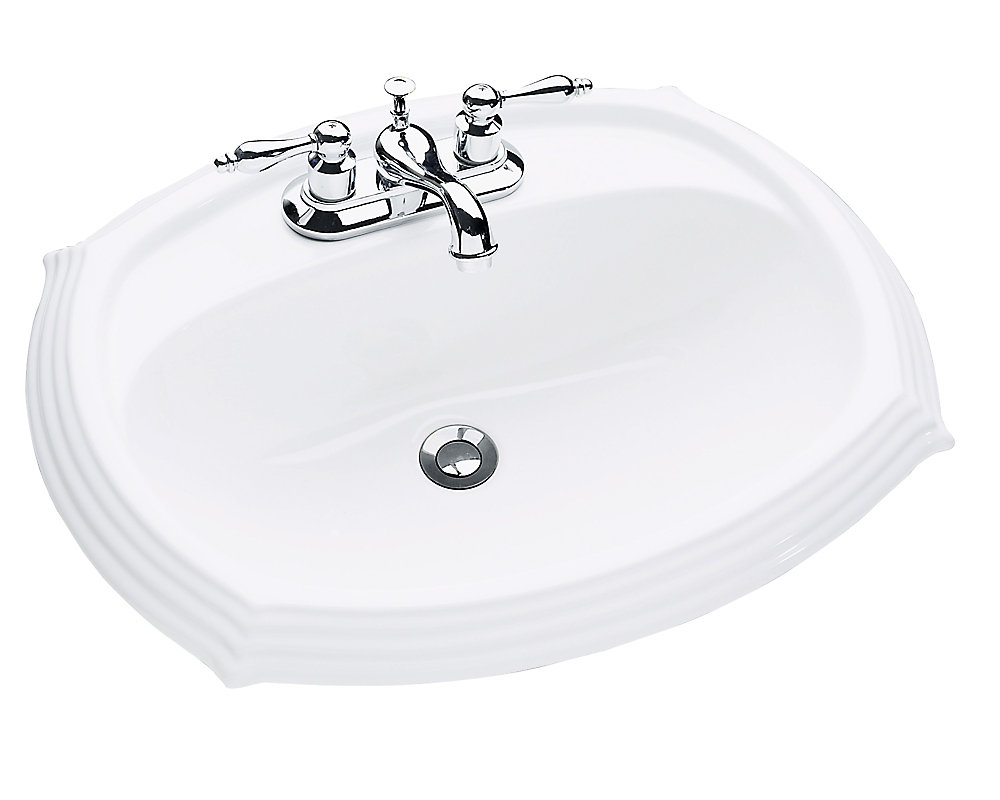
 If you're planning to renovate your bathroom or just looking to upgrade your current sink, a drop-in bathroom sink is a great option to consider. Not only does it offer a sleek and modern look, but it also provides a functional and practical solution for your daily needs.
Bathroom sinks
are an essential element in any bathroom design, and choosing the right one can make all the difference.
Drop-in sinks
are becoming increasingly popular for their versatility and design options, making them a top choice for homeowners.
Ease of Installation
 One of the main advantages of a drop-in bathroom sink is its ease of installation. Unlike other types of sinks that require professional installation,
drop-in sinks
are designed to be installed by anyone with basic DIY skills. They come with a lip or rim that sits on top of the counter, making it easy to install and replace if needed. This not only saves you time and money but also gives you the flexibility to switch up your bathroom design in the future without any hassle.
Customizable Design
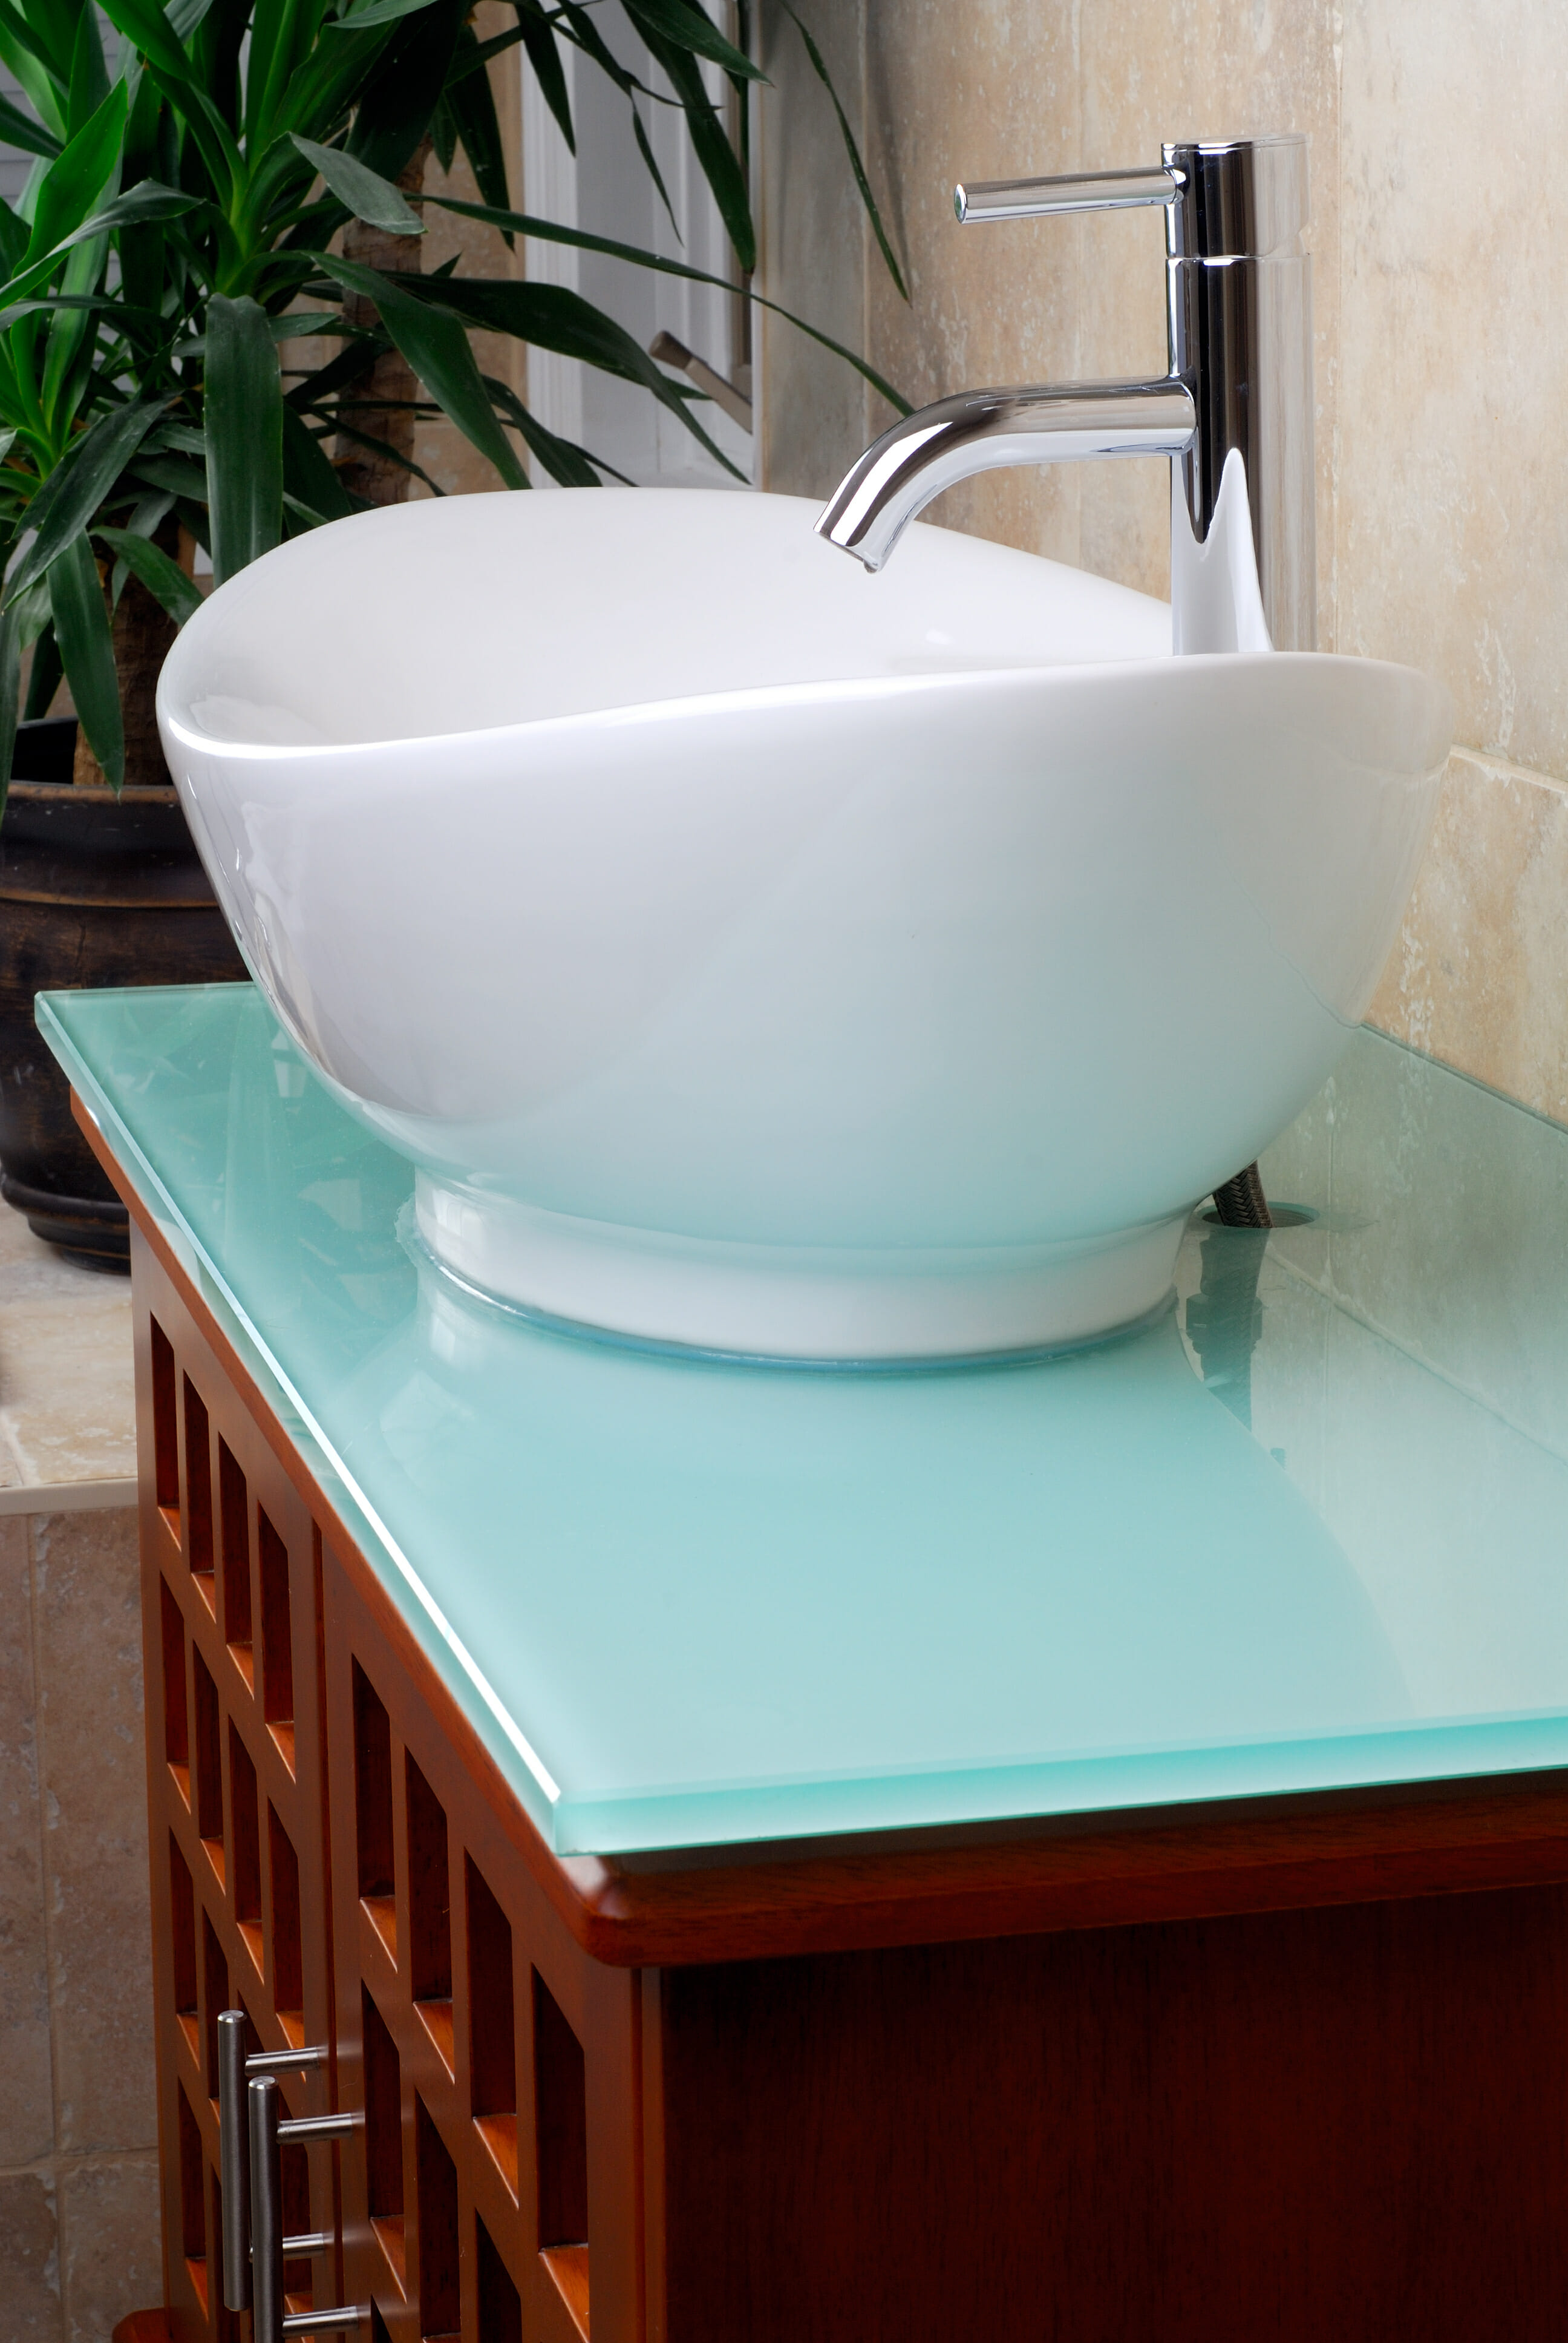
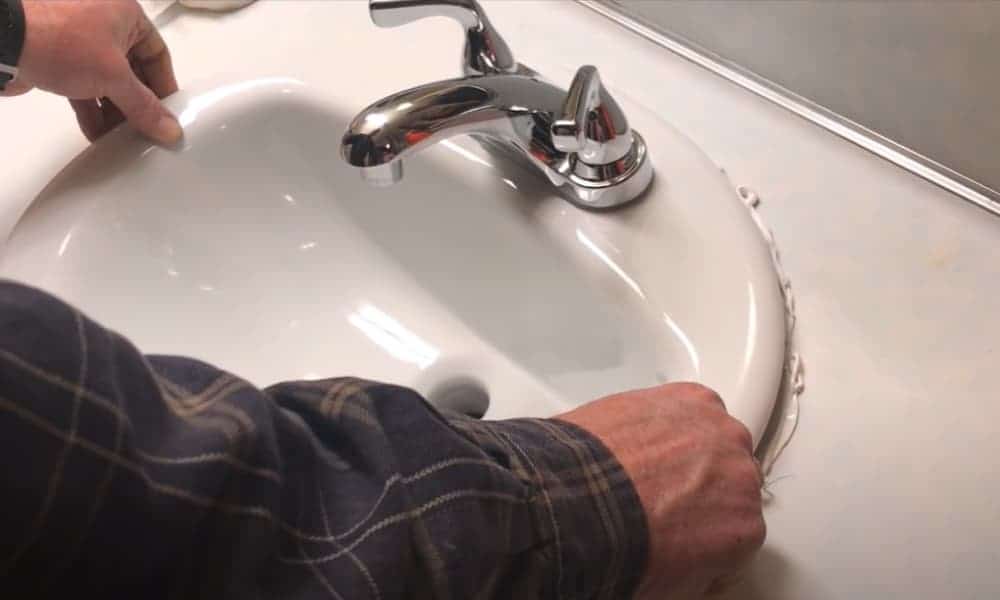 Another reason to choose a drop-in bathroom sink is the wide range of design options available. With a variety of shapes, sizes, and materials to choose from, you can easily find a sink that complements your bathroom's overall design. You can opt for a classic round or rectangular
bathroom sink
or go for a more unique and modern square or oval shape.
Drop-in sinks
also come in a variety of materials such as porcelain, ceramic, stainless steel, and even natural stone, allowing you to create a customized and personalized look for your bathroom.
Easy Maintenance
 Maintaining a drop-in bathroom sink is relatively easy, making it a popular choice for busy households. With a drop-in sink, there are no hard-to-reach areas or gaps between the sink and counter, making cleaning a breeze. The sink's lip or rim also acts as a barrier, preventing water from spilling onto the counter and keeping it clean and dry. This not only saves you time and effort in cleaning but also helps to prevent any potential water damage to your bathroom's countertop.
Final Thoughts
 In conclusion, a drop-in bathroom sink is a practical and stylish addition to any bathroom design. Its ease of installation, customizable design options, and easy maintenance make it a top choice for homeowners looking to enhance their bathroom's overall look and functionality. So, if you're considering a bathroom upgrade, don't overlook the benefits of a drop-in sink and see how it can transform your bathroom space.

















.png)


