Install a Faucet on Bathroom Sink
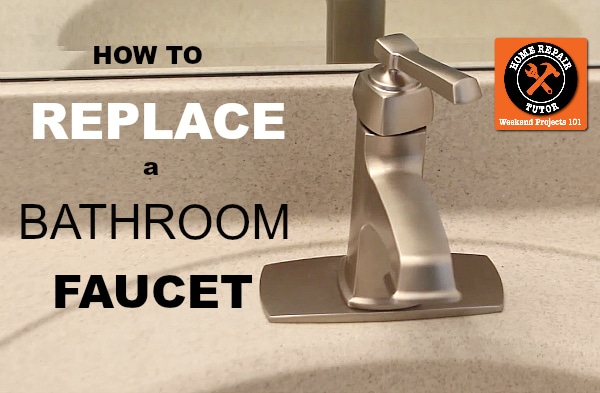
Are you tired of your old, leaky faucet on your bathroom sink? It may be time for a replacement. Installing a new faucet on your bathroom sink may seem like a daunting task, but with the right tools and knowledge, it can be a quick and easy DIY project. In this article, we'll guide you through the step-by-step process of installing a faucet on your bathroom sink.
How to Install a Faucet on a Bathroom Sink
Before we begin, make sure to gather all the necessary tools and materials. You will need a new faucet, adjustable wrench, basin wrench, plumber's putty, Teflon tape, and a towel.
Bathroom Sink Faucet Installation
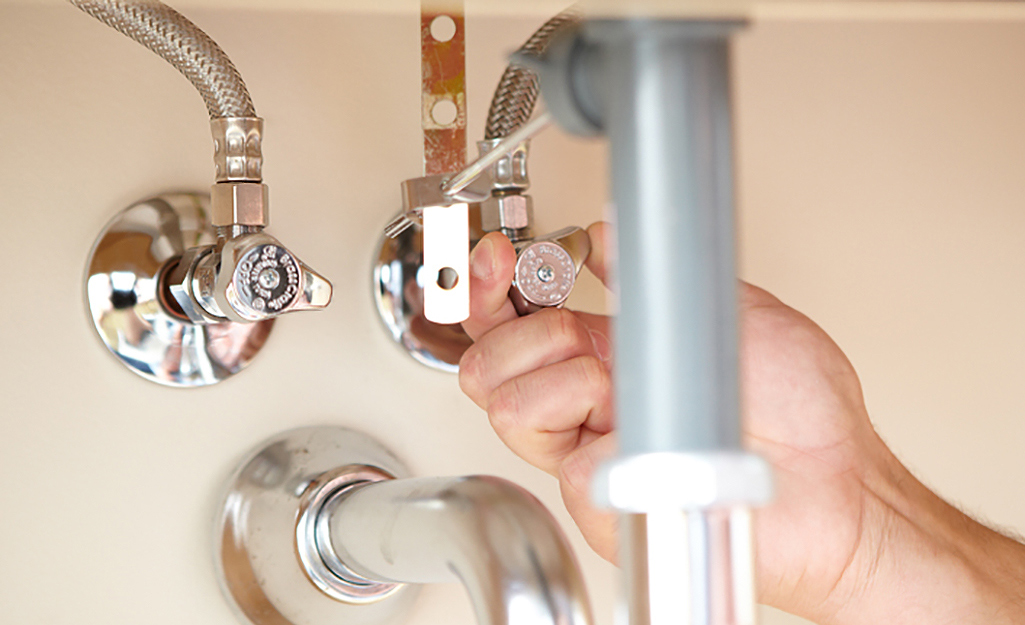
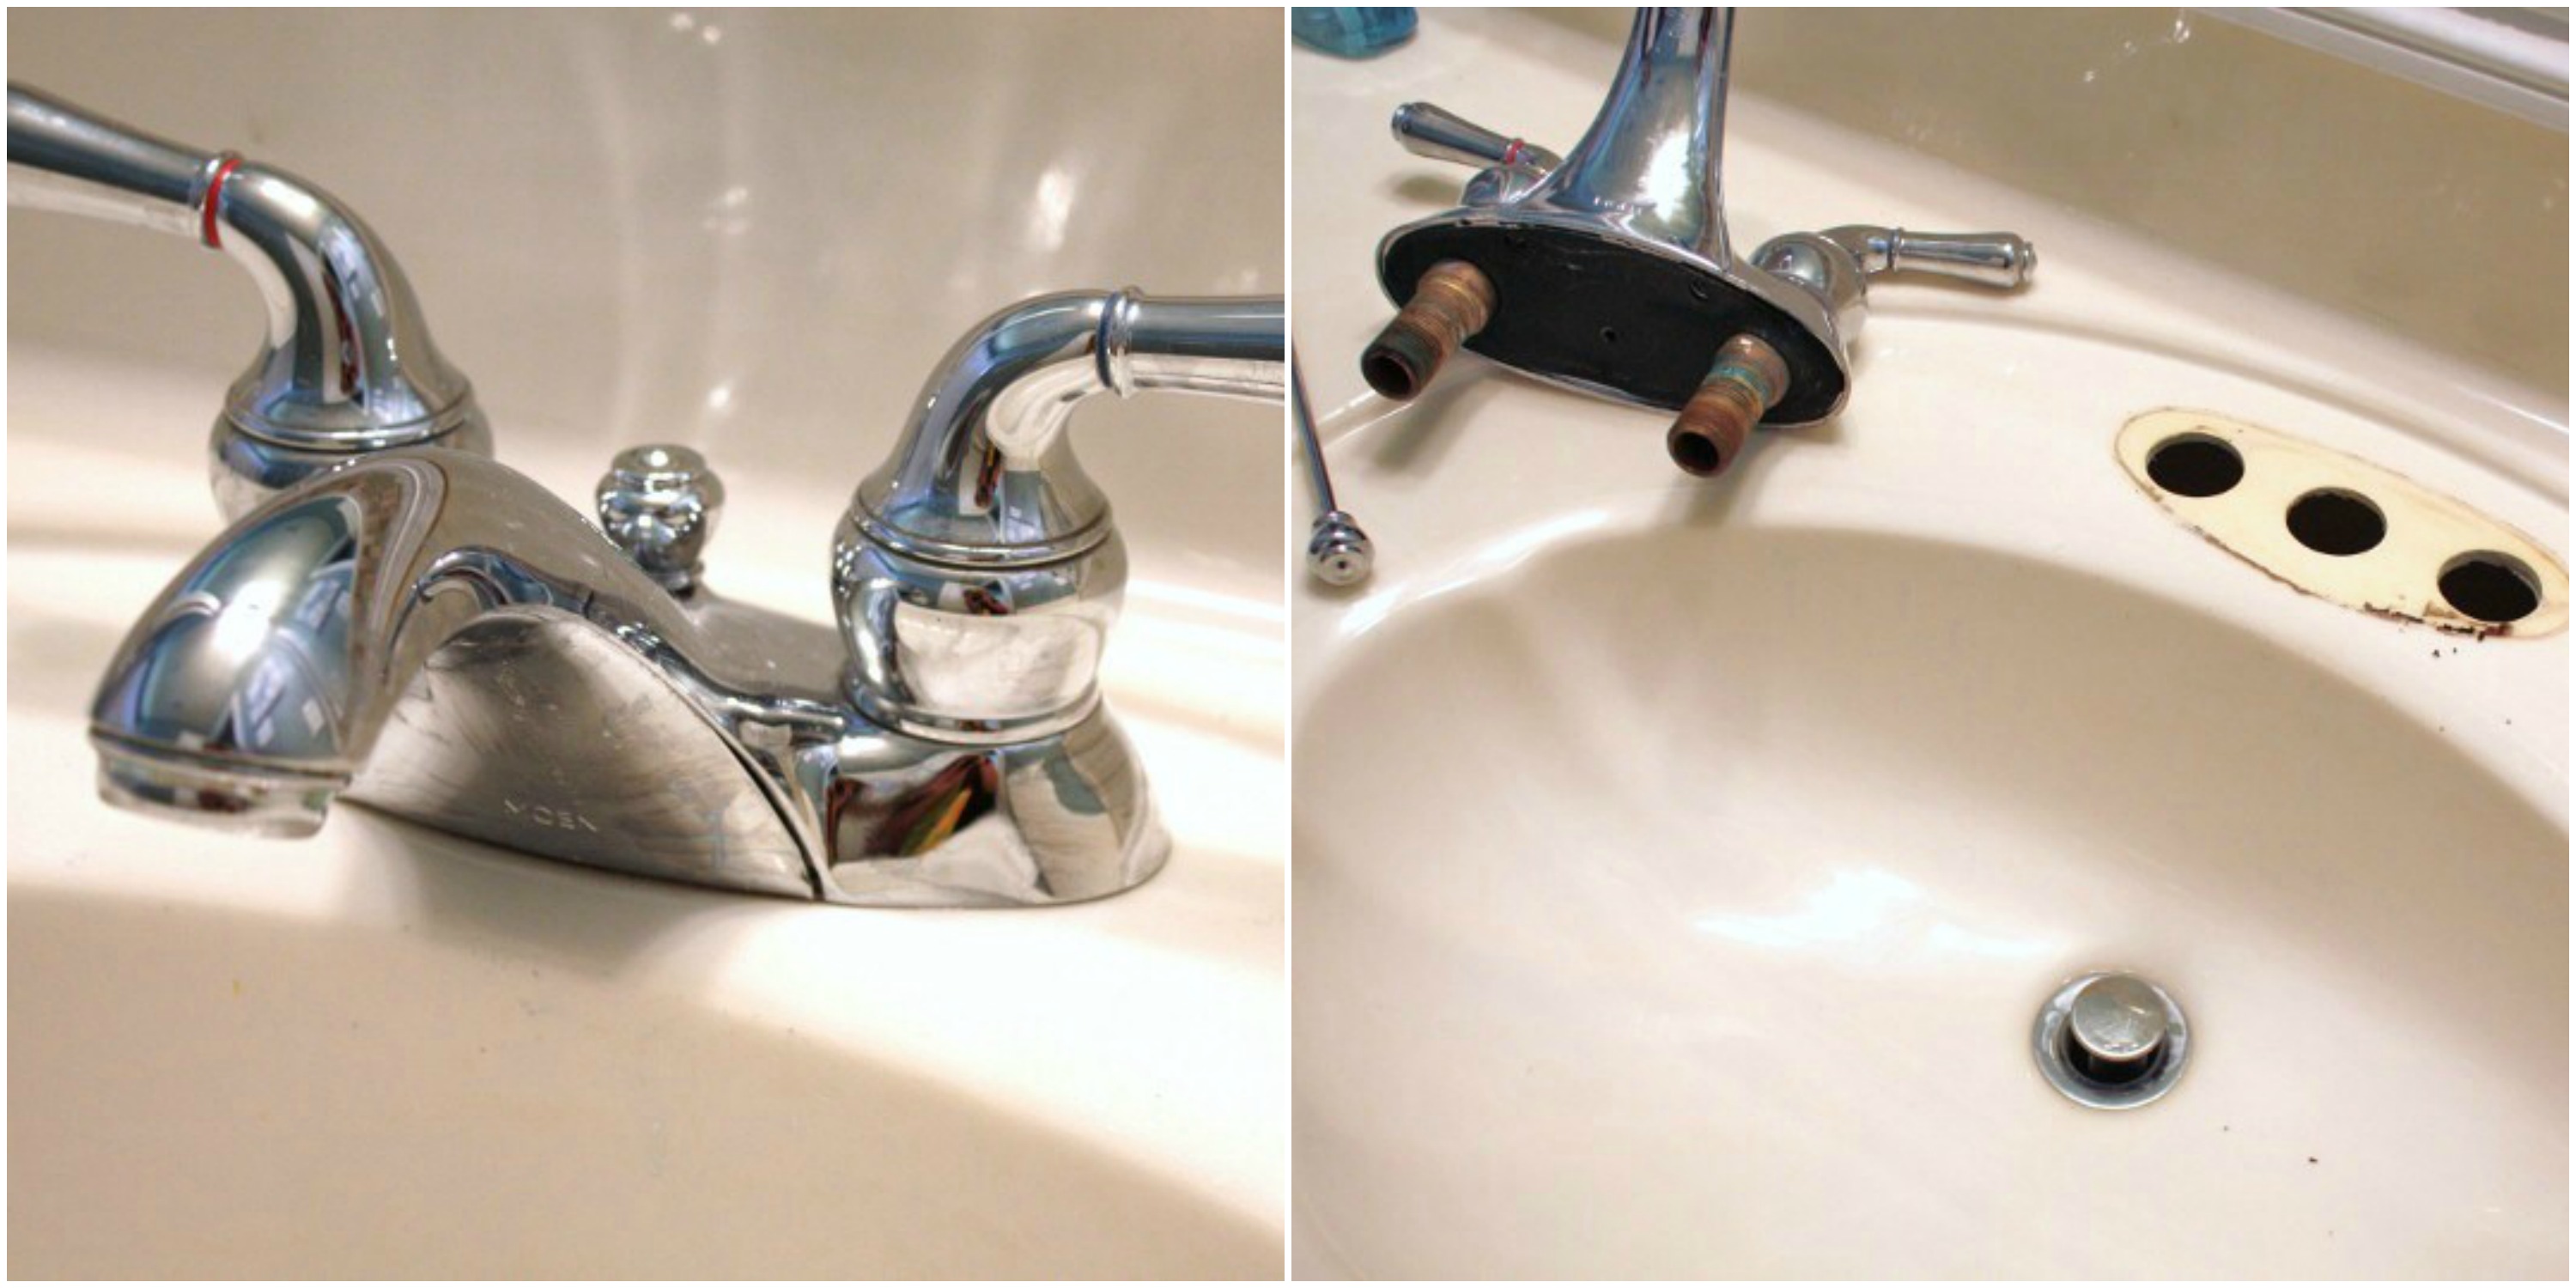
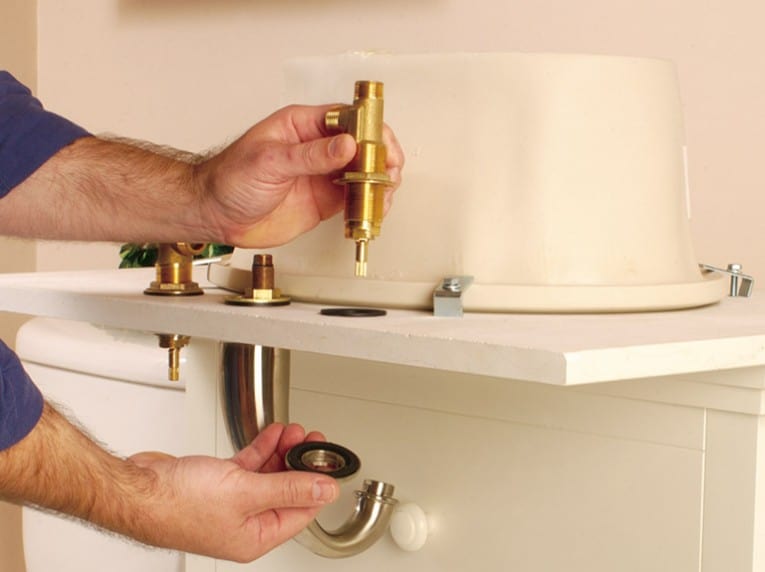
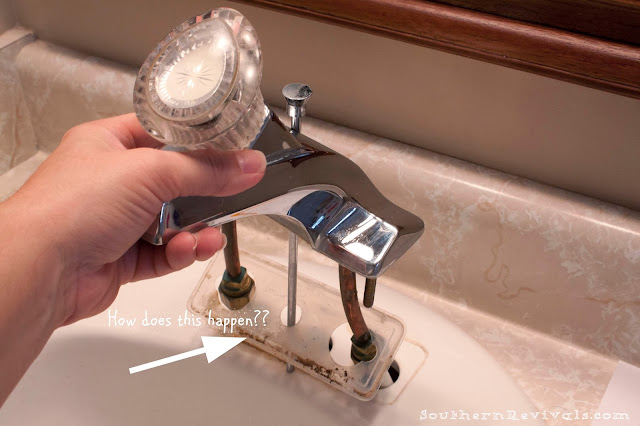
The first step is to remove the old faucet. Turn off the water supply to your bathroom sink and turn on the faucet to release any remaining water. Use the adjustable wrench to loosen and remove the supply lines connected to the faucet. Then, use the basin wrench to loosen and remove the mounting nuts underneath the sink. Once the old faucet is removed, clean the sink surface and remove any old putty or debris.
Step-by-Step Guide for Installing a Faucet on a Bathroom Sink
Start by placing the rubber or plastic gasket on the bottom of the faucet. Then, apply a thin layer of plumber's putty around the base of the faucet. This will create a watertight seal between the faucet and sink.
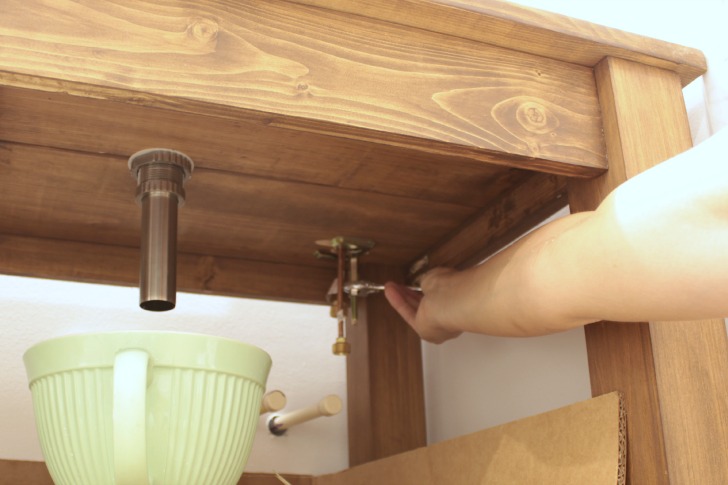
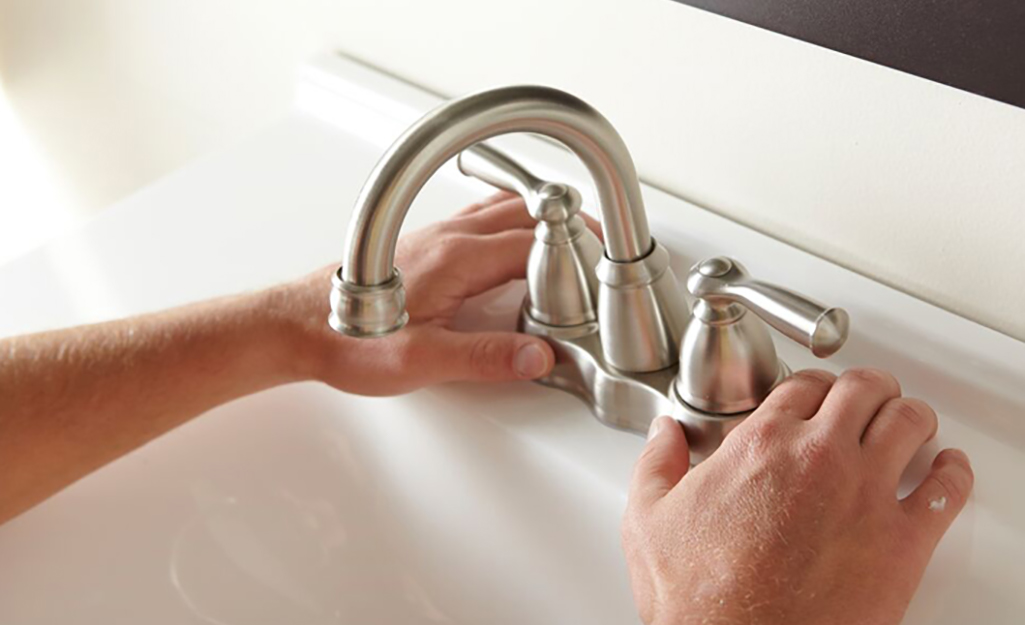
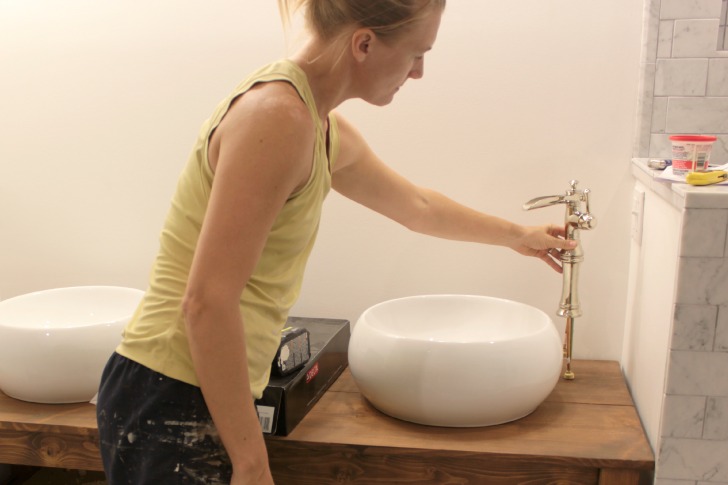
Next, insert the faucet into the mounting holes on the sink. From underneath the sink, secure the faucet in place by tightening the mounting nuts with a basin wrench. Make sure the faucet is straight and centered.
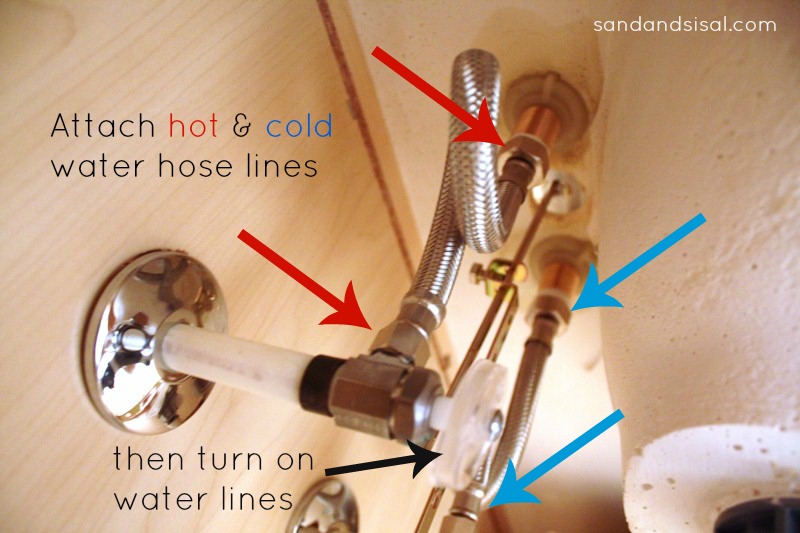
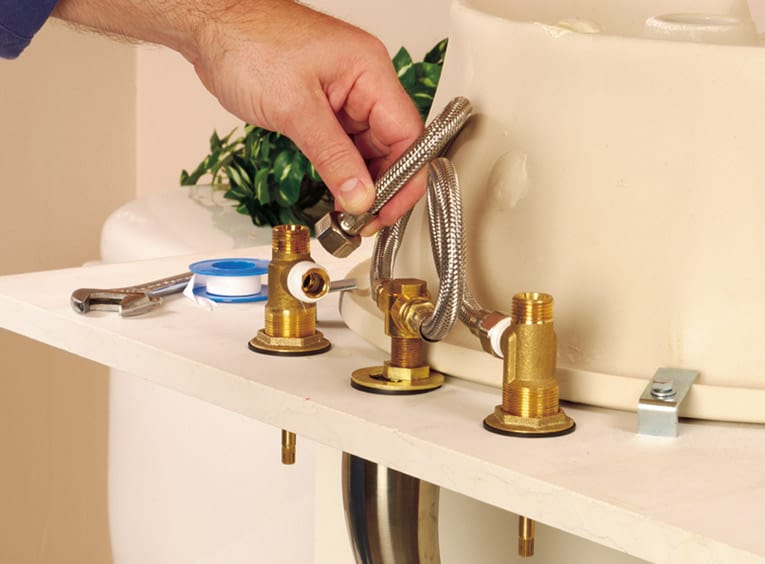
Now, it's time to connect the supply lines. Apply Teflon tape to the threaded ends of the supply lines to ensure a tight seal. Then, use the adjustable wrench to tighten the supply lines onto the corresponding hot and cold water valves.
To finish the installation, turn on the water supply and test the new faucet for leaks. If there are no leaks, use the basin wrench to tighten the mounting nuts one more time. Wipe away any excess putty from around the base of the faucet with a towel.
DIY Bathroom Sink Faucet Installation
Installing a faucet on your bathroom sink can be a DIY project for those with basic plumbing knowledge and skills. It can save you time and money compared to hiring a professional plumber. Just make sure to follow the steps carefully and have all the necessary tools and materials on hand.
Quick and Easy Faucet Installation for Bathroom Sinks
With the right tools and materials, installing a faucet on your bathroom sink can be a quick and easy process. It's important to take your time and follow the steps carefully to ensure a proper installation. And don't forget to turn off the water supply before starting the installation!
Tools and Materials Needed for Installing a Faucet on a Bathroom Sink
To install a faucet on your bathroom sink, you will need a few essential tools and materials. These include a new faucet, adjustable wrench, basin wrench, plumber's putty, Teflon tape, and a towel. Having all these items on hand will make the installation process much smoother and easier.
Tips and Tricks for Installing a Faucet on a Bathroom Sink
Here are a few tips and tricks to keep in mind while installing a faucet on your bathroom sink:
Use a basin wrench: A basin wrench is specifically designed to reach and tighten the mounting nuts underneath a sink. It will make the installation process much easier and save you time.
Apply Teflon tape: Applying Teflon tape on the threaded ends of the supply lines will create a tight seal and prevent any water leaks.
Test for leaks: Before finishing the installation, make sure to turn on the water supply and check for any leaks. If there are any, tighten the connections with the appropriate wrench.
Common Mistakes to Avoid When Installing a Faucet on a Bathroom Sink
While installing a faucet on your bathroom sink may seem straightforward, there are a few common mistakes that can occur:
Not turning off the water supply: Forgetting to turn off the water supply can lead to a messy and potentially damaging situation.
Not using the right tools: Using the wrong tools can make the installation process much more difficult and may even damage the faucet or sink.
Not testing for leaks: Skipping the step of testing for leaks can lead to water damage and costly repairs in the future.
Professional vs. DIY: Which is the Best Option for Installing a Faucet on a Bathroom Sink?
Deciding whether to hire a professional plumber or tackle the installation yourself ultimately depends on your level of comfort and experience with plumbing projects. While hiring a professional may cost more, it can give you peace of mind knowing the job was done correctly. However, if you have the necessary tools and feel confident in your abilities, installing a faucet on your bathroom sink can be a satisfying and rewarding DIY project.
In conclusion, installing a faucet on your bathroom sink can be a simple and affordable project with the right tools and knowledge. Just remember to take your time, follow the steps carefully, and test for leaks before finishing the installation. With these tips and tricks, you'll have a new faucet on your bathroom sink in no time!
How to Install a Faucet on Your Bathroom Sink: A Step-by-Step Guide

Choosing the Right Faucet
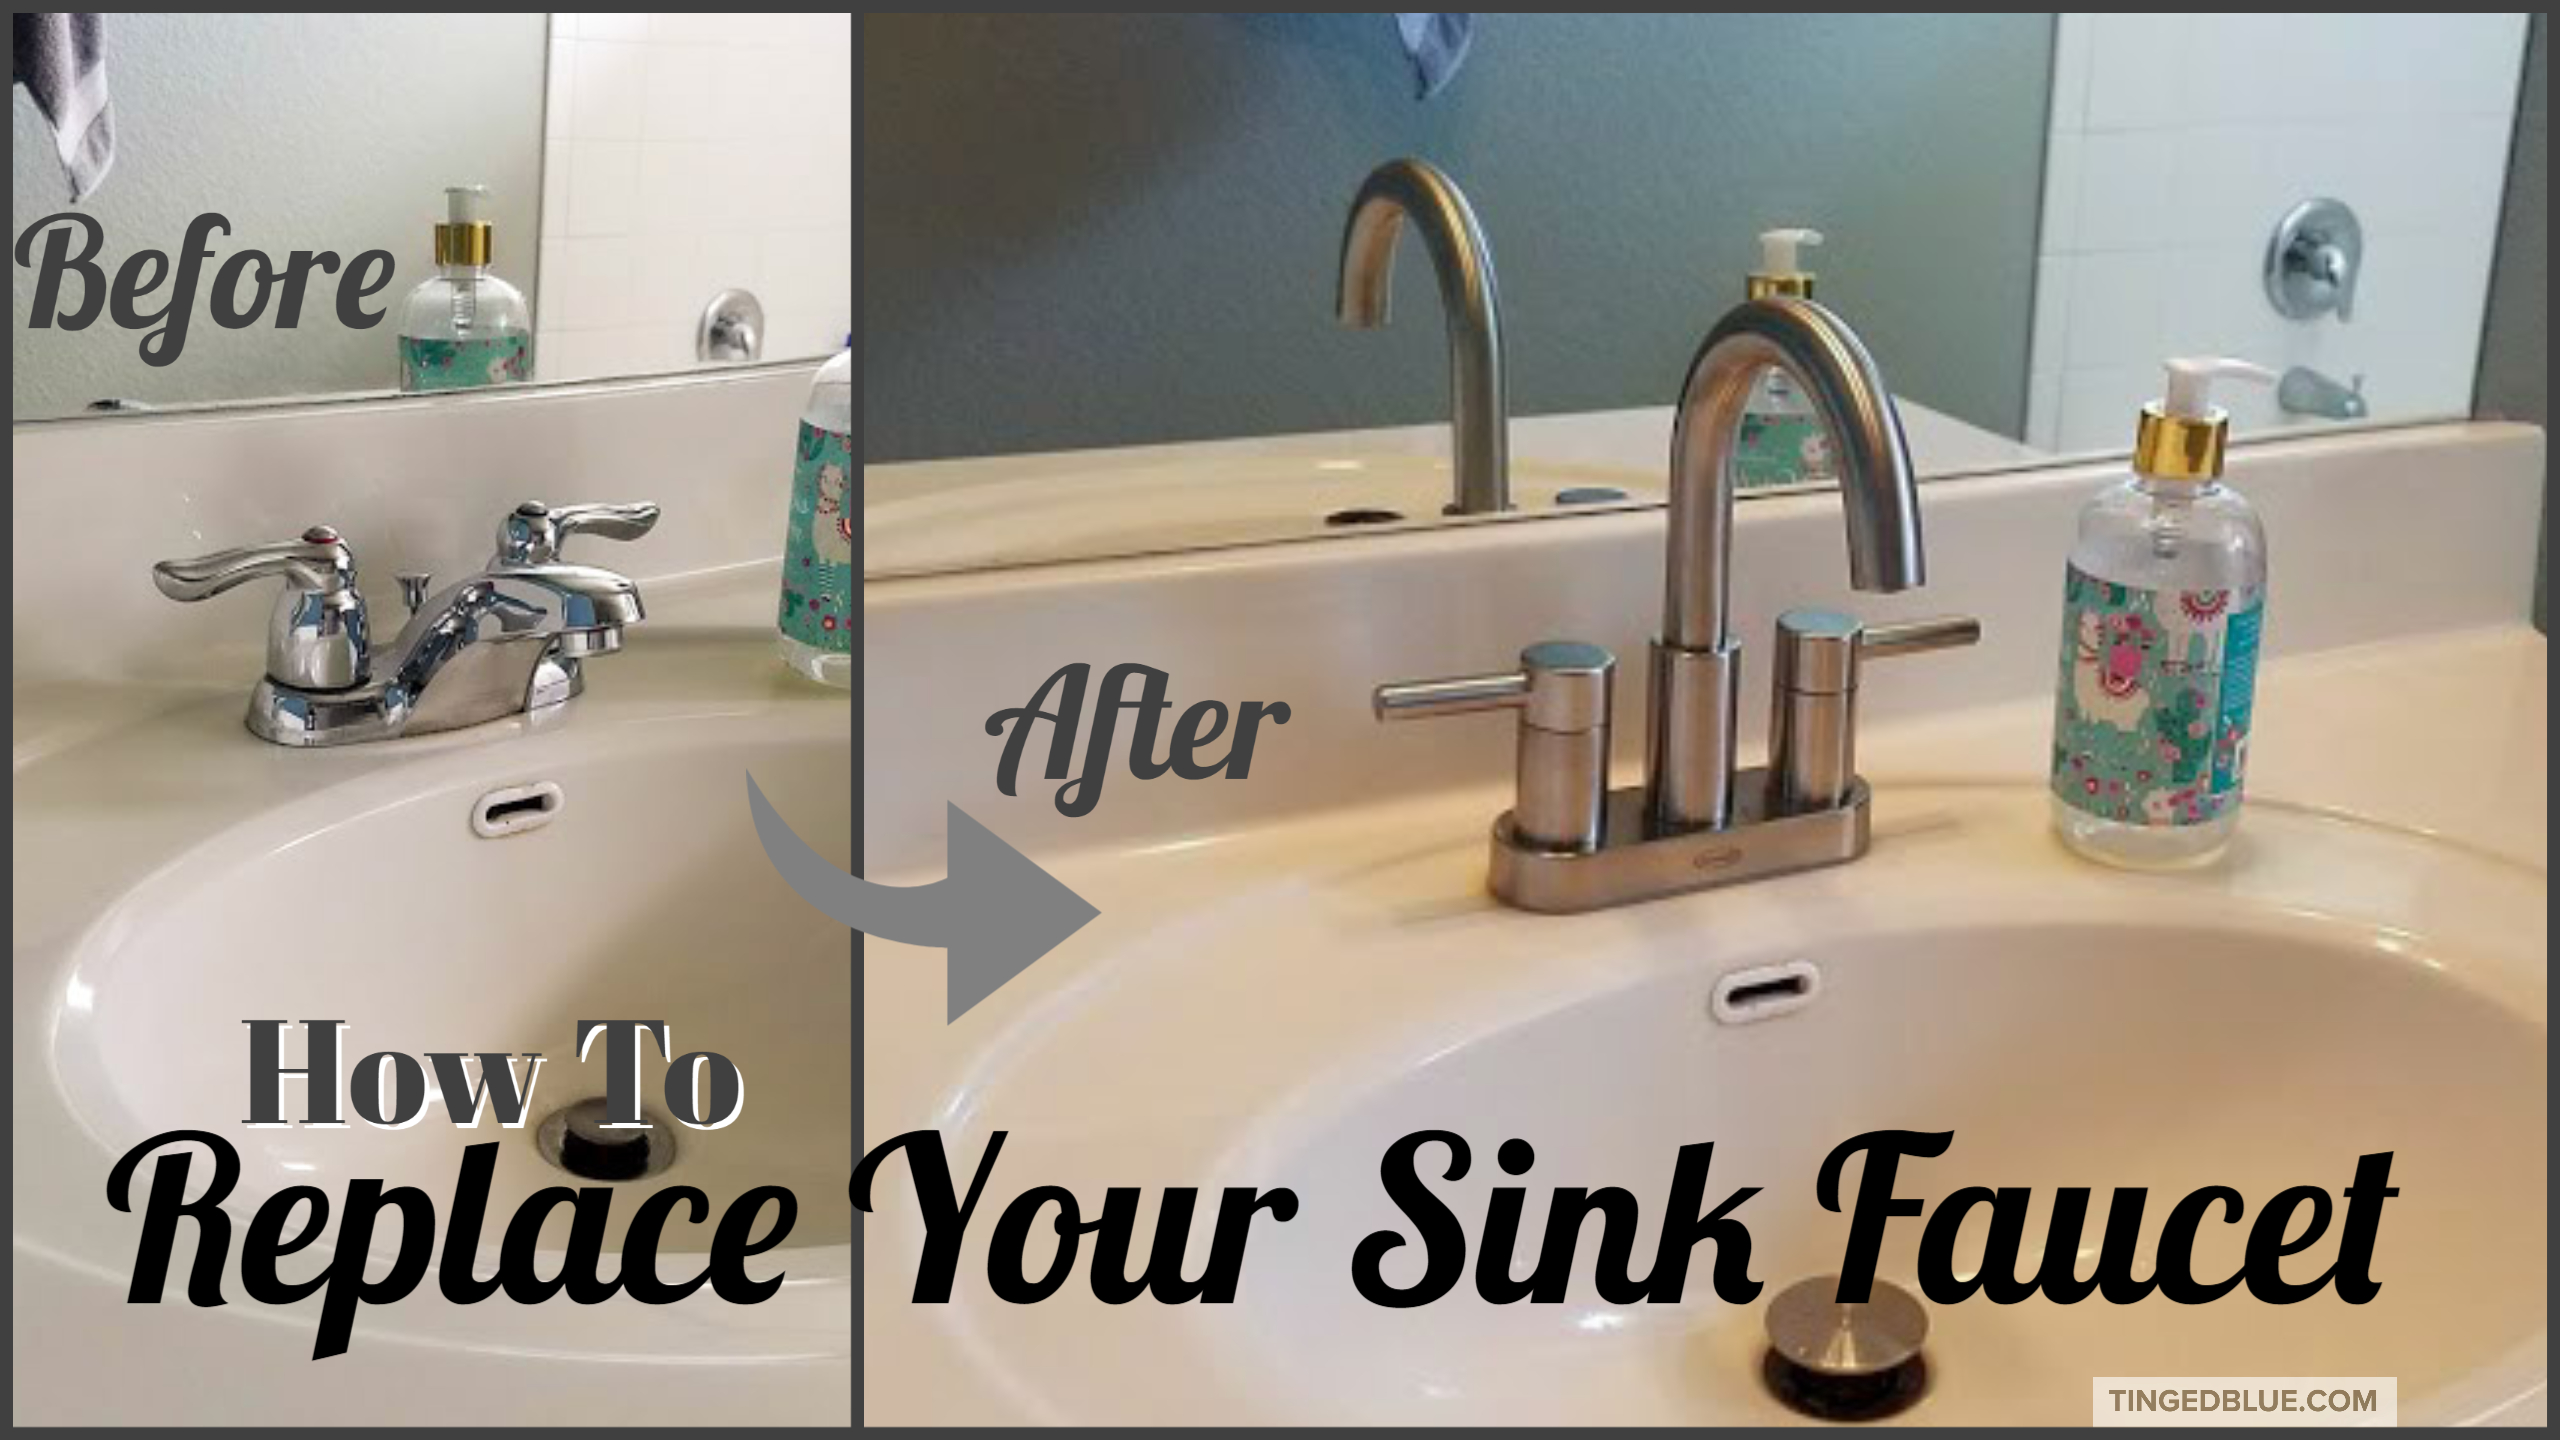
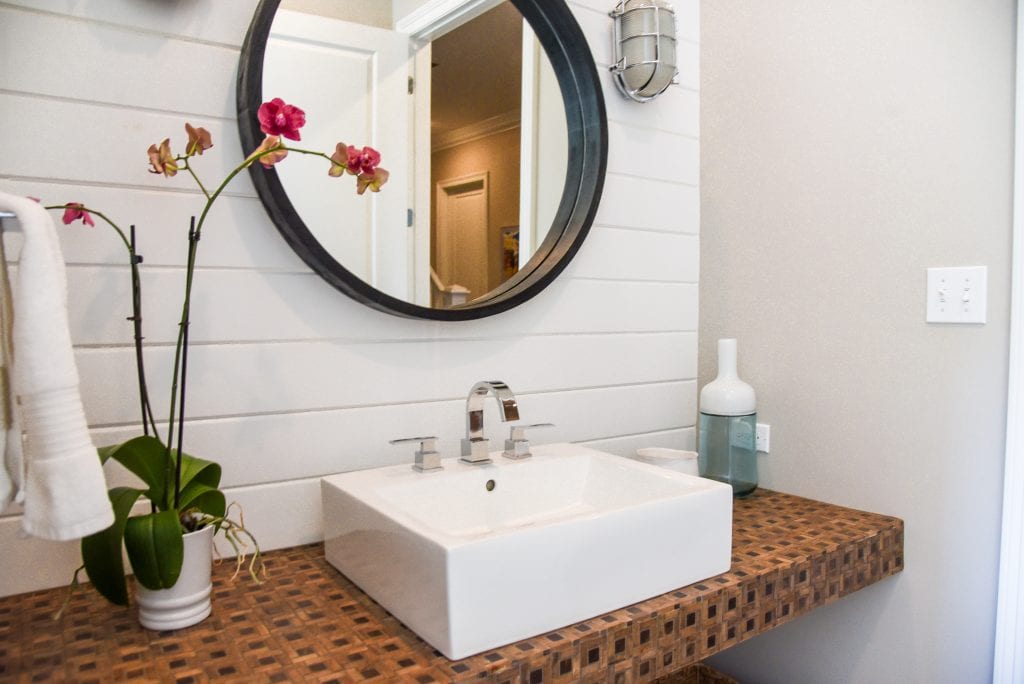
 When it comes to bathroom design, every detail matters. From the tiles to the lighting, every element contributes to the overall aesthetic of the space. One important aspect that often gets overlooked is the faucet on your bathroom sink. Choosing the right faucet can elevate the look of your bathroom and add a touch of style.
Before you start the installation process, make sure you have chosen the right faucet for your bathroom sink.
Consider the size and style of your sink, as well as the overall design of your bathroom.
Some popular faucet styles include modern, traditional, industrial, and vintage.
Choose a style that complements your bathroom design and fits your personal taste.
Gathering Your Tools
 Installing a faucet on a bathroom sink may seem like a daunting task, but with the right tools, it can be a simple and straightforward process.
Before you begin, gather all the necessary tools, including a basin wrench, adjustable wrench, plumber's putty, Teflon tape, and a bucket.
Make sure you have turned off the water supply to your bathroom sink before starting the installation.
This will prevent any water from leaking during the process.
Removing the Old Faucet
 The first step in installing a new faucet is to remove the old one.
Start by disconnecting the water supply lines from the faucet.
Use the basin wrench to loosen and remove the nuts connecting the faucet to the sink.
Once the faucet is free, lift it out of the sink and clean the area where it was attached, removing any debris or residue.
Installing the New Faucet
 Once the old faucet is removed, it's time to install the new one.
Start by placing the gasket or plumber's putty around the base of the faucet, then insert it into the holes on the sink.
Make sure the faucet is centered and aligned properly before securing it with the mounting nuts.
Use the basin wrench to tighten the nuts, ensuring a secure fit.
Connecting the Water Supply Lines
 With the faucet securely in place, it's time to connect the water supply lines.
Wrap Teflon tape around the threads of the supply line connections to prevent leaks.
Then, use the adjustable wrench to connect the water supply lines to the corresponding hot and cold water inlets on the faucet.
Testing and Finishing
 Before putting everything back together, it's important to test the faucet to ensure it is working properly.
Turn the water supply back on and check for any leaks.
If everything looks good, reattach the drain assembly and handle to the faucet.
Use the adjustable wrench to tighten any connections and make sure everything is secure.
Final Thoughts
/173579315-56a4a2a83df78cf772835c77.jpg) Installing a faucet on your bathroom sink may seem intimidating, but with the right tools and a little know-how, it can be a simple and rewarding process.
Remember to choose a faucet that fits your bathroom design and personal style, and always turn off the water supply before starting the installation. With a new faucet, your bathroom will not only look great but also function better. So don't be afraid to take on this DIY project and give your bathroom a fresh new look.
Installing a faucet on your bathroom sink may seem intimidating, but with the right tools and a little know-how, it can be a simple and rewarding process.
Remember to choose a faucet that fits your bathroom design and personal style, and always turn off the water supply before starting the installation. With a new faucet, your bathroom will not only look great but also function better. So don't be afraid to take on this DIY project and give your bathroom a fresh new look.


