How to Install a Railing on a Staircase
If you're looking to add a touch of elegance and safety to your staircase, installing a railing is a great option. Not only does it provide support for those using the stairs, but it also adds a decorative element to your home. While it may seem like a daunting task, installing a railing on a staircase can be done with the right tools and a little know-how. In this guide, we'll walk you through the steps of installing a railing on a staircase, so you can achieve a beautiful and functional addition to your home.
DIY Stair Railing Installation Guide
With the rise of do-it-yourself projects, many homeowners are taking on the task of installing a stair railing themselves. This not only saves money, but it also allows for customization and control over the final result. However, it's important to follow proper safety precautions and guidelines when undertaking this project. This guide will provide you with the necessary steps and tips to ensure a successful and safe DIY stair railing installation.
Step-by-Step Guide for Installing a Stair Railing
Before you begin installing a stair railing, it's essential to gather all the necessary materials and tools. These may include a drill, screws, a handrail, brackets, and a measuring tape. Once you have everything you need, follow these steps:
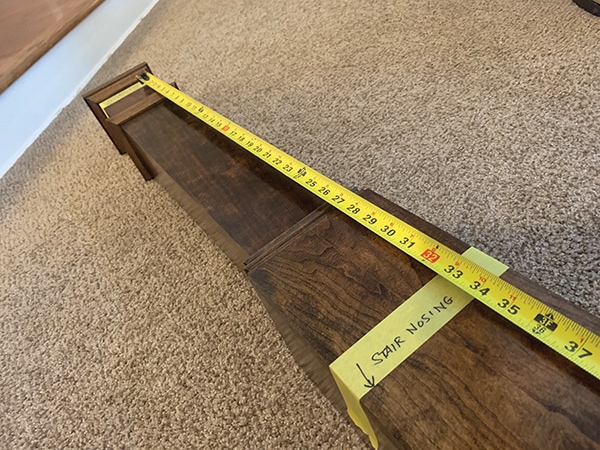
Step 1: Measure the length of your staircase and purchase a handrail that is the same length.
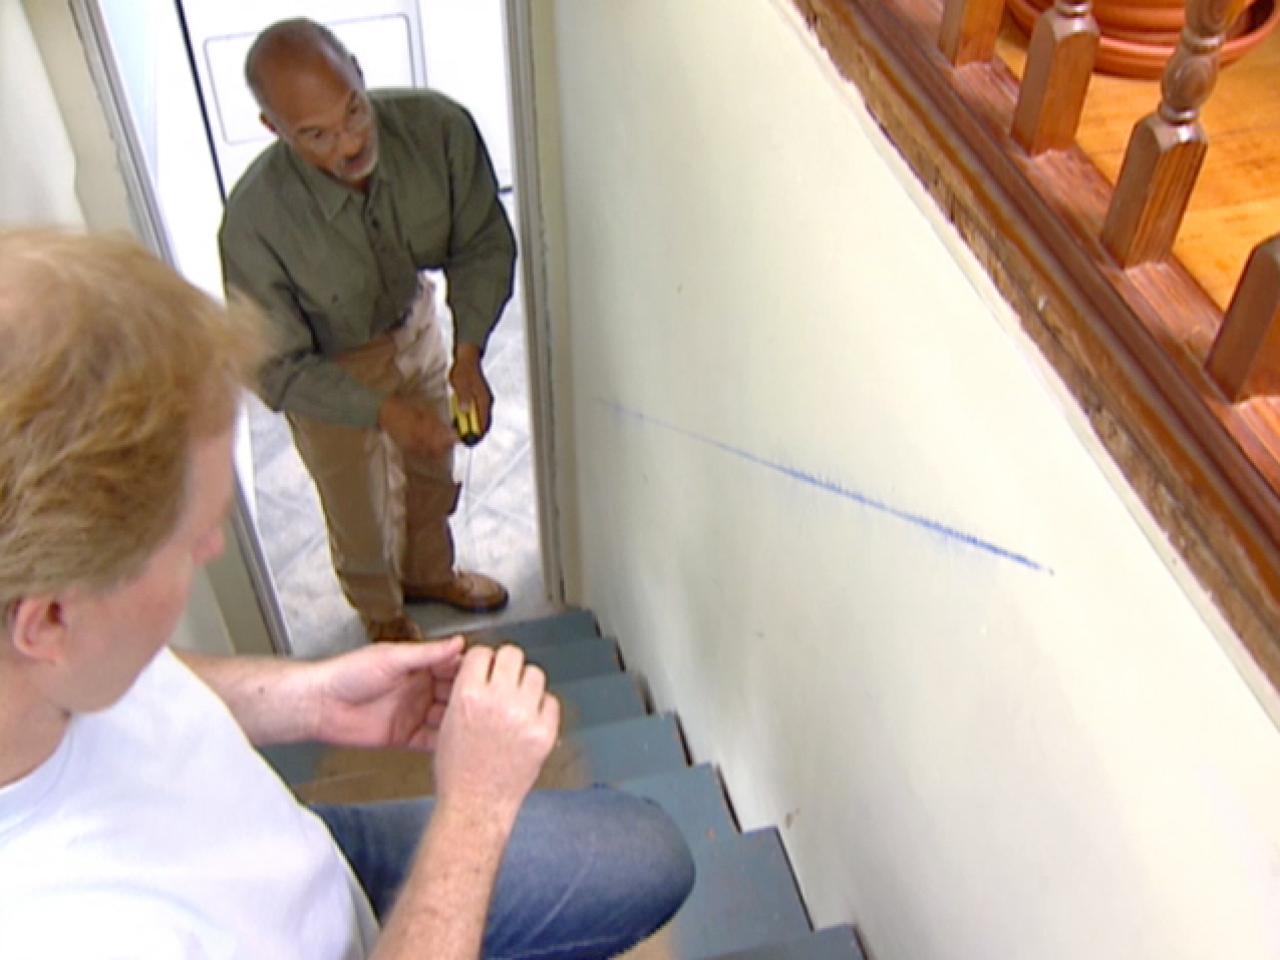
Step 2: Determine the height at which you want your railing to be installed and mark it on both ends of the staircase.
Step 3: Use a level to draw a straight line between the two marks on each side of the staircase.
Step 4: Measure and mark where you want the brackets to be placed on the handrail.
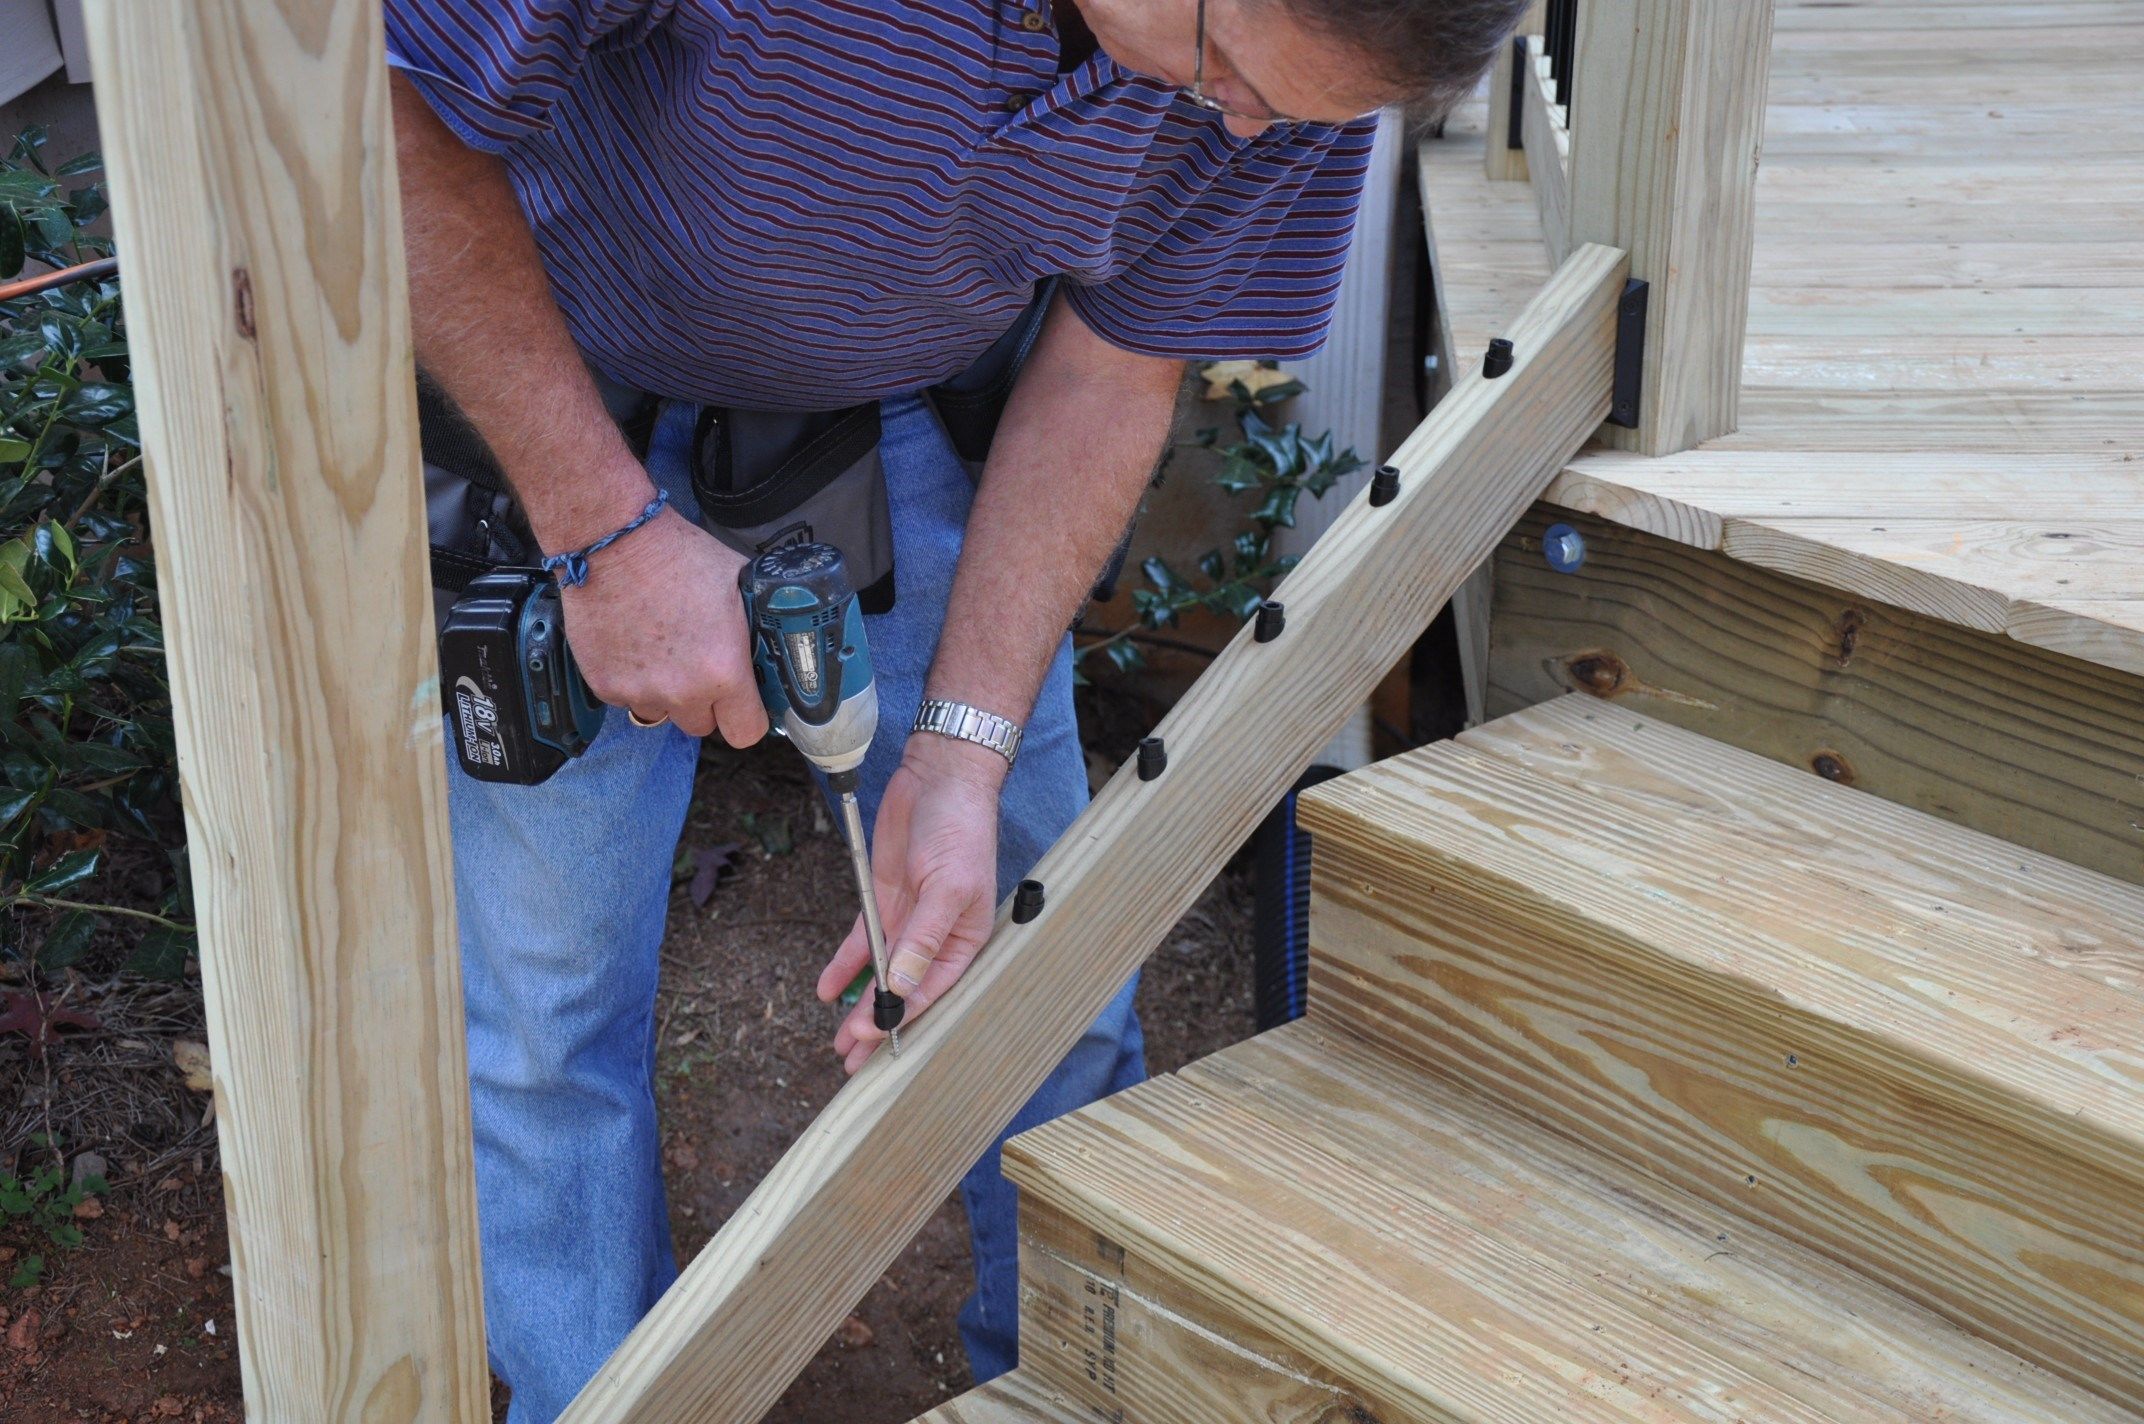
Step 5: Drill holes into the handrail at the marked locations.
Step 6: Attach the brackets to the handrail using screws.
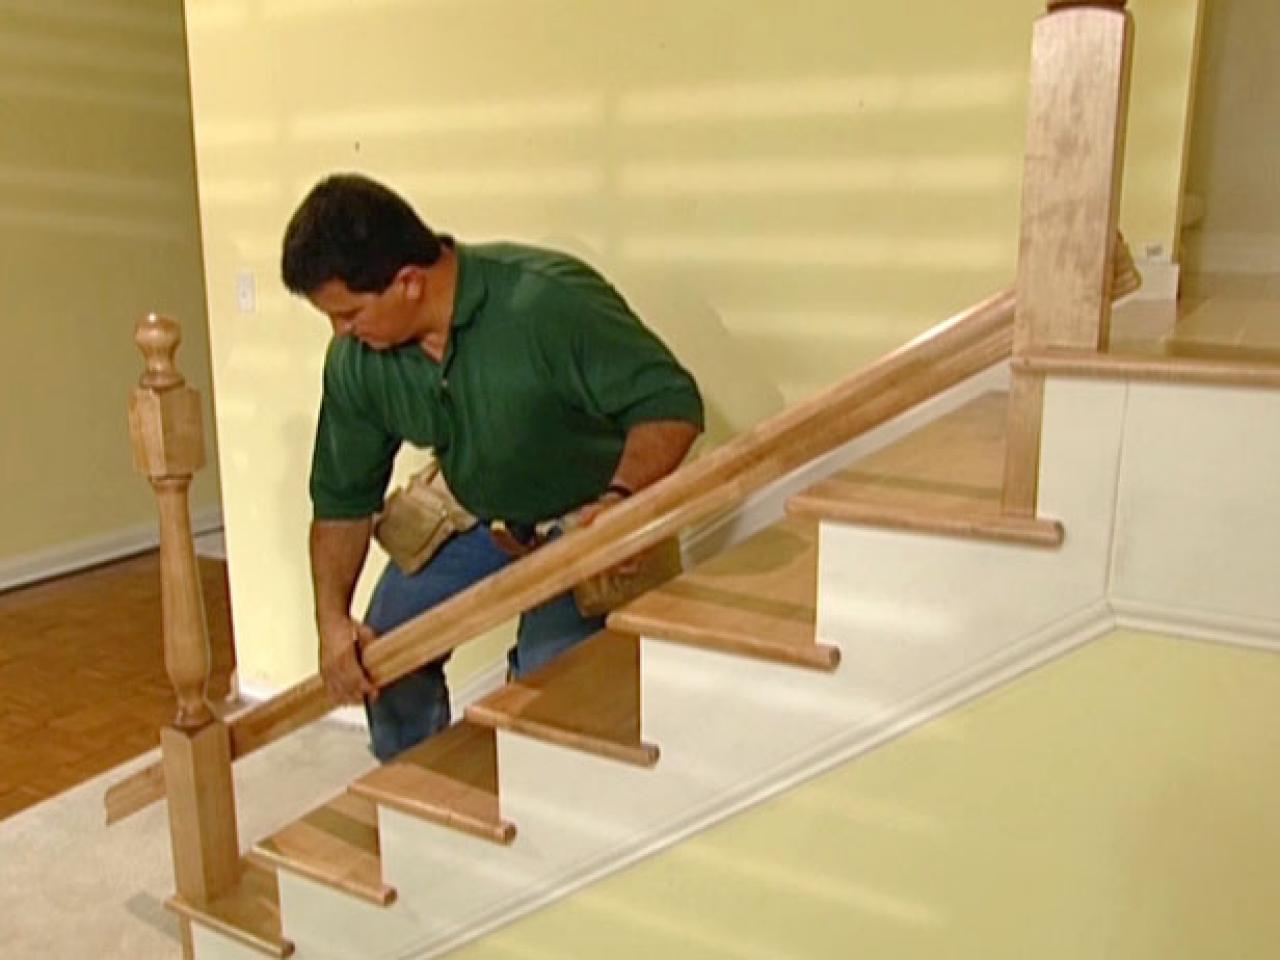
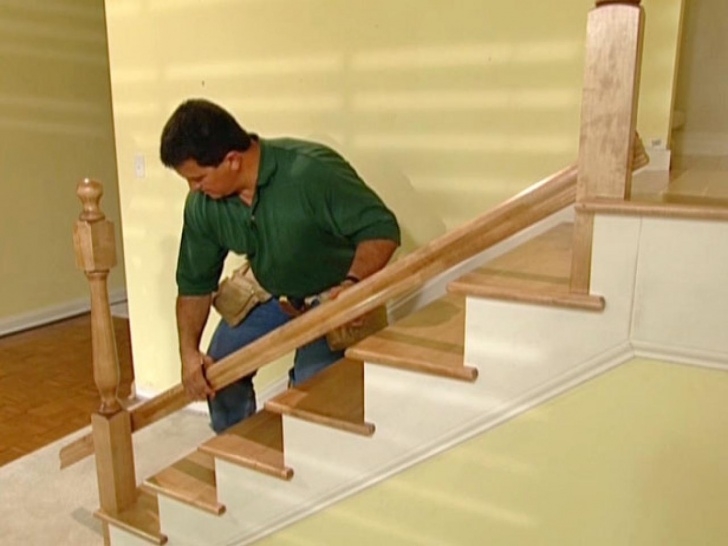
Step 7: Hold the handrail against the wall at the marked height and use a level to ensure it is straight.
Step 8: Mark the location of the bracket holes on the wall.
Step 9: Drill holes into the wall at the marked locations.
Step 10: Attach the brackets to the wall using screws.
Step 11: Place the handrail onto the brackets and secure it in place using screws.
Step 12: Test the stability of the railing by giving it a gentle tug in different directions.
Installing a Handrail on Stairs: A Beginner's Guide
If you're new to DIY projects, installing a handrail on stairs may seem like a daunting task. However, with proper planning and the right tools, it can be a manageable project for beginners. Here are a few tips to help you successfully install a handrail on stairs:
Choose the right handrail: The handrail you choose should be sturdy and able to support the weight of those using the stairs.
Measure accurately: It's crucial to measure the length and height of your staircase accurately to ensure the handrail fits properly.
Use a level: A level will help you ensure the handrail is installed straight and level.
Secure the handrail properly: Make sure the handrail is securely attached to both the wall and the brackets to prevent accidents.
Stair Railing Installation: Tips and Tricks
Here are a few additional tips and tricks to keep in mind when installing a stair railing:
Choose a style that complements your home: Consider the overall aesthetic of your home when selecting a stair railing to ensure it blends well with your existing decor.
Use anchors for added stability: If you're installing a railing on drywall, use anchors to provide added stability and support.
Pre-drill holes: To prevent wood from splitting, pre-drill holes before attaching screws.
Follow building codes: It's important to adhere to local building codes when installing a stair railing to ensure it meets safety standards.
Easy Steps for Installing a Stair Railing
Installing a stair railing may seem like a complex task, but by breaking it down into easy steps, it can be a straightforward process. Follow these simple steps for an easy stair railing installation:
Step 1: Gather all necessary materials and tools.
Step 2: Measure the length and height of your staircase.
Step 3: Mark the location of the railing and brackets.
Step 4: Drill holes into the handrail and wall.
Step 5: Attach brackets to the handrail and wall.
Step 6: Secure the handrail in place.
Installing a Stair Railing: What You Need to Know
Before you begin installing a stair railing, it's essential to educate yourself on the process and any potential challenges you may face. Here are a few important things to know:
Tools and materials: Make sure you have all the necessary tools and materials before starting the project.
Building codes: Familiarize yourself with local building codes to ensure your railing meets safety standards.
Safety precautions: Always wear protective gear, such as safety glasses and gloves, when installing a stair railing.
Ask for help: If you're unsure or uncomfortable with any part of the installation process, don't hesitate to ask for help from a professional.
How to Install a Stair Railing in Your Living Room
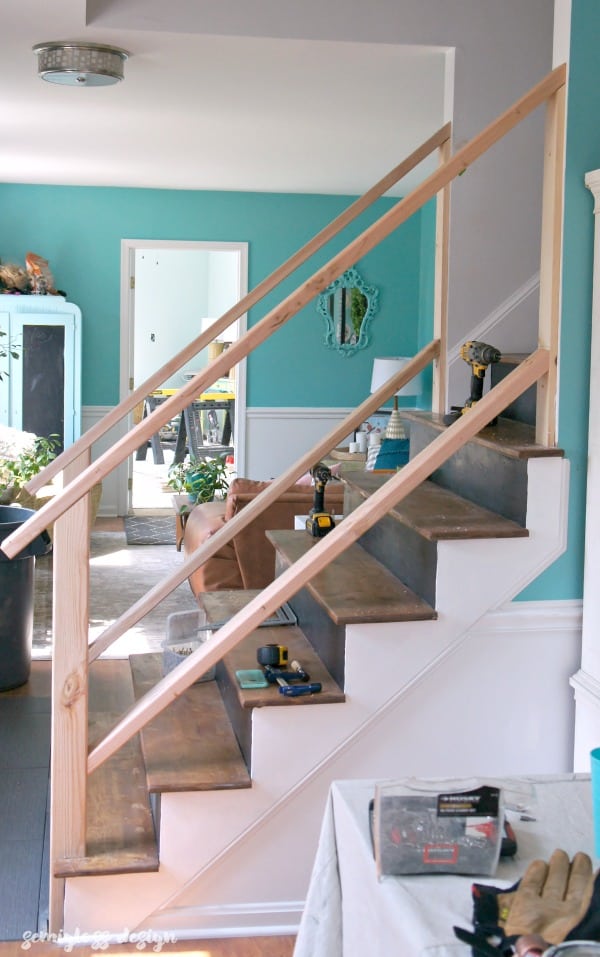
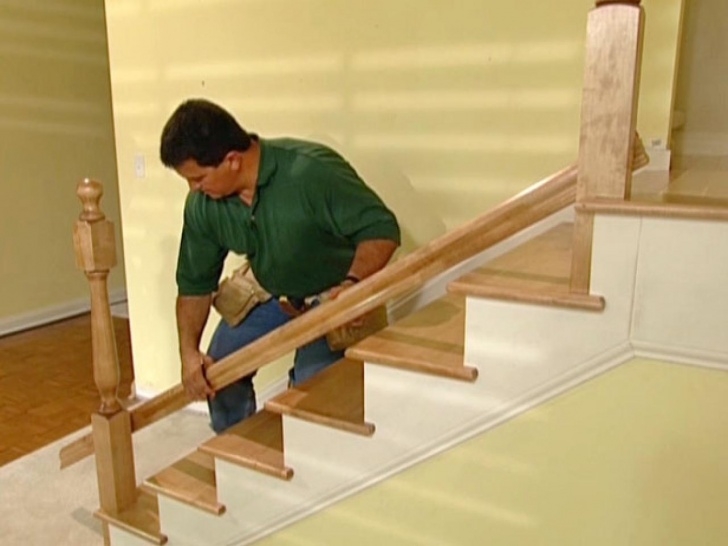
Installing a stair railing in your living room can add a touch of elegance and safety to your home. It can also serve as a decorative element, enhancing the overall aesthetic of the room. To install a stair railing in your living room, follow the same steps outlined above for installing one on a staircase. However, instead of marking the height and location of the railing on a staircase, do so on the living room wall where the railing will be attached.
DIY Stair Railing: A Cost-Effective Solution
Hiring a professional to install a stair railing can be costly. However, with the right tools and materials, installing it yourself can be a cost-effective solution. Additionally, by doing it yourself, you have control over the customization and final result, allowing for a more personalized touch to your home.
Step Down Living Room Railing Installation: A Comprehensive Guide
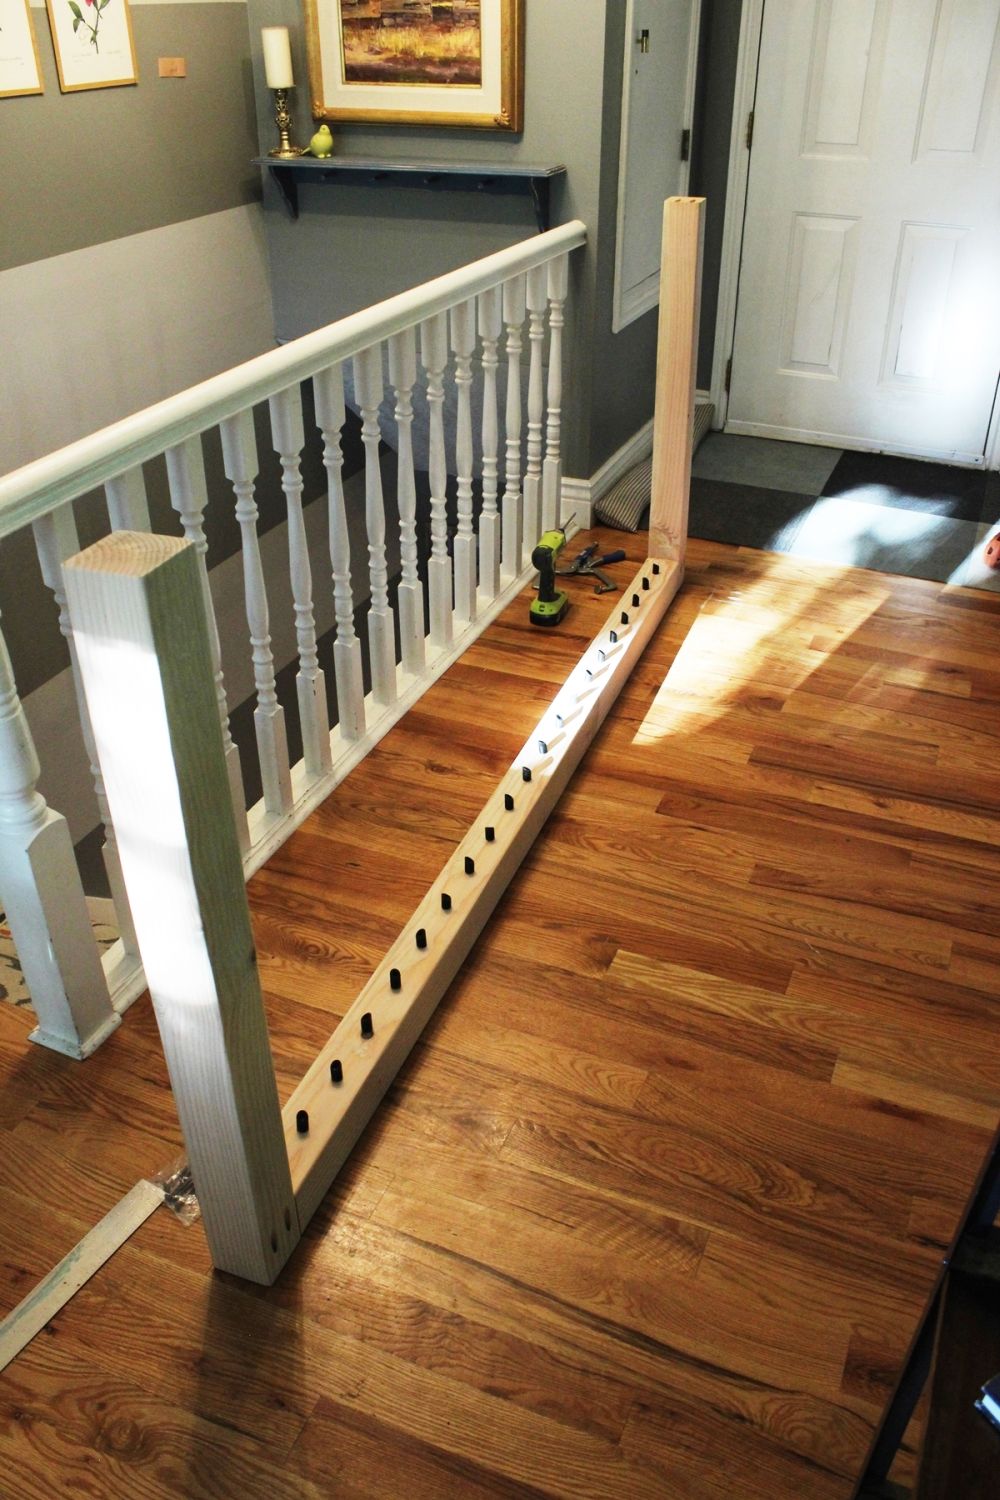
If you have a step down living room, installing a railing can provide both safety and aesthetic benefits. The process for installing a railing in a step down living room is similar to that of installing one on a staircase. However, you may need to adjust the height and location of the railing to accommodate the change in elevation. Follow the steps outlined above, and make sure to measure and mark accurately to ensure a secure and functional railing.
Why Install Railing To Step Down Living Room: The Benefits and Options

The Benefits of Installing Railing To Step Down Living Room
 When it comes to house design, the living room is often considered the heart of the home. It's where we gather with family and friends, relax after a long day, and make lasting memories. But what if your living room is split into two levels? This can create not only a design challenge, but also a safety concern. That's where installing a railing to step down living room can provide numerous benefits.
First and foremost, a railing can provide much-needed safety when navigating between the two levels of your living room. Whether you have young children, elderly family members, or simply want to prevent accidents, a railing serves as a protective barrier. It can also give you peace of mind, knowing that anyone traversing the steps will have something to hold onto for support.
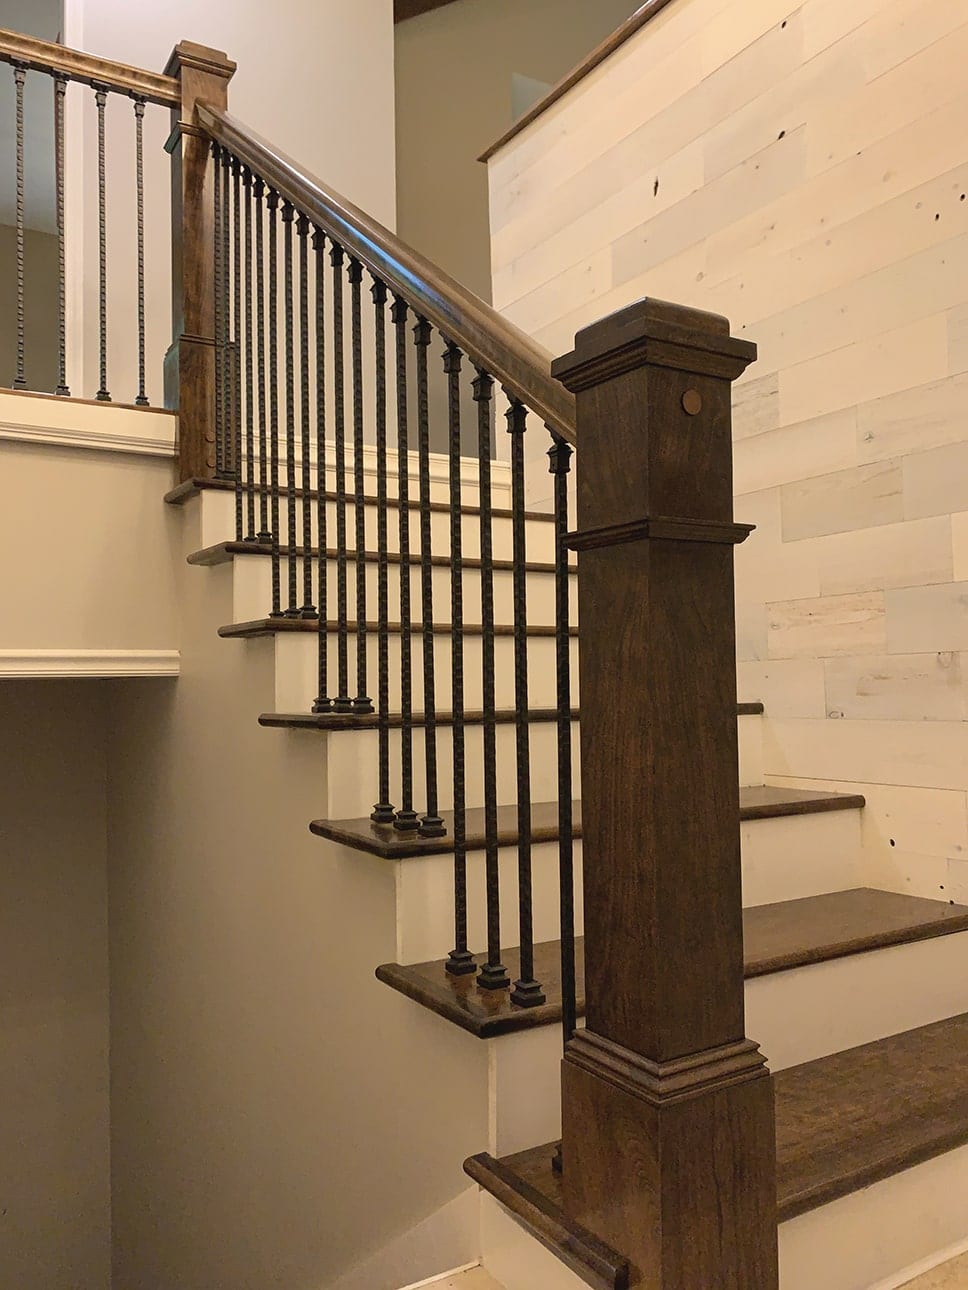
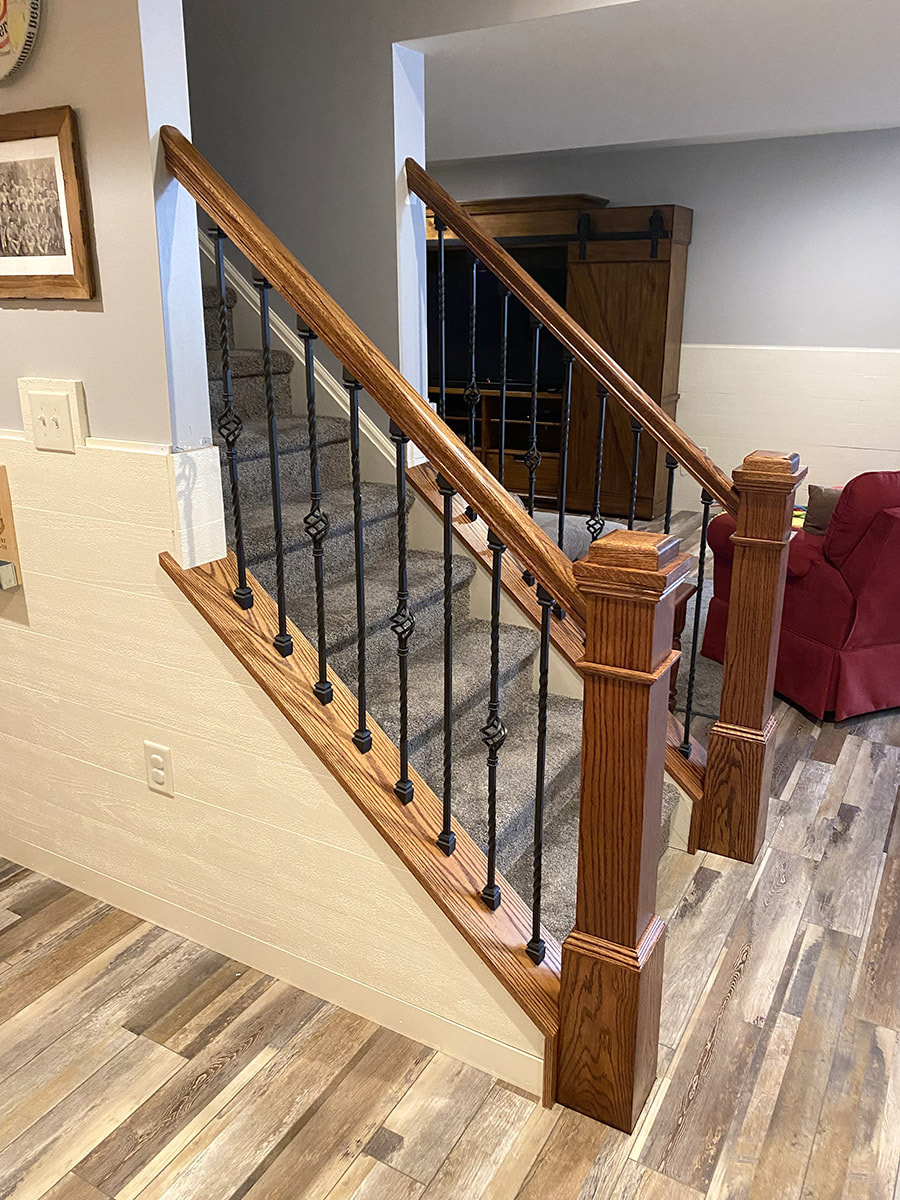
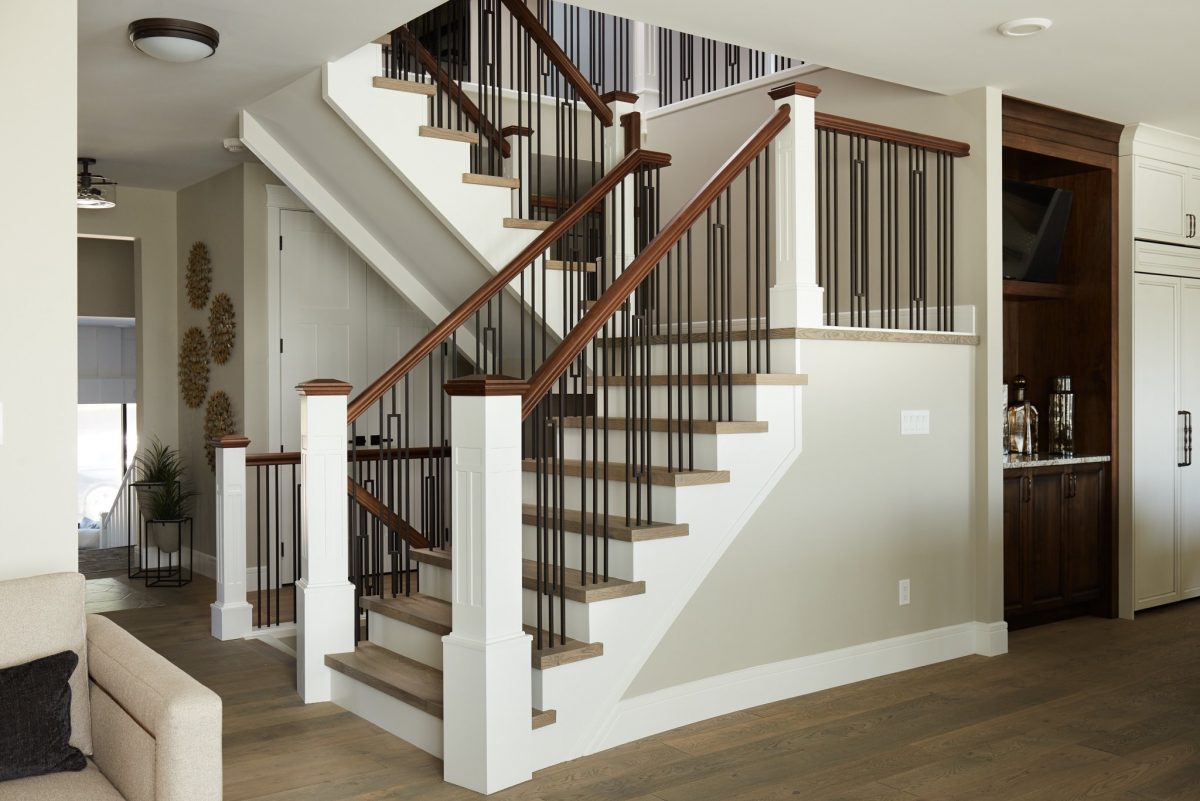
In addition to safety, a railing can also enhance the overall design of your living room. It can add a touch of elegance and sophistication, making the space feel more polished and complete. With a variety of materials and styles to choose from, you can find a railing that complements your home's aesthetic and adds a unique touch to your living room.
Options for Installing Railing To Step Down Living Room
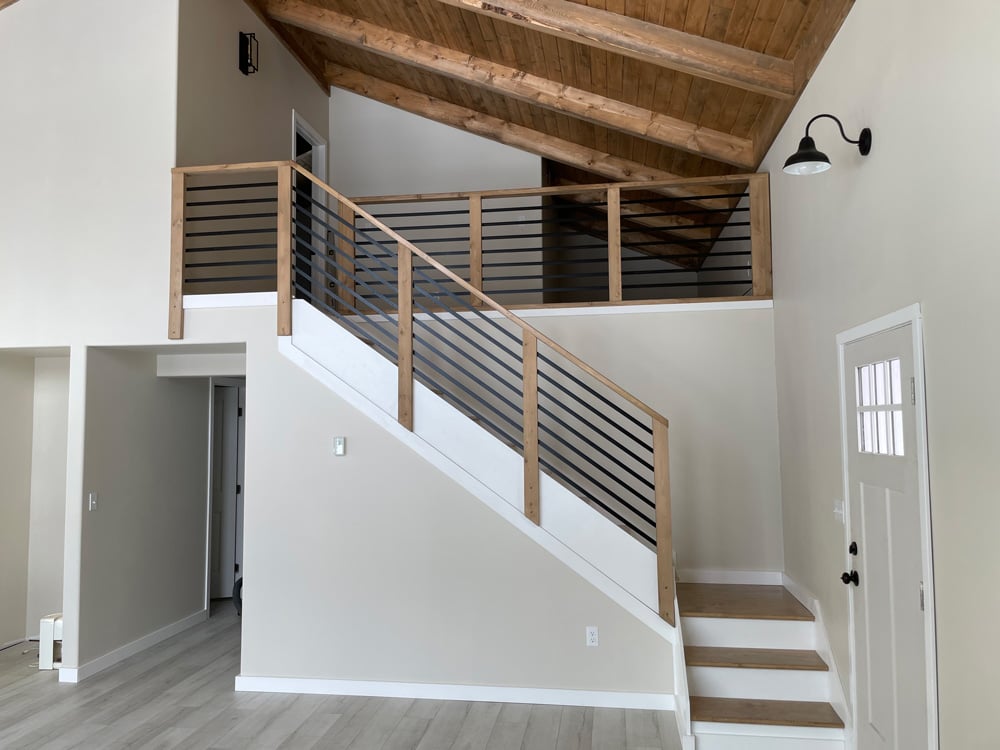
 When it comes to installing a railing to step down living room, there are several options to consider. The most common materials for railings include wood, metal, and glass. Each material offers its own set of benefits and can drastically change the look and feel of your living room.
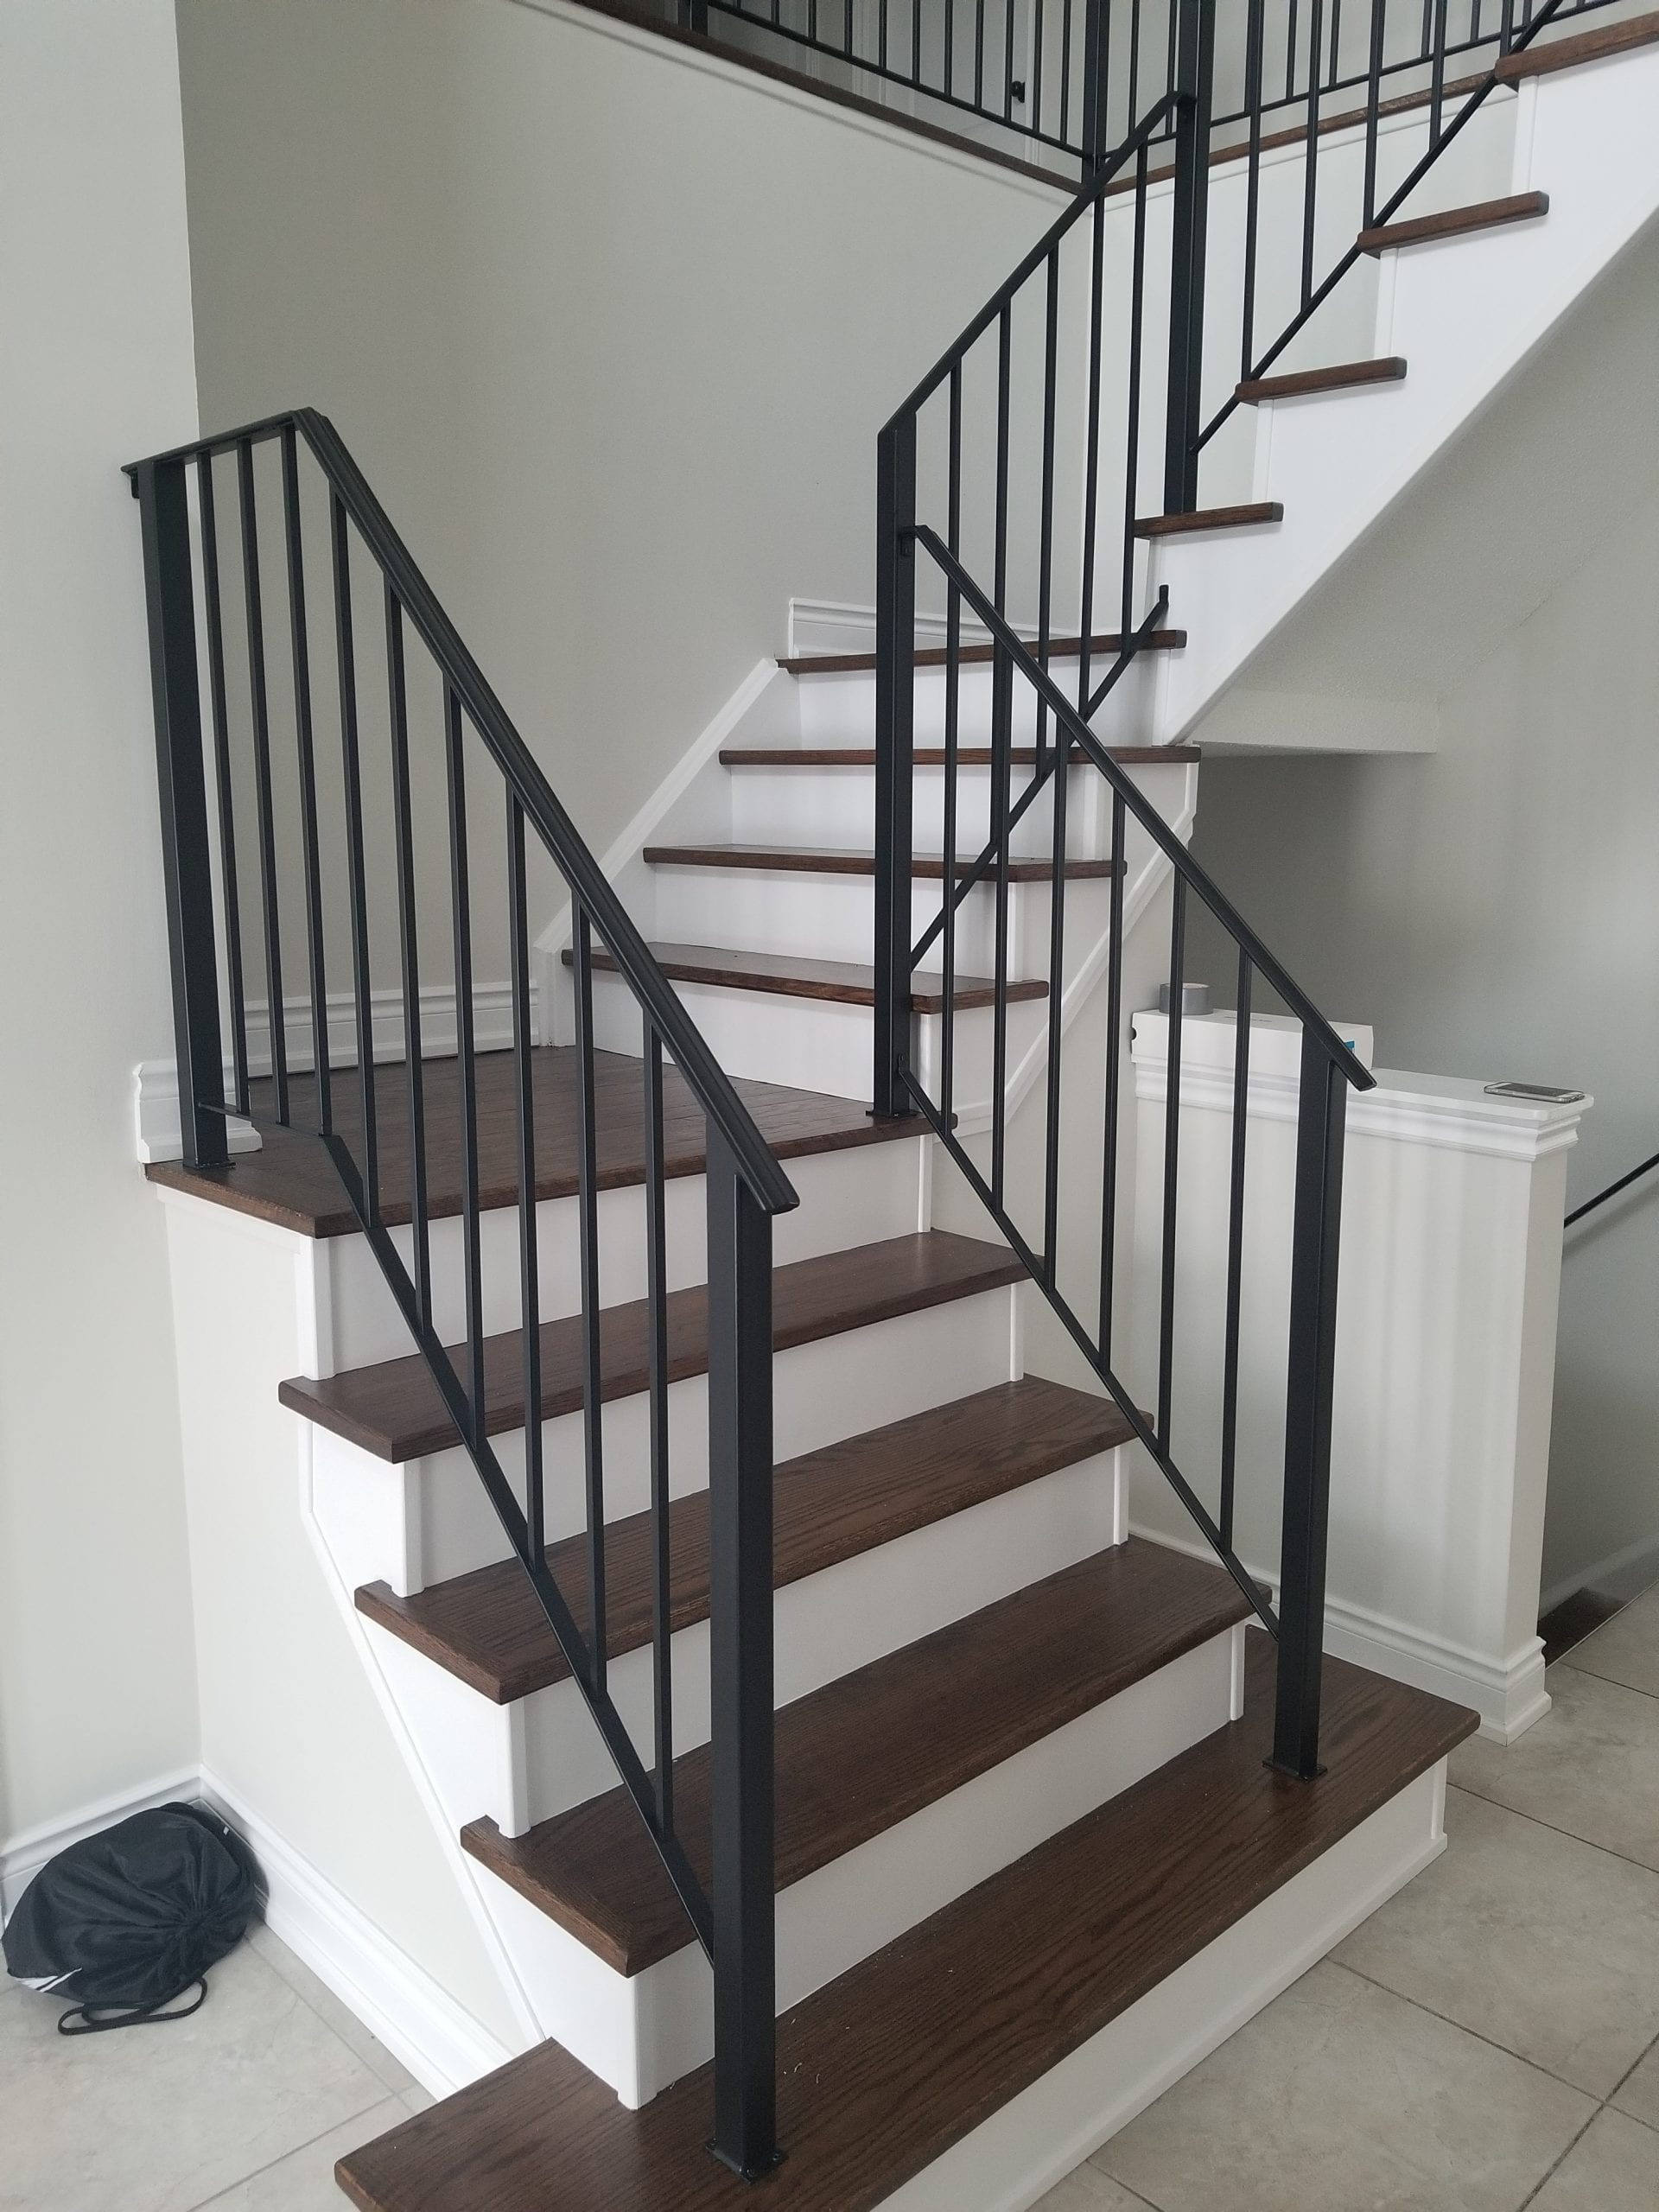
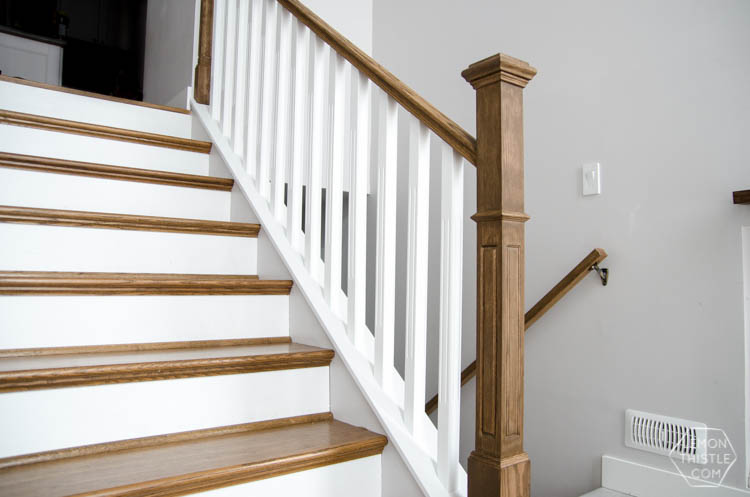
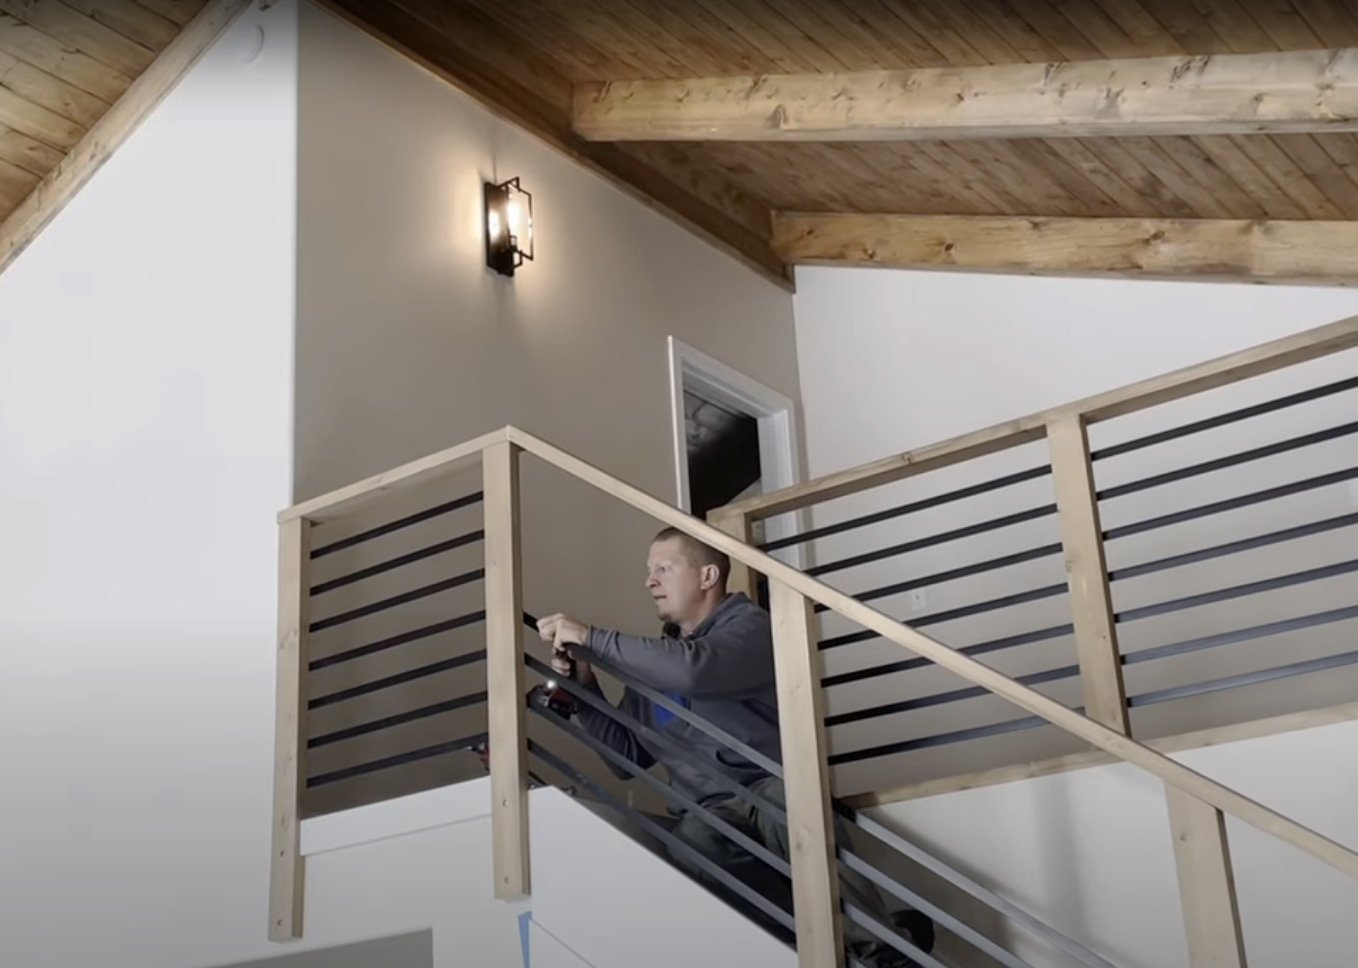
Wooden railings provide a warm and traditional feel, perfect for a cozy and inviting living room. Metal railings, on the other hand, offer a sleek and modern look, adding a touch of industrial or contemporary style. Glass railings provide a more open and airy feel, allowing for unobstructed views between the two levels of your living room.
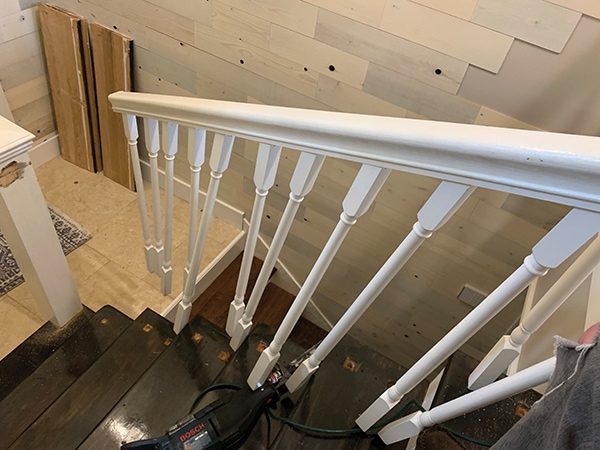
In addition to materials, there are also different styles of railing to choose from. Traditional railings typically consist of straight vertical or horizontal bars, while more modern styles may incorporate curved or diagonal elements. It's important to consider the overall aesthetic of your living room when choosing a railing, as it should complement the existing design.
Final Thoughts
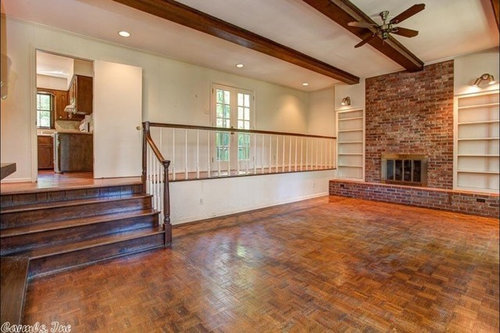 Installing a railing to step down living room not only adds a functional and safety element, but it can also enhance the overall design of your home. By choosing the right material and style, you can create a stunning and cohesive living room that is both safe and visually appealing. So why wait? Take the first step towards a safer and more beautiful living room by installing a railing today.


/Childrenrunningupstairs-GettyImages-83590626-d08f54823ad340f485bdf8cc173a8be5.jpg)
