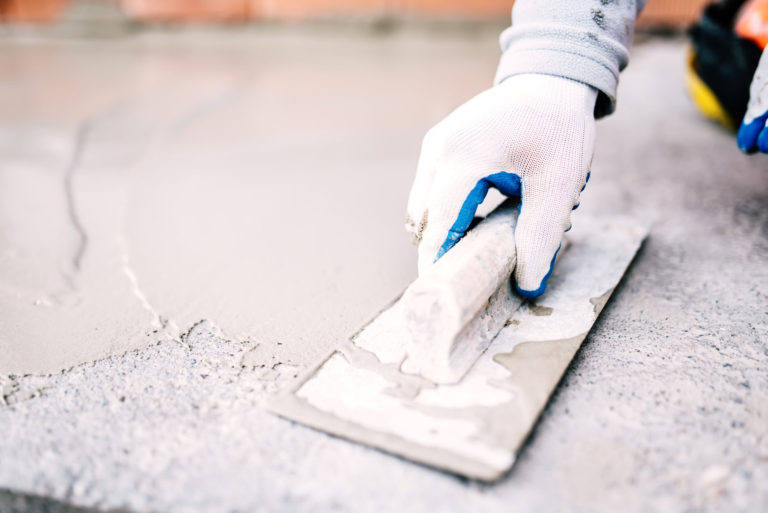
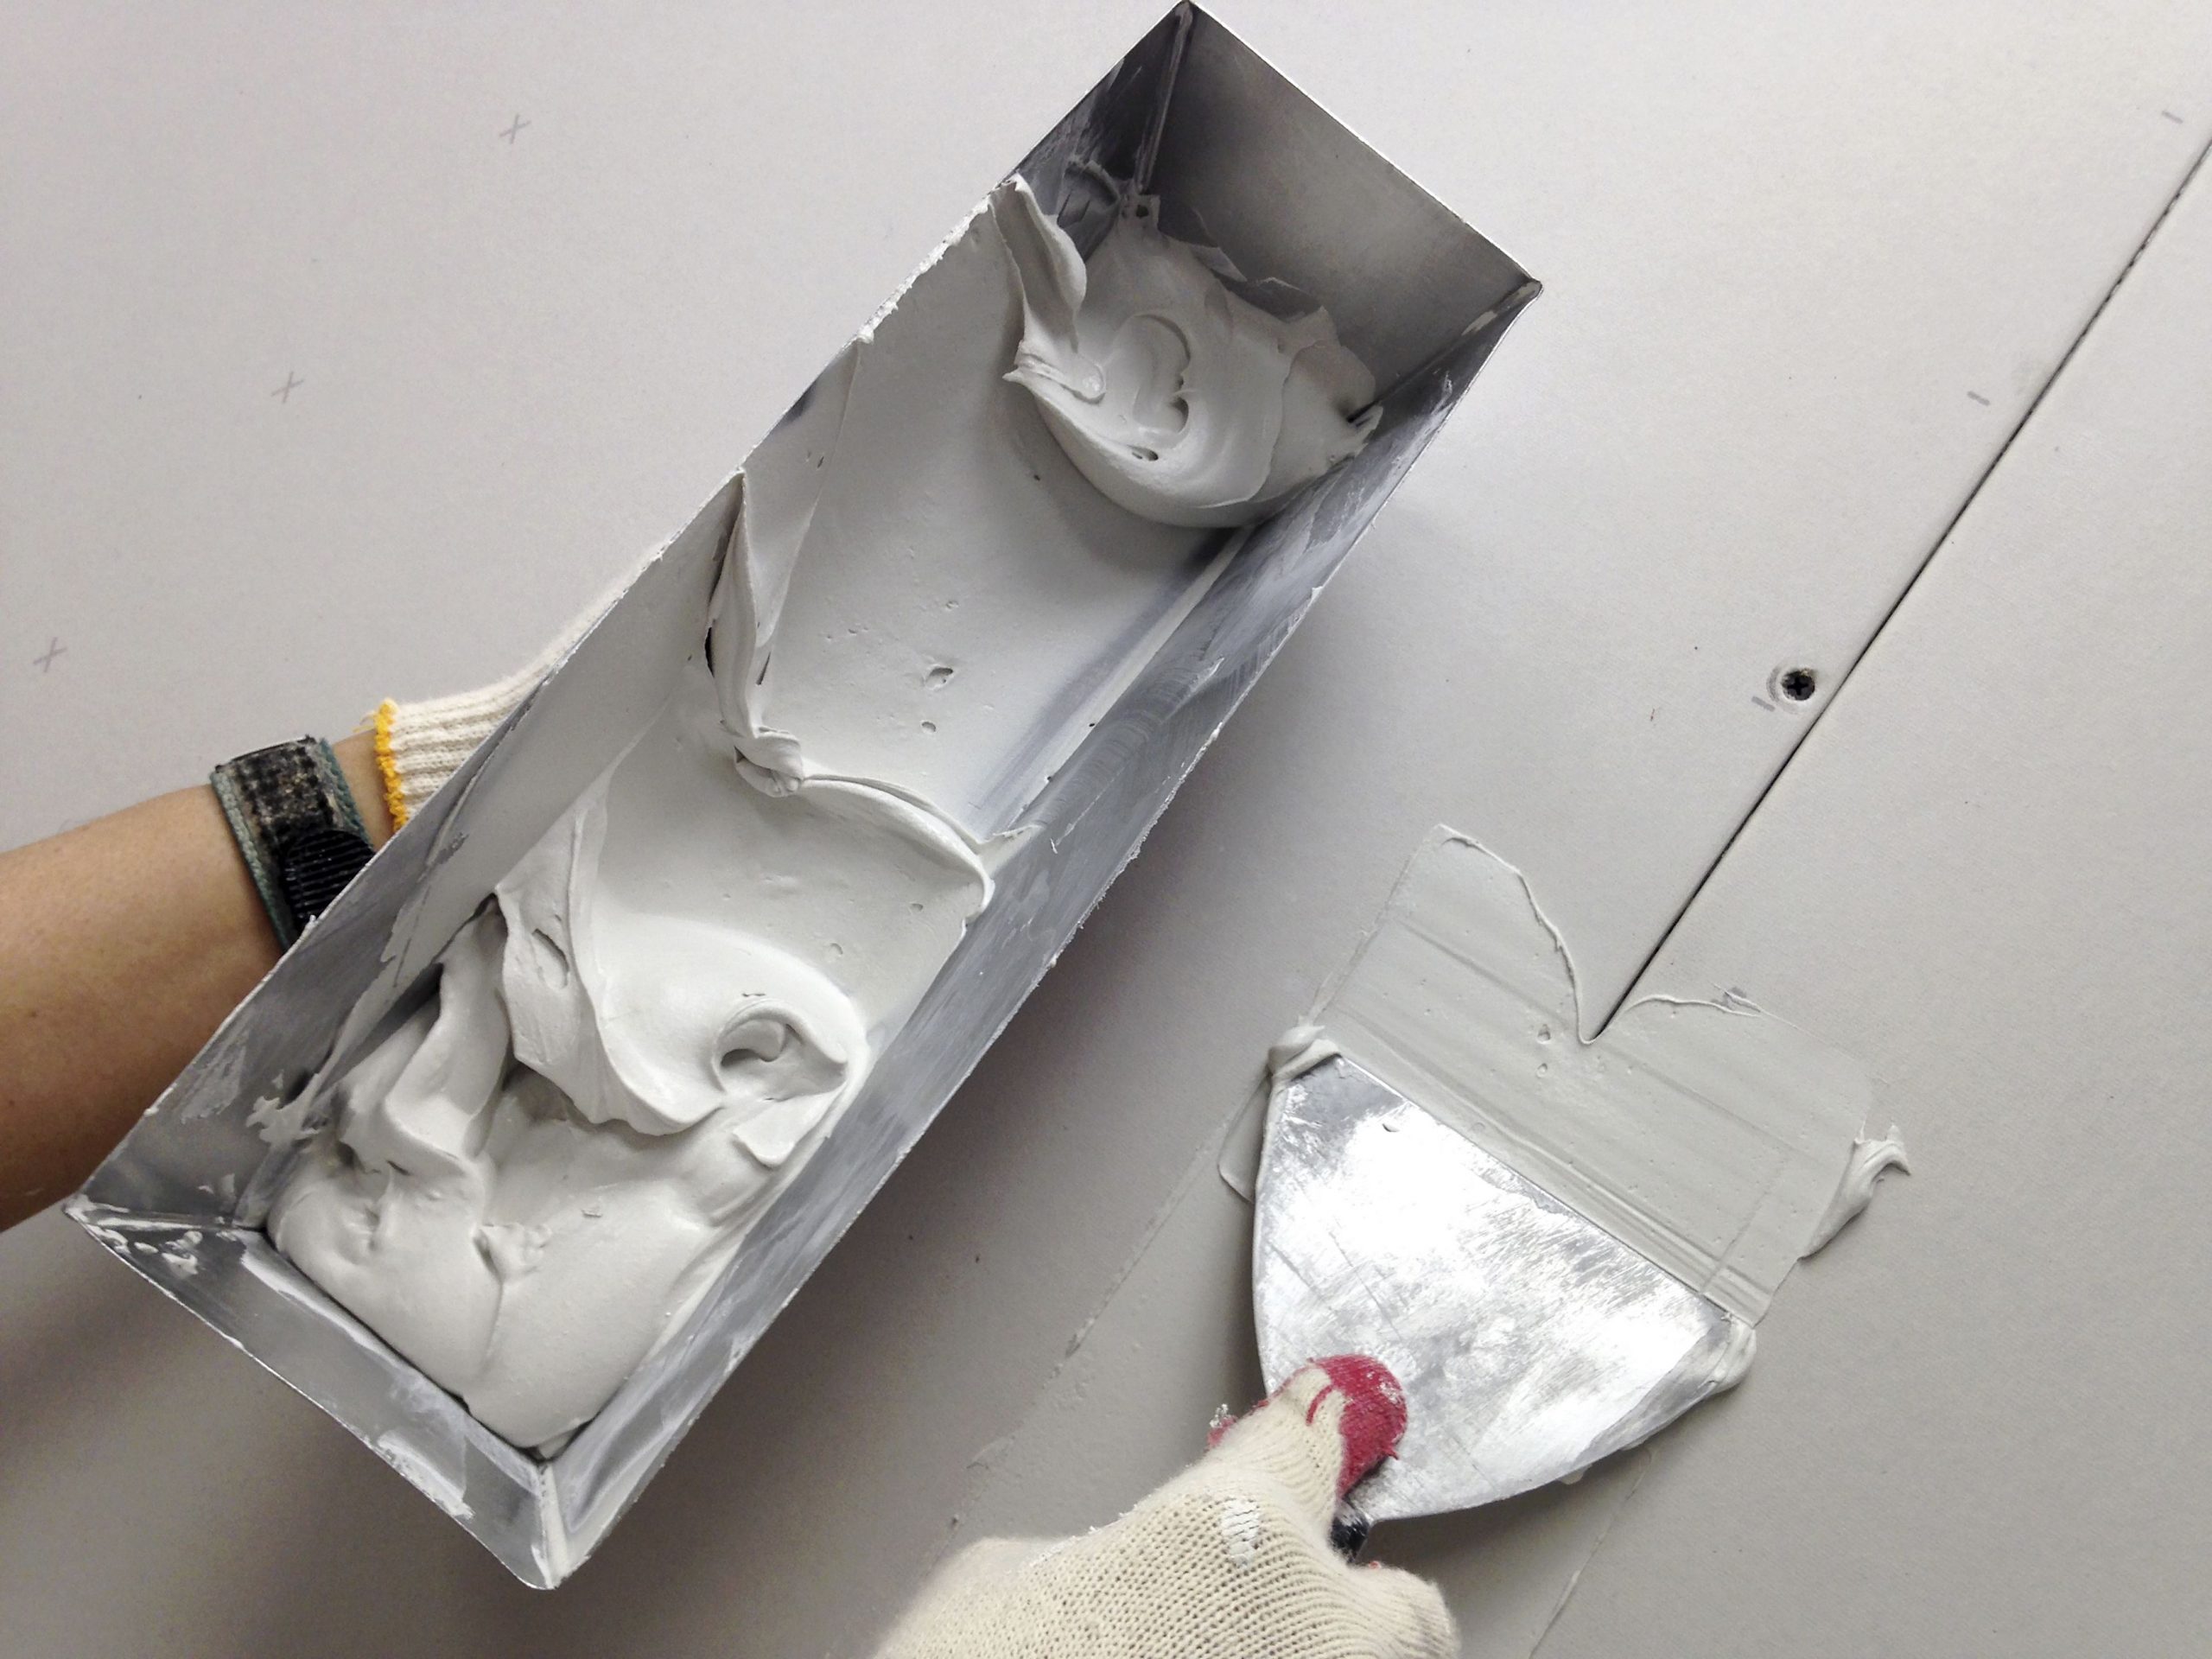
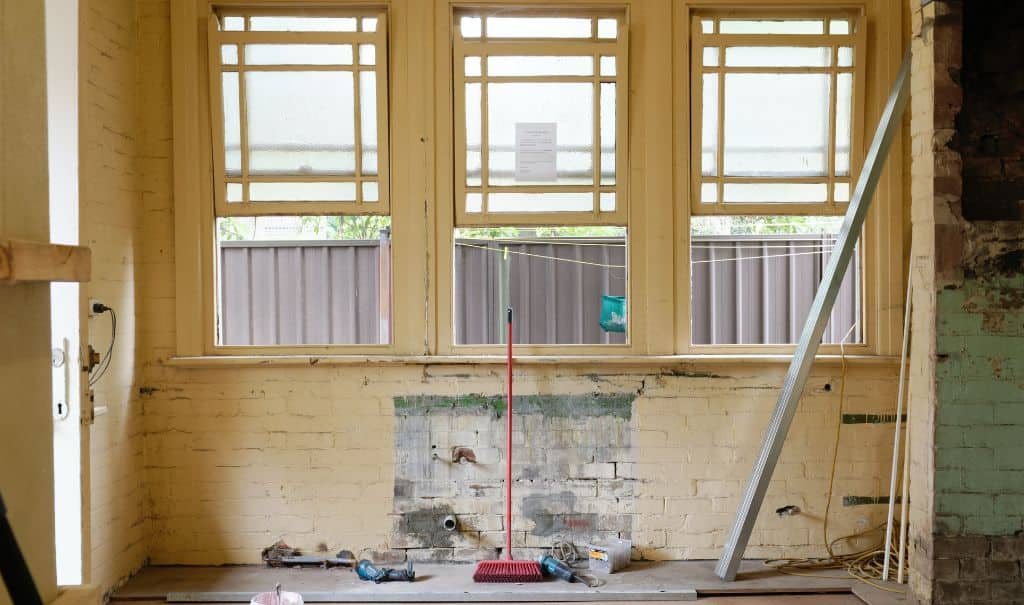
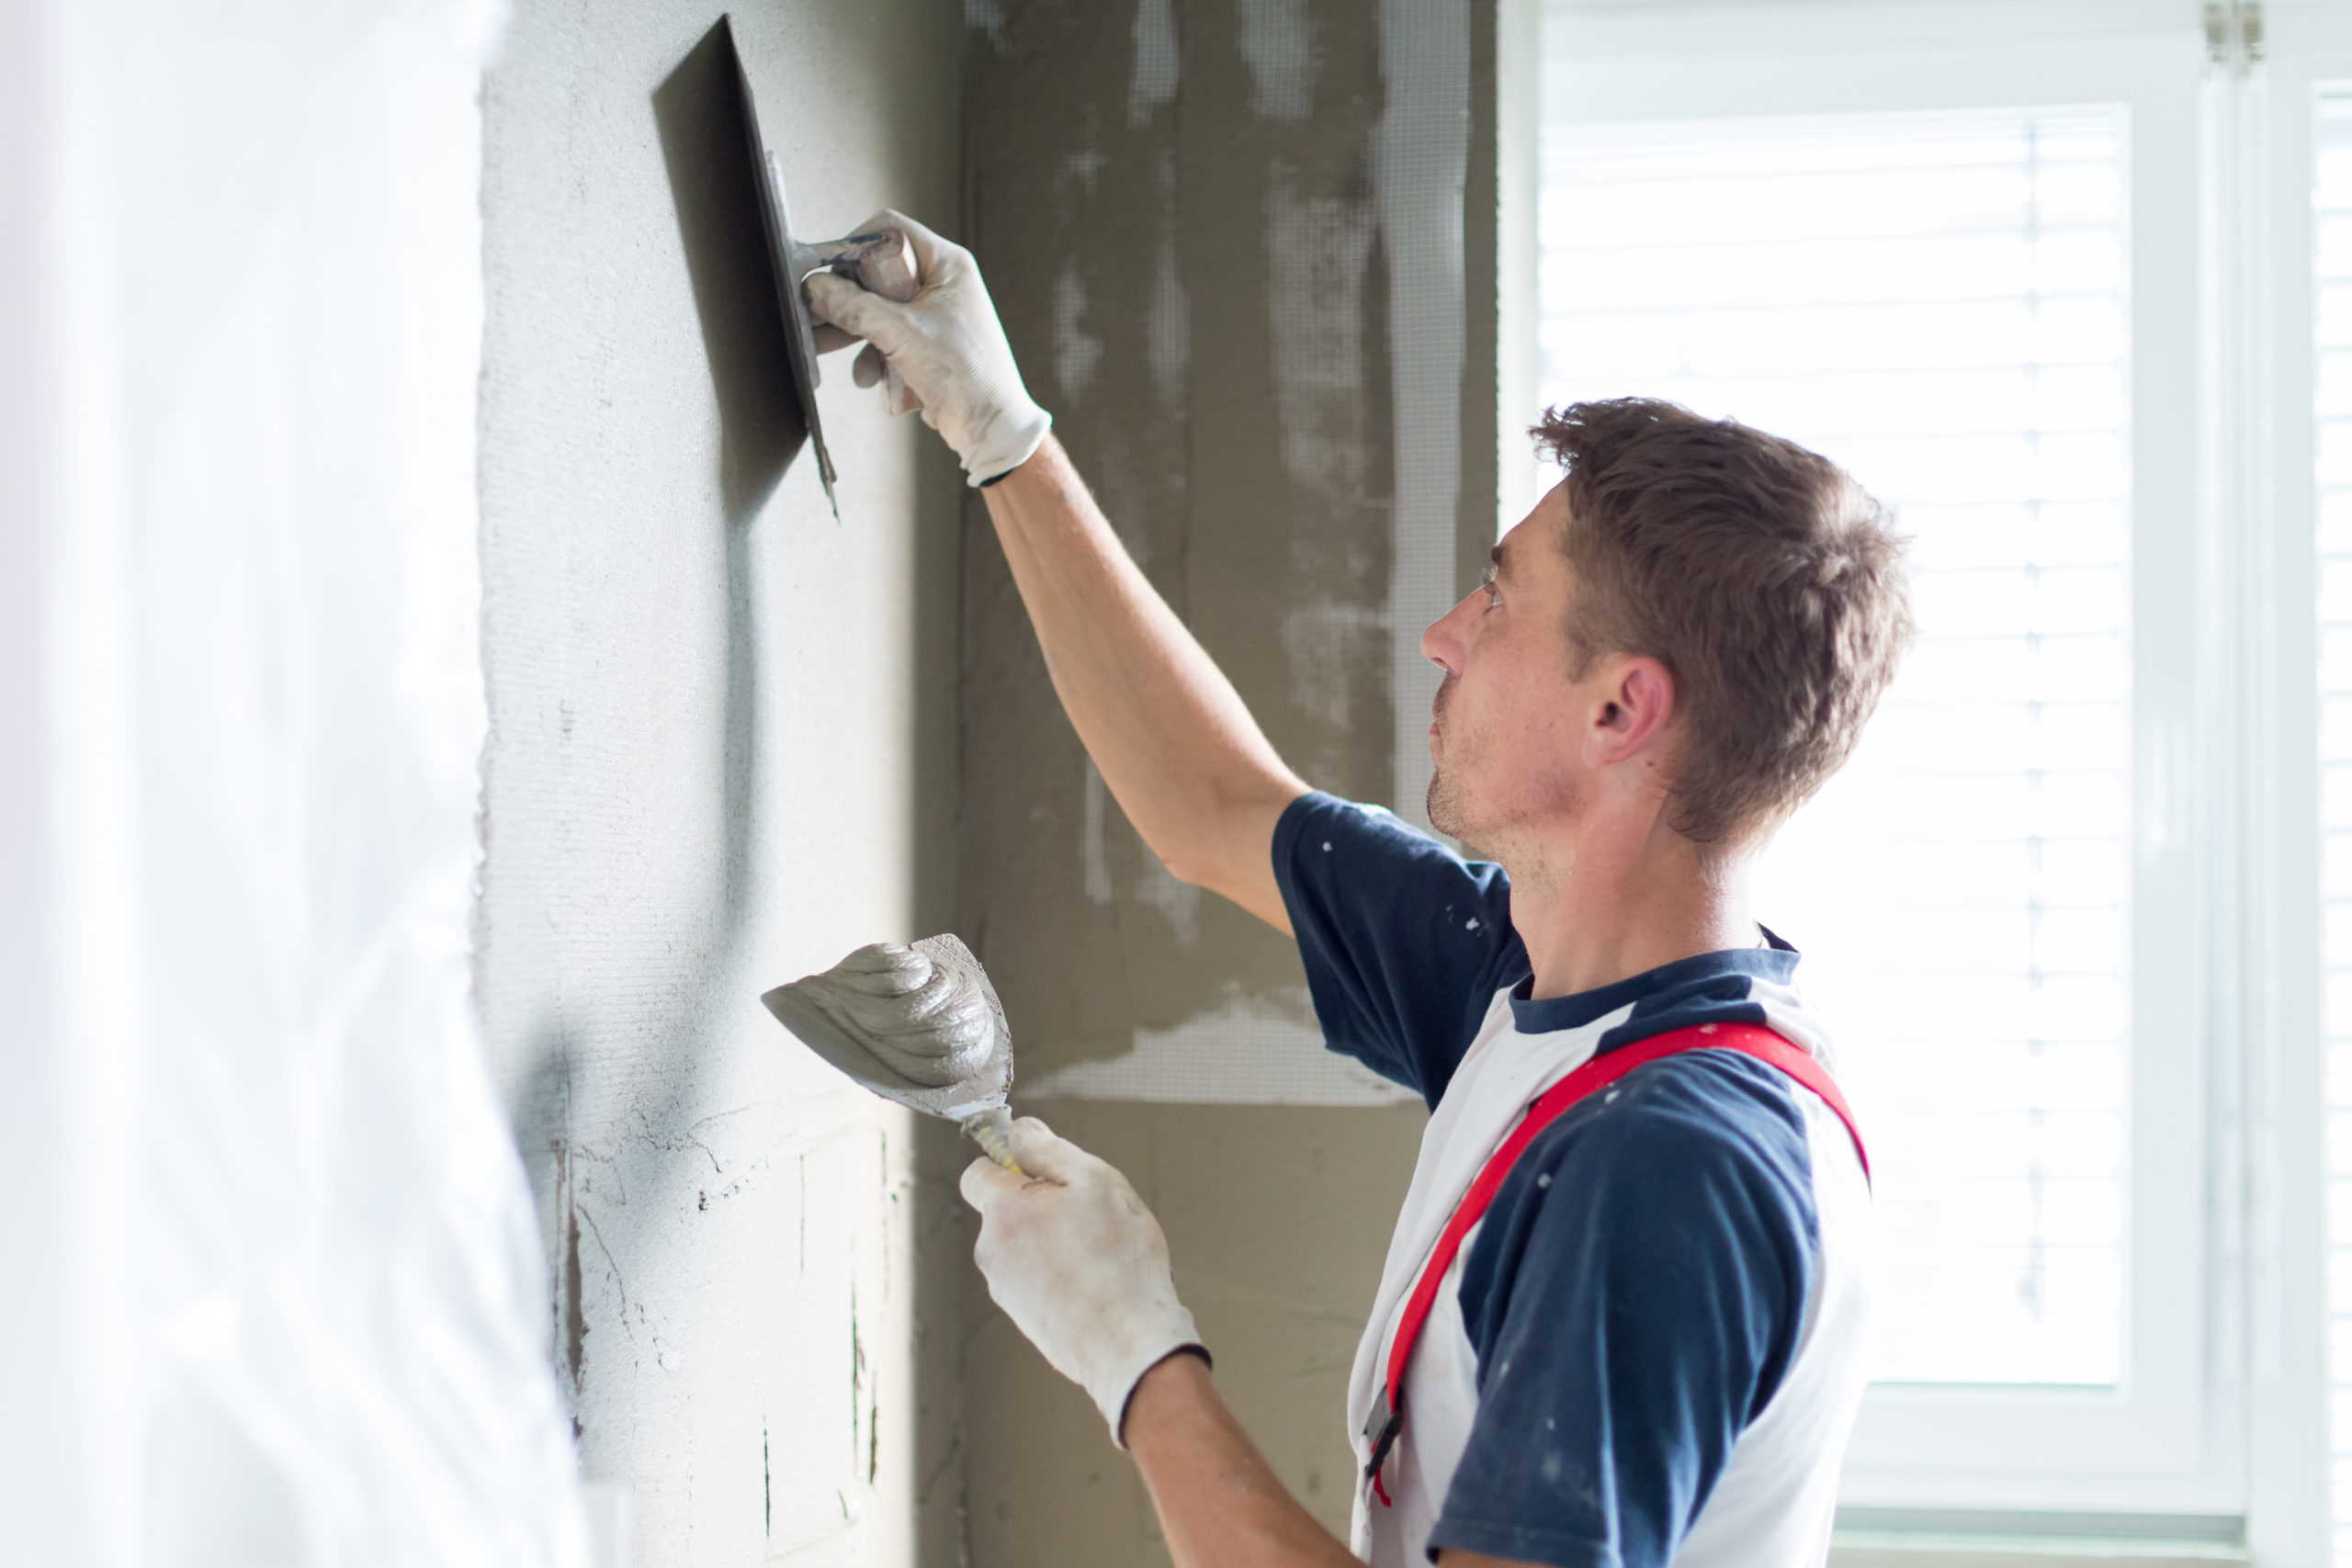
Have you ever walked into your kitchen and been bothered by the rough, uneven walls? Maybe they have dents, scratches, or just an overall bumpy texture. Whatever the case may be, it's not something you want to live with forever. Luckily, there are ways to improve and transform those rough kitchen walls into smooth and flawless surfaces. One of the most effective methods is skim coating. This technique involves applying a thin layer of joint compound or mud over the wall to create a smooth and even surface. Let's dive into the world of skim coating and discover how it can improve your kitchen walls.1. Skim Coating: A Smooth Solution for Rough Kitchen Walls
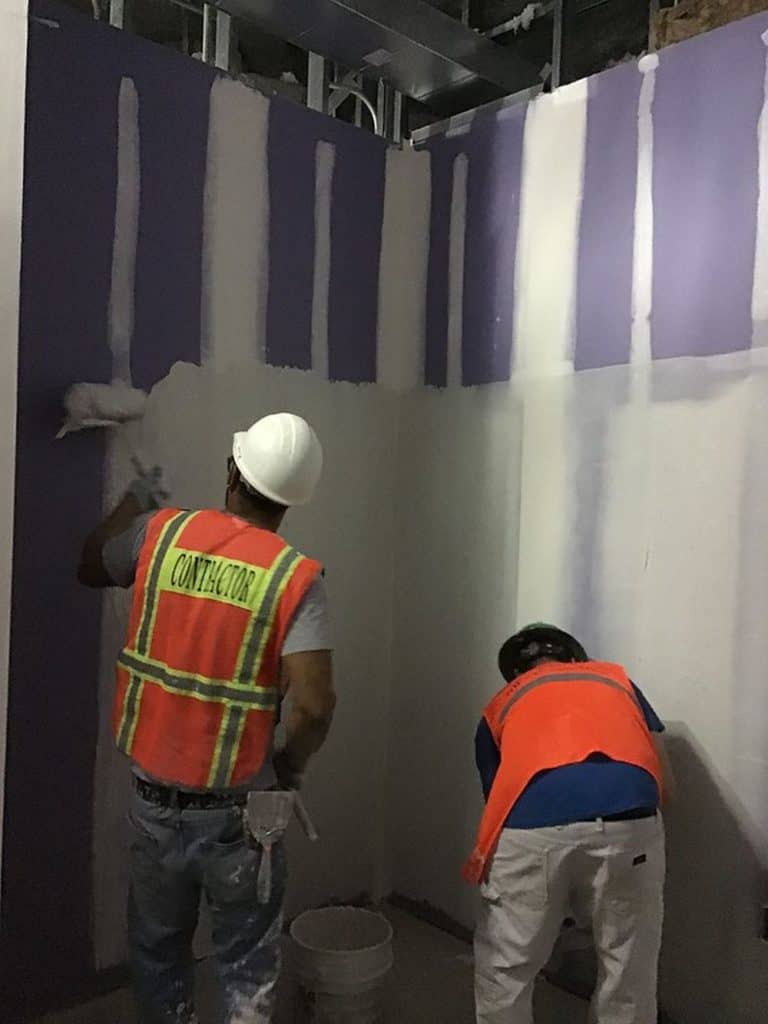

1. Skim coating


/SkimCoatingaWall-08a4b62342314e5aa0b3feadaf8a6194.jpg)
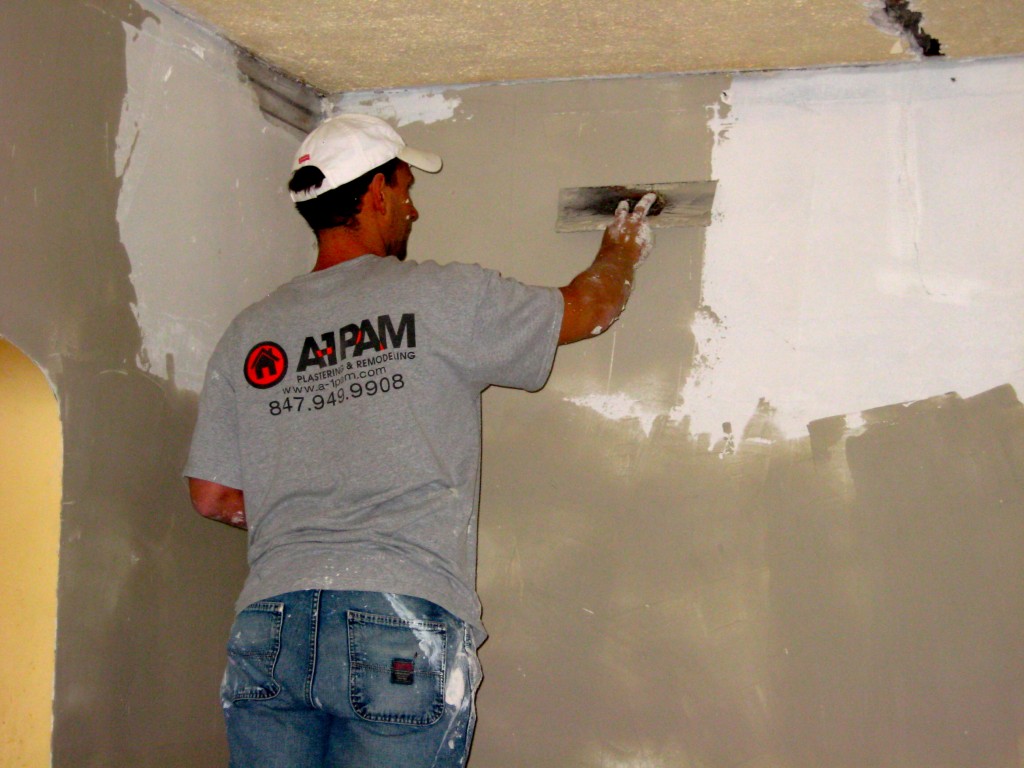

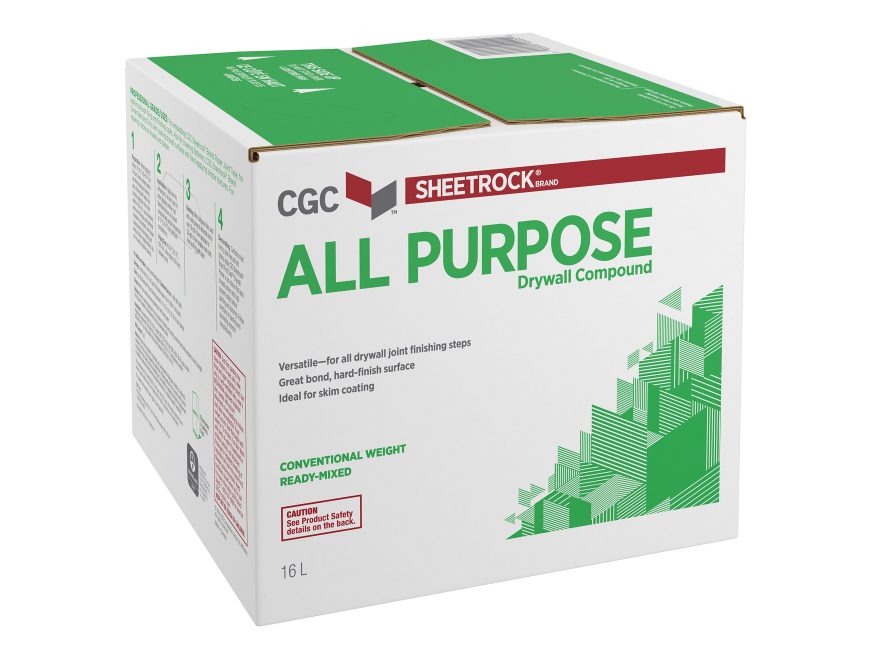
When it comes to skim coating, the most crucial element is the drywall compound. This is the material that will create a smooth and level surface on your rough walls. There are various types of drywall compounds available, and each one has its unique properties. For skim coating, it's best to use lightweight joint compound as it is easier to spread and sand. It also dries faster, which means you can get the job done quicker. However, if your walls have deep scratches or dents, you may need to use an all-purpose joint compound to fill them in before applying the lightweight compound.2. Drywall Compound: The Key Ingredient for a Successful Skim Coating


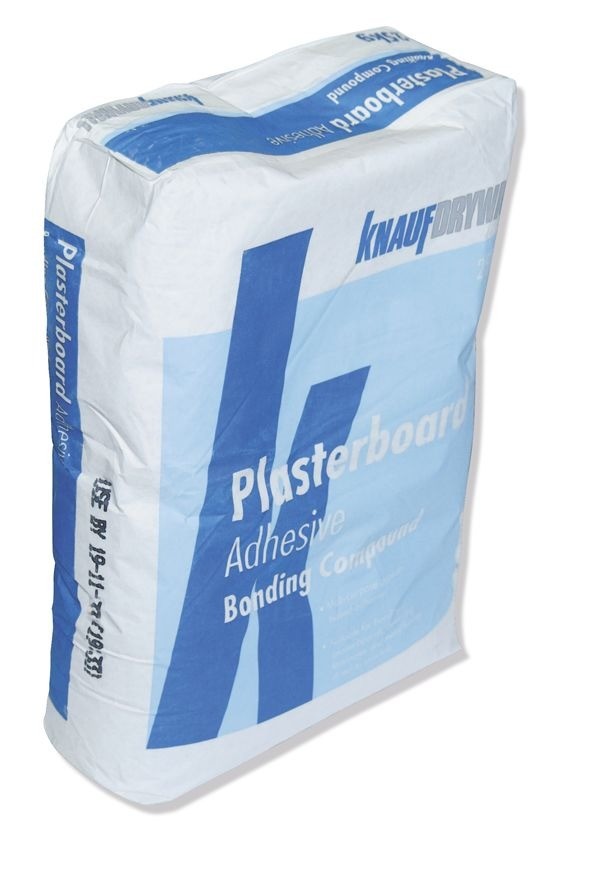
2. Drywall compound


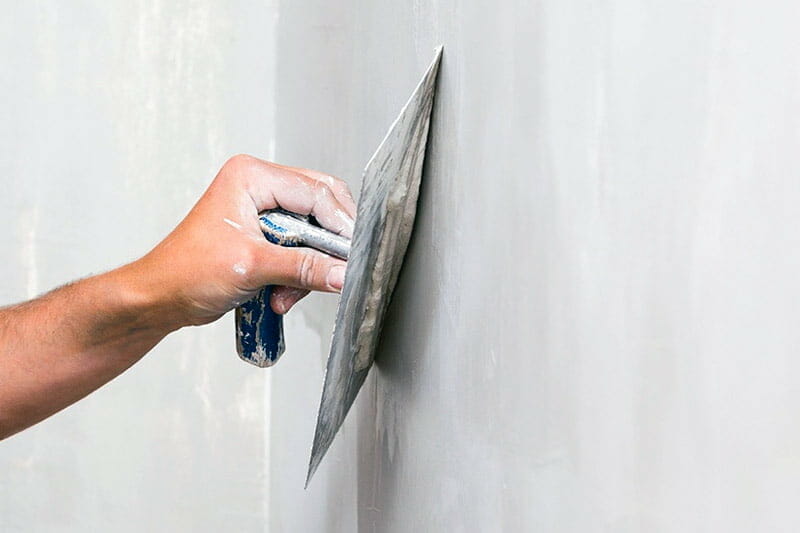
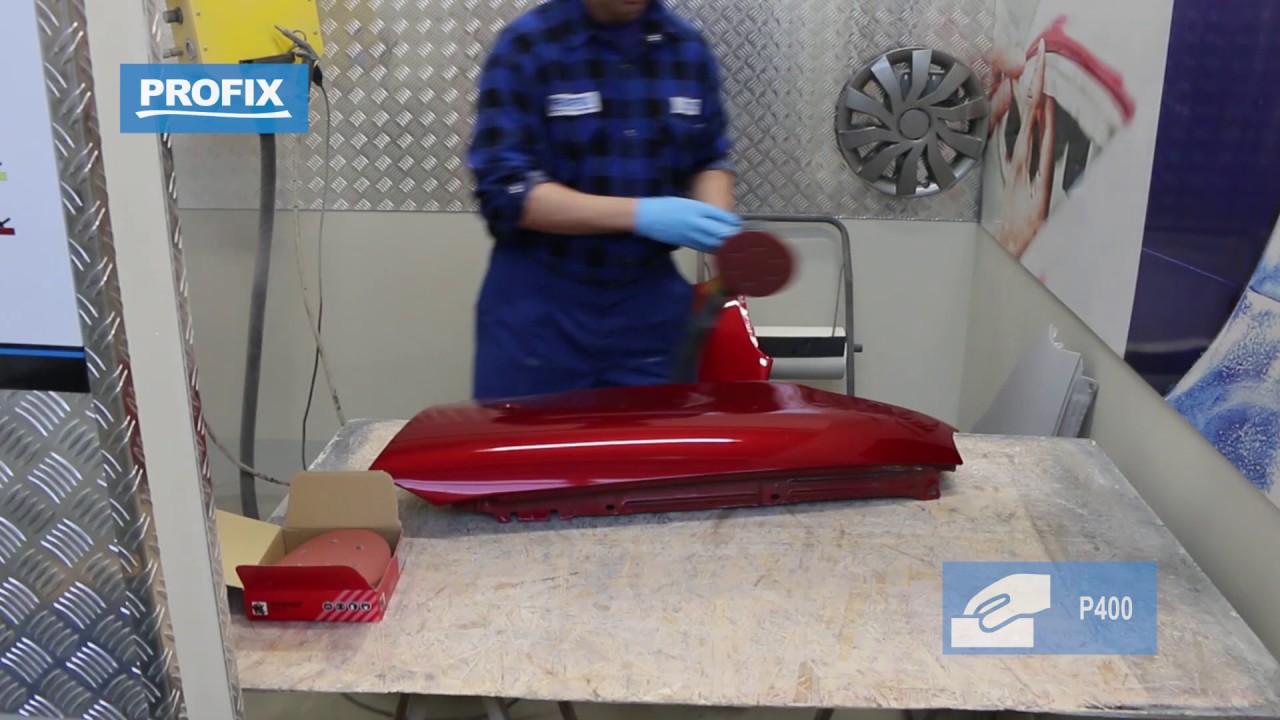
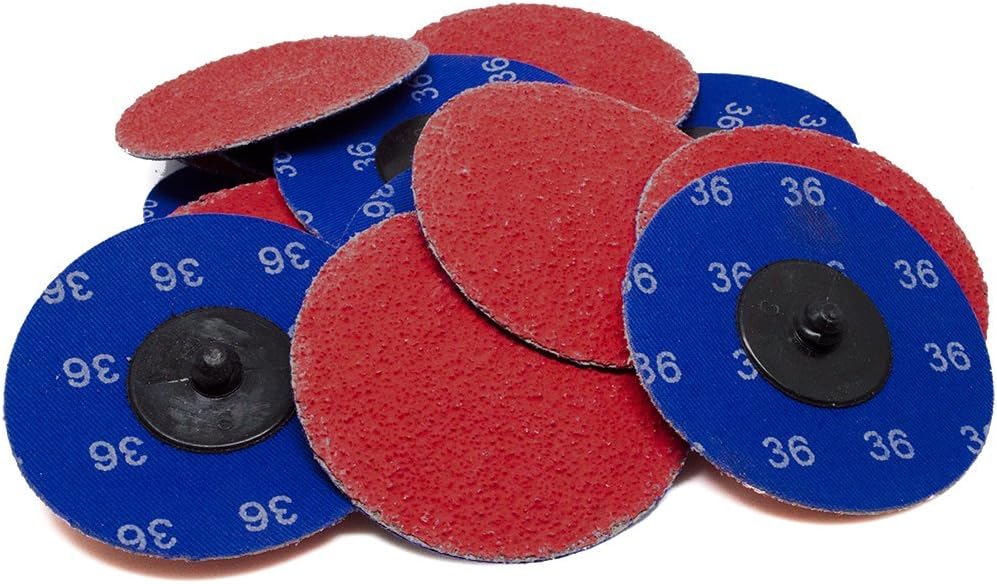
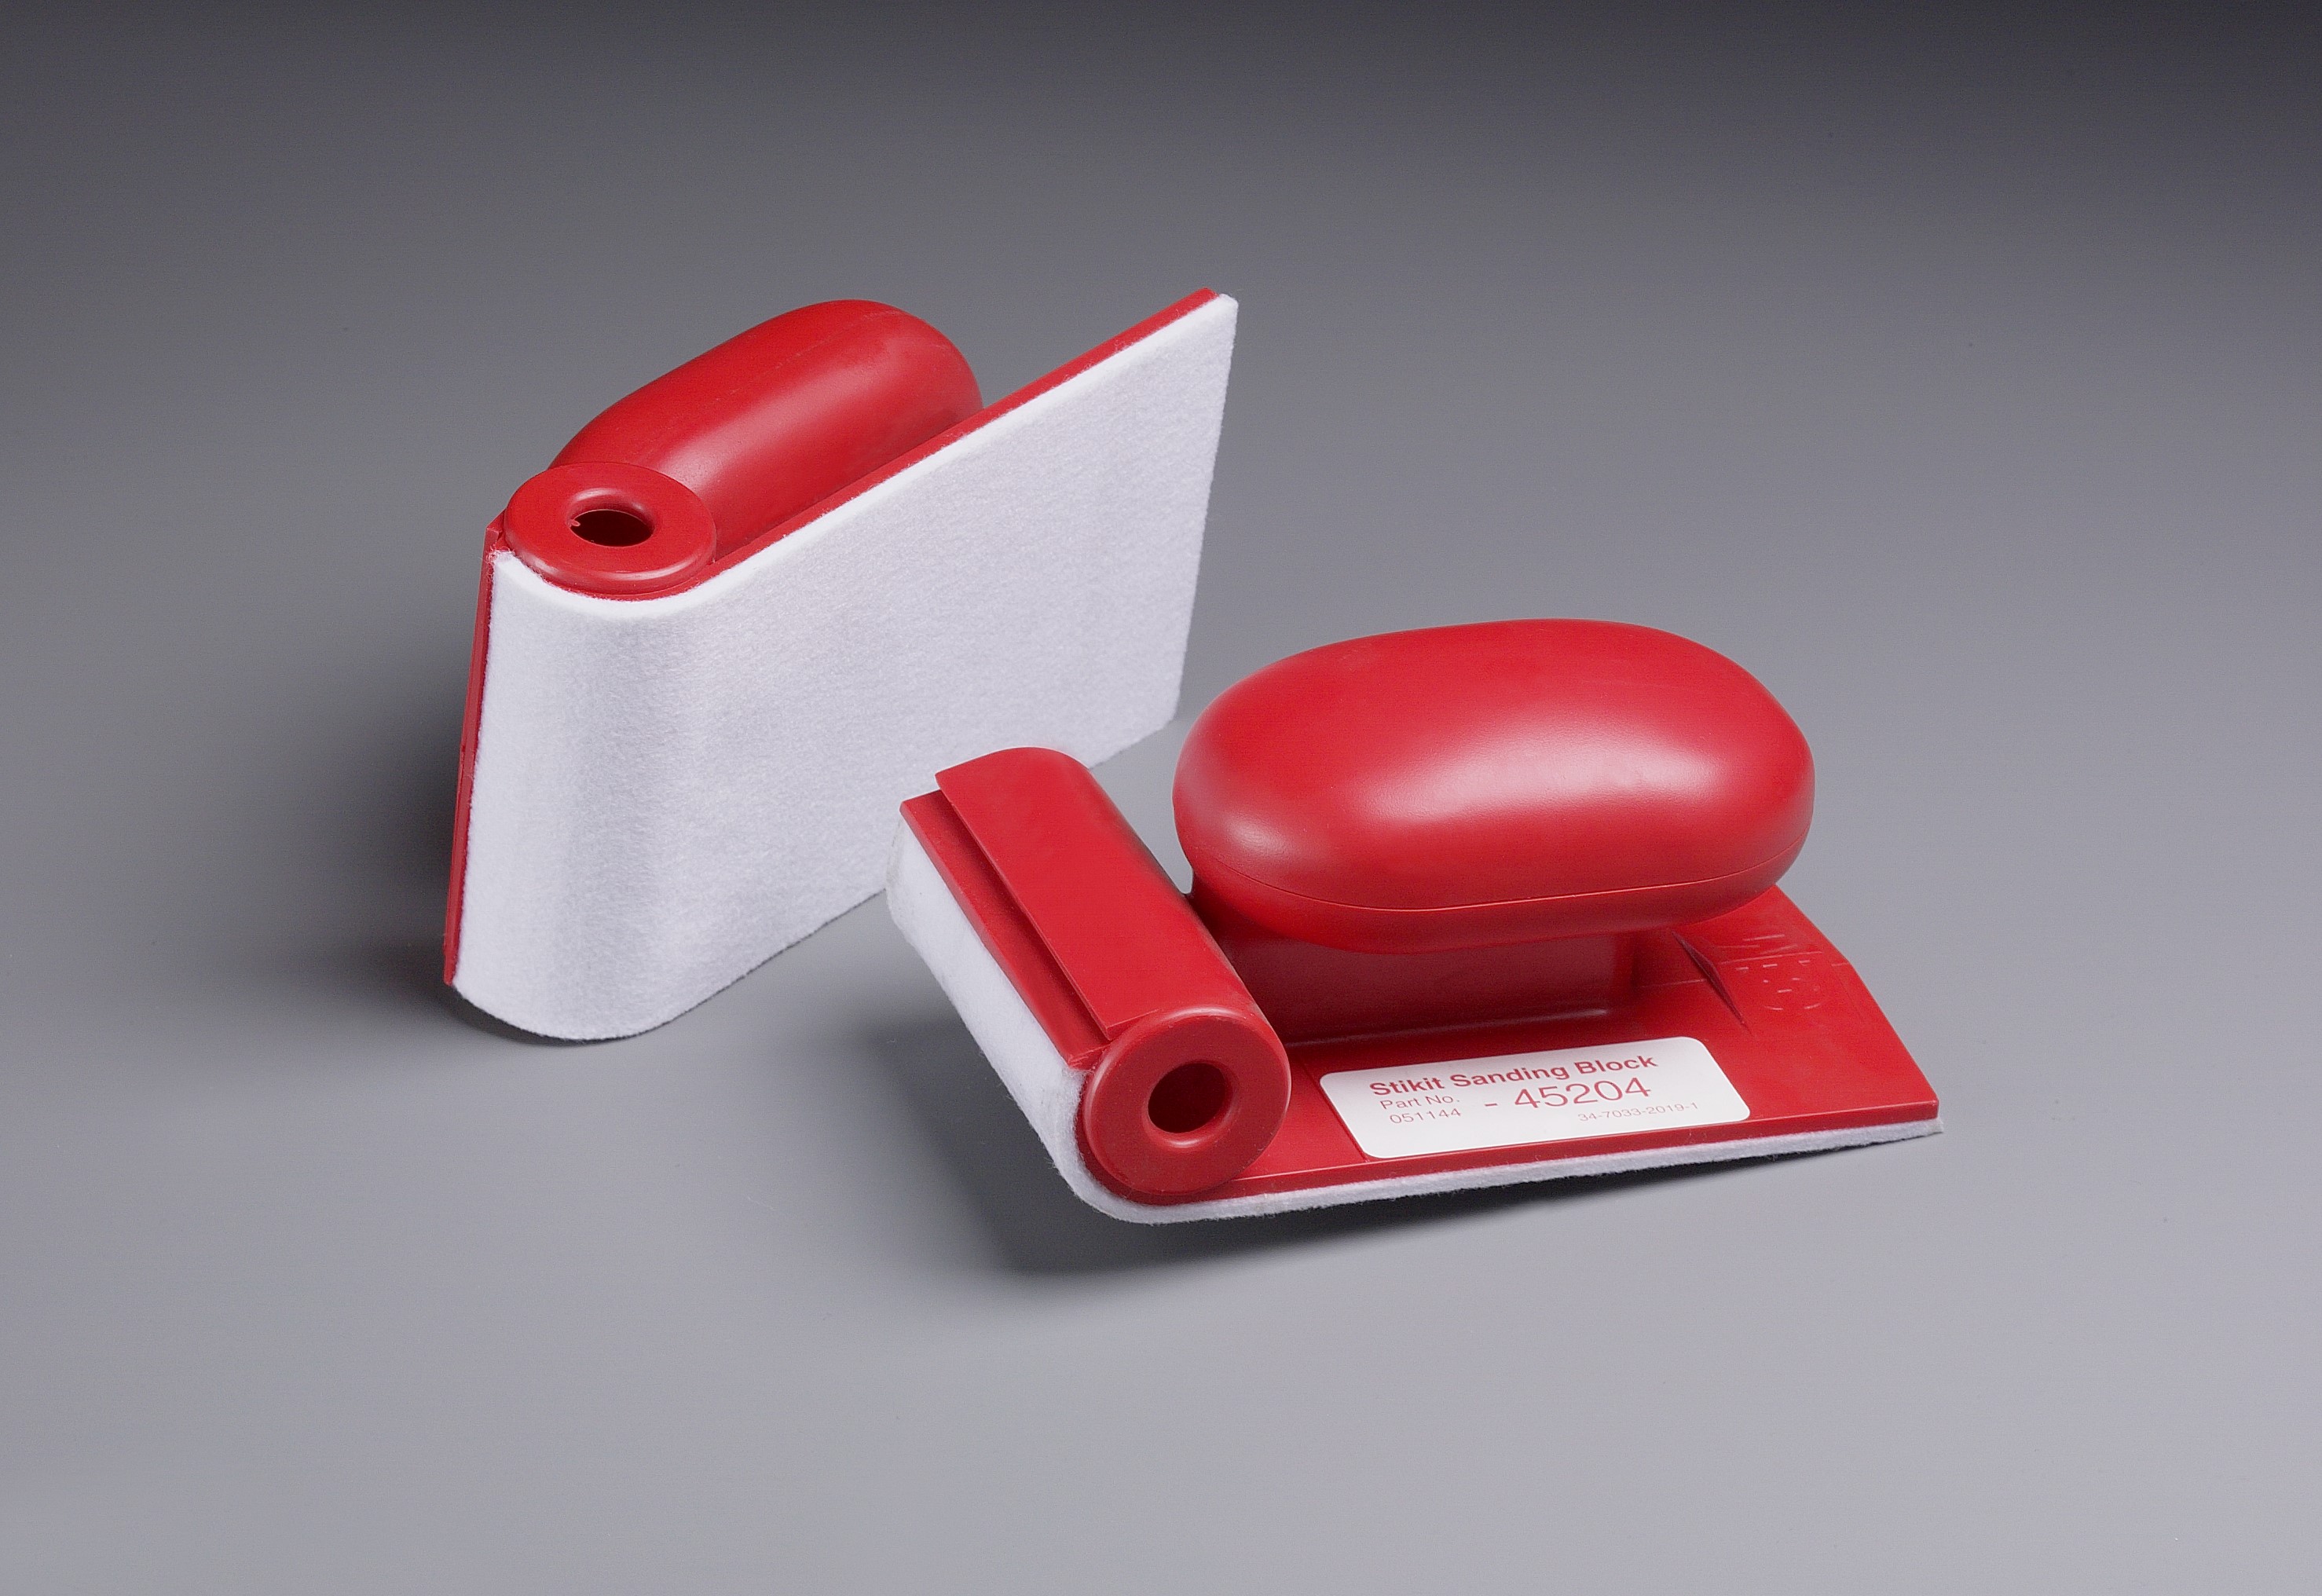
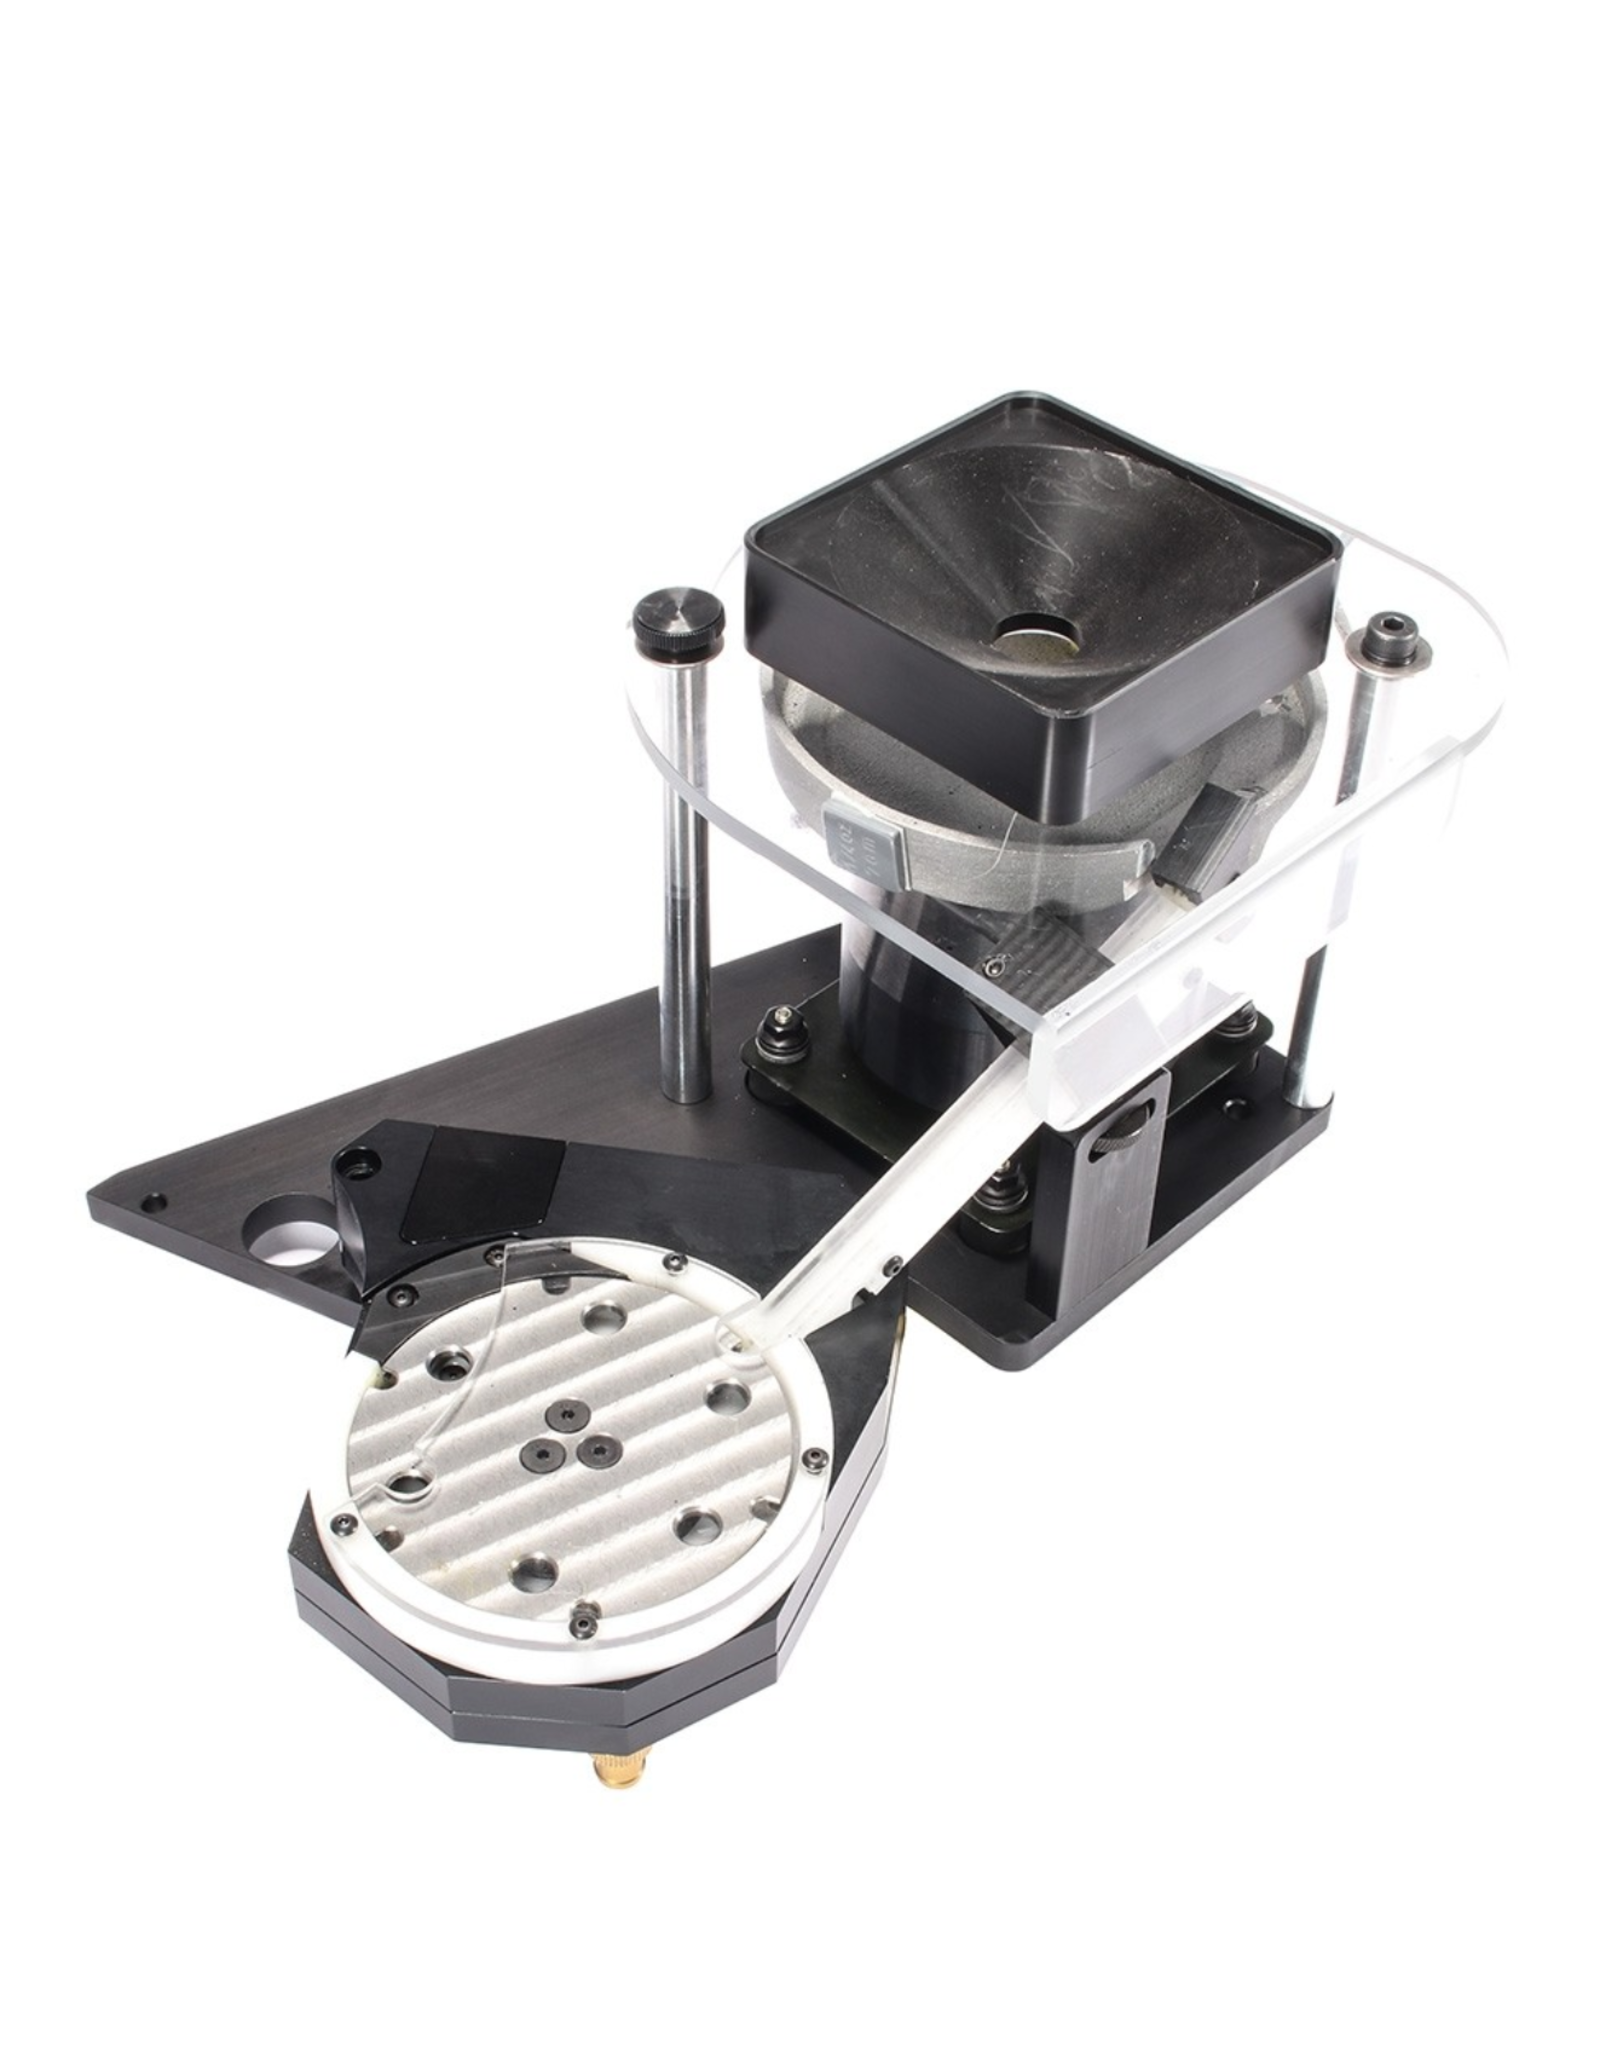
After applying the drywall compound, it's essential to sand the surface to achieve a smooth finish. This step is crucial as it helps remove any imperfections and creates a level surface. When sanding, it's best to use fine grit sandpaper and work in a circular motion. Be sure to wear a mask and safety goggles to protect yourself from dust and debris. Once you're done sanding, wipe the walls with a damp cloth to remove any remaining dust before moving on to the next step.3. Sanding: The Finishing Touch for a Flawless Surface


3. Sanding
+ingersol+rand+DL021B-33-A+DL051B-33-A+handheld+drum+sander+motors+(6)-1920w.jpg)


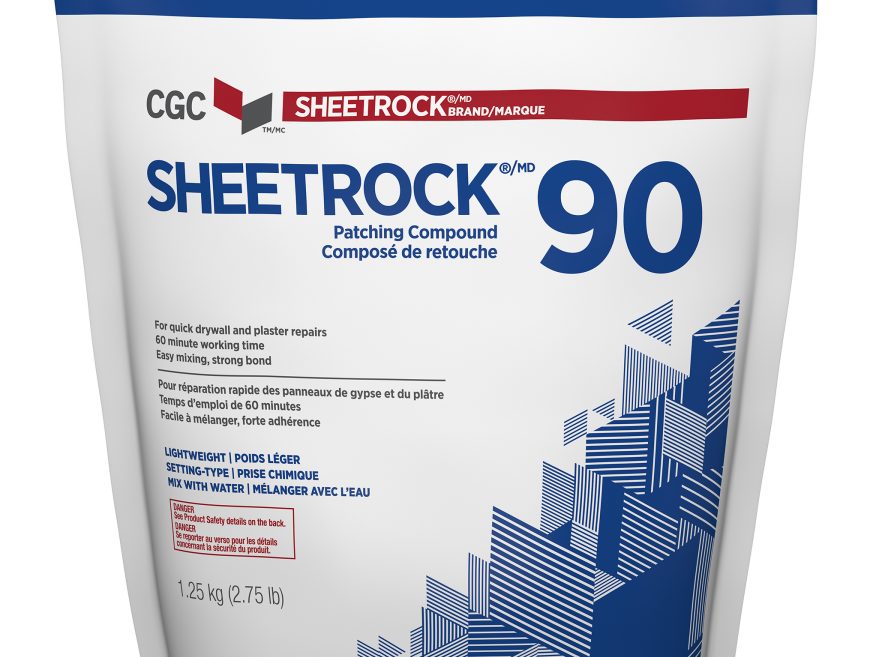
Another way to improve rough kitchen walls is by using spackling. This material is similar to joint compound, but it's thicker and better for filling in larger gaps and holes. If your walls have noticeable dents or scratches, spackling can be used before the skim coating process to create a smooth and seamless surface. After applying the spackling, be sure to sand it down before moving on to skim coating.4. Spackling: Filling in the Gaps for a Seamless Look


4. Spackling


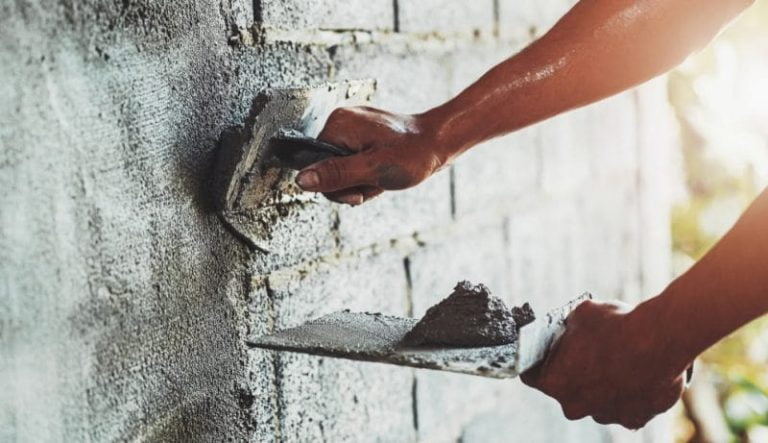
If you have older walls, you may need to use plaster instead of drywall compound for skim coating. Plaster is a traditional method for smoothing out rough walls and has been used for centuries. However, it can be a bit more challenging to work with compared to drywall compound. Plaster is thicker and takes longer to dry, which means it will require more time and effort to achieve a smooth finish. It's best to consult a professional if you're not familiar with the plastering process.5. Plastering: A Traditional Method for Smoothing Out Rough Walls


5. Plastering


If your rough kitchen walls have small gaps and cracks, caulking may be the answer. This material is a sealant that can easily fill in gaps between trim, baseboards, and walls. It's a simple and affordable solution for uneven walls, and it can make a significant difference in the overall appearance of your kitchen. Just be sure to choose a color that matches your walls to achieve a seamless look.6. Caulking: A Simple Solution for Uneven Gaps


6. Caulking


Before you can paint your newly skim coated walls, it's essential to prime them first. This step is crucial as it helps the paint adhere better to the surface and ensures a smooth and even finish. When choosing a primer, look for one that is specifically made for skim coated walls. This type of primer is designed to fill in any small imperfections and create a smooth and level surface for painting.7. Priming: Preparing the Walls for a Fresh Coat of Paint


7. Priming


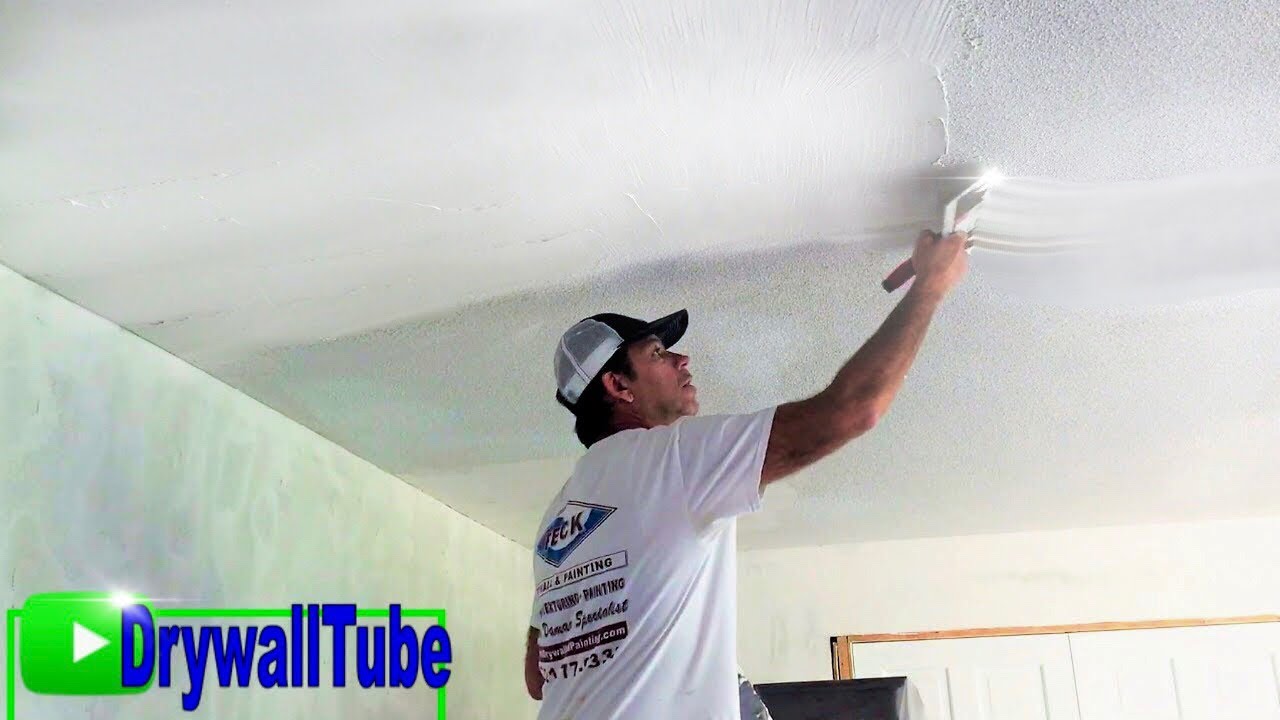
If you want to add some character and dimension to your kitchen walls, consider using texture paint. This type of paint comes in various finishes, from smooth to coarse, and can give your walls a unique and eye-catching appearance. Texture paint is also great for hiding any imperfections in your walls, making it an excellent option for those with rough kitchen walls.8. Texture Paint: Adding Dimension to Your Kitchen Walls


8. Texture paint


If painting isn't your thing, or if you want to add some pattern and color to your kitchen walls, consider using wallpaper. This is a great option for those with rough walls as it can easily cover up any imperfections. There are endless options when it comes to wallpaper, from bold prints to subtle textures, allowing you to add your personal style to your kitchen.9. Wallpaper: A Creative Solution for Rough Walls


9. Wallpaper


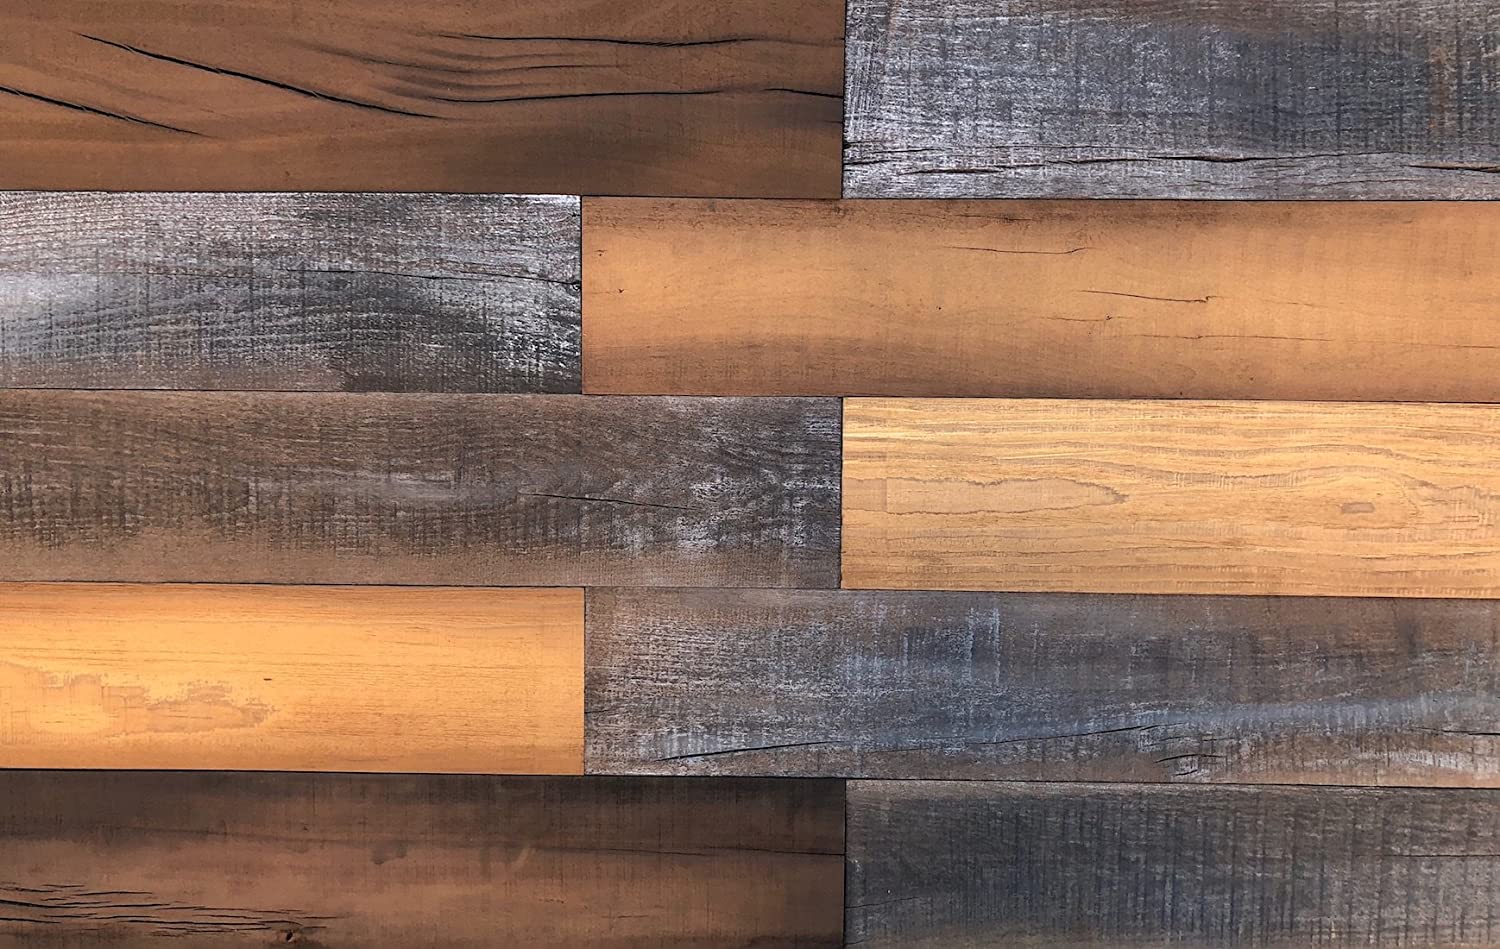
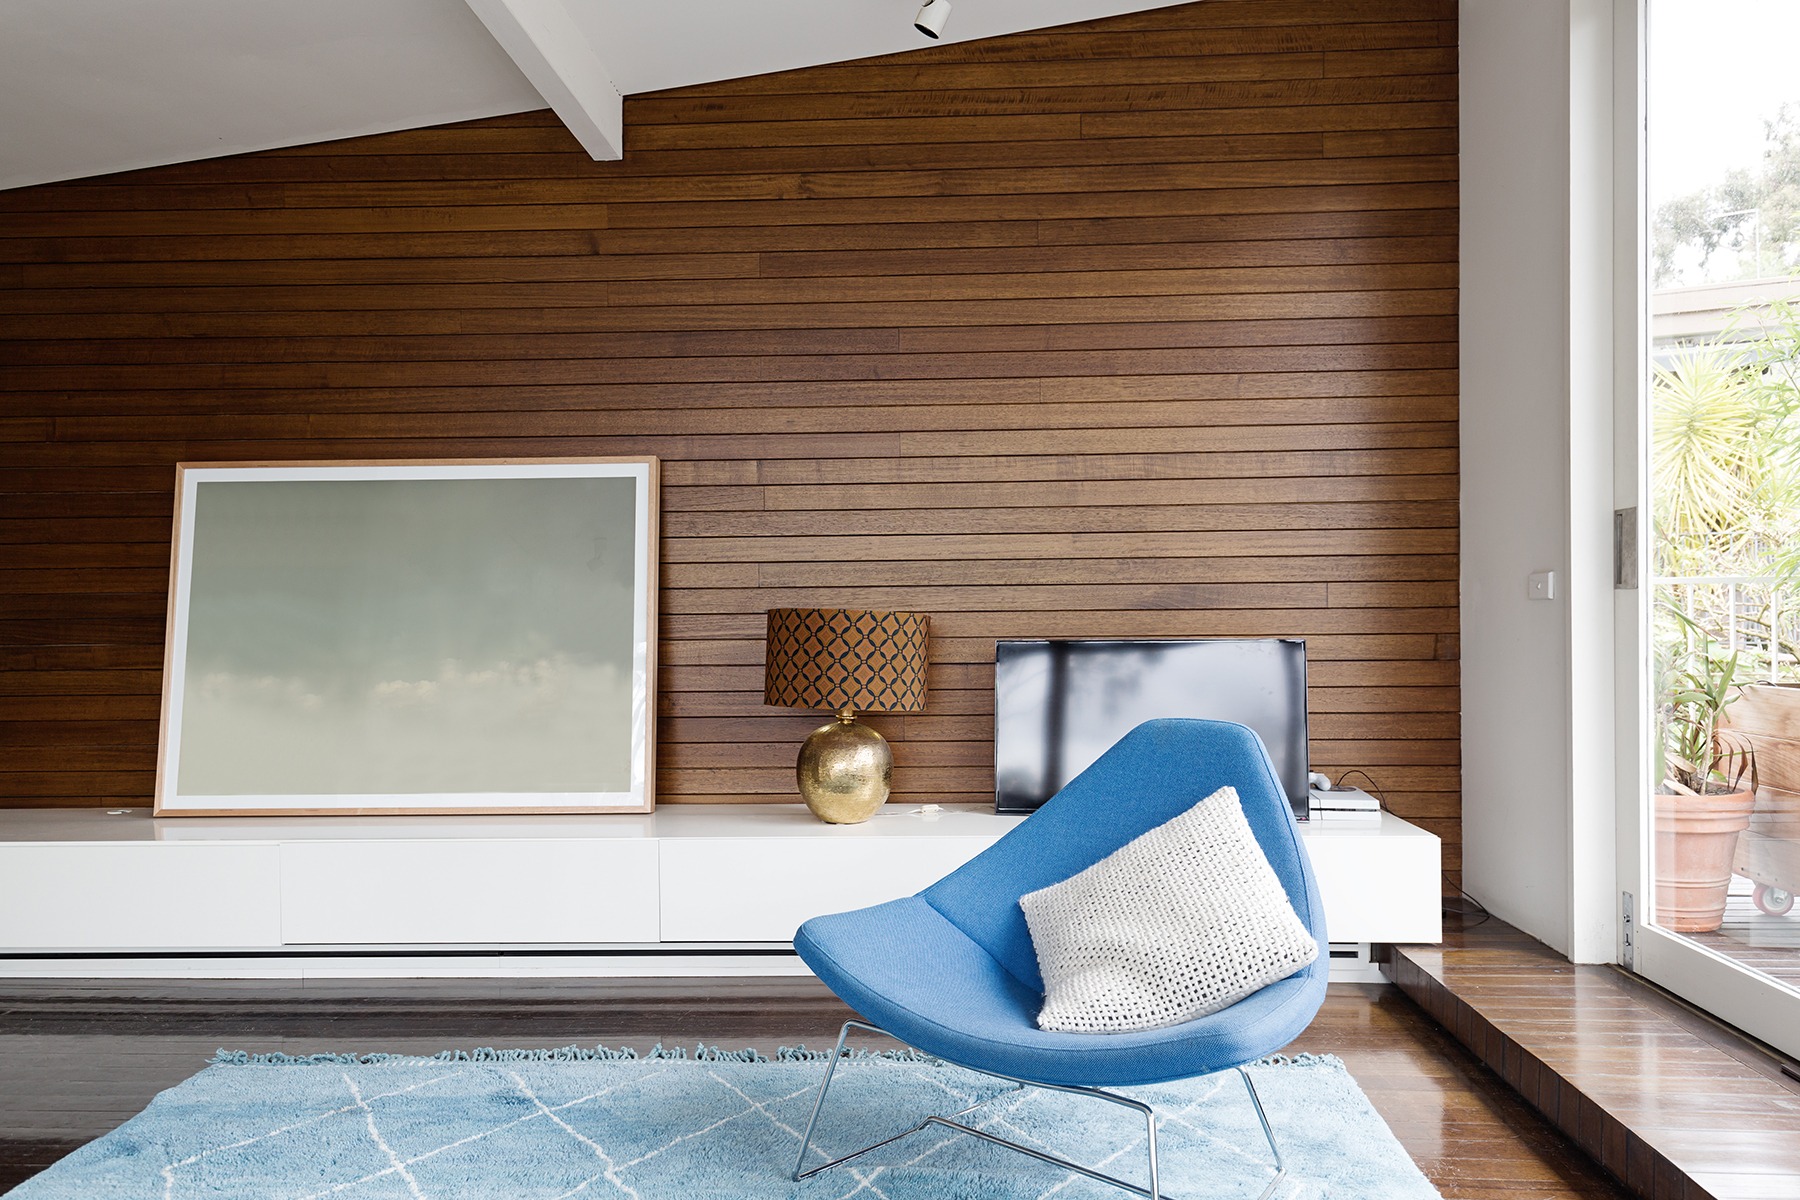
If you're looking for a quick and easy fix for your rough kitchen walls, paneling may be the solution. This involves attaching panels to your walls, covering up any imperfections and creating a smooth and even surface. Paneling comes in different materials, including wood, PVC, and even fabric, giving you endless options for transforming your kitchen walls. With these ten methods for improving rough kitchen walls, you can say goodbye to those unsightly bumps and dents and hello to a smooth and flawless surface. Whether you choose to skim coat, use wallpaper, or paneling, there's a solution for every budget and style. So don't let rough walls hold you back from enjoying your dream kitchen, try these methods today and see the difference for yourself.10. Paneling: A Quick and Easy Fix for Rough Walls


10. Paneling


/Wood-Wall-Paneling-Mid-Century-Modern-Style-184315944-56a4a00e5f9b58b7d0d7e307.jpg)

Creating a Visually Appealing and Functional Kitchen Space

Revamp Your Kitchen Walls for a More Polished Look
 When it comes to designing and decorating your home, the kitchen is often one of the most important areas to consider. Not only is it a space for preparing meals, but it also serves as a gathering place for family and friends. Therefore, it's essential to have a kitchen that is both visually appealing and functional. One area that often gets overlooked in kitchen design is the walls. However, by improving the rough kitchen walls, you can completely transform the look and feel of your space.
Rough kitchen walls
can be a common problem, especially in older homes. These walls may have cracks, dents, or uneven surfaces that can make your kitchen look outdated and uninviting. But fear not, with a few simple steps, you can turn those rough walls into a stunning feature of your kitchen.
When it comes to designing and decorating your home, the kitchen is often one of the most important areas to consider. Not only is it a space for preparing meals, but it also serves as a gathering place for family and friends. Therefore, it's essential to have a kitchen that is both visually appealing and functional. One area that often gets overlooked in kitchen design is the walls. However, by improving the rough kitchen walls, you can completely transform the look and feel of your space.
Rough kitchen walls
can be a common problem, especially in older homes. These walls may have cracks, dents, or uneven surfaces that can make your kitchen look outdated and uninviting. But fear not, with a few simple steps, you can turn those rough walls into a stunning feature of your kitchen.
Preparation is Key
 Before you start any work on your kitchen walls, it's crucial to properly prepare the surface. This includes cleaning the walls with a mild detergent and warm water to remove any dirt or grease. Once the walls are clean, you may need to fill in any cracks or holes with spackling paste and sand them down to create a smooth surface.
Pro Tip:
Use a primer before painting to ensure better adhesion and a smoother finish.
Before you start any work on your kitchen walls, it's crucial to properly prepare the surface. This includes cleaning the walls with a mild detergent and warm water to remove any dirt or grease. Once the walls are clean, you may need to fill in any cracks or holes with spackling paste and sand them down to create a smooth surface.
Pro Tip:
Use a primer before painting to ensure better adhesion and a smoother finish.
The Power of Paint
 Paint is one of the most impactful and cost-effective ways to improve the look of your kitchen walls. Not only can it cover up imperfections, but it also adds color and personality to the space. When choosing a color for your kitchen walls, consider the overall style and color scheme of your kitchen.
Neutral colors
such as white, beige, and gray are timeless and versatile, while
bold colors
like blue, green, or even black can add a modern and dramatic touch.
Paint is one of the most impactful and cost-effective ways to improve the look of your kitchen walls. Not only can it cover up imperfections, but it also adds color and personality to the space. When choosing a color for your kitchen walls, consider the overall style and color scheme of your kitchen.
Neutral colors
such as white, beige, and gray are timeless and versatile, while
bold colors
like blue, green, or even black can add a modern and dramatic touch.
Get Creative with Texture
 For those looking to add some texture and interest to their kitchen walls, there are several options to consider. One popular trend is using
textured wallpaper
to create a unique and stylish look. Another option is to use
textured paint
or
plaster
to add dimension and depth to your walls. These techniques can create a beautiful backdrop for your kitchen and can even help camouflage any imperfections.
For those looking to add some texture and interest to their kitchen walls, there are several options to consider. One popular trend is using
textured wallpaper
to create a unique and stylish look. Another option is to use
textured paint
or
plaster
to add dimension and depth to your walls. These techniques can create a beautiful backdrop for your kitchen and can even help camouflage any imperfections.
Final Touches
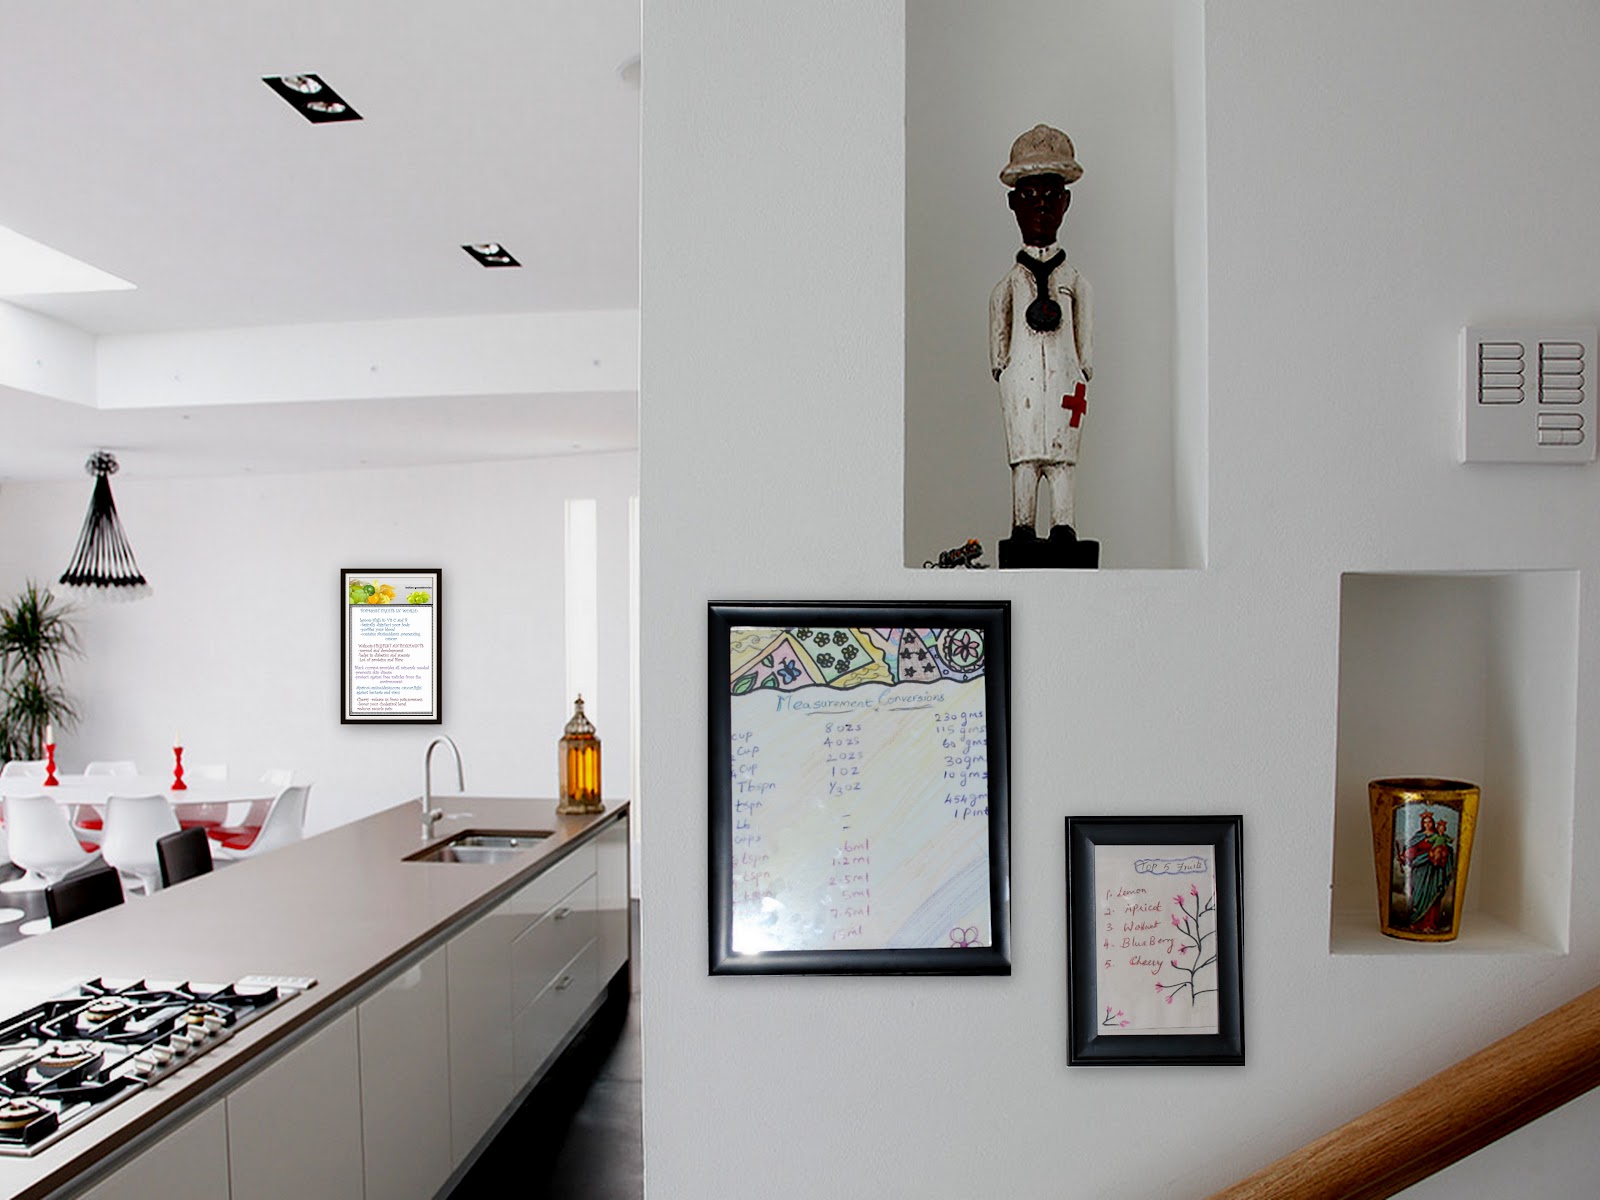 Once your walls are smooth, painted, and textured, it's time to add some final touches to complete the look. Consider adding
decorative elements
such as wall art, shelving, or a backsplash to add character and charm to your kitchen walls. These elements can also help tie in the overall design of your kitchen and create a cohesive look.
In conclusion, improving your rough kitchen walls can have a significant impact on the overall look and feel of your kitchen. With proper preparation, a fresh coat of paint, and some creative touches, you can transform your walls into a stunning feature of your kitchen. Don't be afraid to get creative and have fun with the design process. Your kitchen walls will thank you for it!
Once your walls are smooth, painted, and textured, it's time to add some final touches to complete the look. Consider adding
decorative elements
such as wall art, shelving, or a backsplash to add character and charm to your kitchen walls. These elements can also help tie in the overall design of your kitchen and create a cohesive look.
In conclusion, improving your rough kitchen walls can have a significant impact on the overall look and feel of your kitchen. With proper preparation, a fresh coat of paint, and some creative touches, you can transform your walls into a stunning feature of your kitchen. Don't be afraid to get creative and have fun with the design process. Your kitchen walls will thank you for it!