IKEA Bathroom Sink Installation Guide
If you're looking to update your bathroom, installing a new sink can make a big difference. And when it comes to affordable, stylish options, IKEA has got you covered. But before you dive into the installation process, it's important to have a guide to follow. In this article, we'll provide you with a step-by-step guide for installing an IKEA bathroom sink, along with tips and common mistakes to avoid. Let's get started!


IKEA Bathroom Sink Installation Guide


How to Install an IKEA Bathroom Sink
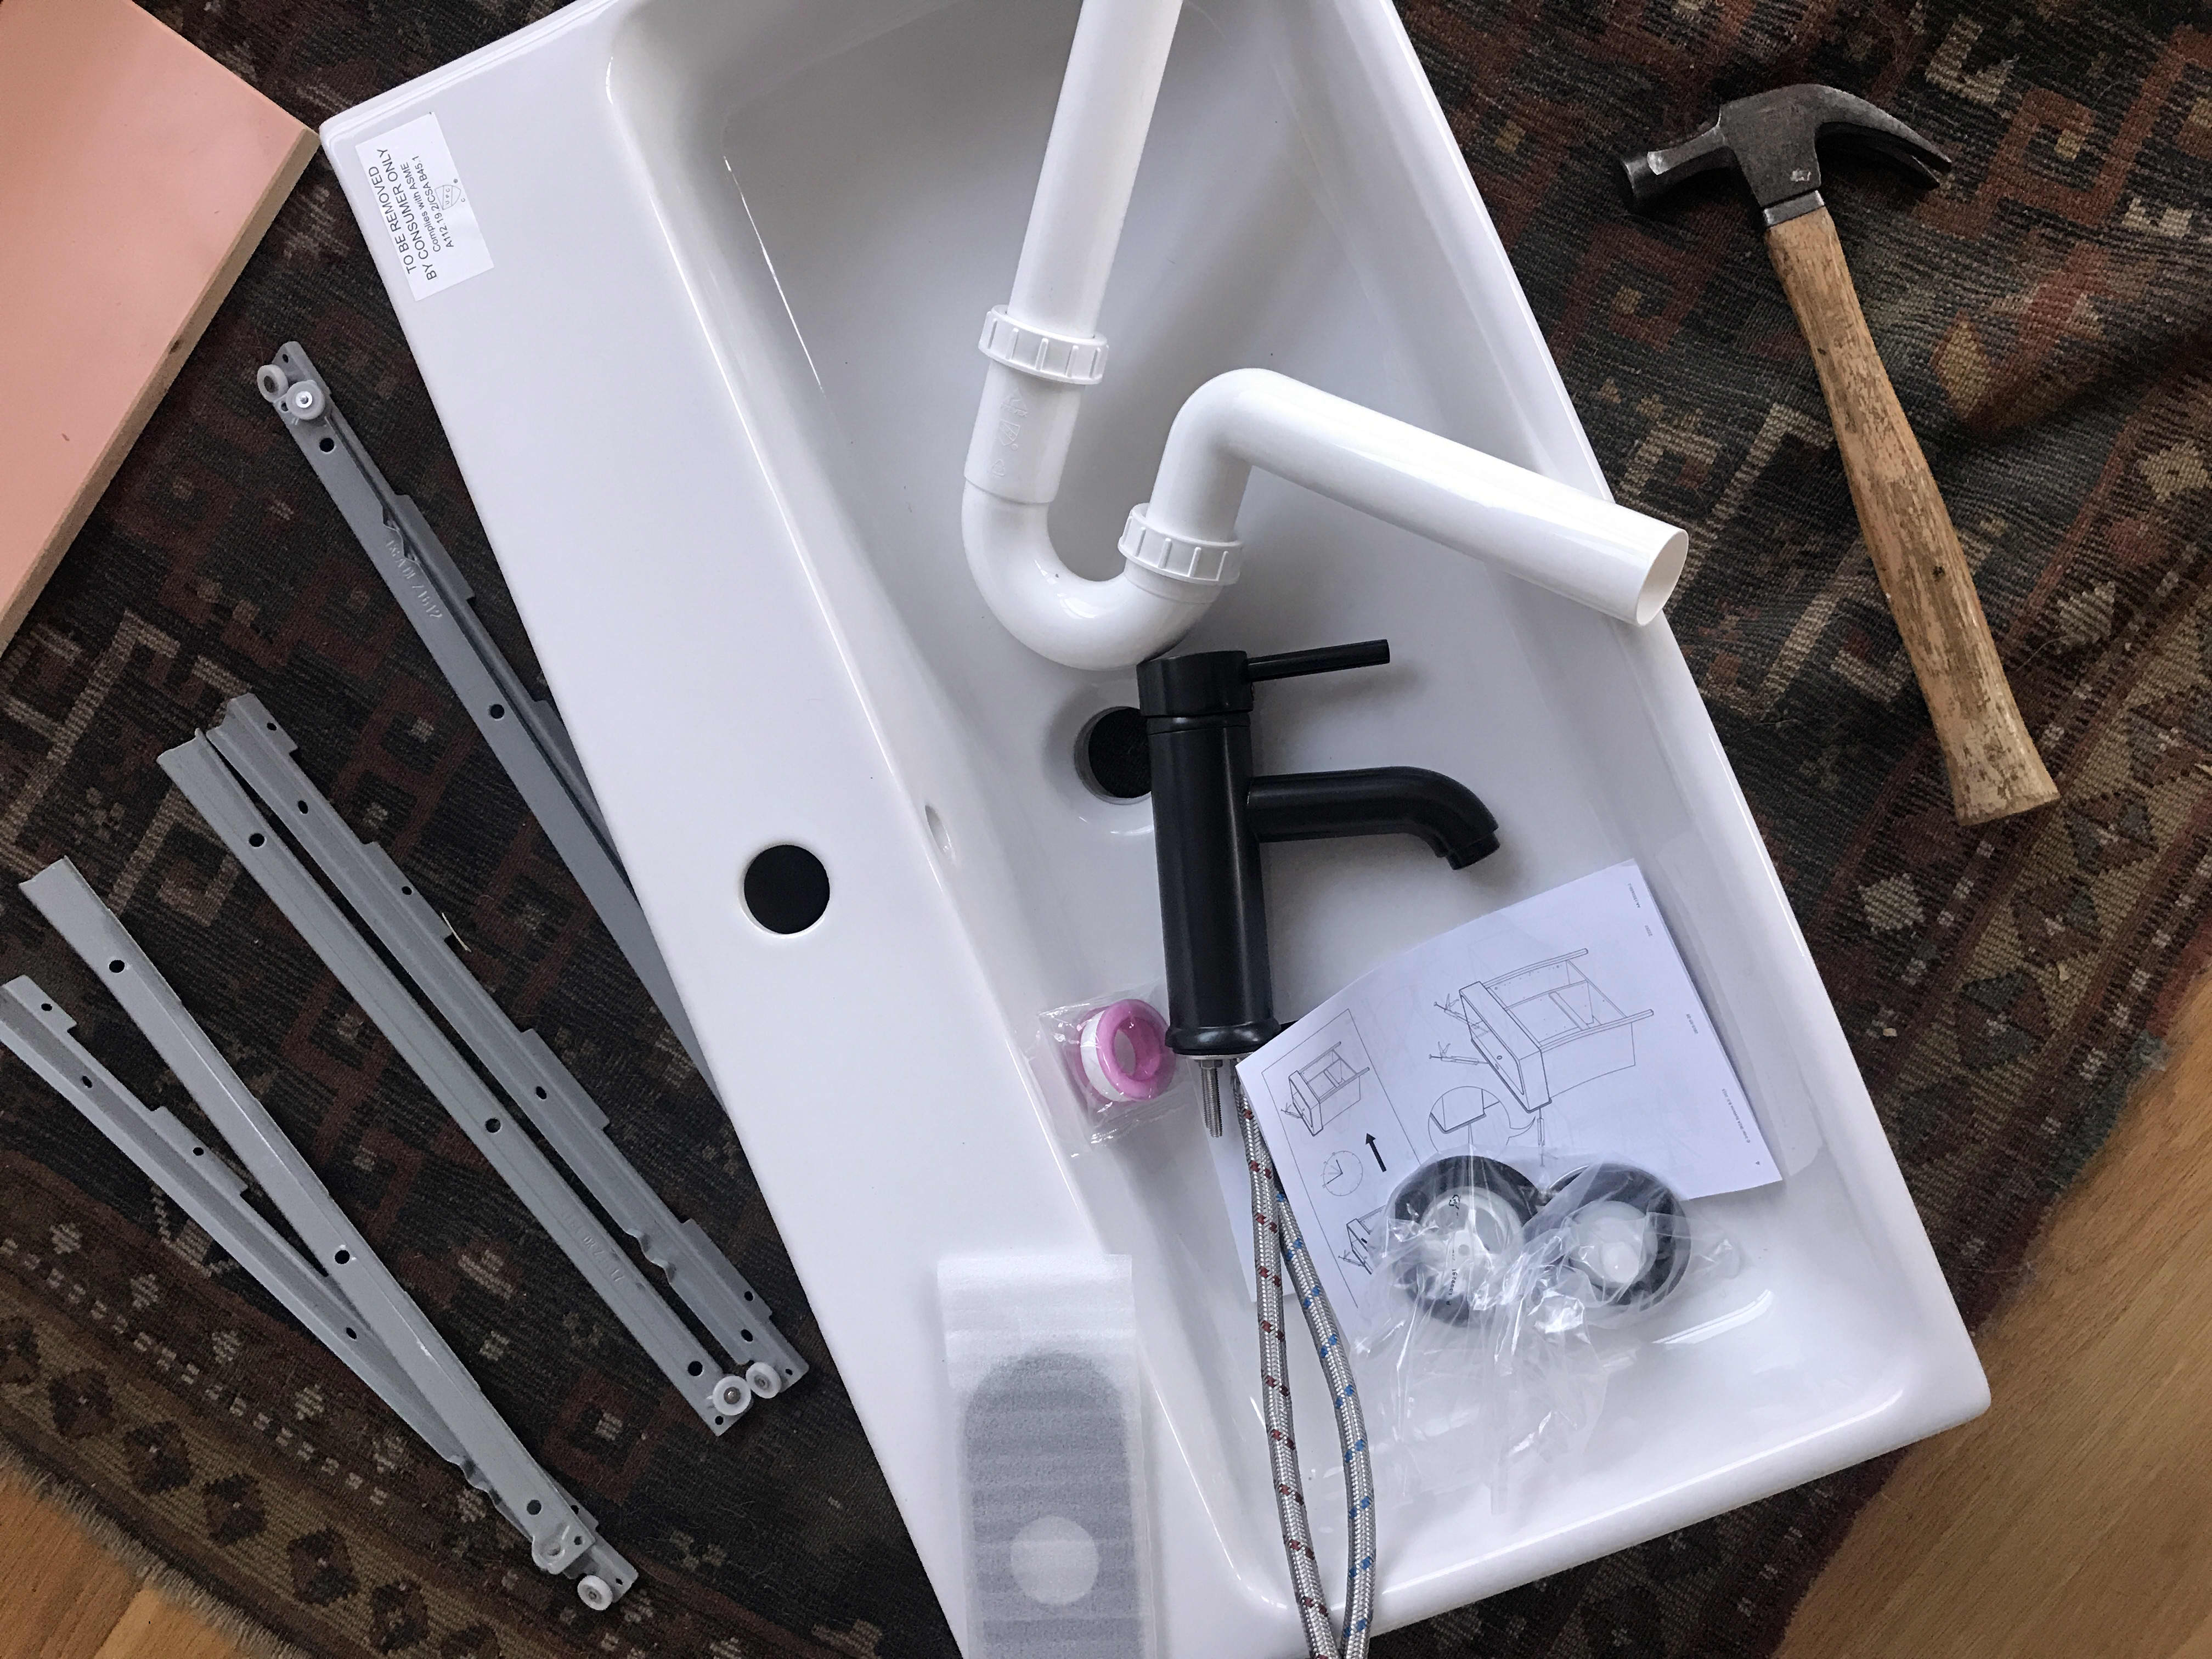
Before you begin, make sure you have all the necessary tools and materials. This includes a level, drill, wrench, plumber's tape, and any additional pieces that may come with your specific sink model. Once you have everything ready, follow these steps:
Step 1: Turn off the water supply to your bathroom and disconnect any plumbing connections to your old sink.
Step 2: Remove your old sink and clean the area where your new sink will be installed.
Step 3: Assemble your IKEA sink according to the instructions provided.
Step 4: Place the sink on top of the vanity or countertop and make sure it is level. Use shims if necessary.
Step 5: Secure the sink in place using the mounting brackets provided.
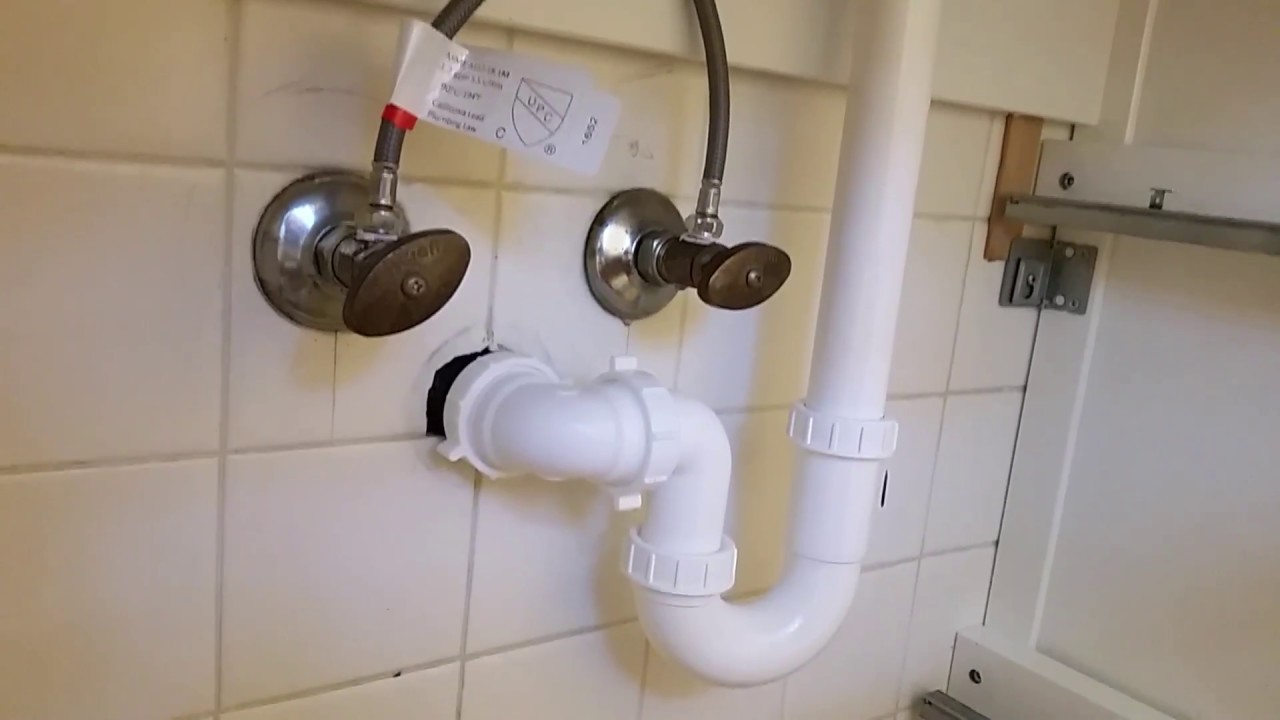
Step 6: Connect the water supply lines to the faucet and use plumber's tape to ensure a tight seal.
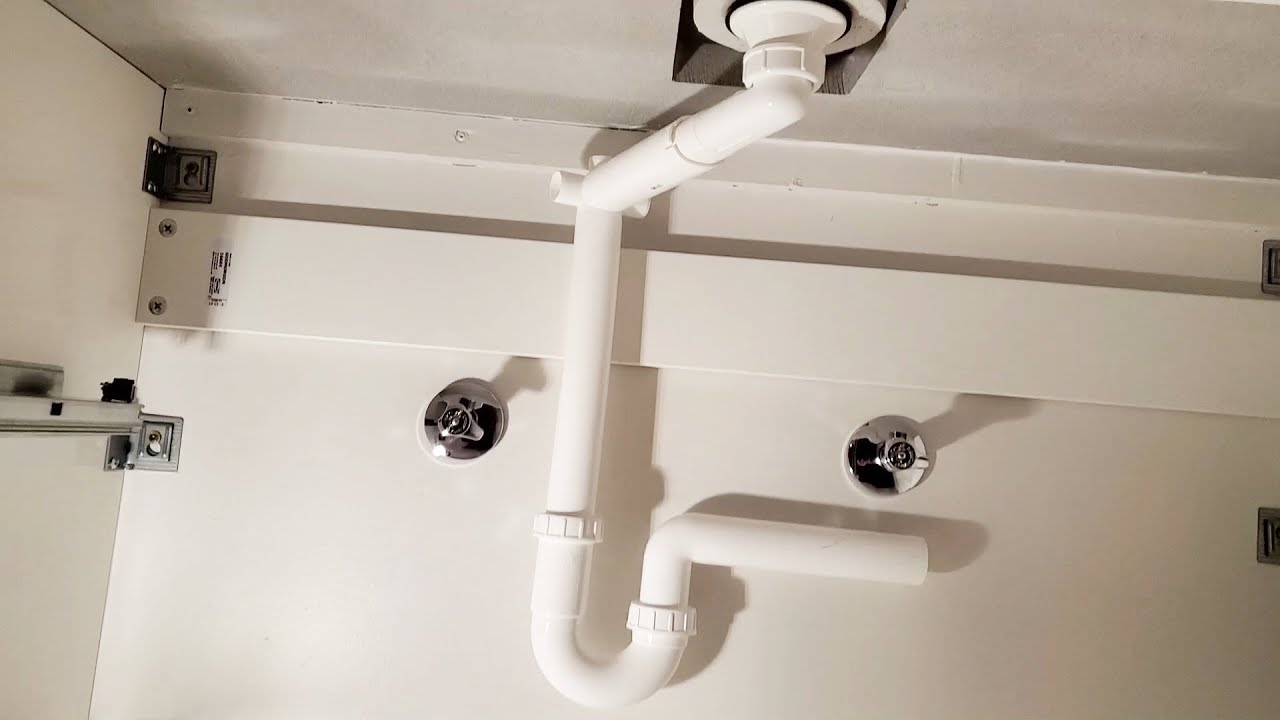
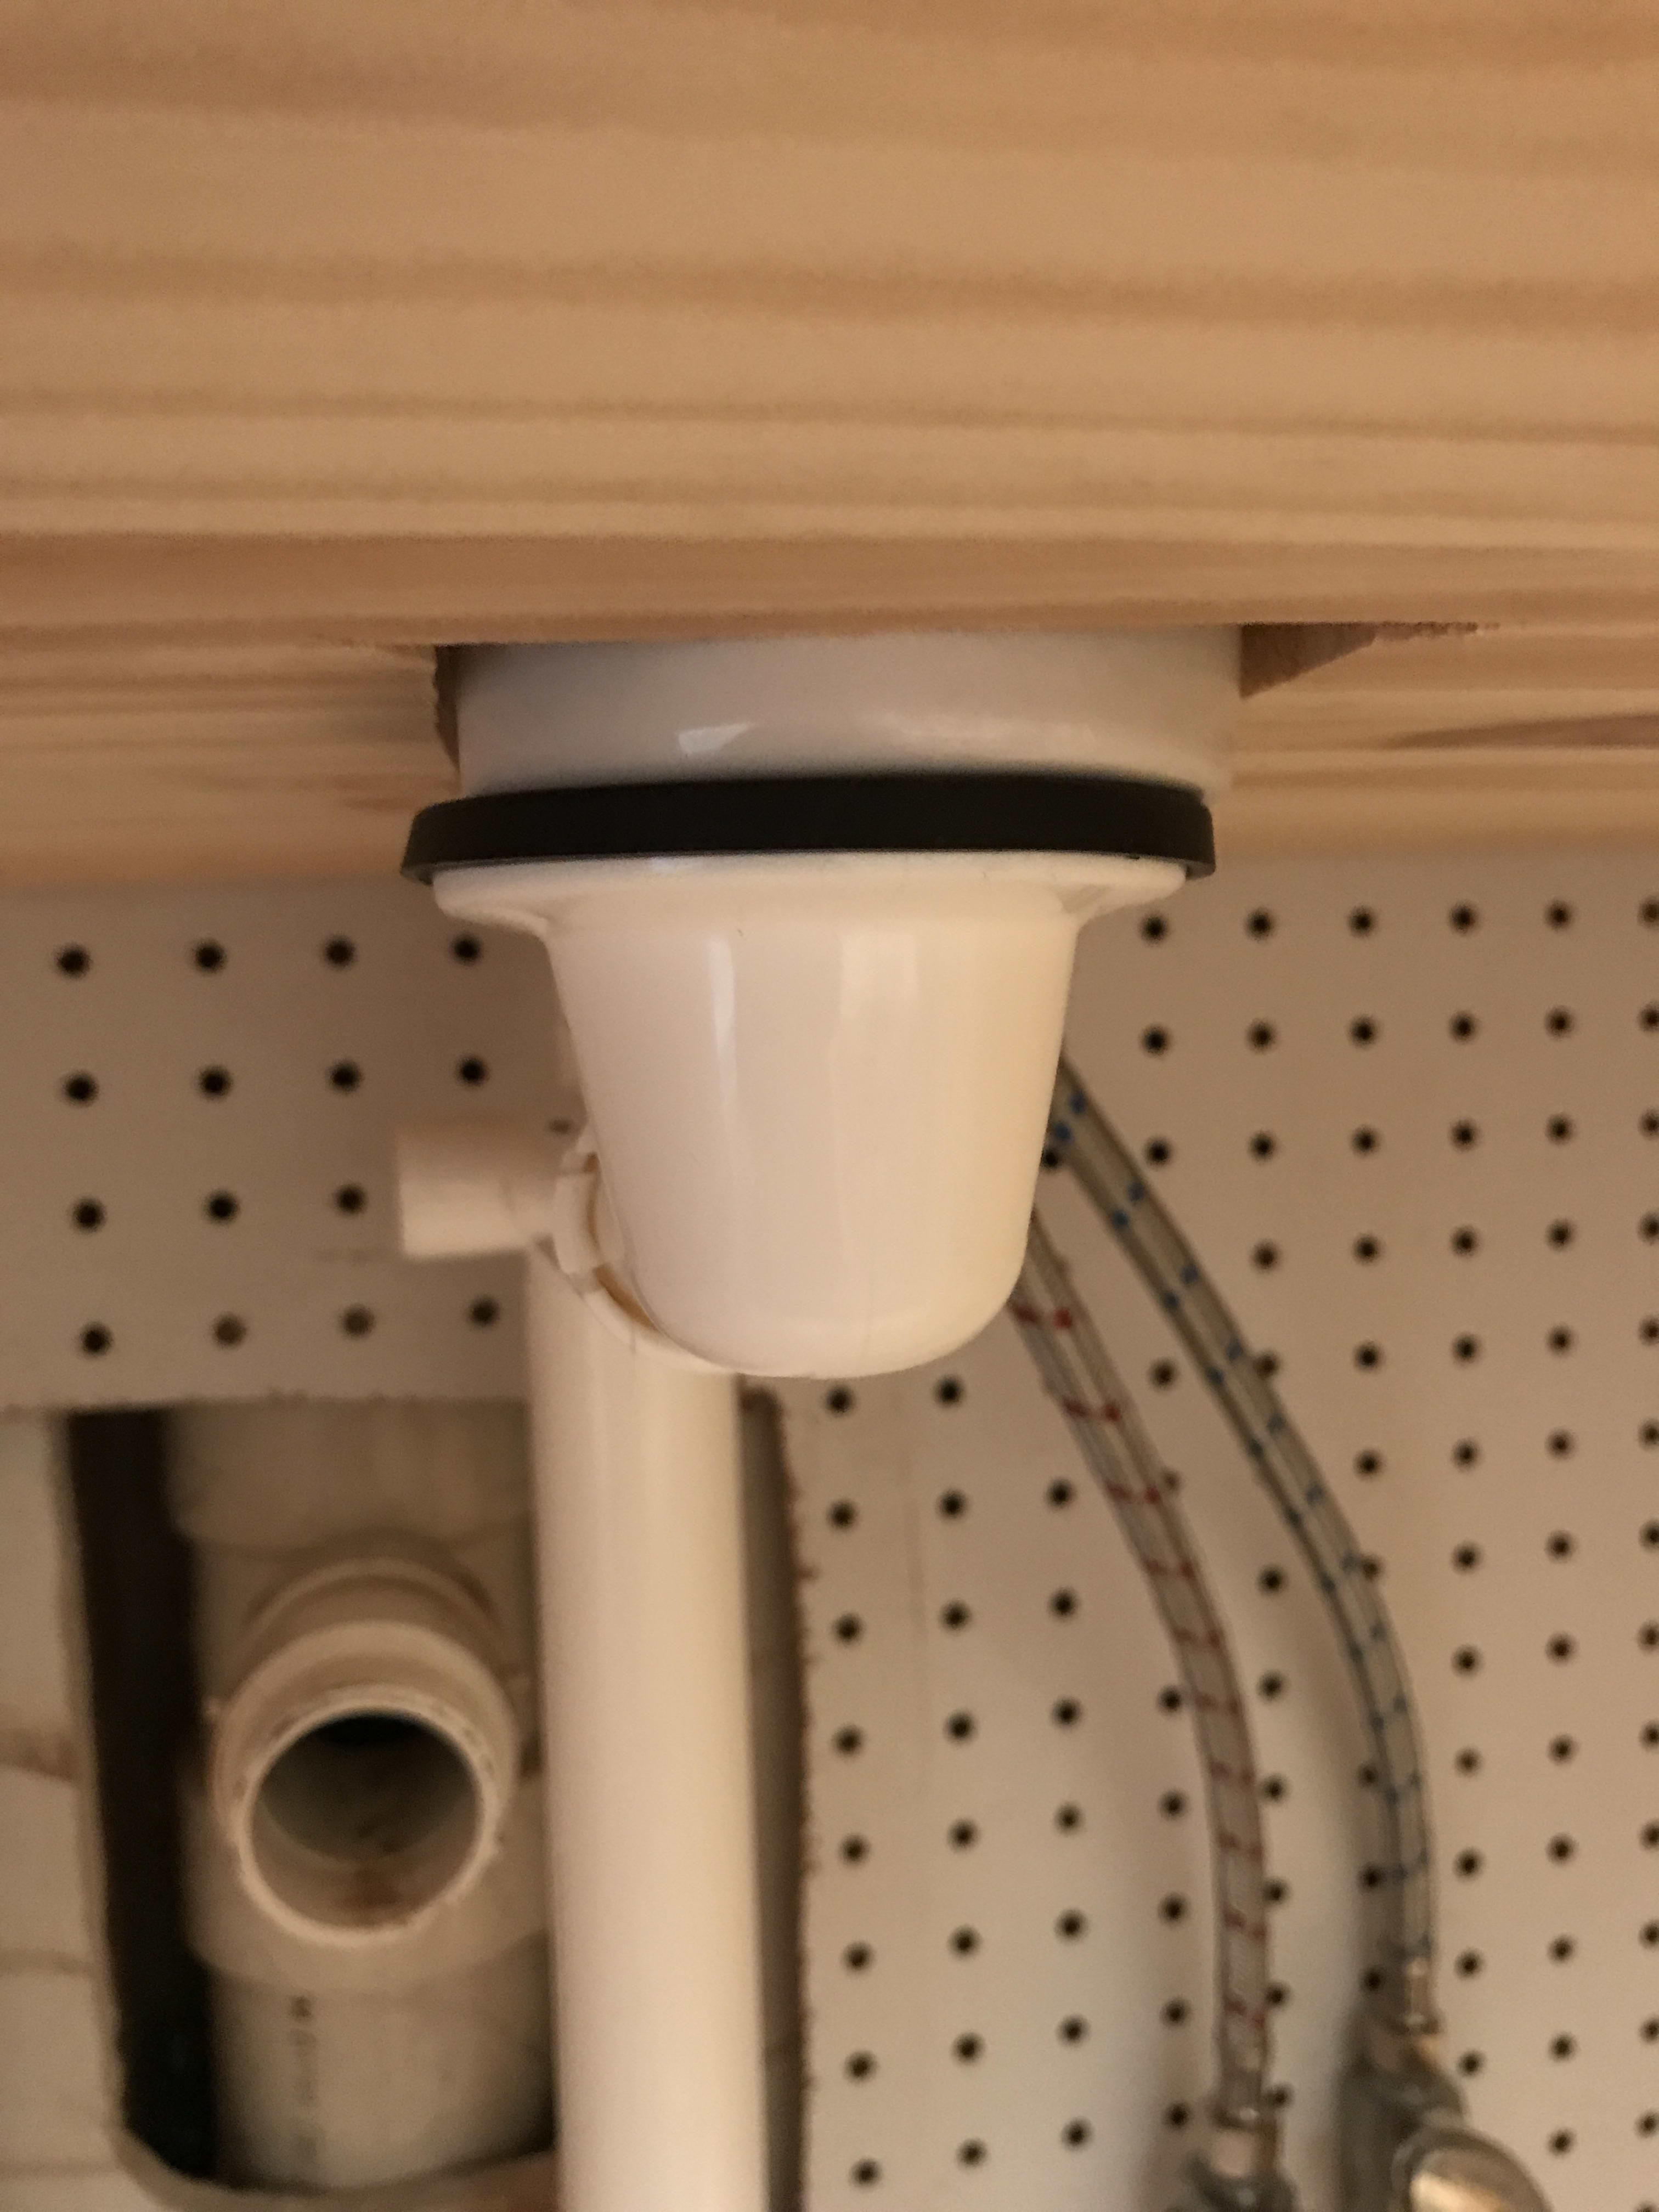
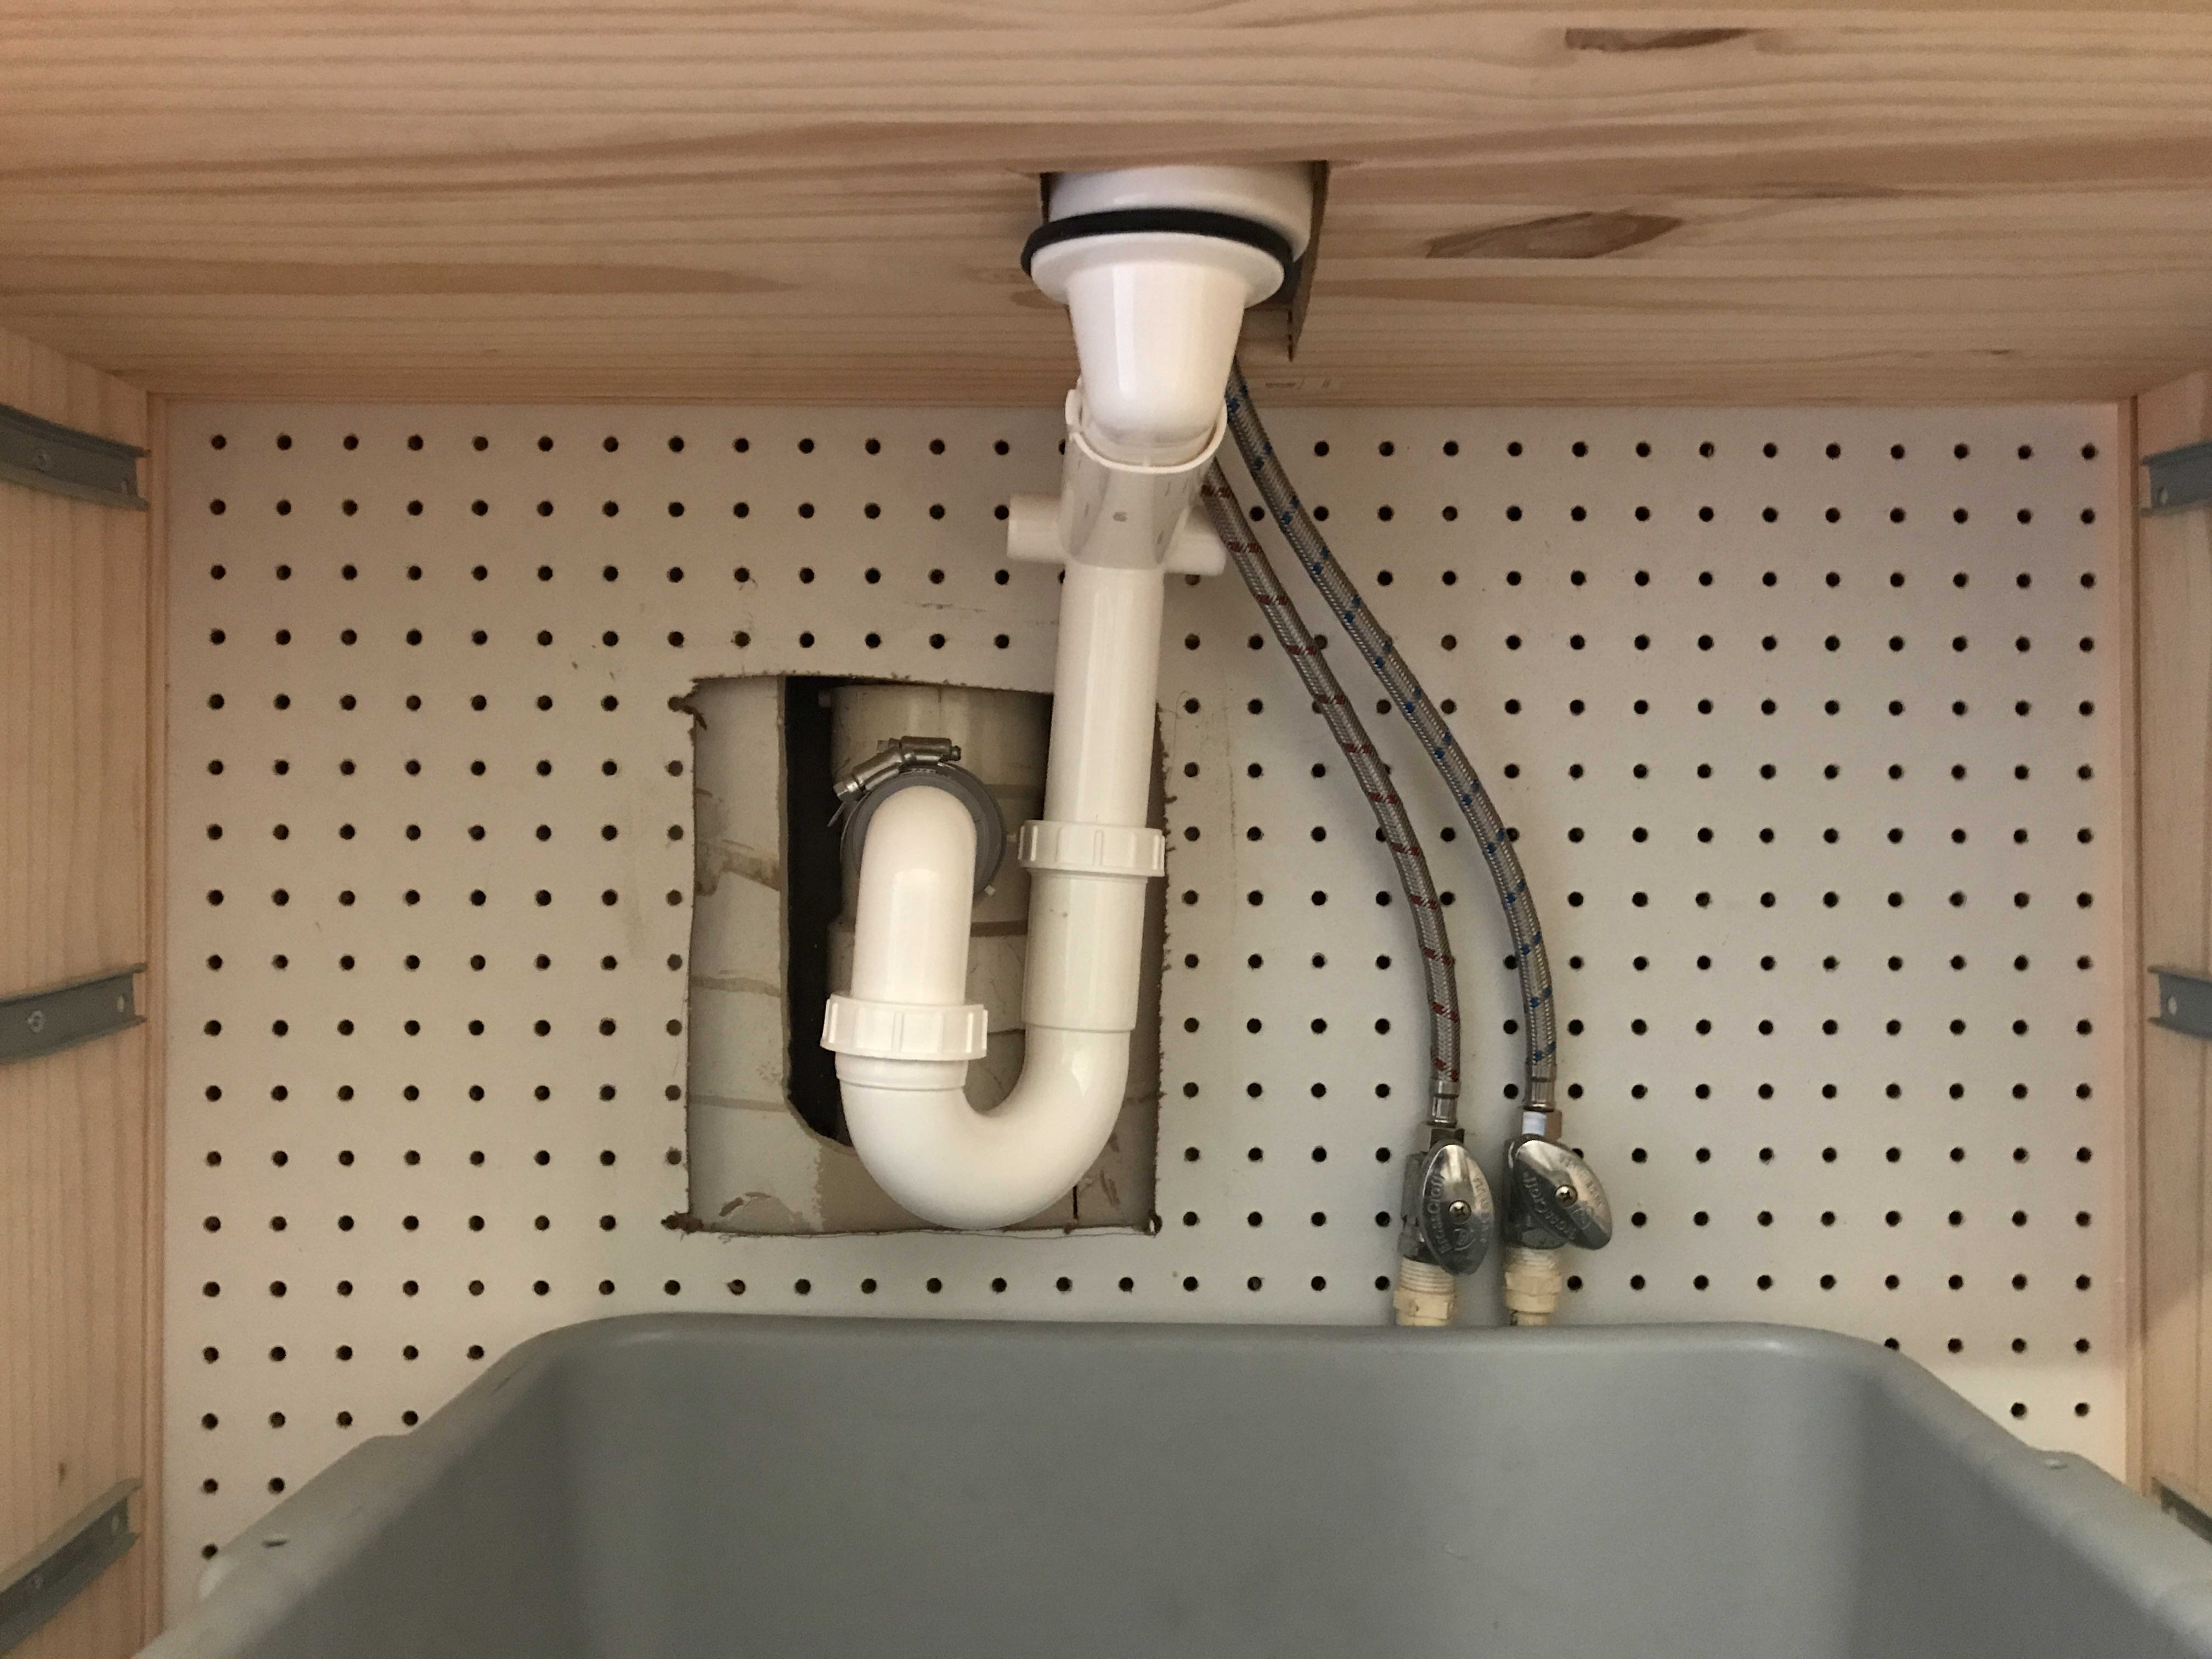
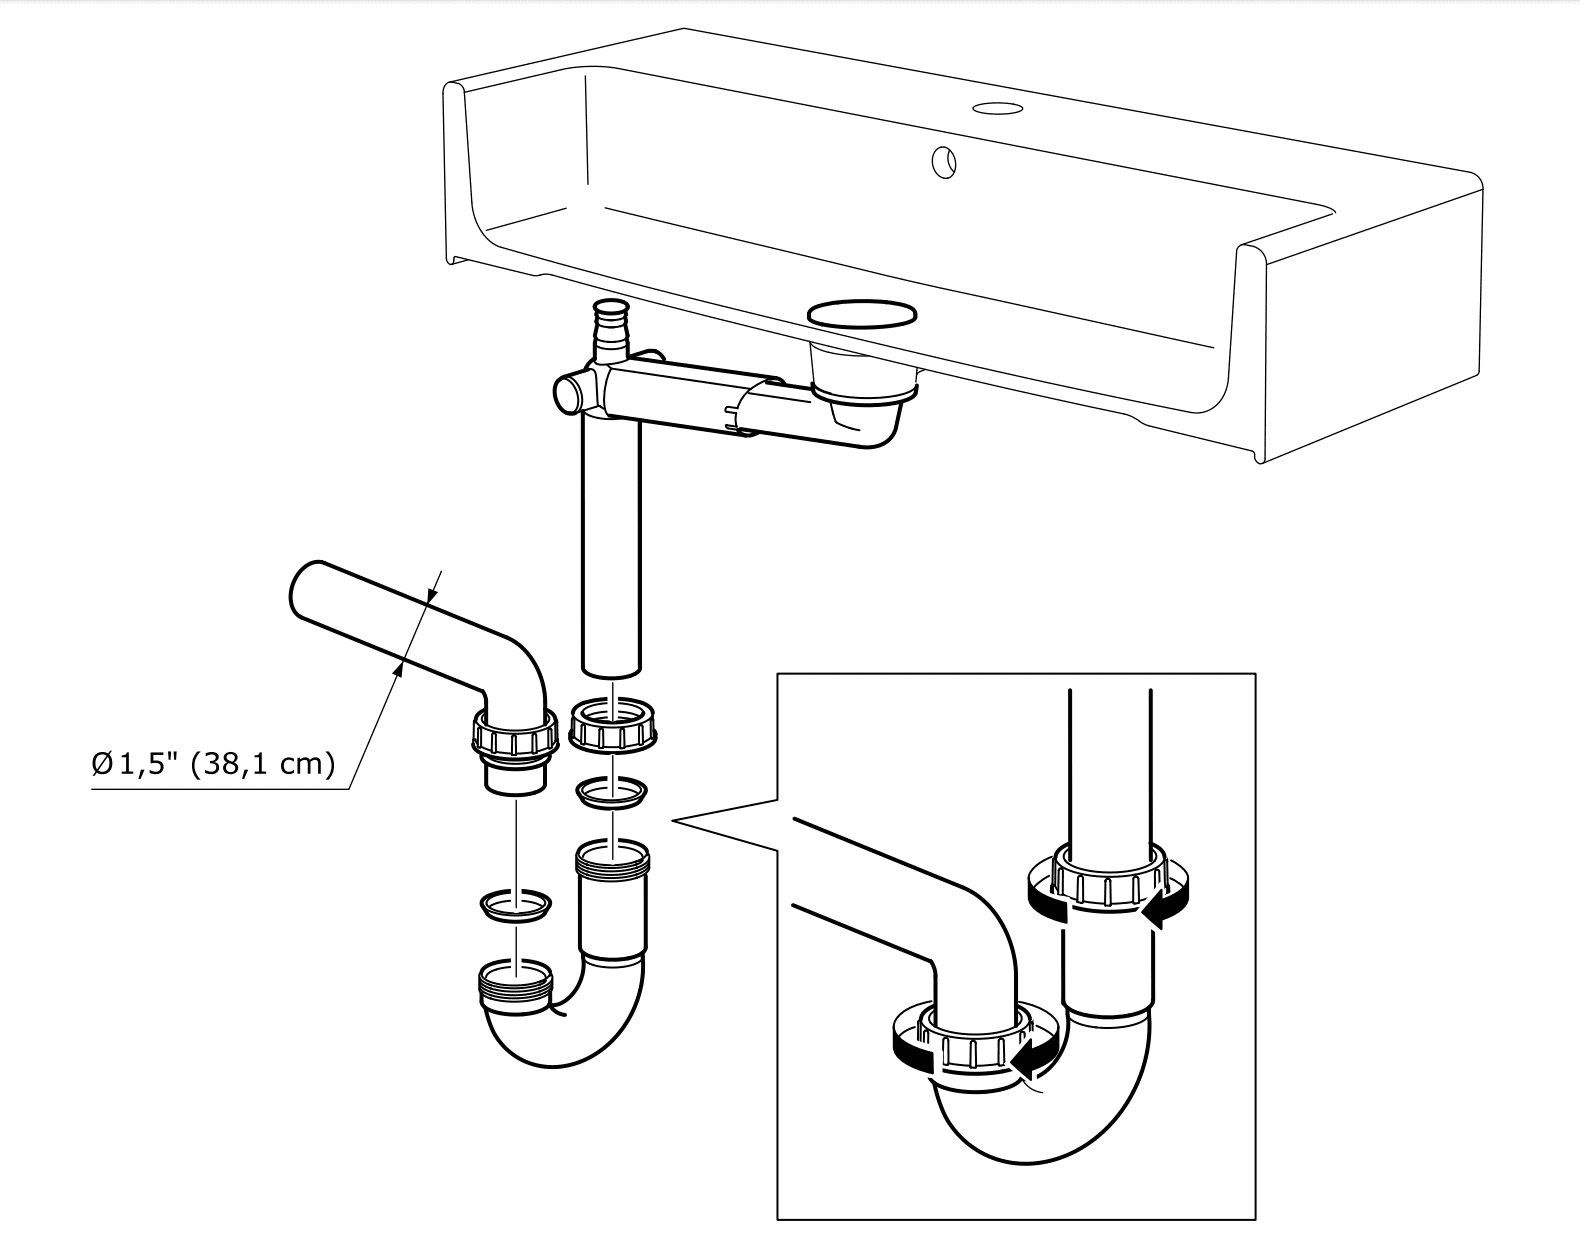
Step 7: Attach the drain pipe to the sink and secure it with a wrench.
Step 8: Turn the water supply back on and check for any leaks.


How to Install an IKEA Bathroom Sink


Step-by-Step Guide for Installing an IKEA Bathroom Sink
Now that you have a general idea of the installation process, let's dive into a more detailed step-by-step guide:
Step 1: Measure the space where your new sink will be installed and make sure it will fit.
Step 2: Gather all necessary tools and materials.
Step 3: Turn off the water supply to your bathroom and disconnect any plumbing connections to your old sink.
Step 4: Remove your old sink and clean the area where your new sink will be installed.
Step 5: Assemble your IKEA sink according to the instructions provided.
Step 6: Place the sink on top of the vanity or countertop and make sure it is level. Use shims if necessary.
Step 7: Secure the sink in place using the mounting brackets provided.
Step 8: Connect the water supply lines to the faucet and use plumber's tape to ensure a tight seal.
Step 9: Attach the drain pipe to the sink and secure it with a wrench.
Step 10: Turn the water supply back on and check for any leaks.


Step-by-Step Guide for Installing an IKEA Bathroom Sink


DIY IKEA Bathroom Sink Installation
Installing an IKEA bathroom sink can be a great DIY project, especially for those with some experience in plumbing. However, if you're not confident in your abilities or if you encounter any issues during the installation process, it's always best to call a professional.


DIY IKEA Bathroom Sink Installation


Tips for Installing an IKEA Bathroom Sink
Follow these tips to ensure a successful and hassle-free IKEA bathroom sink installation:
Tip 1: Assemble your sink on a flat surface before installing it to ensure all parts are included and in working order.
Tip 2: Use a level to make sure your sink is installed straight and avoid any potential leaks.
Tip 3: Use plumber's tape on all connections to ensure a tight seal and prevent leaks.
Tip 4: Don't forget to turn off the water supply before beginning the installation process.


Tips for Installing an IKEA Bathroom Sink
Common Mistakes to Avoid When Installing an IKEA Bathroom Sink
Here are some common mistakes that can be easily avoided during an IKEA bathroom sink installation:
Mistake 1: Not measuring properly and ending up with a sink that doesn't fit the space.
Mistake 2: Not turning off the water supply, which can lead to a flooded bathroom.
Mistake 3: Not using plumber's tape, resulting in leaks.
Mistake 4: Not using a level and ending up with a crooked sink.

Common Mistakes to Avoid When Installing an IKEA Bathroom Sink


Tools Needed for Installing an IKEA Bathroom Sink
Here are the tools you will need for a successful IKEA bathroom sink installation:
Tool 1: Level
Tool 2: Drill
Tool 3: Wrench
Tool 4: Plumber's tape

Tools Needed for Installing an IKEA Bathroom Sink


Preparing Your Bathroom for an IKEA Sink Installation
Before beginning the installation process, it's important to prepare your bathroom for the new sink. This includes:
Step 1: Measuring the space where the sink will be installed.
Step 2: Removing any old sink and cleaning the area.
Step 3: Gathering all necessary tools and materials.
Step 4: Turning off the water supply.


Preparing Your Bathroom for an IKEA Sink Installation


Troubleshooting Common Issues During an IKEA Bathroom Sink Installation
If you encounter any issues during the installation process, here are some common problems and how to troubleshoot them:
Issue 1: Leaks at connections - make sure you have used plumber's tape and tightened all connections.
Issue 2: Sink not level - use shims to level the sink.
Issue 3: Missing parts - check that all parts are included before beginning the installation.

Troubleshooting Common Issues During an IKEA Bathroom Sink Installation


Hiring a Professional for Your IKEA Bathroom Sink Installation
While installing an IKEA bathroom sink can be a DIY project, it's always best to call a professional if you're not confident in your abilities or if you encounter any issues during the installation process. A professional plumber will have the necessary experience and tools to ensure a successful and hassle-free installation.
With this guide, you're now ready to tackle your IKEA bathroom sink installation with confidence. Remember to take your time and follow all instructions carefully to avoid any common mistakes. Happy installing!

Hiring a Professional for Your IKEA Bathroom Sink Installation
Why Choose IKEA for Your Bathroom Sink Installation?

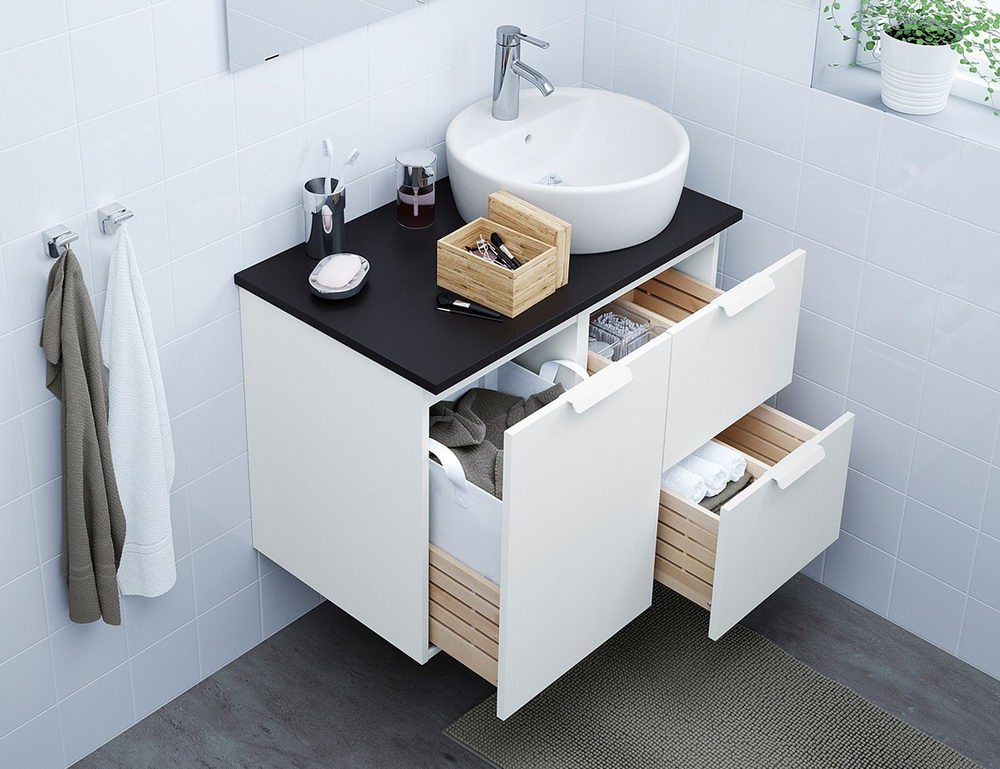
Affordable and Stylish Options
 When it comes to designing your dream bathroom, it's important to find the perfect
bathroom sink
that not only fits your budget but also complements your personal style. This is where IKEA shines. The Swedish furniture giant offers a wide range of
affordable and stylish bathroom sinks
that will elevate the look of your bathroom without breaking the bank.
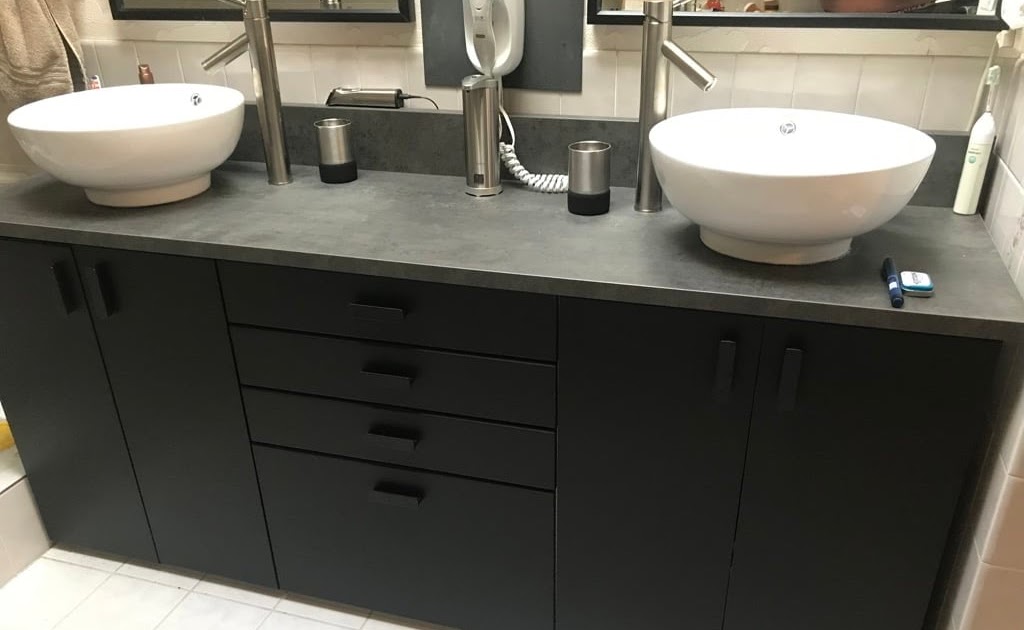
From sleek and modern designs to traditional and classic looks, IKEA has a
bathroom sink
for every taste and preference. Their selection includes
undermount
,
top mount
, and
vessel sinks
in various shapes and sizes, providing endless possibilities for customization and creativity in your bathroom design.
When it comes to designing your dream bathroom, it's important to find the perfect
bathroom sink
that not only fits your budget but also complements your personal style. This is where IKEA shines. The Swedish furniture giant offers a wide range of
affordable and stylish bathroom sinks
that will elevate the look of your bathroom without breaking the bank.
From sleek and modern designs to traditional and classic looks, IKEA has a
bathroom sink
for every taste and preference. Their selection includes
undermount
,
top mount
, and
vessel sinks
in various shapes and sizes, providing endless possibilities for customization and creativity in your bathroom design.
Easy Installation Process
 One of the biggest advantages of choosing an IKEA
bathroom sink
is the ease of installation. Most of their sinks come with clear and detailed instructions, making it a
DIY-friendly
project. This not only saves you time and money, but it also allows you to have more control over the installation process. Plus, IKEA offers a variety of compatible faucet options, making it a one-stop-shop for all your bathroom needs.
One of the biggest advantages of choosing an IKEA
bathroom sink
is the ease of installation. Most of their sinks come with clear and detailed instructions, making it a
DIY-friendly
project. This not only saves you time and money, but it also allows you to have more control over the installation process. Plus, IKEA offers a variety of compatible faucet options, making it a one-stop-shop for all your bathroom needs.
Durable and High-Quality Materials
 IKEA is known for its commitment to sustainability and quality, and their
bathroom sinks
are no exception. They are made from durable materials such as porcelain, ceramic, and stainless steel, ensuring long-lasting use and easy maintenance. Not to mention, their sinks are also
water and stain-resistant
, making them perfect for high-traffic bathrooms.
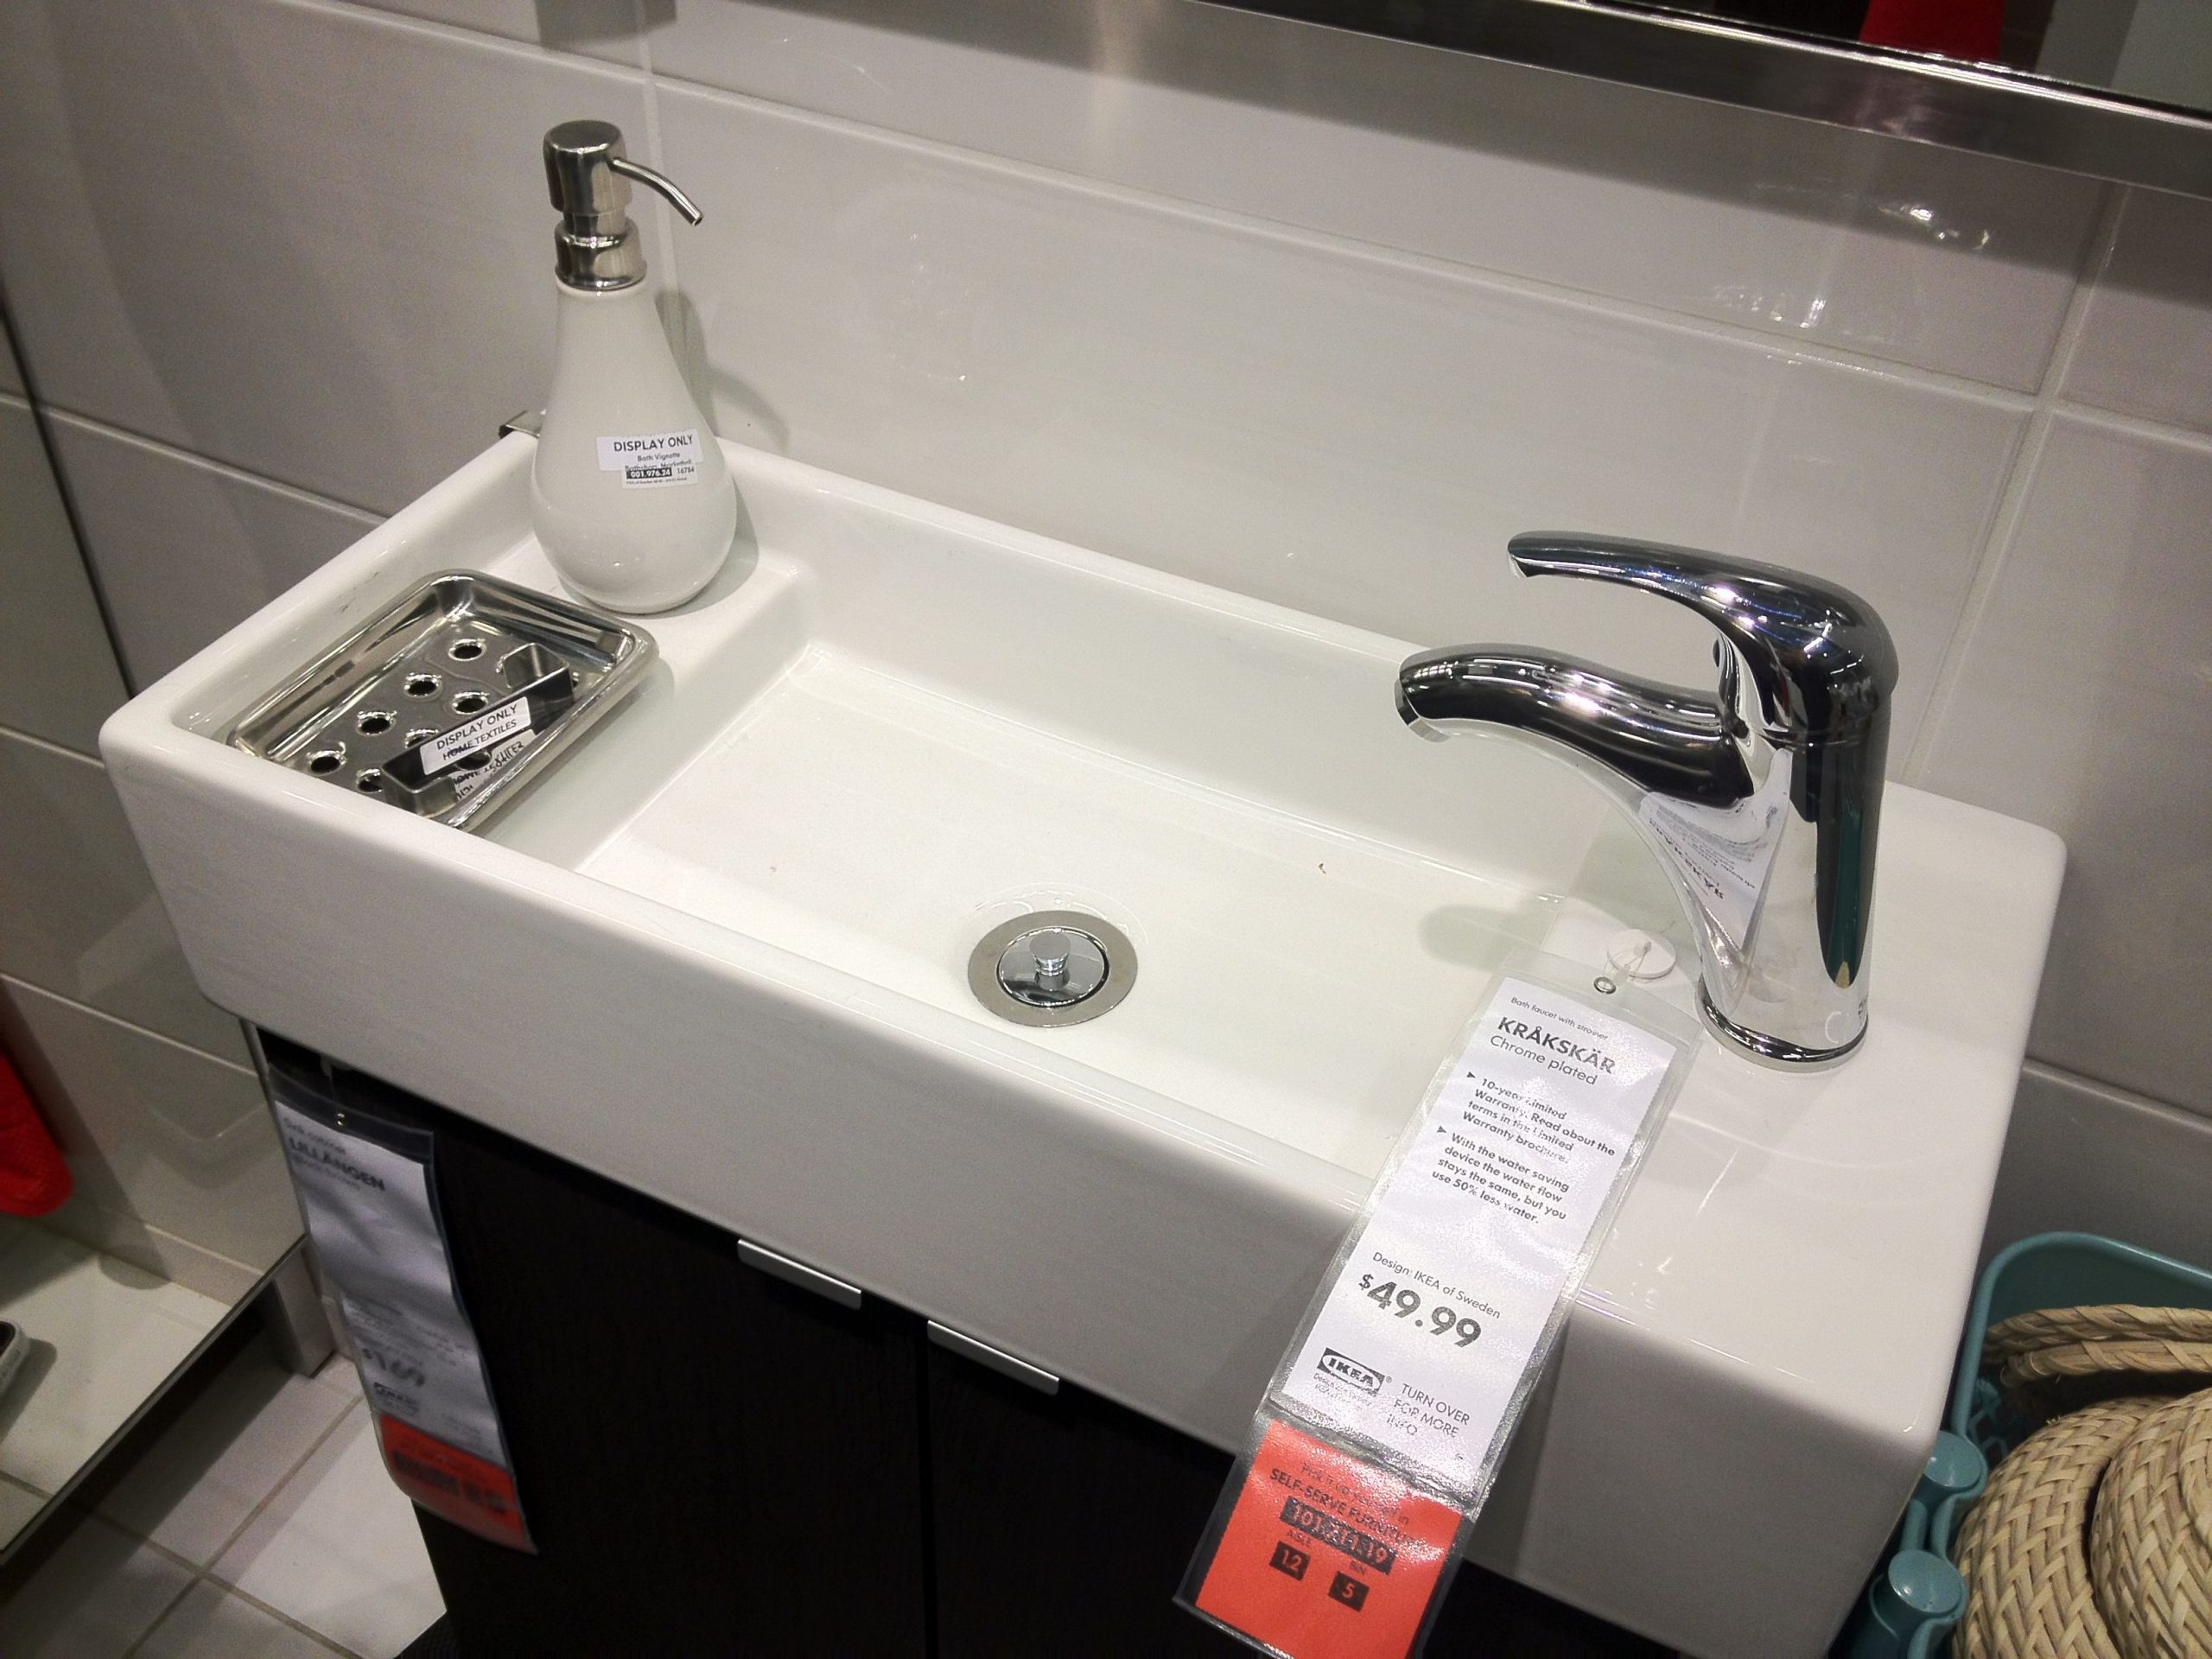
In addition, IKEA offers a
10-year warranty
on most of their bathroom sinks, giving you peace of mind and reassurance in your purchase. So not only are you getting a stylish and affordable sink, but also a reliable and long-lasting one.
IKEA is known for its commitment to sustainability and quality, and their
bathroom sinks
are no exception. They are made from durable materials such as porcelain, ceramic, and stainless steel, ensuring long-lasting use and easy maintenance. Not to mention, their sinks are also
water and stain-resistant
, making them perfect for high-traffic bathrooms.
In addition, IKEA offers a
10-year warranty
on most of their bathroom sinks, giving you peace of mind and reassurance in your purchase. So not only are you getting a stylish and affordable sink, but also a reliable and long-lasting one.
Conclusion
 When it comes to
bathroom sink installation
, IKEA is a top choice for many homeowners. With their
affordable and stylish
options,
easy installation process
, and
high-quality materials
, IKEA has everything you need to create a beautiful and functional bathroom. So why settle for a basic
bathroom sink
when you can have a stylish and affordable one from IKEA? Visit your nearest store or browse their website to find the perfect sink for your bathroom today!
When it comes to
bathroom sink installation
, IKEA is a top choice for many homeowners. With their
affordable and stylish
options,
easy installation process
, and
high-quality materials
, IKEA has everything you need to create a beautiful and functional bathroom. So why settle for a basic
bathroom sink
when you can have a stylish and affordable one from IKEA? Visit your nearest store or browse their website to find the perfect sink for your bathroom today!


:max_bytes(150000):strip_icc()/fin-9-farmhouse-lighting-5a528ff3842b17003749e34f.jpg)