Is your kitchen light not working properly? The culprit could be a faulty light ballast. The ballast is responsible for regulating the electrical current in your light fixture, and when it malfunctions, it can cause issues like flickering lights or no lights at all. Don't worry, testing a kitchen light ballast is a simple process that can save you time and money. Follow these steps to determine if your ballast is the problem and learn how to replace it.How to Test a Kitchen Light Ballast


How to Test a Kitchen Light Ballast


Before you begin testing, make sure you have turned off the power to your kitchen light at the circuit breaker. Safety should always be your top priority when dealing with electrical components. Once the power is off, you can begin the testing process.Testing a Kitchen Light Ballast

Testing a Kitchen Light Ballast
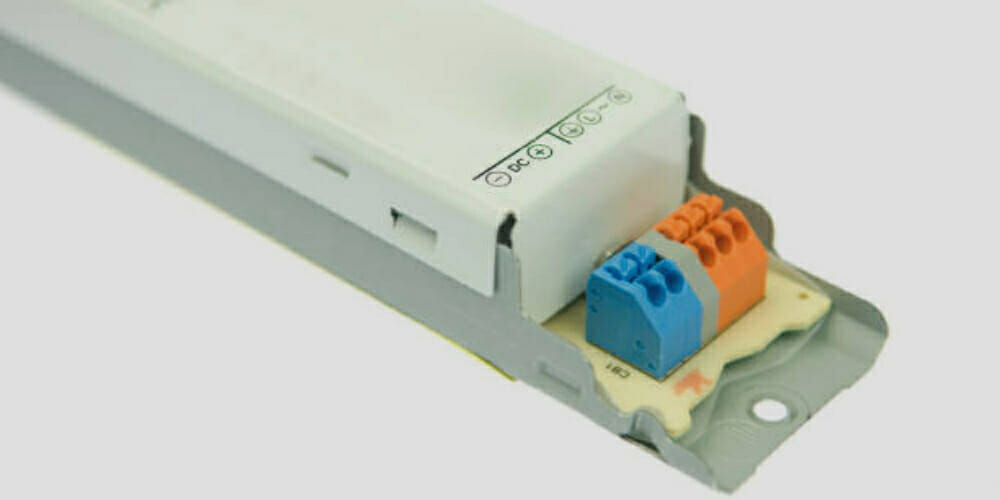
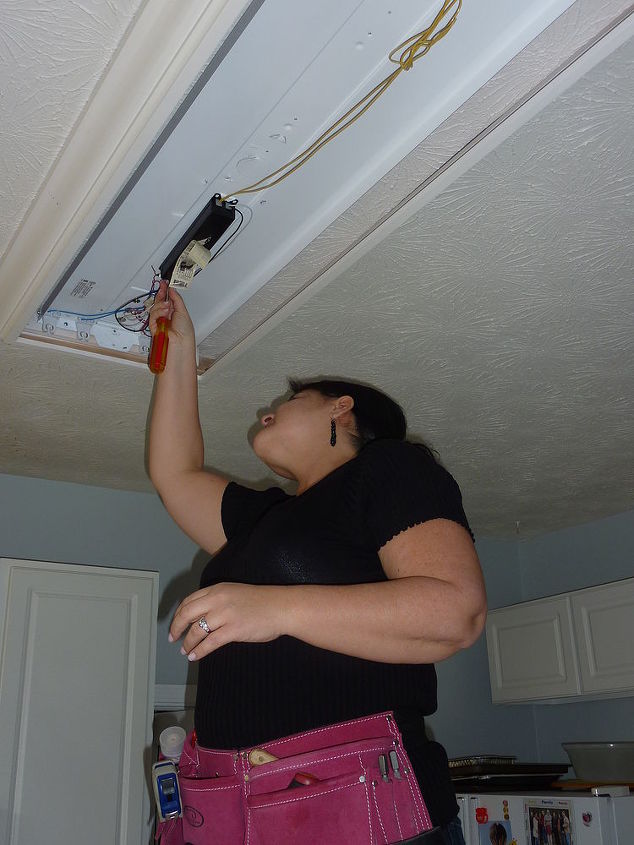
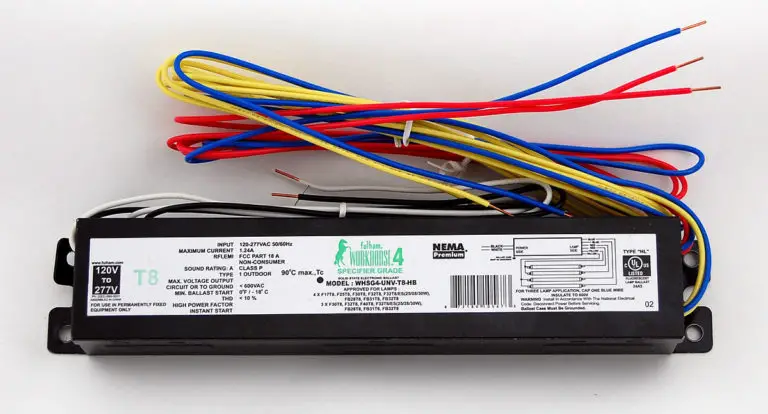
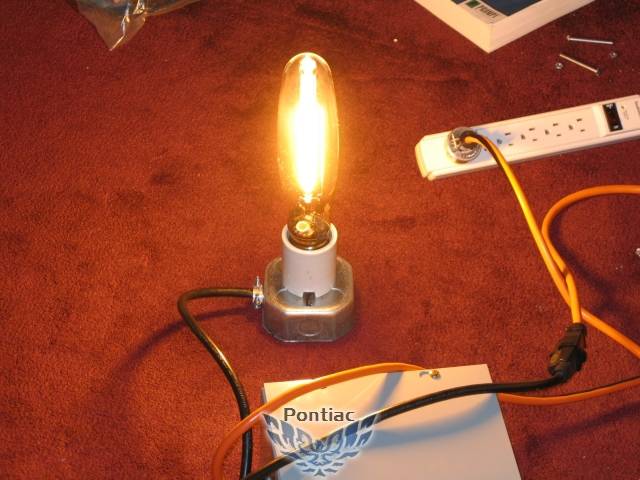
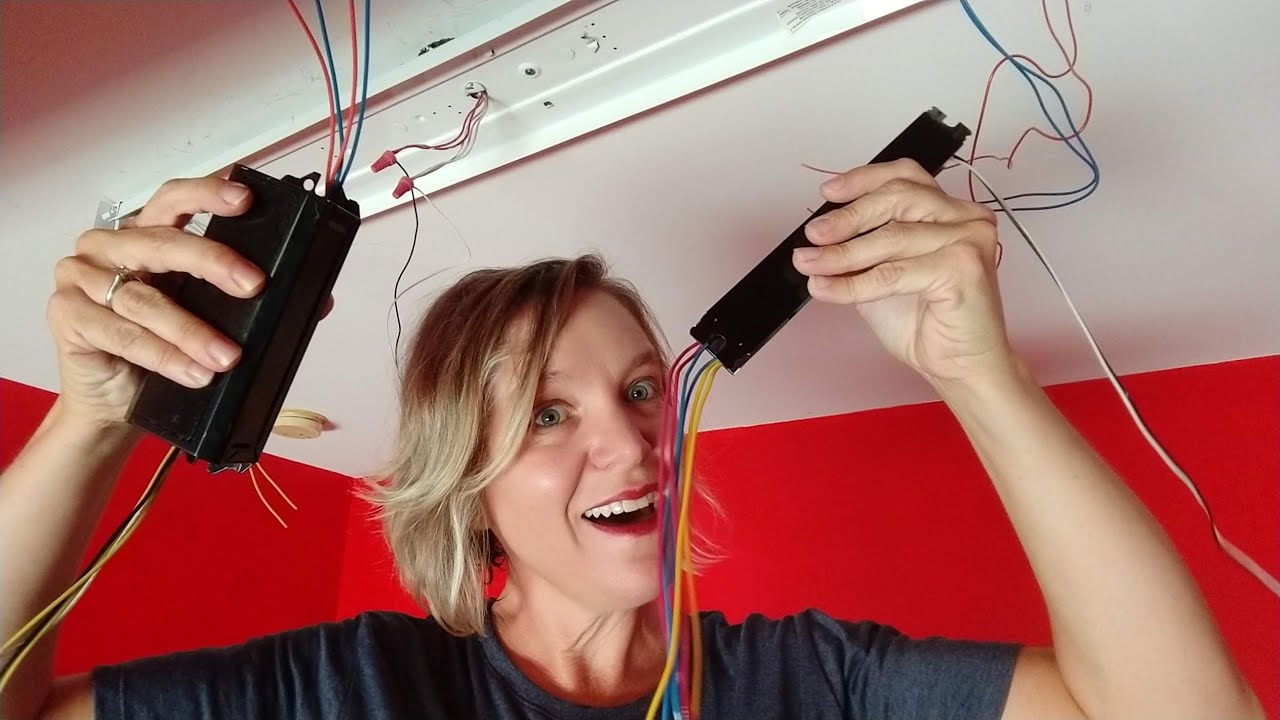
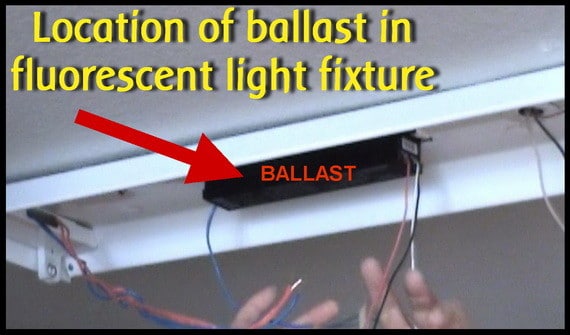
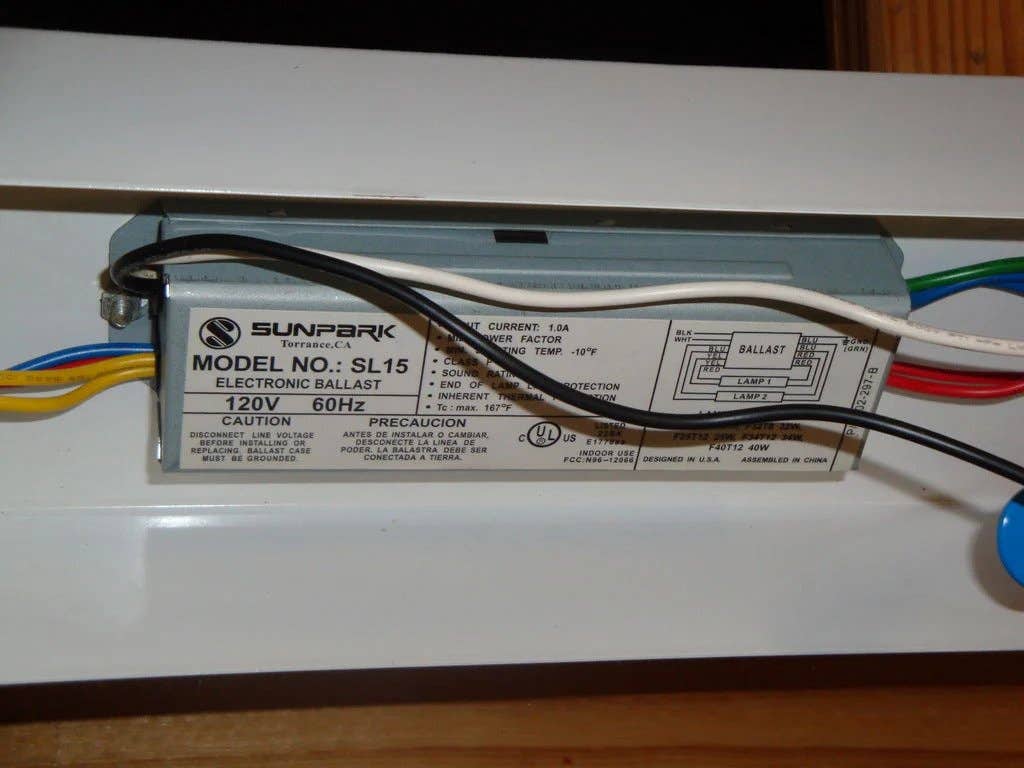
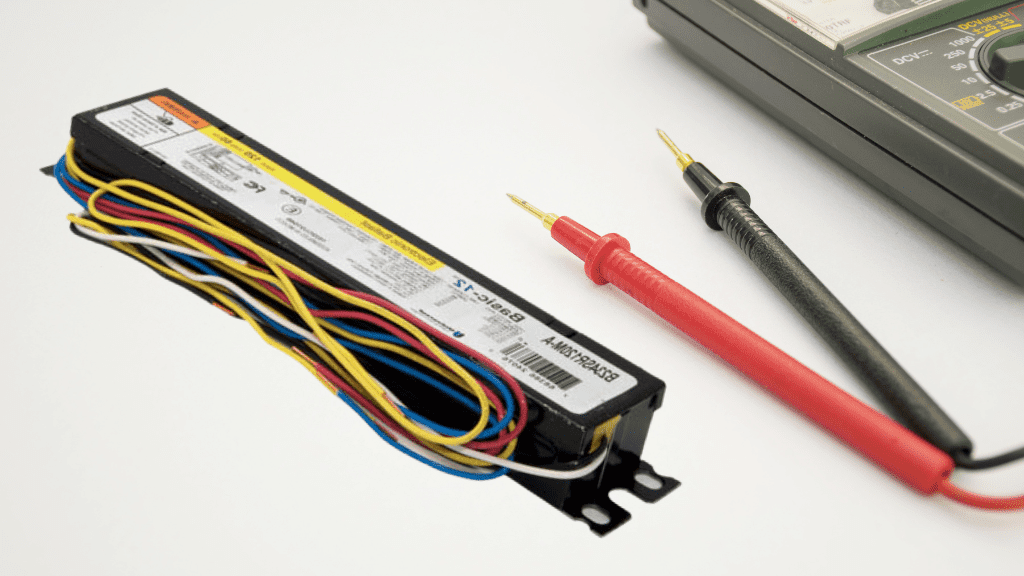
1. Remove the light bulbs from the fixture. This will make it easier to access the ballast and prevent any accidents while testing. 2. Use a voltage tester to ensure there is no electrical current running through the wires. Hold the tester close to the wires and if it beeps or lights up, there is still power running through the circuit. Double check that the power is off before proceeding. 3. Locate the ballast. It is usually a small rectangular box attached to the light fixture. 4. Use a screwdriver to remove the cover of the ballast. You may need to unscrew a few screws to fully remove the cover. 5. Check the connections inside the ballast. Make sure they are secure and not loose or corroded. 6. Use a multimeter to test the ballast. Set the multimeter to the ohms setting and touch the probes to the wires connected to the ballast. If the reading is zero, the ballast is functioning properly. If the reading is above zero, the ballast is faulty and needs to be replaced. 7. If the ballast is faulty, you will need to replace it with a new one. Make sure to get the same type and wattage as the old ballast. 8. Install the new ballast by connecting the wires and securing the cover back onto the fixture. 9. Replace the light bulbs and turn the power back on at the circuit breaker. 10. Turn on your kitchen light and see if it is working properly. If it is still not working, there may be another issue with the wiring or the light fixture itself.Step-by-Step Guide for Testing a Kitchen Light Ballast


Step-by-Step Guide for Testing a Kitchen Light Ballast


:max_bytes(150000):strip_icc()/SPR-ballast-gone-ballistic-1152461-hero-f0a1c039d31a4d9aa074ed25f4675762.jpg)
While it is always recommended to hire a professional for electrical work, testing a kitchen light ballast is a simple task that can be done by most homeowners. By following the steps above, you can save yourself time and money by diagnosing and potentially fixing the issue yourself.DIY Kitchen Light Ballast Testing


DIY Kitchen Light Ballast Testing


If your kitchen light is still not working properly after testing the ballast, there may be another issue at play. Some common issues with kitchen light ballasts include loose connections, faulty wiring, or a malfunctioning light switch. It is best to consult a professional electrician if you are unable to determine the issue on your own.Troubleshooting a Kitchen Light Ballast


Troubleshooting a Kitchen Light Ballast


Faulty ballasts are not the only issue that can cause problems with your kitchen light. Other common issues include burnt out light bulbs, loose connections, or a tripped circuit breaker. Before testing your ballast, make sure to check these other potential causes.Common Issues with Kitchen Light Ballasts


Common Issues with Kitchen Light Ballasts


To properly test a kitchen light ballast, you will need a few tools. These include a screwdriver, a voltage tester, a multimeter, and replacement ballast (if needed). Having these tools on hand will make the testing process smoother and ensure your safety.Tools Needed for Testing a Kitchen Light Ballast


Tools Needed for Testing a Kitchen Light Ballast


As mentioned before, safety should always be your top priority when dealing with electrical components. Make sure to turn off the power at the circuit breaker before beginning any testing. Wear protective gear, such as gloves and safety glasses, and use caution when handling wires and tools.Safety Precautions for Testing a Kitchen Light Ballast


Safety Precautions for Testing a Kitchen Light Ballast


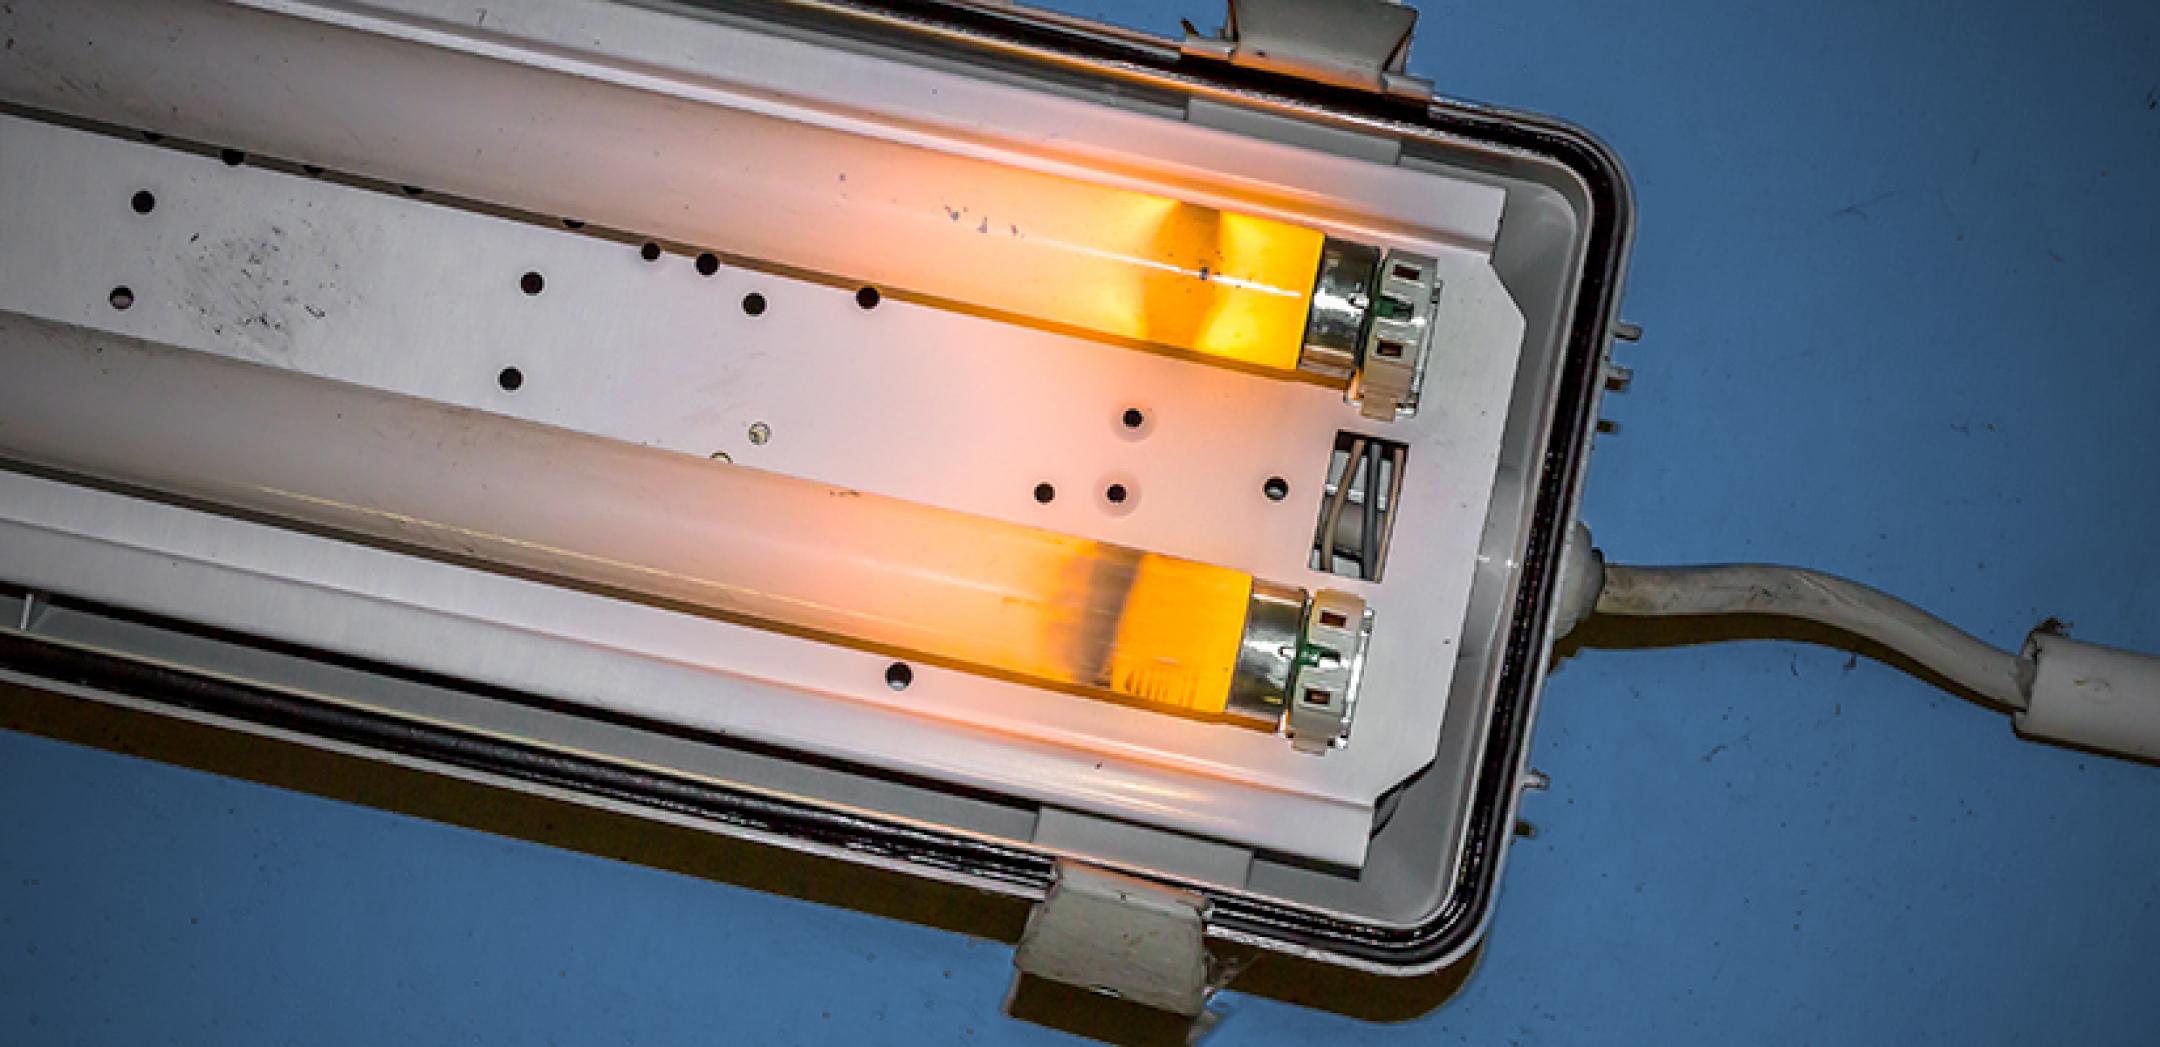
There are a few signs that can indicate a faulty ballast. These include flickering lights, buzzing sounds coming from the fixture, or the light not turning on at all. If you notice any of these issues, it is best to test the ballast to determine if it needs to be replaced.How to Identify a Faulty Kitchen Light Ballast

How to Identify a Faulty Kitchen Light Ballast


If your ballast is indeed faulty, it is important to replace it as soon as possible. A malfunctioning ballast can cause damage to your light fixture and even pose a safety hazard. Follow the steps outlined above to safely replace the ballast and get your kitchen light working again.Replacing a Faulty Kitchen Light Ballast


Replacing a Faulty Kitchen Light Ballast

:max_bytes(150000):strip_icc()/SPR-ballast-gone-ballistic-1152461-hero-f0a1c039d31a4d9aa074ed25f4675762.jpg)

How to Test Kitchen Light Ballast: A Crucial Step in House Design
Understanding the Importance of Kitchen Light Ballast
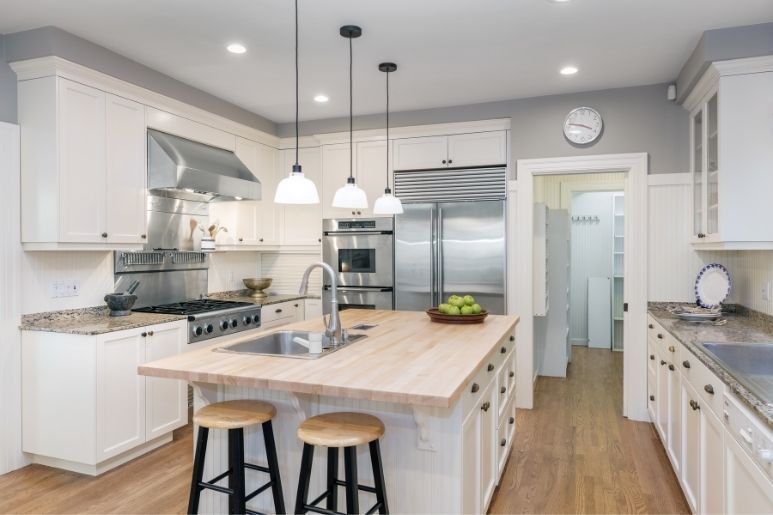
 When it comes to designing a house, lighting is often an overlooked aspect. However, it plays a crucial role in creating a welcoming and functional space. One of the key components of lighting is the
kitchen light ballast
, which is responsible for controlling and regulating the flow of electricity to the lights. Without a functioning ballast, your kitchen lights may flicker, buzz, or not turn on at all. This can not only be annoying but also affect the overall ambiance and usability of your kitchen. Therefore, testing your kitchen light ballast is an essential step in ensuring your house design is top-notch.
When it comes to designing a house, lighting is often an overlooked aspect. However, it plays a crucial role in creating a welcoming and functional space. One of the key components of lighting is the
kitchen light ballast
, which is responsible for controlling and regulating the flow of electricity to the lights. Without a functioning ballast, your kitchen lights may flicker, buzz, or not turn on at all. This can not only be annoying but also affect the overall ambiance and usability of your kitchen. Therefore, testing your kitchen light ballast is an essential step in ensuring your house design is top-notch.
Step-by-Step Guide to Testing Your Kitchen Light Ballast
 Now that you understand the importance of the kitchen light ballast, let's dive into the testing process. Here's a step-by-step guide to help you test your kitchen light ballast effectively:
Step 1: Turn Off the Power
Before you start any electrical work, it's crucial to turn off the power to avoid any accidents. Go to your main electrical panel and locate the switch that controls the kitchen lights. Flip it off to cut off the power supply.
Step 2: Remove the Light Bulbs
Once the power is off, remove the light bulbs from the fixture. This will make it easier to access the ballast.
Step 3: Remove the Ballast Cover
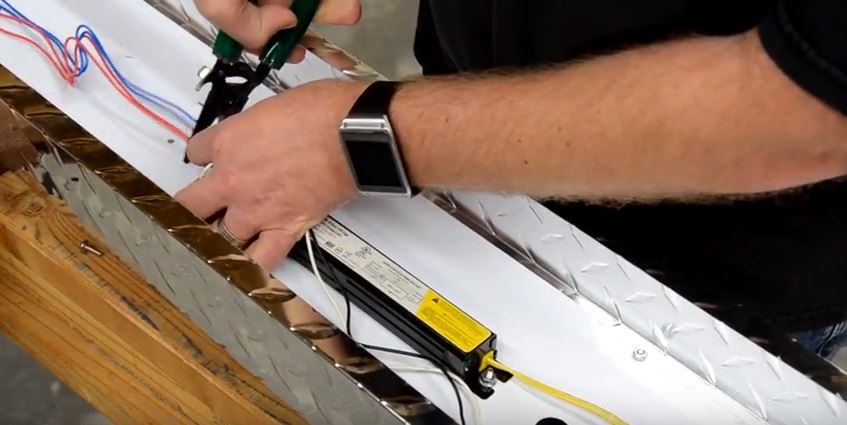
Using a screwdriver, remove the screws that hold the ballast cover in place. Carefully remove the cover to expose the ballast.
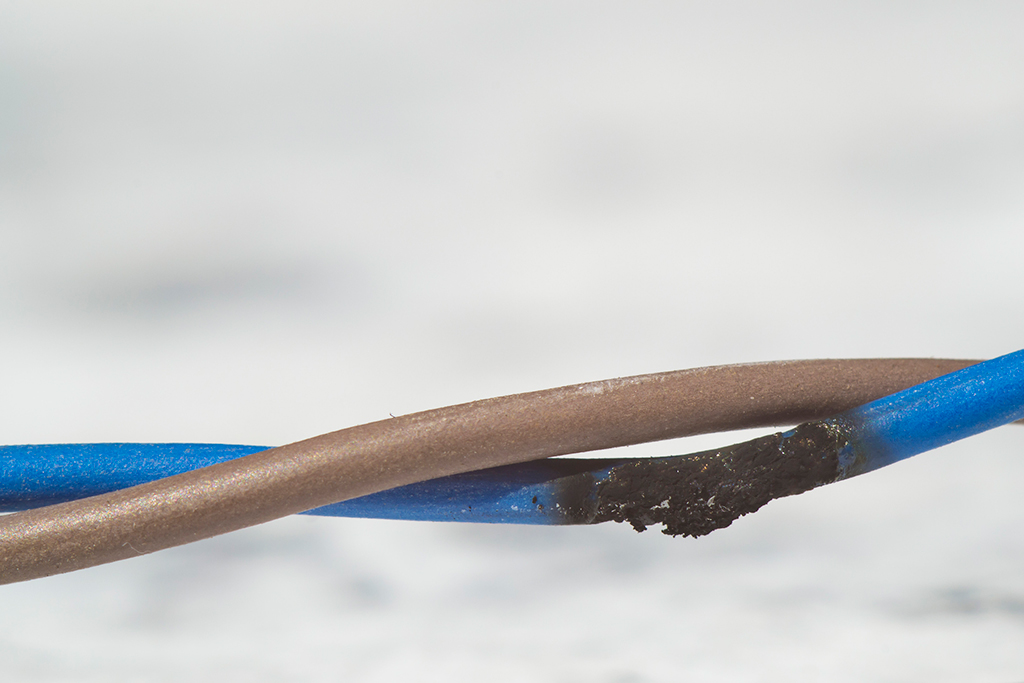
Step 4: Check for Visible Damage
Inspect the ballast for any visible signs of damage, such as discoloration, burnt wires, or cracks. If you notice any of these, it's likely that your ballast needs to be replaced.
Step 5: Test the Voltage
Using a
voltage tester
, check the voltage at the input and output terminals of the ballast. The input voltage should be the same as your household voltage, while the output voltage should be lower. If the output voltage is the same as the input, your ballast may be defective.
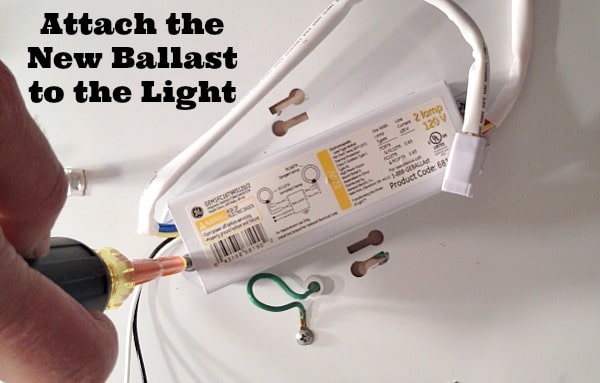
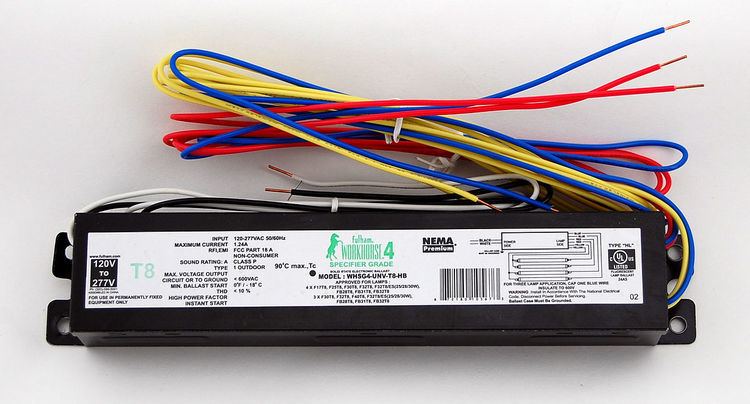
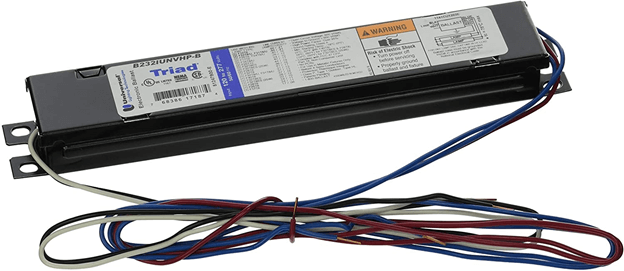
Step 6: Replace the Ballast
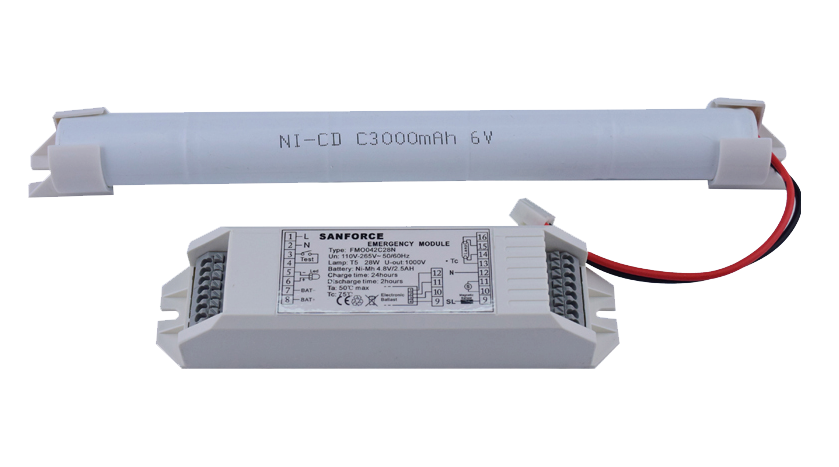
If your ballast is damaged or not functioning properly, it's time to replace it. Make sure to purchase a suitable replacement based on the wattage and voltage requirements of your kitchen lights.
Now that you understand the importance of the kitchen light ballast, let's dive into the testing process. Here's a step-by-step guide to help you test your kitchen light ballast effectively:
Step 1: Turn Off the Power
Before you start any electrical work, it's crucial to turn off the power to avoid any accidents. Go to your main electrical panel and locate the switch that controls the kitchen lights. Flip it off to cut off the power supply.
Step 2: Remove the Light Bulbs
Once the power is off, remove the light bulbs from the fixture. This will make it easier to access the ballast.
Step 3: Remove the Ballast Cover
Using a screwdriver, remove the screws that hold the ballast cover in place. Carefully remove the cover to expose the ballast.
Step 4: Check for Visible Damage
Inspect the ballast for any visible signs of damage, such as discoloration, burnt wires, or cracks. If you notice any of these, it's likely that your ballast needs to be replaced.
Step 5: Test the Voltage
Using a
voltage tester
, check the voltage at the input and output terminals of the ballast. The input voltage should be the same as your household voltage, while the output voltage should be lower. If the output voltage is the same as the input, your ballast may be defective.
Step 6: Replace the Ballast
If your ballast is damaged or not functioning properly, it's time to replace it. Make sure to purchase a suitable replacement based on the wattage and voltage requirements of your kitchen lights.
Conclusion
 In conclusion, testing your kitchen light ballast is a crucial step in ensuring your house design is functional and aesthetically pleasing. By following the steps outlined in this guide, you can easily identify and fix any issues with your ballast. Remember, it's always best to seek professional help if you're not comfortable working with electrical components. Stay safe and happy designing!