Before you begin installing beadboard under your kitchen bar, the first step is to measure the space to ensure you have the correct amount of materials. Use a measuring tape to get the exact length and width of the area.1. Measure the space under the kitchen bar


1. Measure the space under the kitchen bar


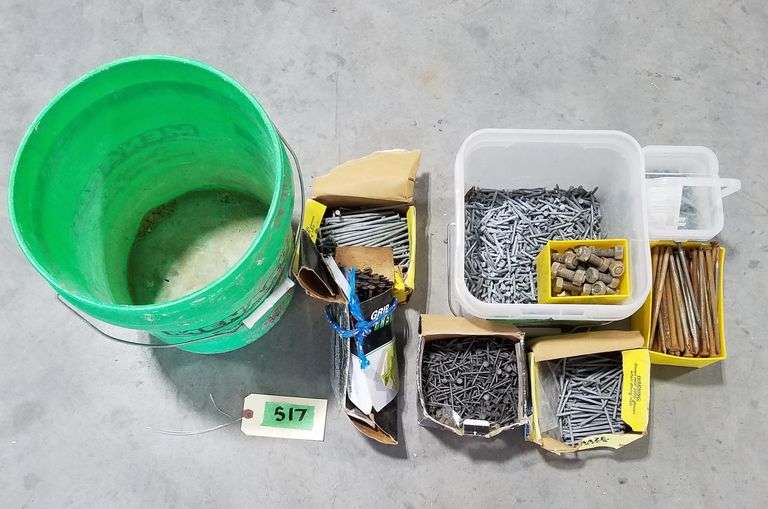
Once you have your measurements, it's time to head to the store to purchase the materials you'll need. You will need beadboard panels, baseboard trim, adhesive, nails or screws, caulk, and paint or stain to match your kitchen bar.2. Purchase the necessary materials


2. Purchase the necessary materials


Before you start installing the beadboard, make sure the area is clean and free of any debris. If there are any nails or screws sticking out, use a hammer or screwdriver to remove them. This will ensure a smooth and even surface for the beadboard to adhere to.3. Prepare the area


3. Prepare the area


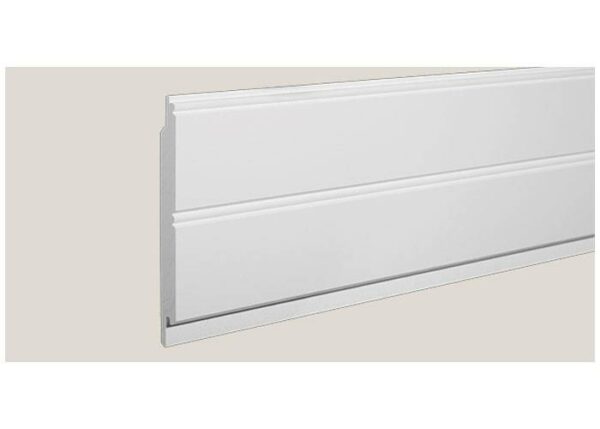
Using your measurements, cut the beadboard to fit the space under the kitchen bar. Make sure to leave a small gap at the top and bottom to allow for expansion. You can use a saw or a utility knife to cut the beadboard.4. Cut the beadboard to fit


4. Cut the beadboard to fit


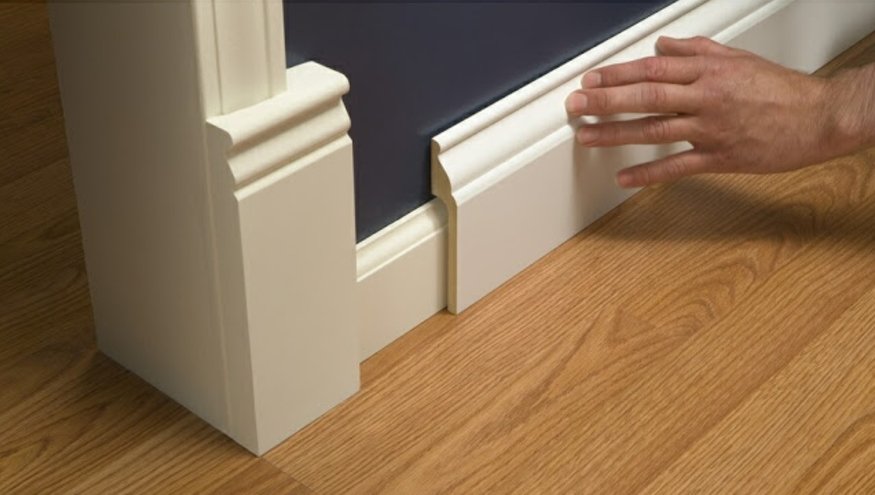
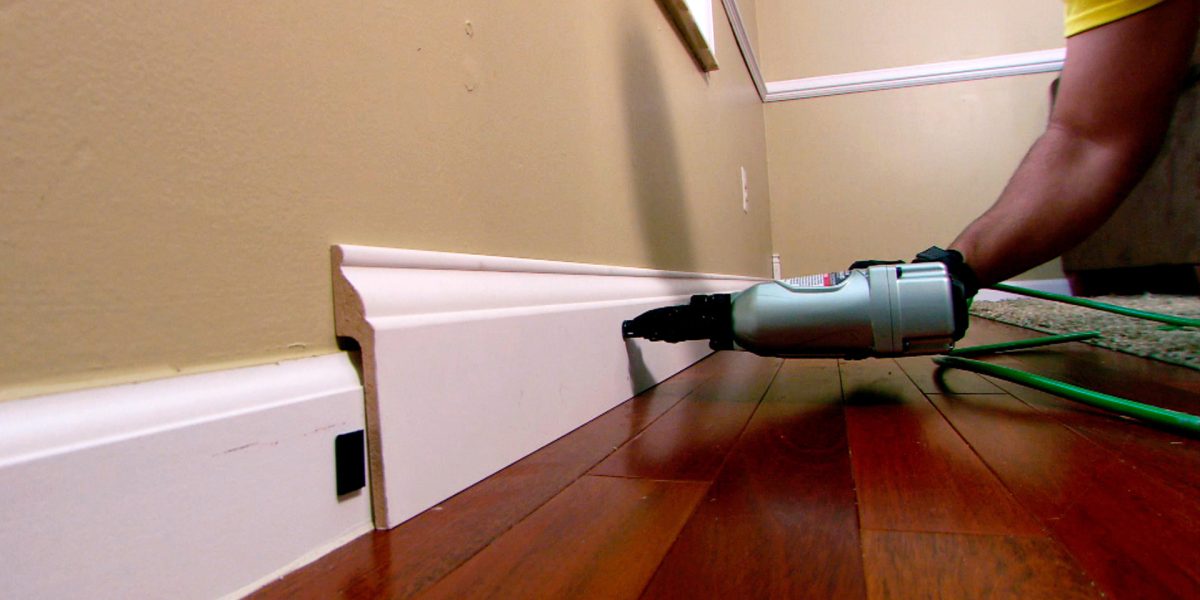
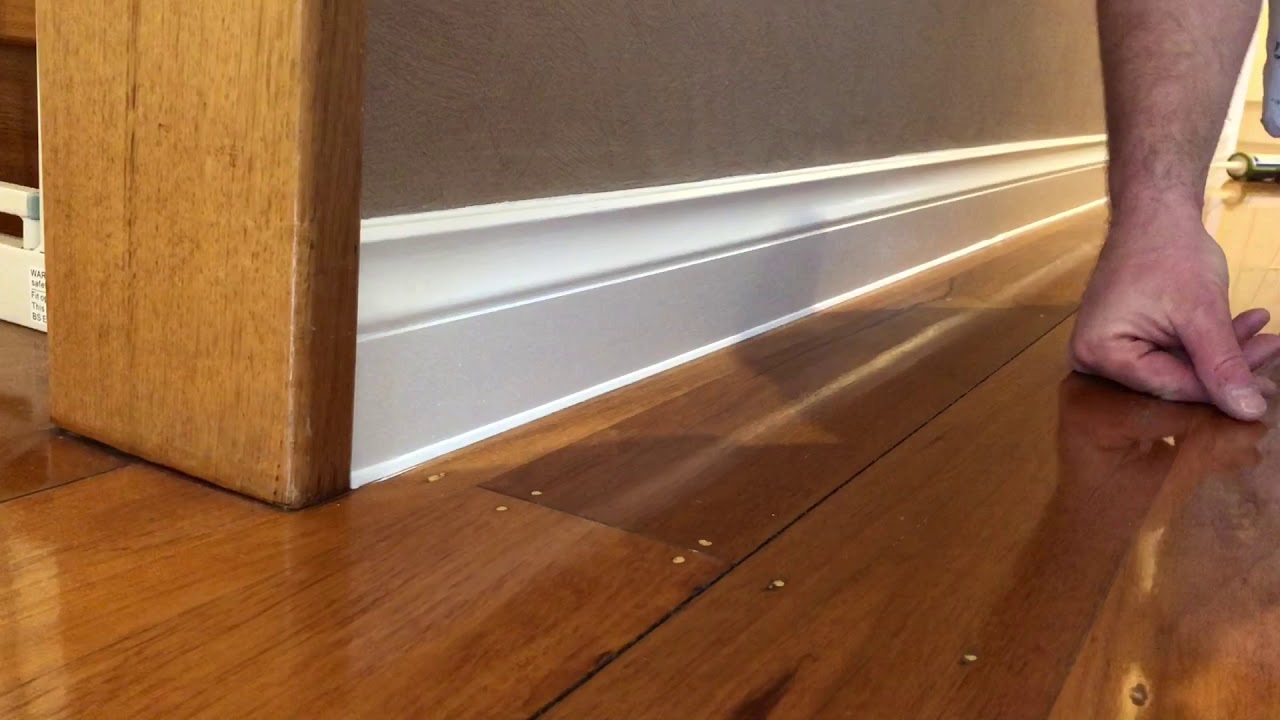
Next, install the baseboard trim along the bottom of the space. This will help secure the beadboard and give it a finished look. Use a level to ensure the baseboard is straight before securing it with nails or screws.5. Install the baseboard


5. Install the baseboard


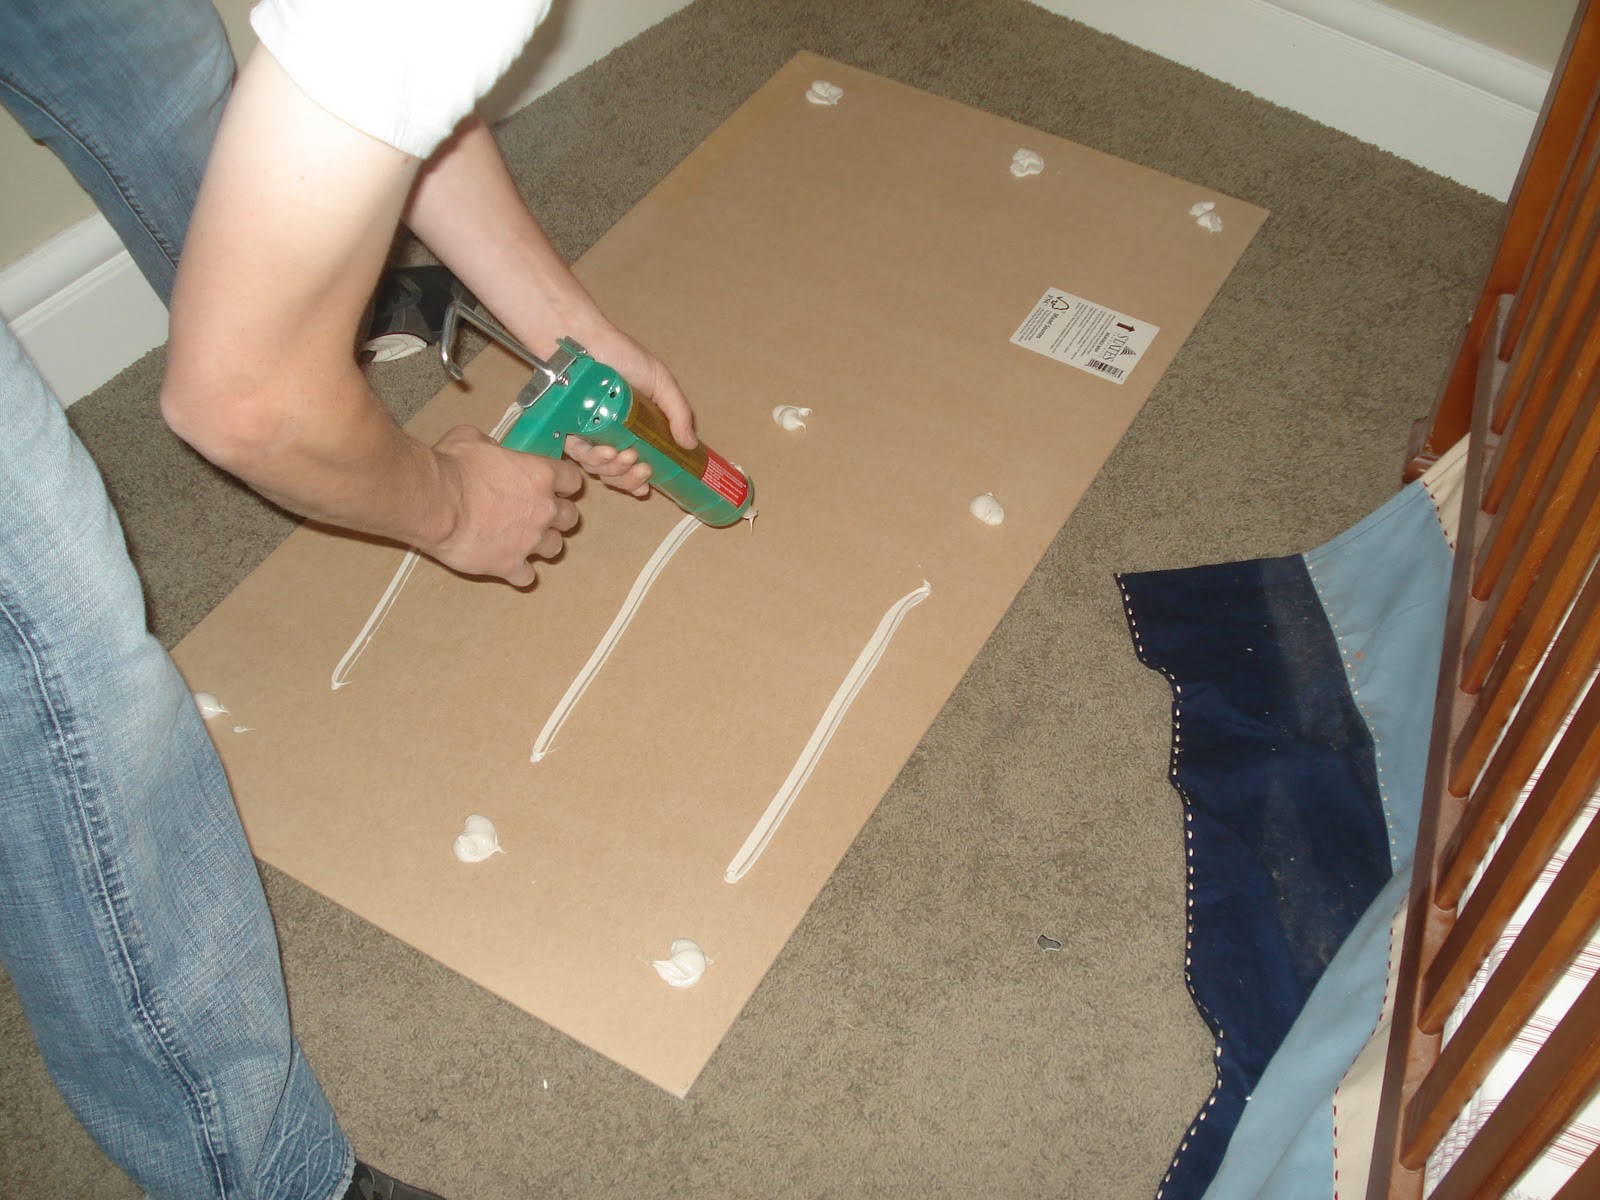
Apply a generous amount of adhesive to the back of the beadboard panel. This will help it stick to the wall and prevent any gaps from forming.6. Apply adhesive to the back of the beadboard


6. Apply adhesive to the back of the beadboard


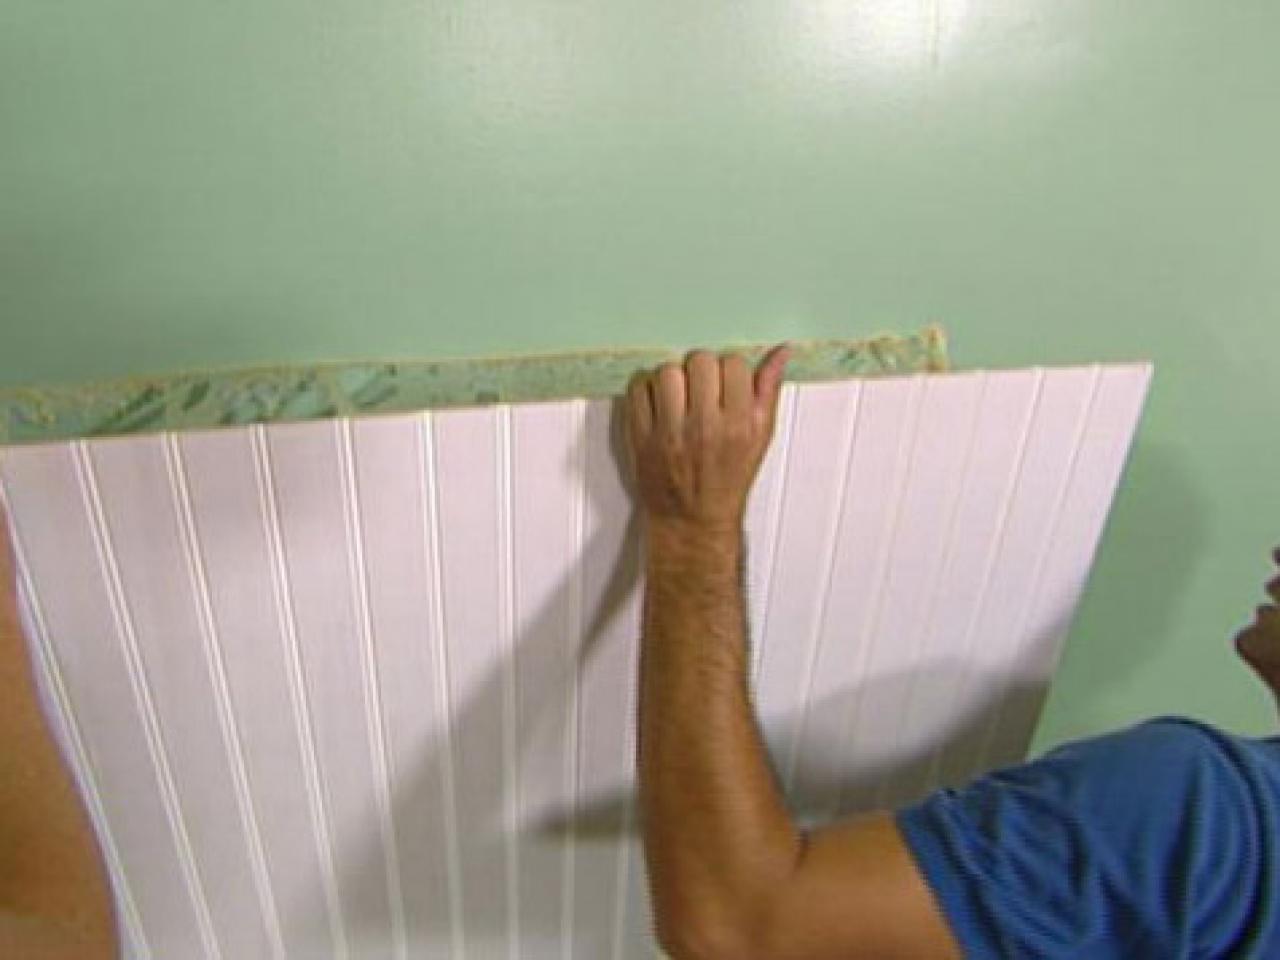
Carefully press the beadboard onto the wall, starting at one end and working your way to the other. Make sure it is straight and level as you go. Use a level to double-check and adjust if needed.7. Press the beadboard onto the wall


7. Press the beadboard onto the wall


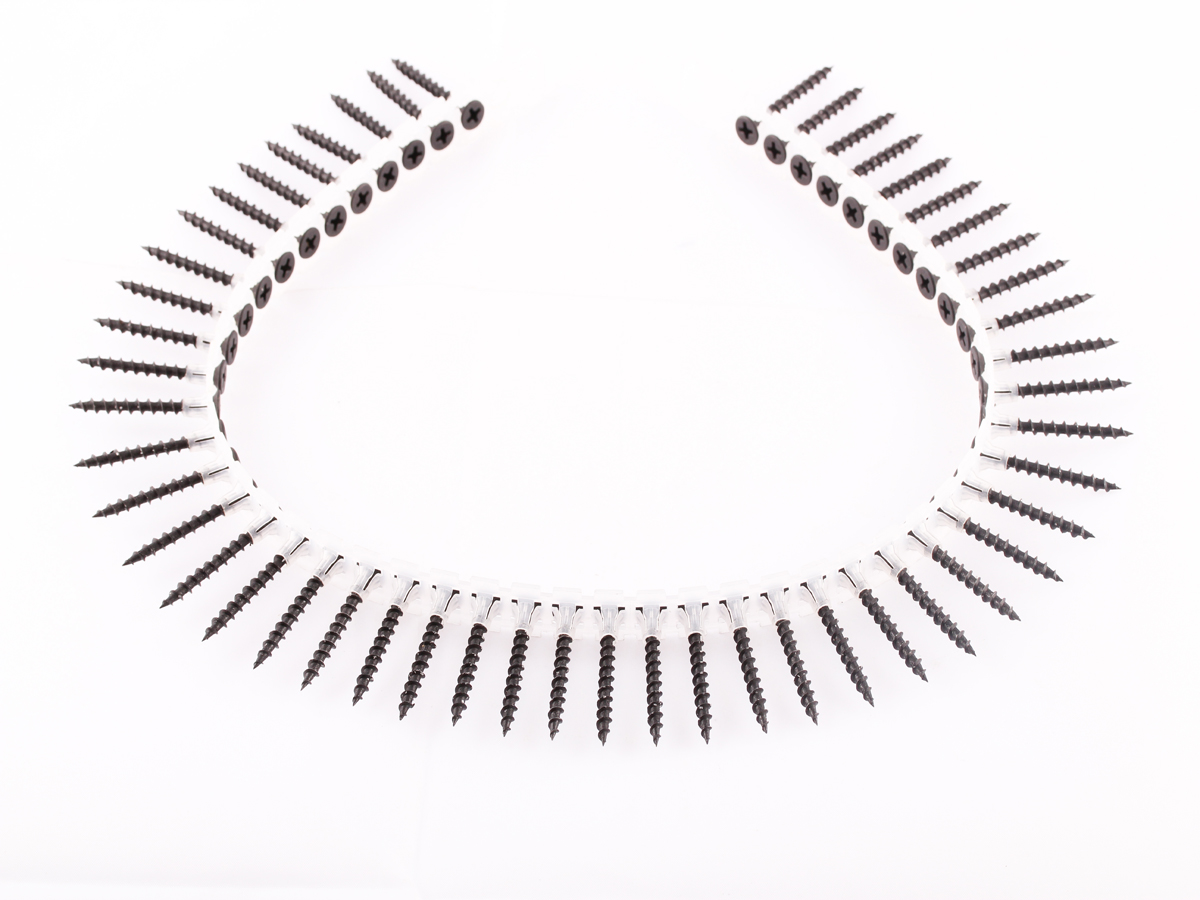
Once the beadboard is in place, use nails or screws to secure it to the wall. Make sure to place the nails or screws evenly along the panel to ensure it is secure. Use a nail set to sink the nails below the surface of the beadboard.8. Secure the beadboard with nails or screws

8. Secure the beadboard with nails or screws


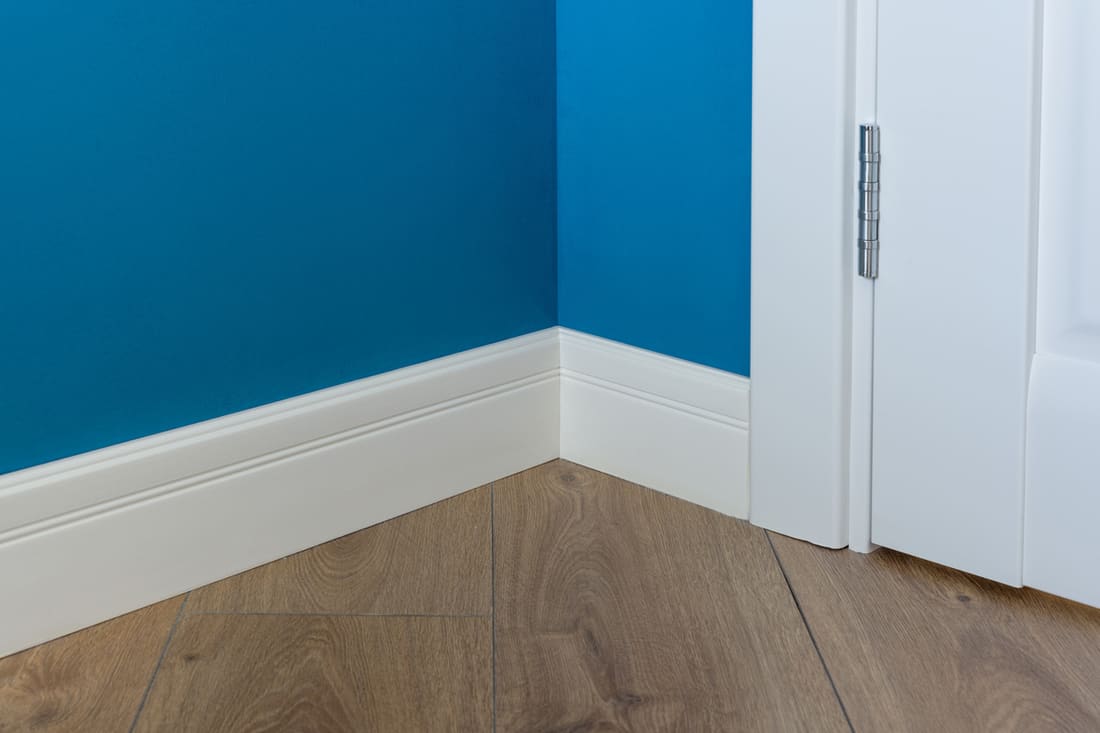
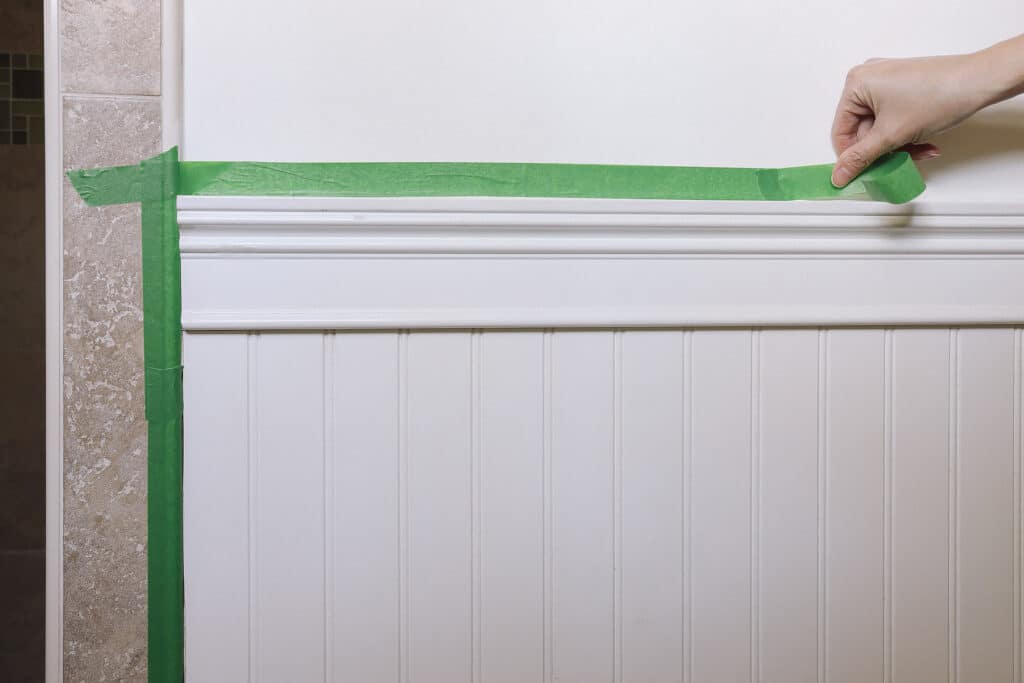
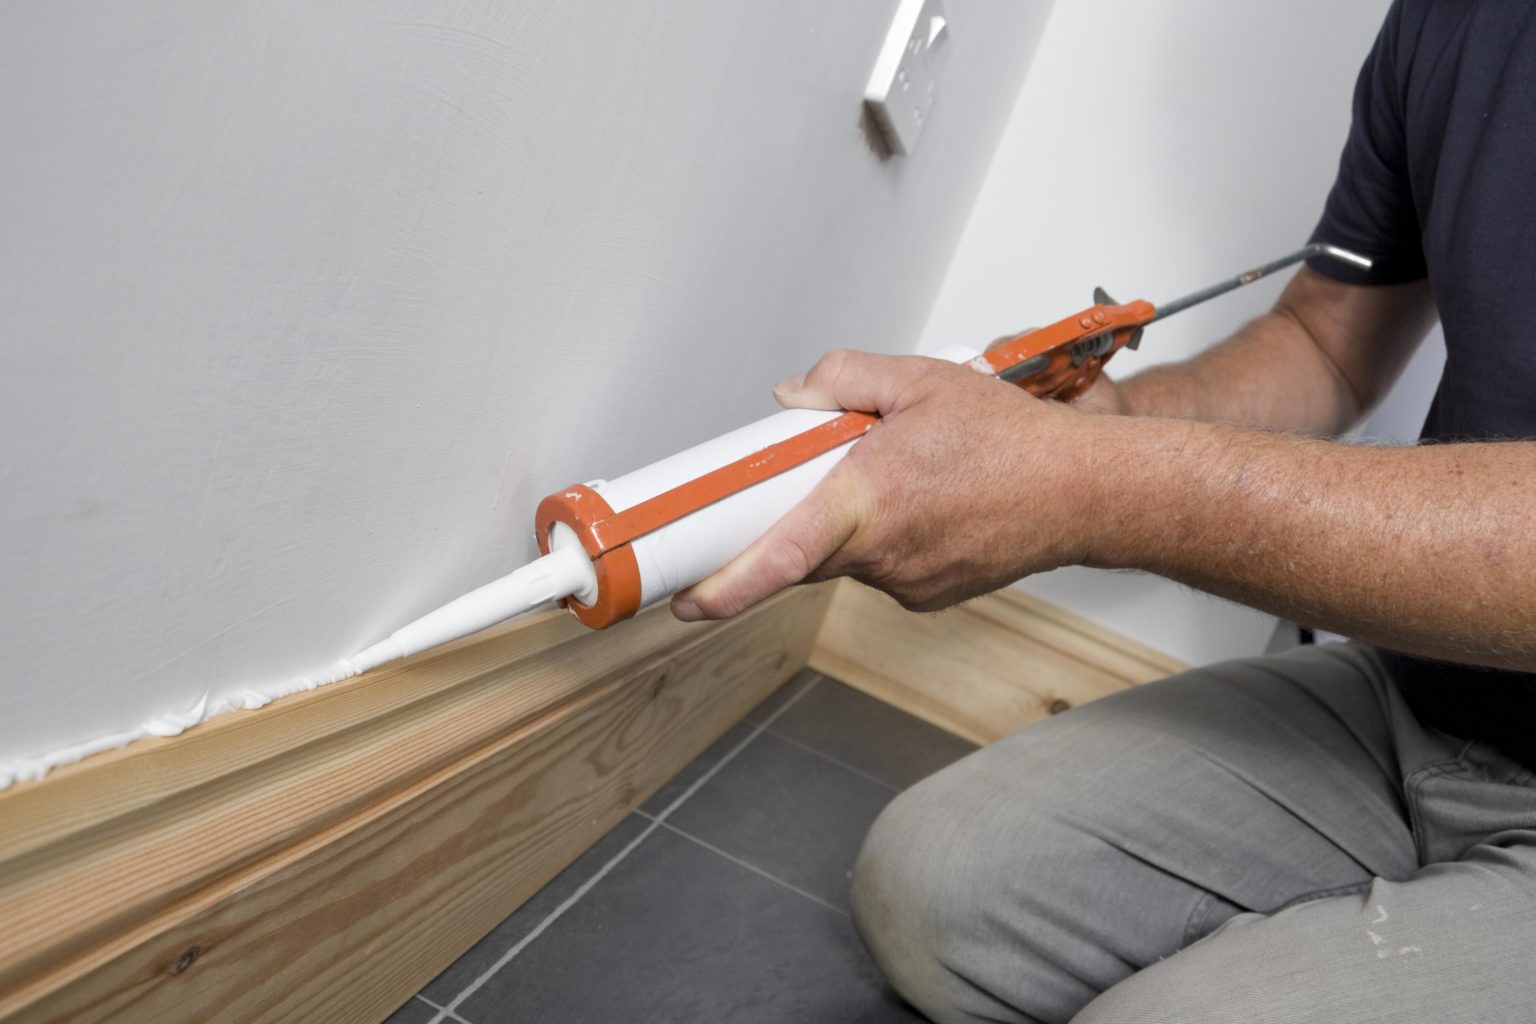
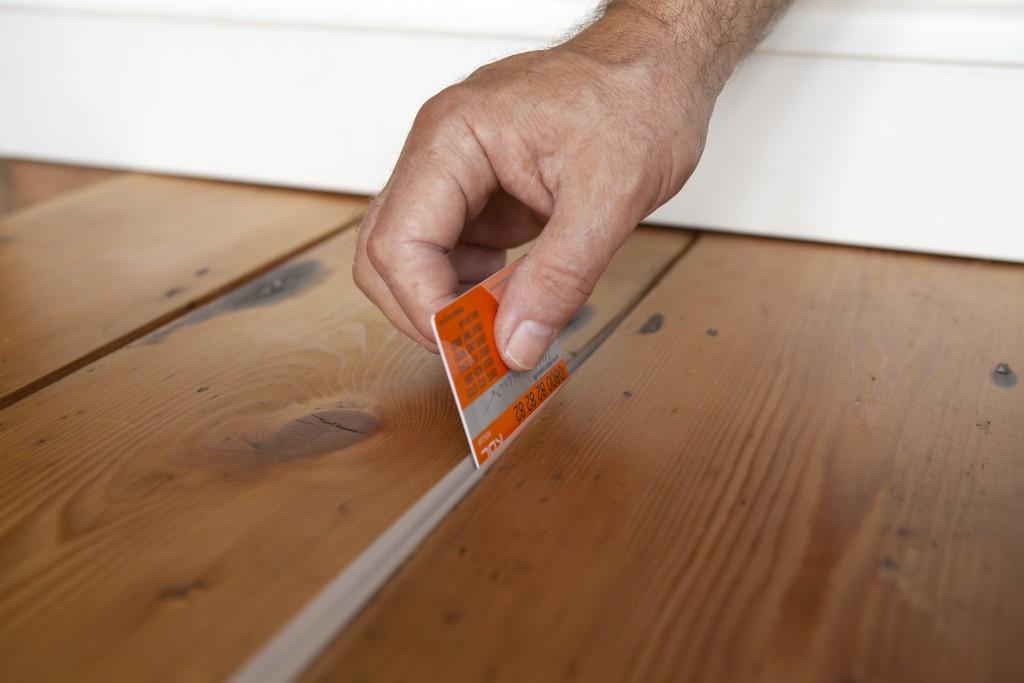
If there are any gaps between the beadboard and the wall, use caulk to fill them in. This will give the finished look and prevent any moisture from getting behind the beadboard.9. Fill in any gaps with caulk

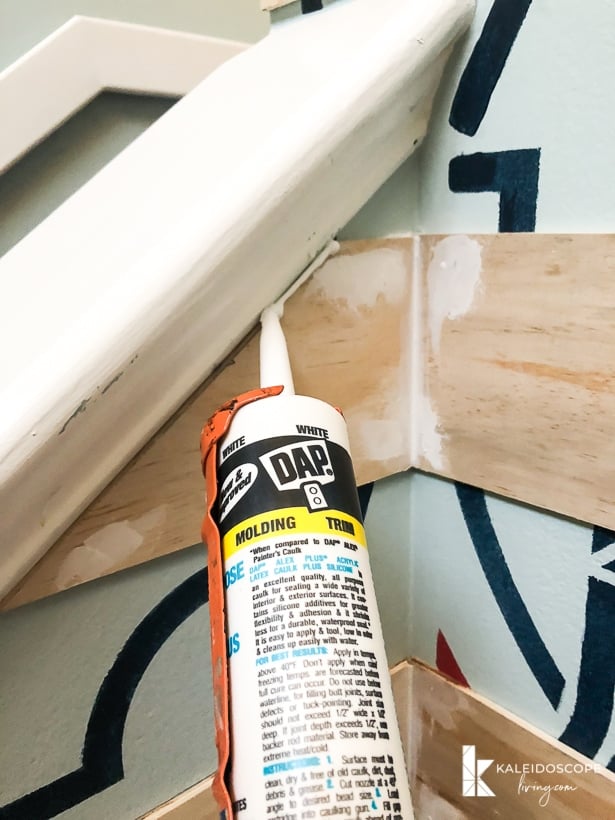

9. Fill in any gaps with caulk


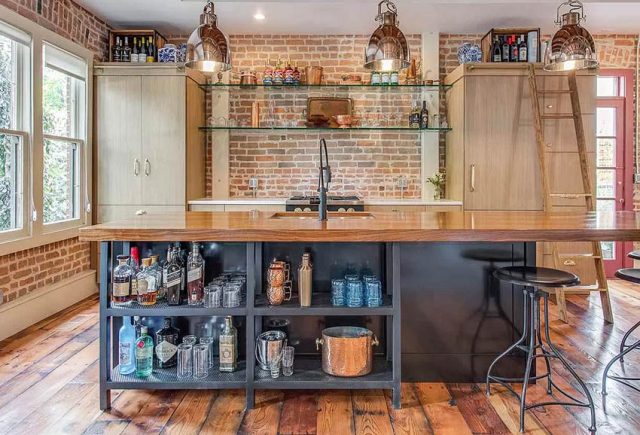
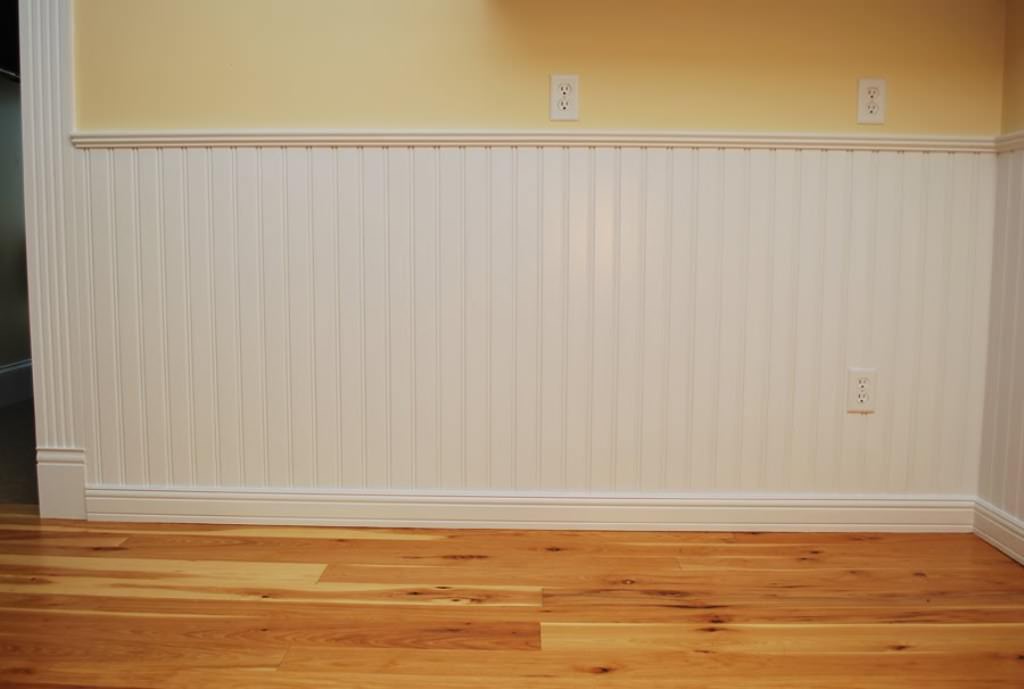
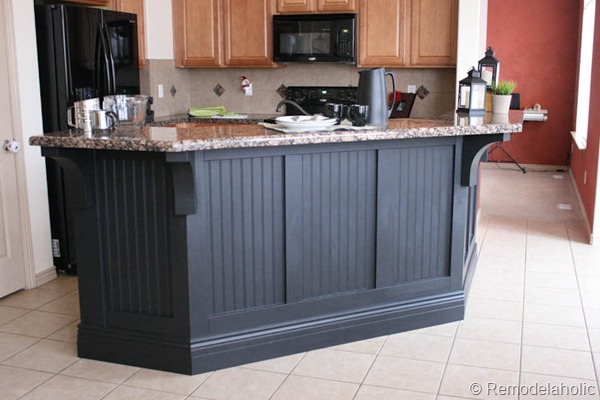
Finally, paint or stain the beadboard to match your kitchen bar. This will give it a cohesive look and make it blend in seamlessly with the rest of the kitchen. Allow the paint or stain to dry completely before using the space. Installing beadboard under your kitchen bar is a great way to add a touch of charm and character to your kitchen. It's a simple and affordable project that can be completed in just a few hours. Follow these steps and you'll have a beautiful and functional beadboard under your kitchen bar in no time.10. Paint or stain the beadboard to match the kitchen bar


10. Paint or stain the beadboard to match the kitchen bar


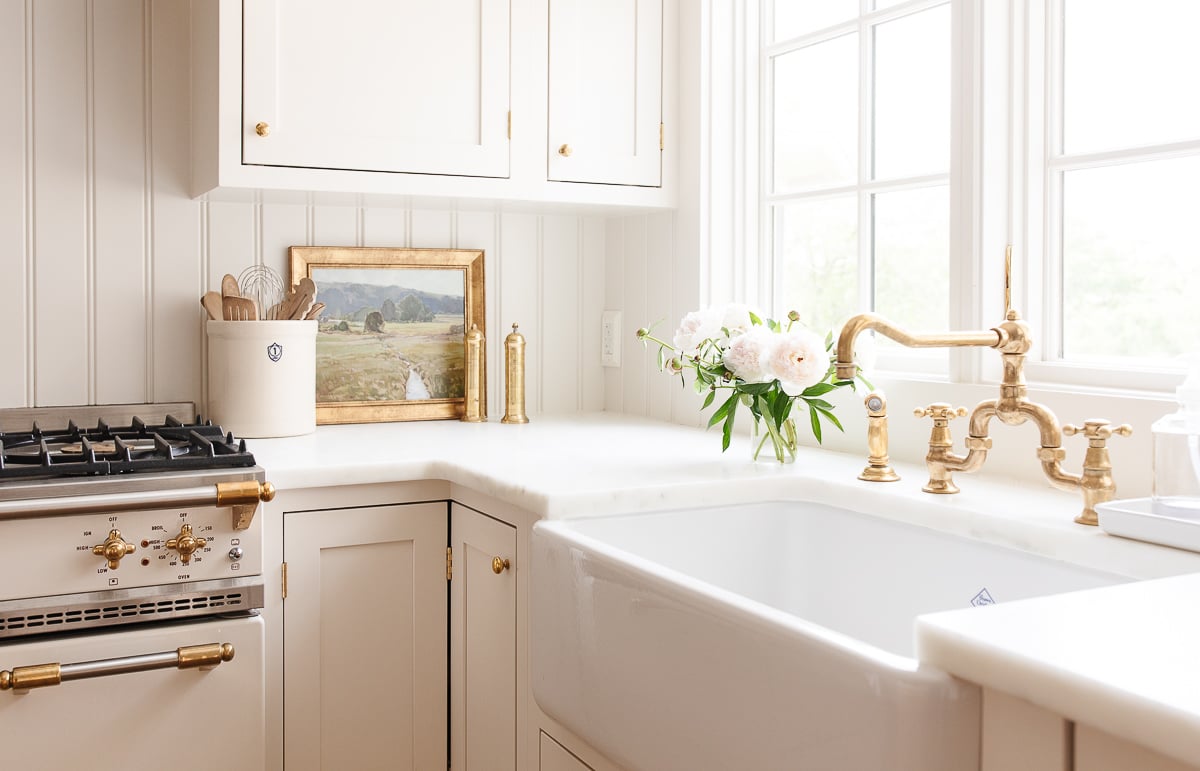


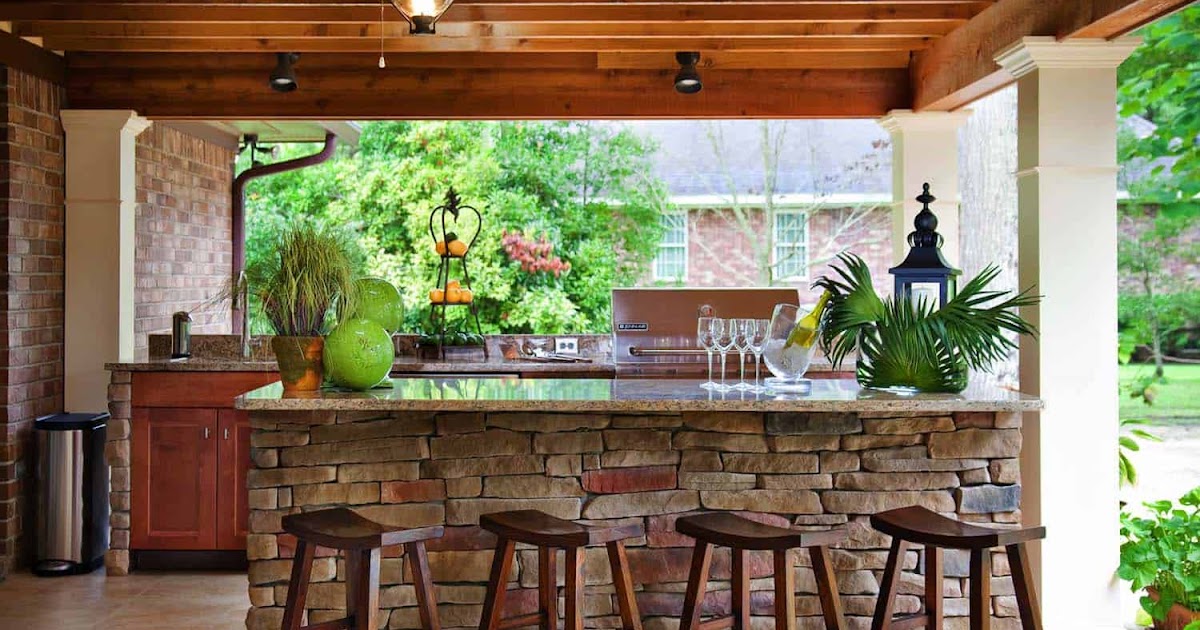
Why Choose Beadboard for Your Kitchen Bar?

1. Adds Texture and Dimension
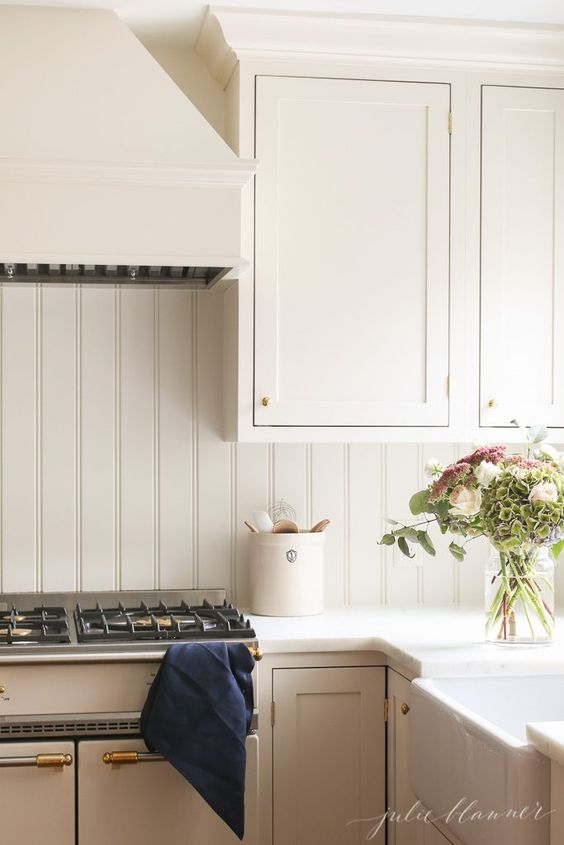
 Beadboard is a type of paneling that adds texture and dimension to any space. It is made up of narrow strips of wood or MDF (medium-density fiberboard) that are tightly fit together with a groove, or "bead," in between each strip. This creates a visually interesting pattern that can add character and charm to your kitchen bar area.
2. Durable and Easy to Clean
 Beadboard is also a practical choice for a kitchen bar as it is durable and easy to clean. The panels can withstand daily wear and tear, making it a great option for high-traffic areas. In addition, its smooth surface allows for easy cleaning, making it a hygienic choice for food preparation areas.
3. Affordable and Versatile
 Installing beadboard is a cost-effective way to update the look of your kitchen bar. Compared to other materials such as tile or stone, beadboard is much more affordable. It also comes in a variety of styles and finishes, allowing you to customize the look to match your personal style and the overall design of your kitchen.
4. Easy to Install
 One of the biggest advantages of beadboard is its ease of installation. With the right tools and materials, it can be a DIY project that can be completed in a weekend. You can choose to install it as a full wall covering or just as a backsplash for your kitchen bar. Either way, it is a relatively quick and straightforward project that can make a big impact on the overall look of your kitchen.
Final Thoughts
 In conclusion, beadboard is a versatile, affordable, and durable option for adding texture and dimension to your kitchen bar. Its easy installation and low maintenance make it a practical choice for any homeowner looking to update their kitchen design. So why wait? Consider adding beadboard to your kitchen bar and see the transformation it can bring to your space.