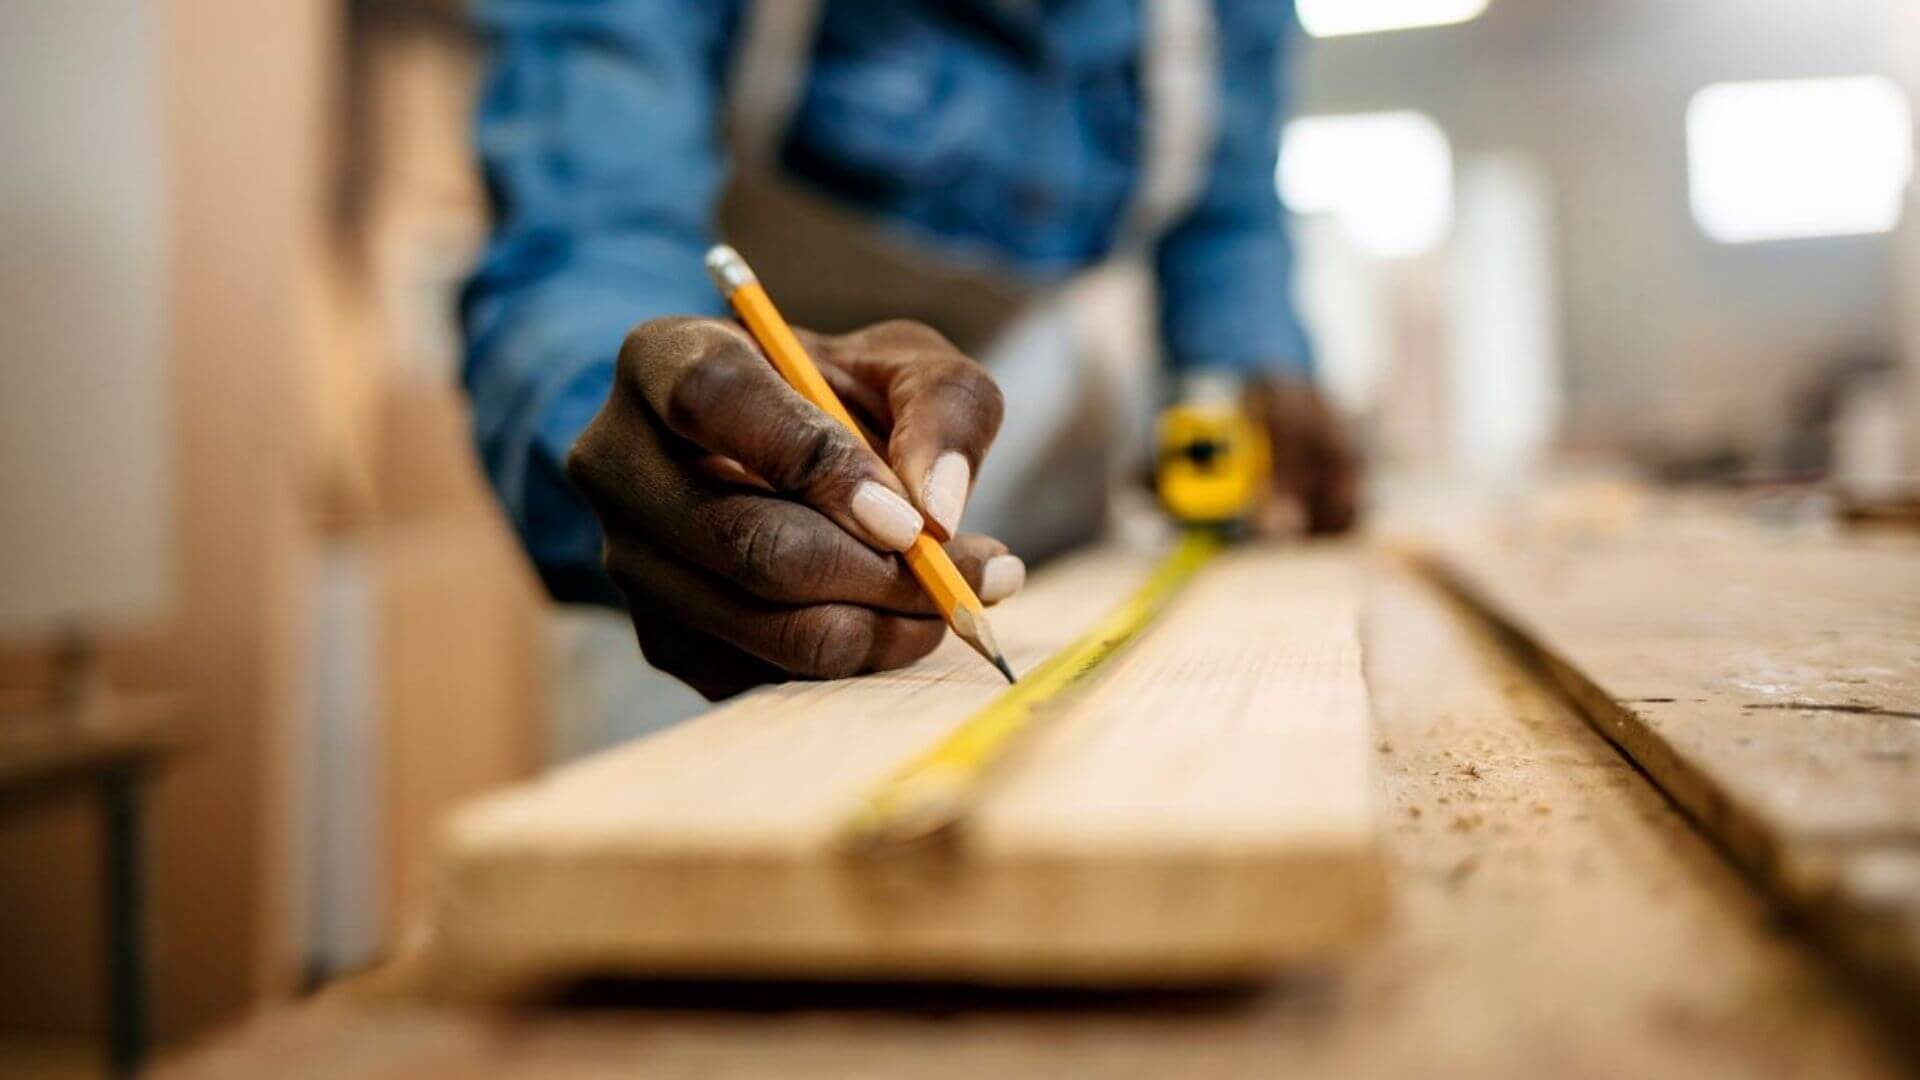
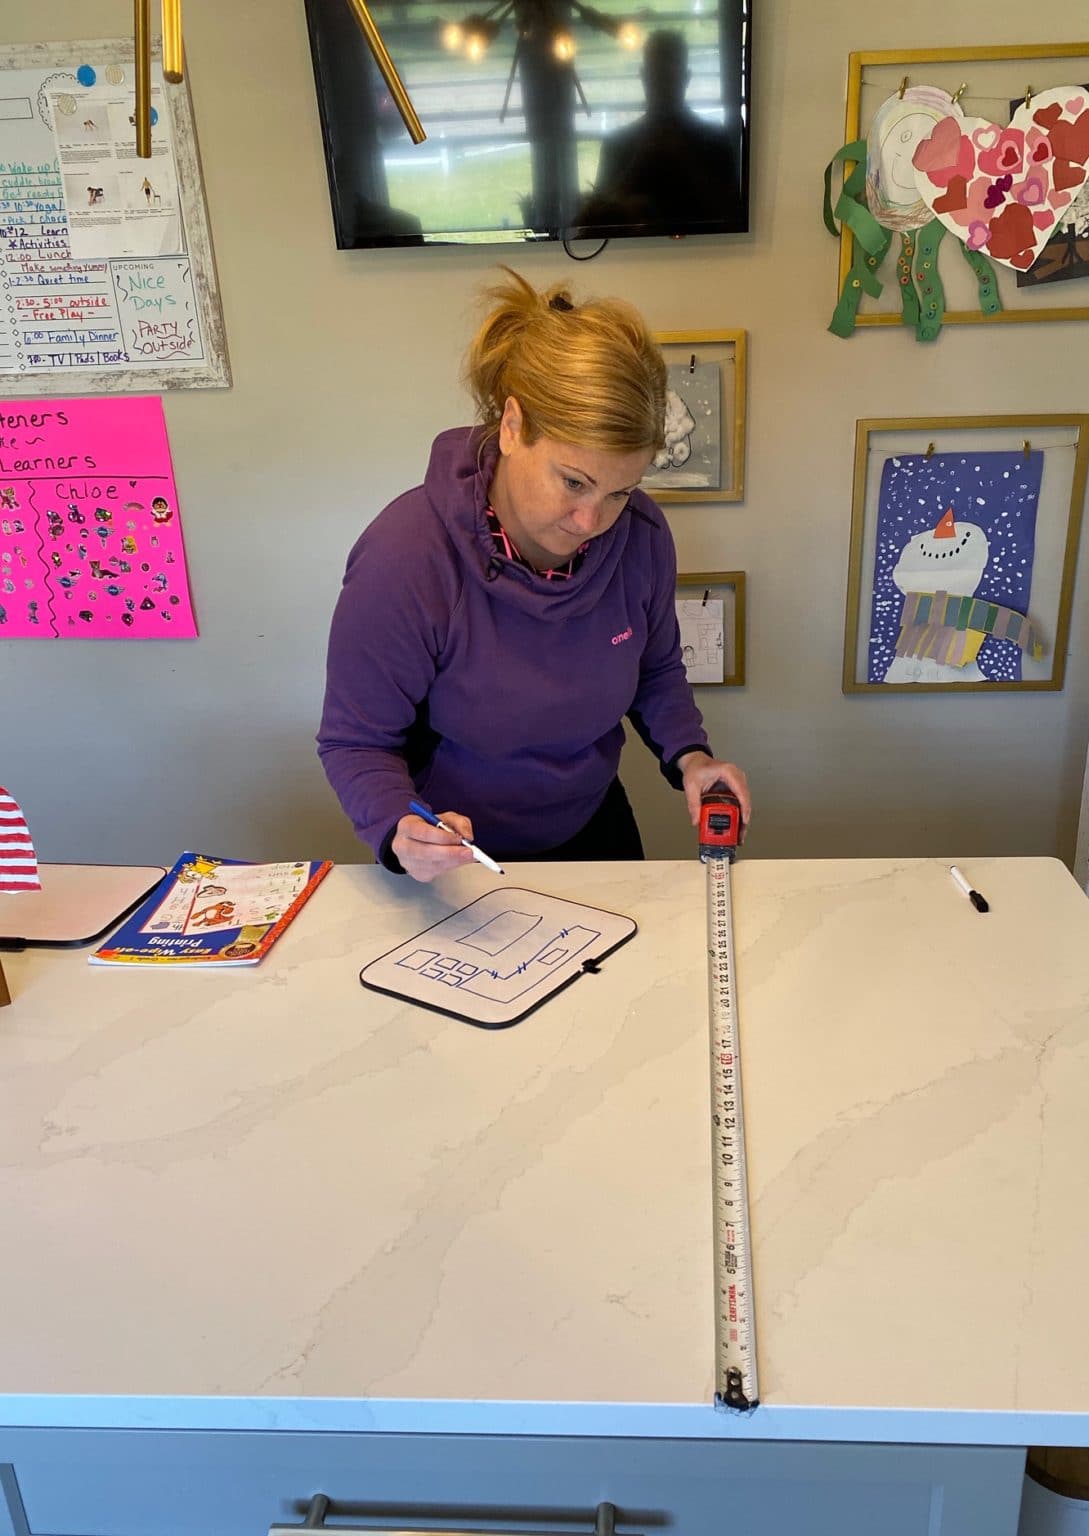
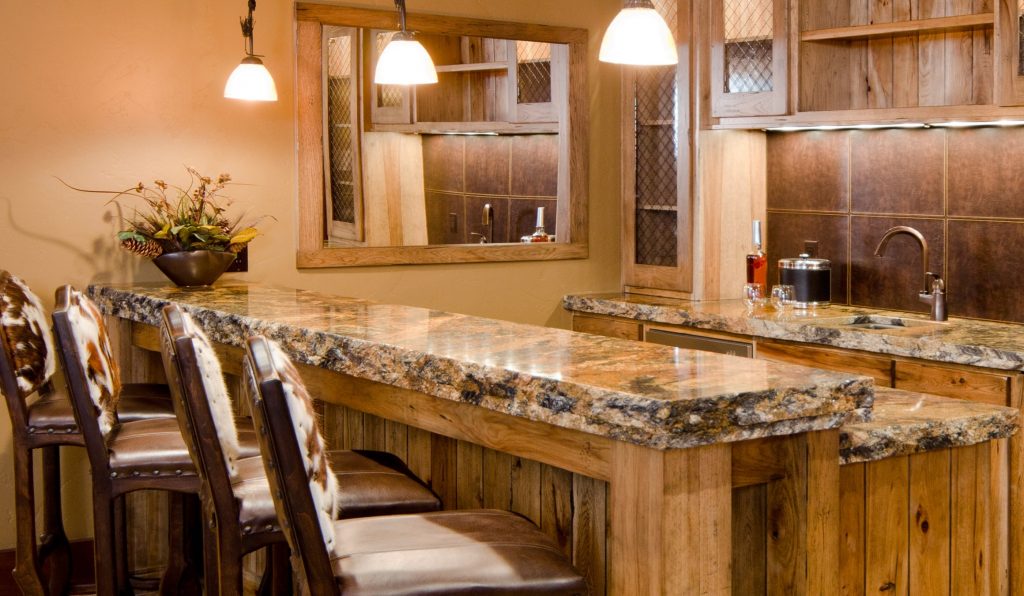
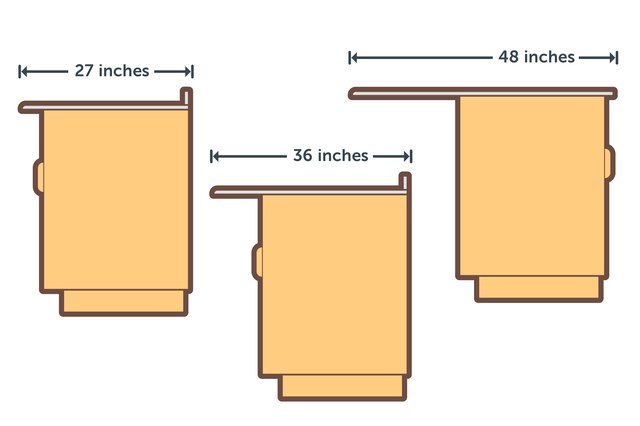
If you're tired of constantly having to reach up to grab a drink or snack from your raised kitchen bar, it may be time to consider lowering it to a more comfortable height. The process may seem daunting, but with the right tools and materials, it can be a simple and rewarding DIY project. The first step is to measure and mark the desired height for your new lowered bar. Use a measuring tape to determine the ideal height for your bar. Keep in mind the standard height for a kitchen countertop is 36 inches, so you may want to lower your bar to around 30 inches for a more comfortable and accessible height. Once you have your desired height, use a pencil to mark it on the wall where the supports will be placed.1. Measure and mark the desired height for the bar


1. Measure and mark the desired height for the bar


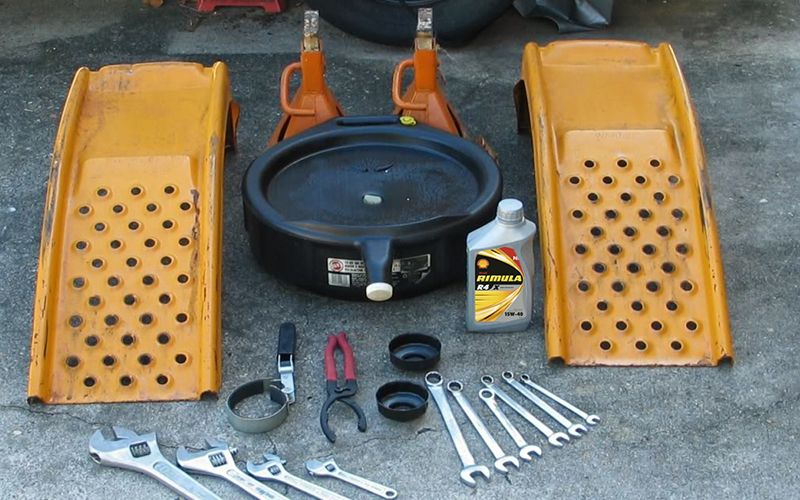
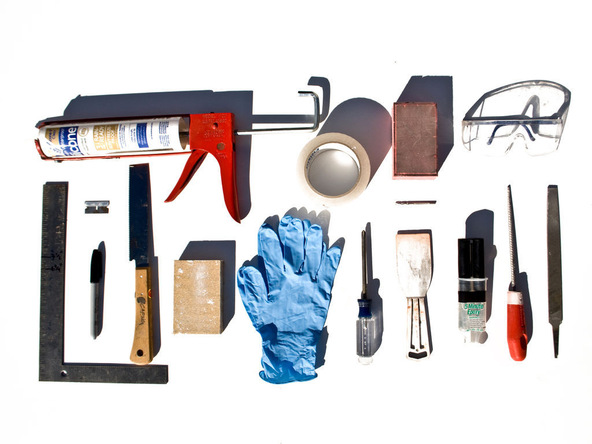
Before you begin, make sure you have all the necessary tools and materials for the project. You will need a measuring tape, pencil, saw (such as a circular saw or jigsaw), drill, screws, level, sandpaper, and finishing materials. It's important to have all of these on hand before starting to ensure a smooth and efficient process.2. Gather necessary tools and materials


2. Gather necessary tools and materials


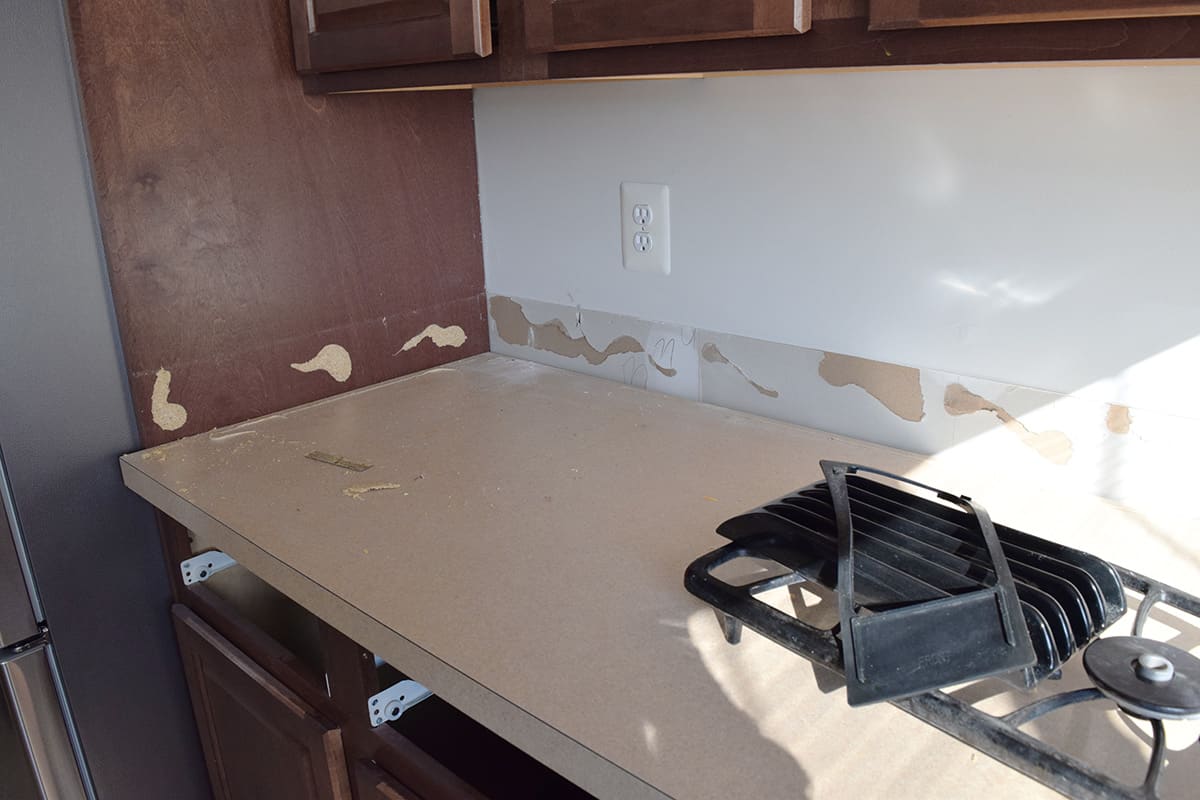
If you have an existing countertop or bar surface on your raised kitchen bar, you will need to remove it before proceeding. This can usually be done by unscrewing it from the supports or using a hammer and chisel to pry it off. Be sure to wear protective gear and use caution when removing the surface to avoid any injuries.3. Remove any existing countertop or bar surface


3. Remove any existing countertop or bar surface


Using your saw, cut the bar supports to the desired height that you marked on the wall. If you are using wood supports, be sure to use a level to ensure they are straight and even. If you are using metal supports, use a drill to secure them to the wall studs. Once the supports are in place, you can also add additional screws for added stability.4. Cut the bar supports to the desired height


4. Cut the bar supports to the desired height


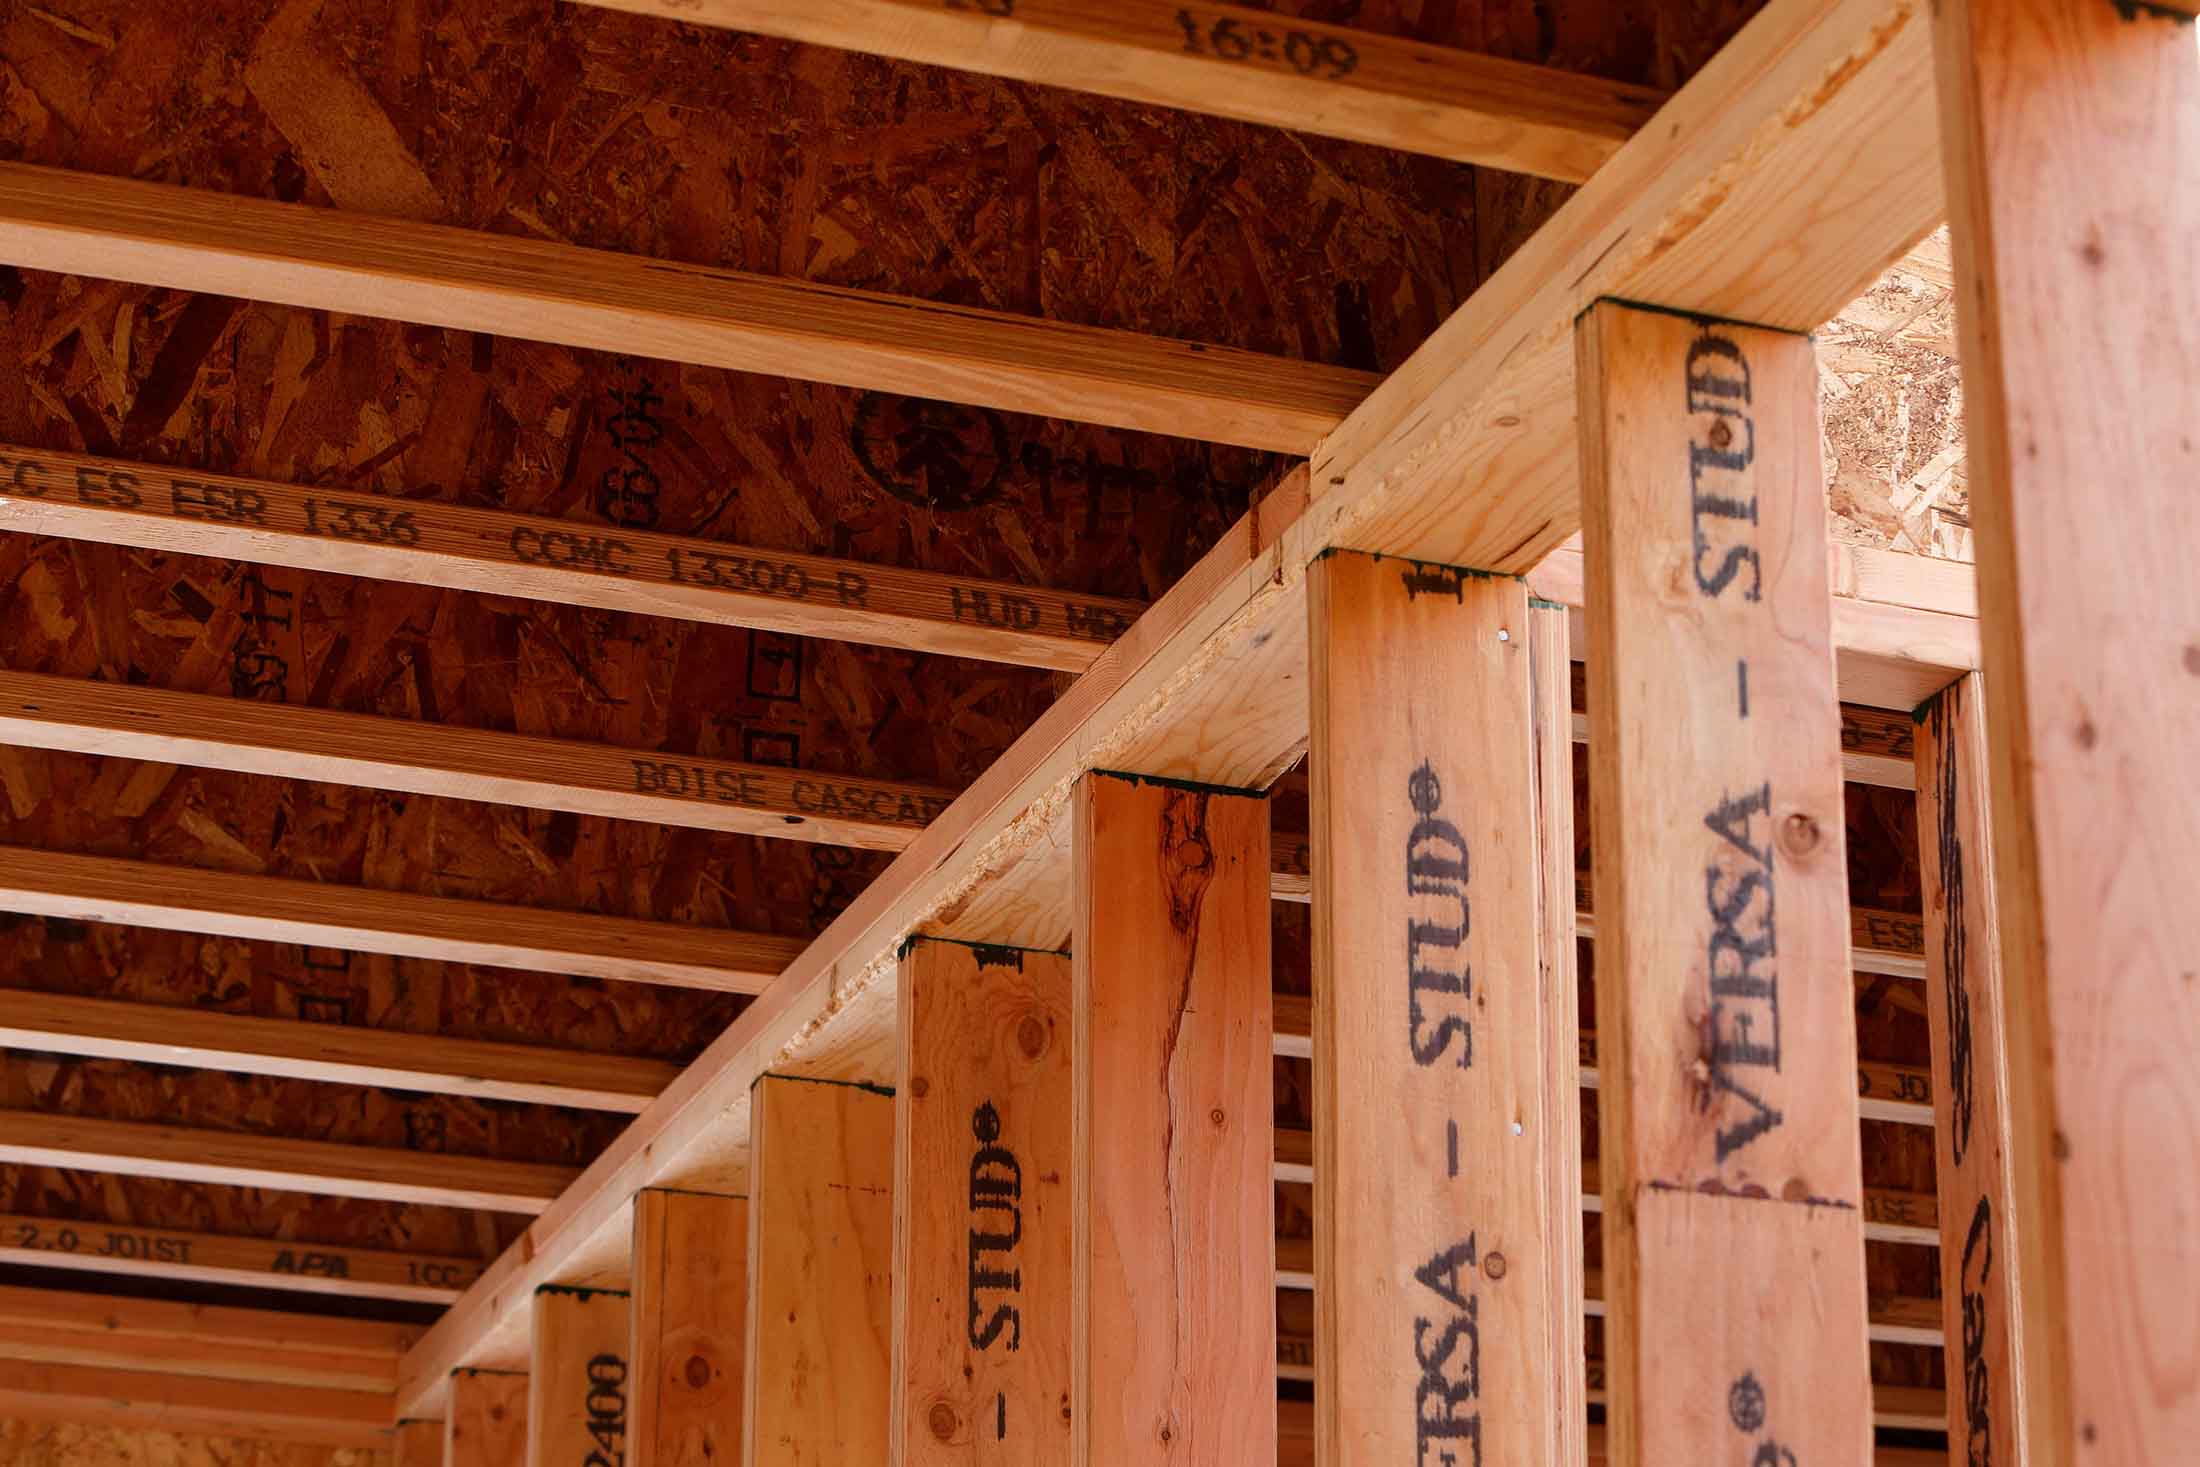
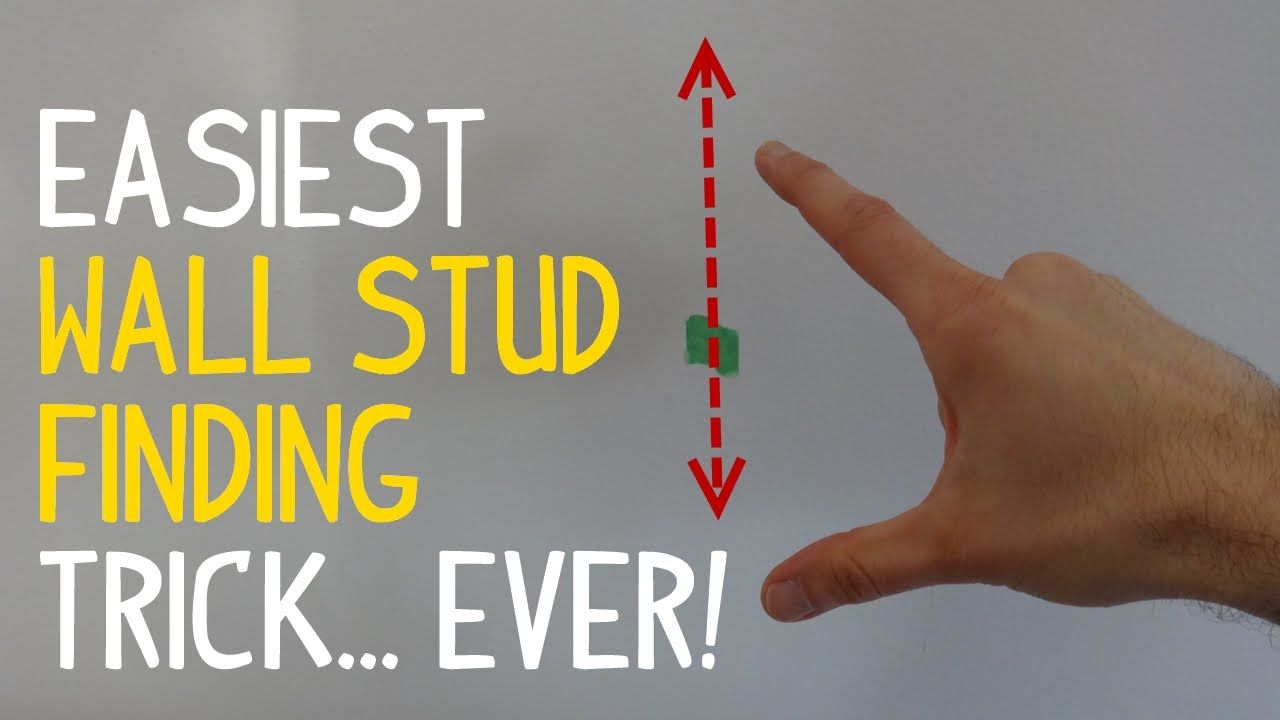
Once the supports are cut to the desired height and in place, you will need to secure them to the wall studs. This is important for stability and to ensure your lowered kitchen bar can withstand weight and pressure. Use a drill to screw the supports into the wall studs, making sure they are firmly in place.5. Secure the supports to the wall studs
:strip_icc()/Better-Homes-and-Gardens_Must-know-wall-terminology2-35e78fa5bada44f68758f2bd18f36f27.jpg)


5. Secure the supports to the wall studs


:max_bytes(150000):strip_icc()/steel-beams-at-construction-site-xxl-157433571-57edd3cc3df78c690f2cb6bf.jpg)


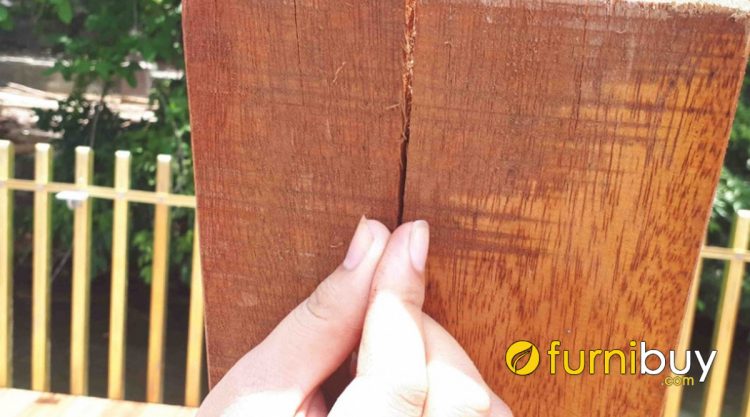
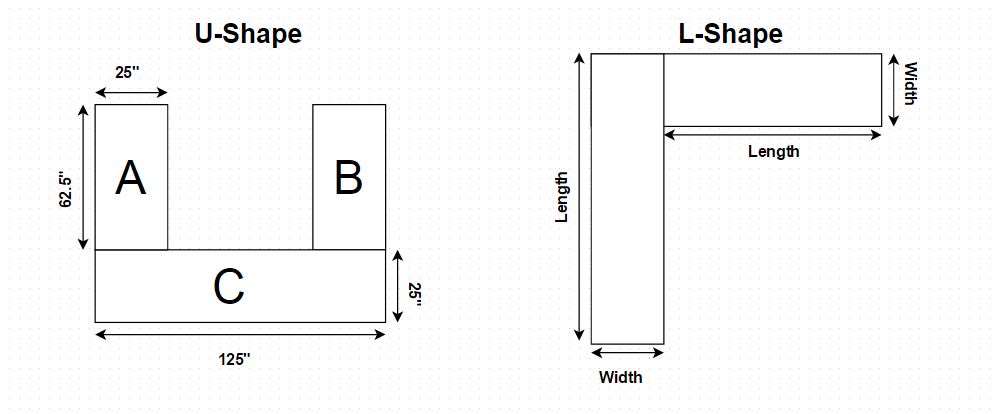
Next, you will need to cut the countertop to the desired length and width. Measure and mark the countertop accordingly, then use your saw to make the cuts. If you are using a wooden countertop, you may also want to sand down the edges to create a smooth and even surface.6. Cut the countertop to the desired length and width


6. Cut the countertop to the desired length and width
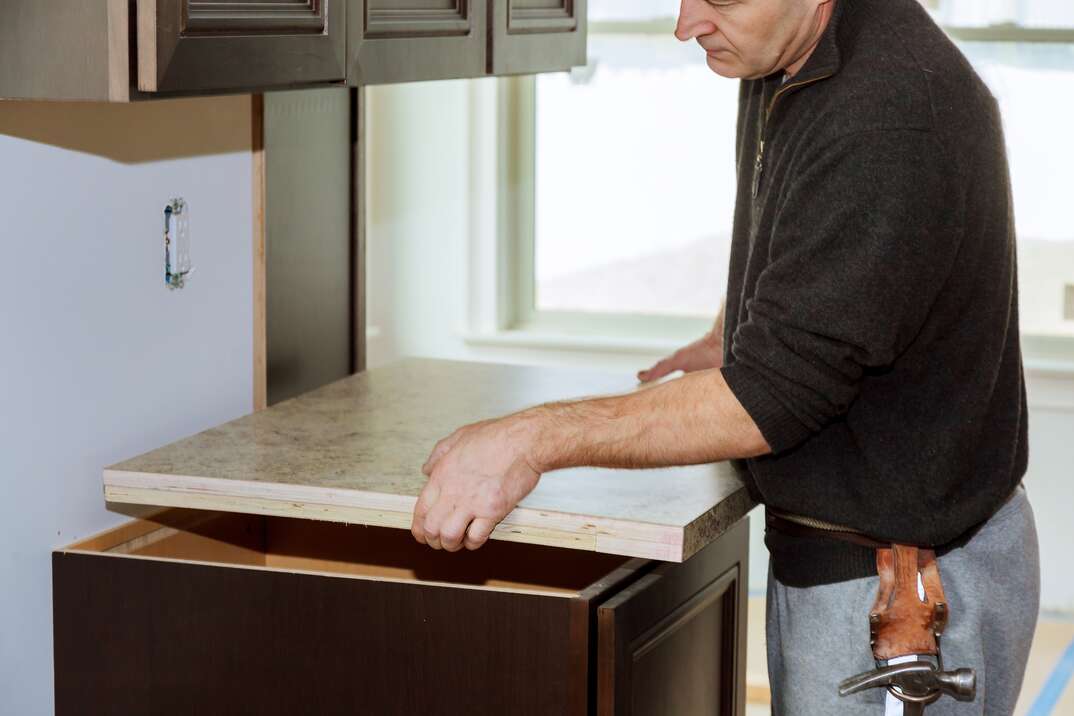


Now it's time to attach the countertop to the supports. Place the countertop on top of the supports and use a drill to screw it in place. Be sure to use enough screws to securely hold the countertop in place. If you are using a wooden countertop, you may also want to add a layer of adhesive between the countertop and supports for added stability.7. Attach the countertop to the supports
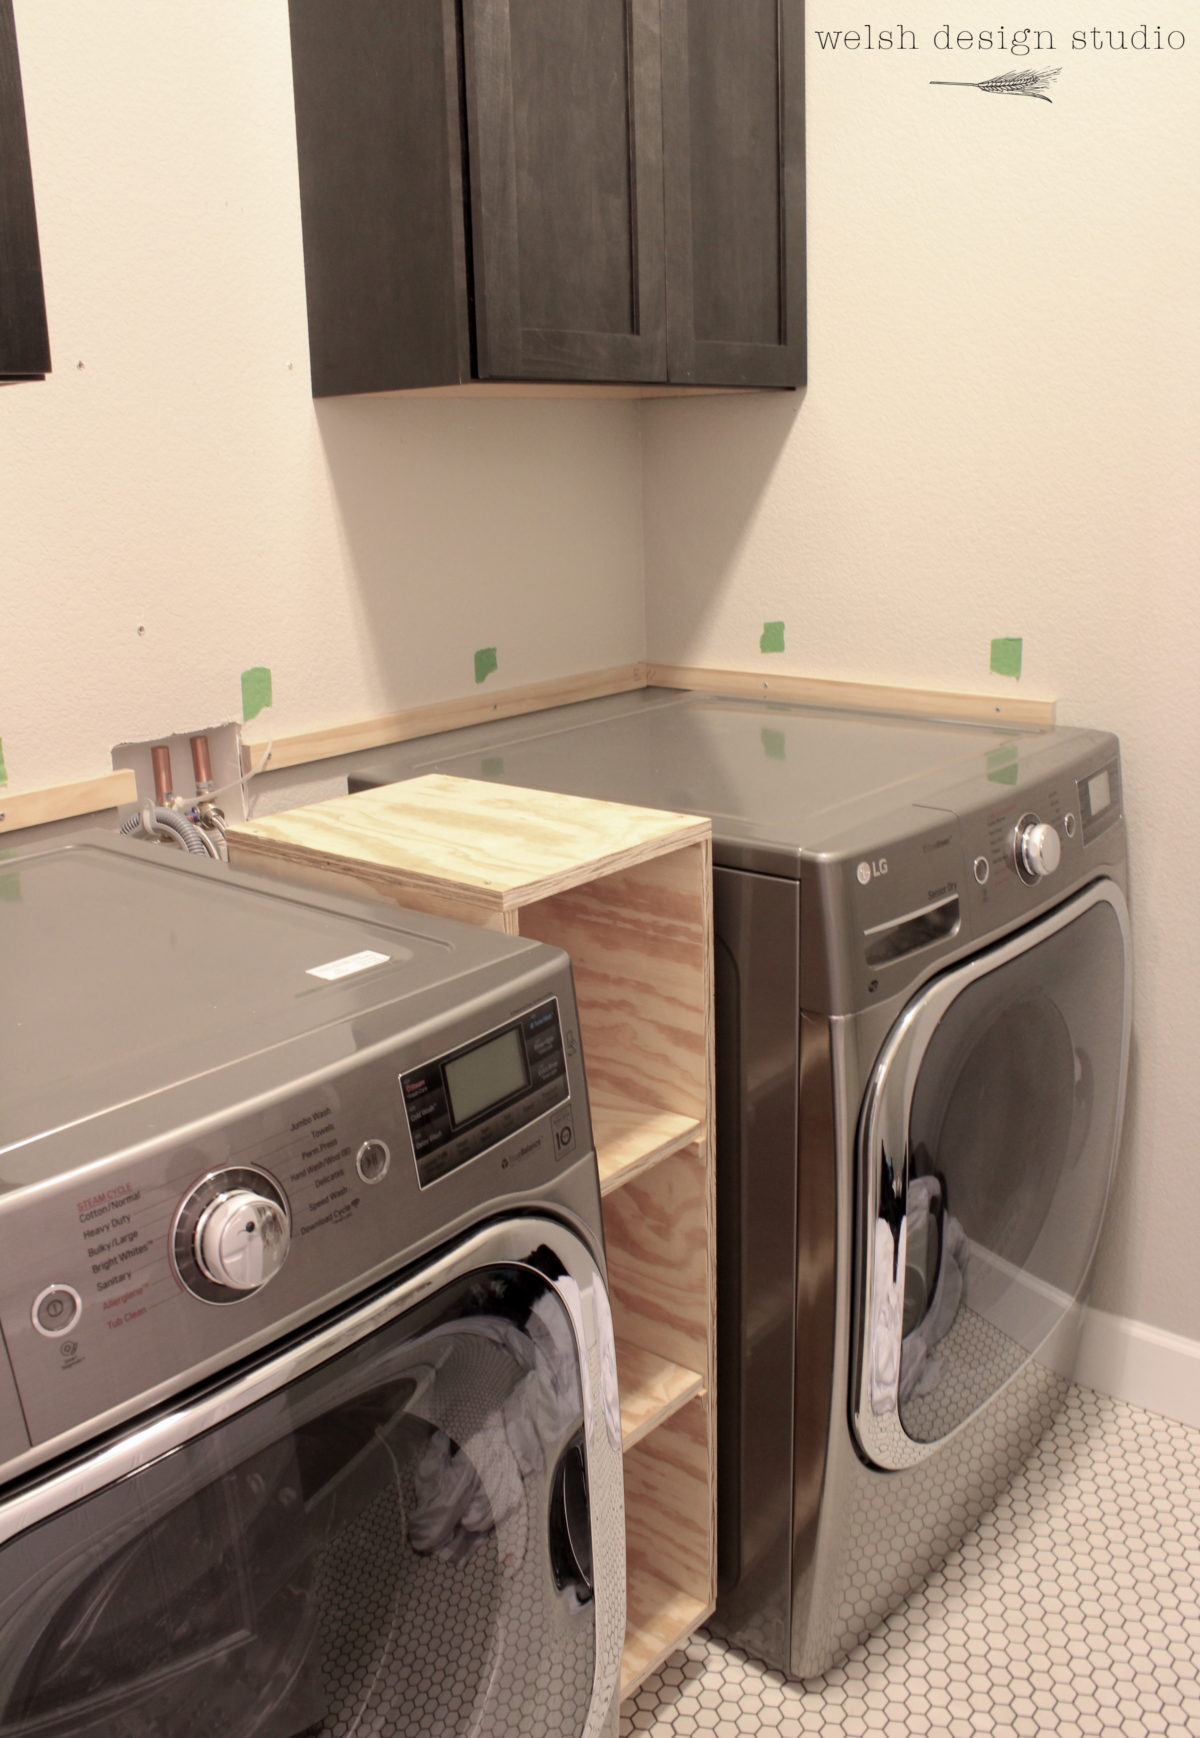


7. Attach the countertop to the supports


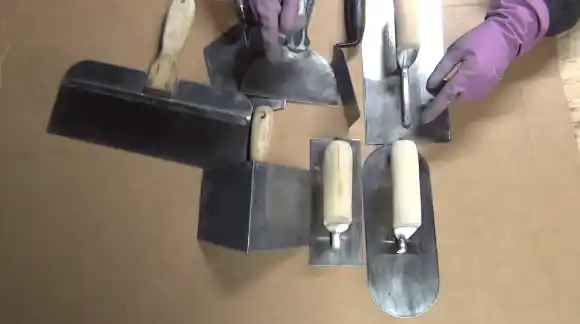
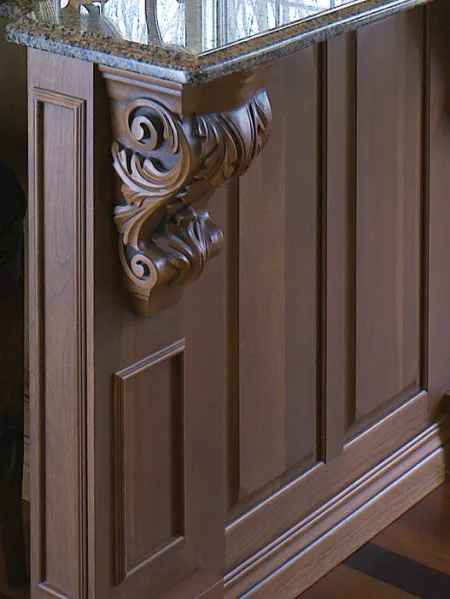
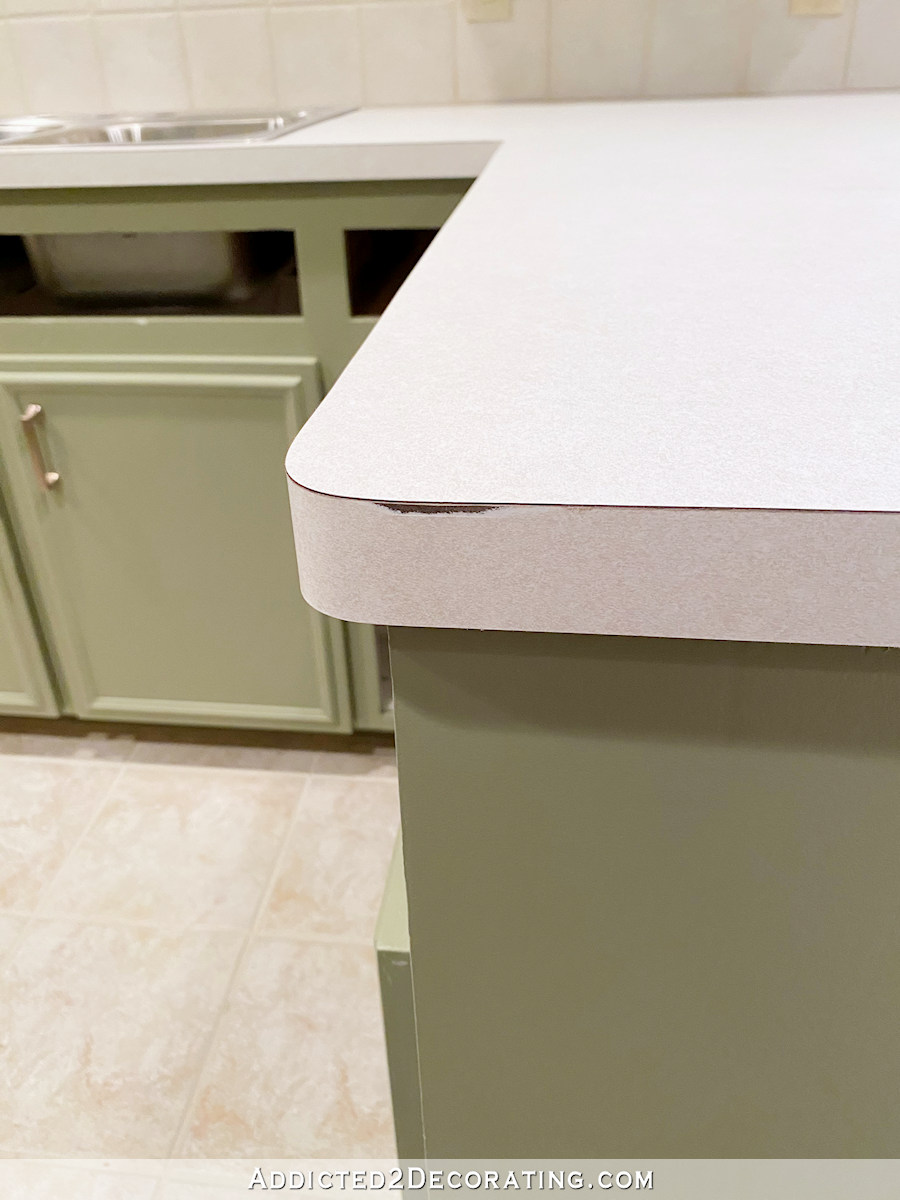
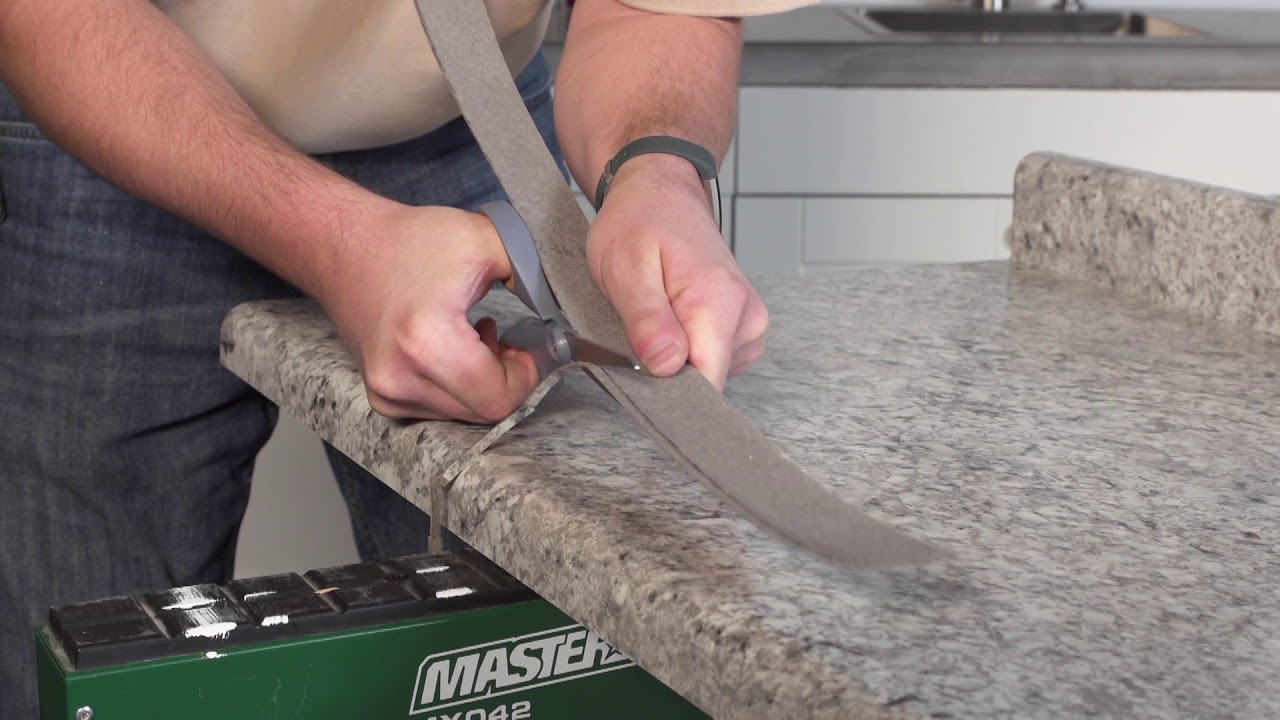
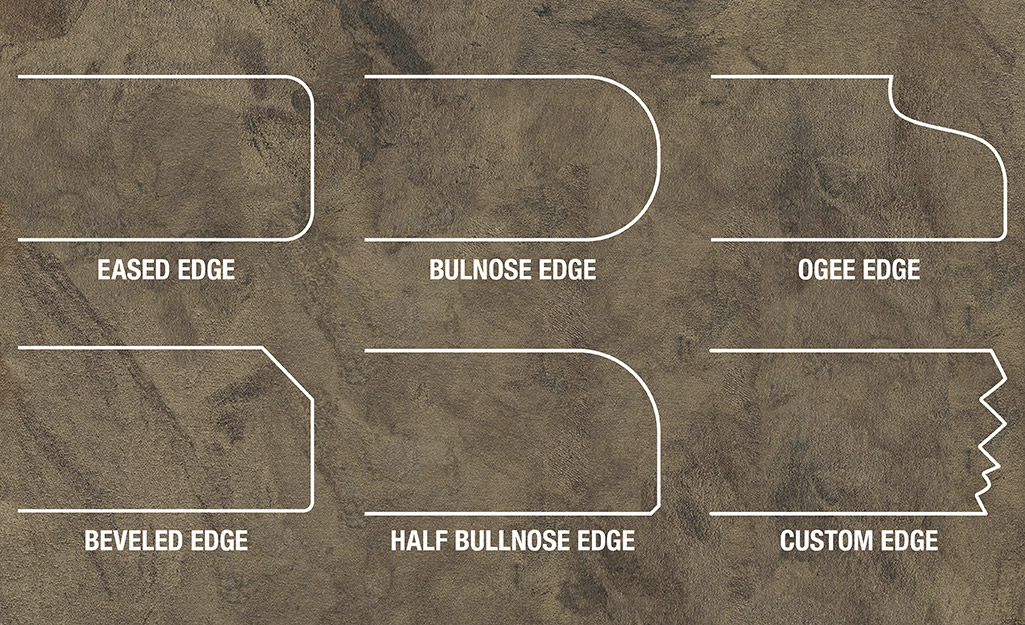
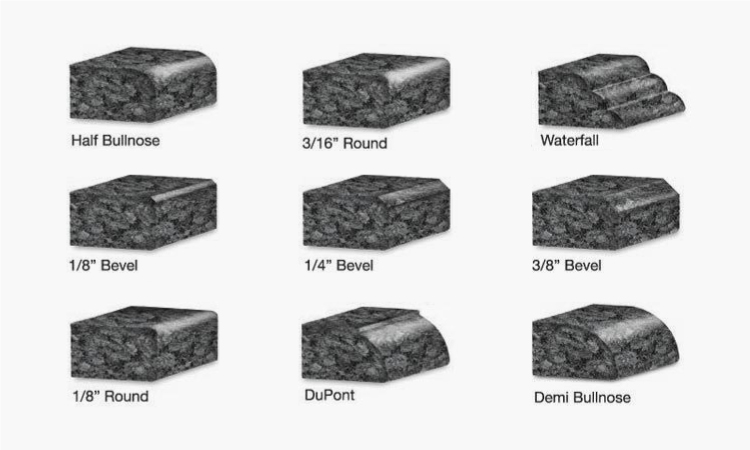
If you have a wooden countertop, you may want to sand down the edges to create a smooth and polished finish. Use sandpaper to smooth out any rough edges or imperfections. You can also stain or paint the edges to match the rest of your kitchen for a cohesive look.8. Sand and finish the edges of the countertop
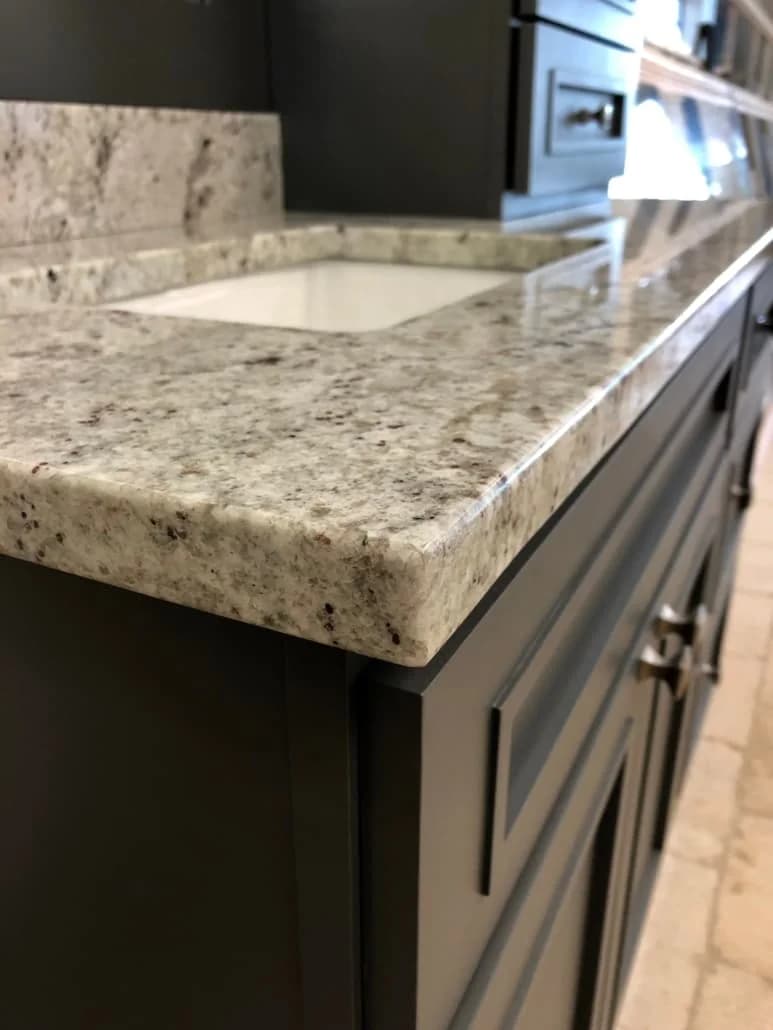


8. Sand and finish the edges of the countertop


If you want to add an extra touch of comfort to your lowered kitchen bar, consider installing a footrest. This can be as simple as attaching a metal bar or platform to the front of the supports. This will provide a place for your feet to rest while sitting at the bar, making it even more comfortable and enjoyable.9. Install a footrest if desired

9. Install a footrest if desired


Congratulations, you have successfully lowered your kitchen bar to a more comfortable and accessible height! Now you can sit and enjoy your favorite drinks and snacks without having to strain or reach up. With the right tools and materials, this DIY project can be completed in just a few hours and will make a big difference in your daily life. So sit back, relax, and enjoy your new and improved lowered kitchen bar.10. Enjoy your newly lowered kitchen bar!

10. Enjoy your newly lowered kitchen bar!


Why You Should Consider Cutting Down Your Raised Kitchen Bar

The Benefits of a Lower Kitchen Bar
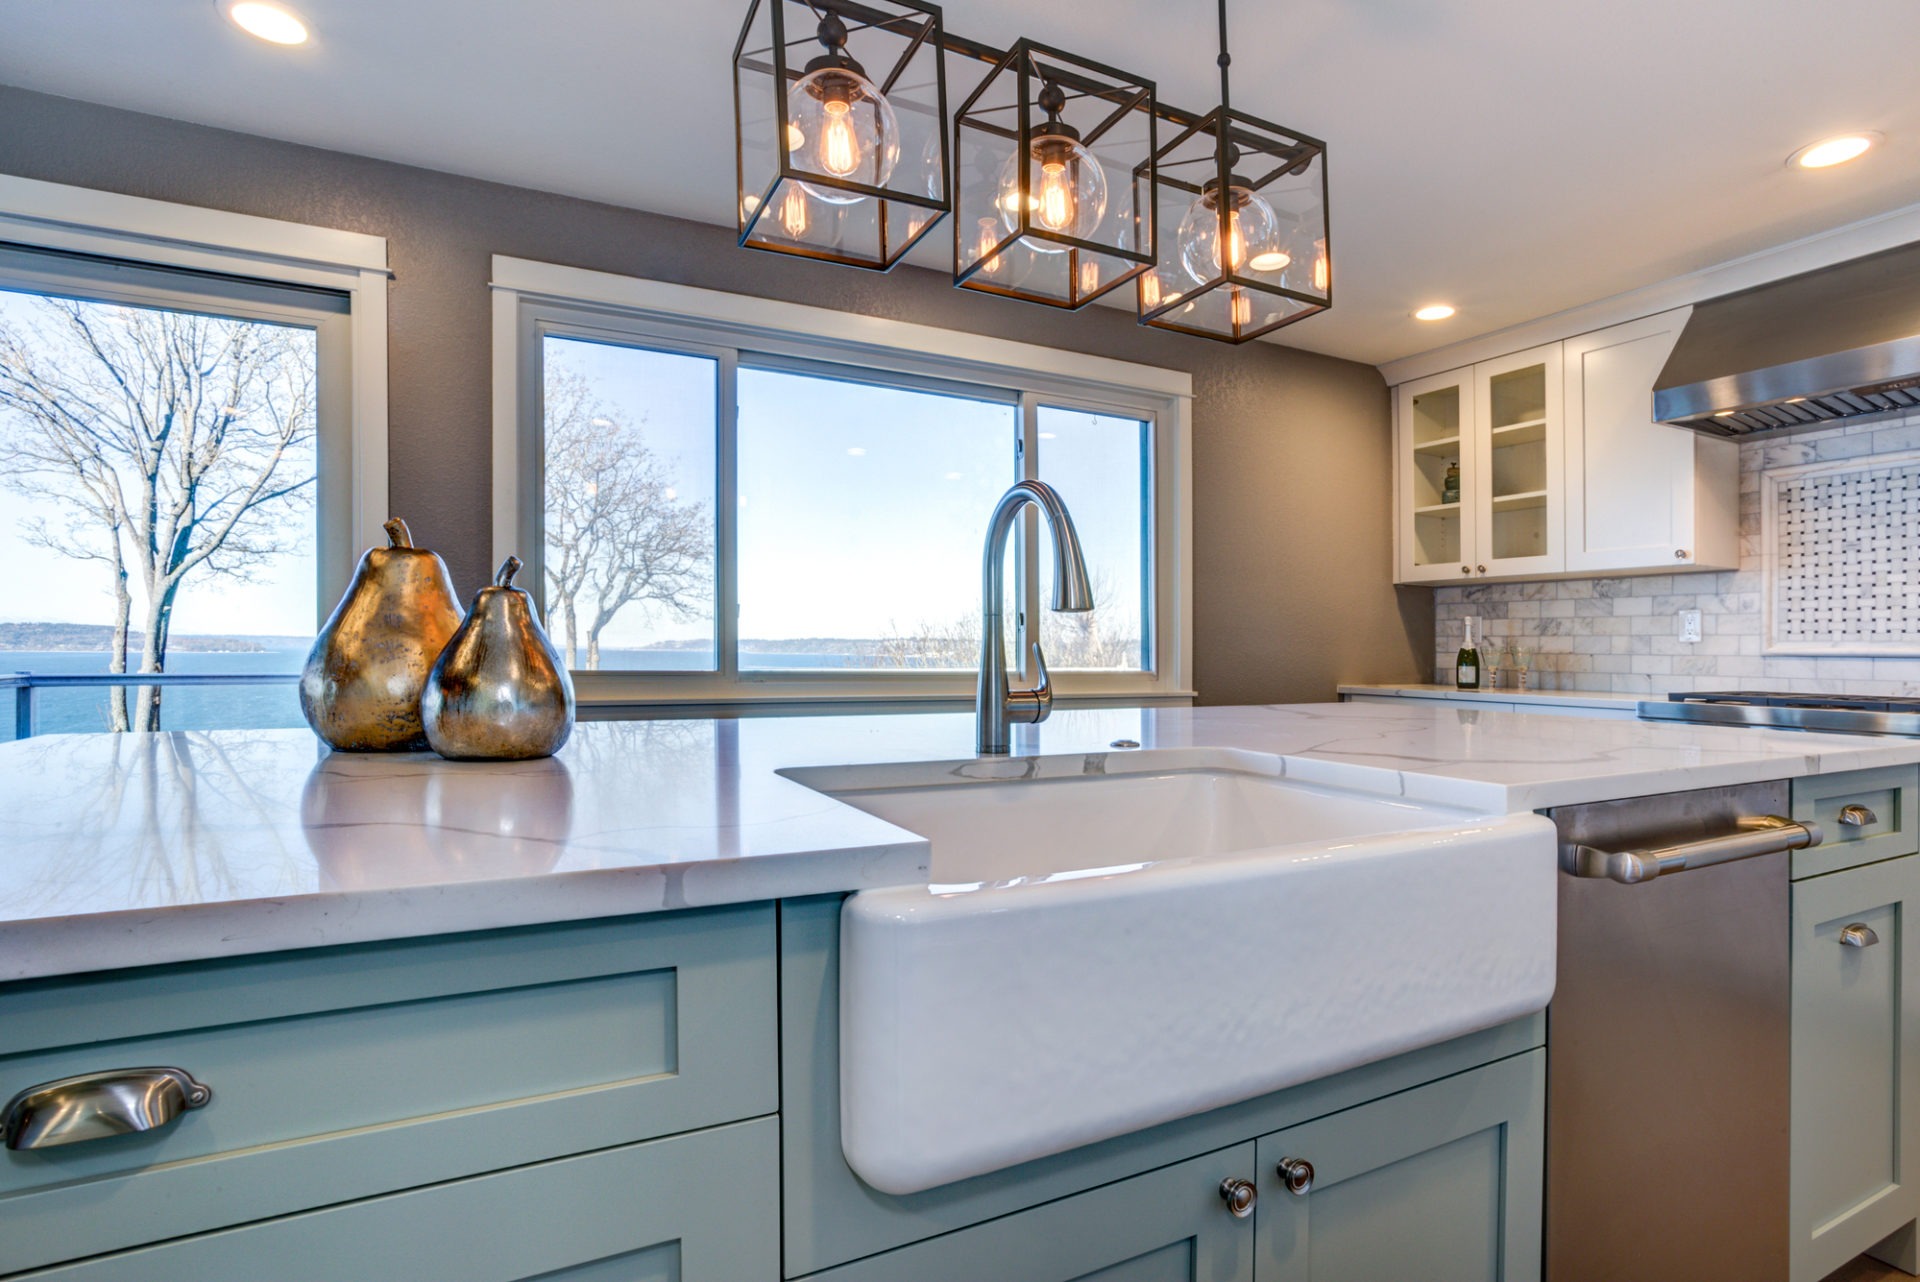
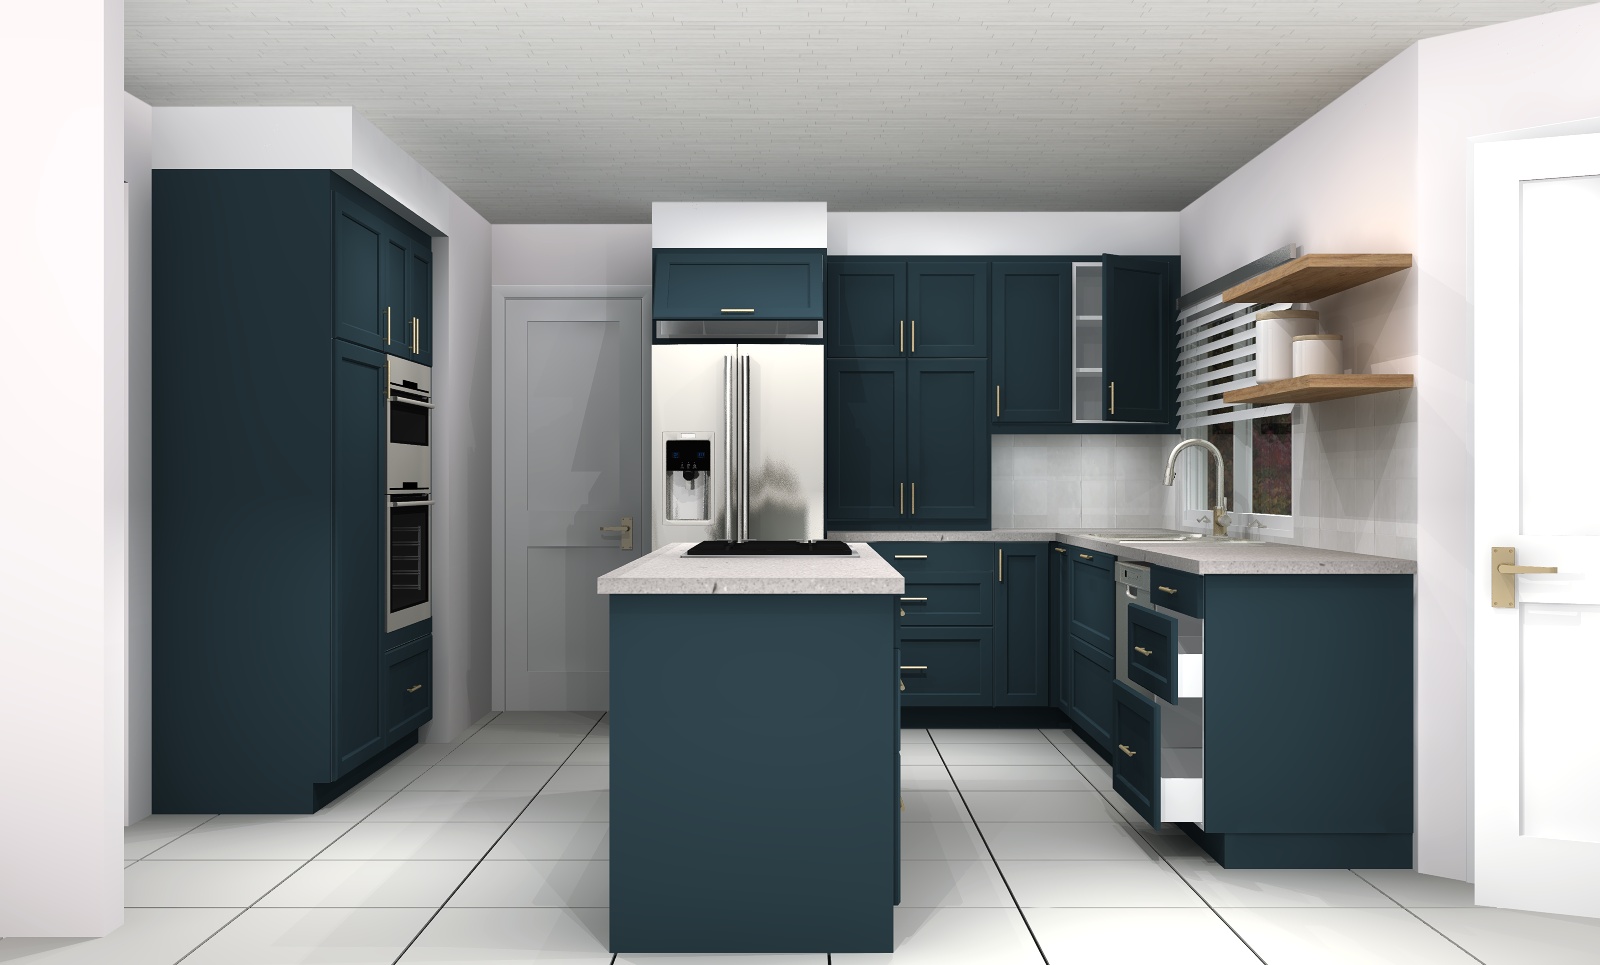
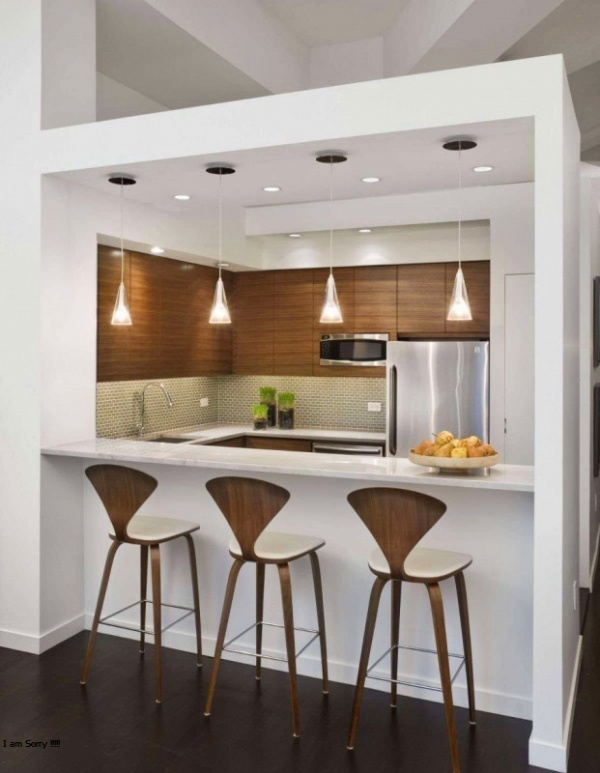
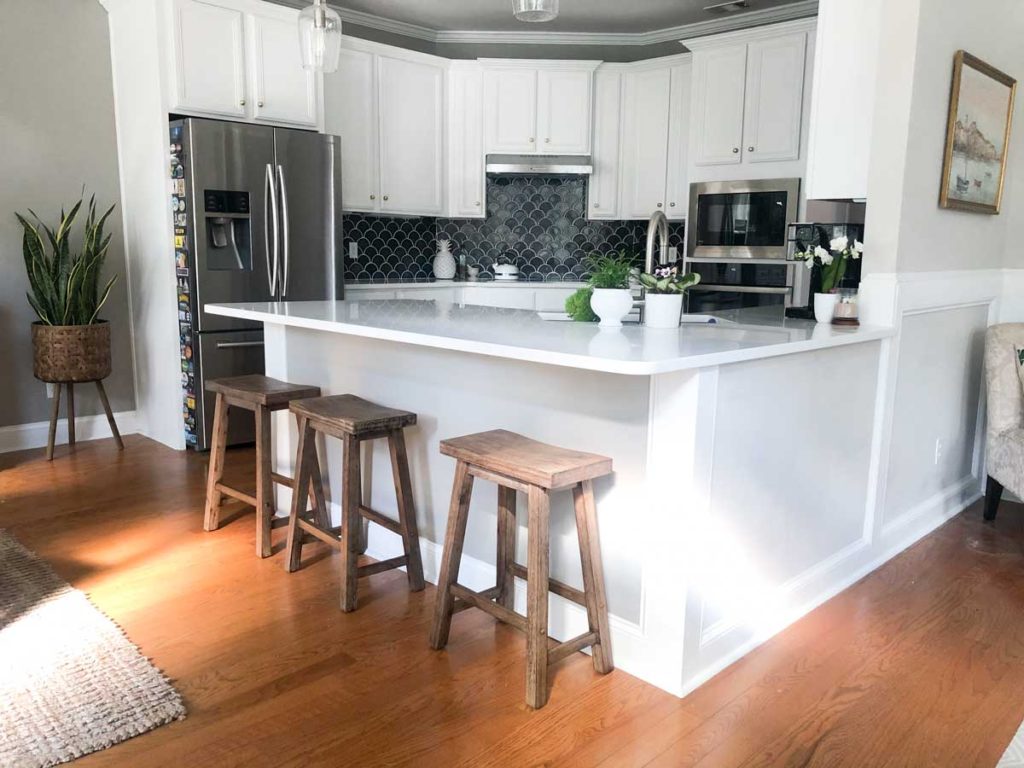
 Lowering your kitchen bar can have many benefits, both in terms of functionality and design. First and foremost, a lowered bar creates a more open and spacious feel in your kitchen. This can be especially beneficial for smaller kitchens, as it allows for better traffic flow and more room for additional seating. Additionally, a lower bar can make it easier to interact with guests or family members while cooking or preparing drinks, as it eliminates the barrier between the kitchen and living space.
How to Cut Down Your Raised Kitchen Bar
 If you've decided that a lower kitchen bar is the right choice for your space, the process is relatively simple. The first step is to determine the desired height of your new bar. It's important to consider the height of your countertops and other elements in your kitchen to ensure a cohesive look. Once you have your desired height, measure and mark where the bar needs to be cut.
Next, use a saw to carefully cut along the marked line. It's important to use a saw appropriate for the material of your bar, whether it's wood, granite, or another material. Use sandpaper to smooth out any rough edges and ensure a clean finish.
If you've decided that a lower kitchen bar is the right choice for your space, the process is relatively simple. The first step is to determine the desired height of your new bar. It's important to consider the height of your countertops and other elements in your kitchen to ensure a cohesive look. Once you have your desired height, measure and mark where the bar needs to be cut.
Next, use a saw to carefully cut along the marked line. It's important to use a saw appropriate for the material of your bar, whether it's wood, granite, or another material. Use sandpaper to smooth out any rough edges and ensure a clean finish.
Considerations for a Successful Kitchen Bar Transformation
 While cutting down your raised kitchen bar may seem like a simple task, there are a few things to keep in mind to ensure a successful transformation. First, be sure to properly support the bar during the cutting process to avoid any accidents or damage. Additionally, depending on the material of your bar, you may need to reinforce the edges with additional support or adhesive to maintain its stability.
Another consideration is the overall design of your kitchen. A lowered bar may require some adjustments to your existing cabinetry or countertops, so it's important to plan and budget accordingly. Consulting with a professional contractor or designer can also help ensure a smooth and successful transformation.
In conclusion, lowering your raised kitchen bar can have numerous benefits for both functionality and design. By following the proper steps and considering all aspects of the transformation, you can achieve a more open and inviting kitchen space that is both stylish and functional.
While cutting down your raised kitchen bar may seem like a simple task, there are a few things to keep in mind to ensure a successful transformation. First, be sure to properly support the bar during the cutting process to avoid any accidents or damage. Additionally, depending on the material of your bar, you may need to reinforce the edges with additional support or adhesive to maintain its stability.
Another consideration is the overall design of your kitchen. A lowered bar may require some adjustments to your existing cabinetry or countertops, so it's important to plan and budget accordingly. Consulting with a professional contractor or designer can also help ensure a smooth and successful transformation.
In conclusion, lowering your raised kitchen bar can have numerous benefits for both functionality and design. By following the proper steps and considering all aspects of the transformation, you can achieve a more open and inviting kitchen space that is both stylish and functional.