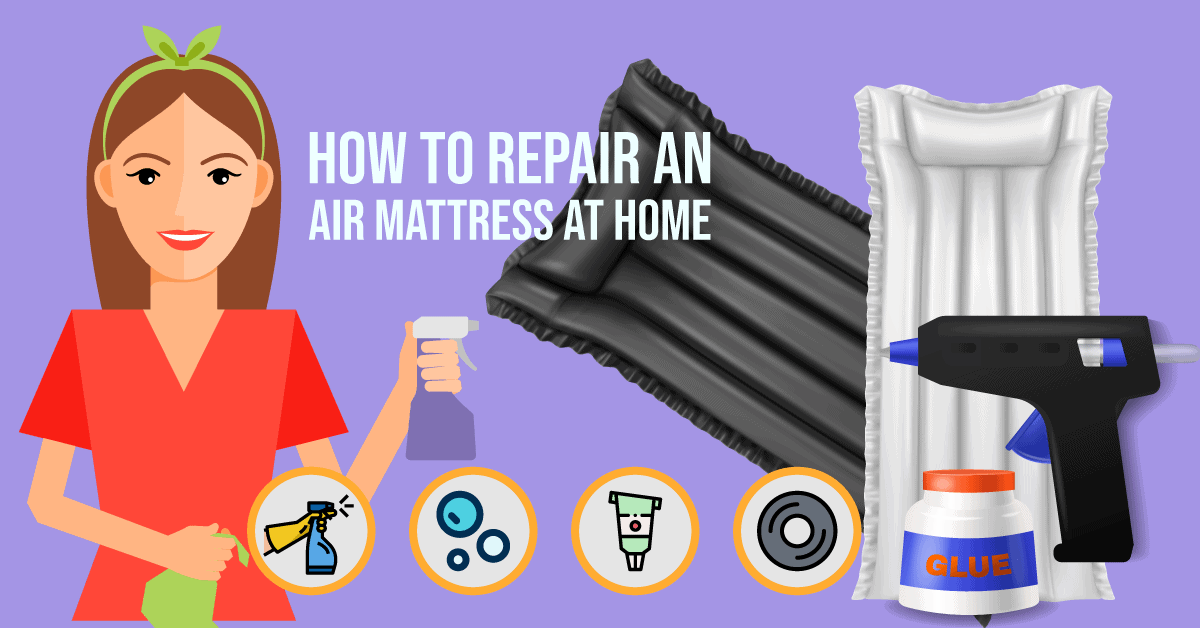
If you're an avid camper or just love having guests over, you know the importance of a good air mattress. But what happens when your trusty air mattress gets a hole in it? Instead of rushing out to buy a new one, why not try making a homemade air mattress patch? It's a quick and easy fix that will save you time and money. Here's how to do it.How to Make a Homemade Air Mattress Patch


How to Make a Homemade Air Mattress Patch


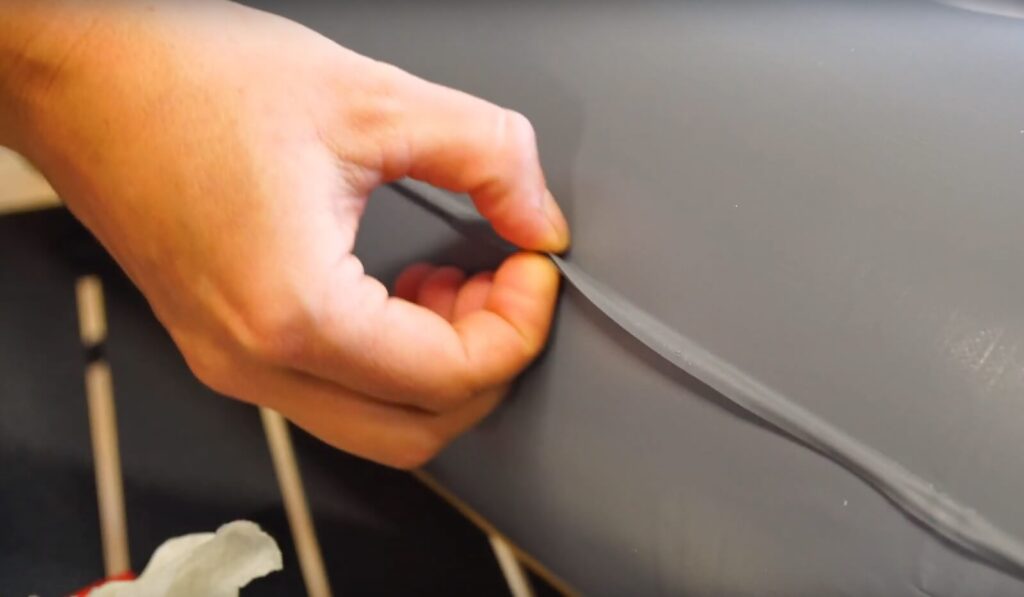
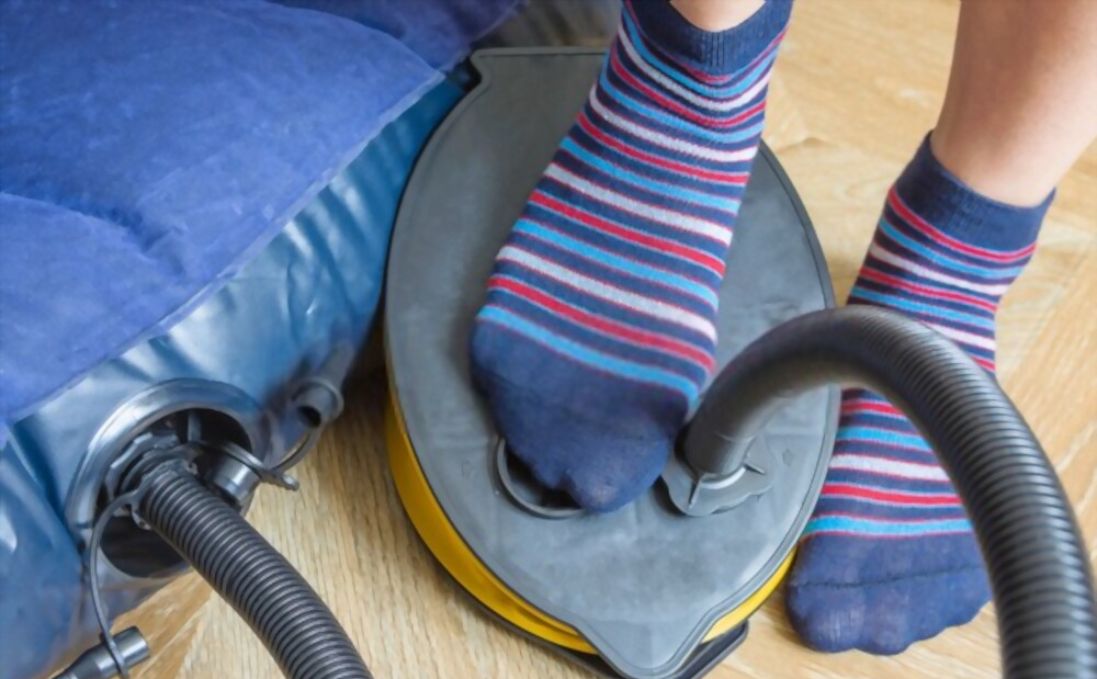
Before you start making your homemade air mattress patch, you'll need to locate the leak. The easiest way to do this is by inflating your air mattress and then listening for the sound of escaping air. Once you've found the leak, mark it with a piece of tape so you don't lose it.DIY Air Mattress Patch: How to Fix a Leak


DIY Air Mattress Patch: How to Fix a Leak


Now that you've located the leak, it's time to get to work on your homemade air mattress patch. First, gather your materials. You will need a patch kit, scissors, and rubbing alcohol. If you don't have a patch kit, you can use any adhesive patch or even a piece of duct tape.Easy DIY Air Mattress Repair


Easy DIY Air Mattress Repair


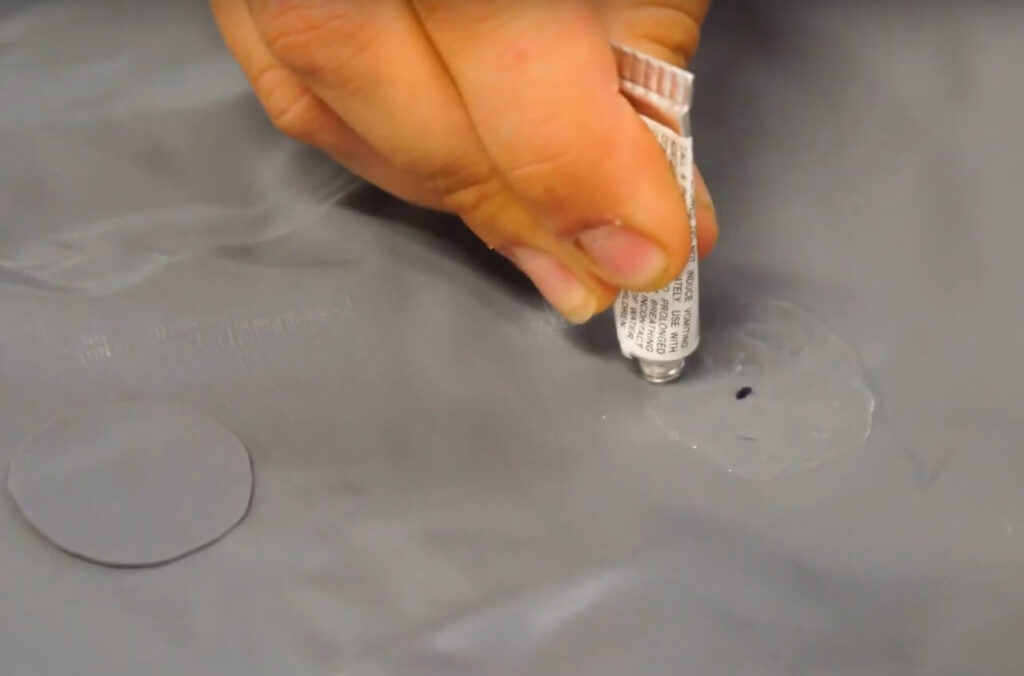
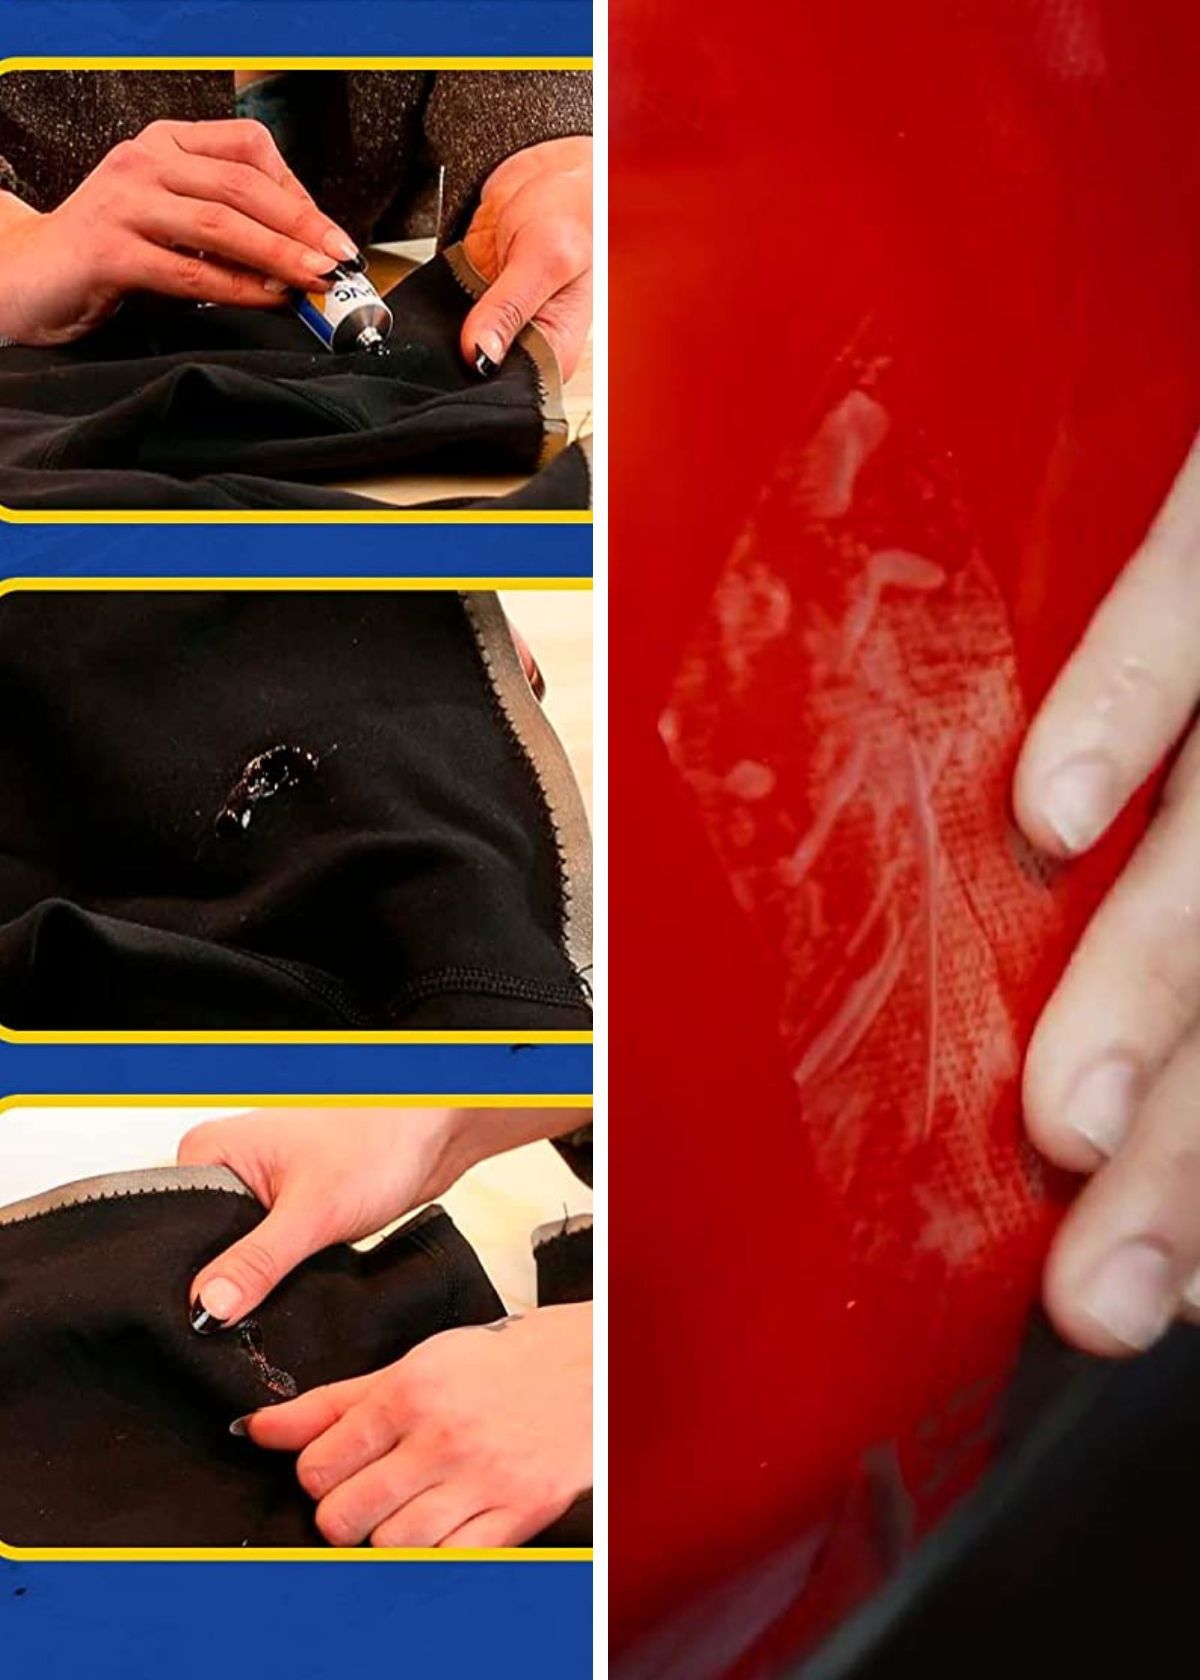
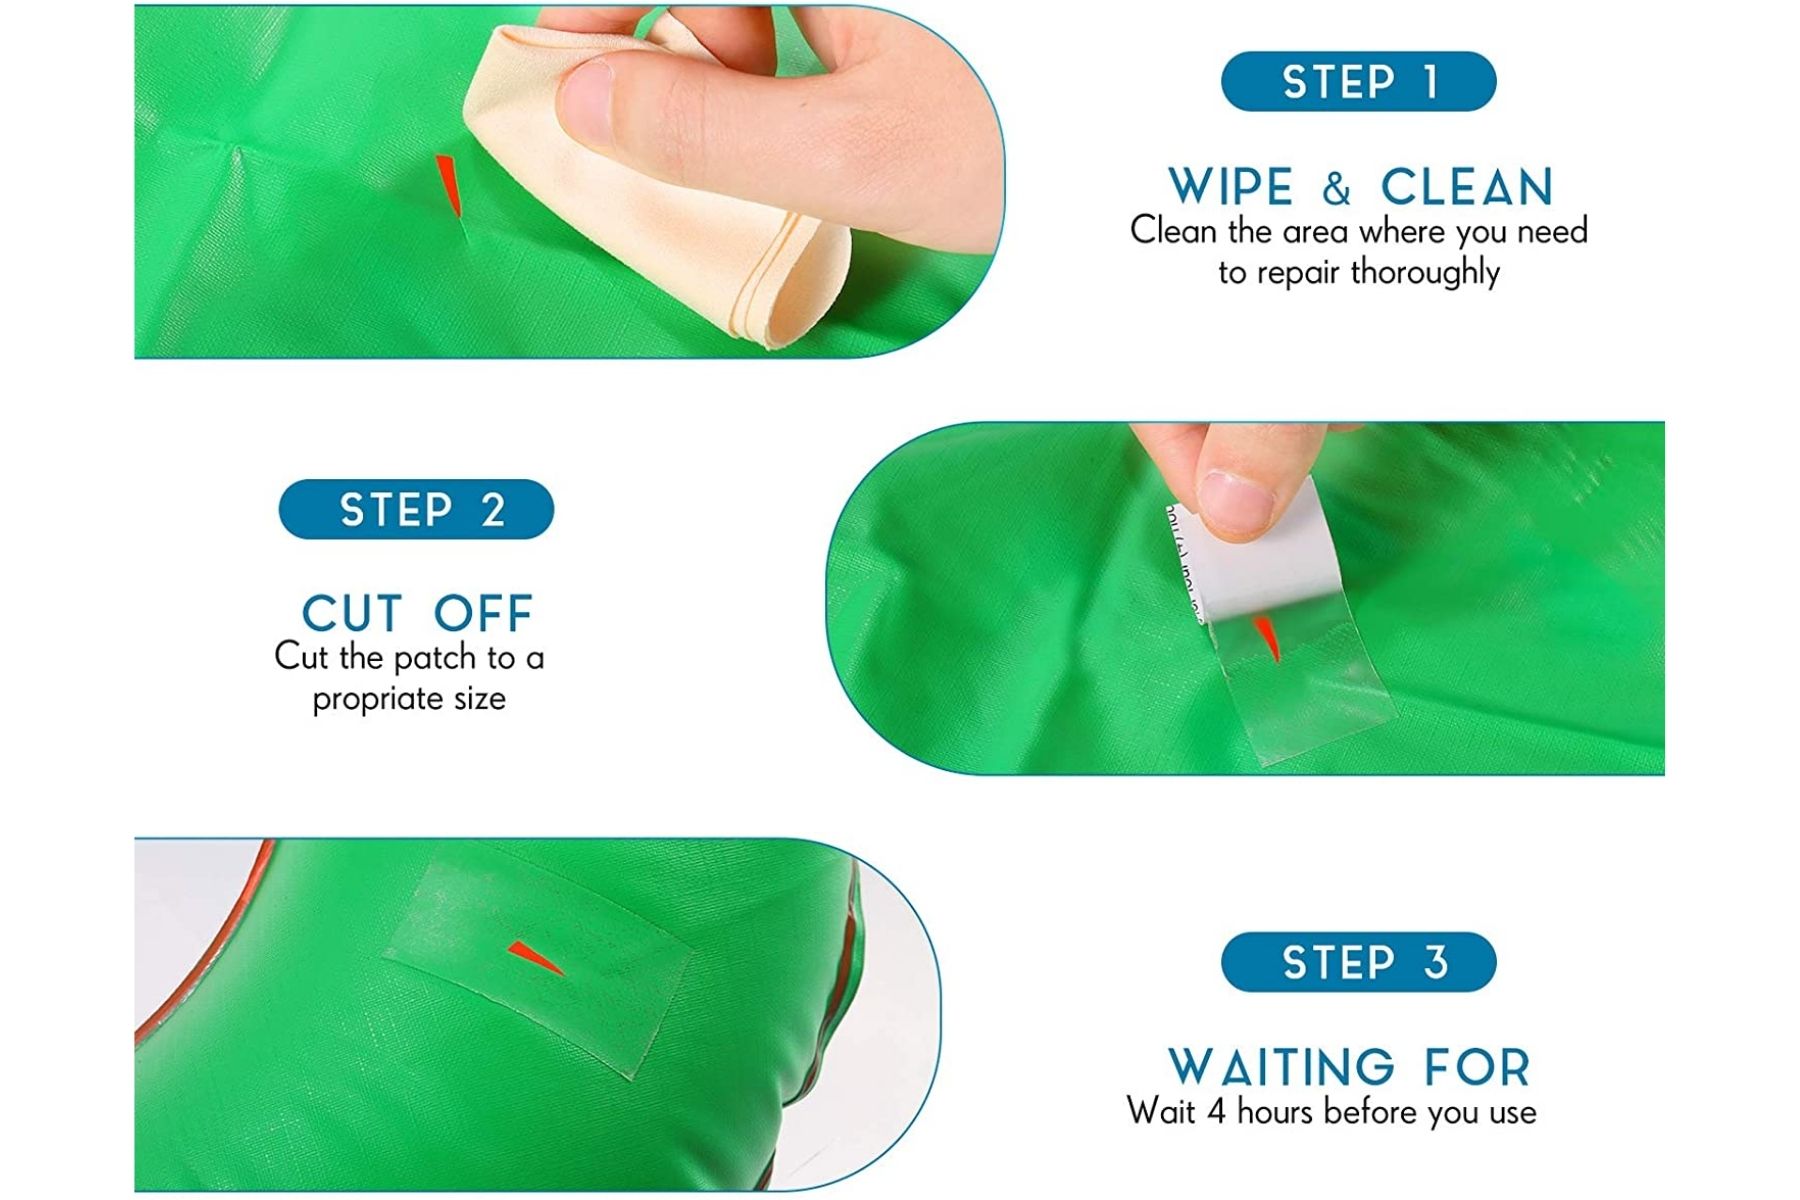
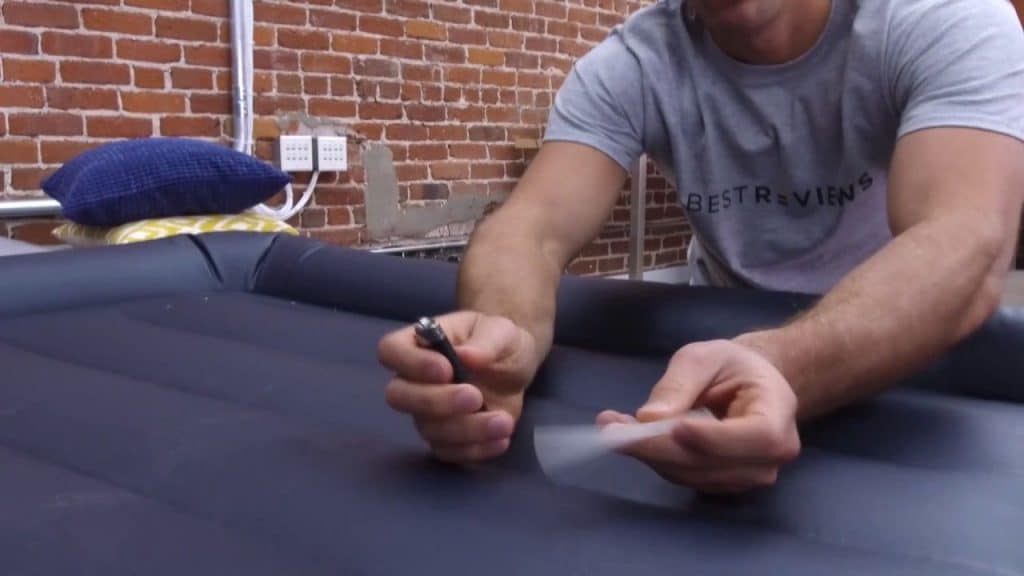
The first step is to clean the area around the leak with rubbing alcohol. This will ensure that the patch adheres properly and provides a strong seal. Next, cut a small piece of the patch that is slightly larger than the hole. Peel off the backing and place the patch over the leak, pressing down firmly.Homemade Air Mattress Patch: A Quick and Easy Fix


Homemade Air Mattress Patch: A Quick and Easy Fix
If you don't have a patch kit, don't worry. You can still make a homemade air mattress patch with household items. One option is to cut a piece of an old t-shirt or bedsheet to use as the patch. Just make sure it is large enough to cover the leak.DIY Air Mattress Patch: Fixing a Leak with Household Items


DIY Air Mattress Patch: Fixing a Leak with Household Items


Another option is to use nail polish or super glue to seal the leak. Simply apply a thin layer of either substance over the leak and let it dry completely. This will create a strong seal and prevent any further leaking.Homemade Air Mattress Patch: Step-by-Step Guide

Homemade Air Mattress Patch: Step-by-Step Guide


For larger holes or tears, you may need to get more creative with your homemade air mattress patch. Some options include using a rubber patch or even an old bike tire to cover the leak. Just make sure you have a strong adhesive to hold it in place.DIY Air Mattress Repair: Tips and Tricks


DIY Air Mattress Repair: Tips and Tricks


If you're in a pinch and don't have any of the materials mentioned above, there are still ways to fix a hole in your air mattress. One option is to use a hot glue gun to seal the leak. Be sure to let it dry completely before inflating the mattress again.How to Fix a Hole in an Air Mattress with Household Items


How to Fix a Hole in an Air Mattress with Household Items


Another household item that can come in handy for fixing a leak in an air mattress is nail polish remover. The acetone in the remover can dissolve the material of the air mattress, creating a strong bond when pressed together. Just be careful not to use too much or it can cause damage to the mattress.Homemade Air Mattress Patch: Simple and Effective Solution


Homemade Air Mattress Patch: Simple and Effective Solution


No matter which method you choose, the key to a successful homemade air mattress patch is to make sure the area is clean and dry before applying the patch. Once the patch is in place, let it sit for a few hours to ensure it has adhered properly. Then, inflate the mattress and perform a leak test to make sure it is holding. With these simple and effective tips, you can easily fix a leak in your air mattress without having to buy a new one. Plus, by using household items, you can save money and get your air mattress back in working order in no time. Happy camping and hosting!DIY Air Mattress Patch: Repairing a Leak in Minutes


DIY Air Mattress Patch: Repairing a Leak in Minutes
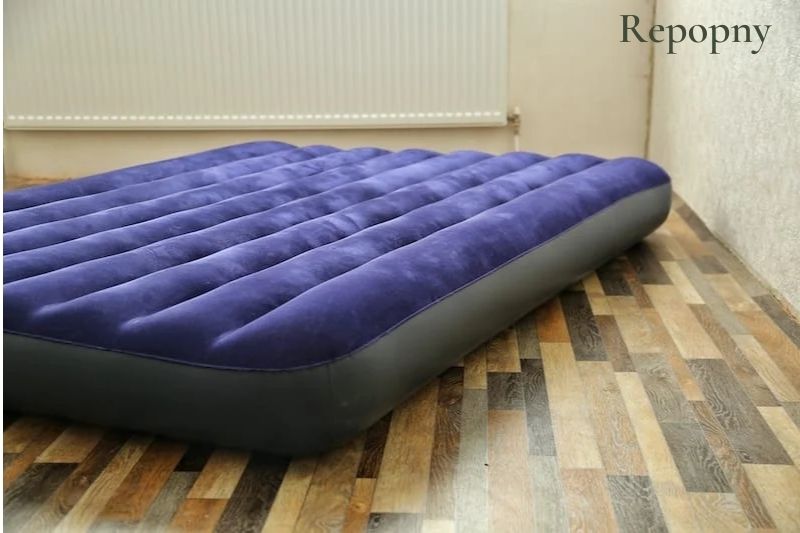
Finding the Perfect Air Mattress for Your Home

Understanding the Importance of a Good Mattress
 When it comes to designing your home, one of the most essential elements to consider is finding the perfect mattress. A good mattress not only provides comfort and support for a good night's sleep, but it also plays a crucial role in maintaining overall health and well-being. However, even the best mattresses can encounter issues such as leaks or tears, leading to the need for repairs. This is where a
home made air mattress patch
comes in handy.
When it comes to designing your home, one of the most essential elements to consider is finding the perfect mattress. A good mattress not only provides comfort and support for a good night's sleep, but it also plays a crucial role in maintaining overall health and well-being. However, even the best mattresses can encounter issues such as leaks or tears, leading to the need for repairs. This is where a
home made air mattress patch
comes in handy.
Why Choose a Home Made Patch?
 While there are many commercial products available for patching air mattresses, a homemade patch offers several advantages. First and foremost, it is a more cost-effective solution, as you likely already have the necessary materials at home. Additionally, a homemade patch can be customized to fit the size and shape of your specific air mattress, ensuring a more secure and durable repair.
Materials Needed for a Home Made Patch
 To create your own air mattress patch, you will need the following materials:
- Scissors
- A piece of vinyl or rubber material
- Adhesive glue
- Sandpaper
- Soap and water
- A cloth or sponge
The Patching Process
 To begin, thoroughly clean and dry the area of the air mattress that needs to be patched. Use the sandpaper to gently roughen the surface and create a better bonding surface for the patch. Next, cut a piece of the vinyl or rubber material slightly larger than the tear or hole. Apply a generous amount of adhesive glue to both the patch and the area on the mattress, and carefully press the patch onto the damaged area. Use a cloth or sponge to smooth out any air bubbles and ensure a secure bond.
Final Thoughts
 With a little bit of time and effort, a homemade air mattress patch can save you money and extend the lifespan of your mattress. It is always a good idea to keep a few extra patches on hand in case of future repairs. Remember to
regularly check and maintain your air mattress
to prevent any potential issues in the first place. Happy sleeping!
With a little bit of time and effort, a homemade air mattress patch can save you money and extend the lifespan of your mattress. It is always a good idea to keep a few extra patches on hand in case of future repairs. Remember to
regularly check and maintain your air mattress
to prevent any potential issues in the first place. Happy sleeping!