If you've recently purchased a Glacier Bay bathroom sink and are eager to install it in your home, you've come to the right place. Installing a bathroom sink may seem like a daunting task, but with the right instructions and tools, you can easily do it yourself. In this article, we will provide a step-by-step guide for installing a Glacier Bay bathroom sink, along with some helpful tips and common mistakes to avoid.Glacier Bay Bathroom Sink Installation Instructions


Glacier Bay Bathroom Sink Installation Instructions
Installing a Glacier Bay bathroom sink is a straightforward process that requires some basic plumbing skills. Before you begin, make sure you have all the necessary tools and materials handy. These may include a wrench, pliers, plumber's putty, and a bucket for catching any water that may spill out during the installation process.How to Install a Glacier Bay Bathroom Sink


How to Install a Glacier Bay Bathroom Sink
/how-to-install-a-sink-drain-2718789-05-a2a602315a3d4d12a8ed20429230382c.jpg?strip=all)


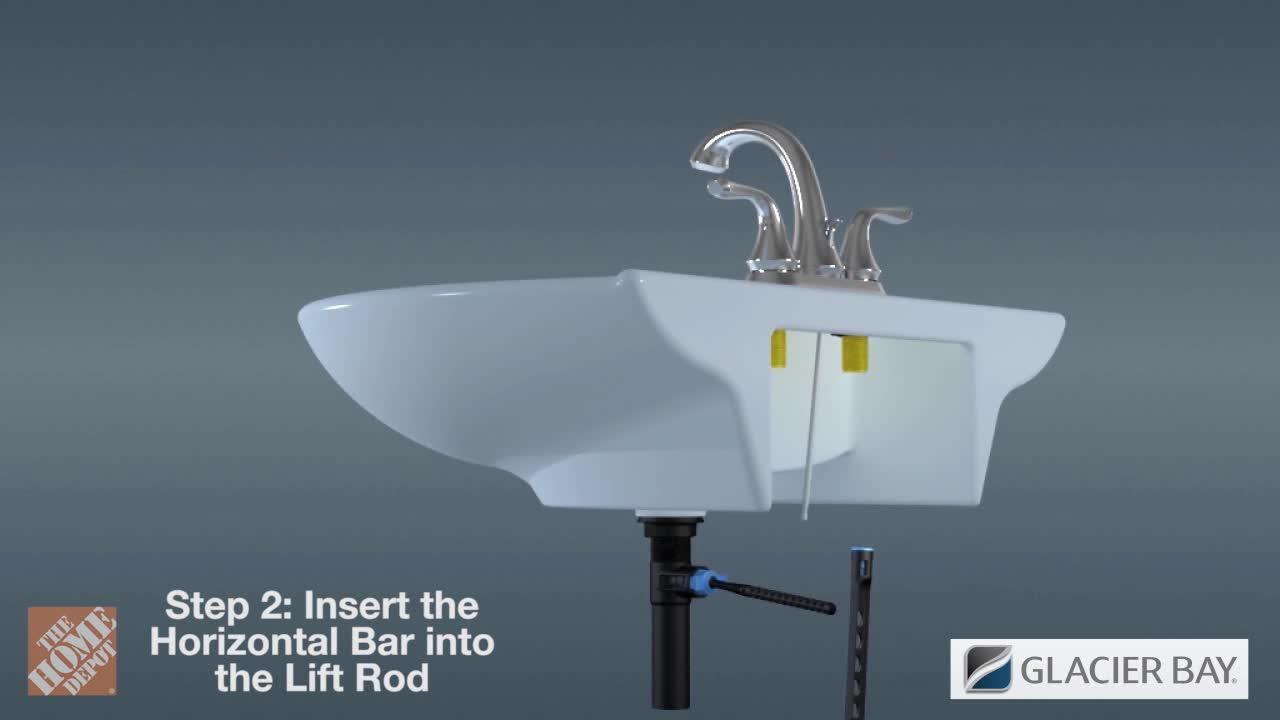
Step 1: Start by turning off the water supply to the sink. This can usually be done by turning off the shut-off valves located under the sink. Step 2: Remove the old sink and clean the area where the new sink will be installed. Step 3: Place the new Glacier Bay bathroom sink on top of the vanity or countertop where you want it to be installed. Make sure it is level and centered. Step 4: Attach the faucet and drain to the sink according to the manufacturer's instructions. Step 5: Apply plumber's putty around the edge of the sink and carefully lower it onto the countertop. Step 6: Secure the sink in place by tightening the mounting clips underneath the sink. Step 7: Connect the water supply lines to the faucet and turn on the water supply. Step 8: Test the sink by running water and checking for any leaks. Step 9: If everything is functioning properly, reattach the drain pipe and trap. Step 10: Enjoy your newly installed Glacier Bay bathroom sink!Step-by-Step Guide for Installing a Glacier Bay Bathroom Sink


Step-by-Step Guide for Installing a Glacier Bay Bathroom Sink


Installing a Glacier Bay bathroom sink yourself can save you time and money. With the right tools and instructions, it can be a simple and rewarding DIY project. However, if you do not feel comfortable taking on this project yourself, it is always best to hire a professional plumber to ensure the job is done correctly.DIY Glacier Bay Bathroom Sink Installation


DIY Glacier Bay Bathroom Sink Installation


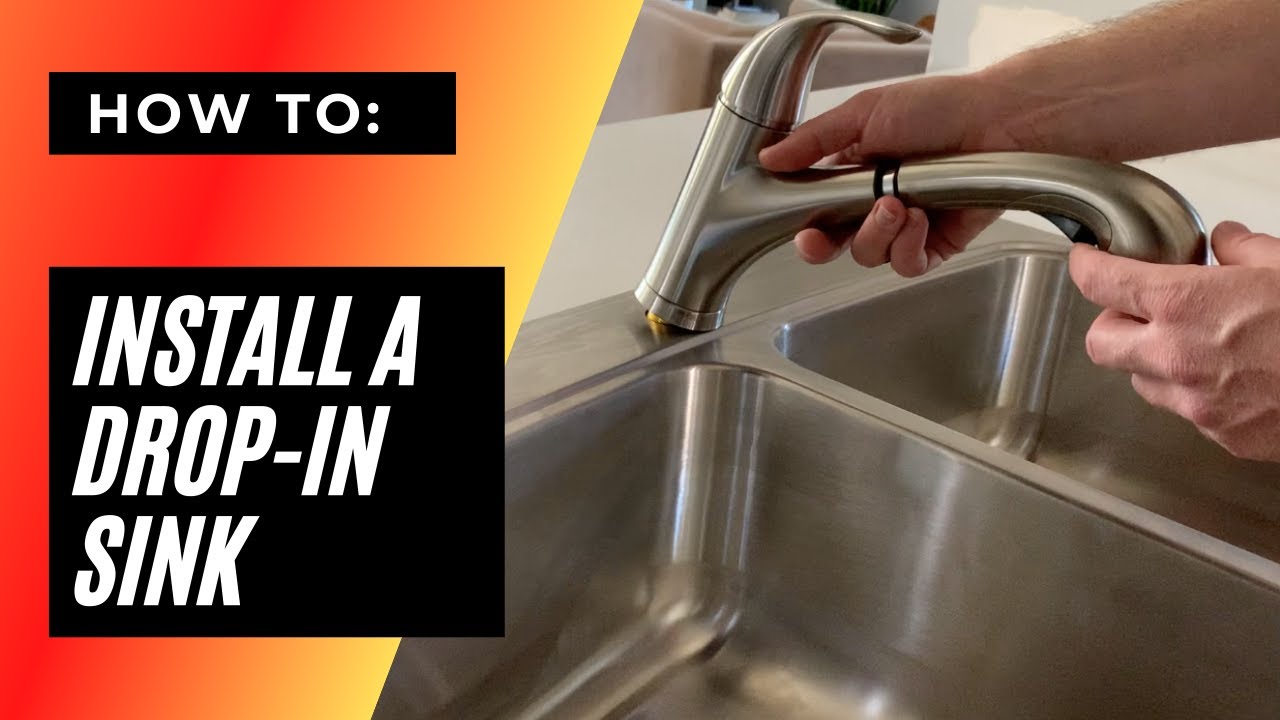
If you prefer visual instructions, there are many helpful video tutorials available online that can guide you through the installation process step-by-step. These videos can be a great resource for those who are more visual learners.Glacier Bay Bathroom Sink Installation Video Tutorial

Glacier Bay Bathroom Sink Installation Video Tutorial
While installing a Glacier Bay bathroom sink may seem like a simple task, there are some common mistakes that can easily be avoided. These include not turning off the water supply before beginning, not properly securing the sink in place, and not checking for leaks before finishing the installation process.Common Mistakes to Avoid When Installing a Glacier Bay Bathroom Sink


Common Mistakes to Avoid When Installing a Glacier Bay Bathroom Sink


To successfully install a Glacier Bay bathroom sink, you will need some basic tools and materials. These may include a wrench, pliers, plumber's putty, and a bucket for catching any water that may spill out during the installation process.Tools and Materials Needed for Installing a Glacier Bay Bathroom Sink

Tools and Materials Needed for Installing a Glacier Bay Bathroom Sink
Here are some tips to keep in mind when installing a Glacier Bay bathroom sink:Tips for a Successful Glacier Bay Bathroom Sink Installation


Tips for a Successful Glacier Bay Bathroom Sink Installation
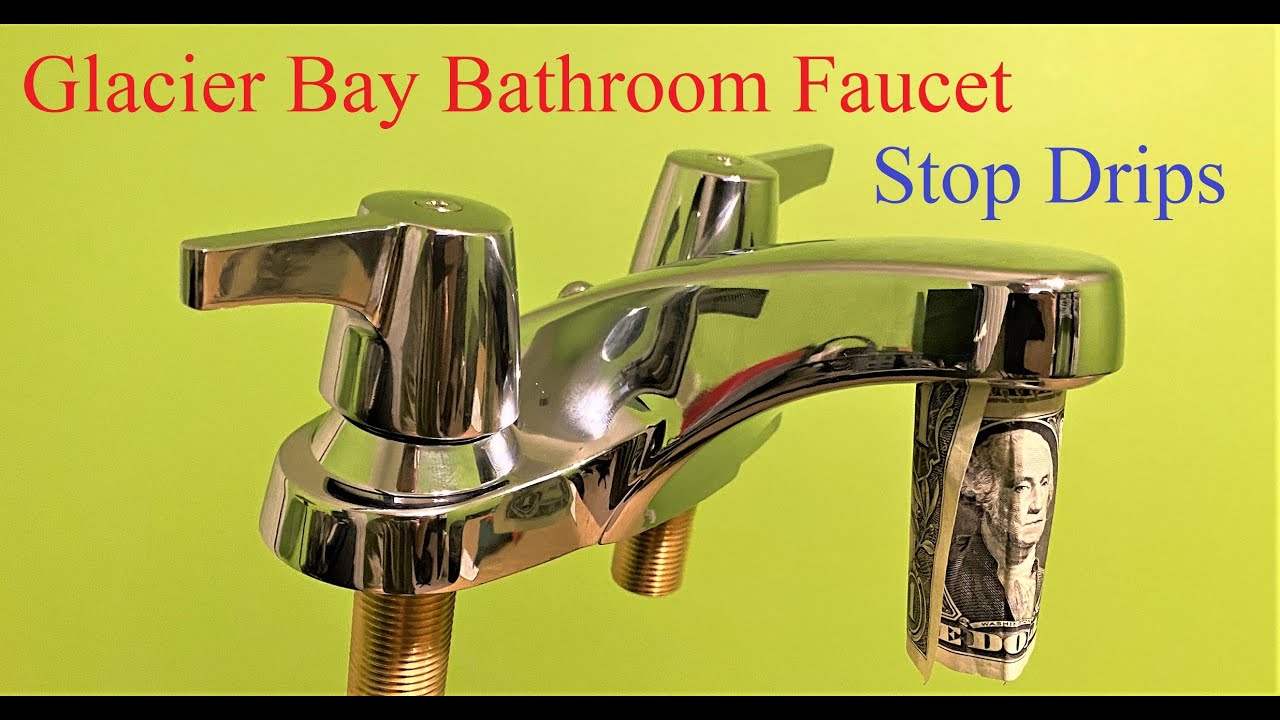
If you encounter any issues during the installation process, it is important to troubleshoot the problem before continuing. This may include checking for leaks, adjusting the sink to make sure it is level, or seeking professional help if needed.Glacier Bay Bathroom Sink Installation Troubleshooting
Glacier Bay Bathroom Sink Installation Troubleshooting
While installing a Glacier Bay bathroom sink yourself can be a rewarding and cost-effective option, it is important to assess your own skills and abilities before beginning. If you are not confident in your ability to complete the installation correctly, it is always best to hire a professional plumber to ensure the job is done properly. In conclusion, with the right instructions and tools, installing a Glacier Bay bathroom sink can be a simple and satisfying task. By following these tips and avoiding common mistakes, you can successfully install your new sink and enjoy a functional and stylish addition to your bathroom.Professional vs. DIY Glacier Bay Bathroom Sink Installation
Professional vs. DIY Glacier Bay Bathroom Sink Installation

Tips for a Successful Glacier Bay Bathroom Sink Installation

Choosing the Right Sink for Your Bathroom Design
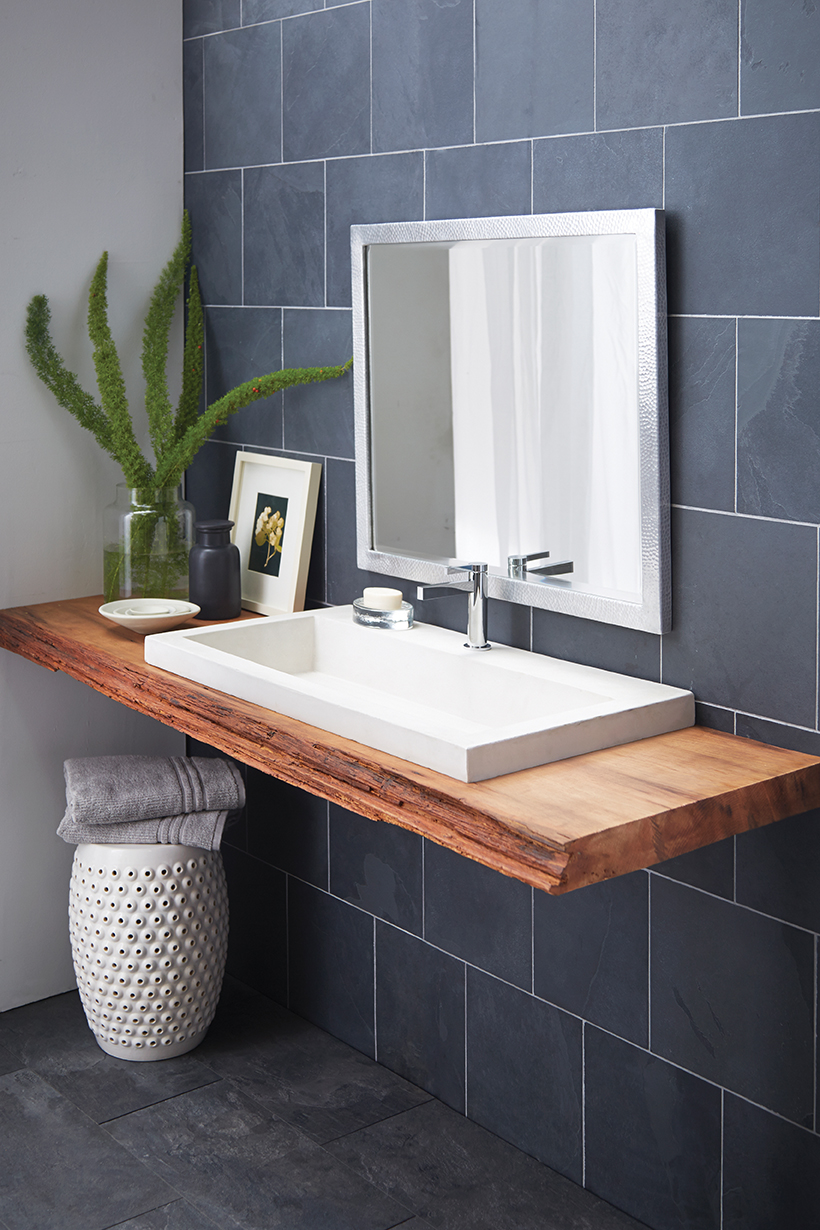
 When it comes to designing your bathroom, the sink is an important element that should not be overlooked. Not only is it a functional necessity, but it also plays a significant role in the overall aesthetic of your space.
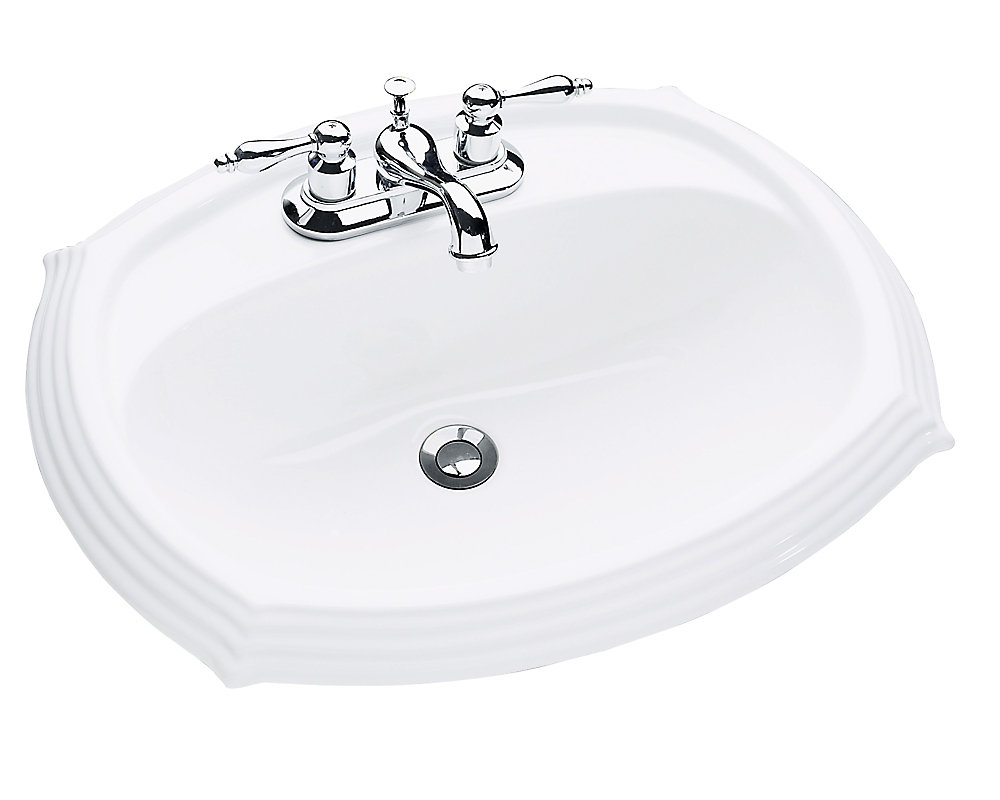
Glacier Bay bathroom sinks
offer a wide range of options to suit any design style, from traditional to modern. Before you begin the installation process, it's crucial to choose the right sink for your bathroom design. Consider the size, shape, and material of the sink, as well as how it will complement the other elements in your bathroom.
When it comes to designing your bathroom, the sink is an important element that should not be overlooked. Not only is it a functional necessity, but it also plays a significant role in the overall aesthetic of your space.
Glacier Bay bathroom sinks
offer a wide range of options to suit any design style, from traditional to modern. Before you begin the installation process, it's crucial to choose the right sink for your bathroom design. Consider the size, shape, and material of the sink, as well as how it will complement the other elements in your bathroom.
Gather the Necessary Tools and Materials
 Once you have selected your
Glacier Bay bathroom sink
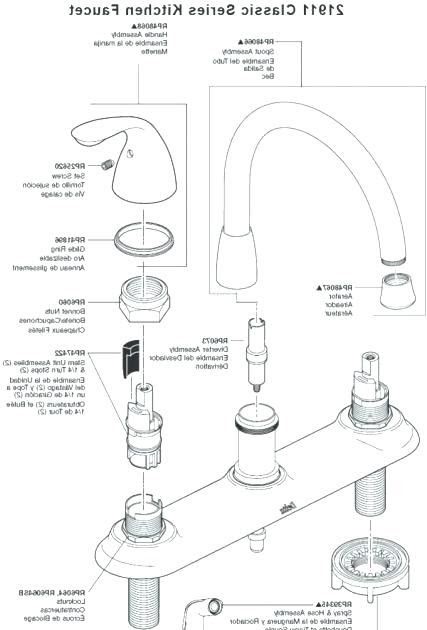
, it's time to gather the necessary tools and materials for installation. This will include a new faucet, drain assembly, plumber's putty, adjustable wrench, and silicone sealant. If you are replacing an existing sink, you may also need a basin wrench and hacksaw. It's important to have all the tools and materials on hand before beginning the installation process to ensure a smooth and efficient installation.
Once you have selected your
Glacier Bay bathroom sink
, it's time to gather the necessary tools and materials for installation. This will include a new faucet, drain assembly, plumber's putty, adjustable wrench, and silicone sealant. If you are replacing an existing sink, you may also need a basin wrench and hacksaw. It's important to have all the tools and materials on hand before beginning the installation process to ensure a smooth and efficient installation.
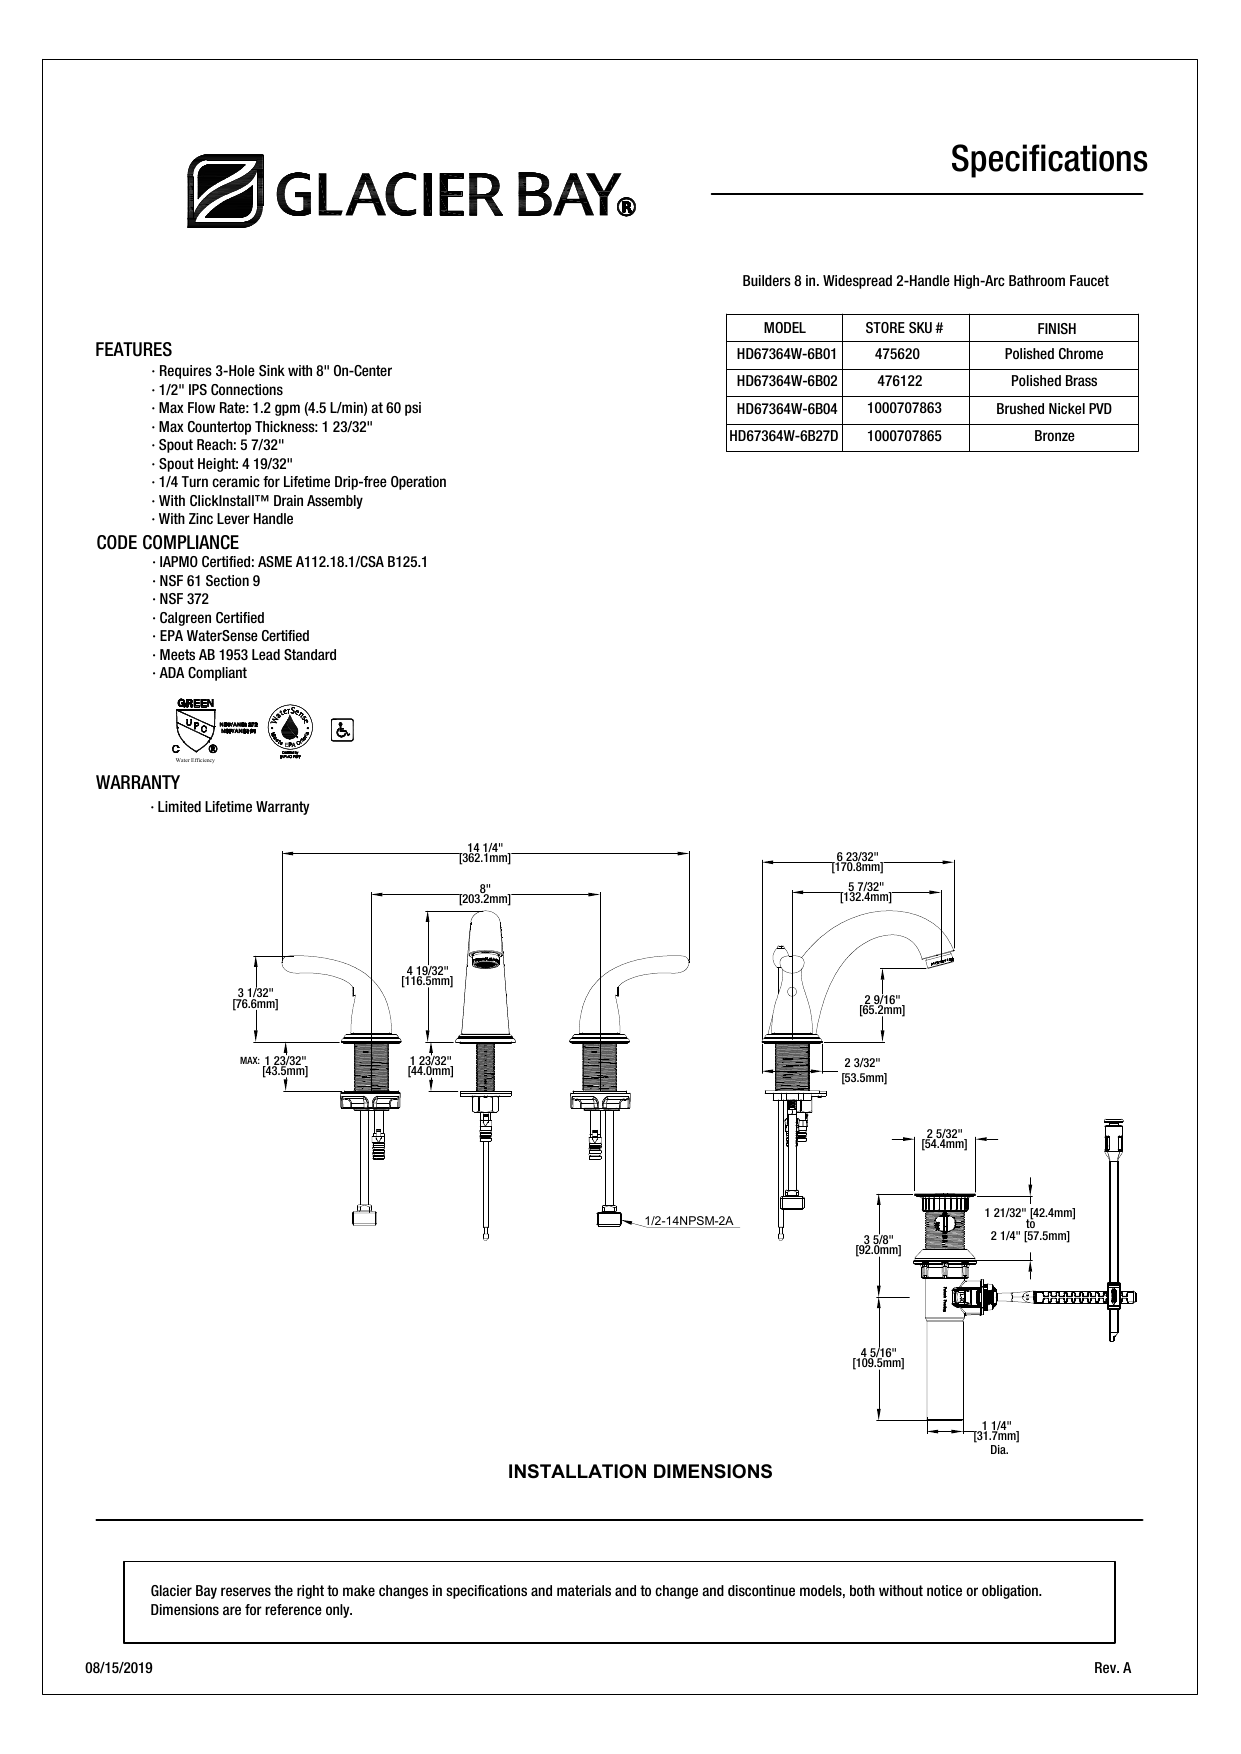
Follow the Manufacturer's Instructions
/bathroom-sink-drain-installation-2718843-01-4955fe1f576b447a91abe51c126d220b.jpg) Each
Glacier Bay bathroom sink
comes with specific installation instructions that should be followed carefully. These instructions will provide step-by-step guidance on how to install the sink correctly, including any necessary measurements and precautions. It's essential to follow these instructions closely to ensure the sink is installed properly and functions correctly. Failure to do so may result in leaks or damage to your sink and bathroom.
Each
Glacier Bay bathroom sink
comes with specific installation instructions that should be followed carefully. These instructions will provide step-by-step guidance on how to install the sink correctly, including any necessary measurements and precautions. It's essential to follow these instructions closely to ensure the sink is installed properly and functions correctly. Failure to do so may result in leaks or damage to your sink and bathroom.
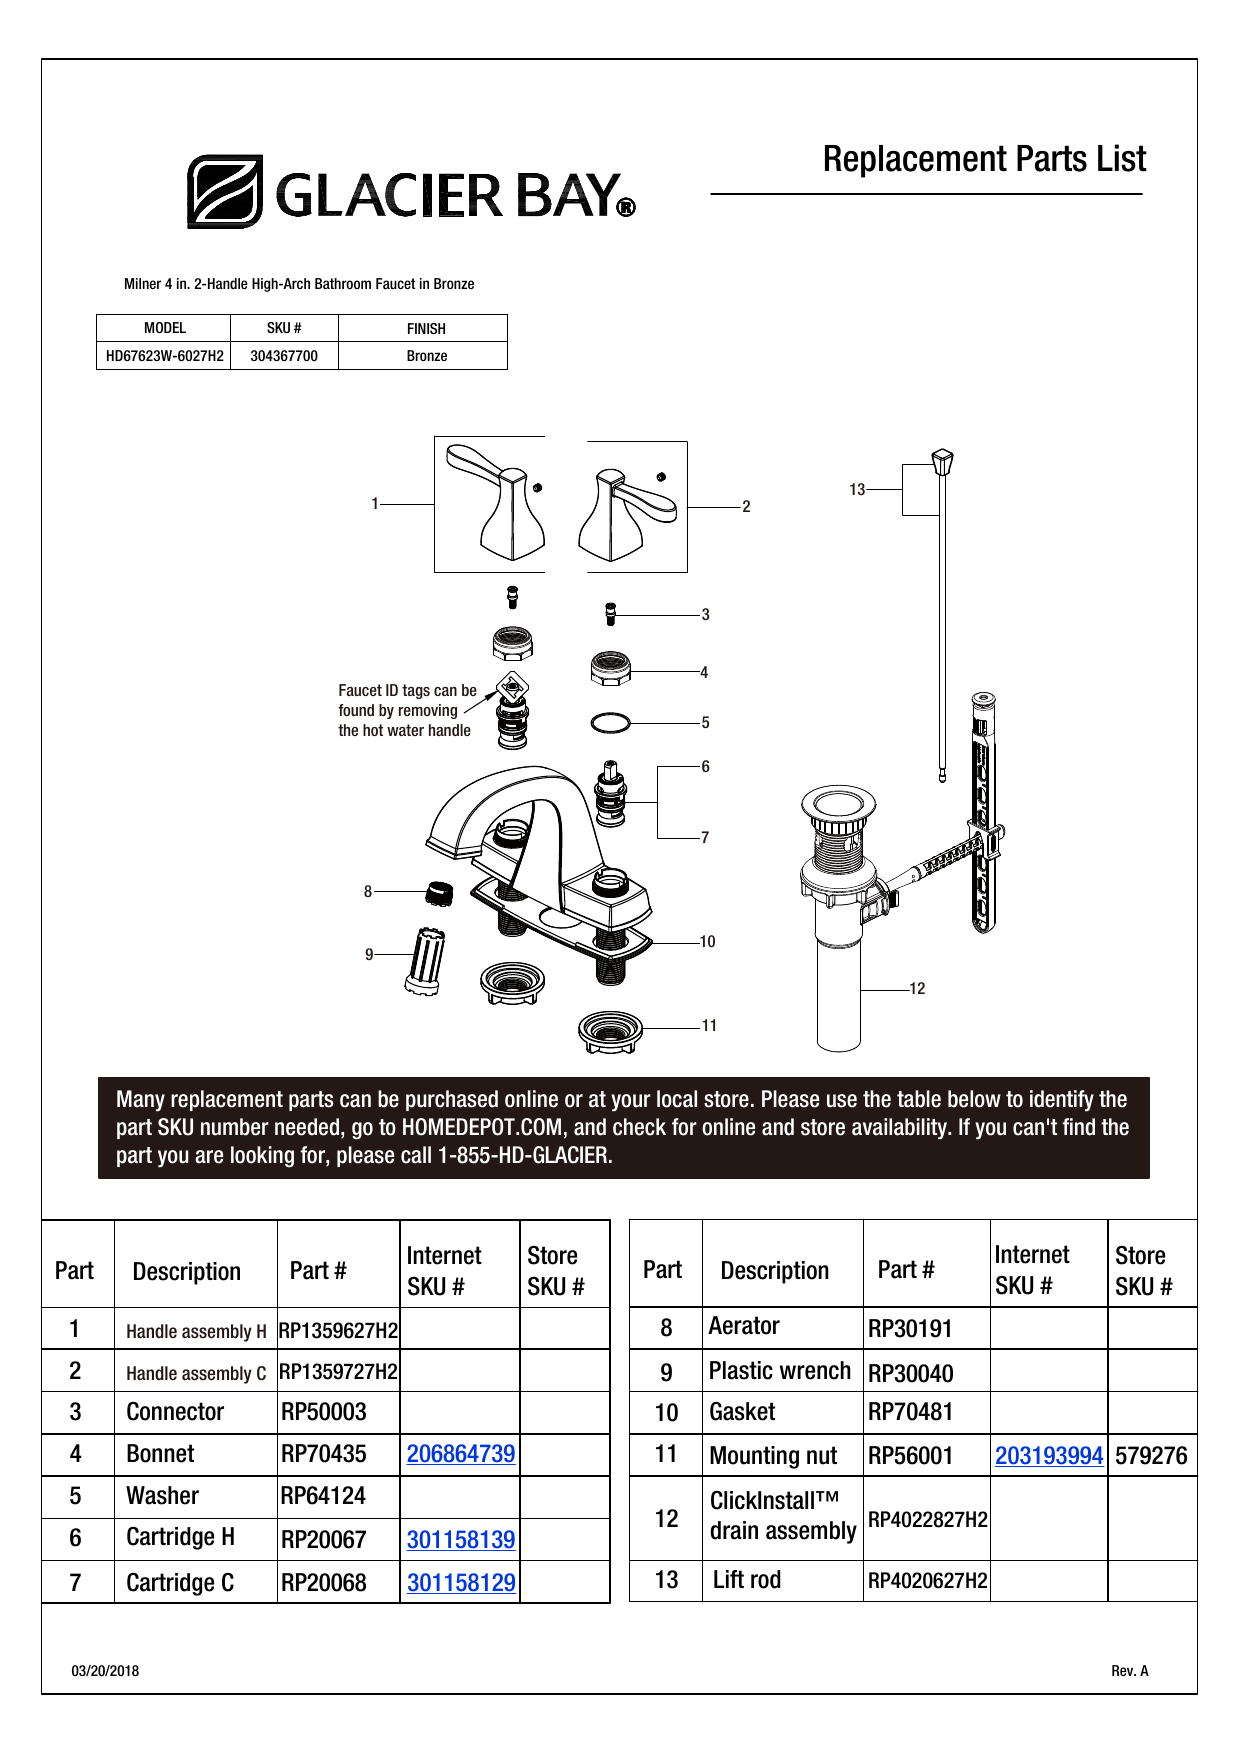
Properly Seal and Secure the Sink
 One of the most critical steps in installing a bathroom sink is properly sealing and securing it. This will prevent any leaks or damage to the sink and surrounding area. Begin by applying a thin layer of plumber's putty around the drain opening on the bottom of the sink. Then, insert the drain assembly and secure it with the provided hardware. Next, apply a bead of silicone sealant around the edge of the sink and carefully place it on top of the vanity or countertop. Finally, tighten any mounting hardware and wipe away any excess sealant.
Test and Adjust as Needed
 Once the sink is installed, it's important to test it for any leaks or functionality issues. Turn on the water and let it run for a few minutes, checking for any signs of leakage. If there are no leaks, you can make any necessary adjustments to the faucet or drain assembly for proper functionality. If you do encounter any leaks, make sure to tighten all connections and reapply sealant as needed.
Enjoy Your Newly Installed Glacier Bay Bathroom Sink
 Following these installation instructions will help ensure a successful and professional-looking
Glacier Bay bathroom sink
installation. Remember to always refer to the manufacturer's instructions, gather all necessary tools and materials, properly seal and secure the sink, and test and adjust as needed. With the right tools and a little bit of patience, you can easily install a beautiful and functional sink in your bathroom. Enjoy your newly installed Glacier Bay bathroom sink and the enhanced design it brings to your space.
Following these installation instructions will help ensure a successful and professional-looking
Glacier Bay bathroom sink
installation. Remember to always refer to the manufacturer's instructions, gather all necessary tools and materials, properly seal and secure the sink, and test and adjust as needed. With the right tools and a little bit of patience, you can easily install a beautiful and functional sink in your bathroom. Enjoy your newly installed Glacier Bay bathroom sink and the enhanced design it brings to your space.