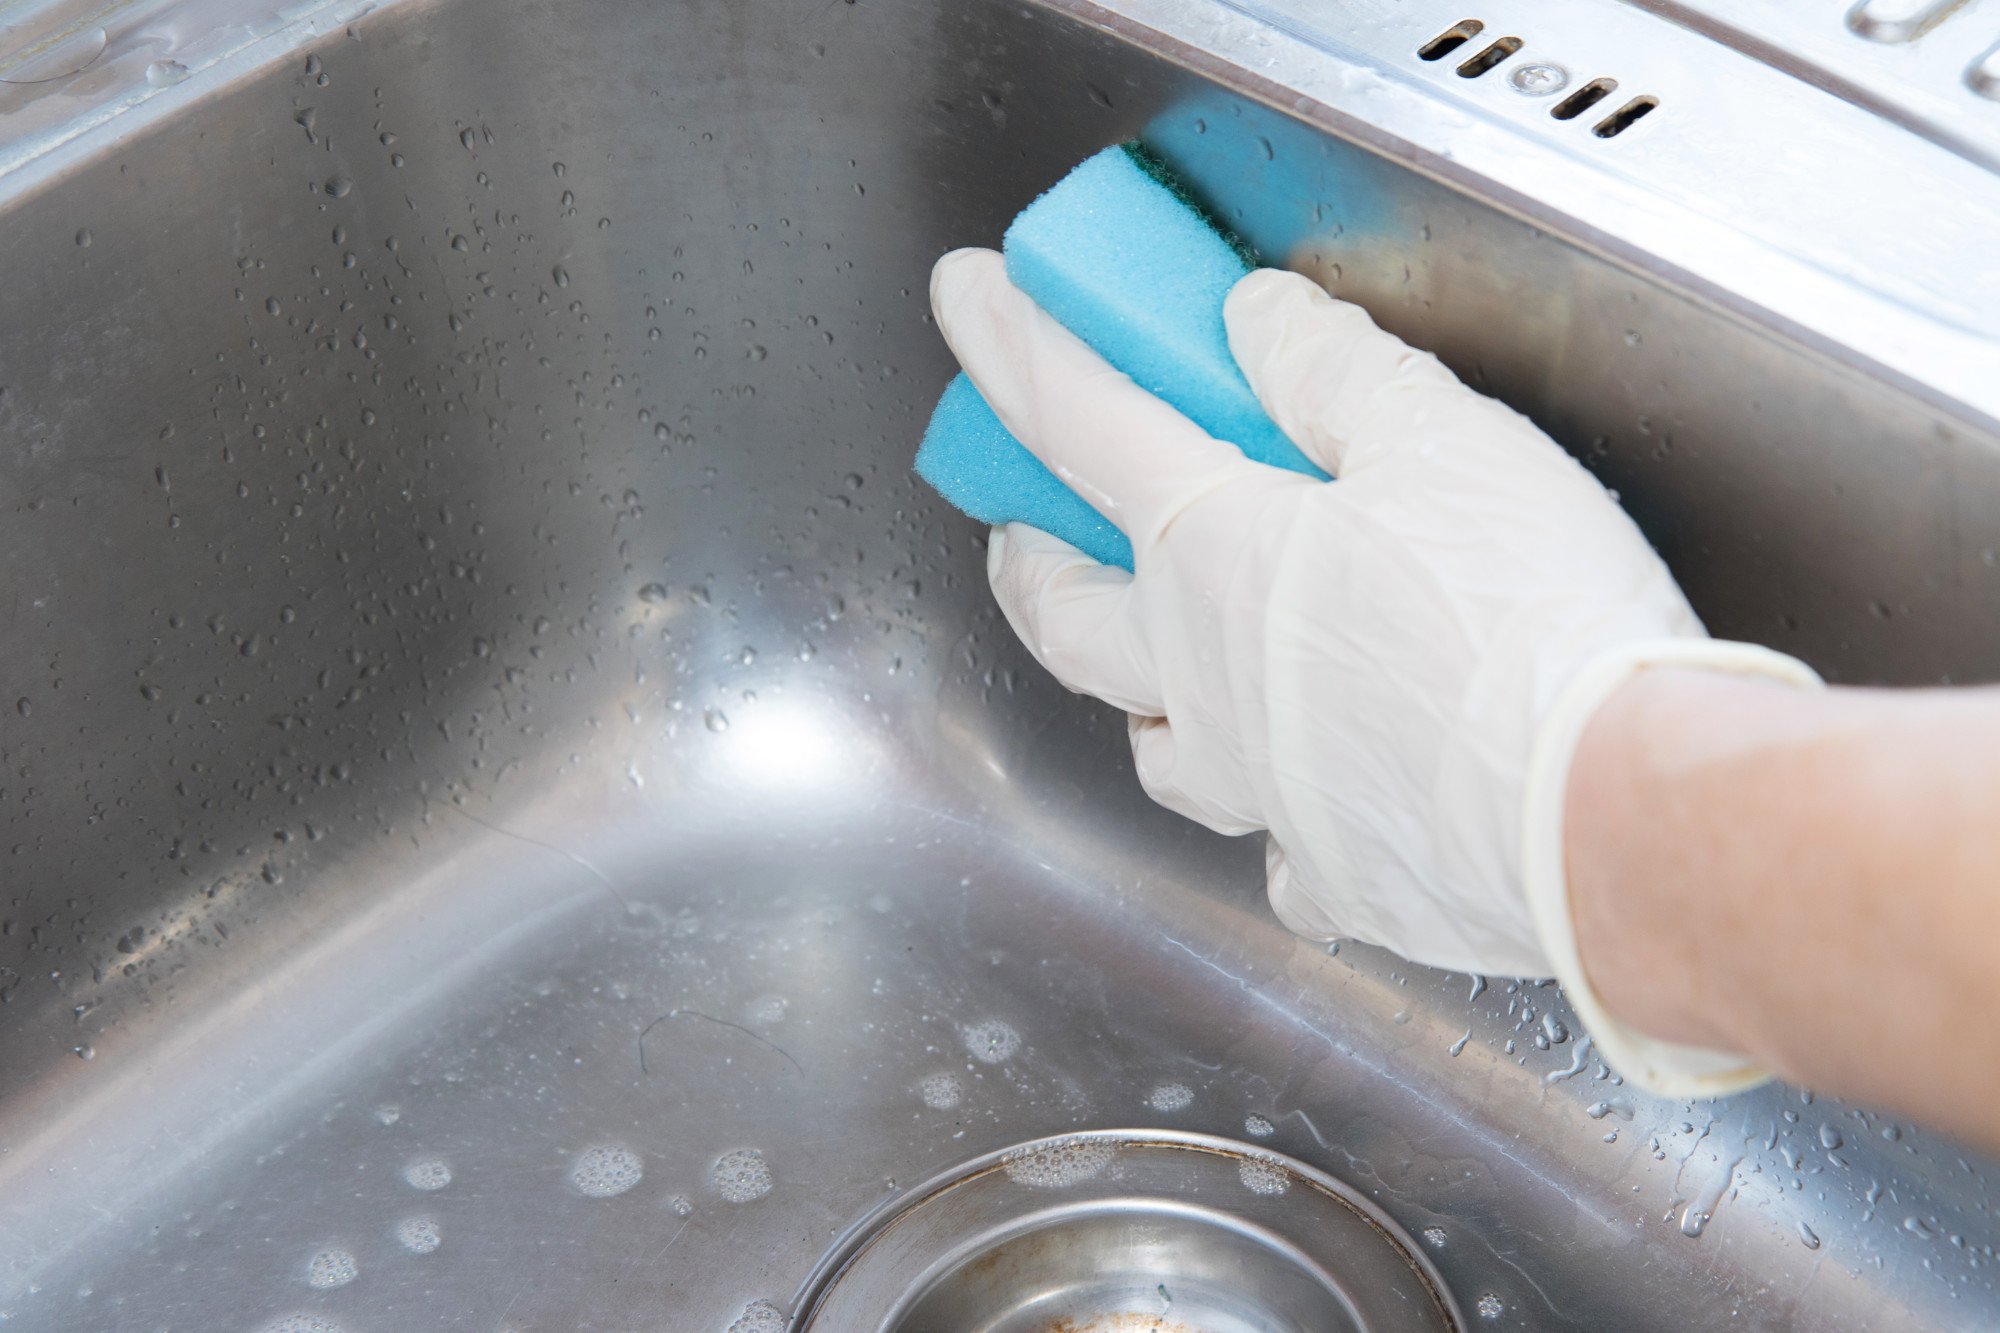
Dealing with a leaky kitchen sink can be frustrating and messy. One of the most common causes of a leaky sink is a faulty seal around the edges of the sink. Not only can this cause water damage to your cabinets and countertops, but it can also lead to a higher water bill. Fortunately, fixing a leaky kitchen sink seal is a relatively easy and inexpensive task that can be done with just a few tools and some basic DIY skills.How to Fix a Leaky Kitchen Sink Seal


How to Fix a Leaky Kitchen Sink Seal


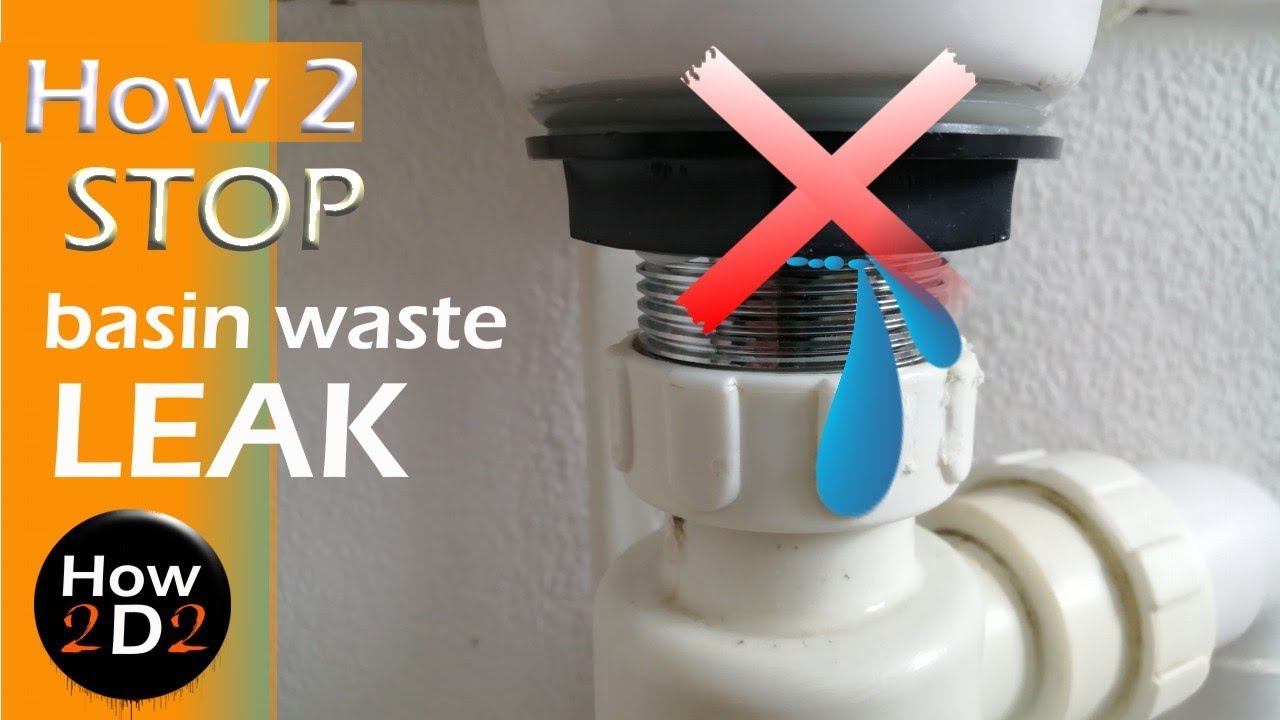
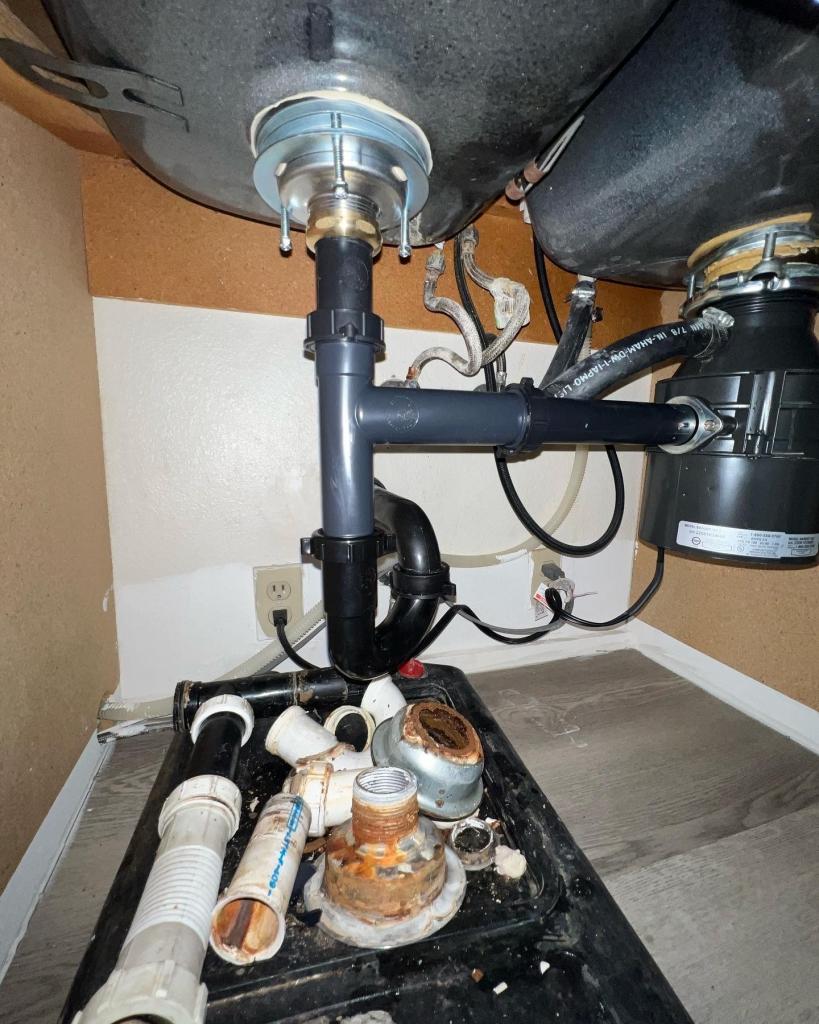
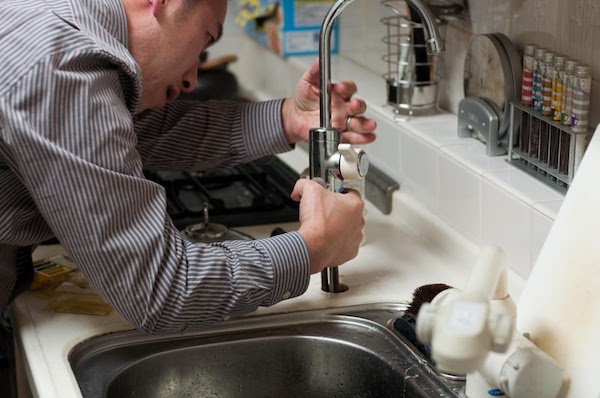
If you notice that there is water seeping out from under your kitchen sink, the first thing you should do is check the seal. The seal is the rubber or silicone material that sits around the edges of the sink and prevents water from leaking out. Over time, this seal can become worn, cracked, or loose, leading to leaks. To repair a kitchen sink seal, you will need to remove the old seal and replace it with a new one.How to Repair a Kitchen Sink Seal


How to Repair a Kitchen Sink Seal


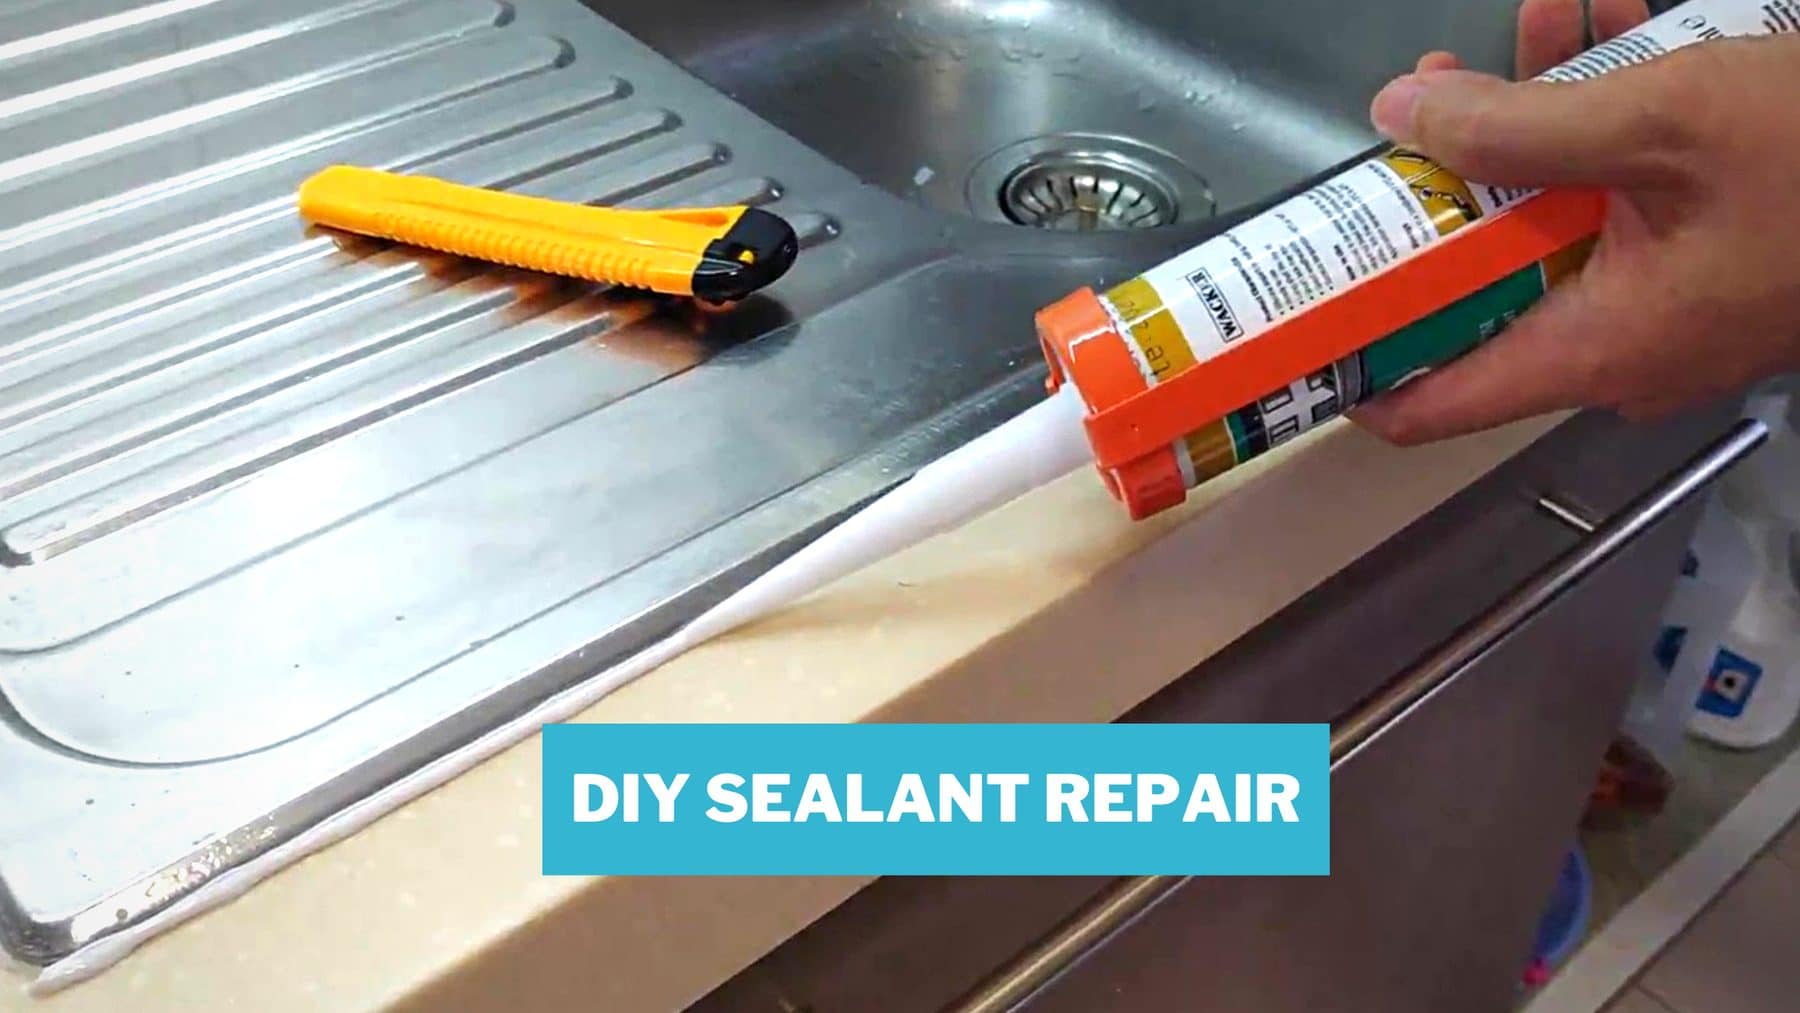
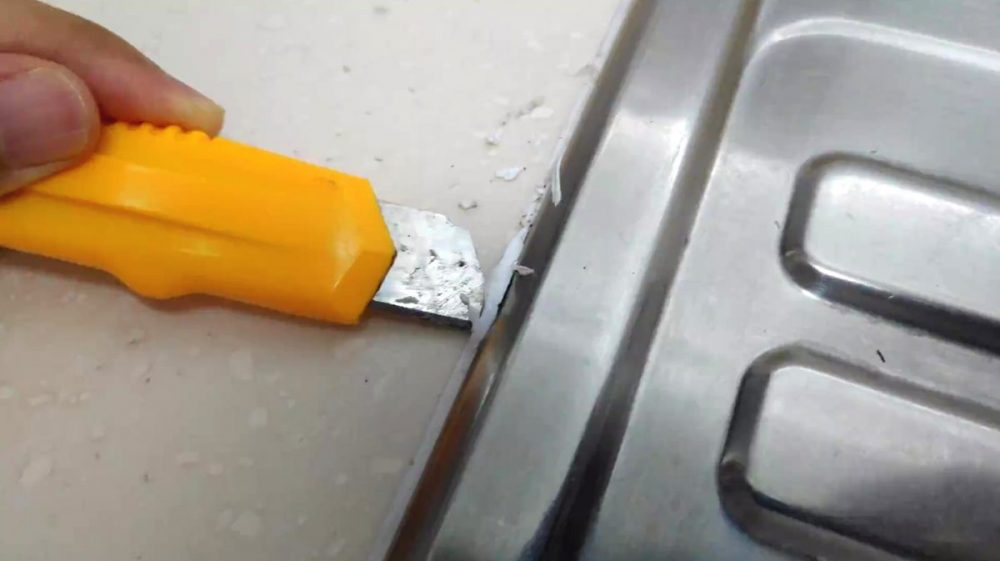
Repairing a kitchen sink seal is a task that can easily be done by anyone with basic DIY skills. You will need a few tools and materials, including a putty knife, a screwdriver, a new sink seal, and some silicone sealant. The first step is to remove the old seal by gently prying it off with a putty knife. Once the old seal is removed, clean the edges of the sink with a mild cleaner and let it dry completely. Then, apply a new bead of silicone sealant around the edges of the sink and press the new seal into place. Wipe away any excess sealant and let it dry for 24 hours before using the sink again.DIY Kitchen Sink Seal Repair


DIY Kitchen Sink Seal Repair


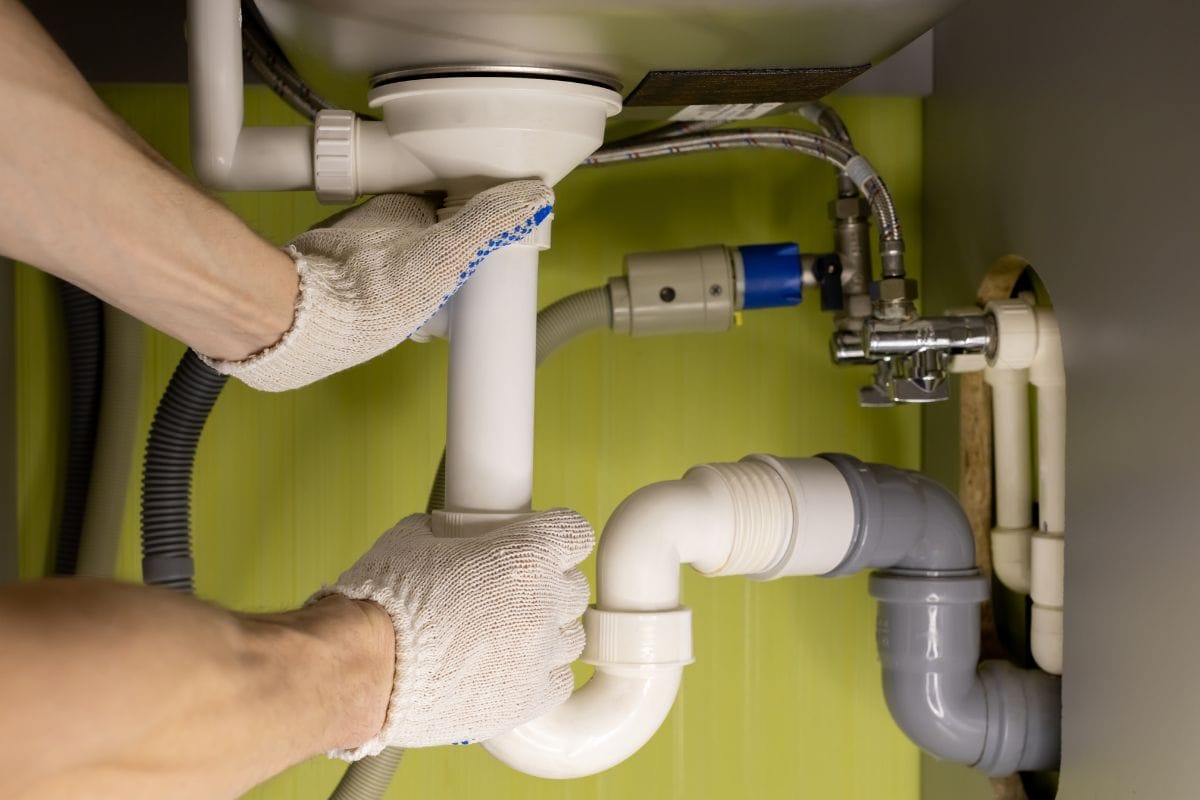
If the seal around your kitchen sink is loose, it can cause water to seep out and create a mess. This is a common problem that can be easily fixed by tightening the clips or bolts that hold the sink in place. Use a screwdriver to tighten the clips or bolts and make sure they are secure. If the seal is still loose, you may need to replace it with a new one.Fixing a Loose Kitchen Sink Seal
Fixing a Loose Kitchen Sink Seal
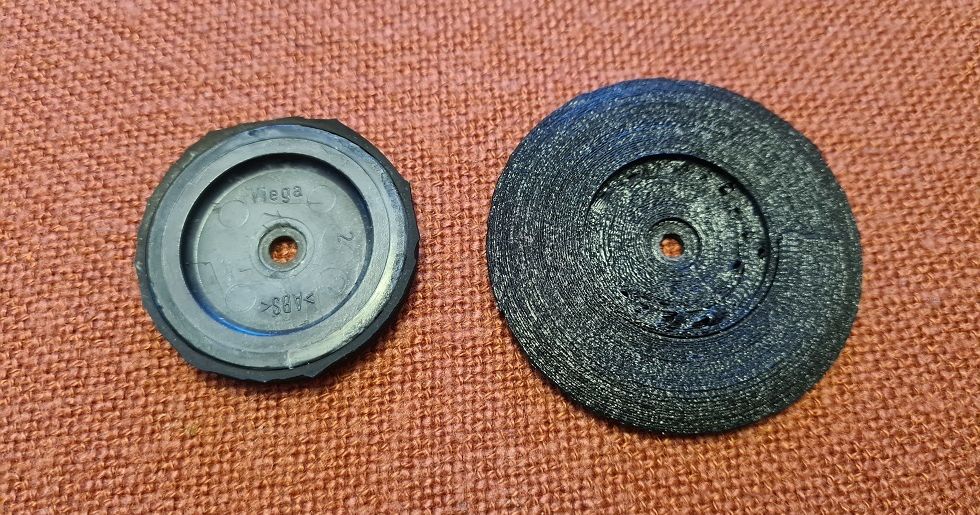
If your kitchen sink seal is cracked or damaged beyond repair, it will need to be replaced. This is a more involved process than simply repairing the seal, but it is still a DIY task that can be done with the right tools and materials. You will need to remove the old seal, clean the edges of the sink, and then install the new seal according to the manufacturer's instructions. Make sure to let the sealant dry completely before using the sink.Replacing a Kitchen Sink Seal


Replacing a Kitchen Sink Seal


A cracked kitchen sink seal can be a major cause of leaks. The constant exposure to water and cleaning products can cause the seal to crack over time. To fix a cracked kitchen sink seal, you will need to remove the old seal, clean the area thoroughly, and then apply a new bead of silicone sealant. Make sure to smooth out the sealant with your finger or a putty knife for a clean and secure seal.Fixing a Cracked Kitchen Sink Seal

Fixing a Cracked Kitchen Sink Seal
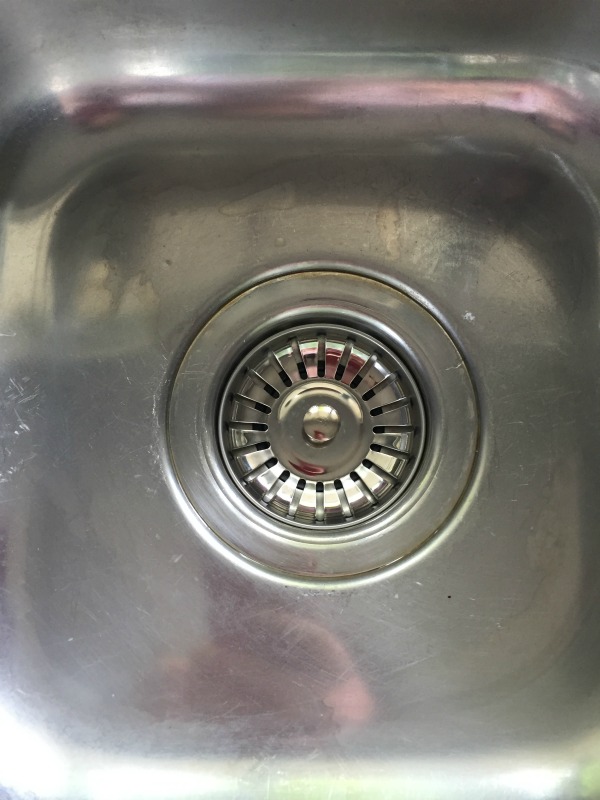
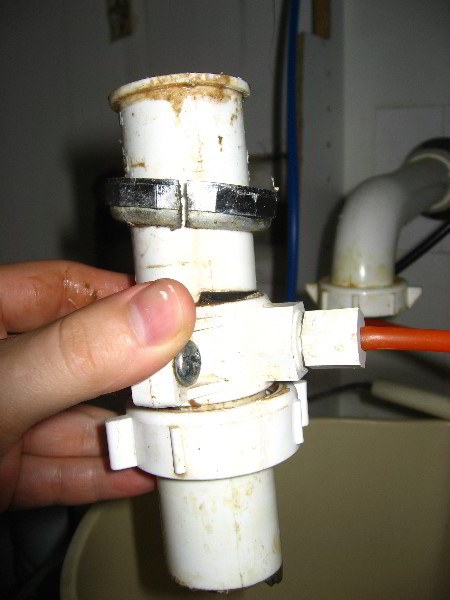
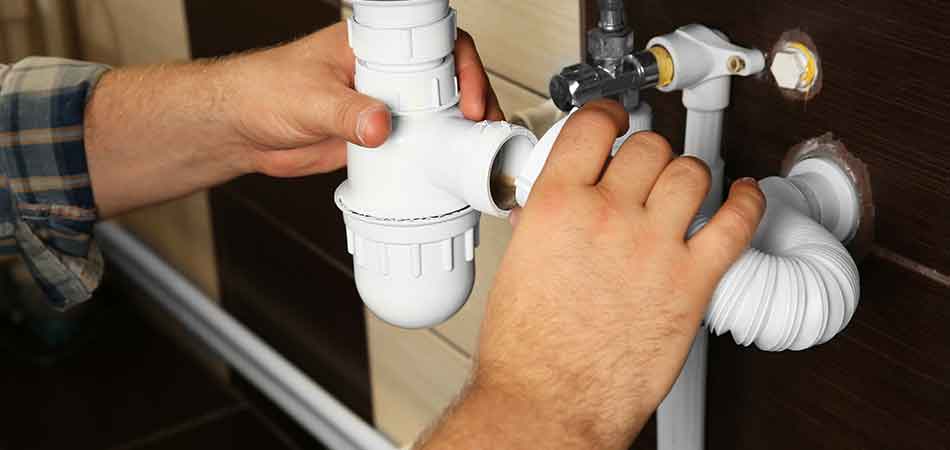
In addition to the seal around the edges of the sink, you should also pay attention to the seal around the drain. This is another common area for leaks to occur. To seal a kitchen sink drain, you will need to remove the drain cover and clean the area thoroughly. Then, apply a new bead of silicone sealant around the edge of the drain and press the cover back into place. Let it dry completely before using the sink.Sealing a Kitchen Sink Drain


Sealing a Kitchen Sink Drain


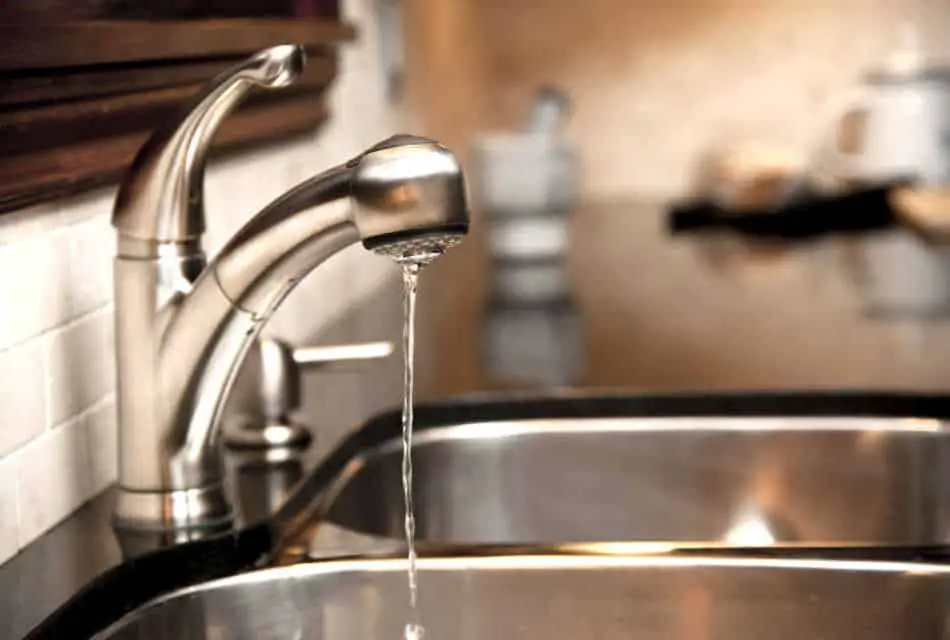
A leaking kitchen sink seal is not only a nuisance but can also lead to costly water damage. If you notice water pooling around your sink, it is likely due to a leaky seal. Follow the steps outlined above to fix the seal and prevent further leaks. If the problem persists, it may be a sign of a more serious issue and you may need to call a professional plumber.Fixing a Leaking Kitchen Sink Seal
Fixing a Leaking Kitchen Sink Seal


Prevention is always better than a cure when it comes to home repairs. To avoid having to deal with a leaky kitchen sink seal, make sure to regularly clean and inspect the seal for any signs of wear or damage. You can also use a silicone sealant to reinforce the seal and prevent future leaks. Additionally, be mindful of how much pressure you put on the sink and avoid using harsh chemicals that can deteriorate the seal.Kitchen Sink Seal Maintenance Tips


Kitchen Sink Seal Maintenance Tips


Some common kitchen sink seal problems include wear and tear, loose seals, cracks, and leaks. These issues can be easily fixed with simple DIY techniques, as outlined above. It is important to address these problems as soon as you notice them to prevent further damage and avoid costly repairs in the future. With regular maintenance and timely repairs, you can keep your kitchen sink seal in good condition and prevent leaks from causing any damage. Follow these tips and you can easily fix a leaky kitchen sink seal and keep your kitchen running smoothly.Common Kitchen Sink Seal Problems and Solutions
Common Kitchen Sink Seal Problems and Solutions
How to Fix a Leaky Kitchen Sink Seal Like a Pro

The Importance of a Properly Sealed Kitchen Sink
 A leaky kitchen sink seal may seem like a minor annoyance, but it can actually lead to bigger problems if left unaddressed. Not only can it cause water damage to your cabinets and floors, but it can also create the perfect environment for mold and mildew to grow. Additionally, a leaky sink can waste a significant amount of water, leading to higher water bills and unnecessary strain on the environment. In order to avoid these issues, it's important to address a leaky kitchen sink seal as soon as you notice it.
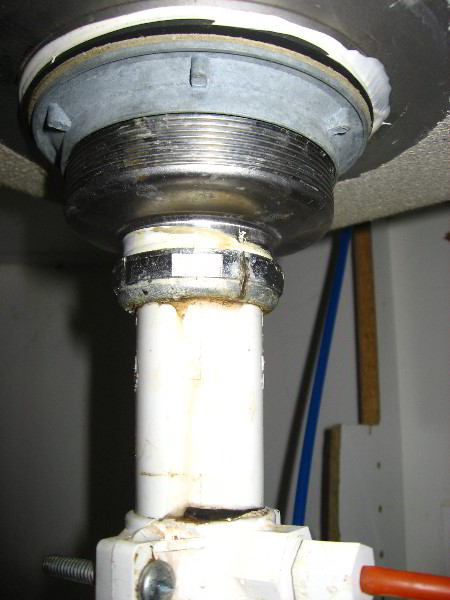
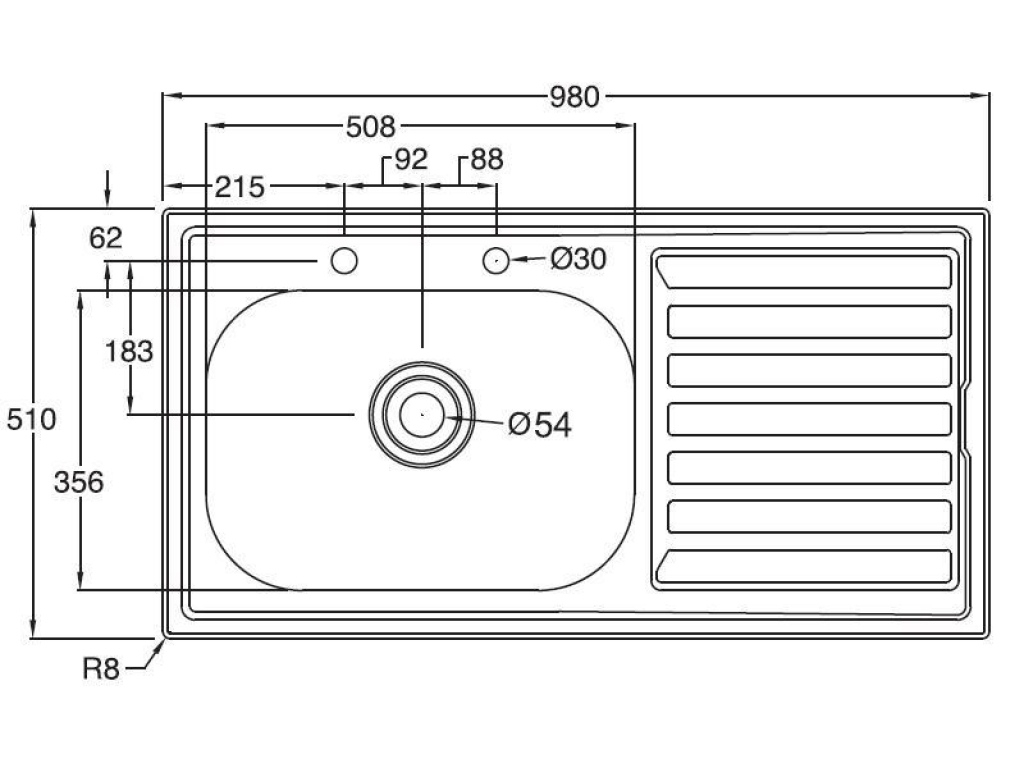
Identifying the Problem
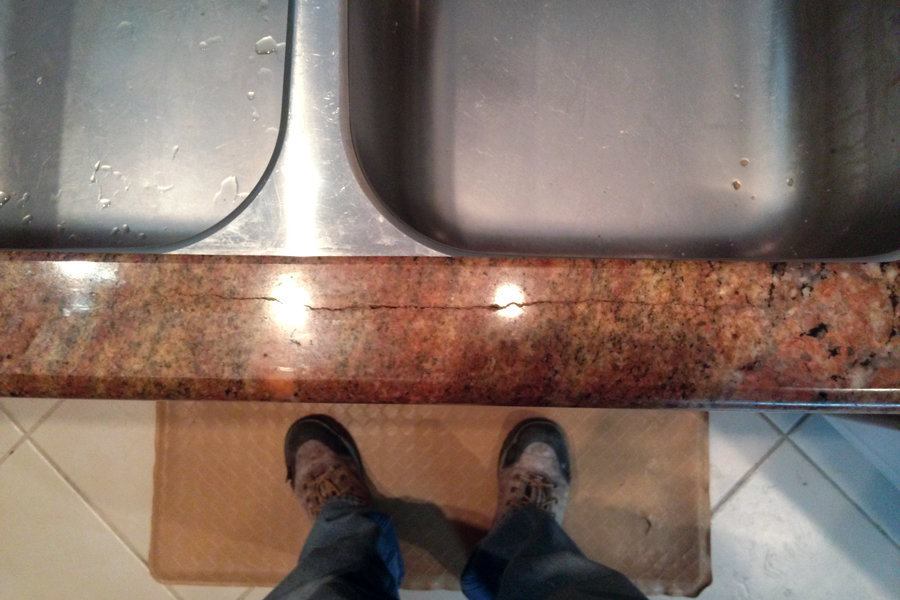
 Before you can fix your leaky kitchen sink seal, you need to identify where the problem is coming from. In most cases, the issue is caused by a worn or damaged seal between the sink and the countertop. This can happen over time due to regular wear and tear, or it may be the result of improper installation. In some cases, the sealant used may have also deteriorated due to exposure to harsh chemicals or extreme temperatures. Whatever the cause may be, it's important to address it promptly to prevent further damage.
Gathering the Tools and Materials
 To fix your leaky kitchen sink seal, you will need a few tools and materials. These include a putty knife, a tube of silicone sealant, a caulking gun, and a damp cloth.
Silicone sealant
is recommended for this task as it is waterproof and can withstand high temperatures, making it ideal for use in a kitchen. You may also want to have some rubbing alcohol on hand to clean the area before applying the sealant.
To fix your leaky kitchen sink seal, you will need a few tools and materials. These include a putty knife, a tube of silicone sealant, a caulking gun, and a damp cloth.
Silicone sealant
is recommended for this task as it is waterproof and can withstand high temperatures, making it ideal for use in a kitchen. You may also want to have some rubbing alcohol on hand to clean the area before applying the sealant.
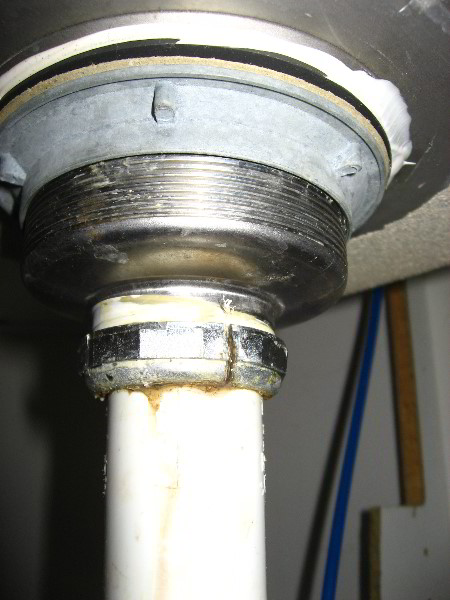
Fixing the Seal
 Once you have gathered all the necessary tools and materials, it's time to fix your leaky kitchen sink seal. Begin by thoroughly cleaning the area around the sink and countertop with the damp cloth and rubbing alcohol. This will ensure that the sealant properly adheres to the surfaces. Next, use the putty knife to remove any old sealant that may be present. Once the area is clean and dry, load the silicone sealant into the caulking gun and carefully apply a bead of sealant around the edge of the sink. Use your finger or a clean cloth to smooth out the sealant and create a tight seal. Allow the sealant to dry completely before using the sink again.
Maintaining the Seal
 To ensure that your kitchen sink seal remains leak-free for years to come, it's important to perform regular maintenance. This includes cleaning the area around the sink regularly to prevent the build-up of grime and using gentle, non-abrasive cleaners that won't damage the sealant. It's also a good idea to periodically check the seal for any signs of wear or damage and address them promptly if needed.
In Conclusion
 Fixing a leaky kitchen sink seal is a relatively simple and inexpensive task that can save you from costly repairs in the future. By following these steps and maintaining your seal properly, you can keep your kitchen looking and functioning its best. Remember, if you encounter any difficulties or your leak persists, it's always best to consult a professional
plumber
for assistance.
Fixing a leaky kitchen sink seal is a relatively simple and inexpensive task that can save you from costly repairs in the future. By following these steps and maintaining your seal properly, you can keep your kitchen looking and functioning its best. Remember, if you encounter any difficulties or your leak persists, it's always best to consult a professional
plumber
for assistance.